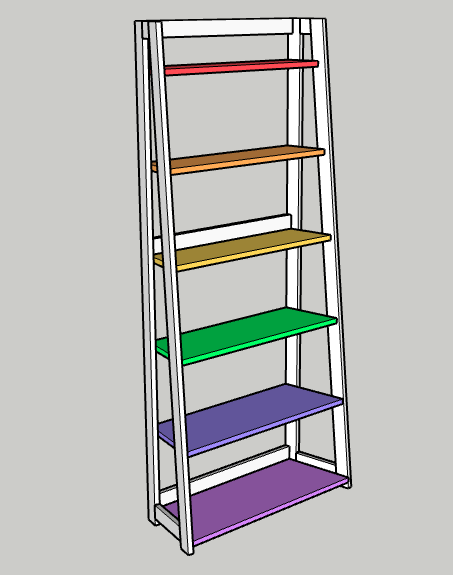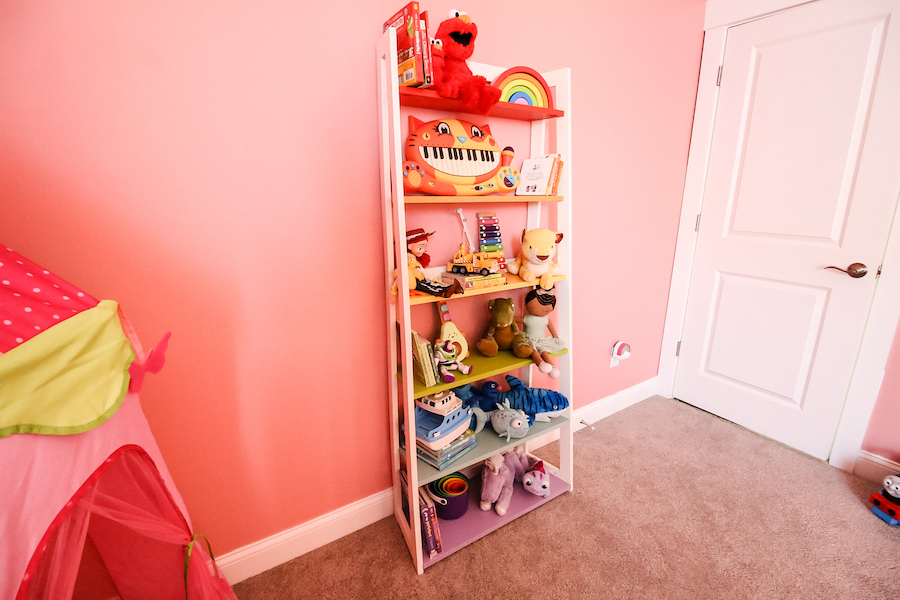
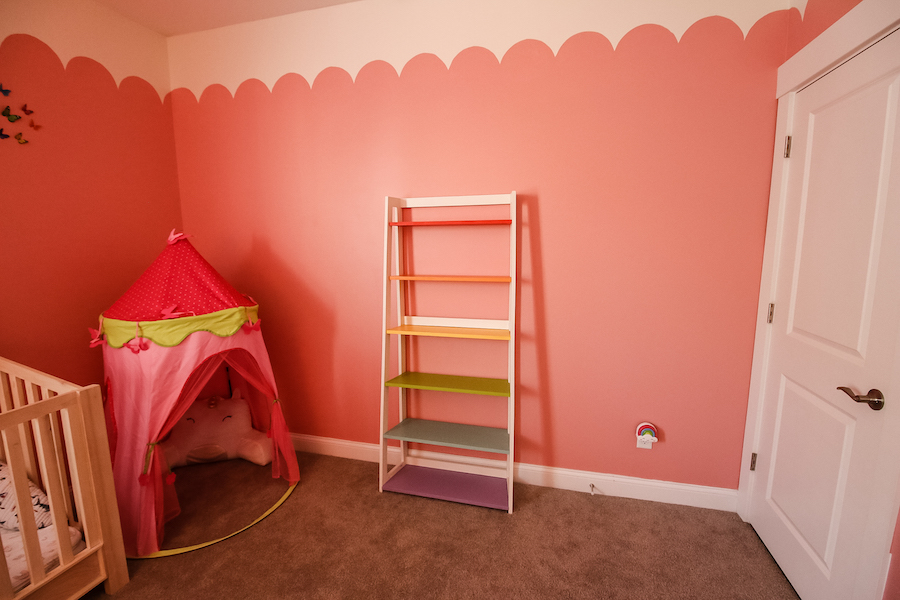
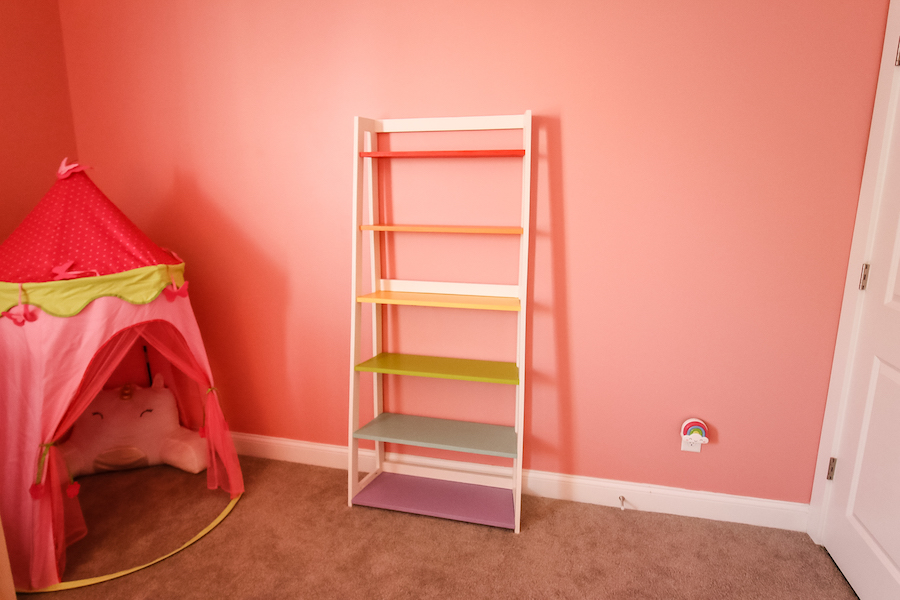
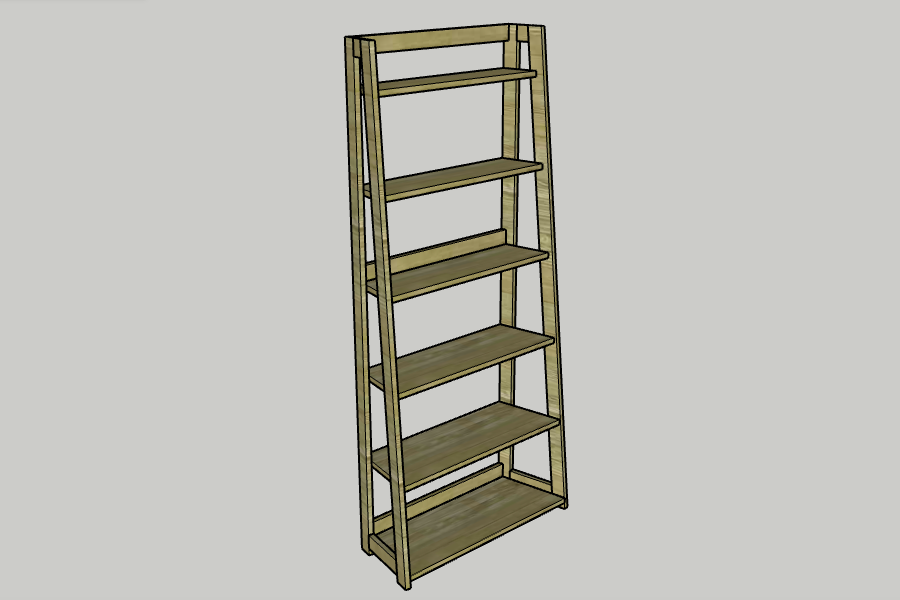


Add an angled twist to the classic ladder shelf with this DIY angled ladder shelf. The shelf has angled sides and has a wide base leading up to a narrow top. Use it for toys, books or decor!
Tools
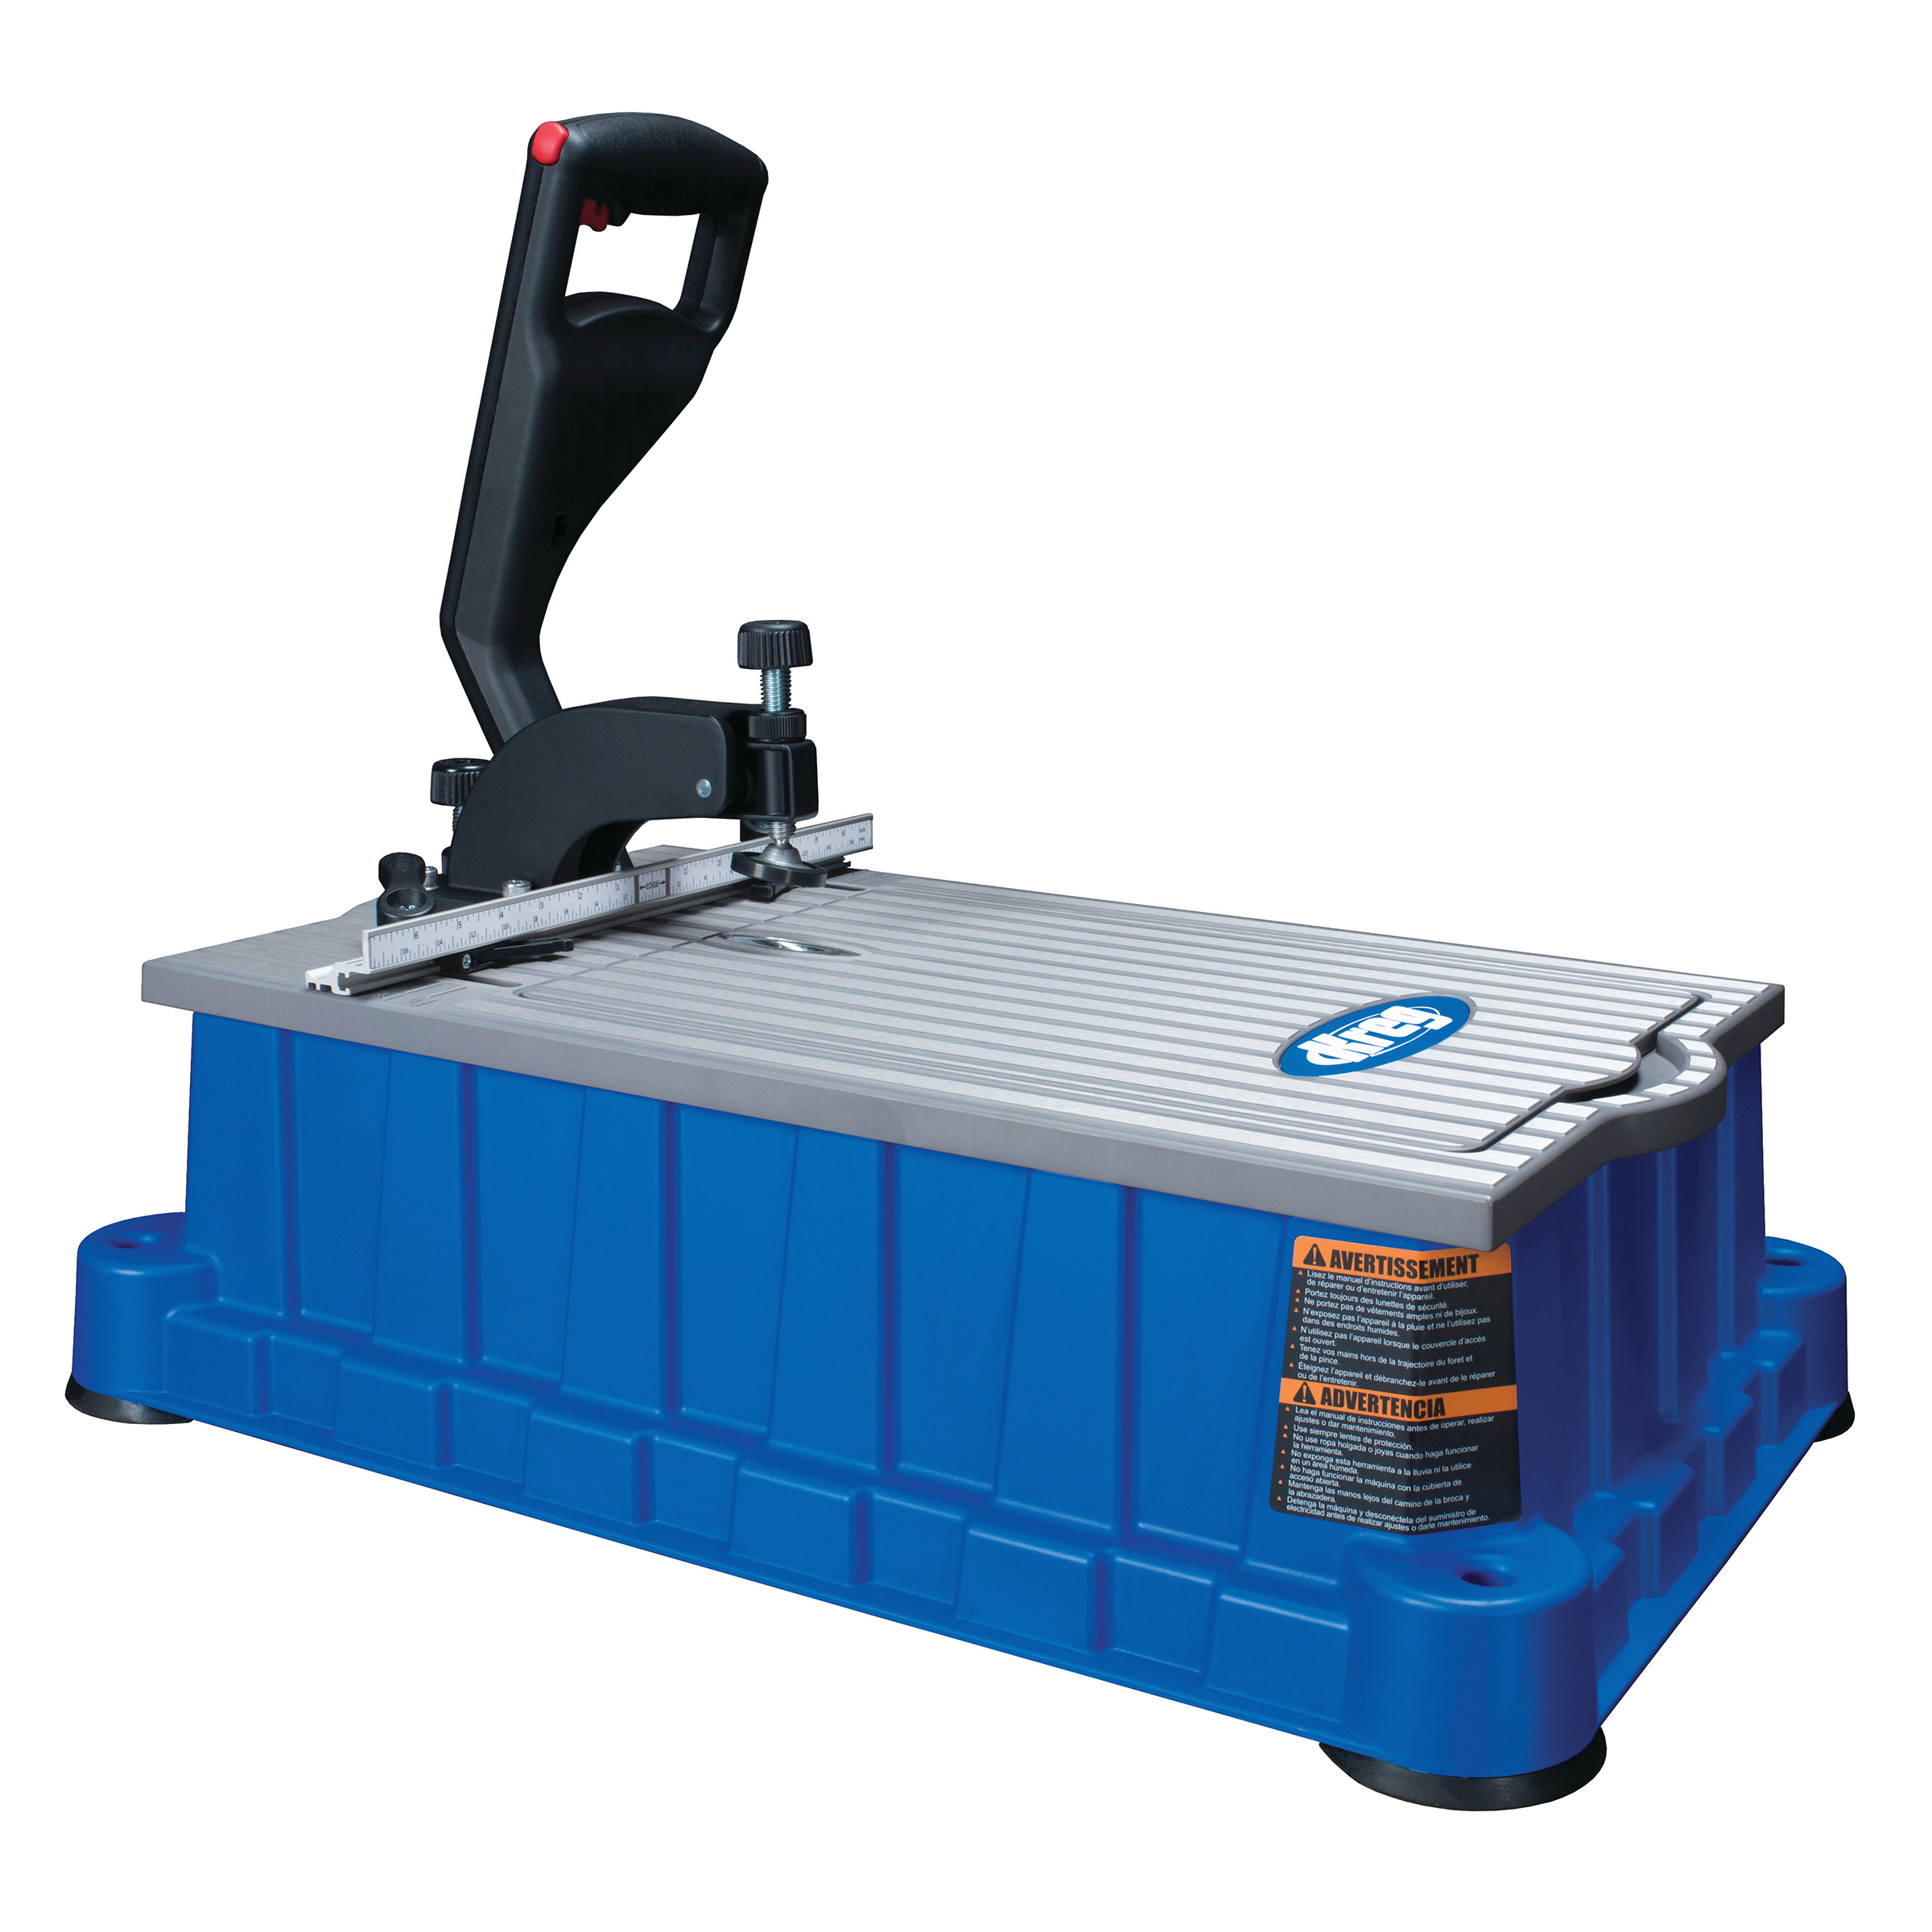
Kreg Tools


Other Tools
-
Table saw

-
Miter saw
-
Measuring tape
-
Clamps
Materials
Wood Products
- 1 Sheet plywood , 3/4" x 4' x 8'
Hardware & Supplies
- 1 Box of 1 ¼ pocket hole screws (see tools list)
- 1 Wood glue
- 1 Stain/ paint and sealant of your choice
Directions
-
Cut, drill and paint
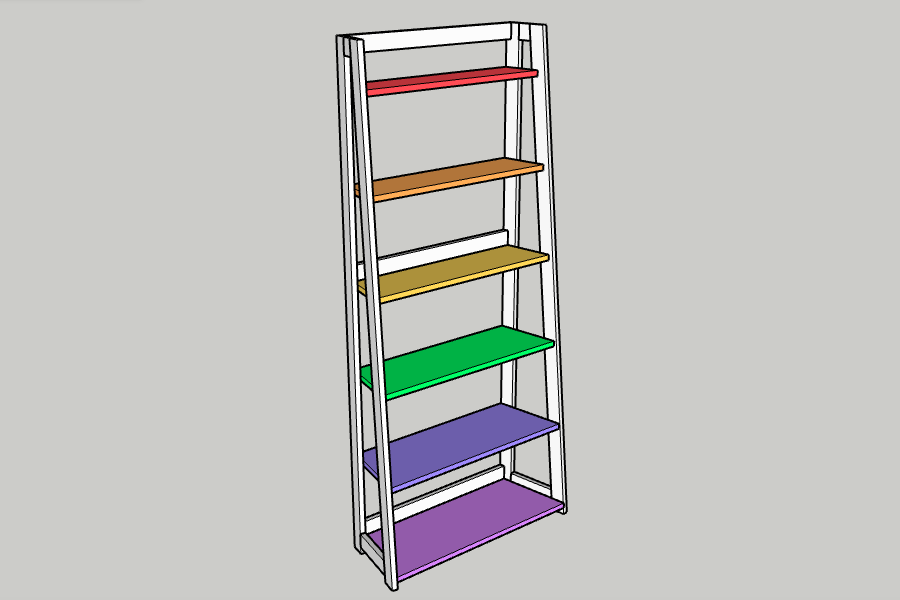
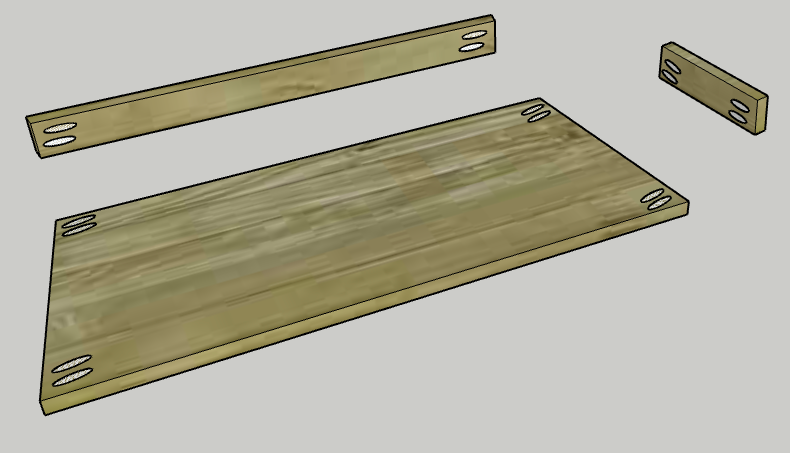
Start by making all the cuts in the cut list. The best way to cut all the shelves is to cut them all to the size and angle of the Bottom Shelf, then progressively cut 1 1/4" more off of each one. Drill two pocket holes on each end of the Lower Side Supports and on the short ends of the Back Supports. On each of the shelves, drill two pocket holes on the short sides against the back, short edge of the shelf. On the two smallest, top shelves, drill one pocket hole on the short sides against the front edge. On the rest of the shelves, drill two pocket holes on the short sides against the front edge. If choosing to do a multi-colored look, either with stain or paint, now would be the easiest time to do each piece. If you want it to all be one color, wait until it is fully assembled.
-
Assemble sides
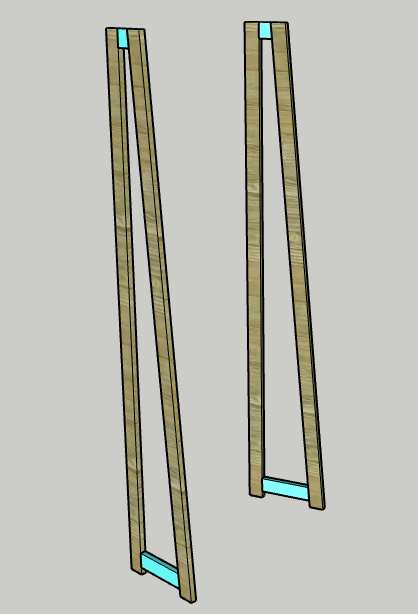
Using wood glue and clamps, attach an Upper Side Support at the top edge of a Front Post and Back Post so that the angles of the Front Post and Upper Side Support align. Using wood glue and pocket hole screws, attach the Lower Side Support between the Front Post and Back Post 1" from the bottom. Repeat to create a second side.
-
Connect sides
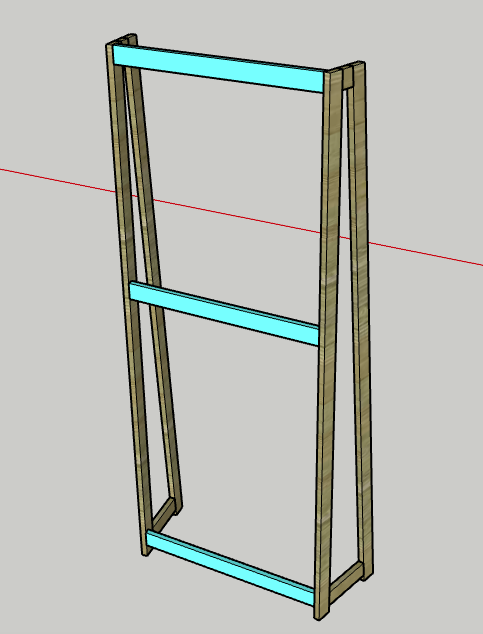
Using wood glue and pocket hole screws, attach the three Back Supports between the two sides to connect them. Attach the Back Supports with the holes on the back side so that the sides angle out from back to front. Attach the bottom Back Support 1 3/4" from the bottom of the Back Posts, the middle Back Support 37" from the bottom and the top Back Support at the top edge of the Back Posts.
-
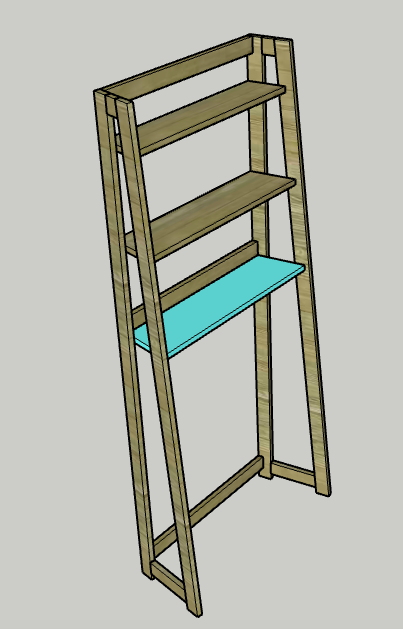
Attach top shelf
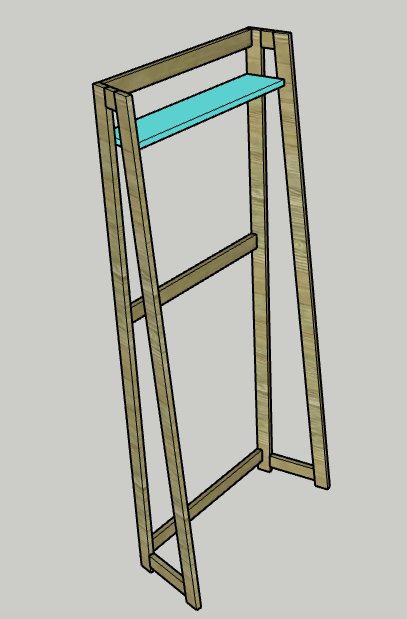
Using wood glue and pocket hole screws, attach the Top Shelf between the two sides 59 3/4" from the bottom. Start by attaching on the Back Posts and ensure the shelf is level.
-
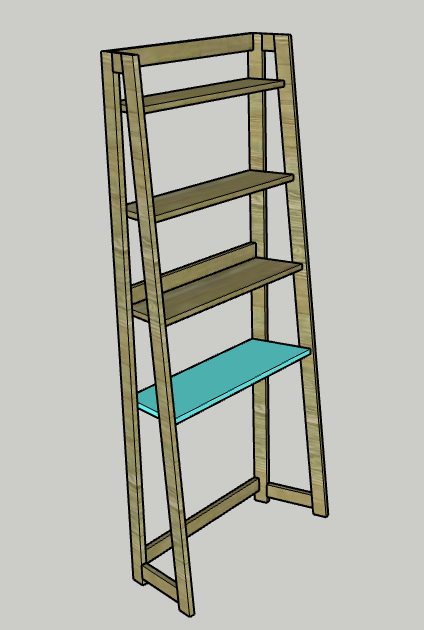
Attach second shelf
Using wood glue and pocket hole screws, attach the Second Shelf between the two sides 48" from the bottom. Start by attaching on the Back Posts and ensure the shelf is level.

-
Attach third shelf
Using wood glue and pocket hole screws, attach the Third Shelf between the two sides 36 1/4" from the bottom. The shelf should be lined up directly under the middle Back Support. Start by attaching on the Back Posts and ensure the shelf is level.
-
Attach fourth shelf
Using wood glue and pocket hole screws, attach the Fourth Shelf between the two sides 24 1/2" from the bottom. Start by attaching on the Back Posts and ensure the shelf is level.
-
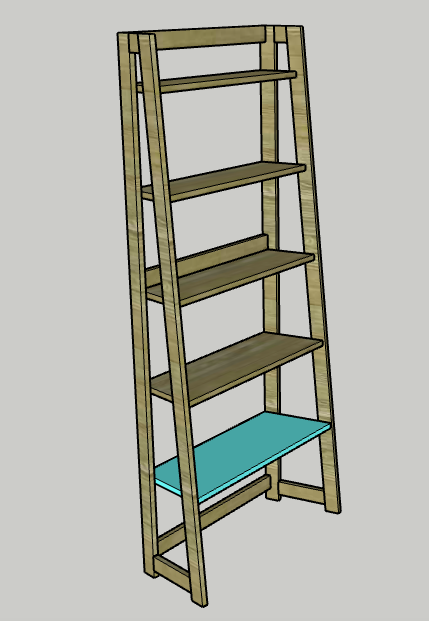
Attach fifth shelf
Using wood glue and pocket hole screws, attach the Fifth Shelf between the two sides 12 3/4" from the bottom. Start by attaching on the Back Posts and ensure the shelf is level.
-
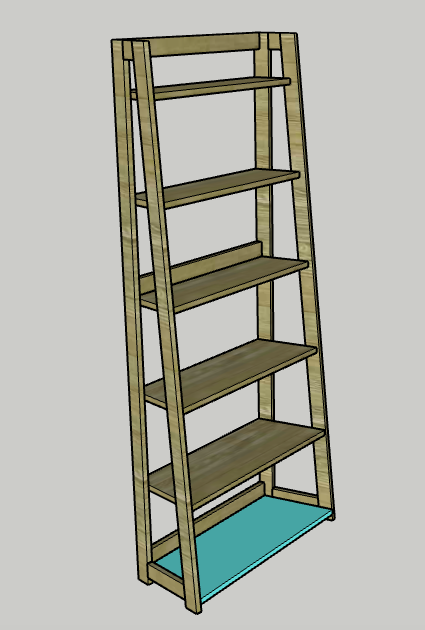
Attach bottom shelf
Using wood glue and pocket hole screws, attach the Bottom Shelf between the two sides 1" from the bottom. It should align with the bottom of the Lower Side Supports and be under the bottom Back Support. Start by attaching on the Back Posts and ensure the shelf is level.
-
Enjoy
Enjoy your handiwork and tag @CharlestonCrafted on Instagram with a picture!