

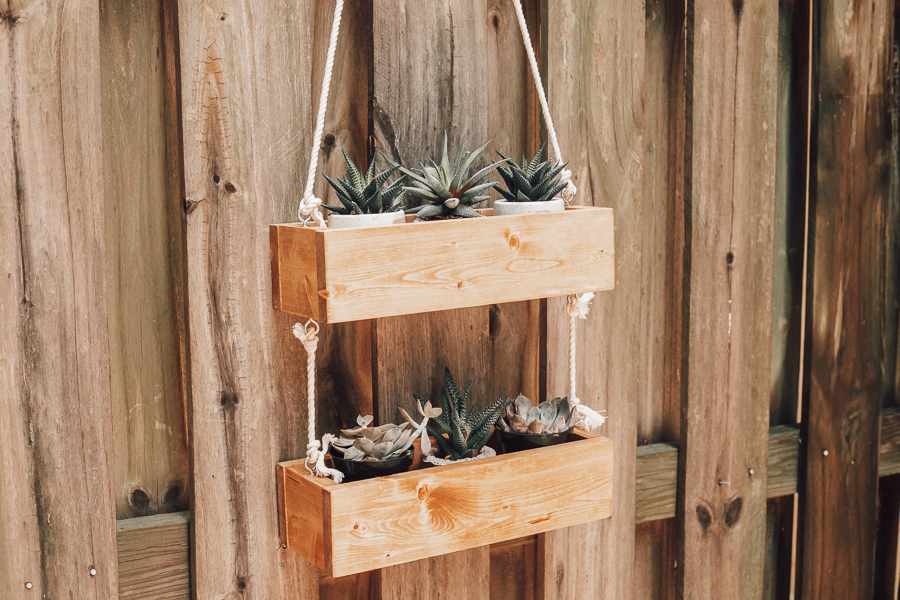
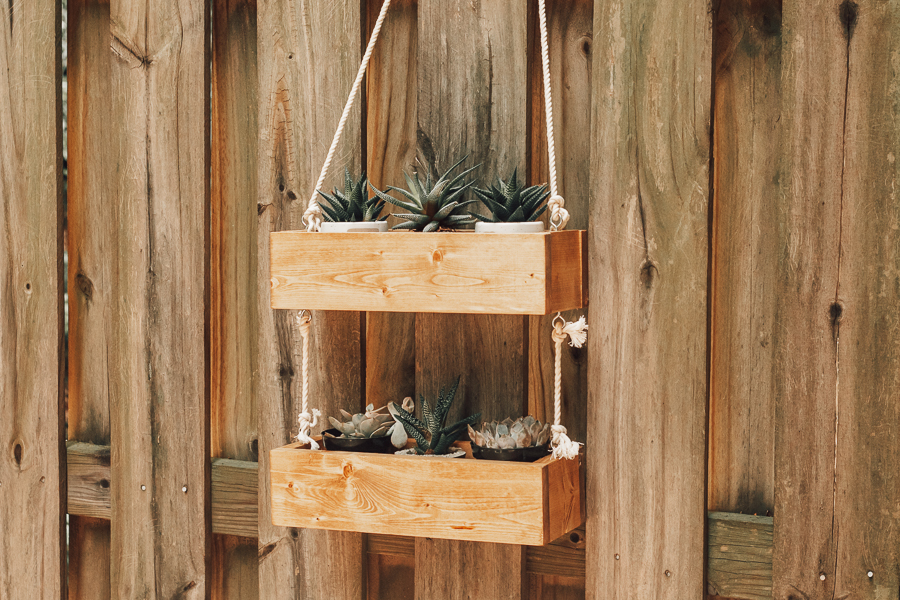


This 2 tier wooden hanging planter can be used indoors or outdoors and can be modified to whatever length you choose.
Tools
Kreg Tools


Other Tools
-
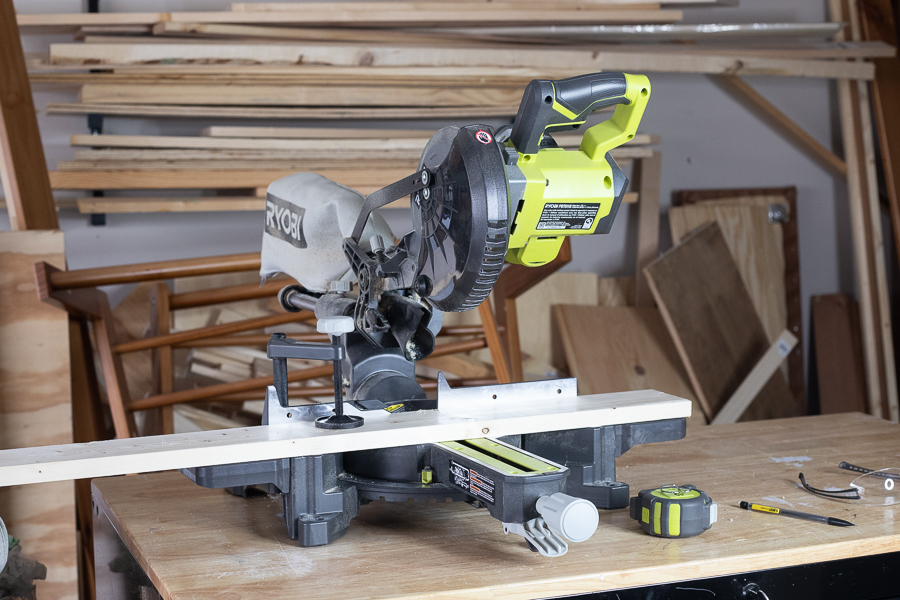
Saw

Materials
Wood Products
- 2 1x4 Boards , 1x4x6
Hardware & Supplies
- 16 1 1/4" Pocket Hole Screws
- 6 1 1/2" Screw Eyes
- 1 6 ft long 1/2" thick Cotton Rope
- 1 Stain or Paint
- 6 Succulents or Small Plants
Directions
-
Cut Your Wood
Cut your 1x4 boards to the specified dimensions. You can modify the length of the bottom pieces if you'd like your planter to be longer or shorter than this.
-
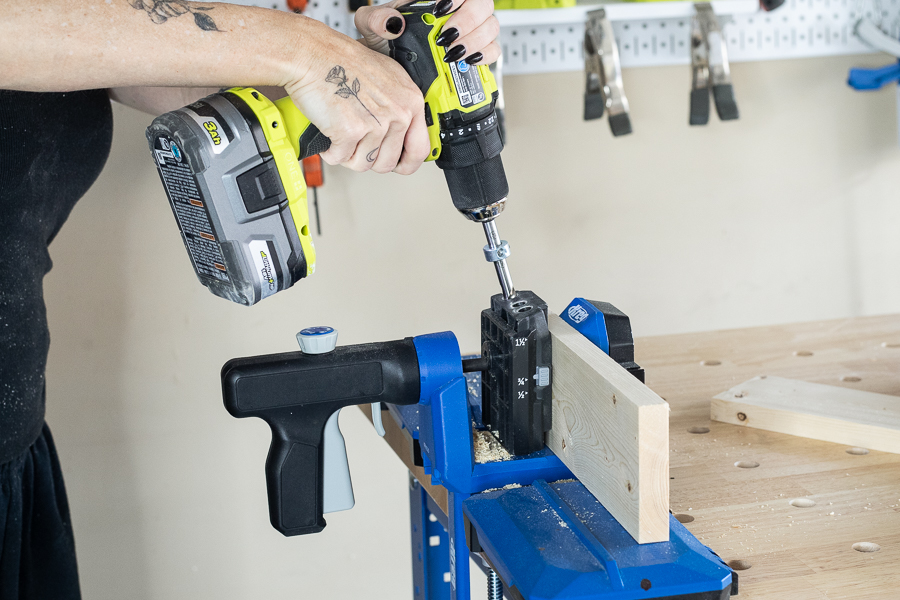
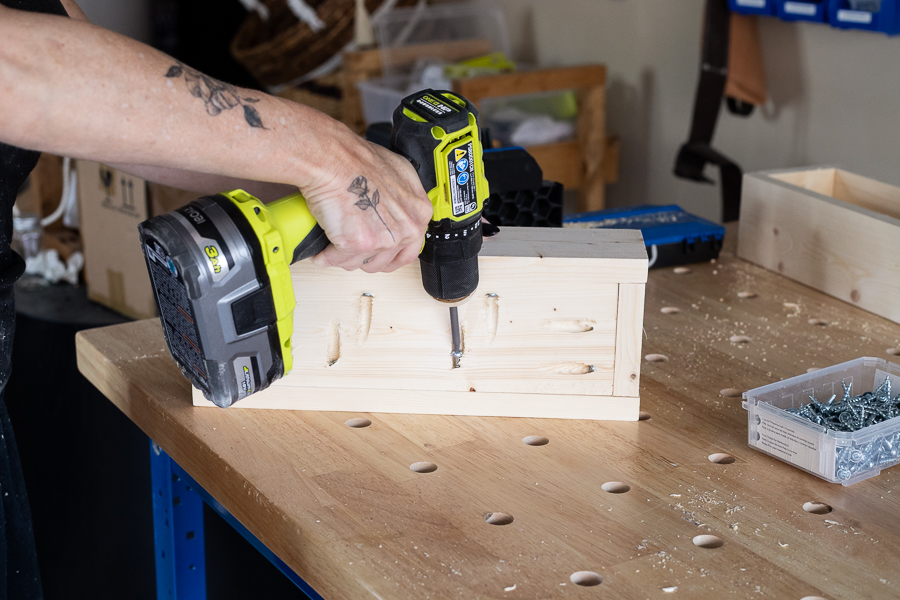
Drill Pocket Holes
Drill 2 pocket holes along each side of your 12" long bottom pieces (you will have to stagger them slightly on each side), and 2 pocket holes at both ends as well.
-
Sand
Sand everything smooth, getting rid of any jagged edges.
-
Assemble 2 Boxes
Attach your ends and side pieces (ends first) using 1 1/4" pocket hole screws. Assemble so the pocket holes are on the bottom of the box, as you won't be able to fit your drill inside if you attach them facing up. If you'd prefer to have them hidden, I recommend using pocket hole plugs to camouflage them. Also, if your ends don't fit snugly enough, you can reinforce them by brad nailing them from the front and back (optional, I did not need to do this).
-
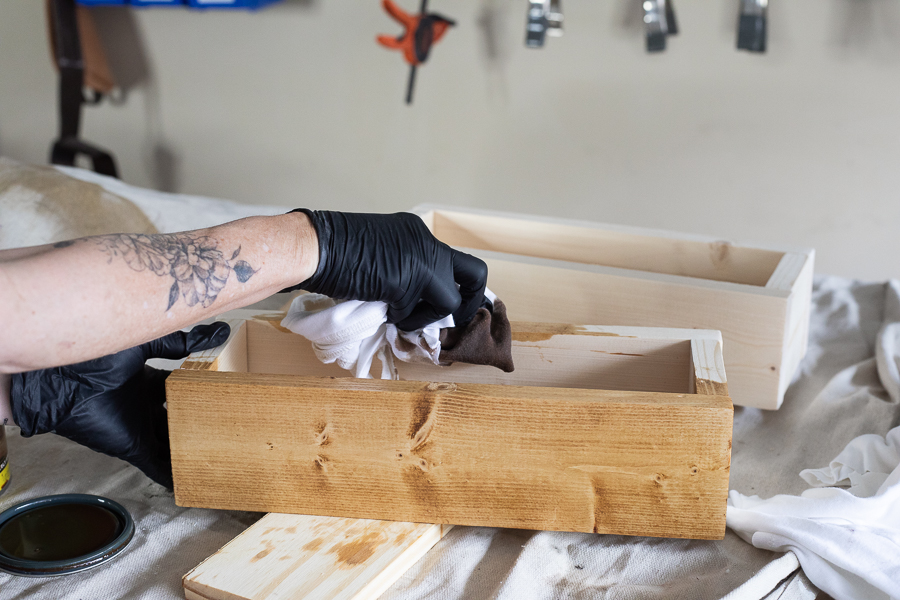
Stain or Paint
Stain your boxes, and be sure to seal them with a spar urethane to waterproof them if you plan on using them outdoors.
-
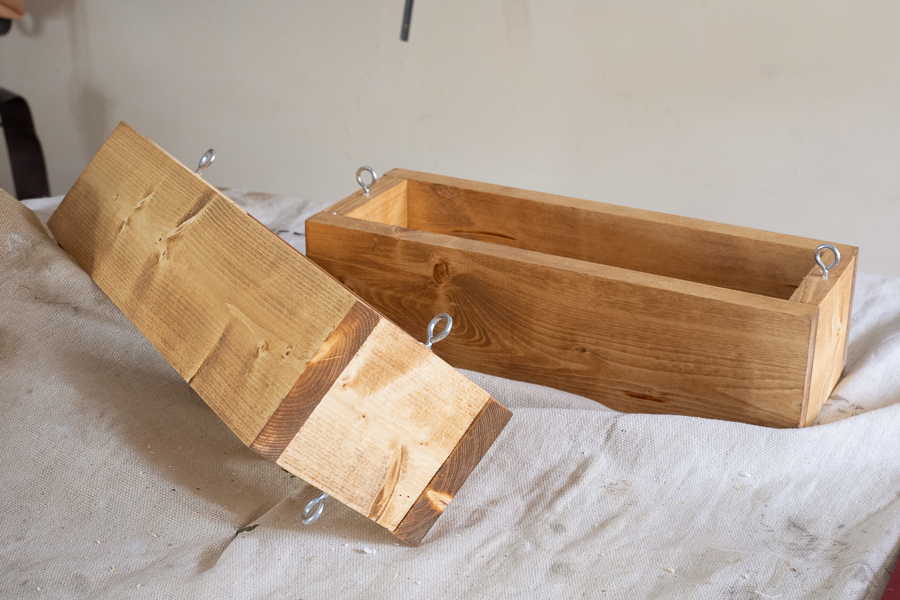
Add Screw Eyes
Pre-drill holes and add screw eyes to the center of each side edge. You will add them to the top of one box, and then the top and bottom of your other box. You will attach the rope to these which will allow you to hang them.
-
Attach Rope
Tie your rope to the screw eyes using very tight knots. You can make your rope any length you choose. For these, the rope attaching the boxes to each other is 12" long, and the rope attached to the top box is about 2 1/2 feet long.

-
Add Plants
I added some small succulents, but you can add any small plants that you choose.