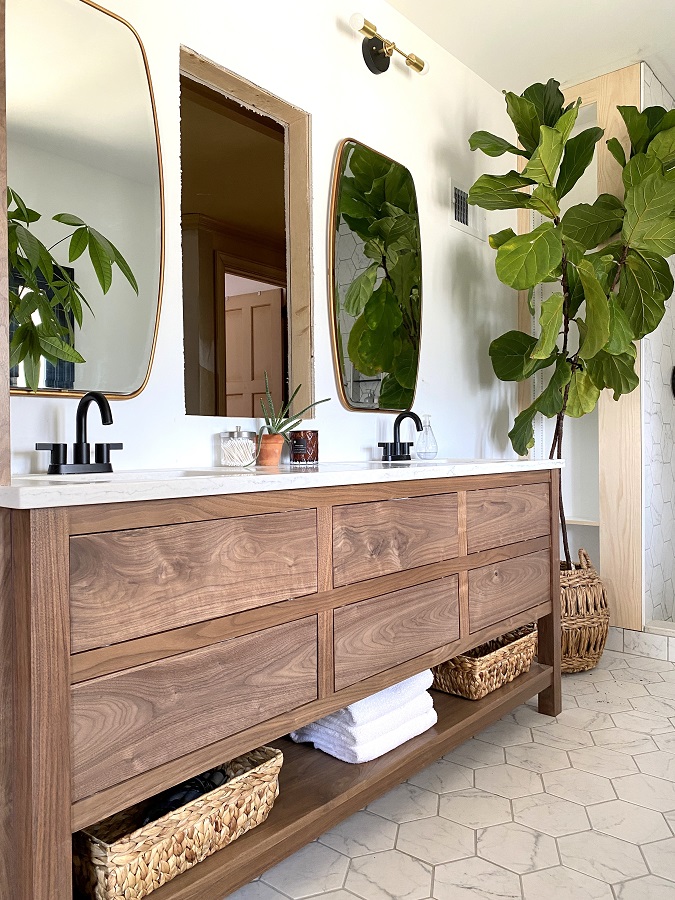


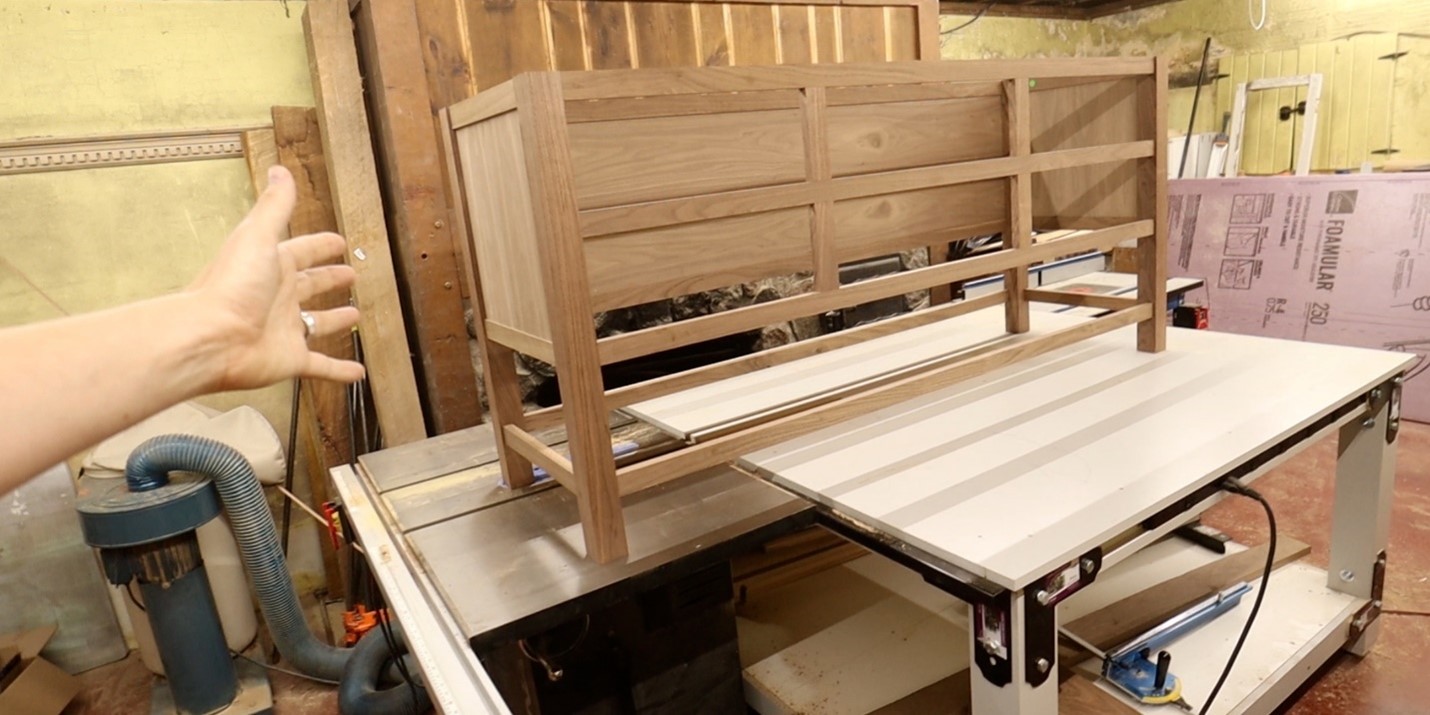
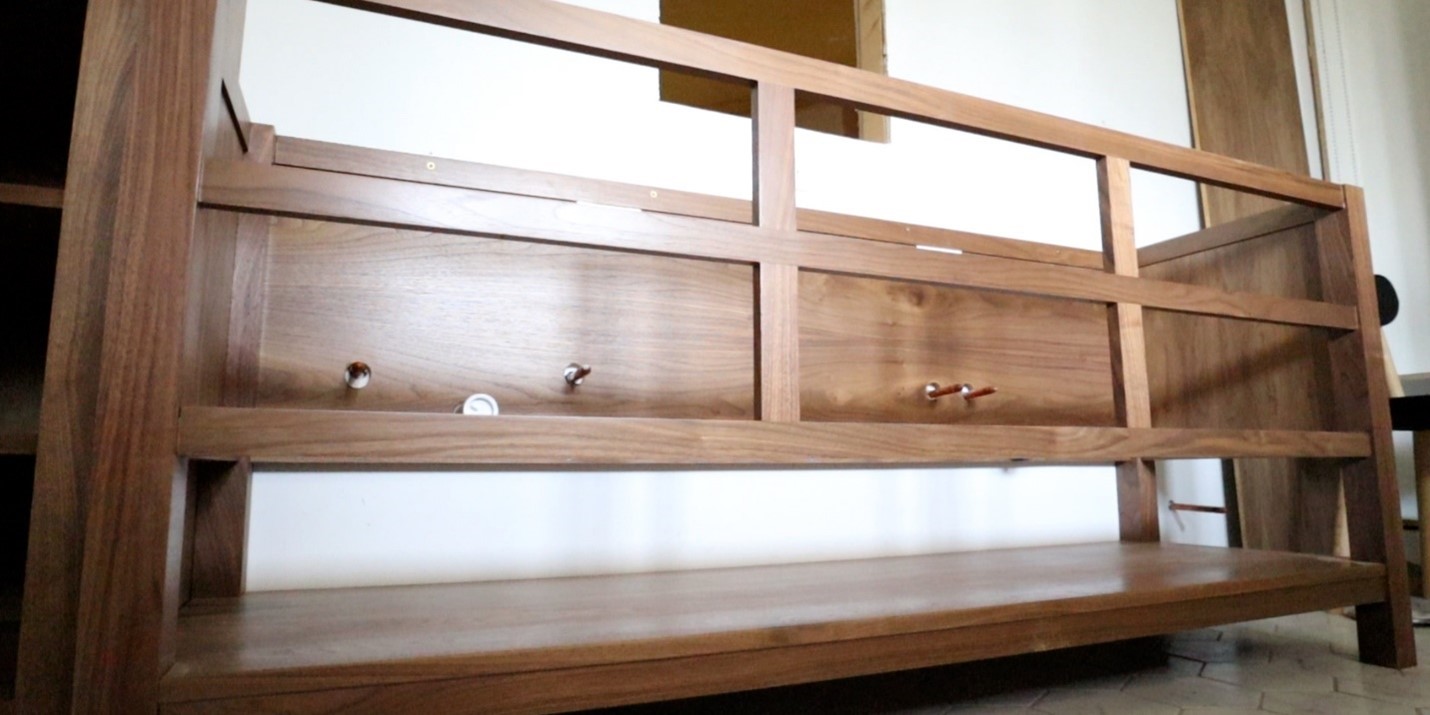
This custom walnut vanity has a definitely luxurious feel with its rich walnut wood grain, double sink, and 6 spacious drawers for ample storage. The long bottom shelf can be used for storing towels and/or baskets with items tucked inside. This is a build you'll be proud of!
Tools
Kreg Tools


Other Tools
-
Table Saw

-
60 T ATB Blade
-
Dado Stack
-
Track Saw
-
Mortiser
-
3/8" Chisel
-
Planer
-
¼” Spiral upcut blade
-
Chisels
-
Mallet
Materials
Wood Products
- 1 Walnut boards (see dimensions) , 12/4 , 10.25 Bd FT
- 1 Walnut boards (see dimensions) , 4/4 , 30.89 Bd FT
- 1 Plywood sheet , 1/2" Walnut (MDF Core)
Hardware & Supplies
- 1 Stain/finish
Directions
-
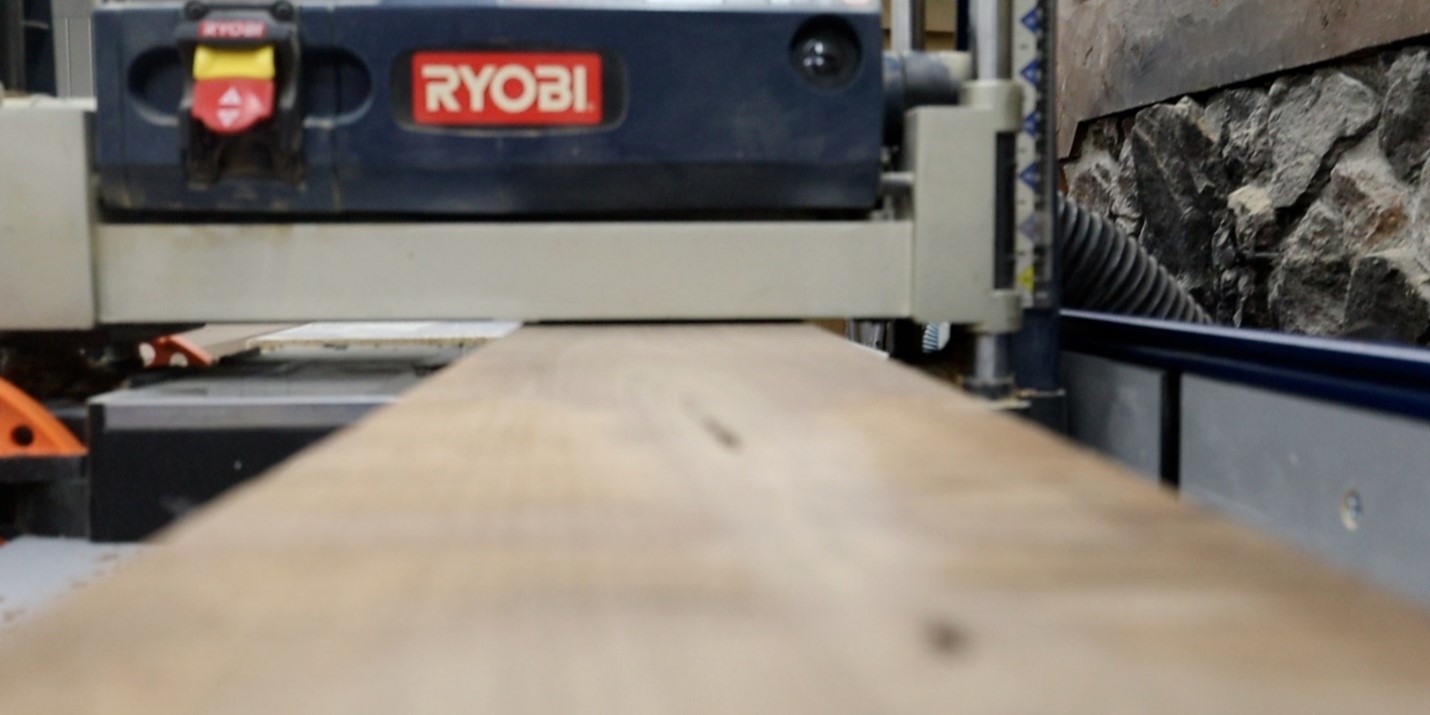
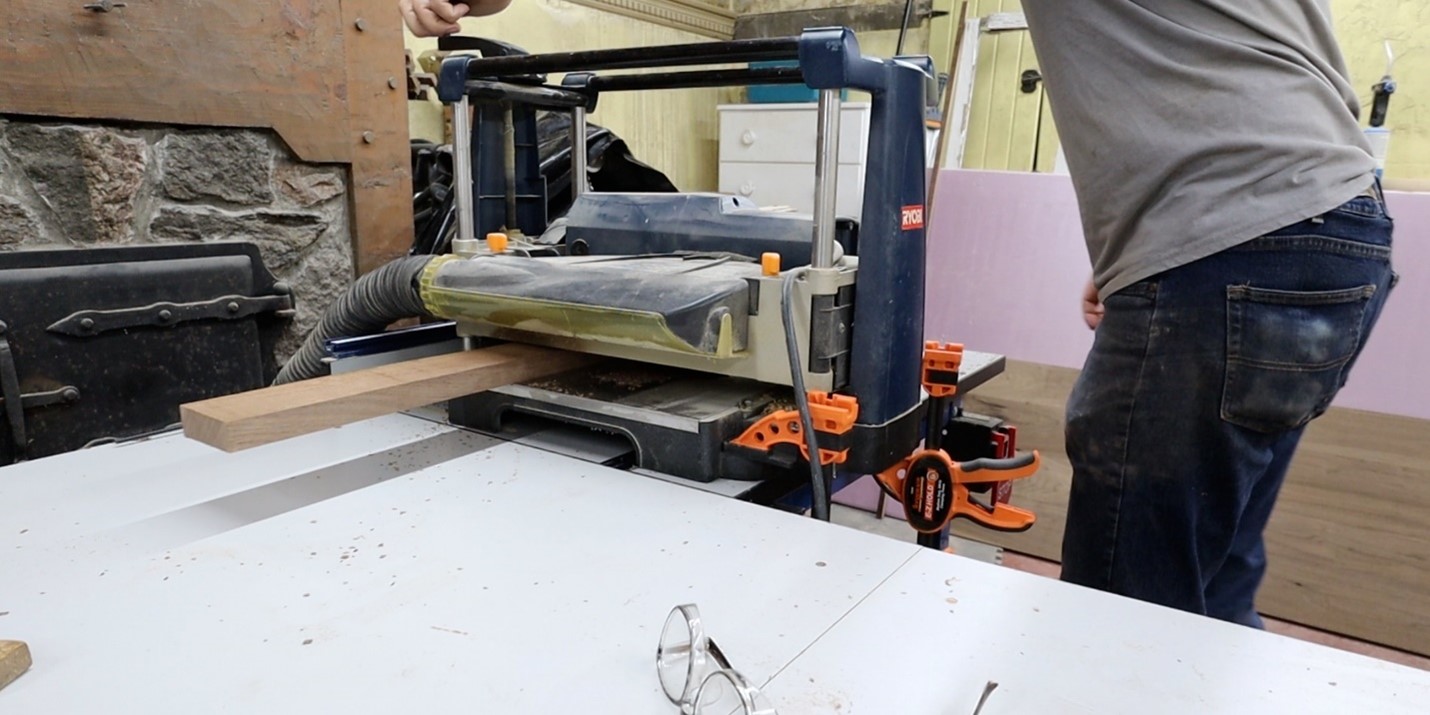
Prep lumber
Plane all the rough lumber to desired thickness.
-
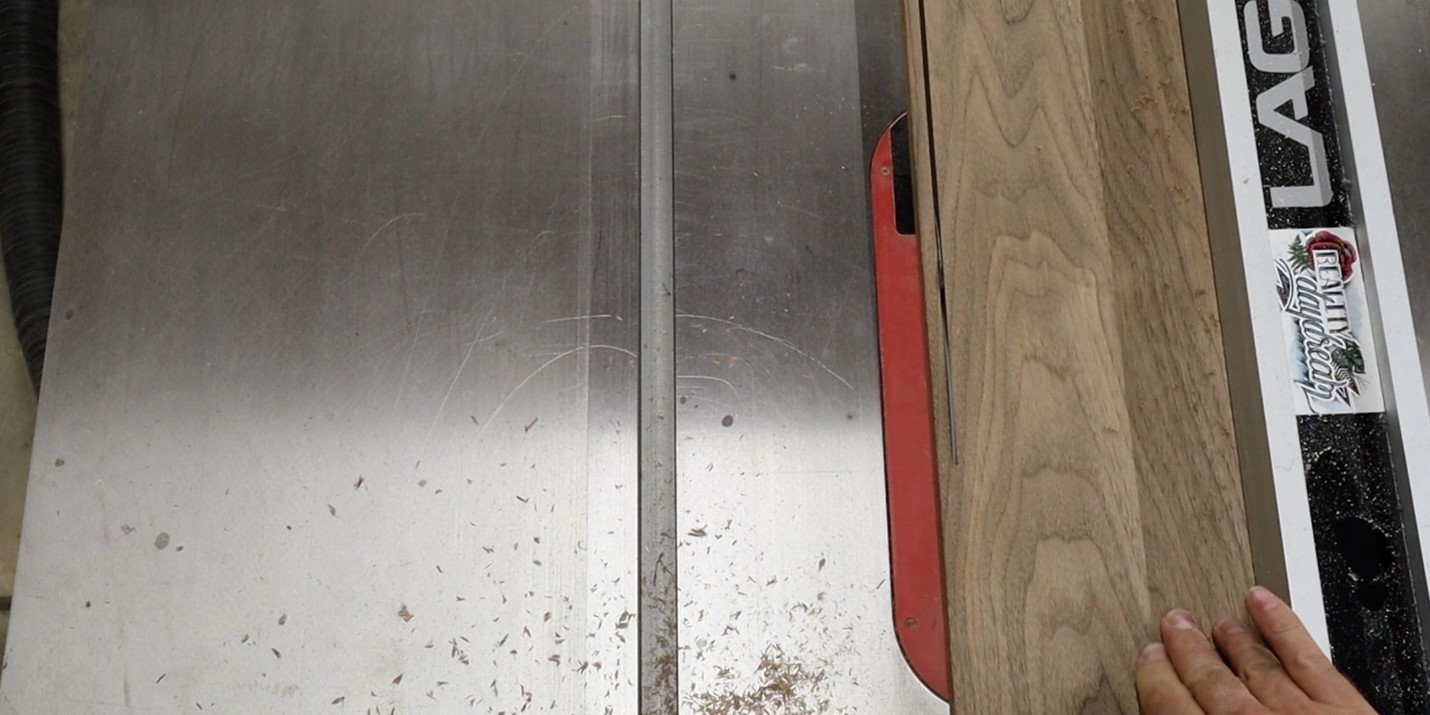
Rip 4/4 walnut pieces
Rip all the parts from the 4/4 Walnut. We first identified what boards would be the straightest for our Front Rails, then Back Rails. The rest of the parts are short enough that we were not terribly concerned.
-
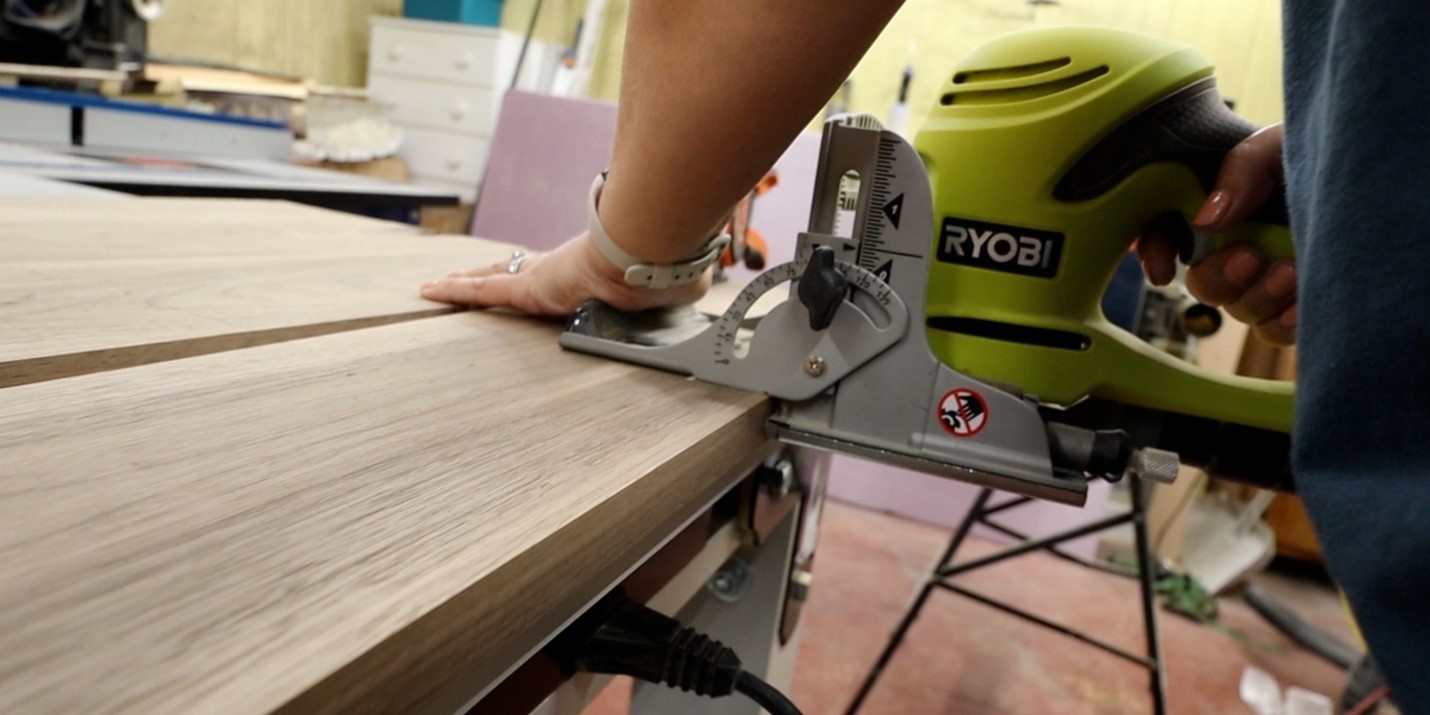
Machine biscuits
We then identified what boards we would use for our bottom shelf and machined biscuits slots to keep things aligned during our glue up.
-
Glue boards and scrape off excess
After the glue set up on our bottom board glue up, we took a hook scraper and scraped off any glue squeeze out. It is good to do this about 20 mins after the glue up.

-
Rip and plane legs
While she was machining biscuits slots, I ripped and planed our legs down to size.
-
Cut stiles
We were able to use a scrap from ripping the legs down for the stiles. This required us to get the planer back out, but we were happy to be able to get all the stiles out of one piece instead of using smaller scraps or having to cut into another board.
-
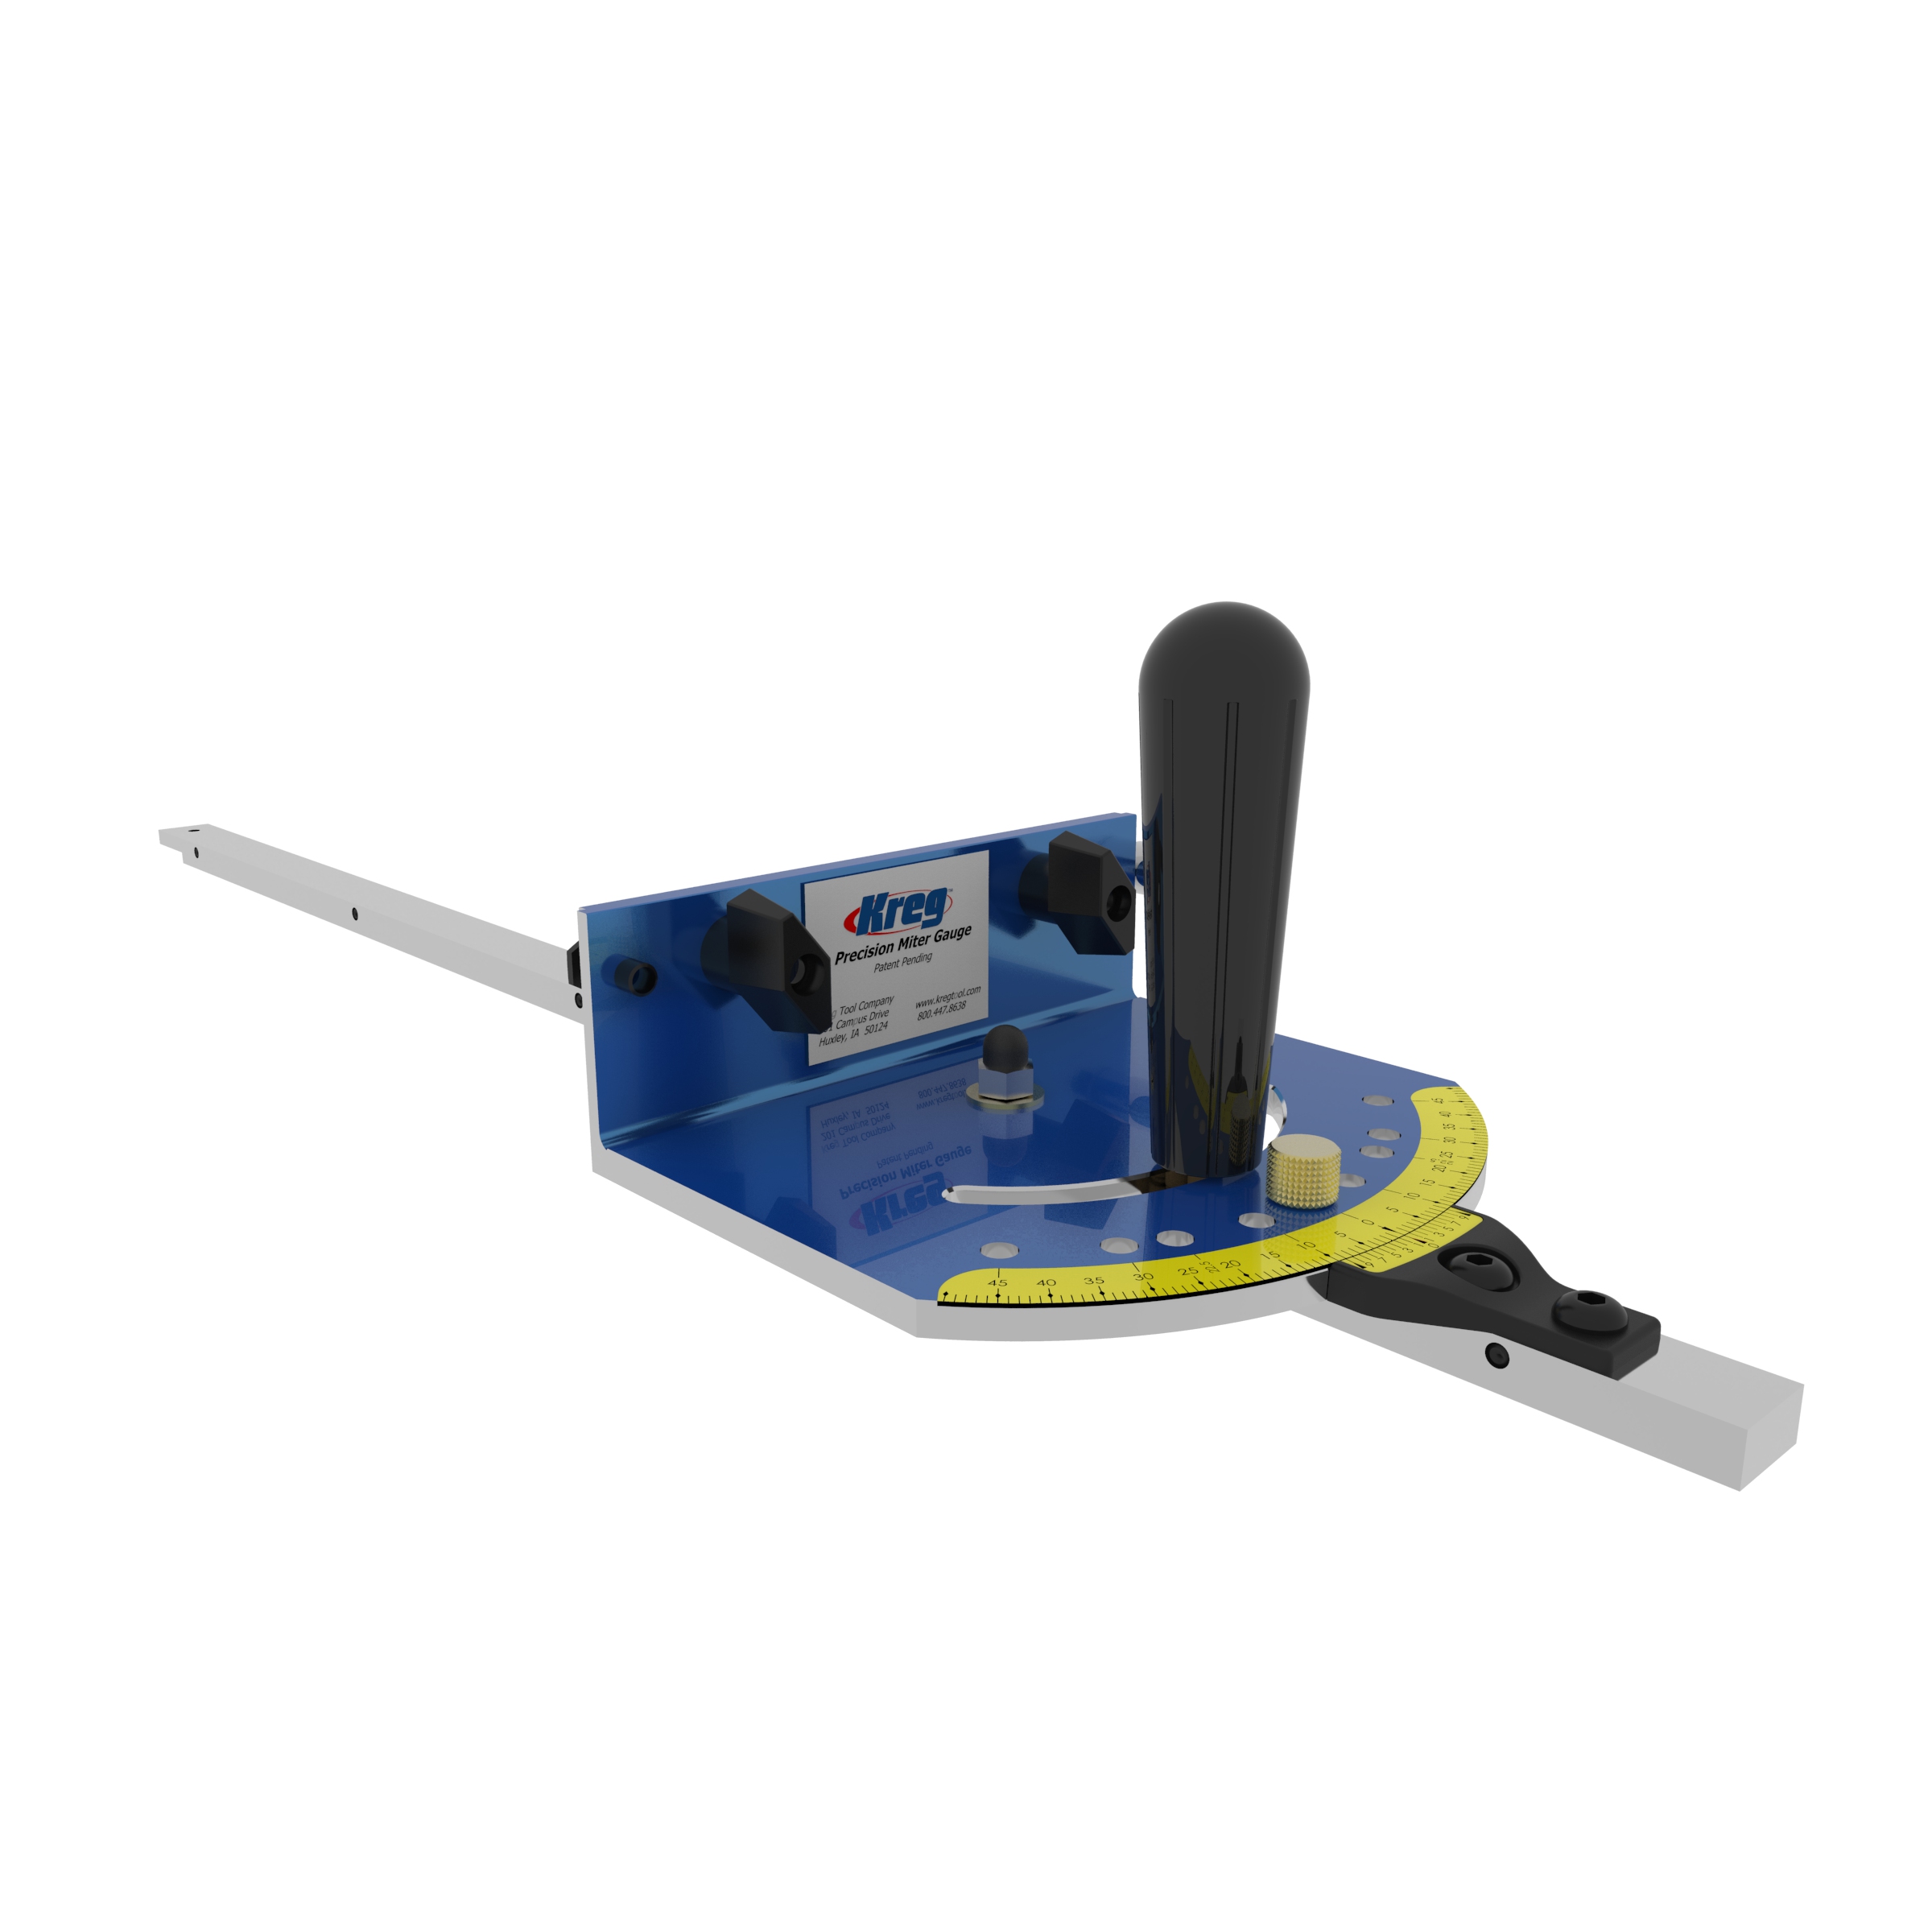
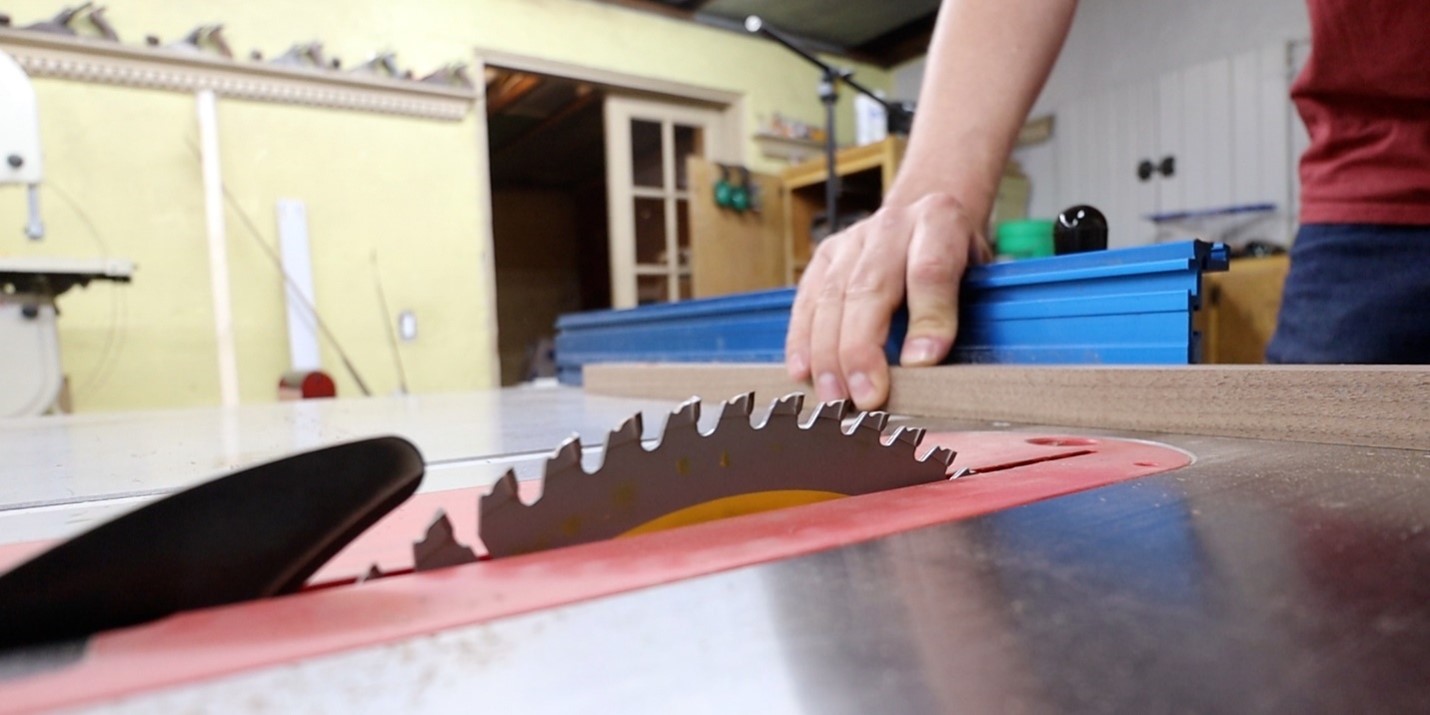
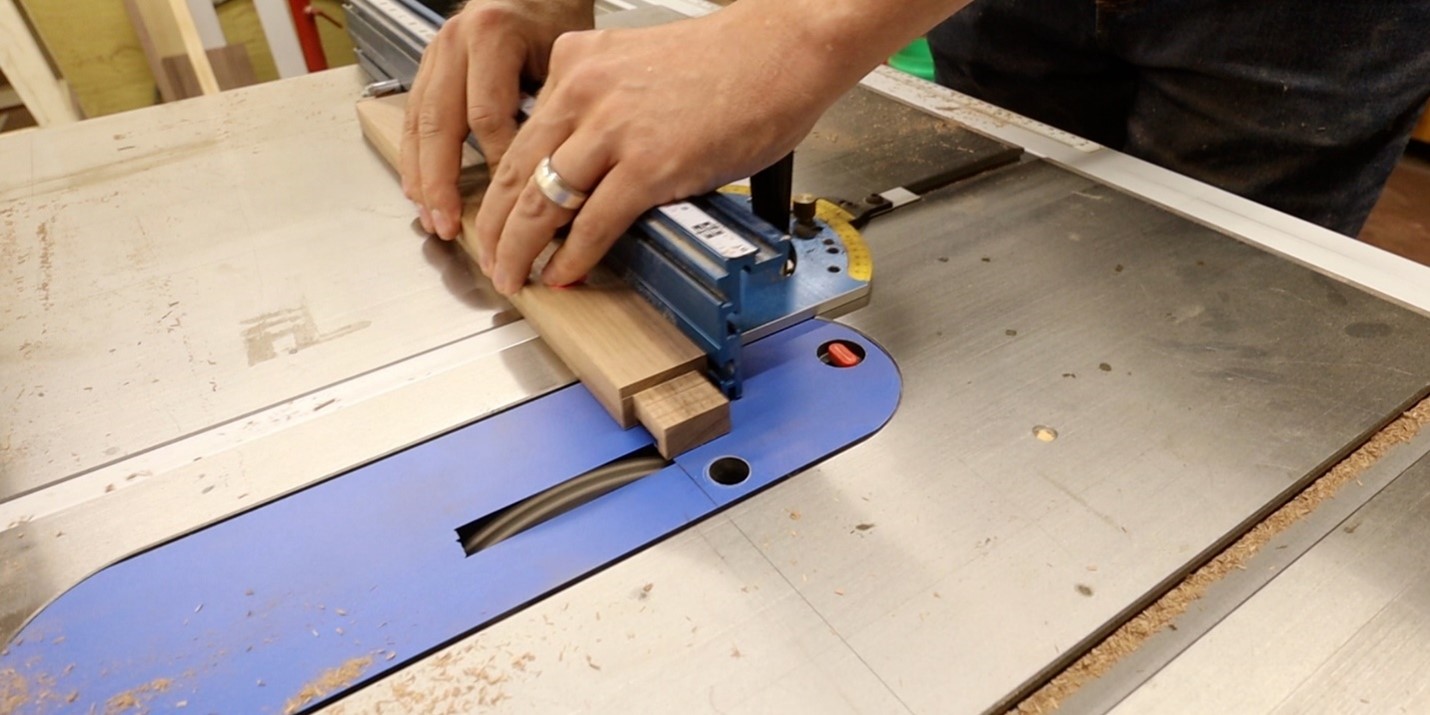
Cross cut boards to length
We then Cross Cut the boards to length using the Kreg’s Precision Miter gauge.
-
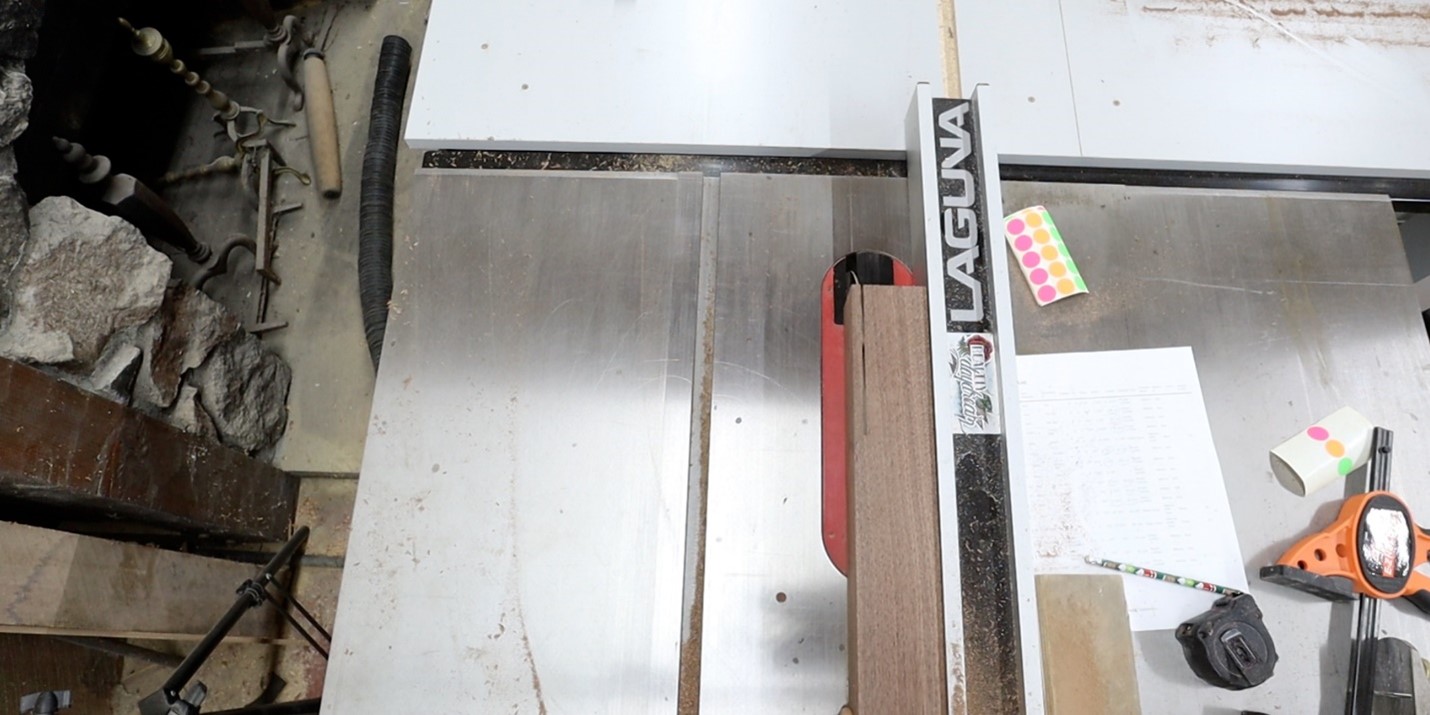
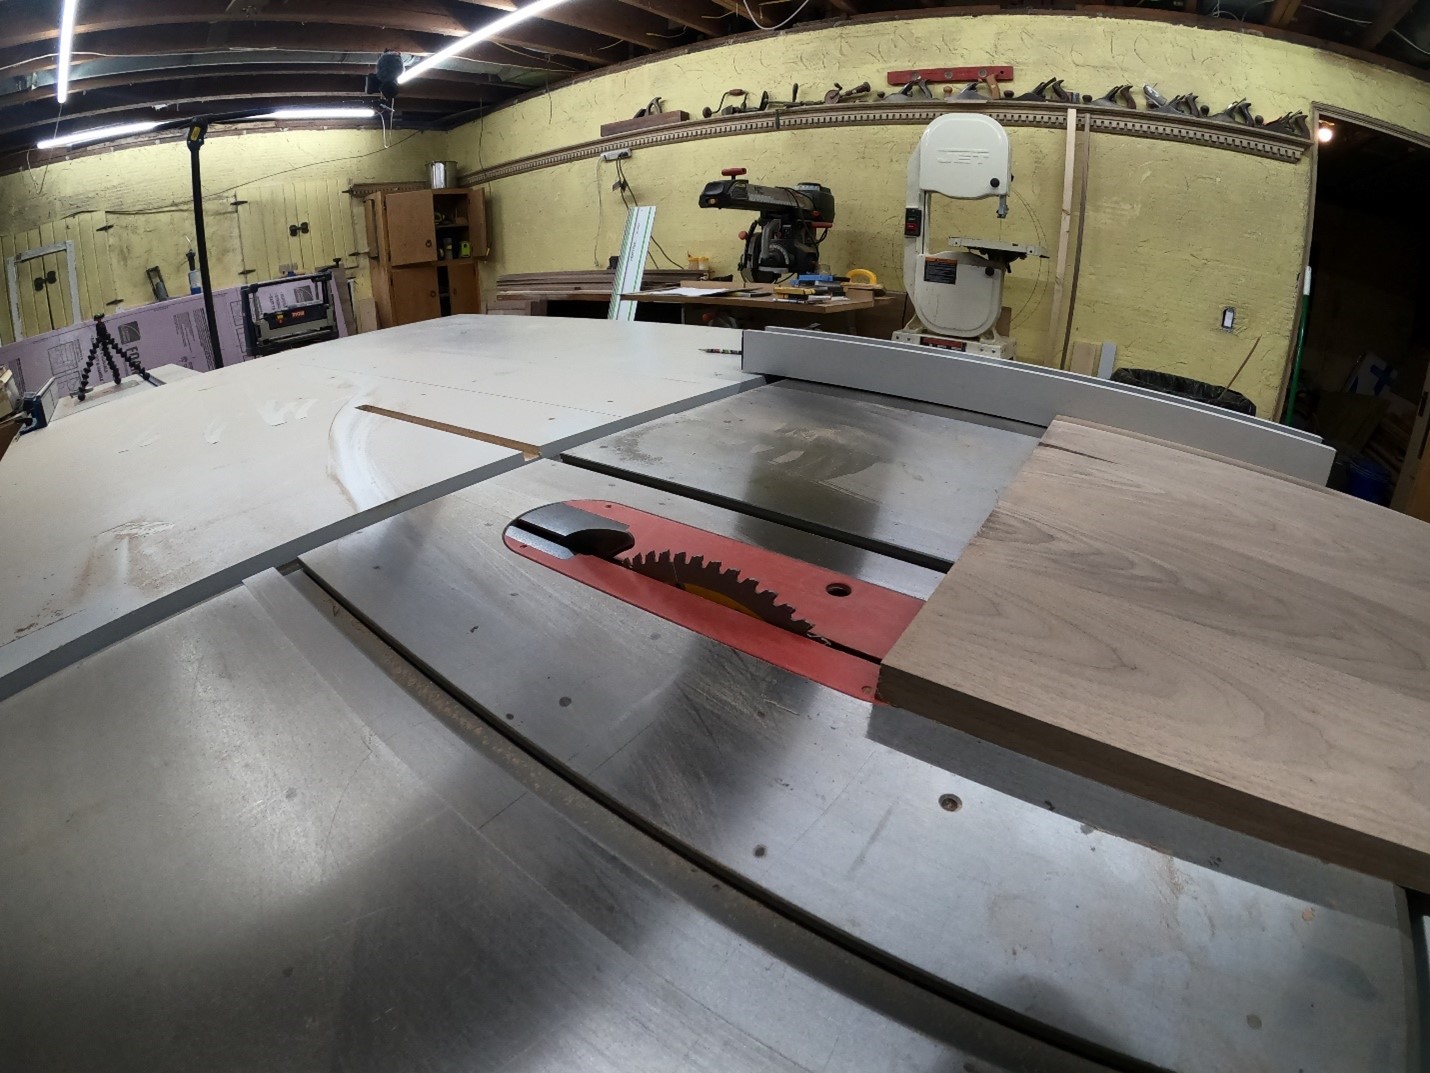
Ensure legs are the same length
To make sure that the legs were all the same length we used the Table saw fence with a scrap of wood clamped to the fence. It is important that the scrap ends before the blade, this will prevent the wood from binding between the blade and the fence.
-
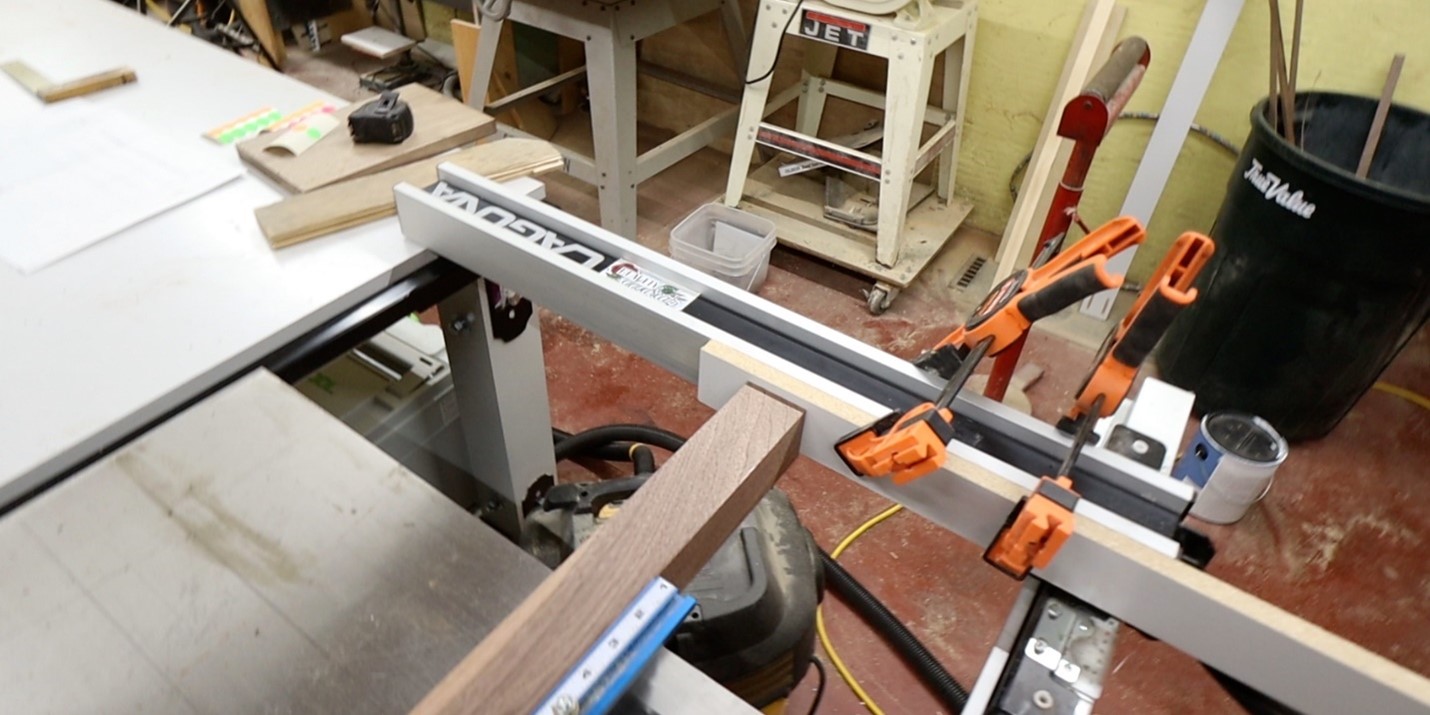
Break down plywood
We then used a track saw the break the plywood down.

-
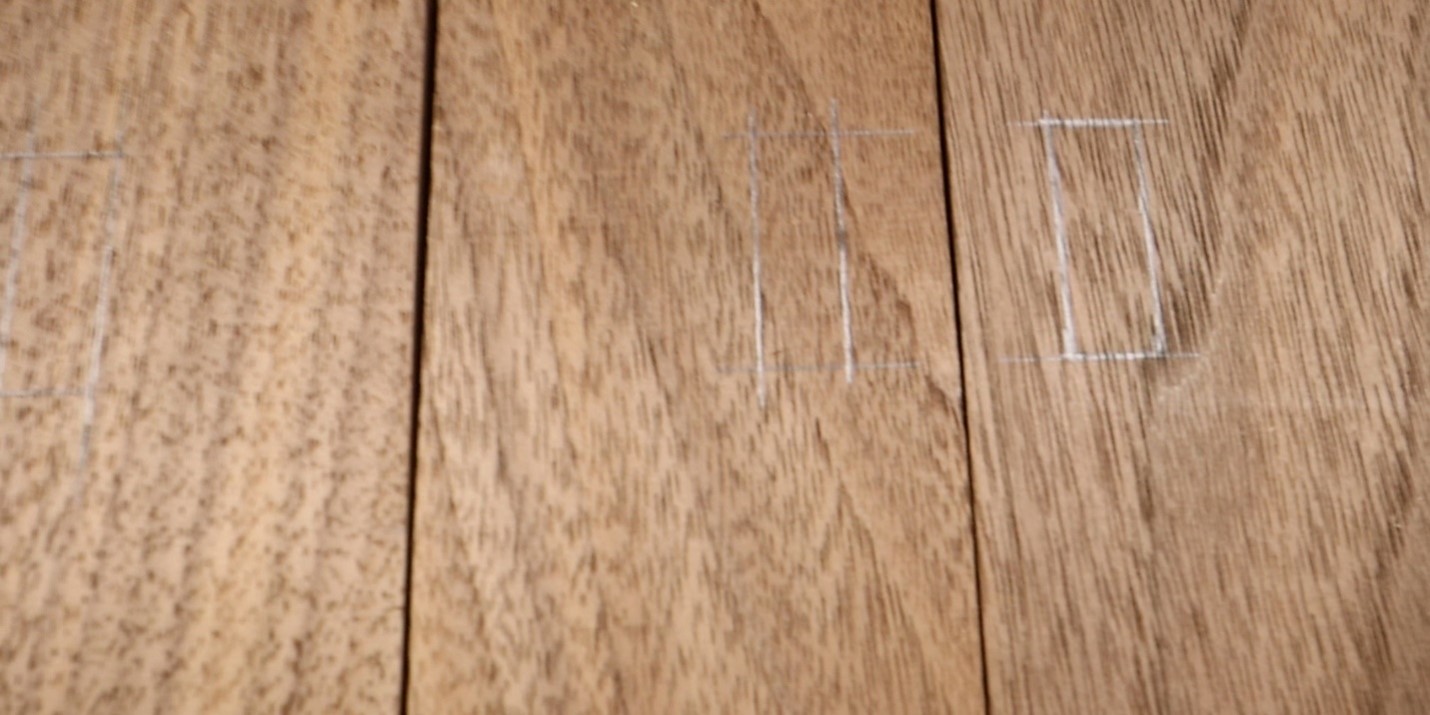
Locate places for mortises on legs
We laid out where all the mortises would be located on the legs.
-
Cut grooves in the legs for side panels
Using a Dado blade stacked to 3/8” we cut a groove in the legs, as well as the side and back top and mid rails for the side panels and back panels
-
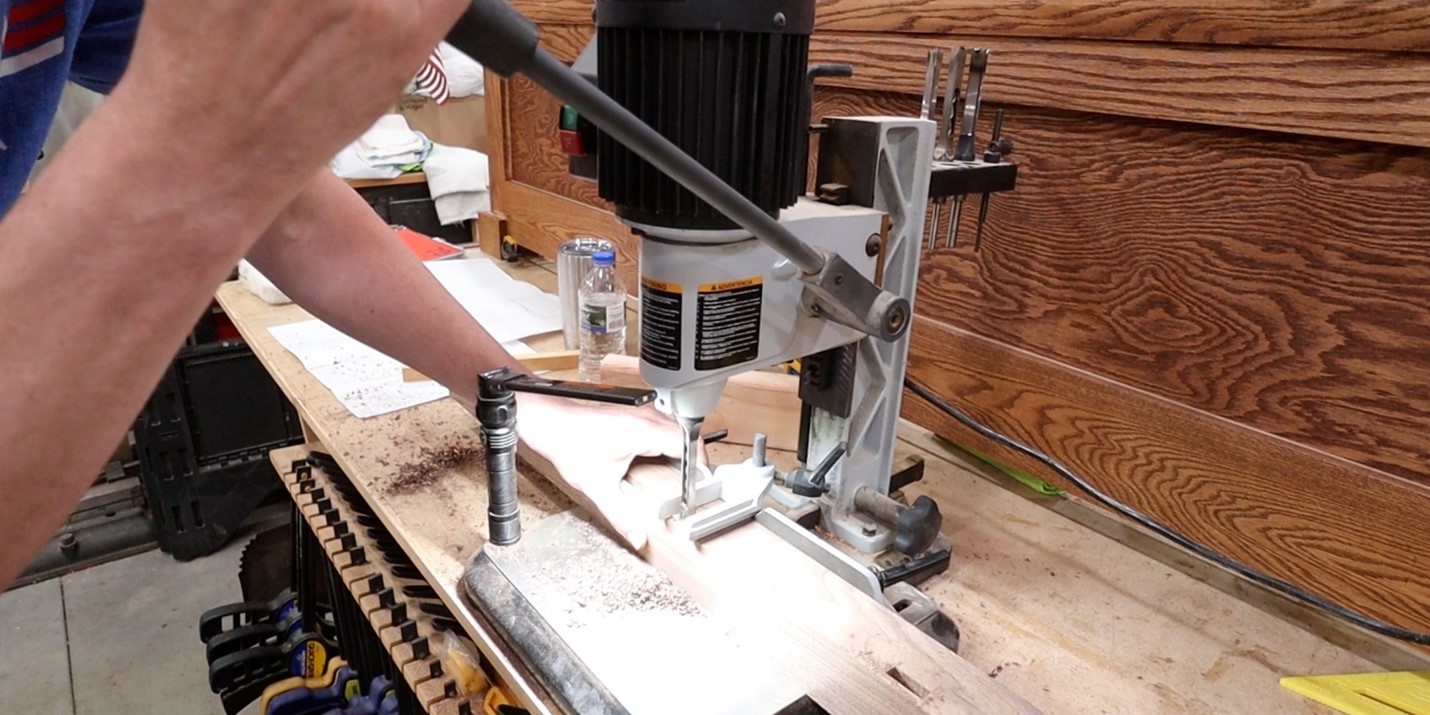
Mortise the legs
Using a mortiser we mortised the required areas in the legs.
-
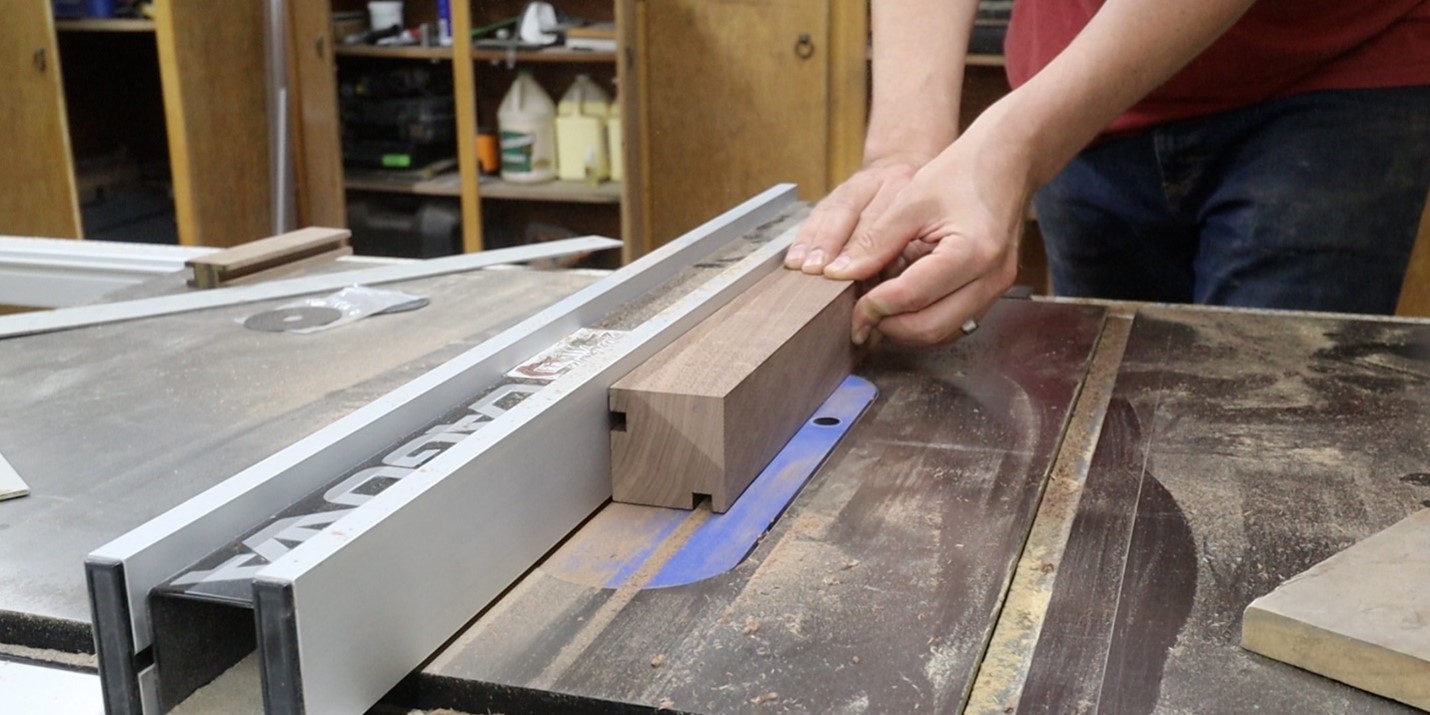
Cut tenons on rails
Using the same dado stack and miter gauge as before we cut the tenons on each of the rails.
-
Adjust the fit of the mortises
We dialed in the fit using a chisel and file
-
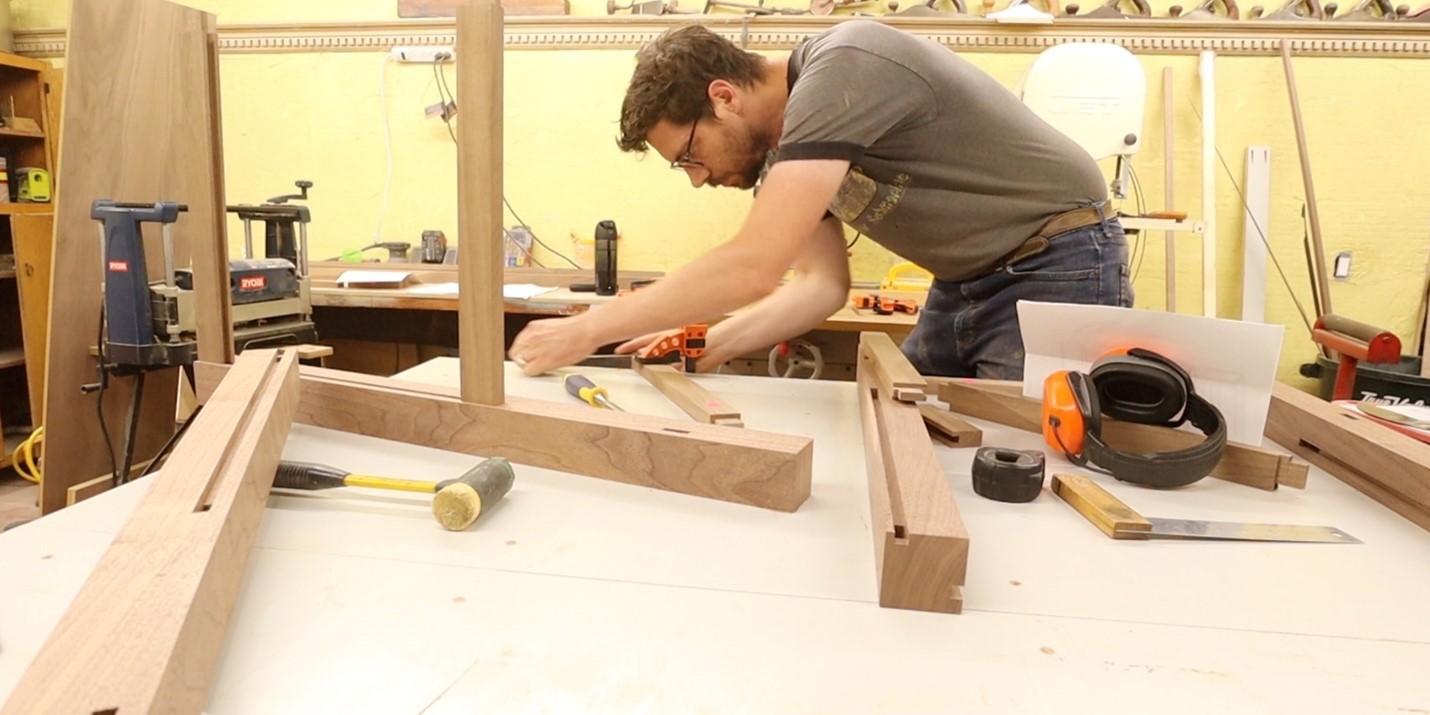
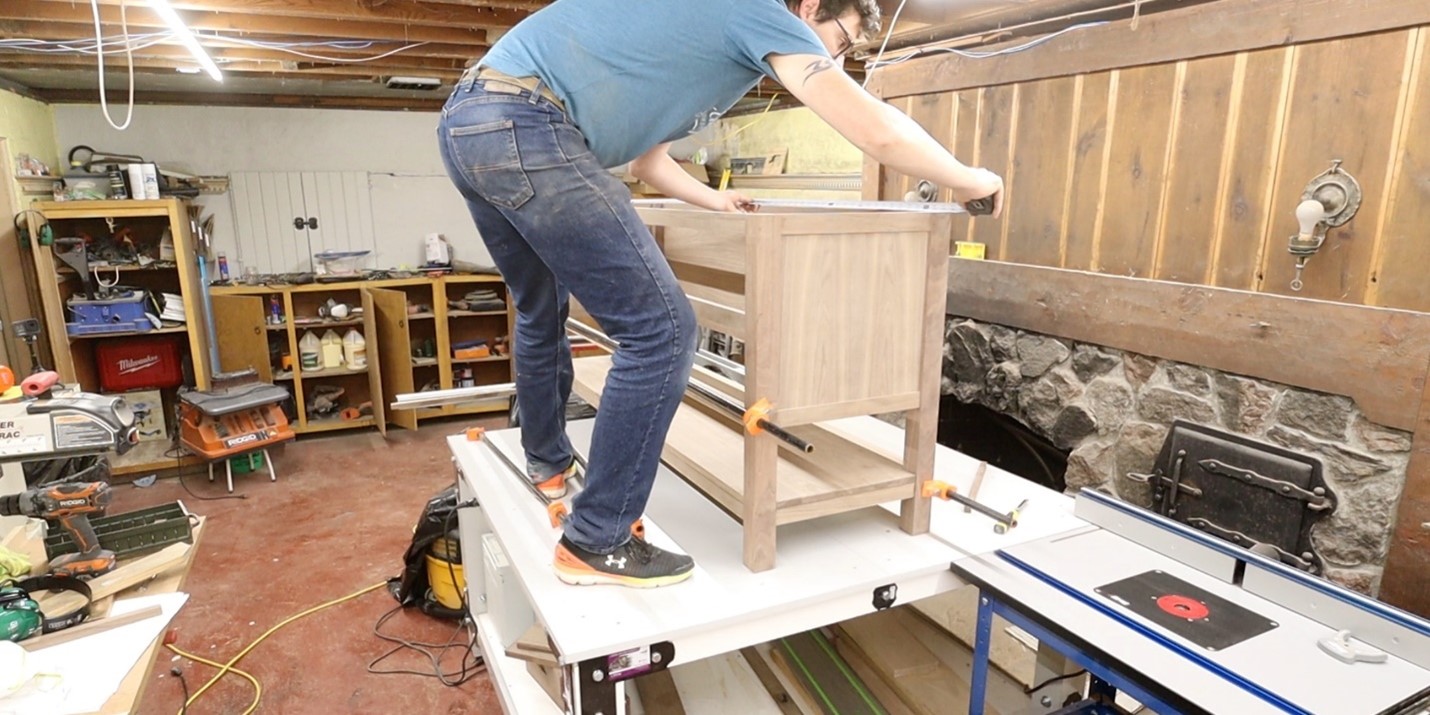
Dry fit your vanity
One of the benefits to mortise and tenon is that you can dry fit everything.
-
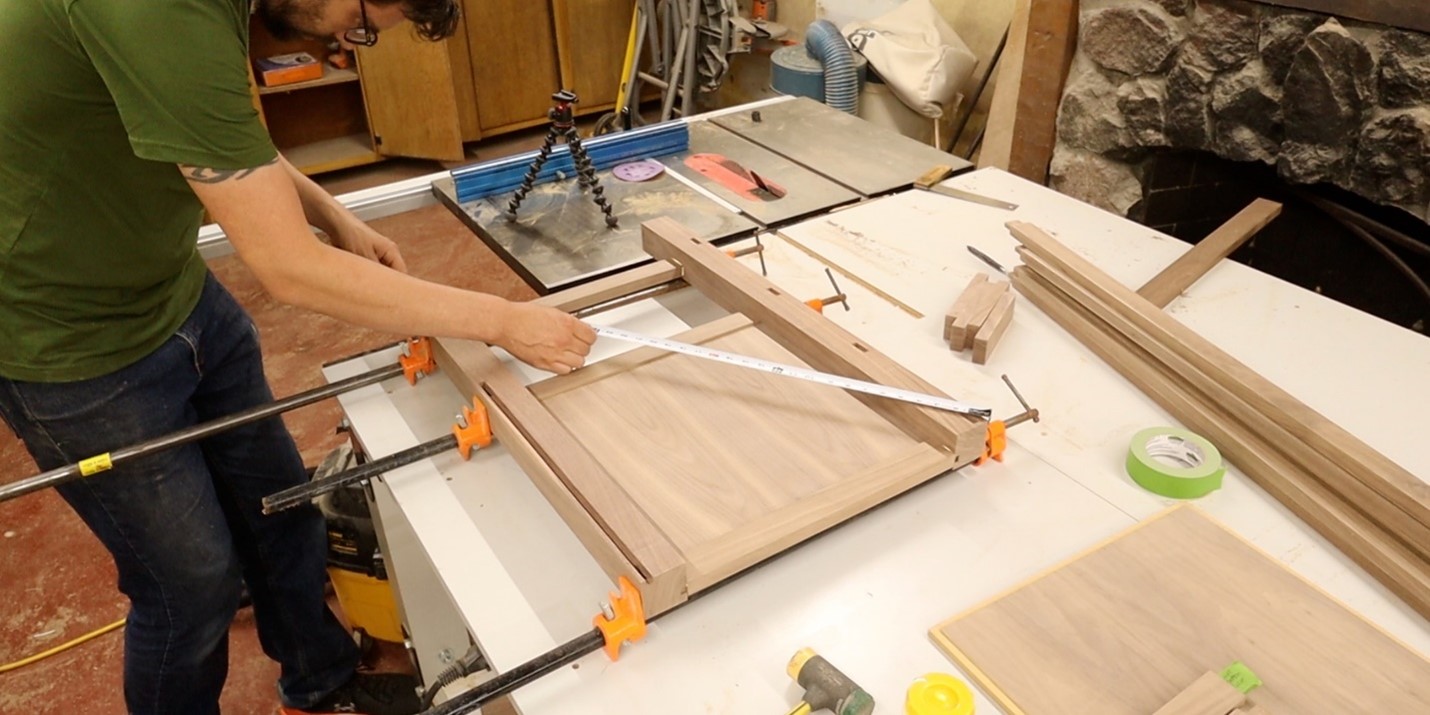
Measure and cut shelves
Now that we know everything fits, we need to measure the as built dimensions for the bottom and middle shelf, then tear it all down and cut the bottom and middle shelf to size.
-
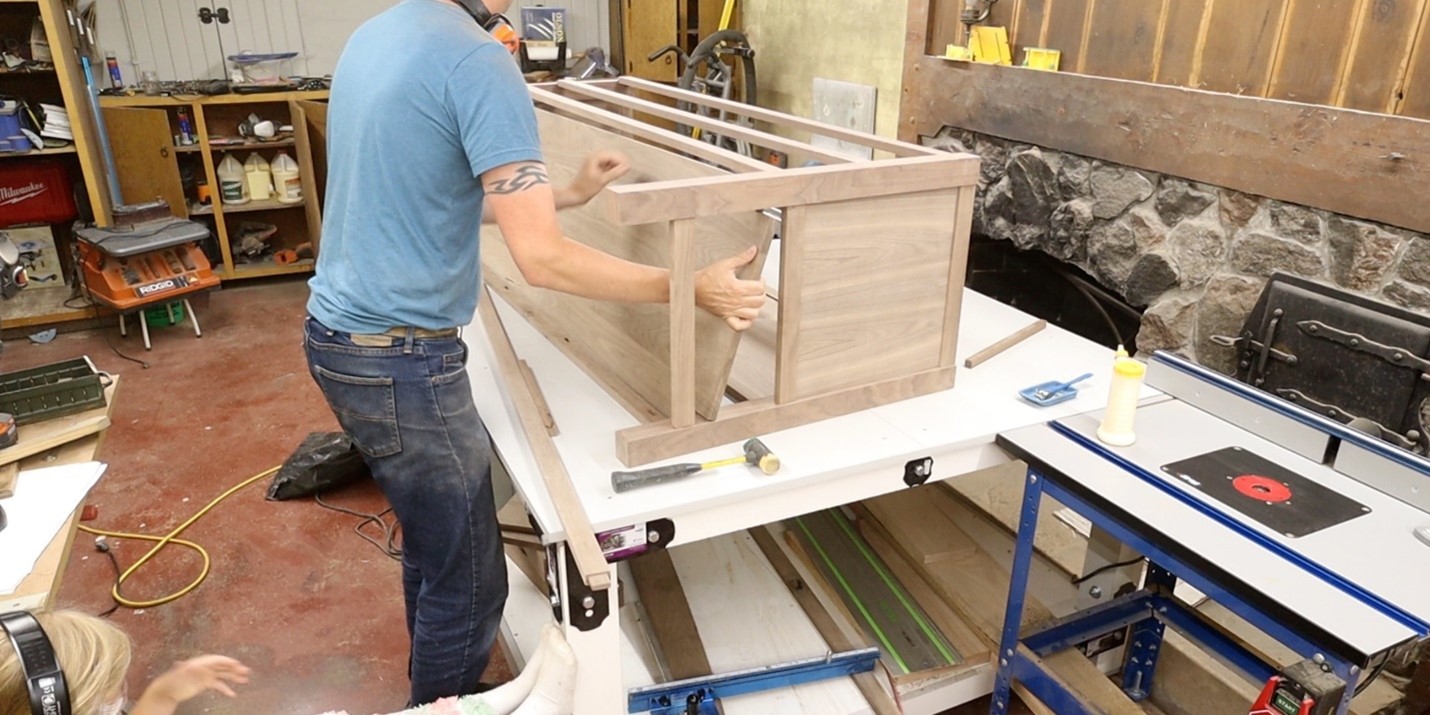
Glue everything together
Time to glue everything up. We glued the sides first making sure everything is square.
-
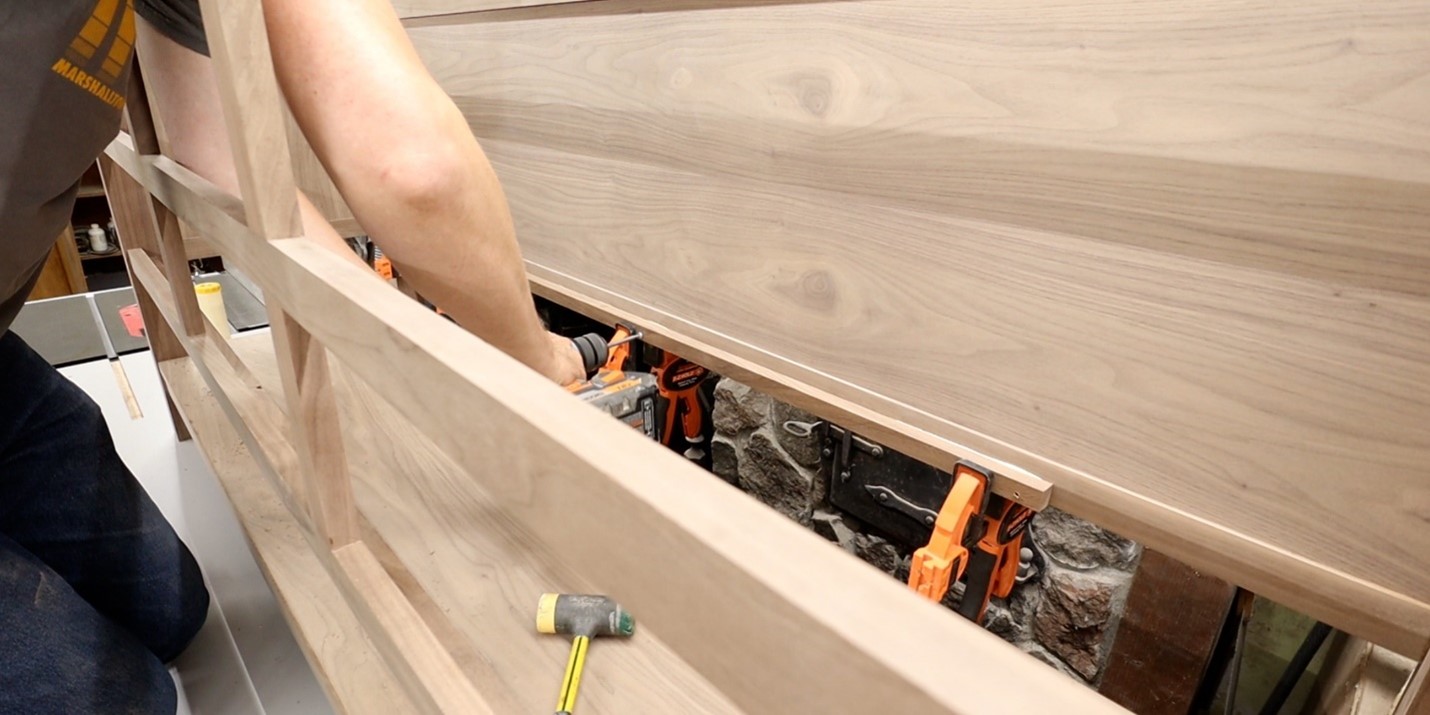
Install bottom shelf
Gluing the rest of the vanity is a little tricky. I probably should find a glue with a little longer open time. I always get stressed when it come to a large glue up when I am dealing with a time limit. One thing to keep in mind is that we need to install the bottom shelf at the time.
-
Check that everything is square
Again, once everything is in clamped, we need to check for square.
-
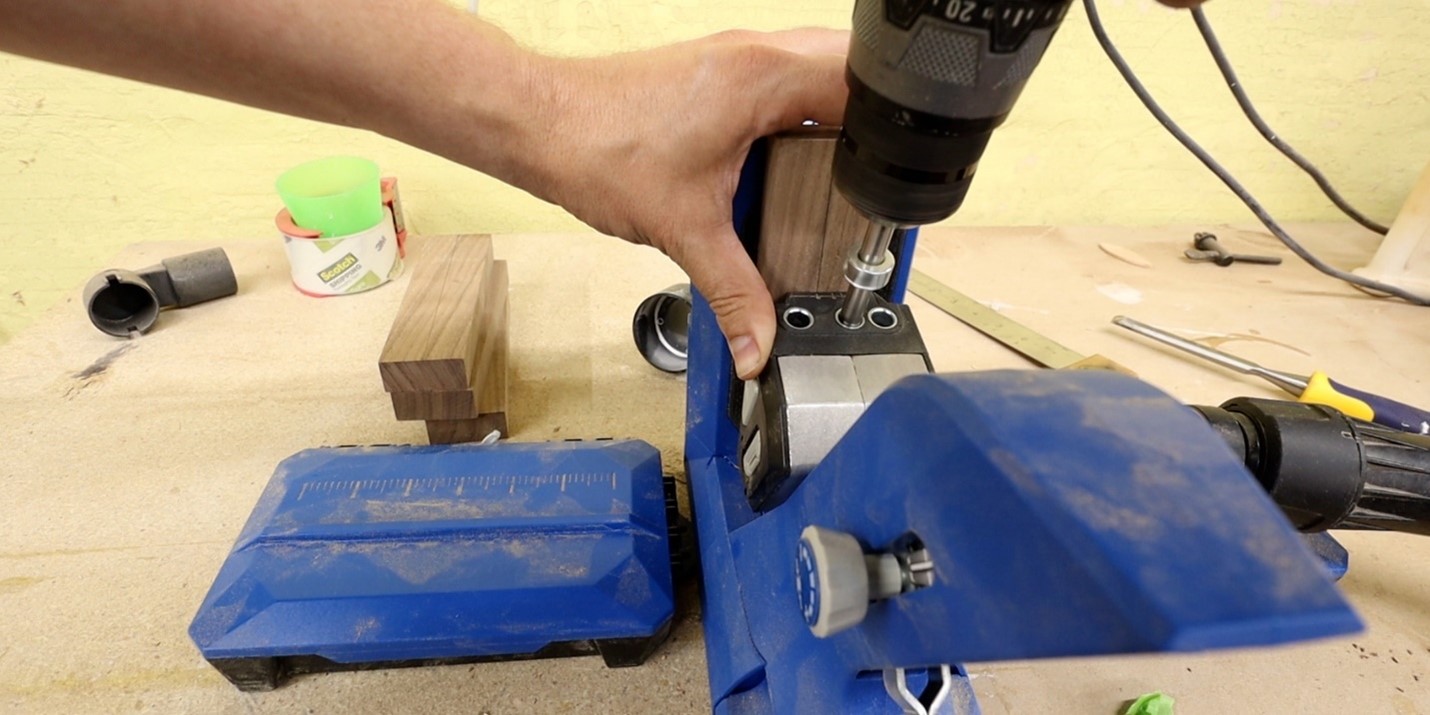
Drill pocket holes in stiles
We then used our Kreg 720 Pro to drill pocket holes in our stiles...
-
Mount stiles between the rails
...and mounted them between the rails. This provides the openings for our six drawers on the front of the vanity.

-
Mount the supports for the middle shelf
Our final step before finish was to mount the supports for the middle shelf.
-
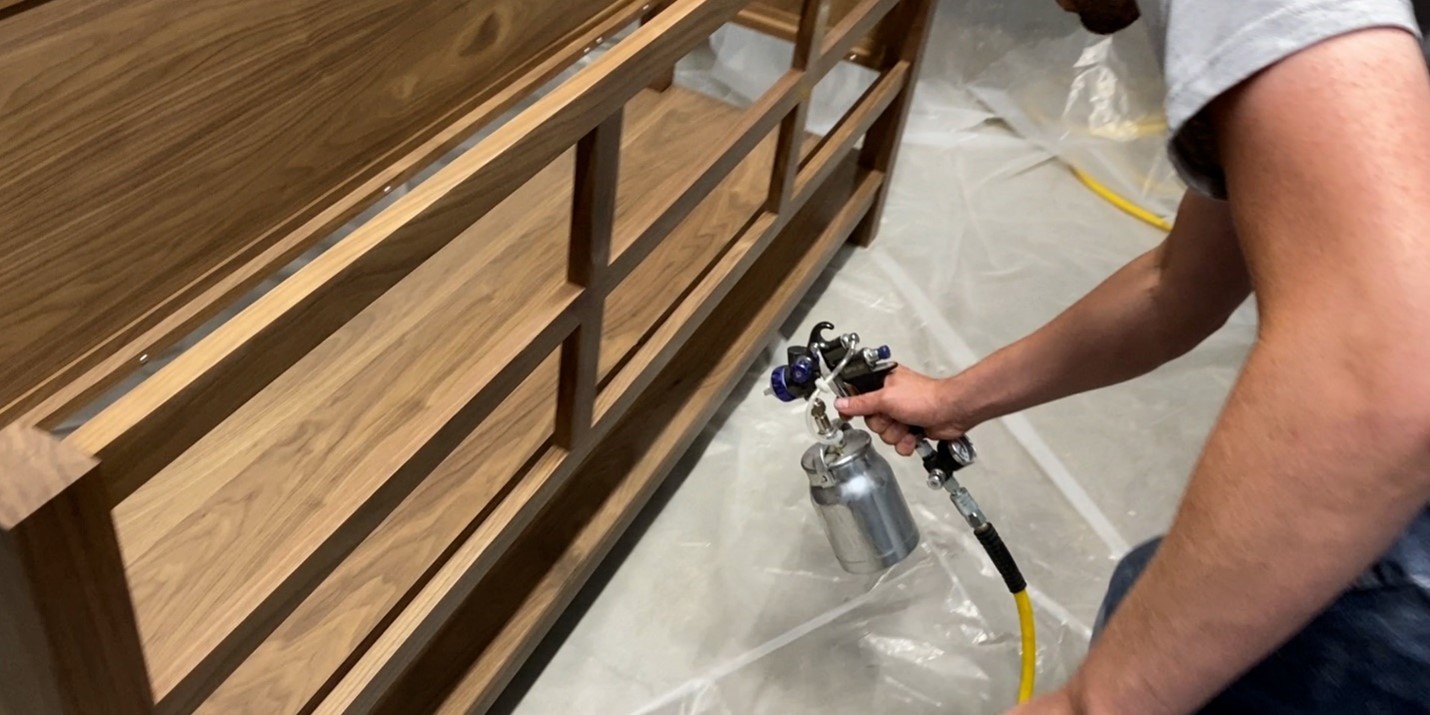
Spray the vanity with polyacrylic
We sprayed a water based polyacrylic, sanding with 320 grit and wiping it down with tack cloth between coats.
-
Add countertop and build drawers
It looks amazing in our master bathroom. We had a template made for a quartz countertop, and now we wait for that to be finished and installed! Once that is done we will build inset drawer faces and drawer boxes.
-
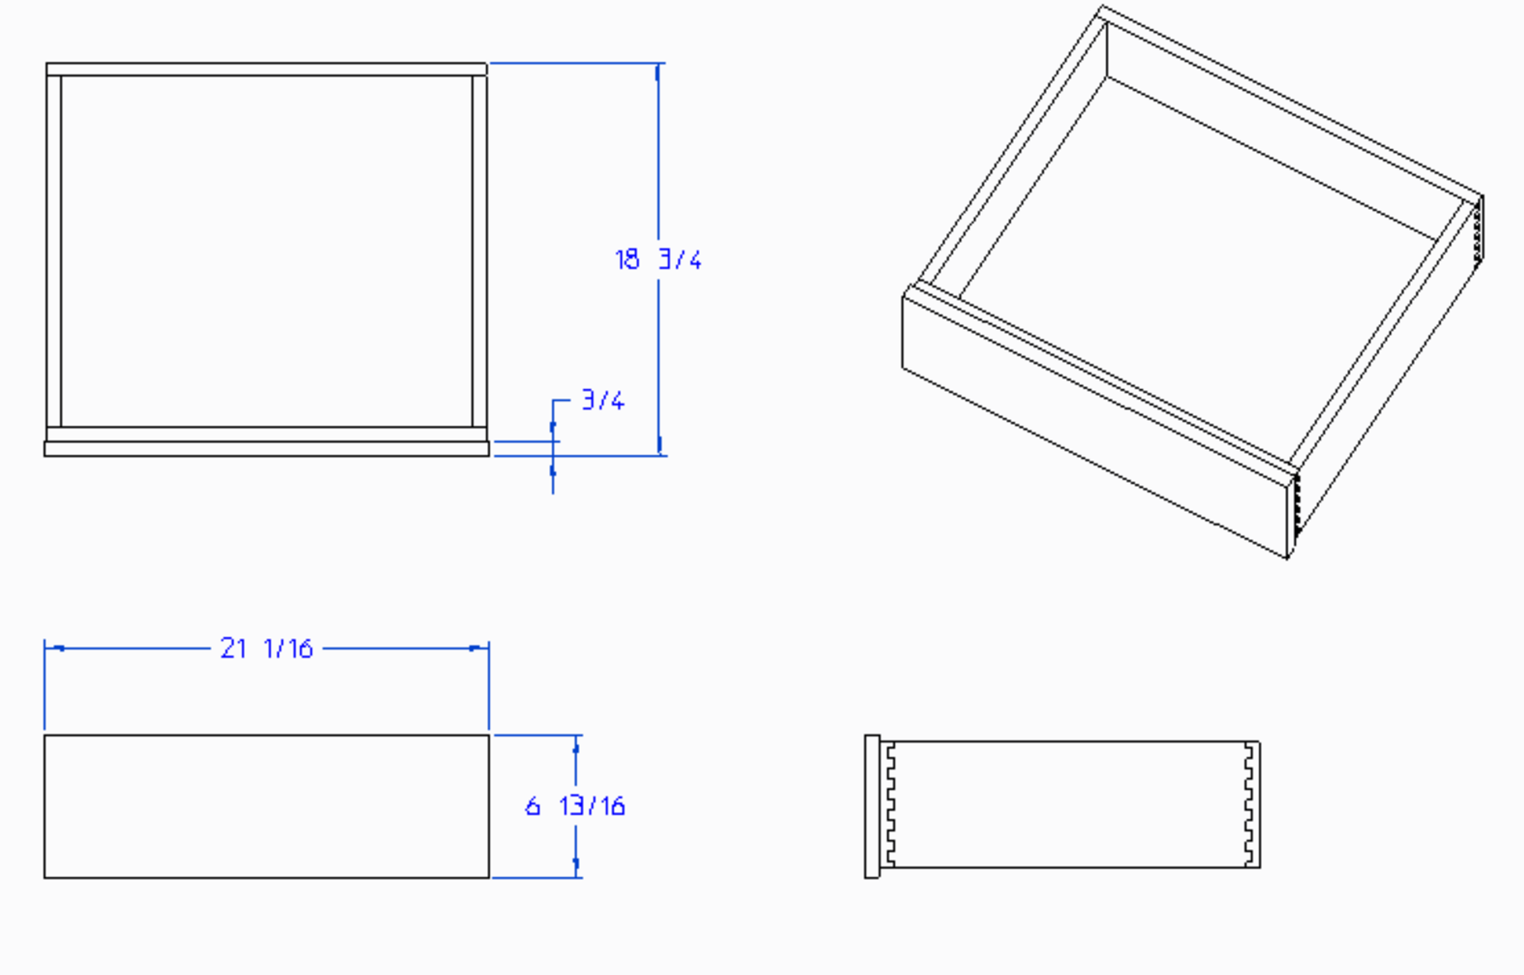
See note on building drawers
Note: Most of these dimensions will fluctuate since the placement of the sinks and plumbing will have an affect on them.
-
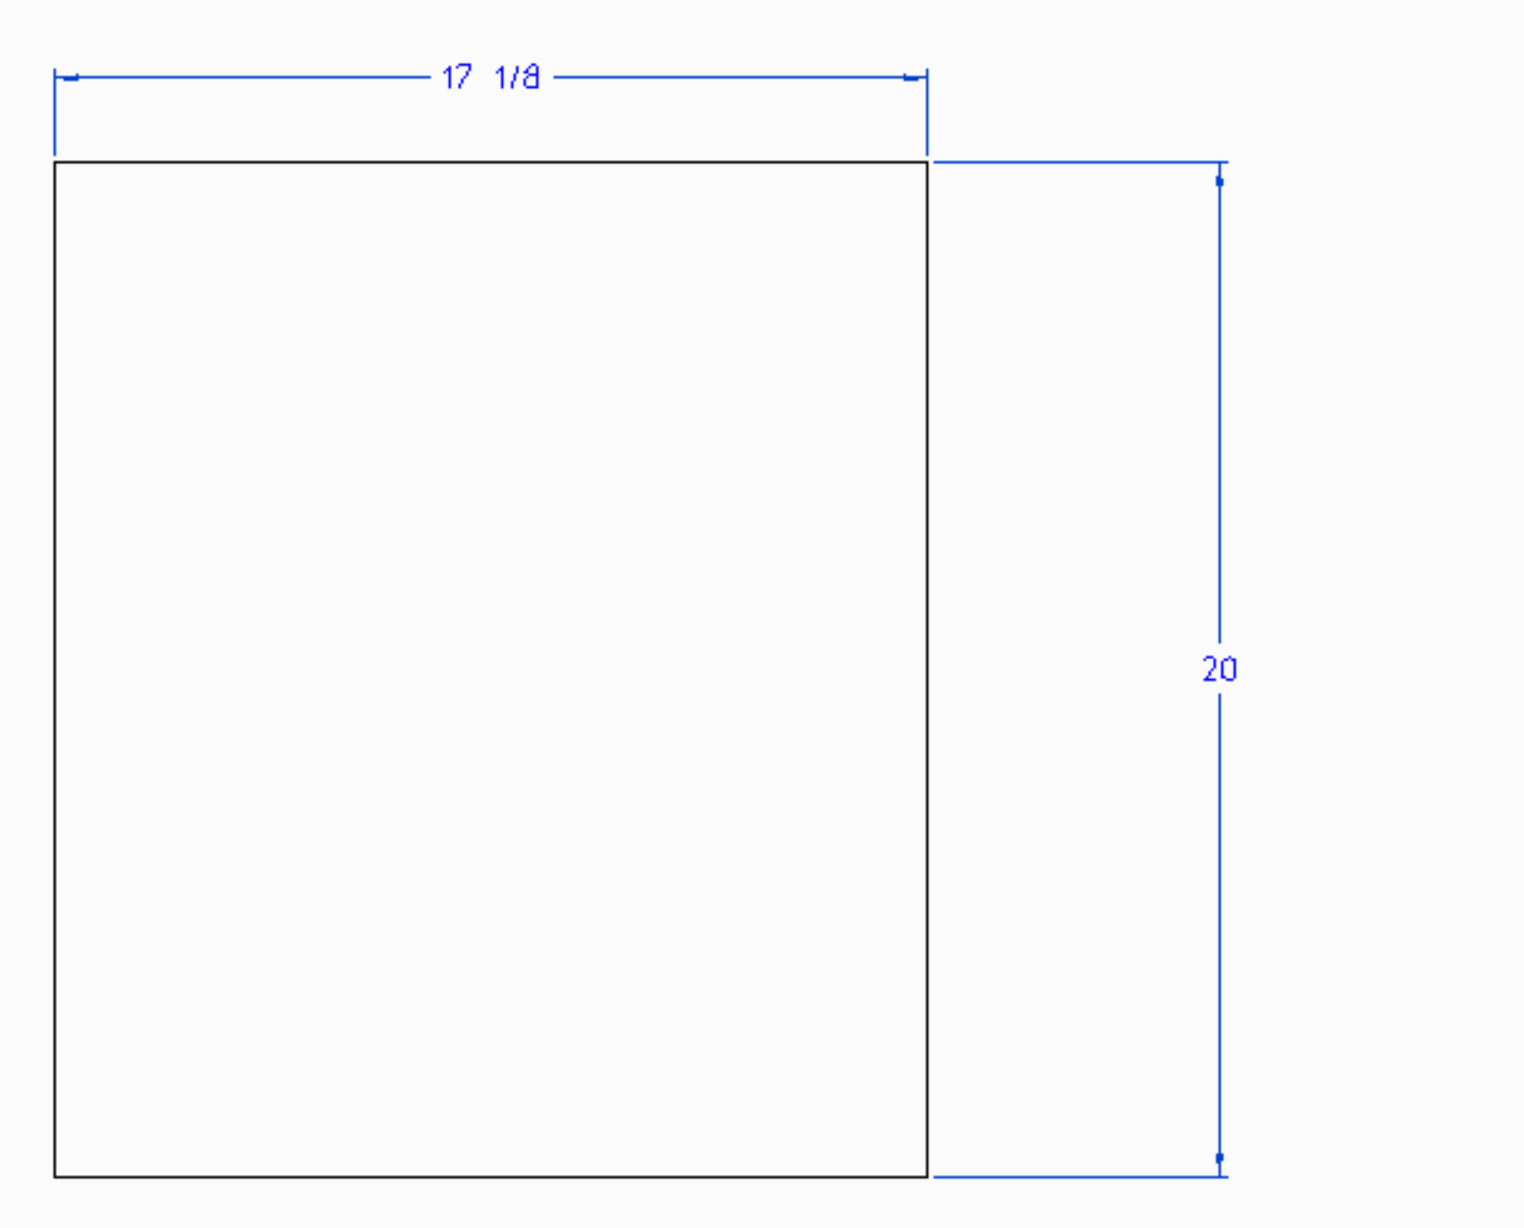
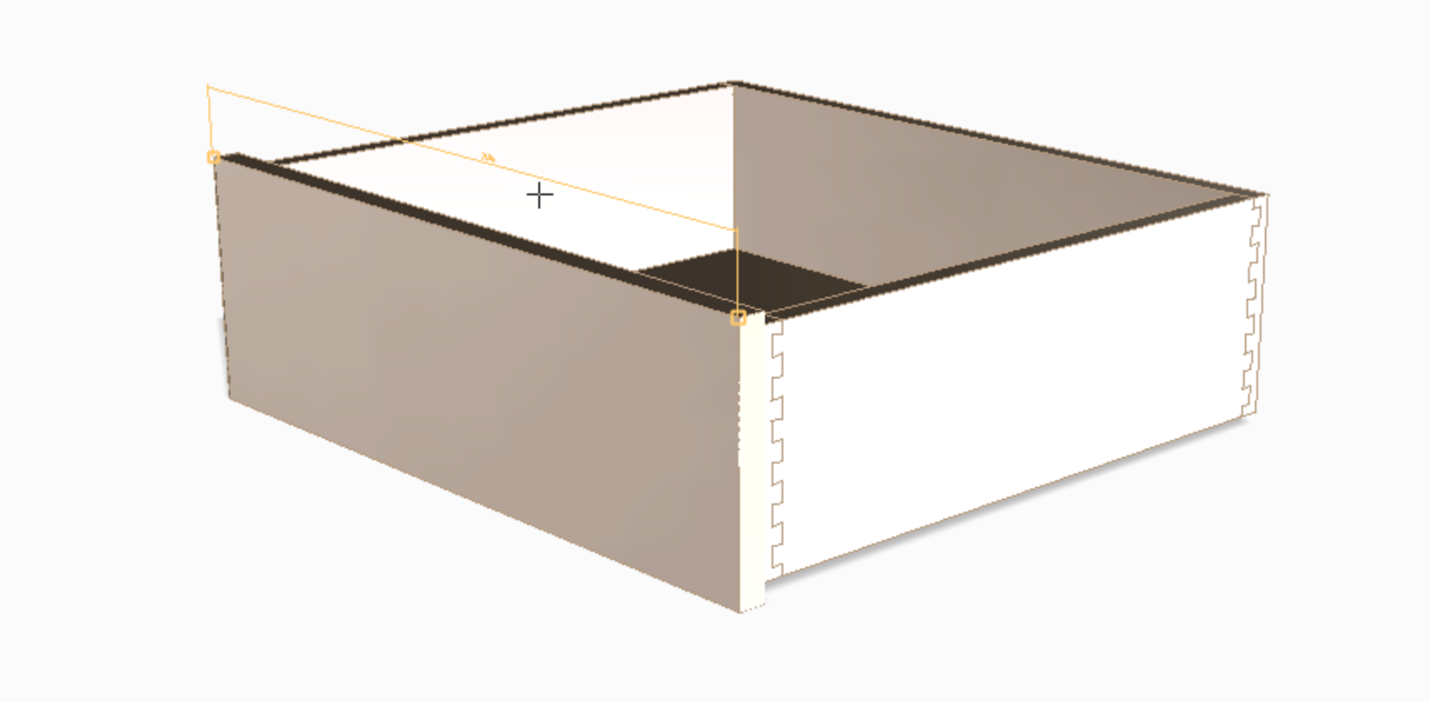
Cut drawer fronts
We will start by cutting out drawer fronts, we are cutting ours 3/16” smaller that the drawer opening.
-
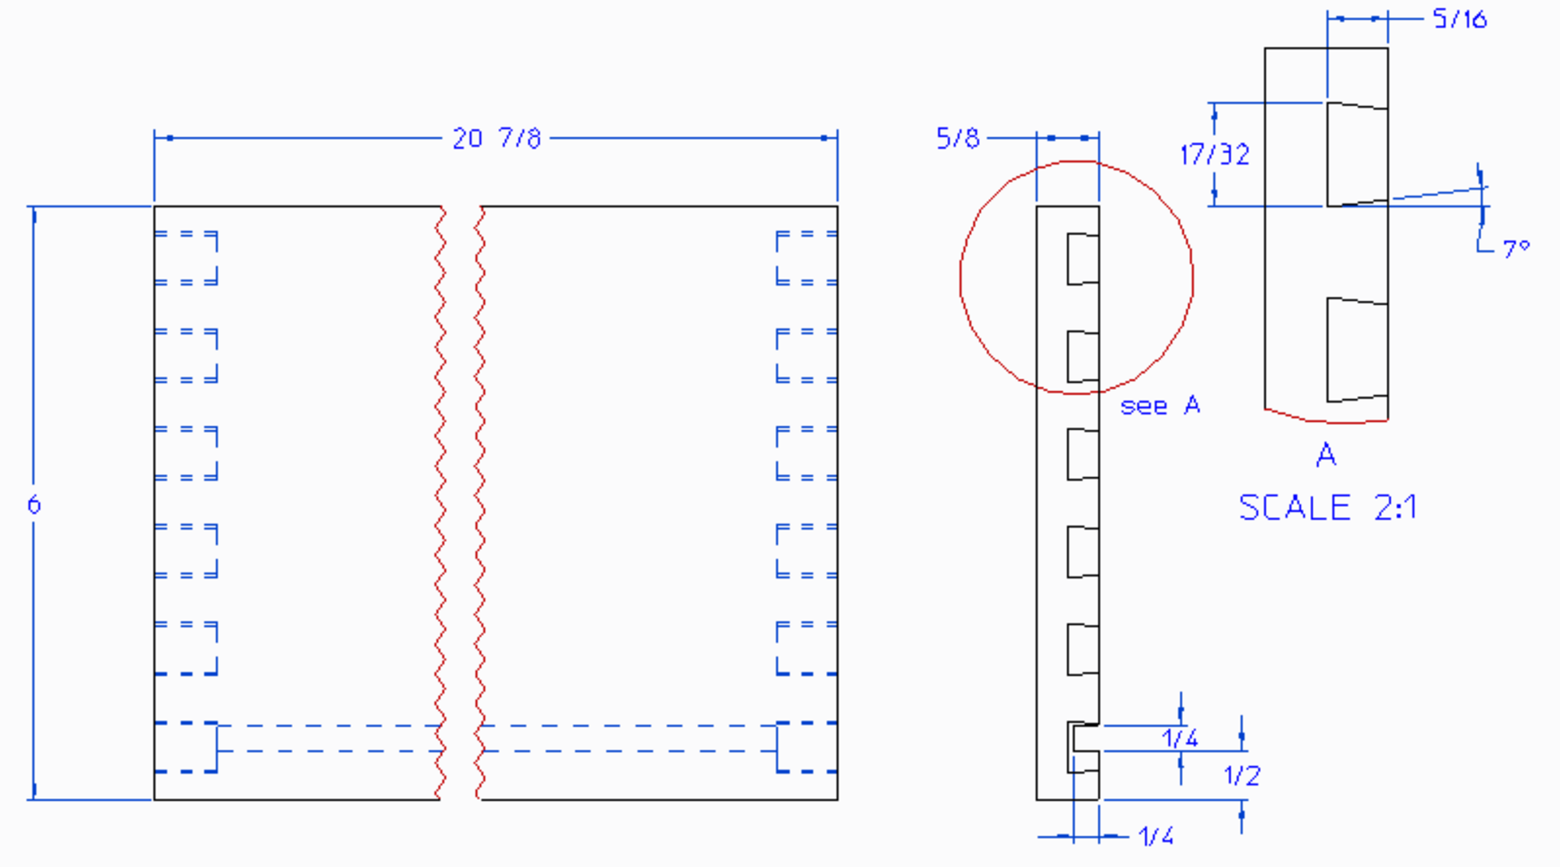
Cut drawer sides, back and bottom
We then cut the sides, back, and bottom to length. Using a router template and a 17/32” 7° dovetail router bit we route our pins and tails. Lastly we cut our groove for our shelf bottom.
-
Cut drawer bottom and assemble
Then we cut the drawer bottom and assembled