Counter Height Desk with Storage
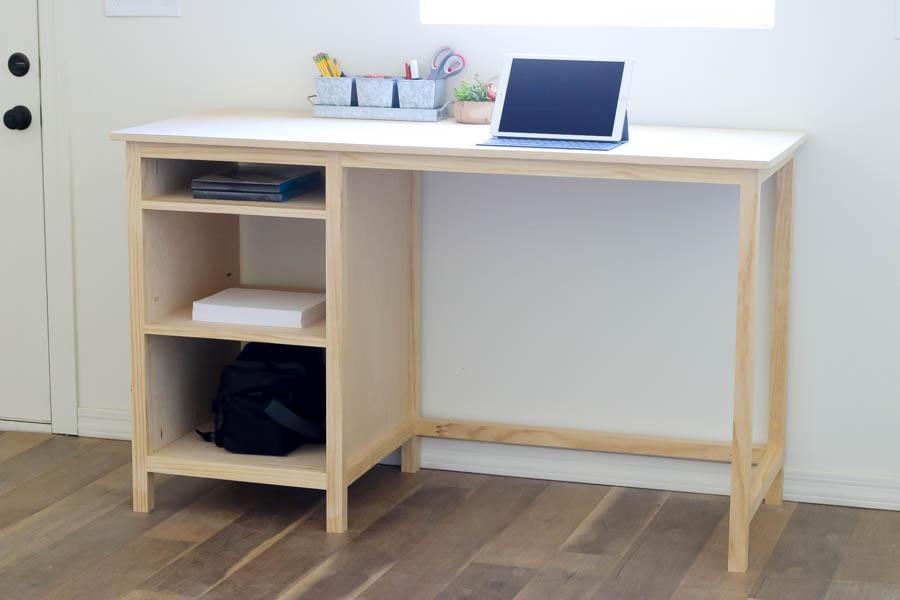
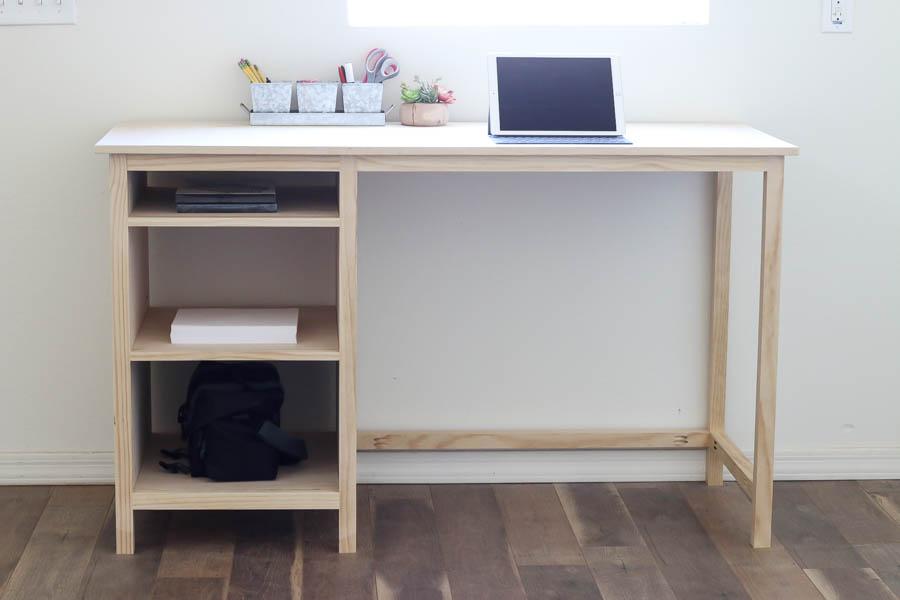
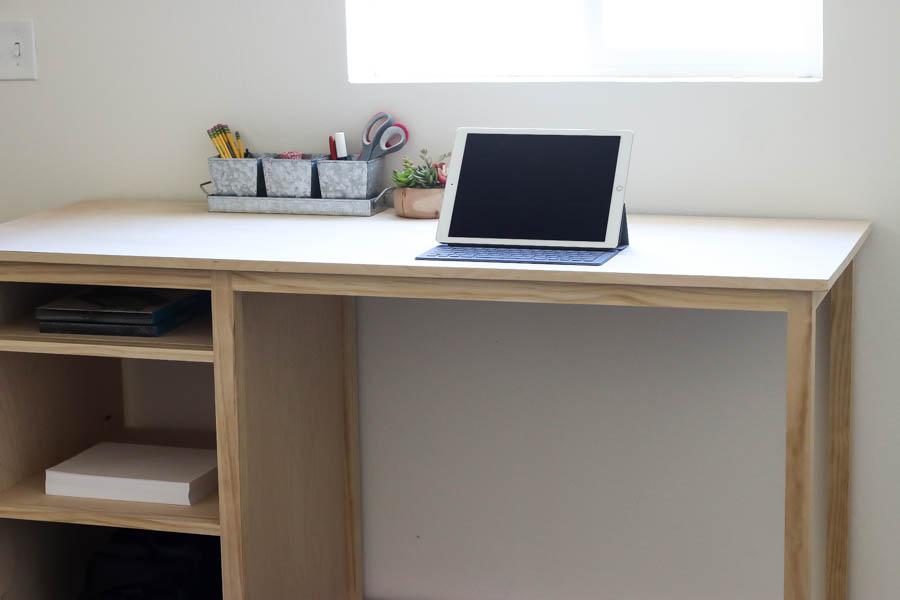
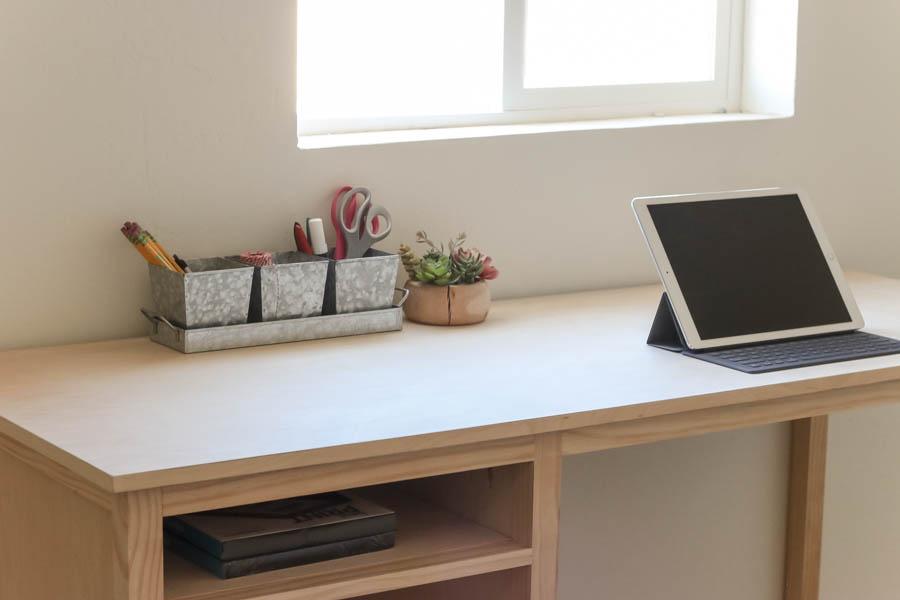
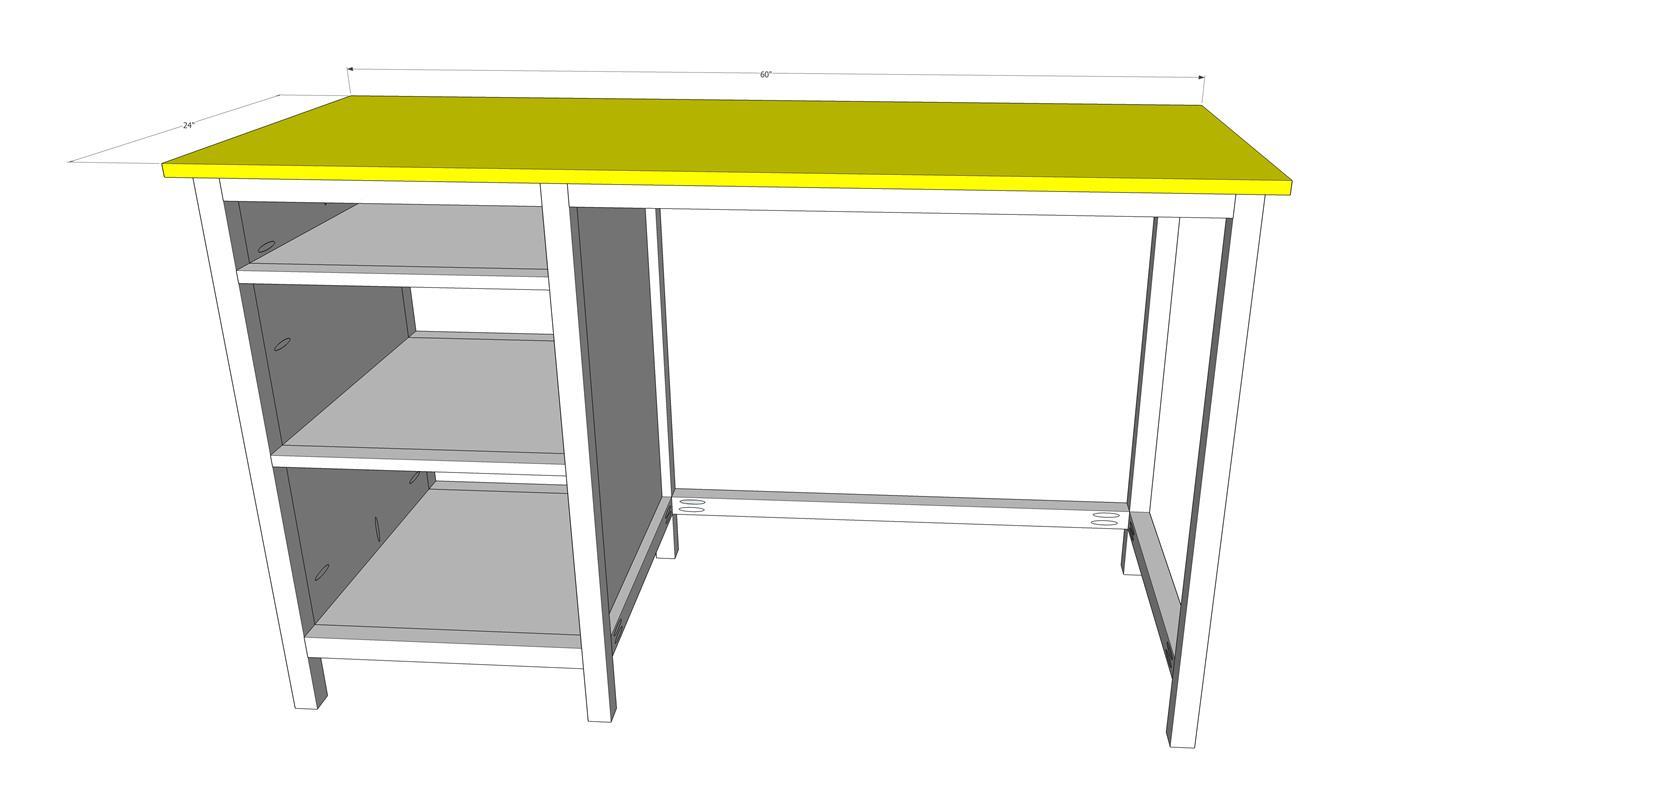
By Addicted 2 DIYThis counter height desk with storage allows you to sit or stand while you work. The shelves allow for ample storage of supplies while the large desktop is big enough to hold a computer, printer, etc. This desk is not only perfect as an office desk, but also as a craft/hobby work table.
Directions
-
STEP 1
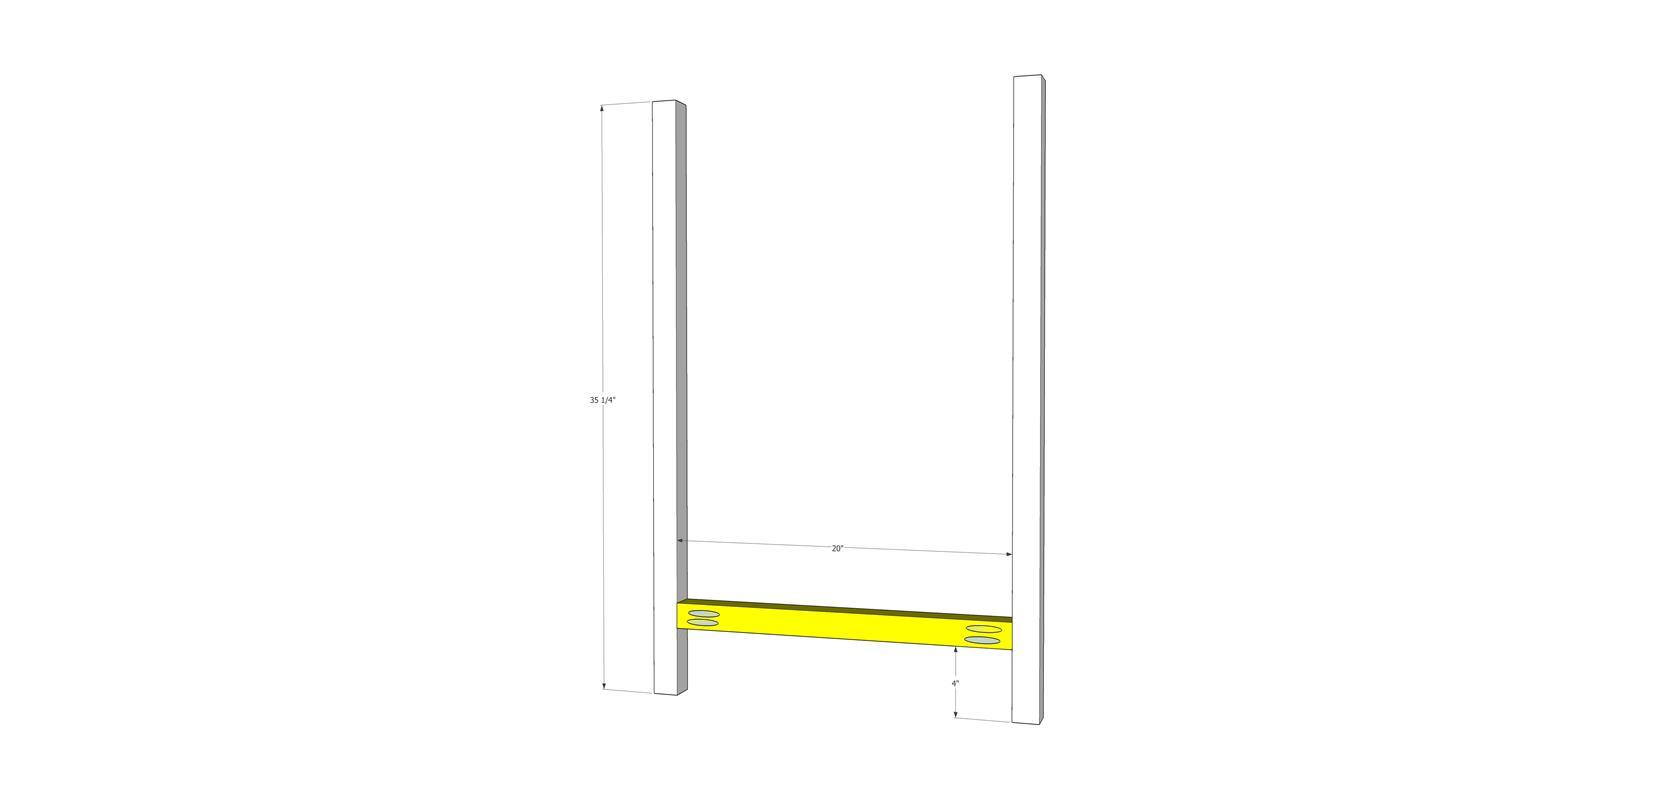
Drill 1 1/2" pocket holes into the 20" 2x2 pieces. Measure 4" from the bottom of the legs and mark. Glue and clamp the cross pieces into place at the mark and attach with 2 1/2" pocket screws.
-
STEP 2
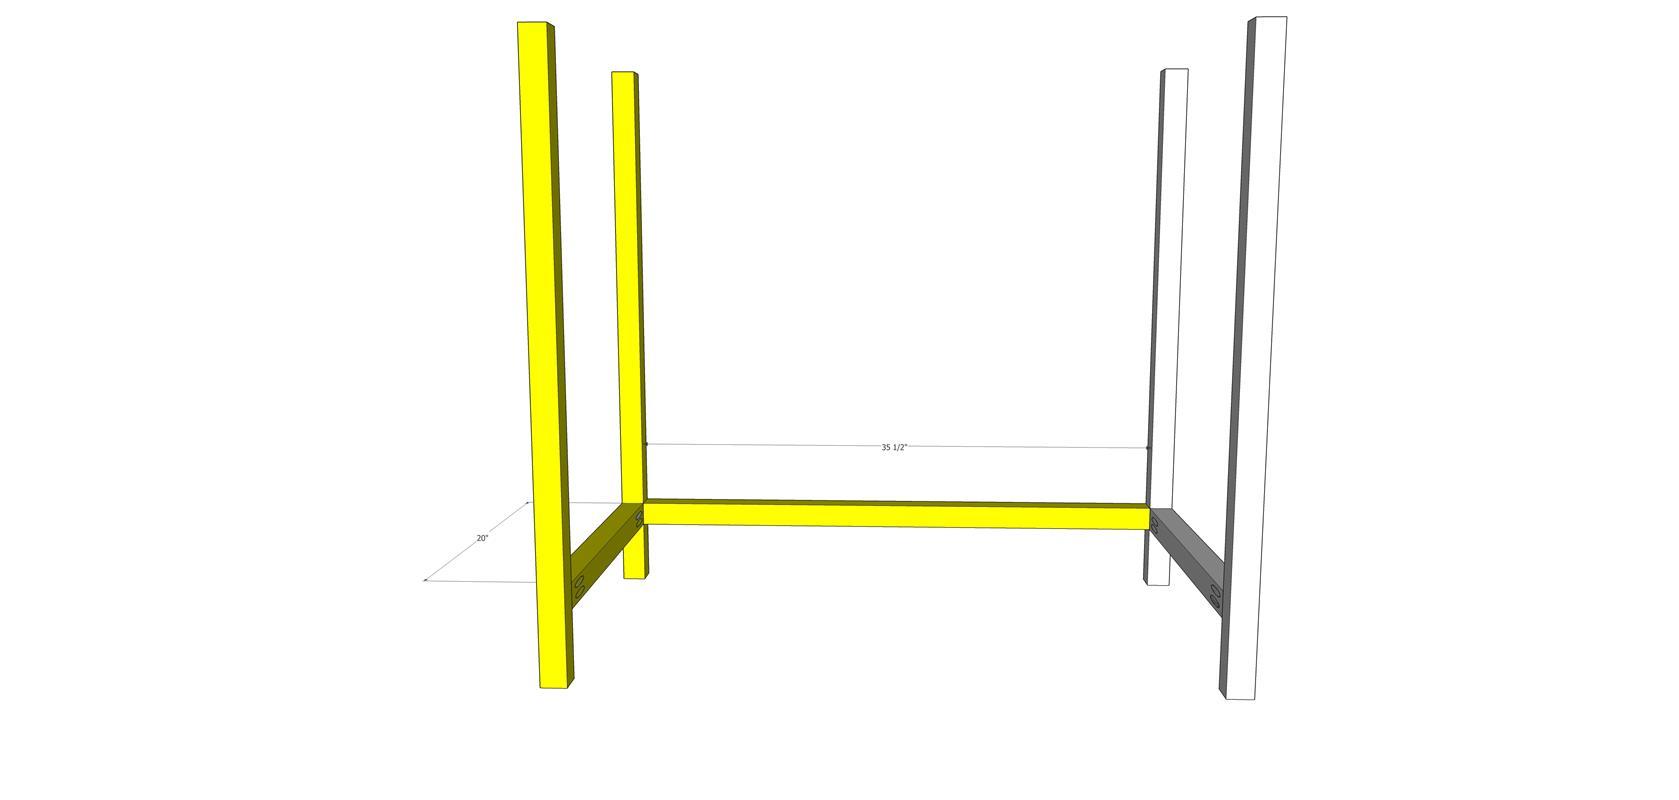
Drill 1 1/2" pocket holes into the 35 1/2" and 20" 2x2 pieces. Attach 4" from bottom of leg with glue and 2 1/2" pocket screws.
-
STEP 3
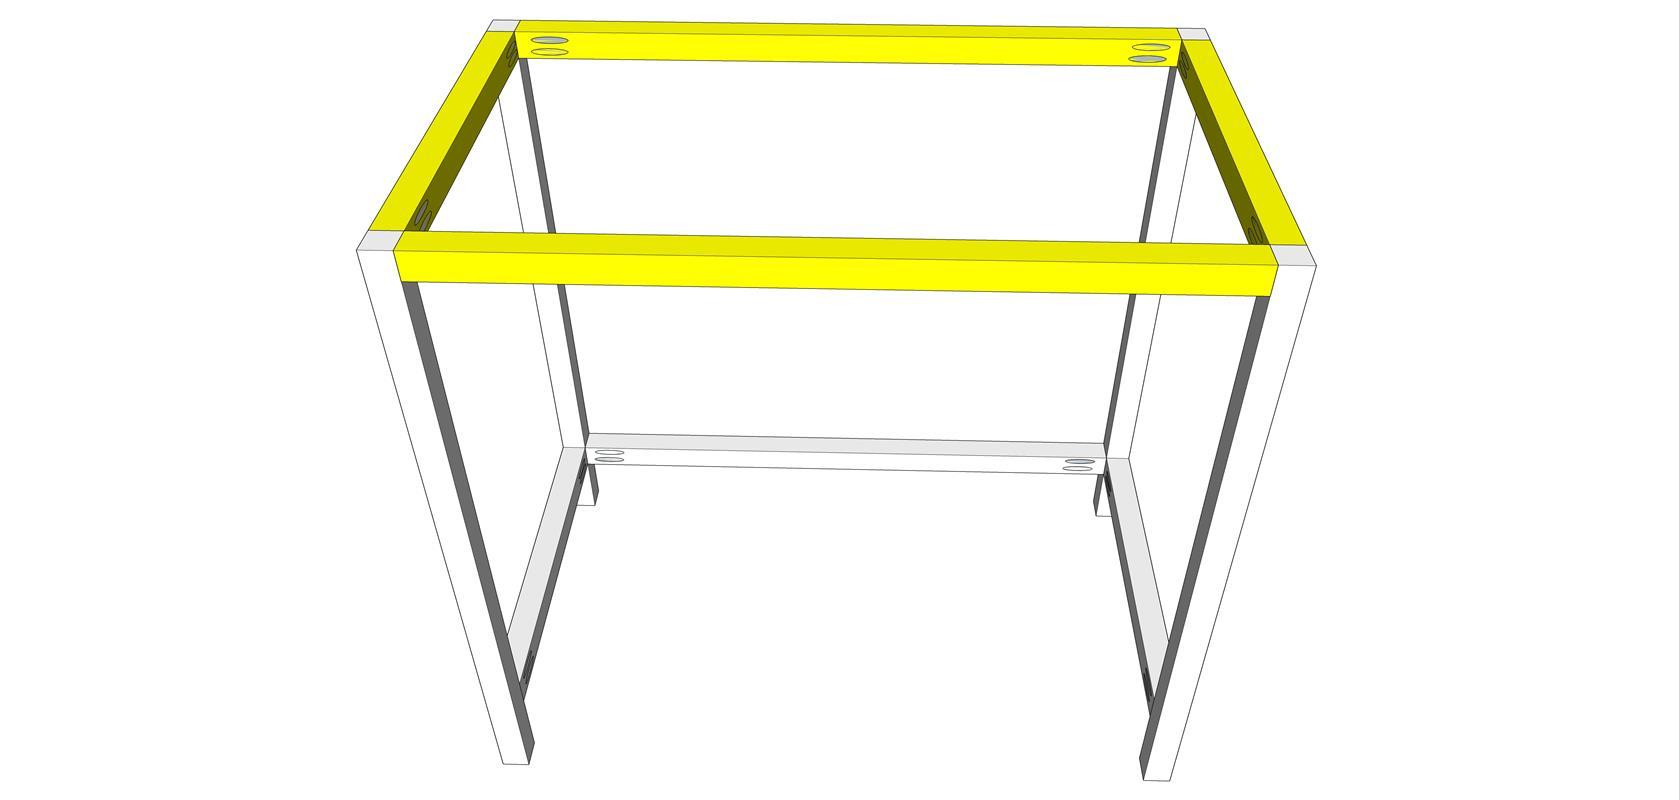
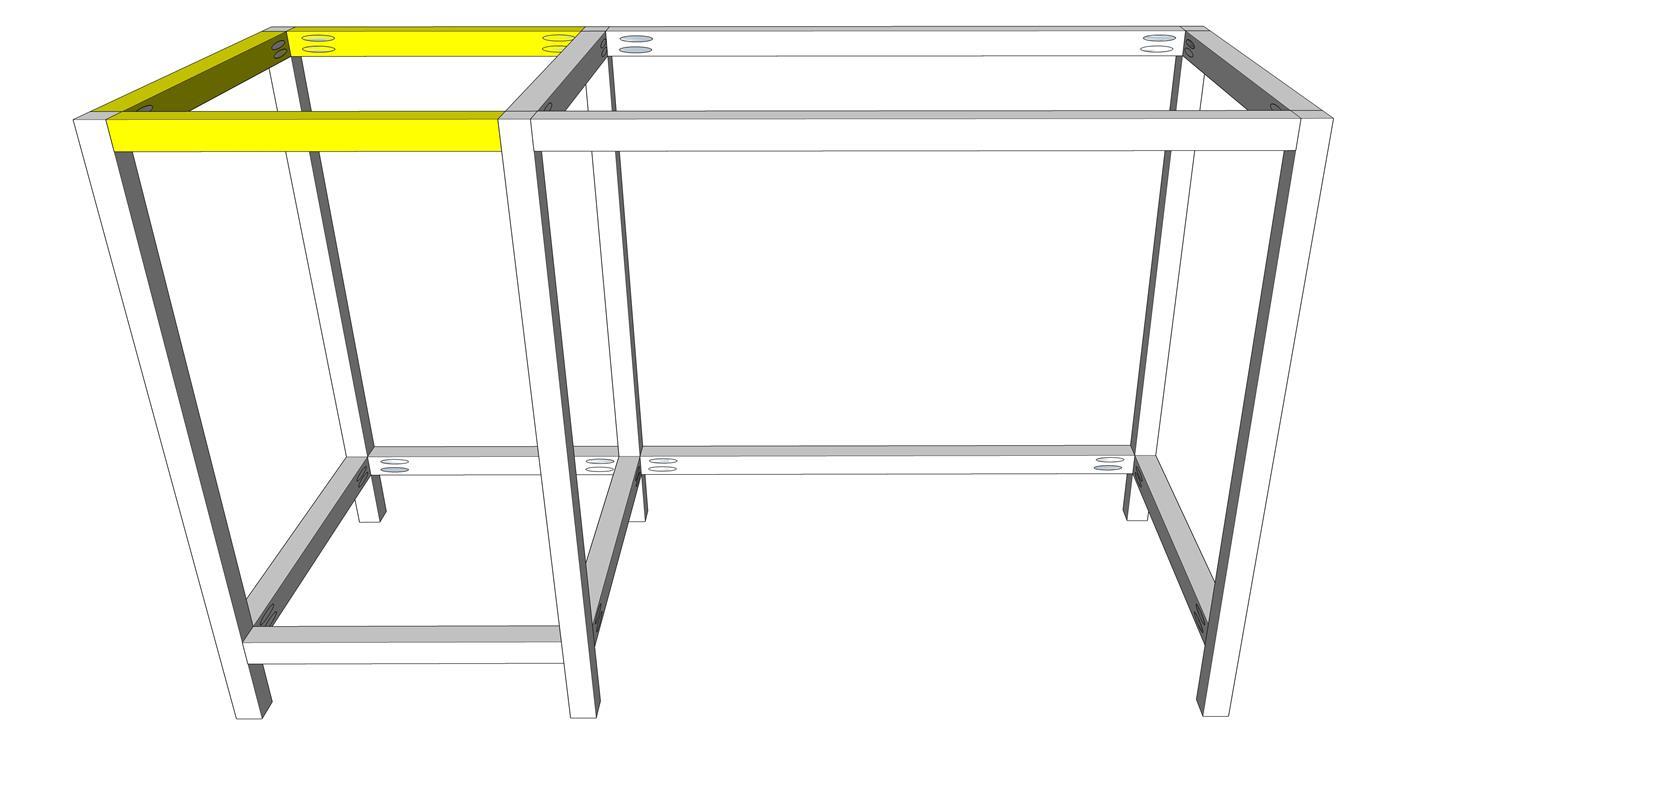
Attach the top pieces of the desk frame. Drill 1 1/2" pocket holes as shown. Glue and clamp into place, flush with the tops of the legs. Attach with 2 1/2" pocket screws.
-
STEP 4
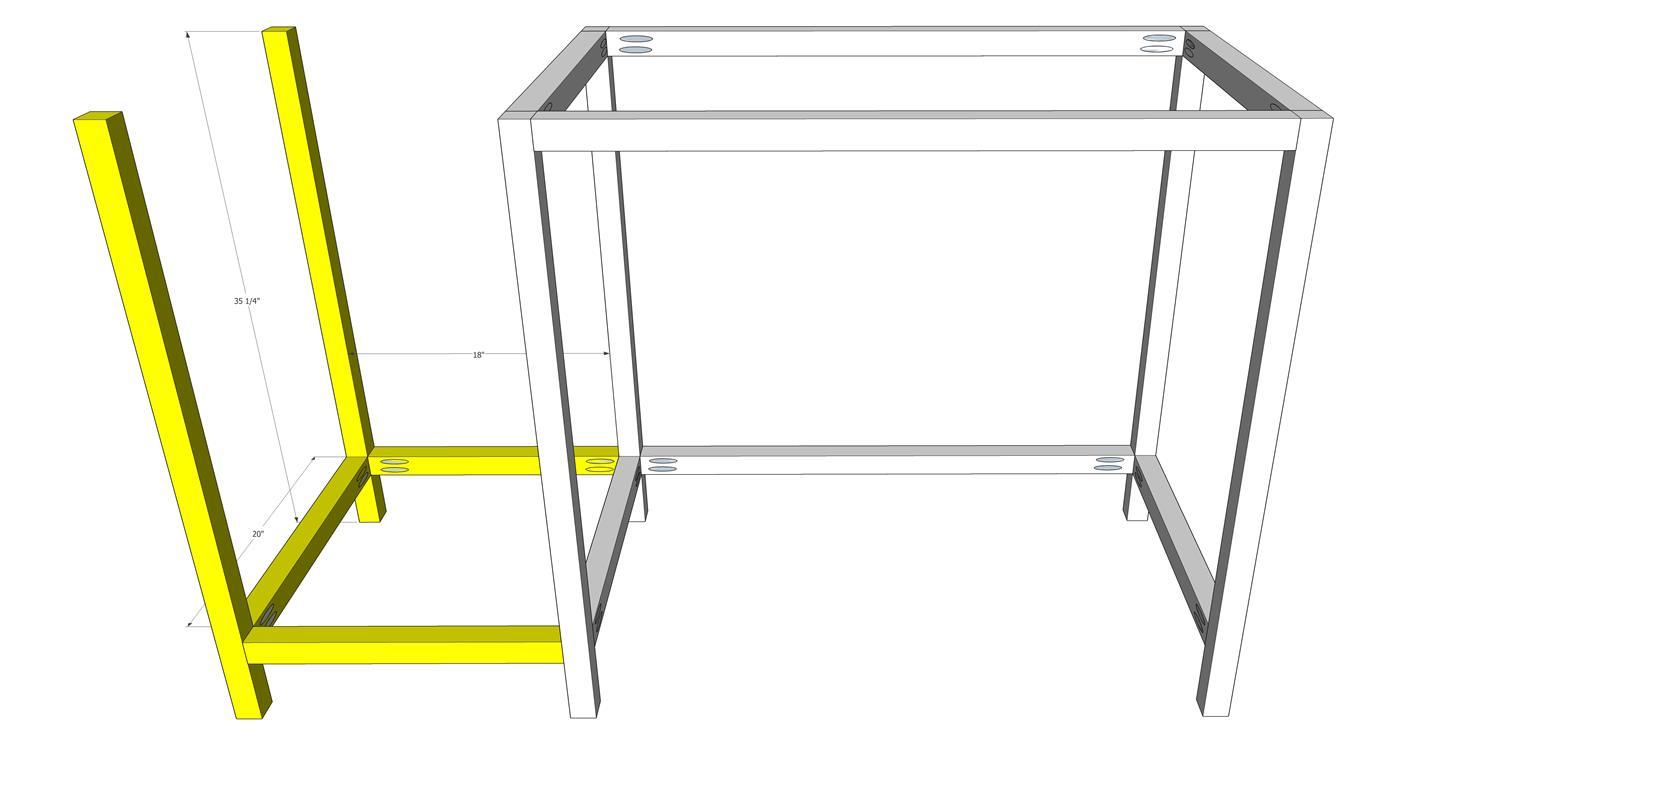
Continue adding the storage shelf portion to the frame. Drill 1 1/2" pocket holes into the 18" and 20" pieces. Glue and clamp 4" from the bottom of the legs, then attach with 2 1/2" pocket screws.
-
STEP 5
Drill 1 1/2" pocket holes into the top portion of the frame pieces. Glue and clamp into place, flush with the tops of the legs. Attach with 2 1/2" pocket screws.
-
STEP 6
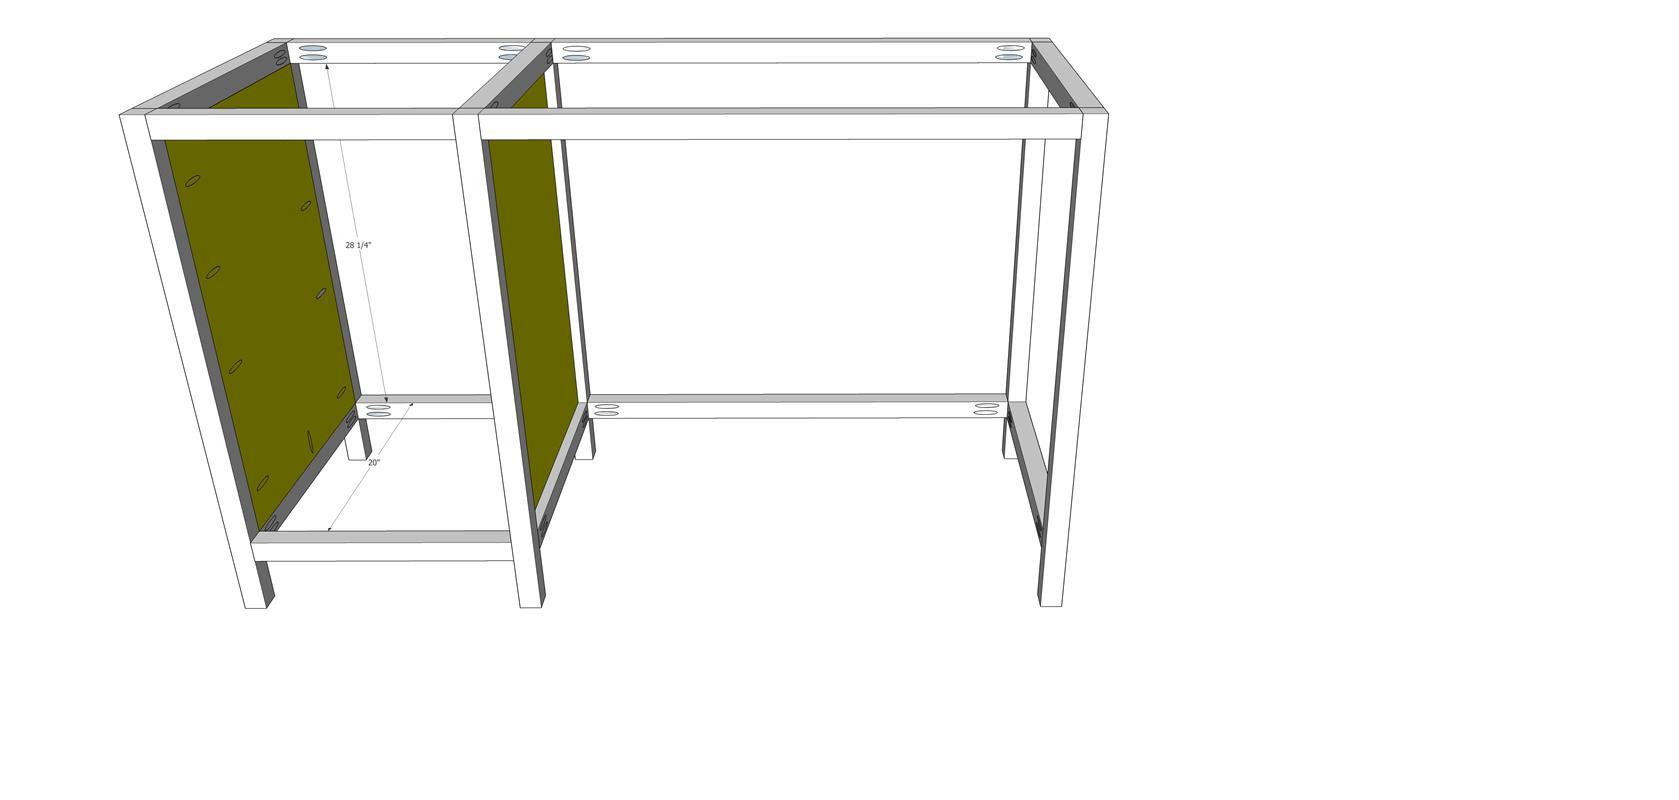
Attach the side panels to the desk. Drill 3/4" pocket holes into each edge. Place panels flush with the inside edge of the legs. Attach with 1 1/4" pocket screws.
-
STEP 7
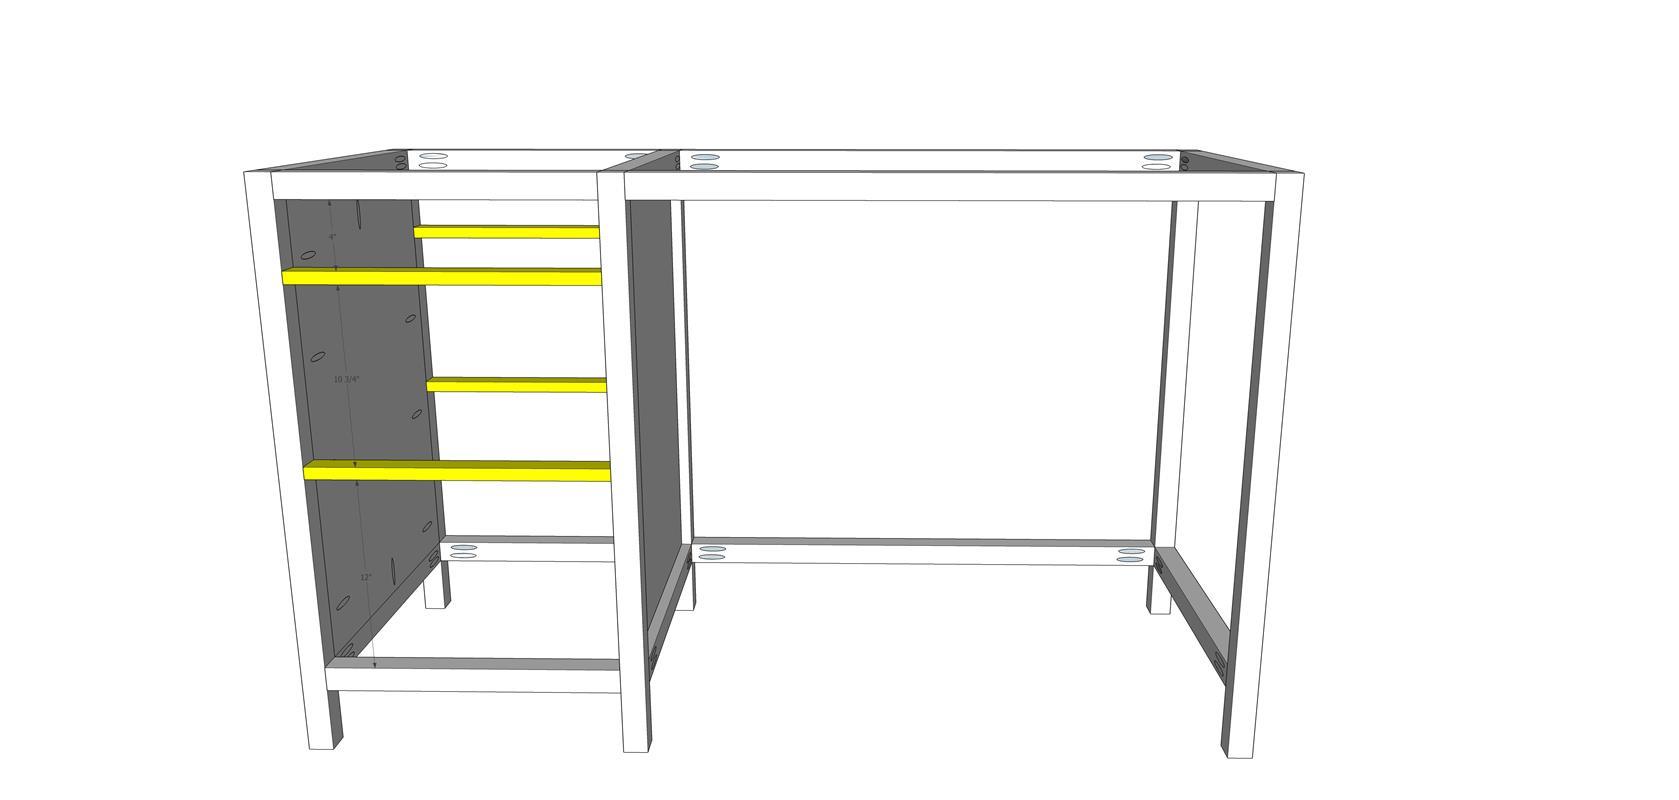
Drill 3/4" pocket holes into the 1x2 pieces for the front and back edges of the top and middle shelves. If desired, cut scrap wood to use as spacer blocks to ensure proper placement/spacing of the 1x2 pieces (spacing is noted in the diagram). Glue and clamp in place. Attach with 1 1/4" pocket screws.
-
STEP 8
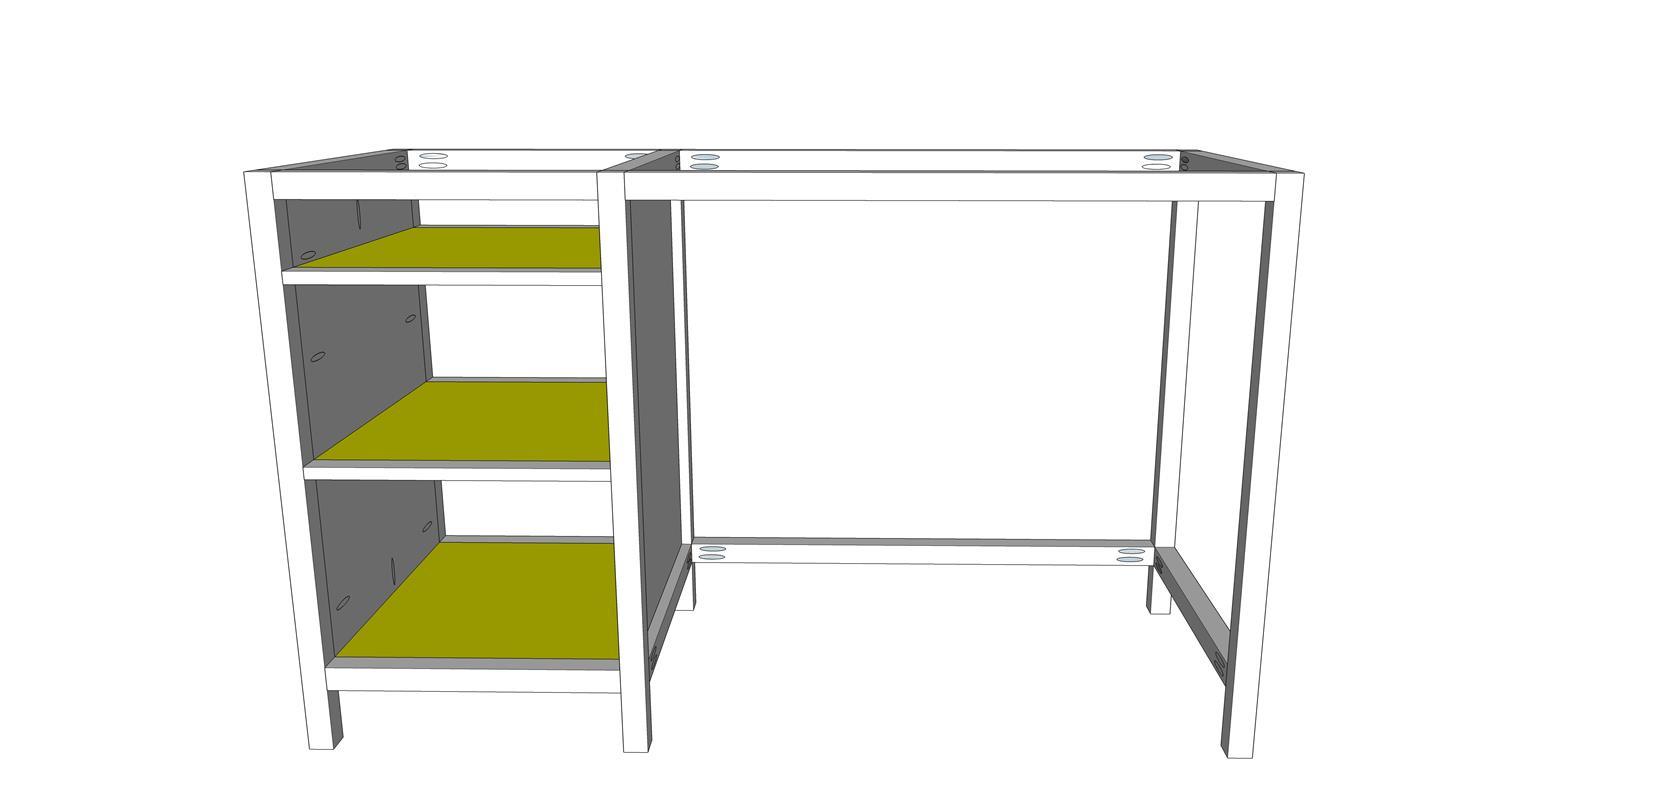
Drill 3/4" pocket holes into each edge of the 3/4" plywood shelves. Flip the desk onto its top for ease of attaching the shelves. Place the shelves flush with the top edge of the front and back pieces. Clamp into place and attach with 1 1/4" pocket screws.
-
CUT PLYWOOD
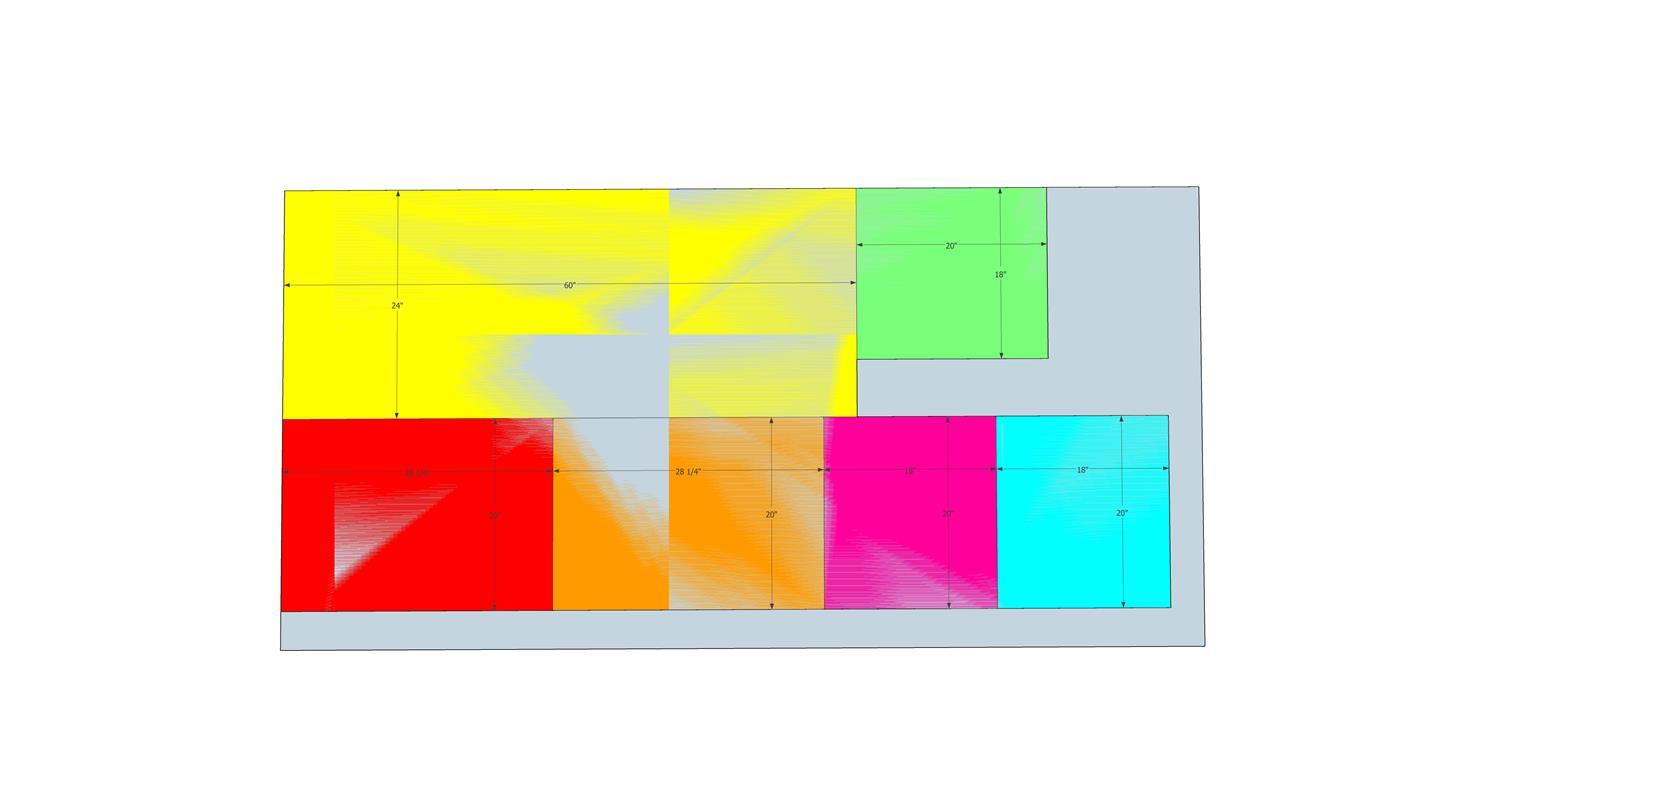
Cut plywood down to size according to the diagram.
-
STEP 9
Set the desktop onto the frame with 1" overhang on the sides and front, flush in the back. Clamp in place and attach from the underside of the 2x2 frame pieces using 2" wood screws. Add 2 screws into each side and two screws in the front and back. Finish off the plywood edges with iron-on veneer banding. Trim away excess and sand smooth.


