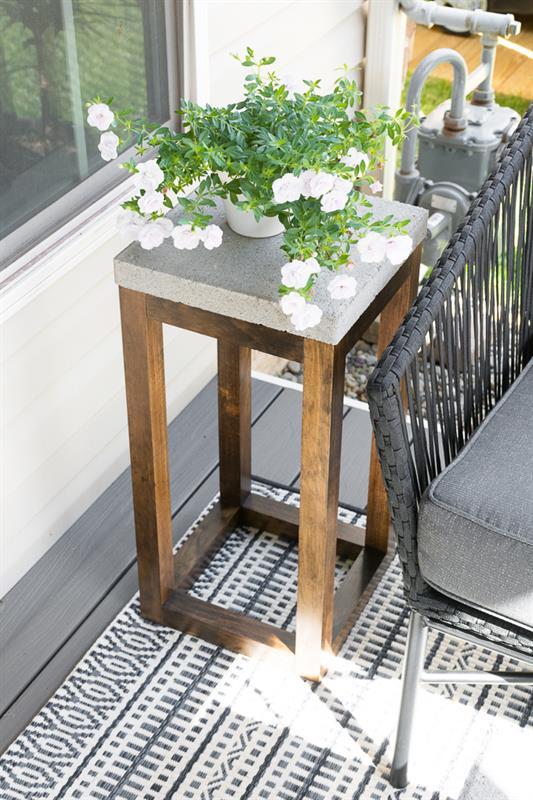

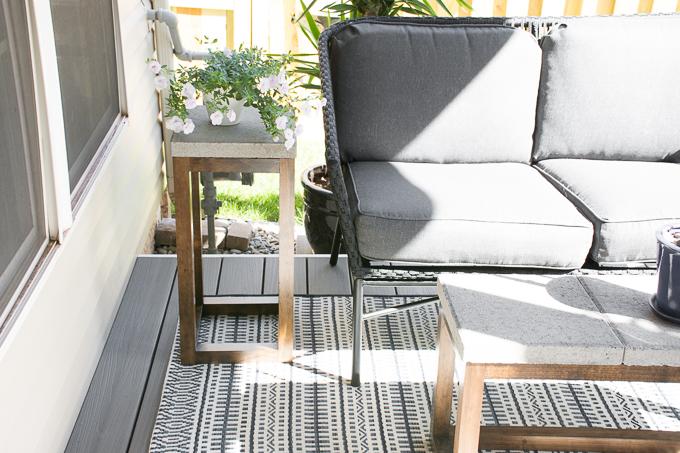


This plan will teach you how to make a modern-looking outdoor side table using stained 2×2 and concrete pavers.
Tools
Kreg Tools


Other Tools
-
Miter Saw

-
Clamps
-
Workbench
Materials
Wood Products
- 1 Board , 2x2 , 96"
- 1 Board , 2x2 , 72"
Hardware & Supplies
- 16 2.5" pocket hole screws
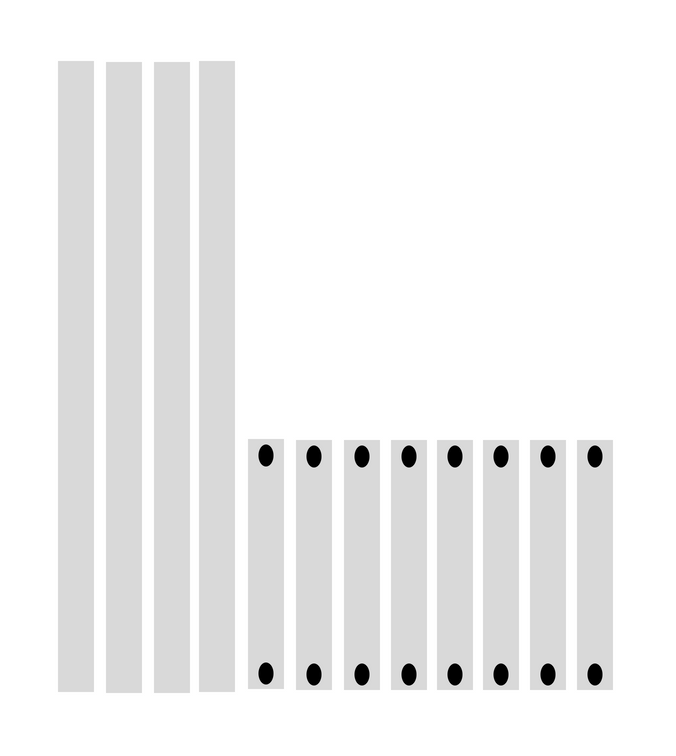
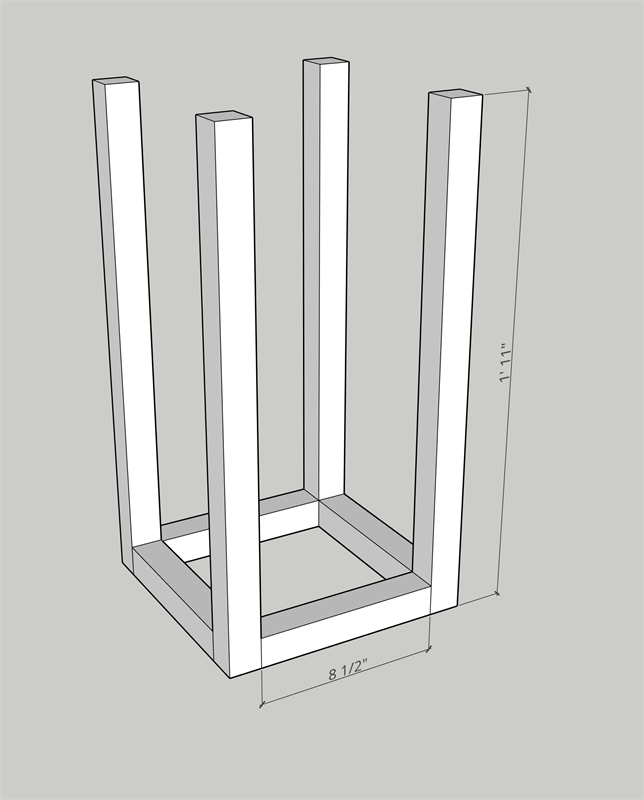
Cut List & Parts
- 4 2x2 , 23"
- 8 2x2 , 8.5"
- 1 Concrete Paver , 12x12
Directions
-
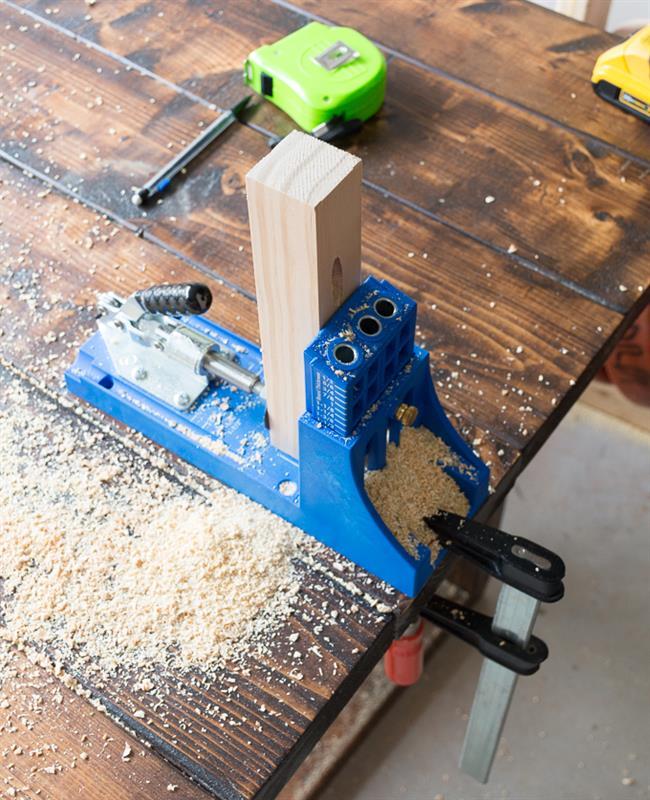
Cut pieces and drill pocket holes
Cut all pieces according to the cut list and use sandpaper to smooth out any rough areas. Next, drill pocket holes. Drill one pocket hole on the end of each 8.5" piece as depicted by the black circles in the cut list. The 23" pieces will not have any pocket holes.
-
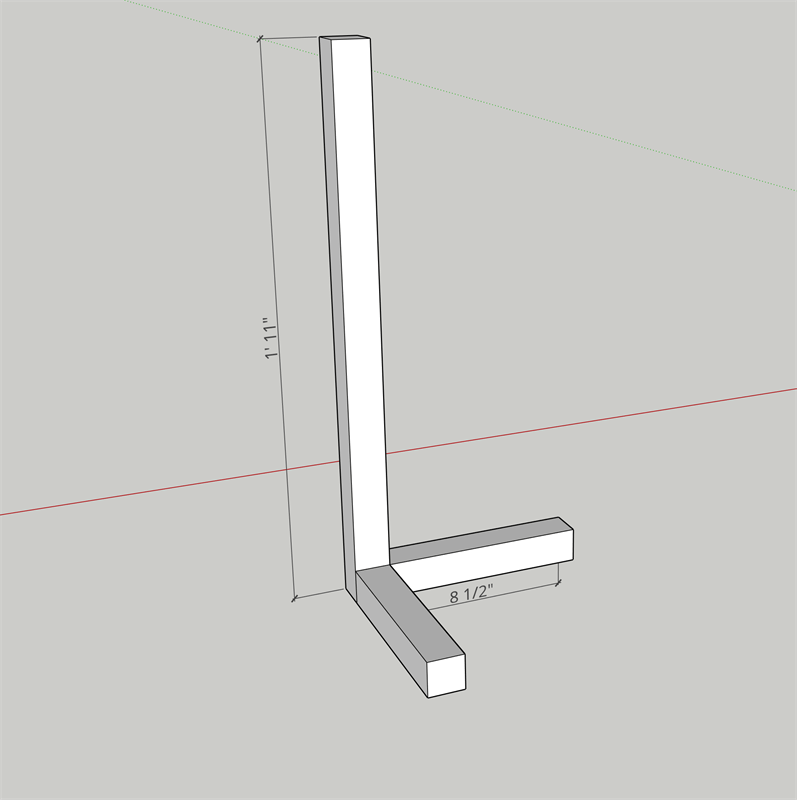
Begin assembling the base and sides
Begin assembling the base and sides. Use 2.5" Kreg screws to drill through the pocket holes at the end of two 8.5" pieces and into the bottom of one 23" piece. (Note: Make sure your pocket holes are facing down so they will be hidden.) It is helpful to either have a second set of hands or clamps during this process.
Repeat this step using another two 8.5" pieces and another 23" piece.
-
Finish the base and sides
Finish the base by screwing 2.5" Kreg screws through the empty pocket holes into the remaining two 23" pieces. You will now have a square base with four pieces sticking up out of it.
It is helpful to either have a second set of hands or clamps during this process.
-
Create support for paver
Create the support for the paver top by attaching the remaining four 8.5" pieces between the tops of each 23" piece. Do so by driving 2.5" Kreg screws through the pocket holes. (Note: Make sure the pocket holes, not pictured in this illustration, are facing UP in this step; that way they'll be hidden by the paver.)
It is helpful to either have a second set of hands or clamps during this process.

-
Stain and finish
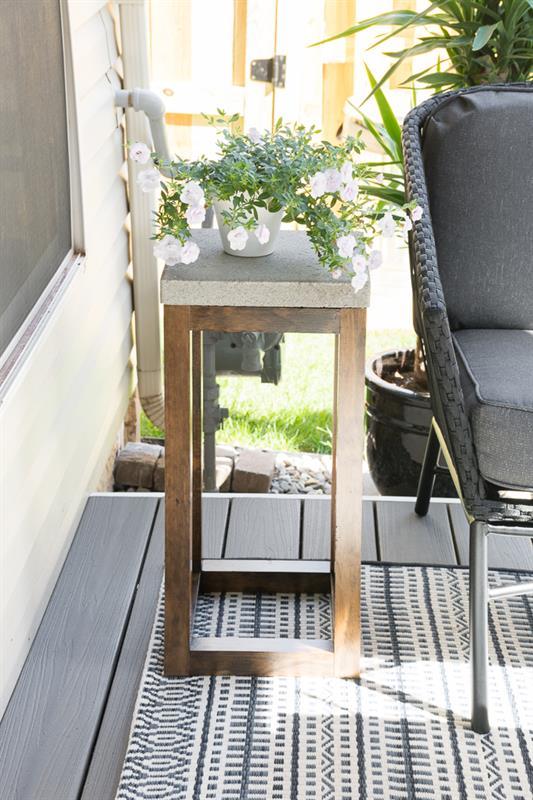
Stain and finish as desired. I used a dark wood stain and three coats of spar urethane in a satin finish.
-
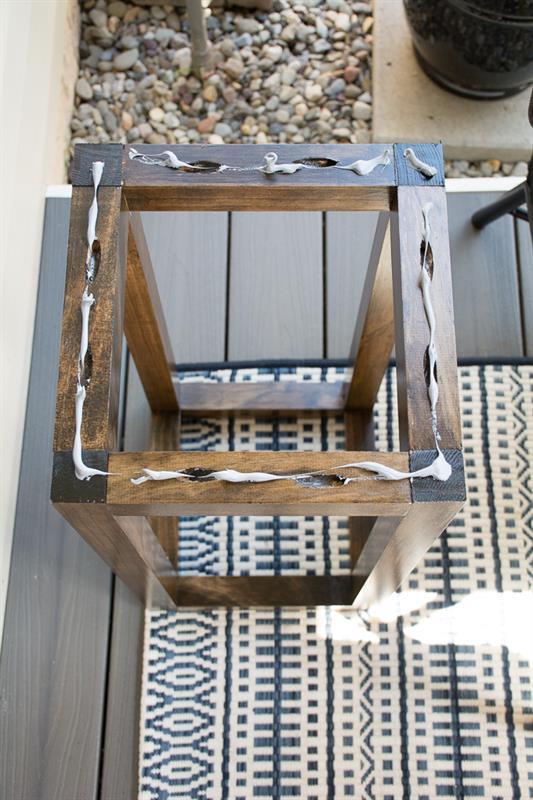
Attach paver top
Once the piece is completely dry, run heavy duty adhesive suitable for outdoor use along the top of the table frame. Then gently place the concrete paver on top. The paver is so heavy that you really don't need to use clamps.
-
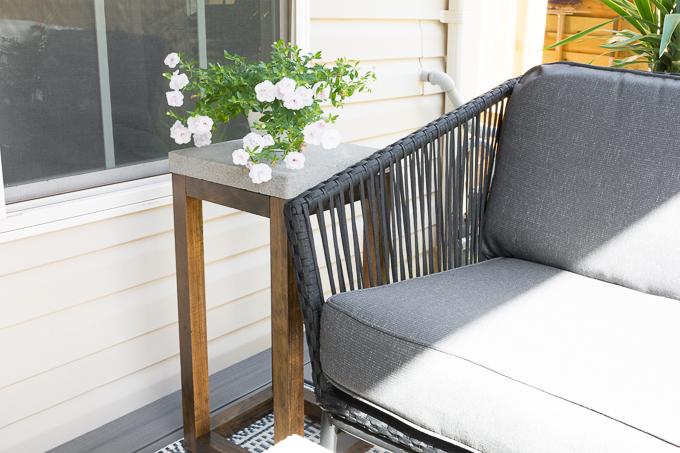
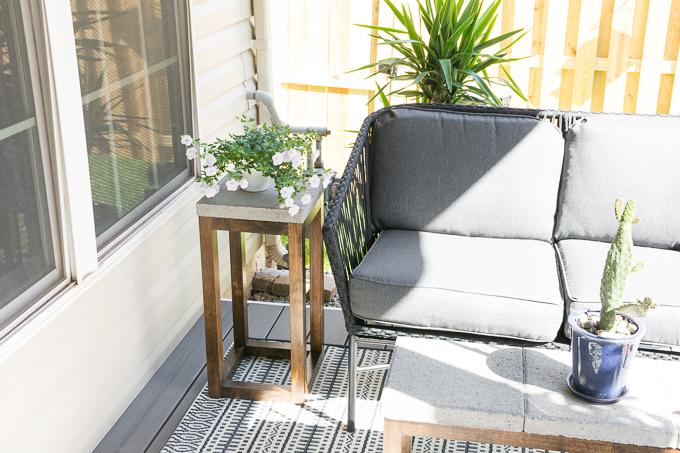
Enjoy your table
Follow the dry time instructions in your adhesive; once dry, you can use your table.