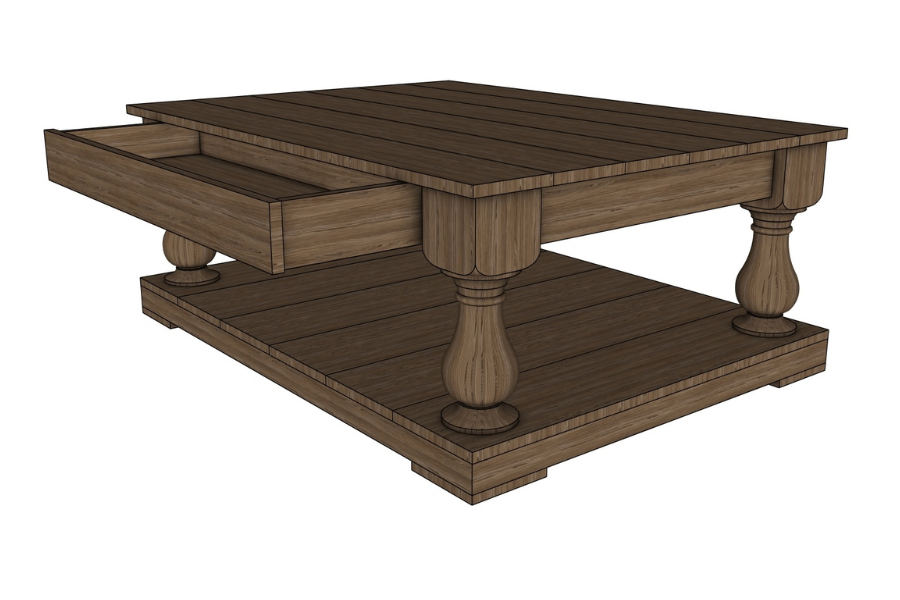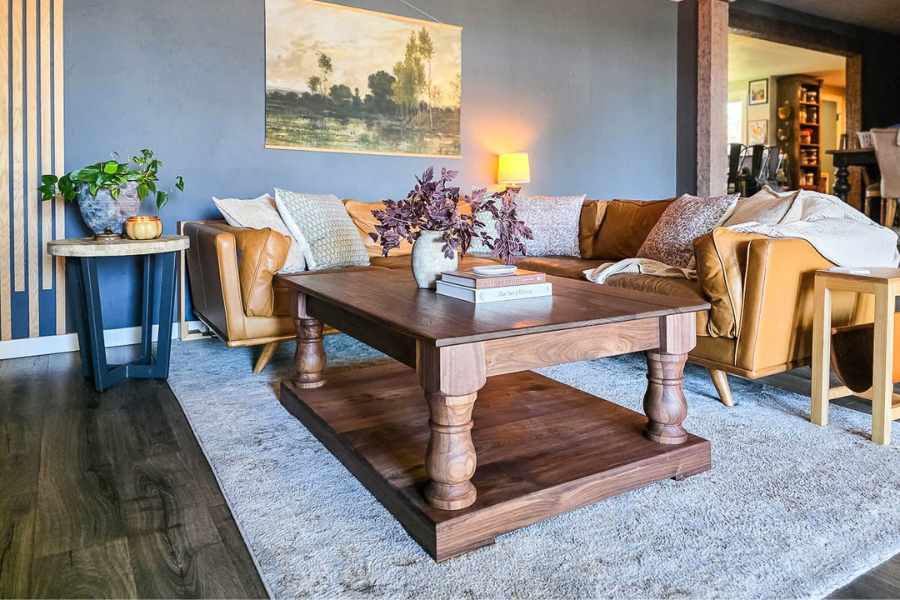
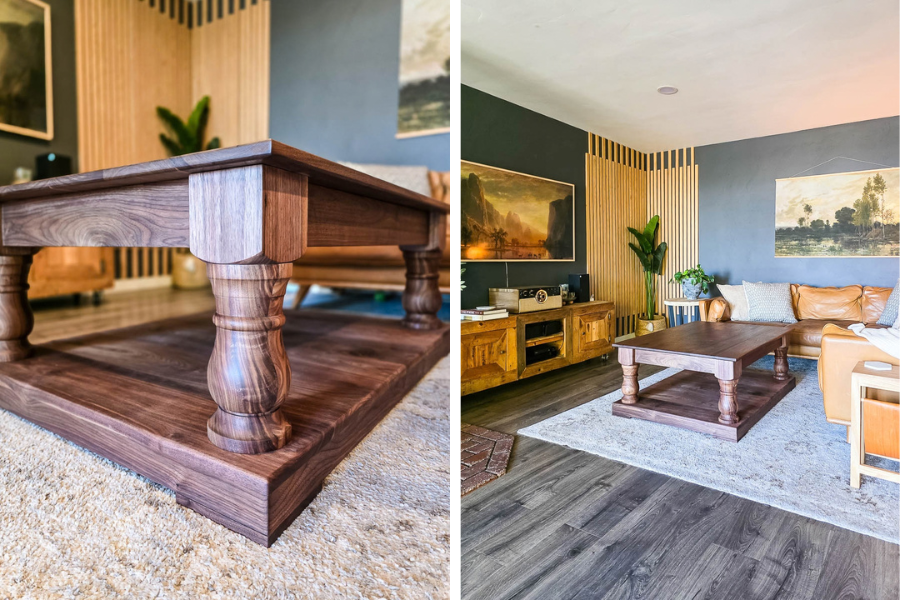
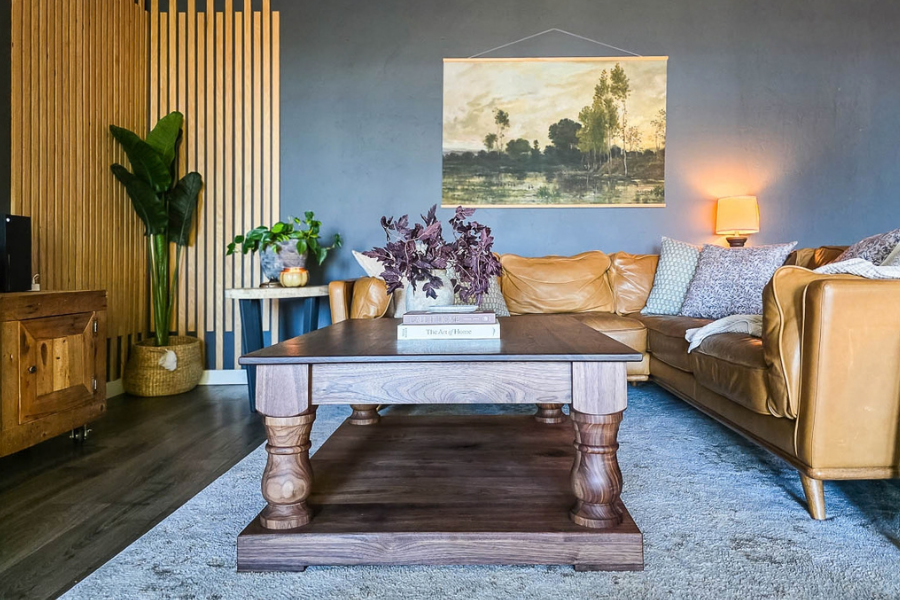
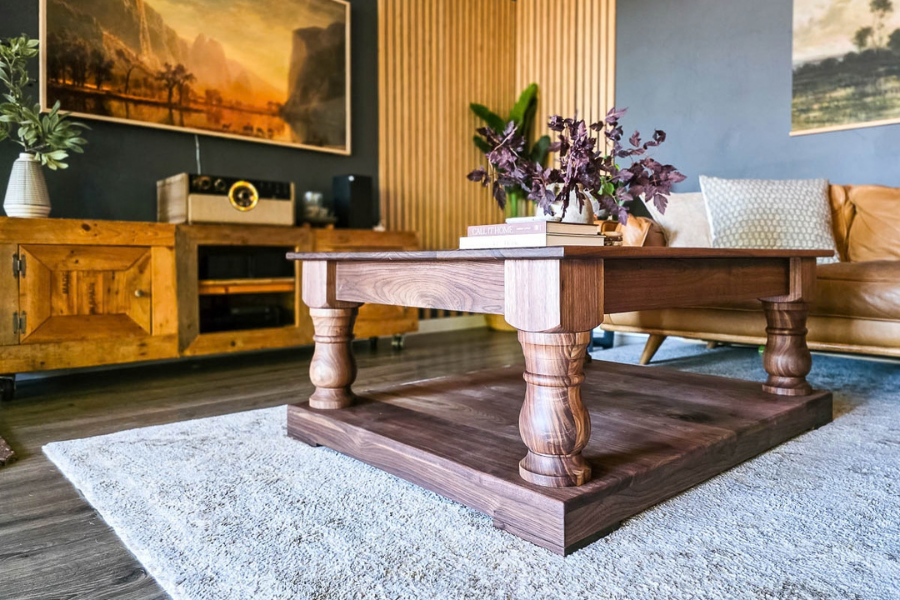
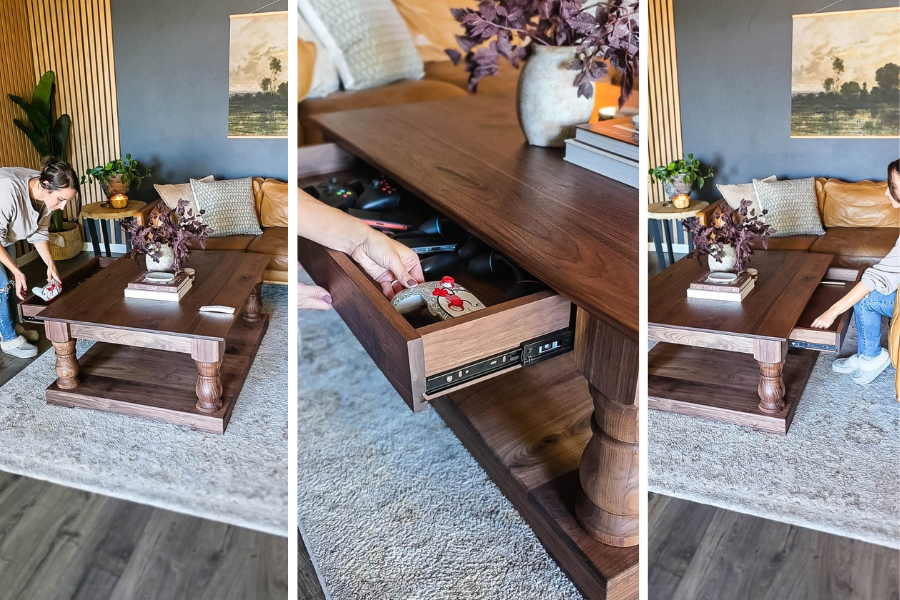
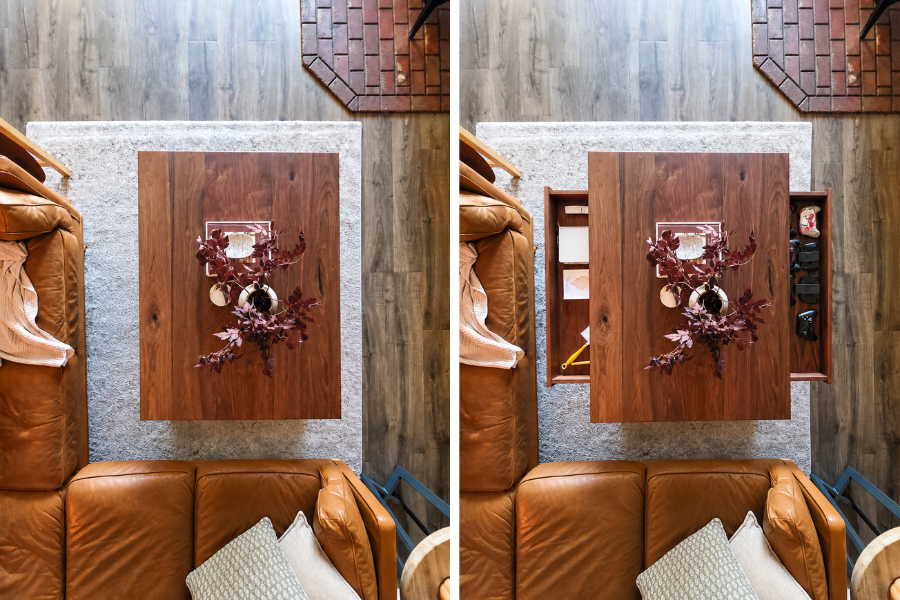

Build a heirloom-quality walnut coffee table with a hidden drawer using our free plans. Every joint is metal-free, made with the new Kreg Edge Loose Tenon Joiner for strong, clean connections.
Tools
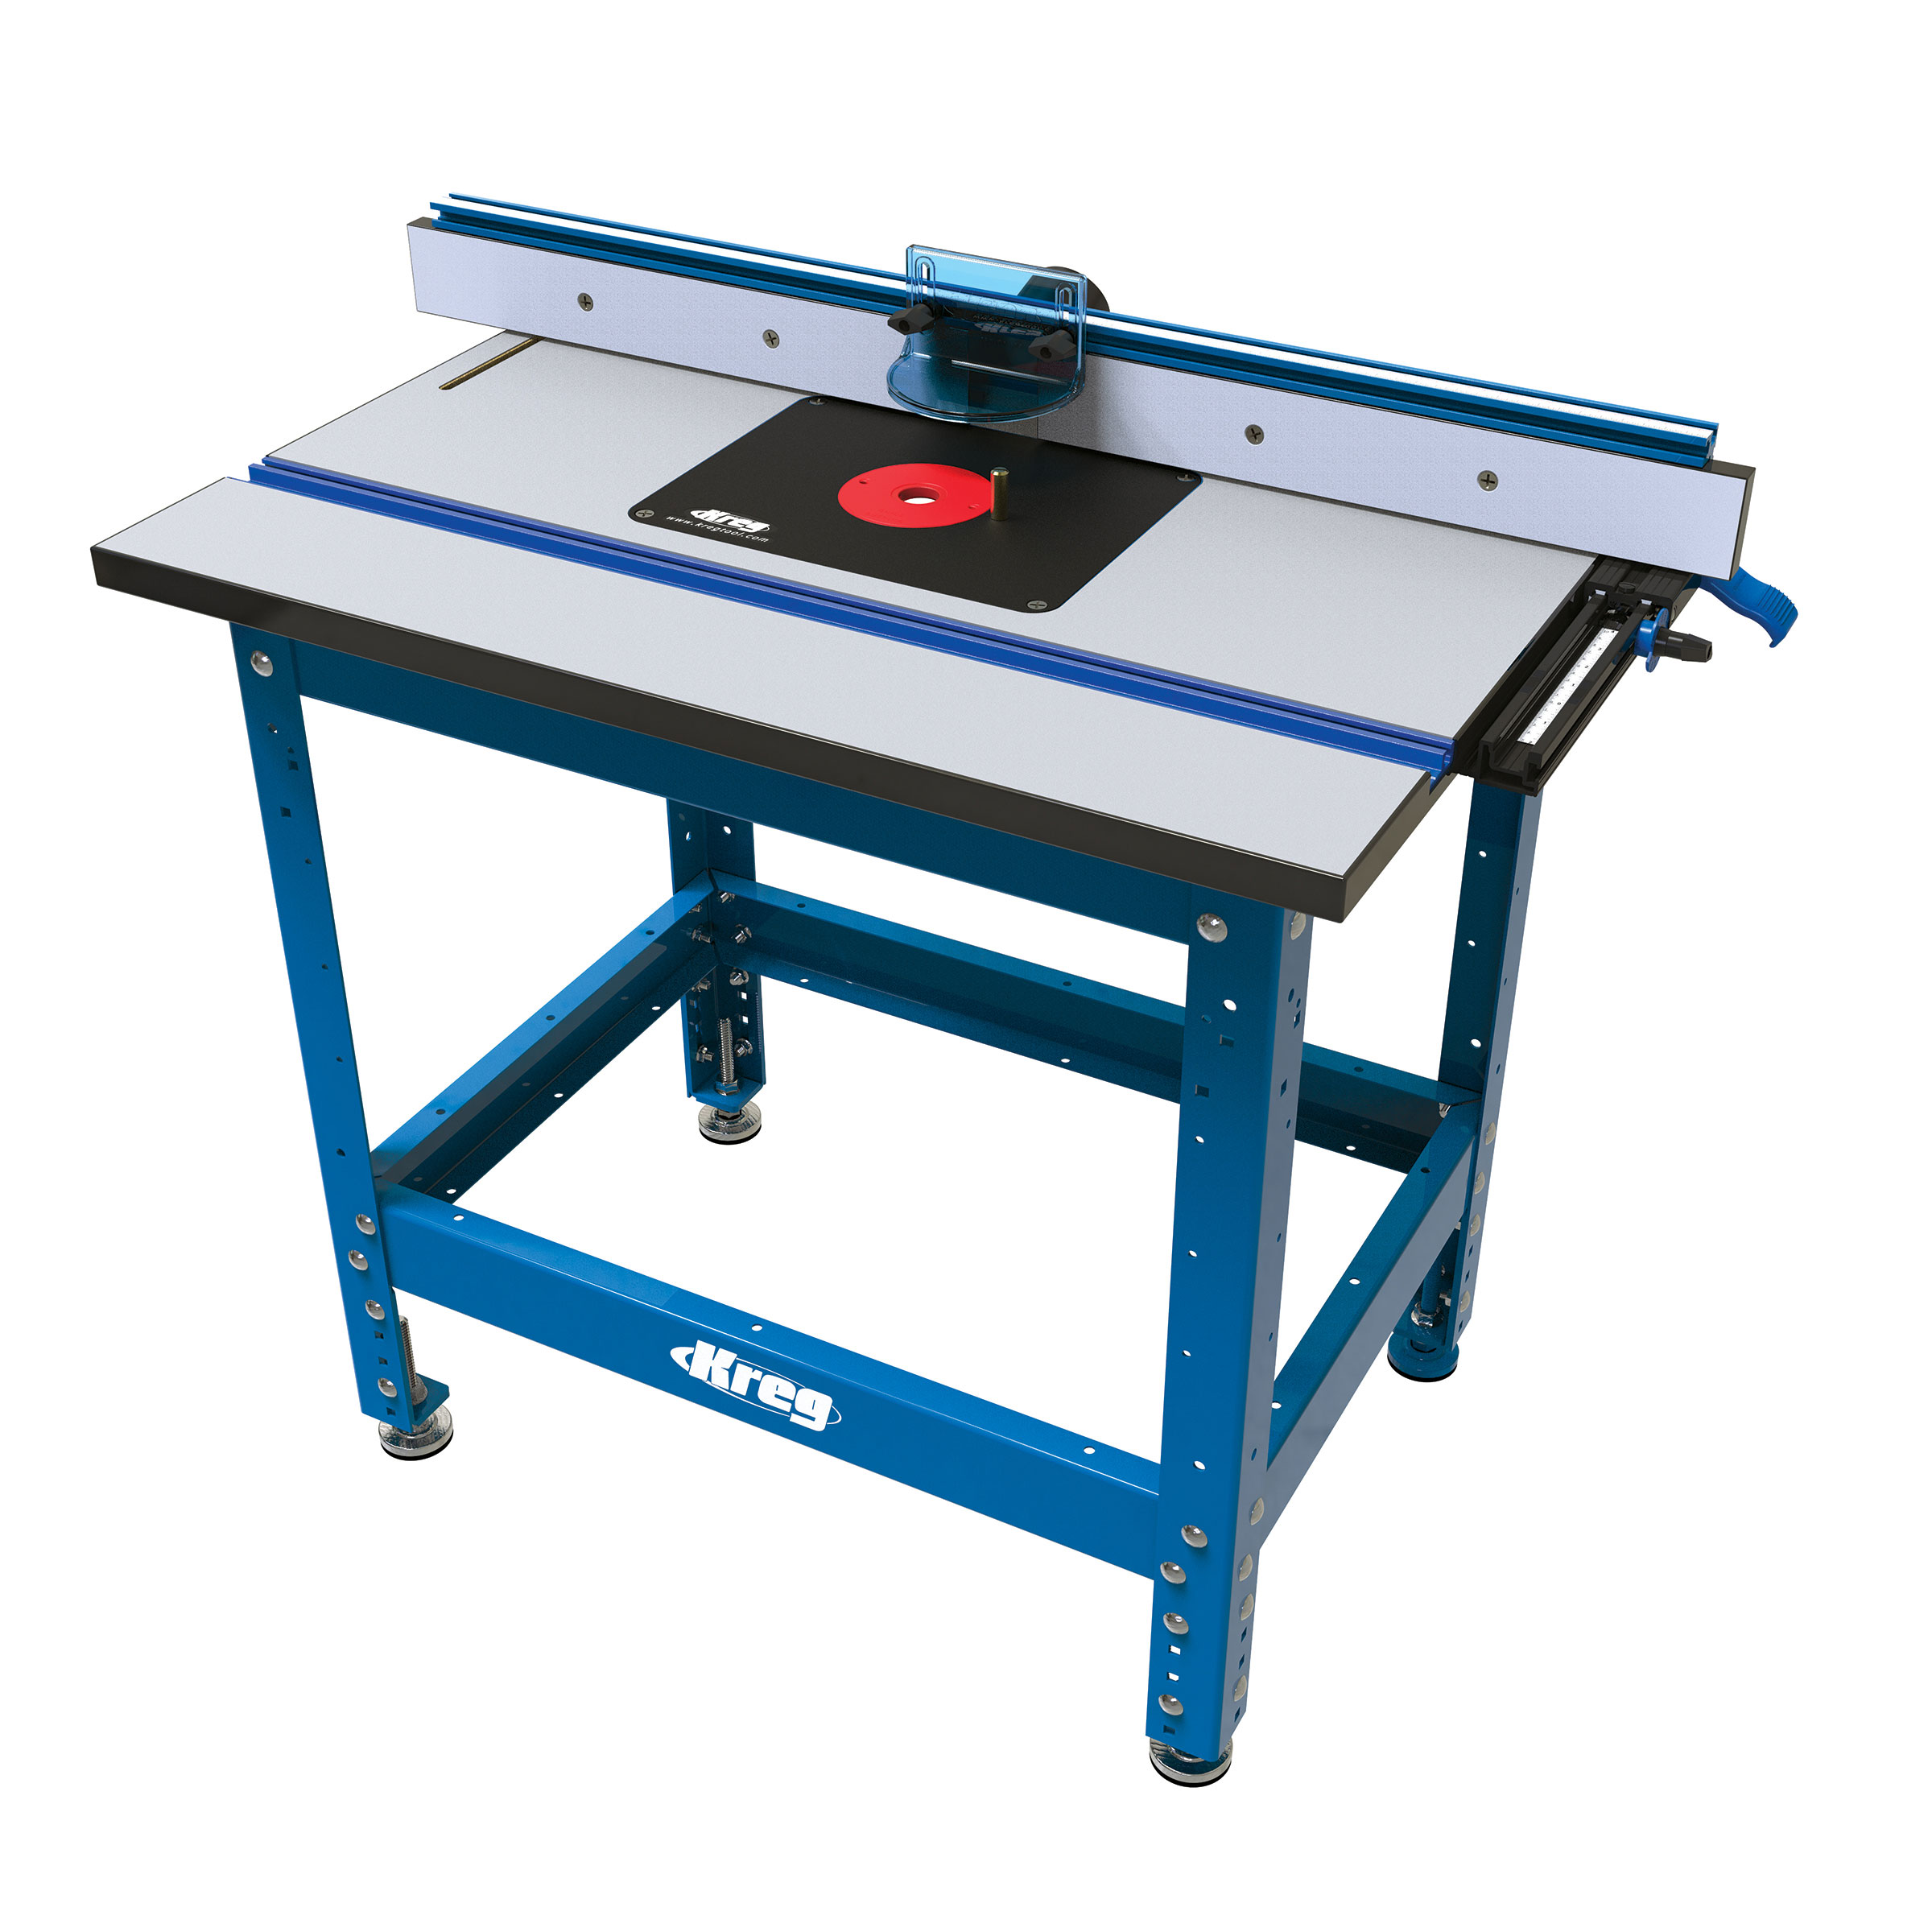
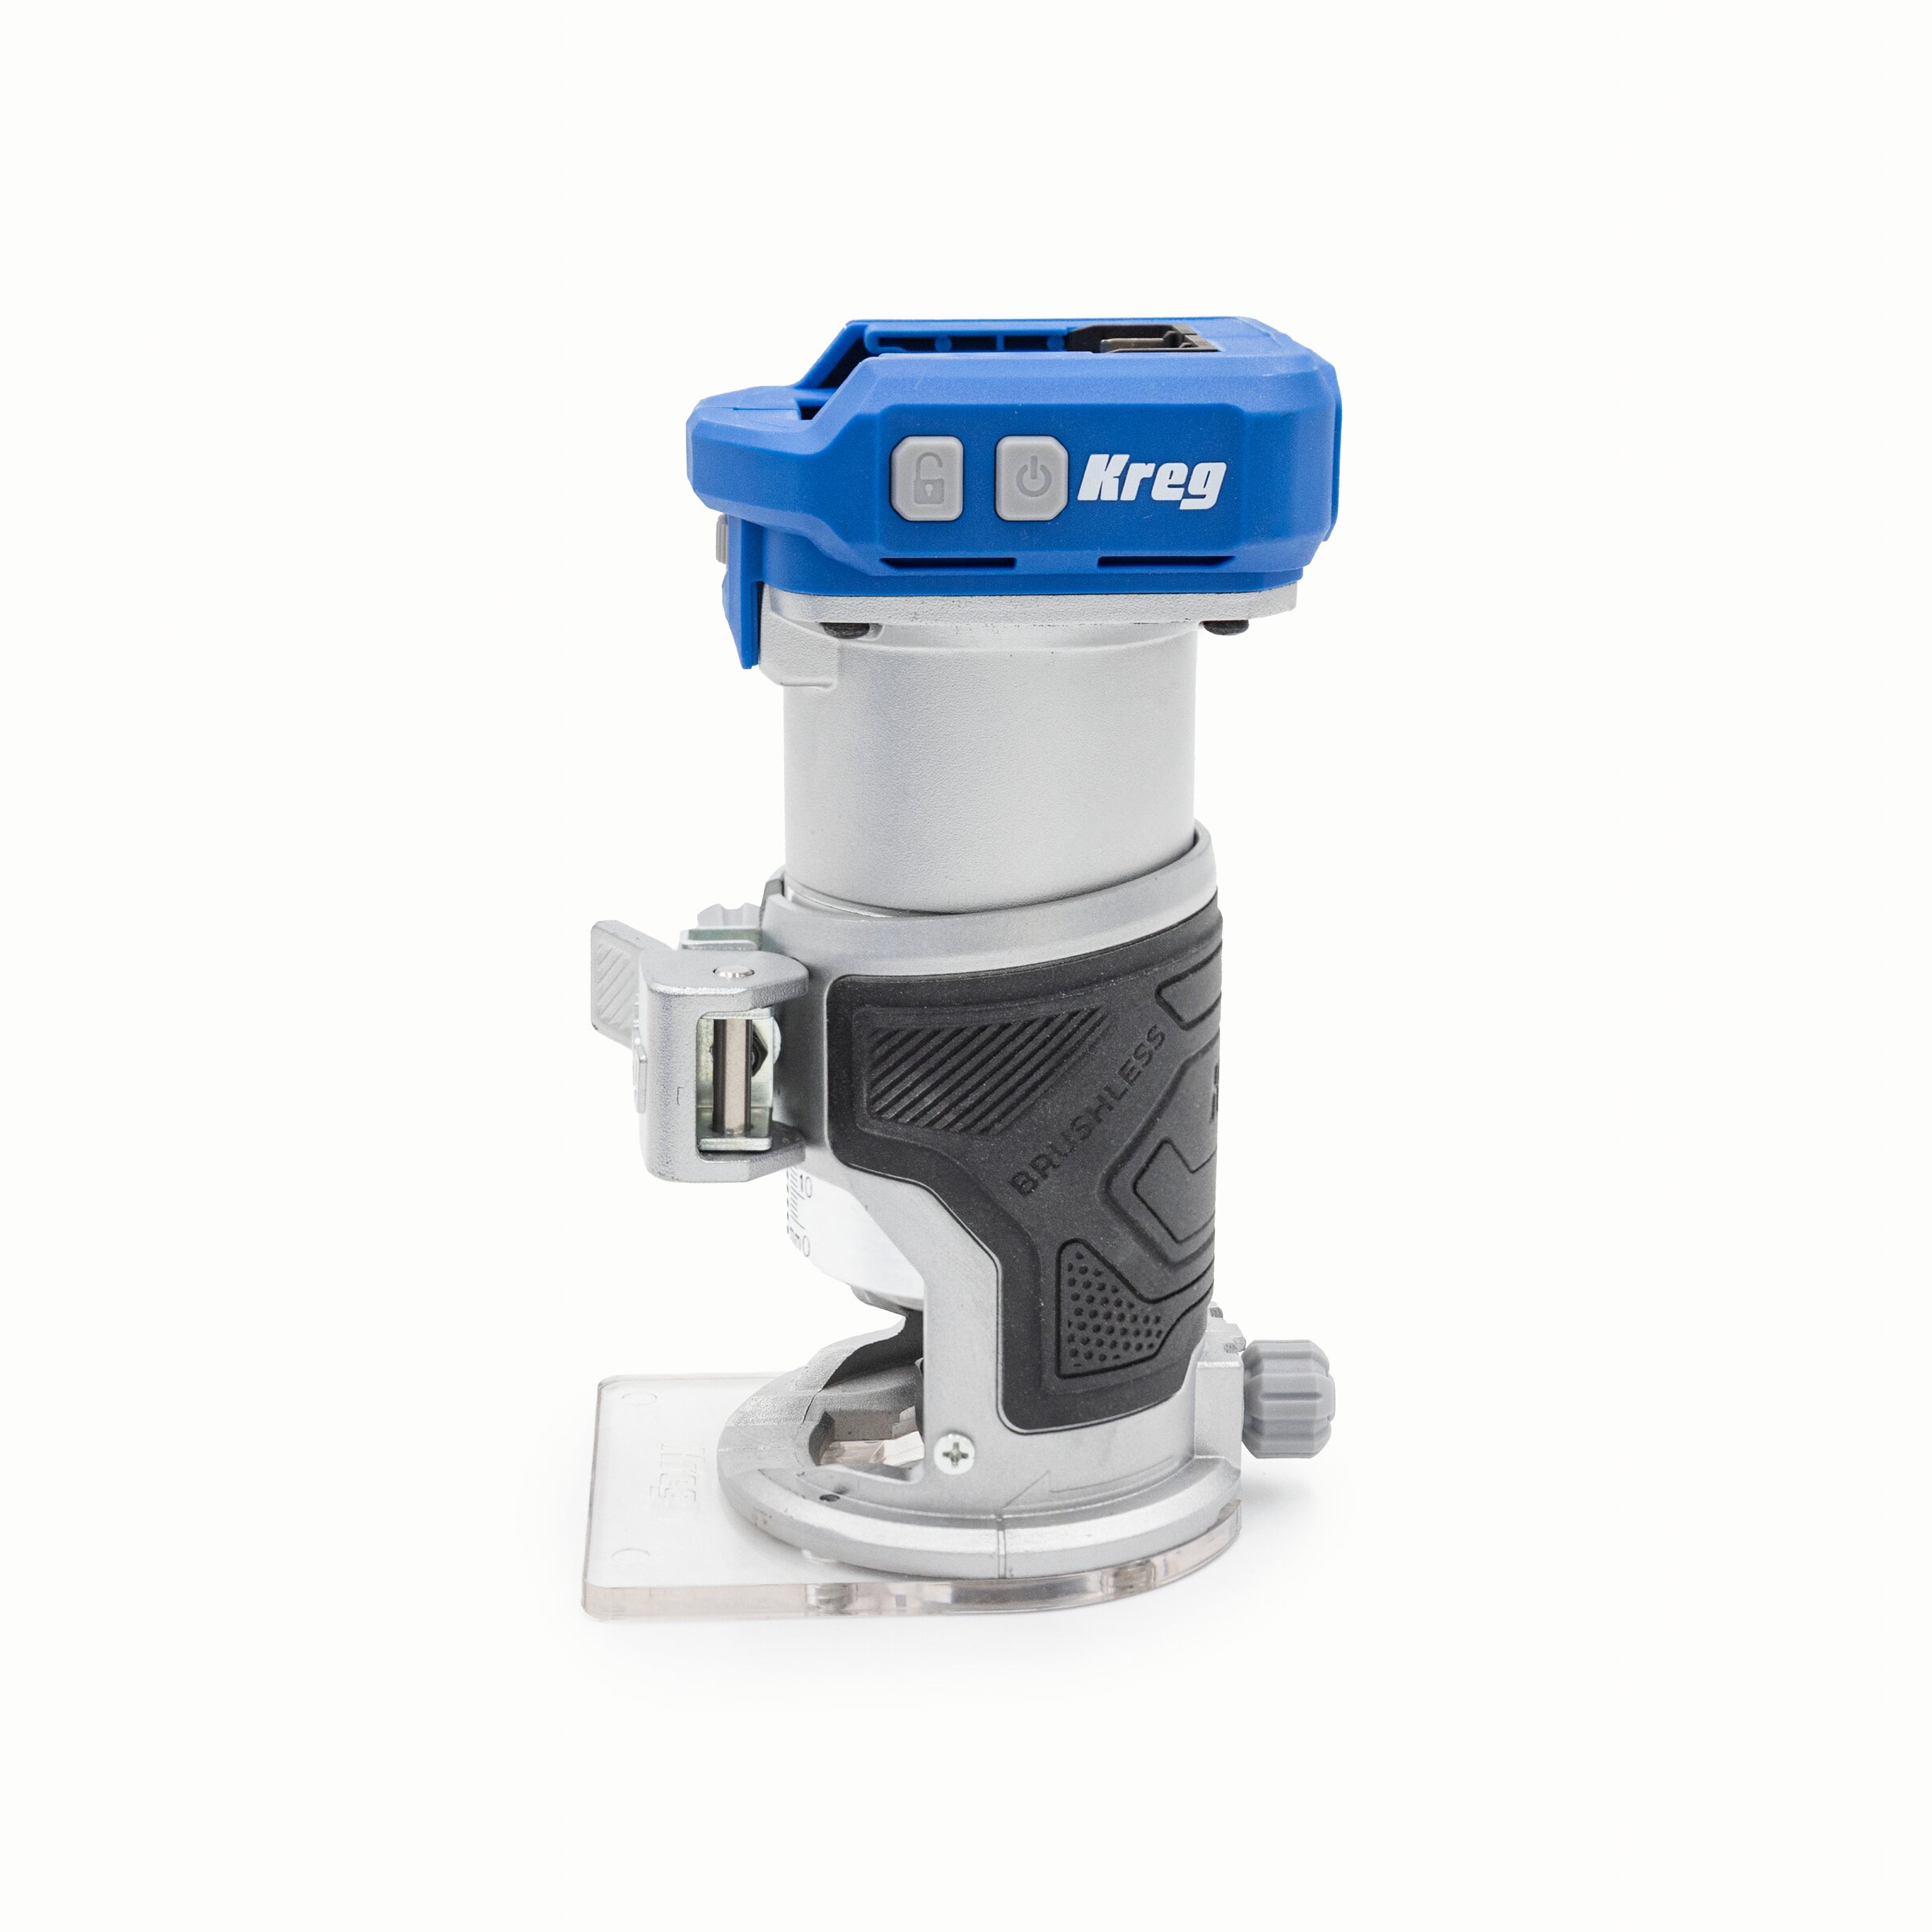
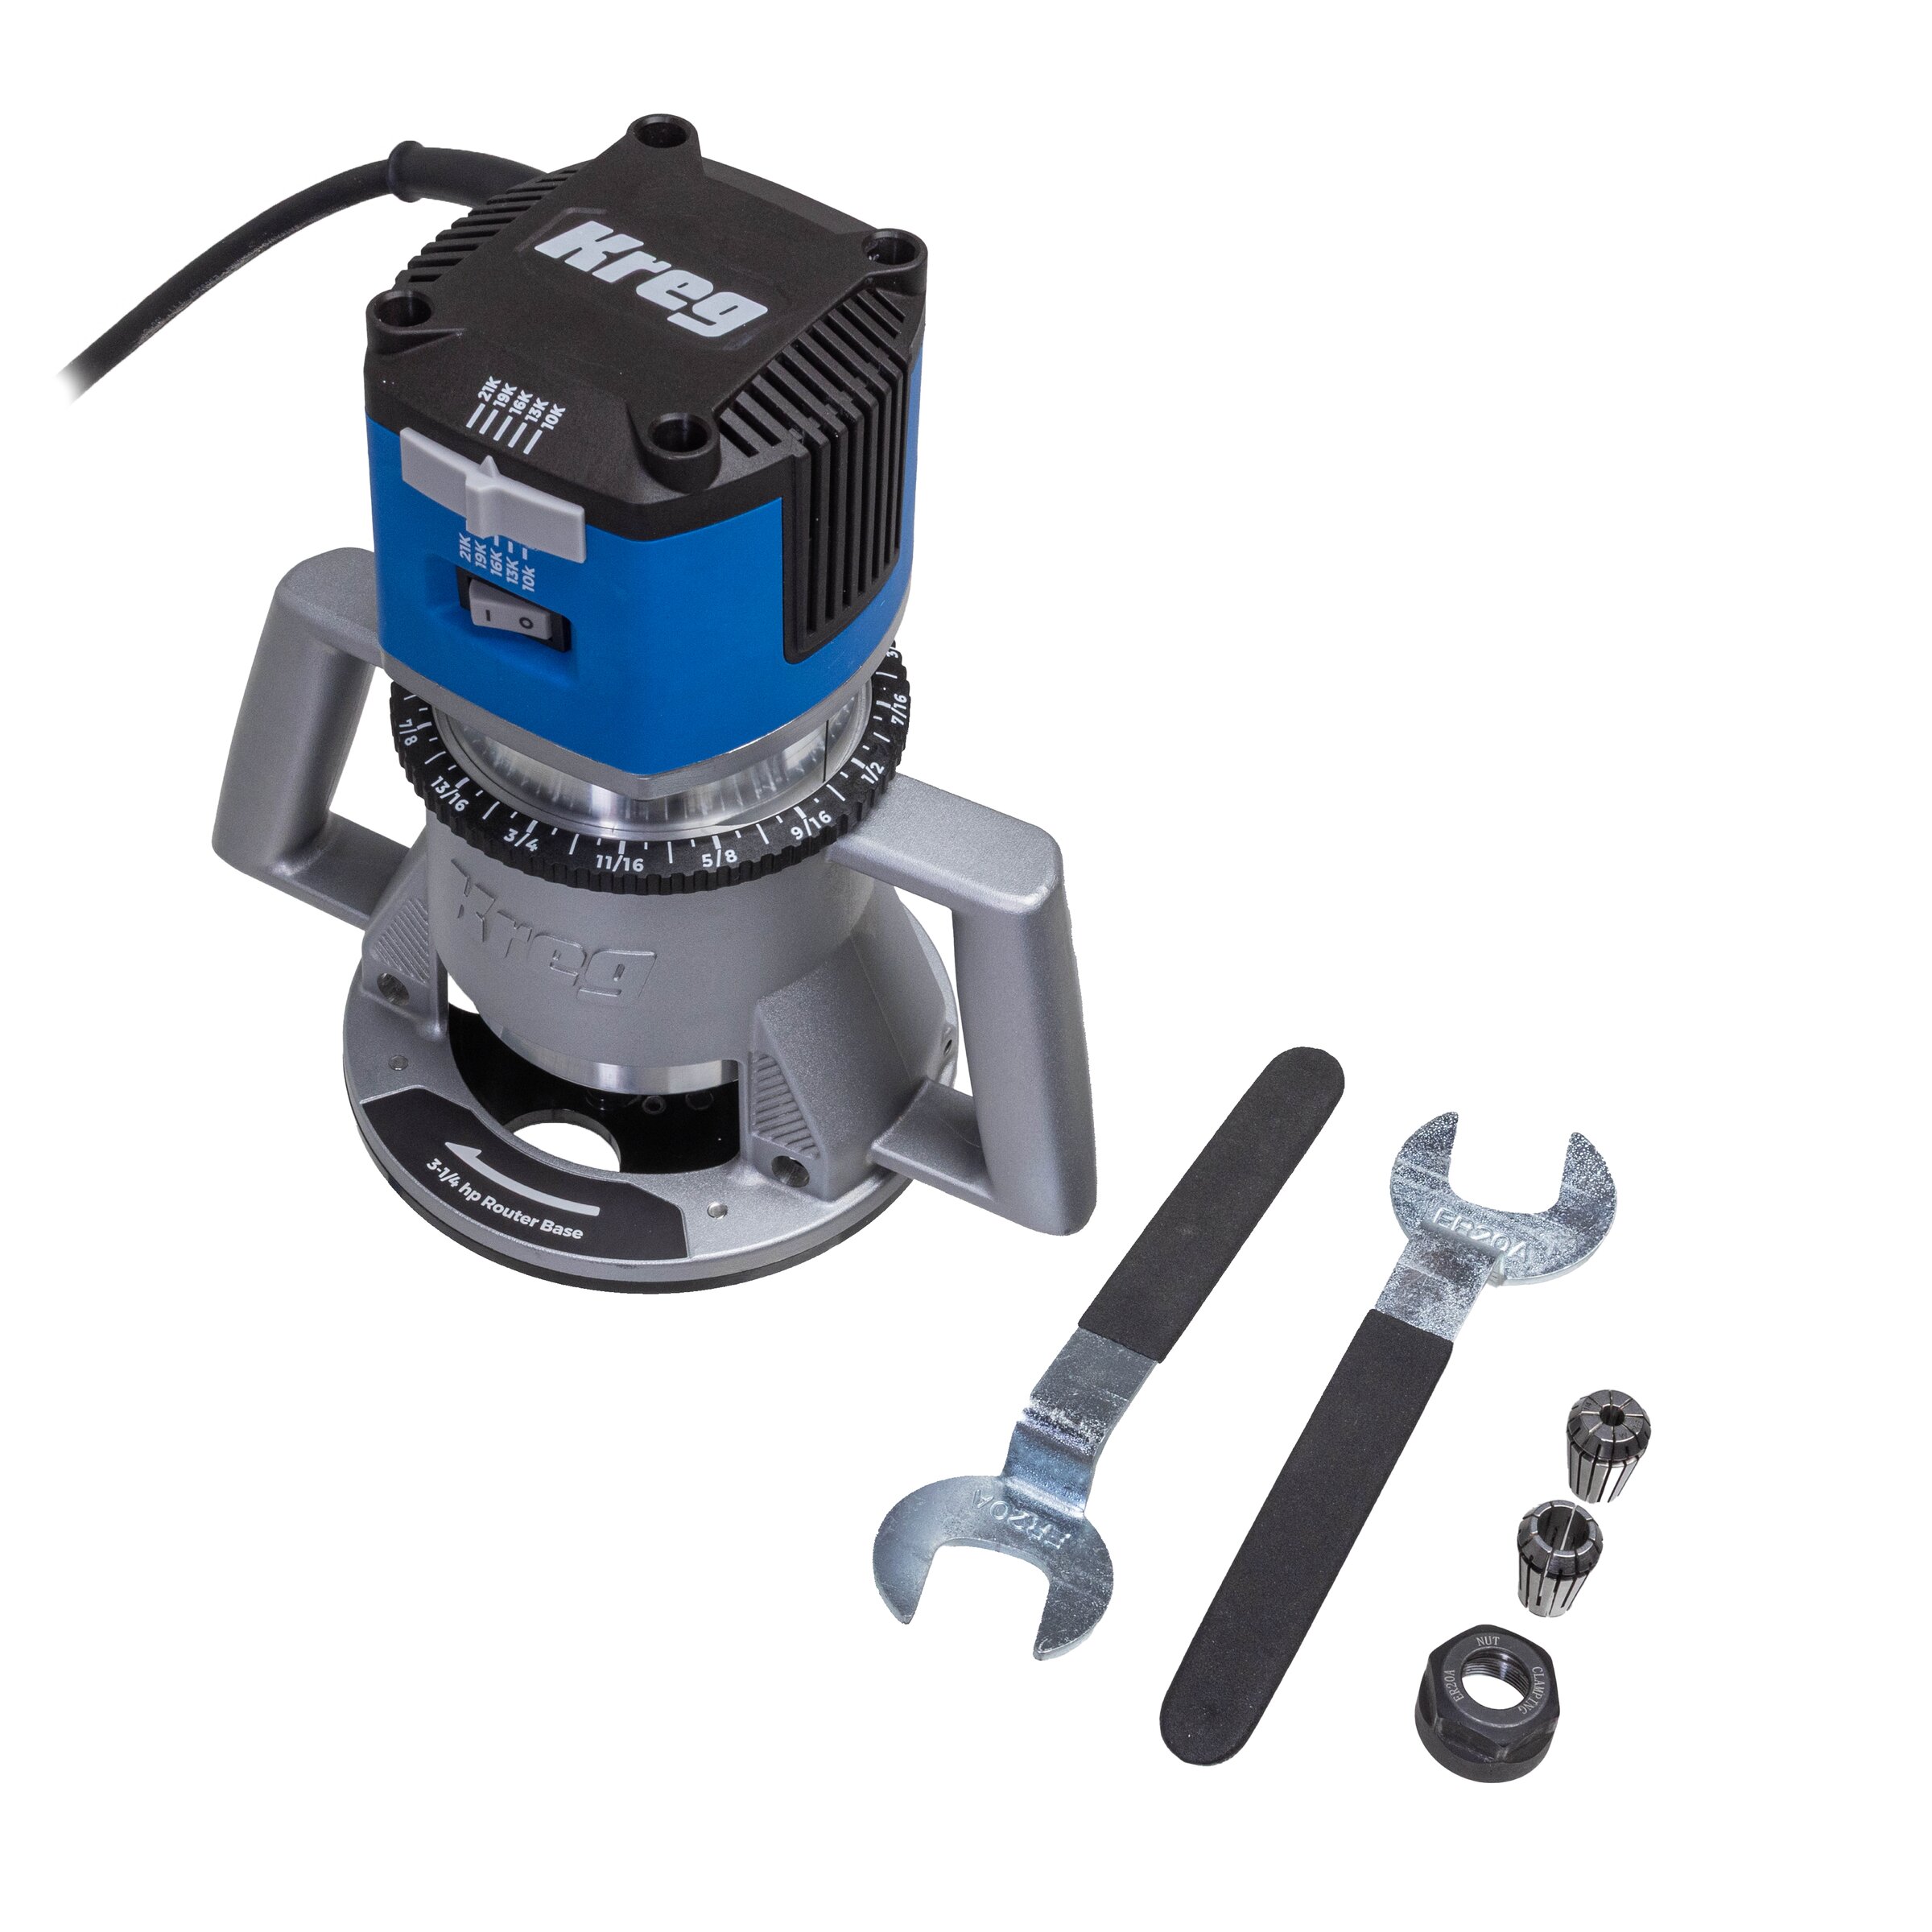
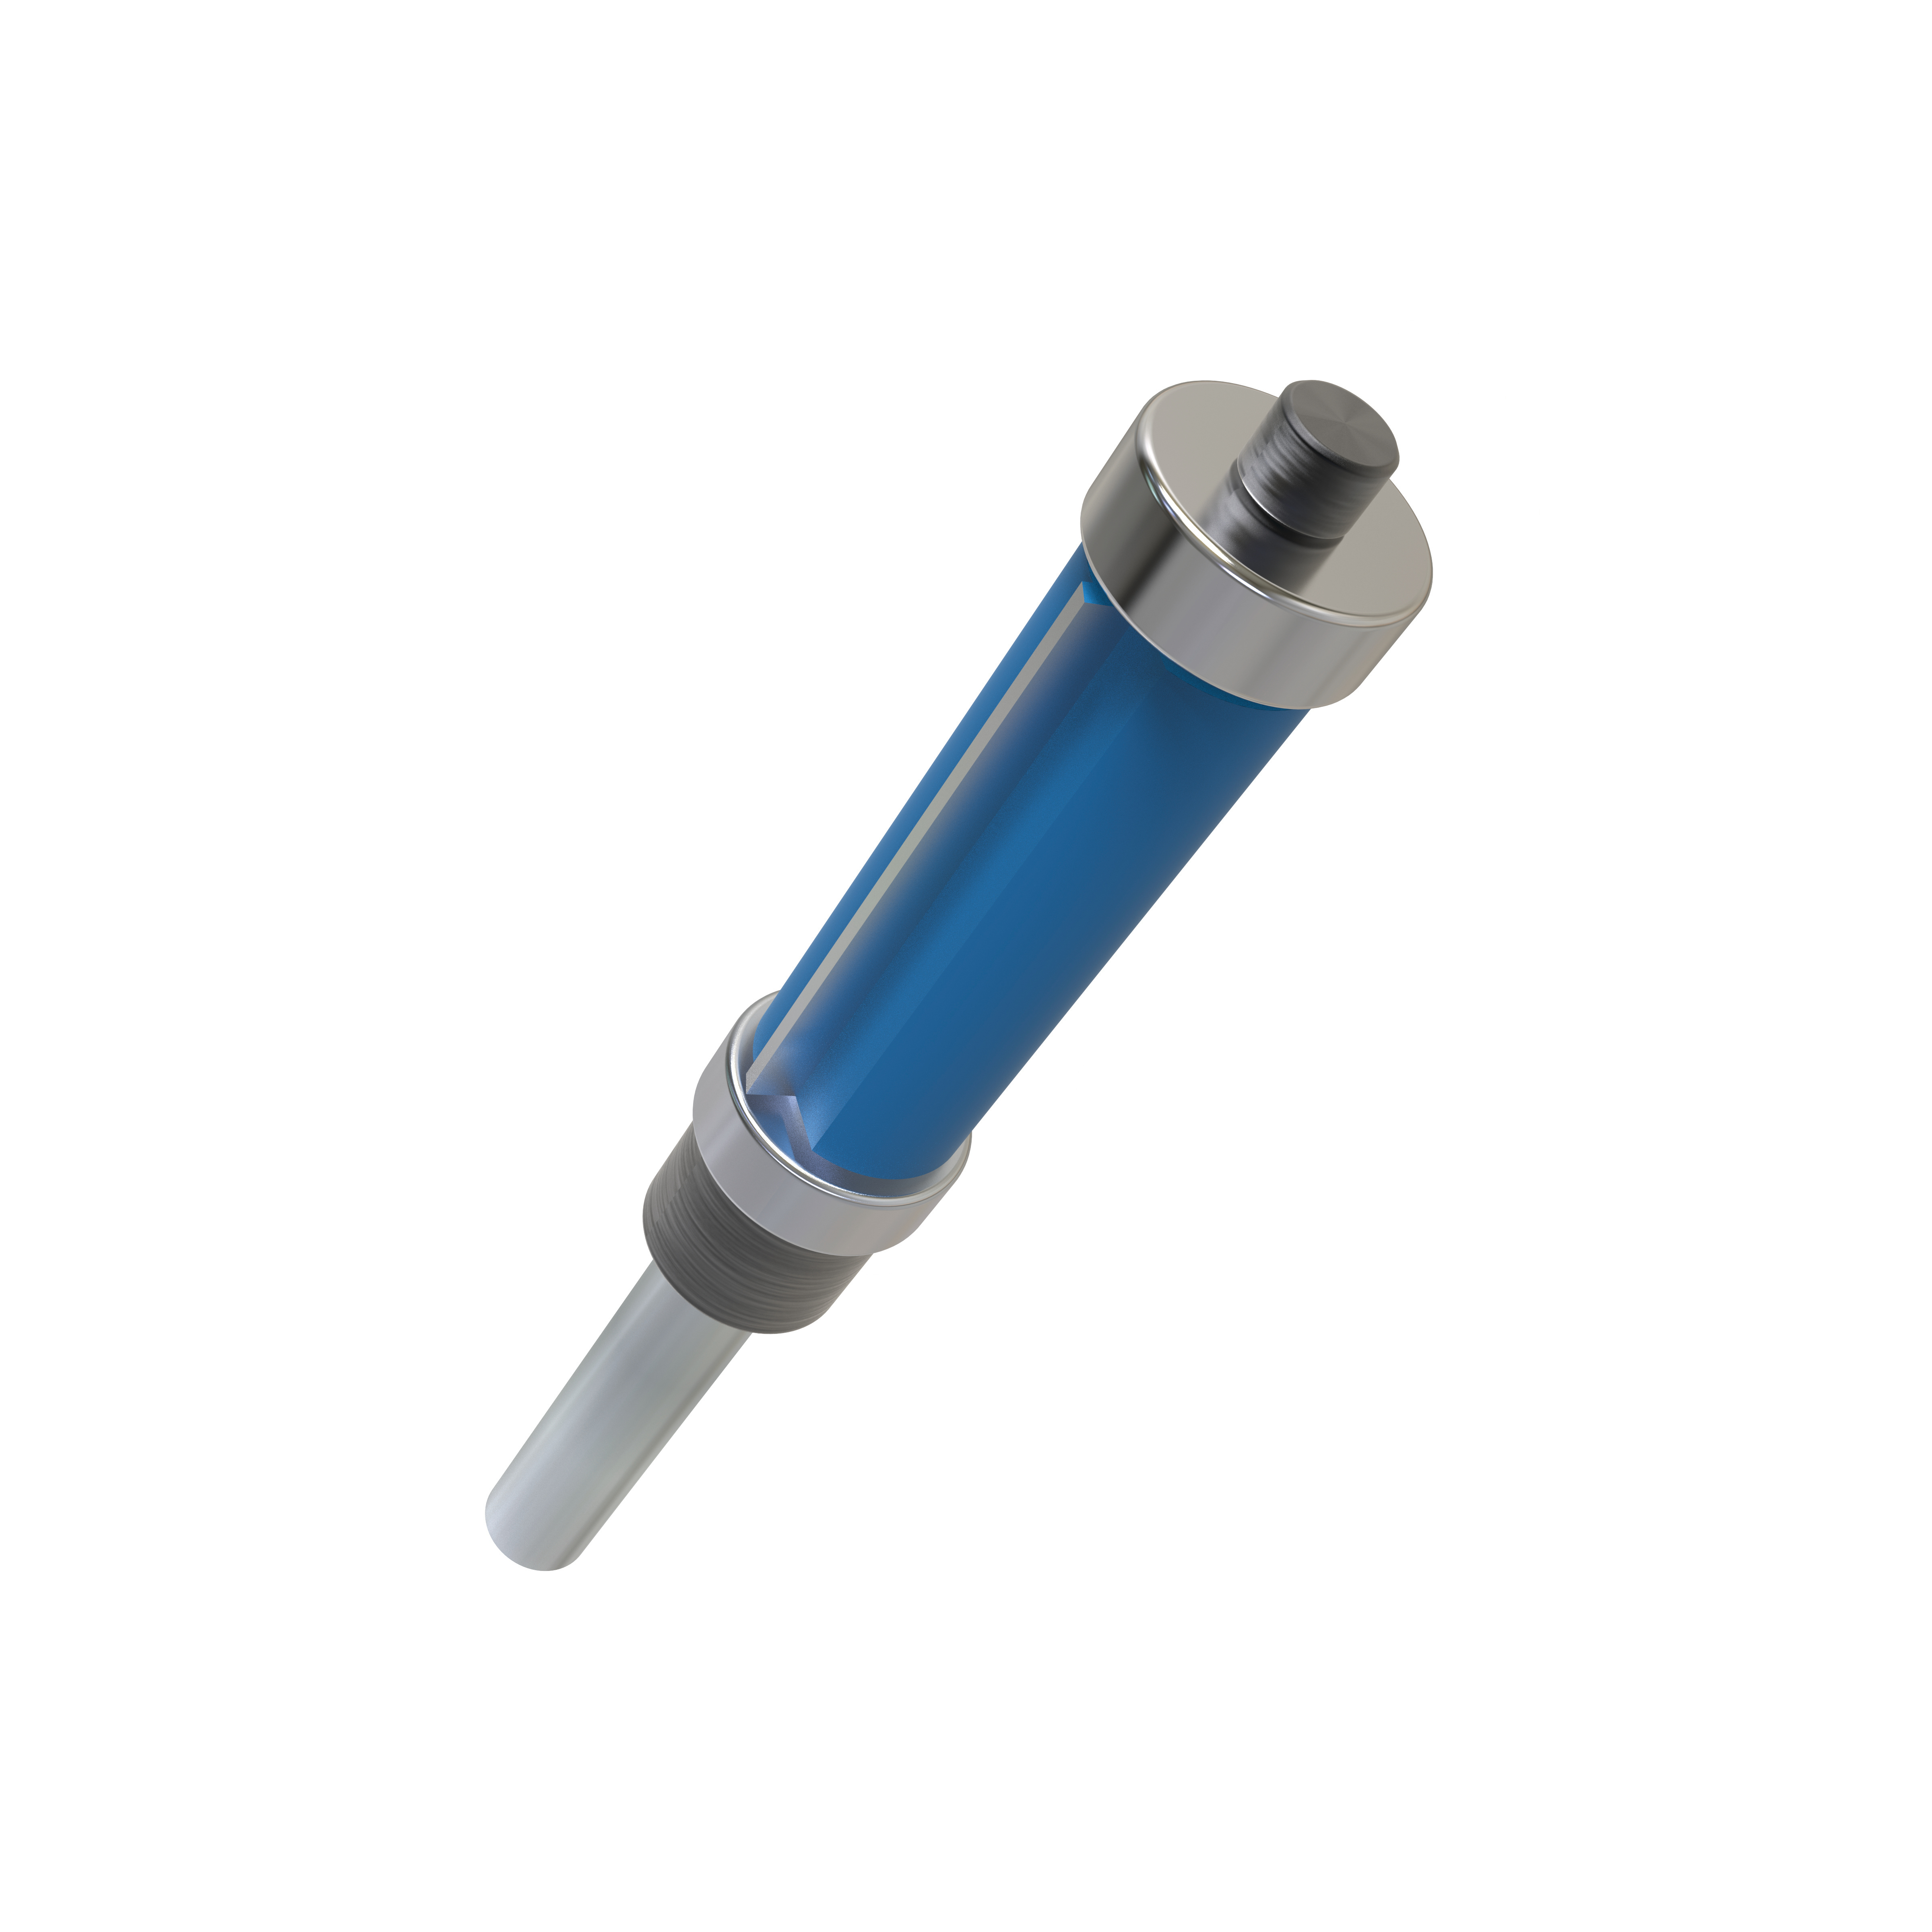
Kreg Tools
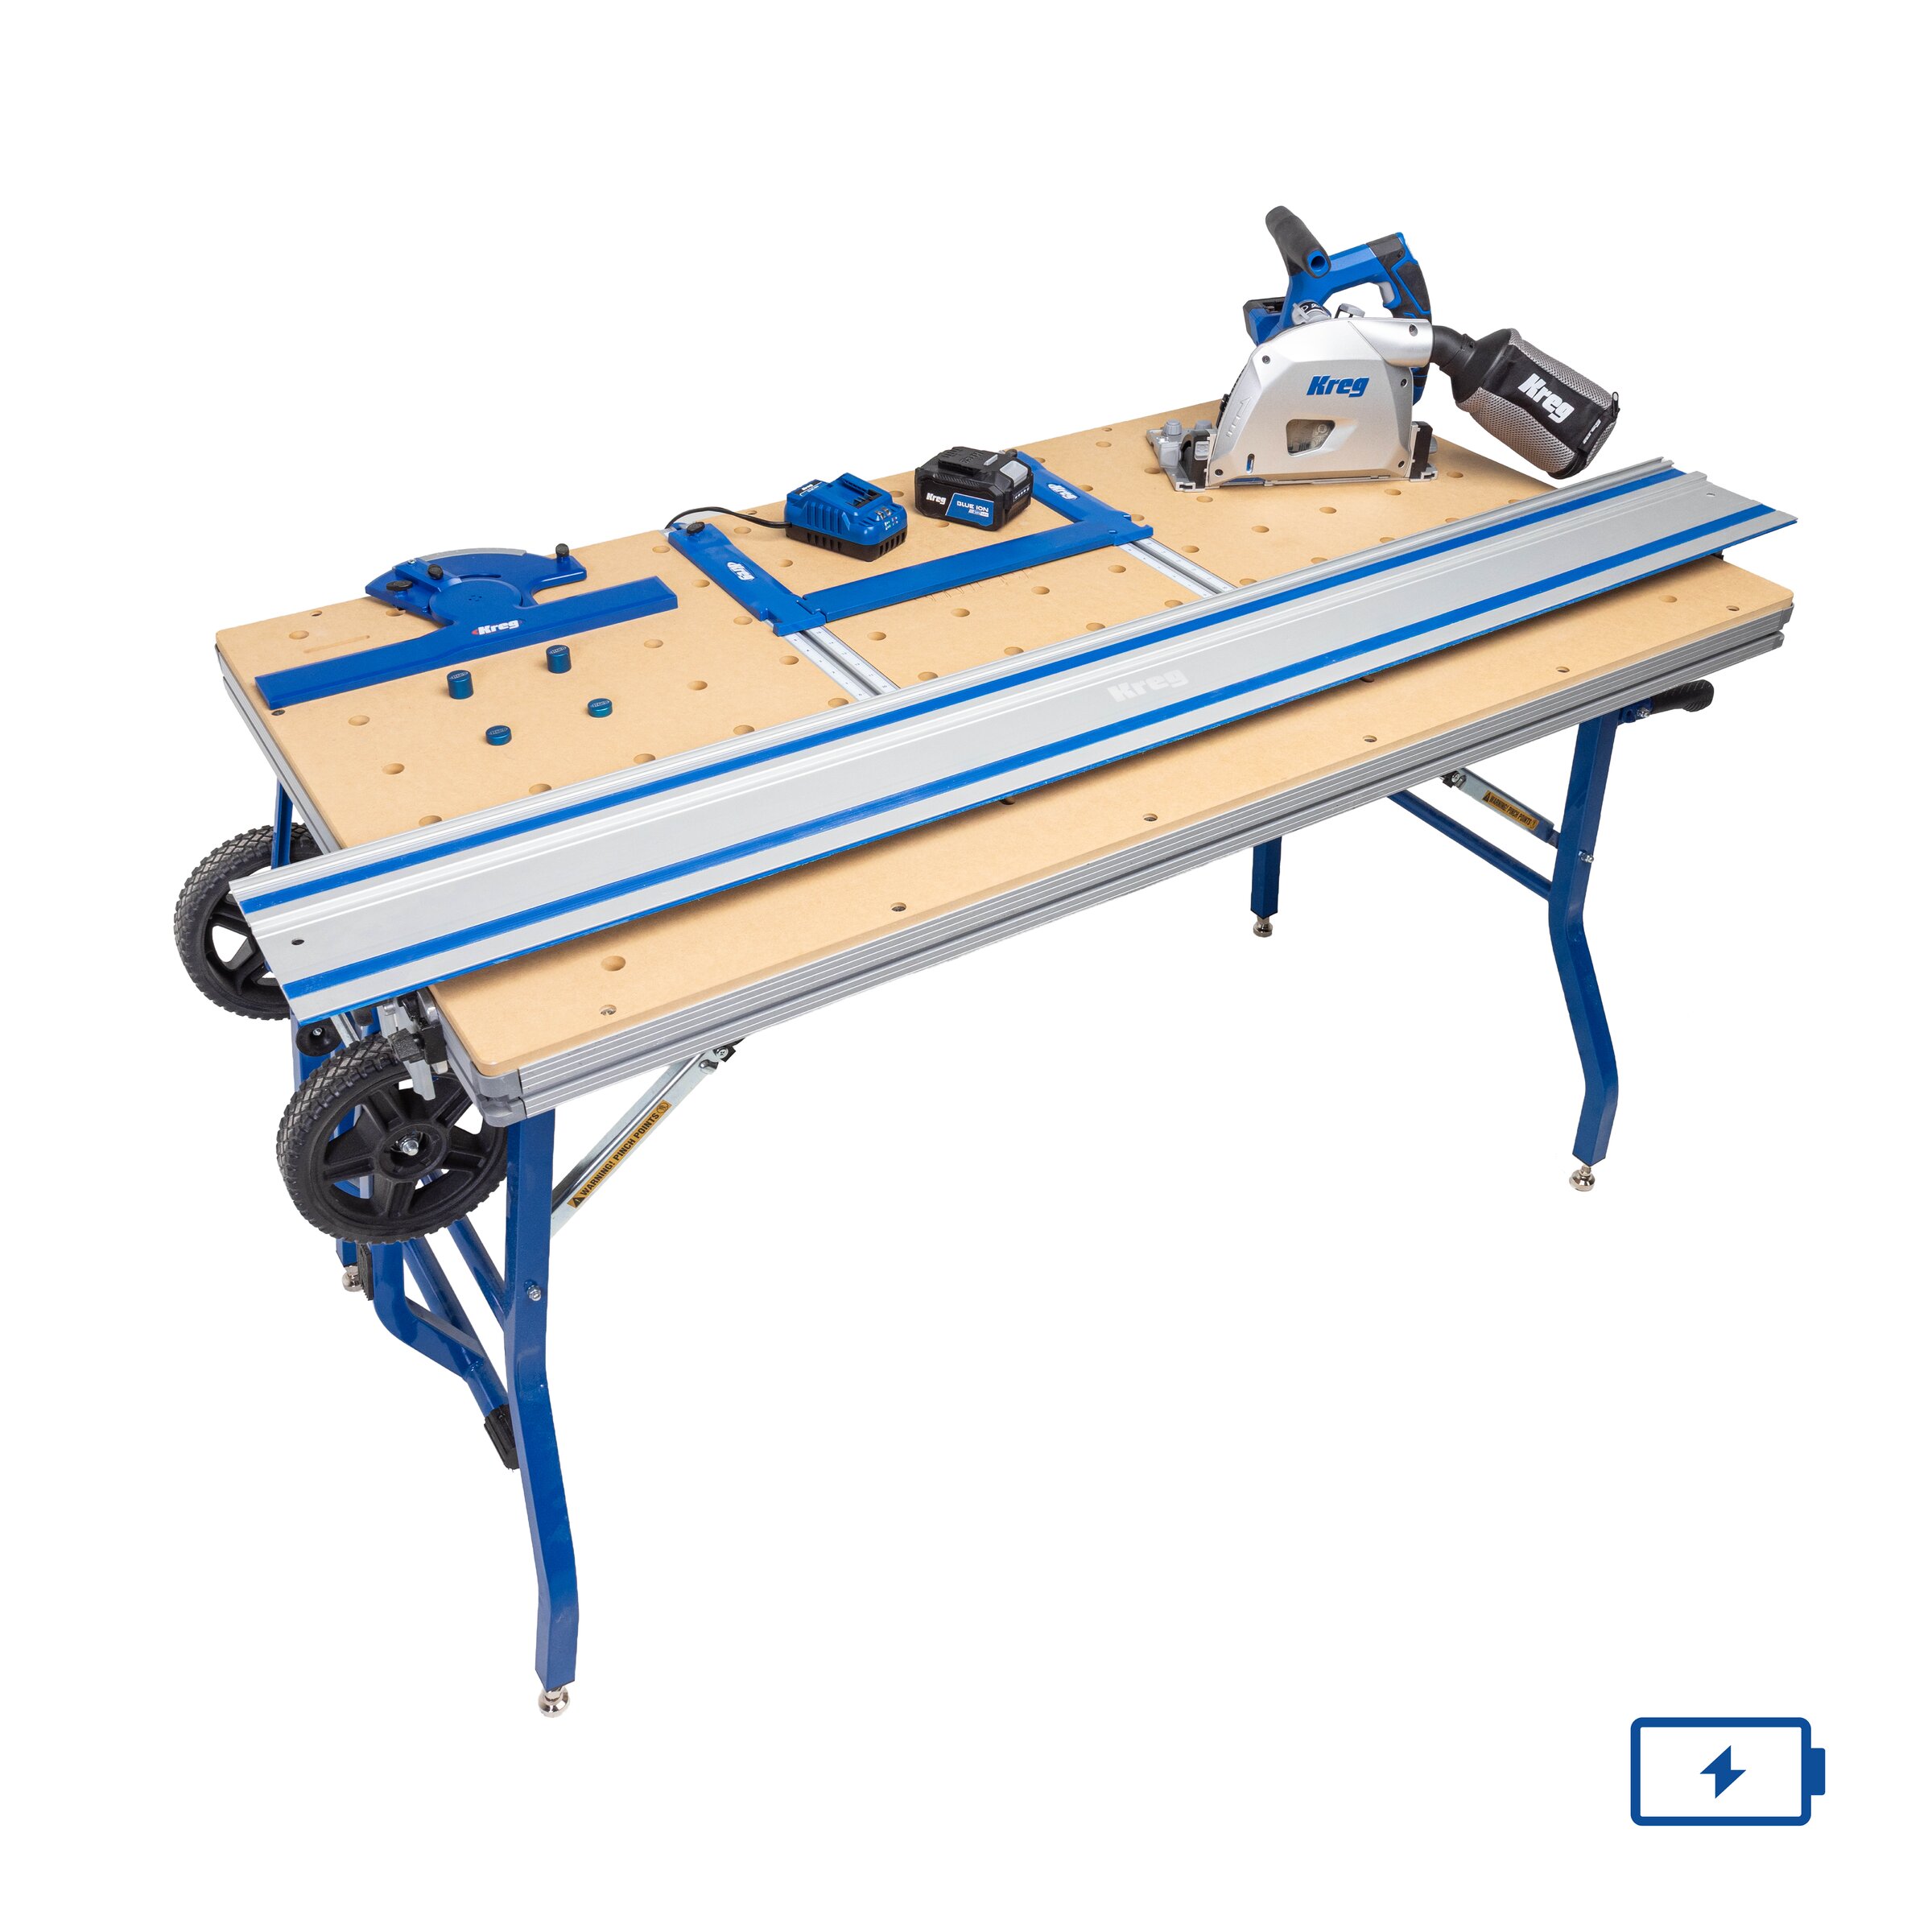
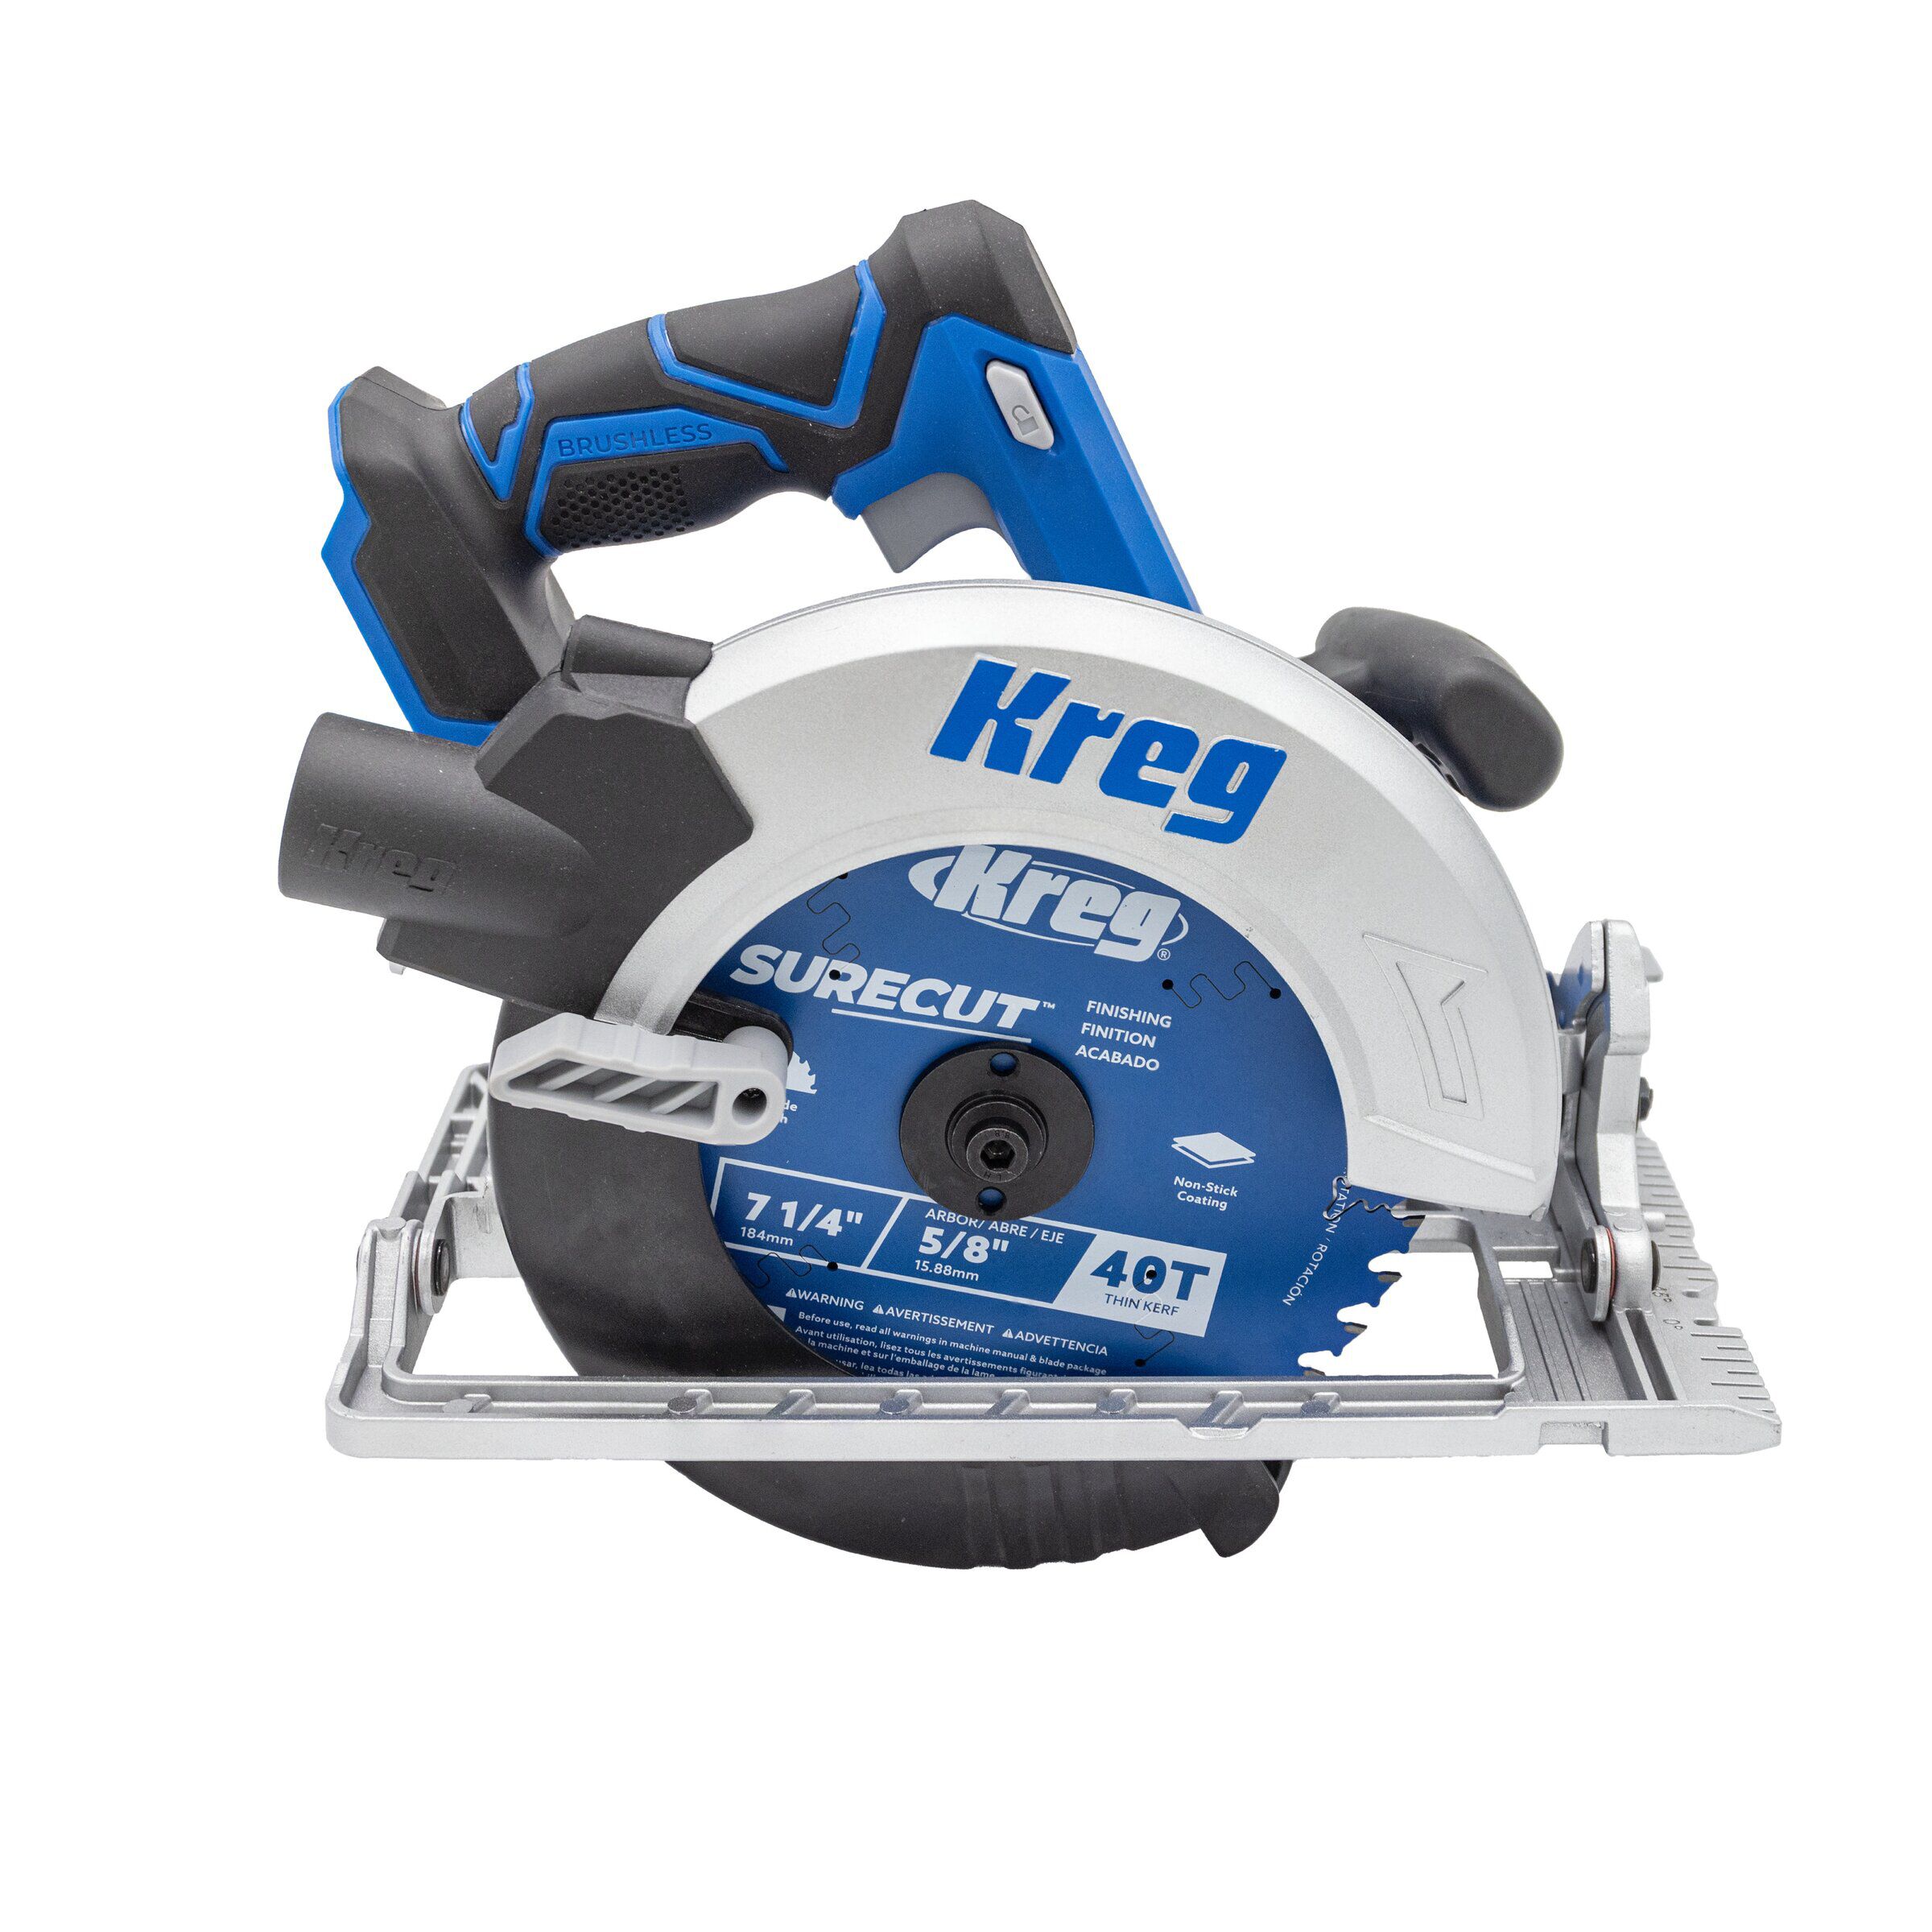
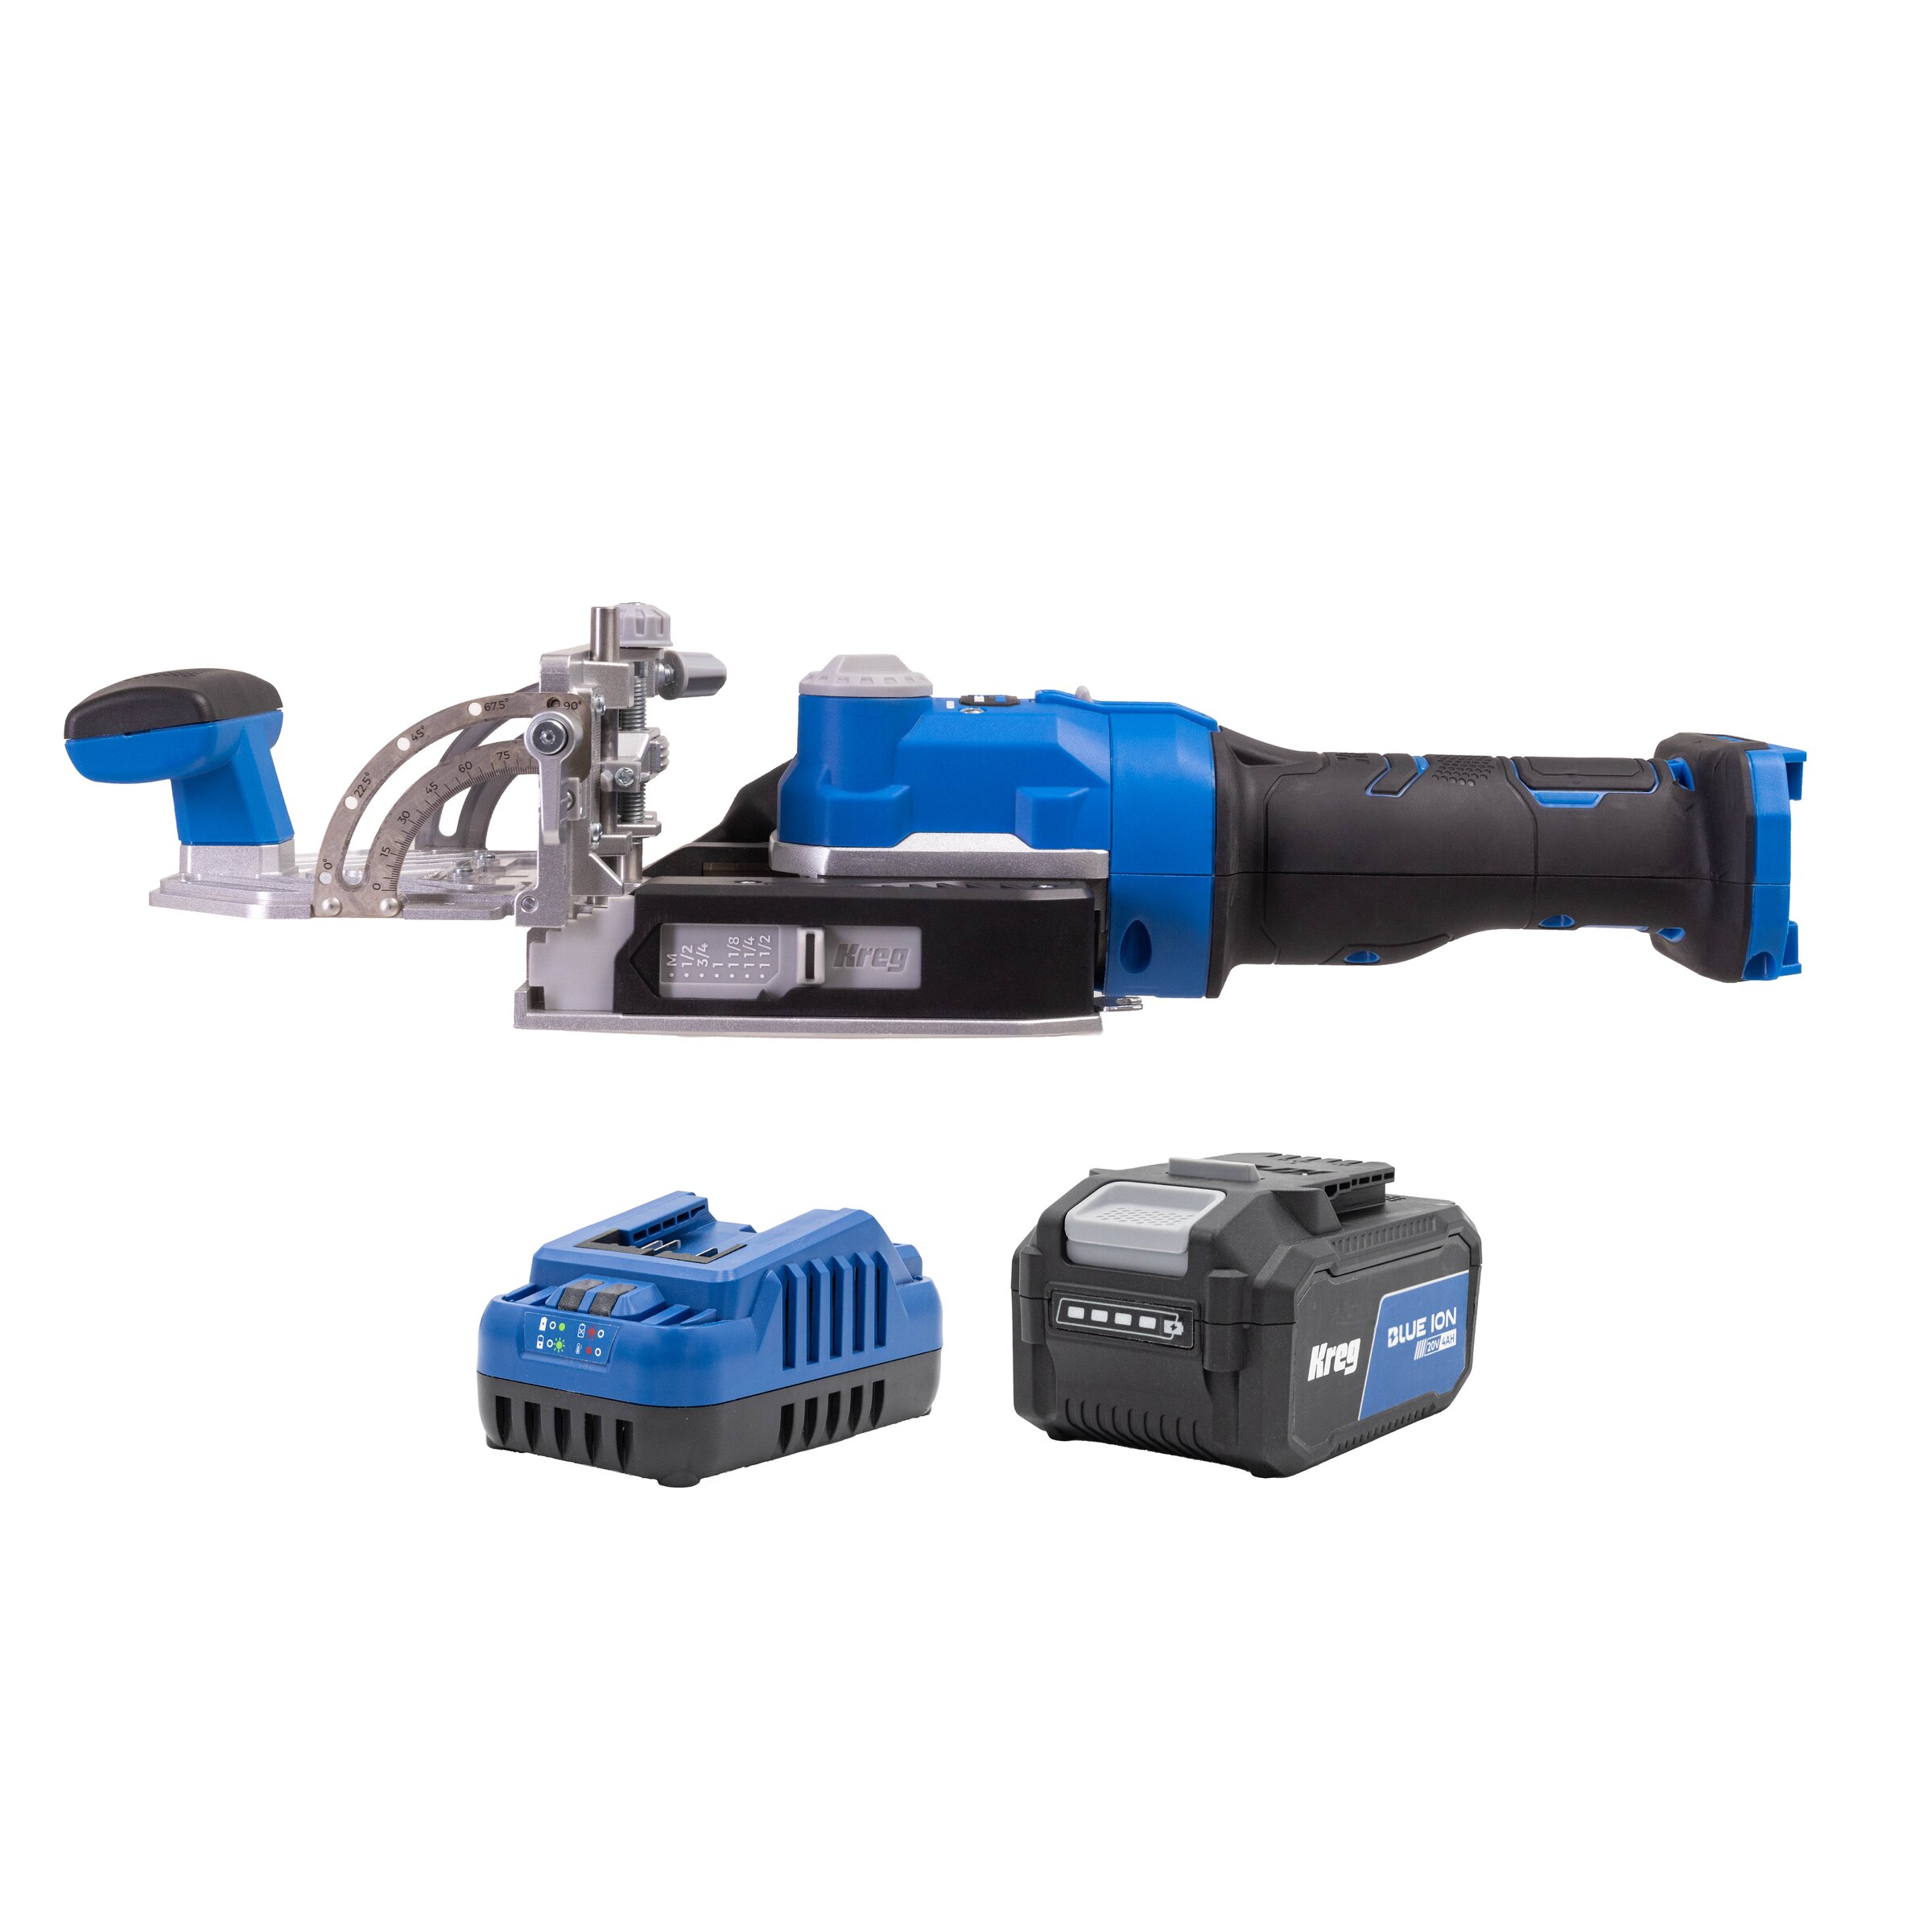
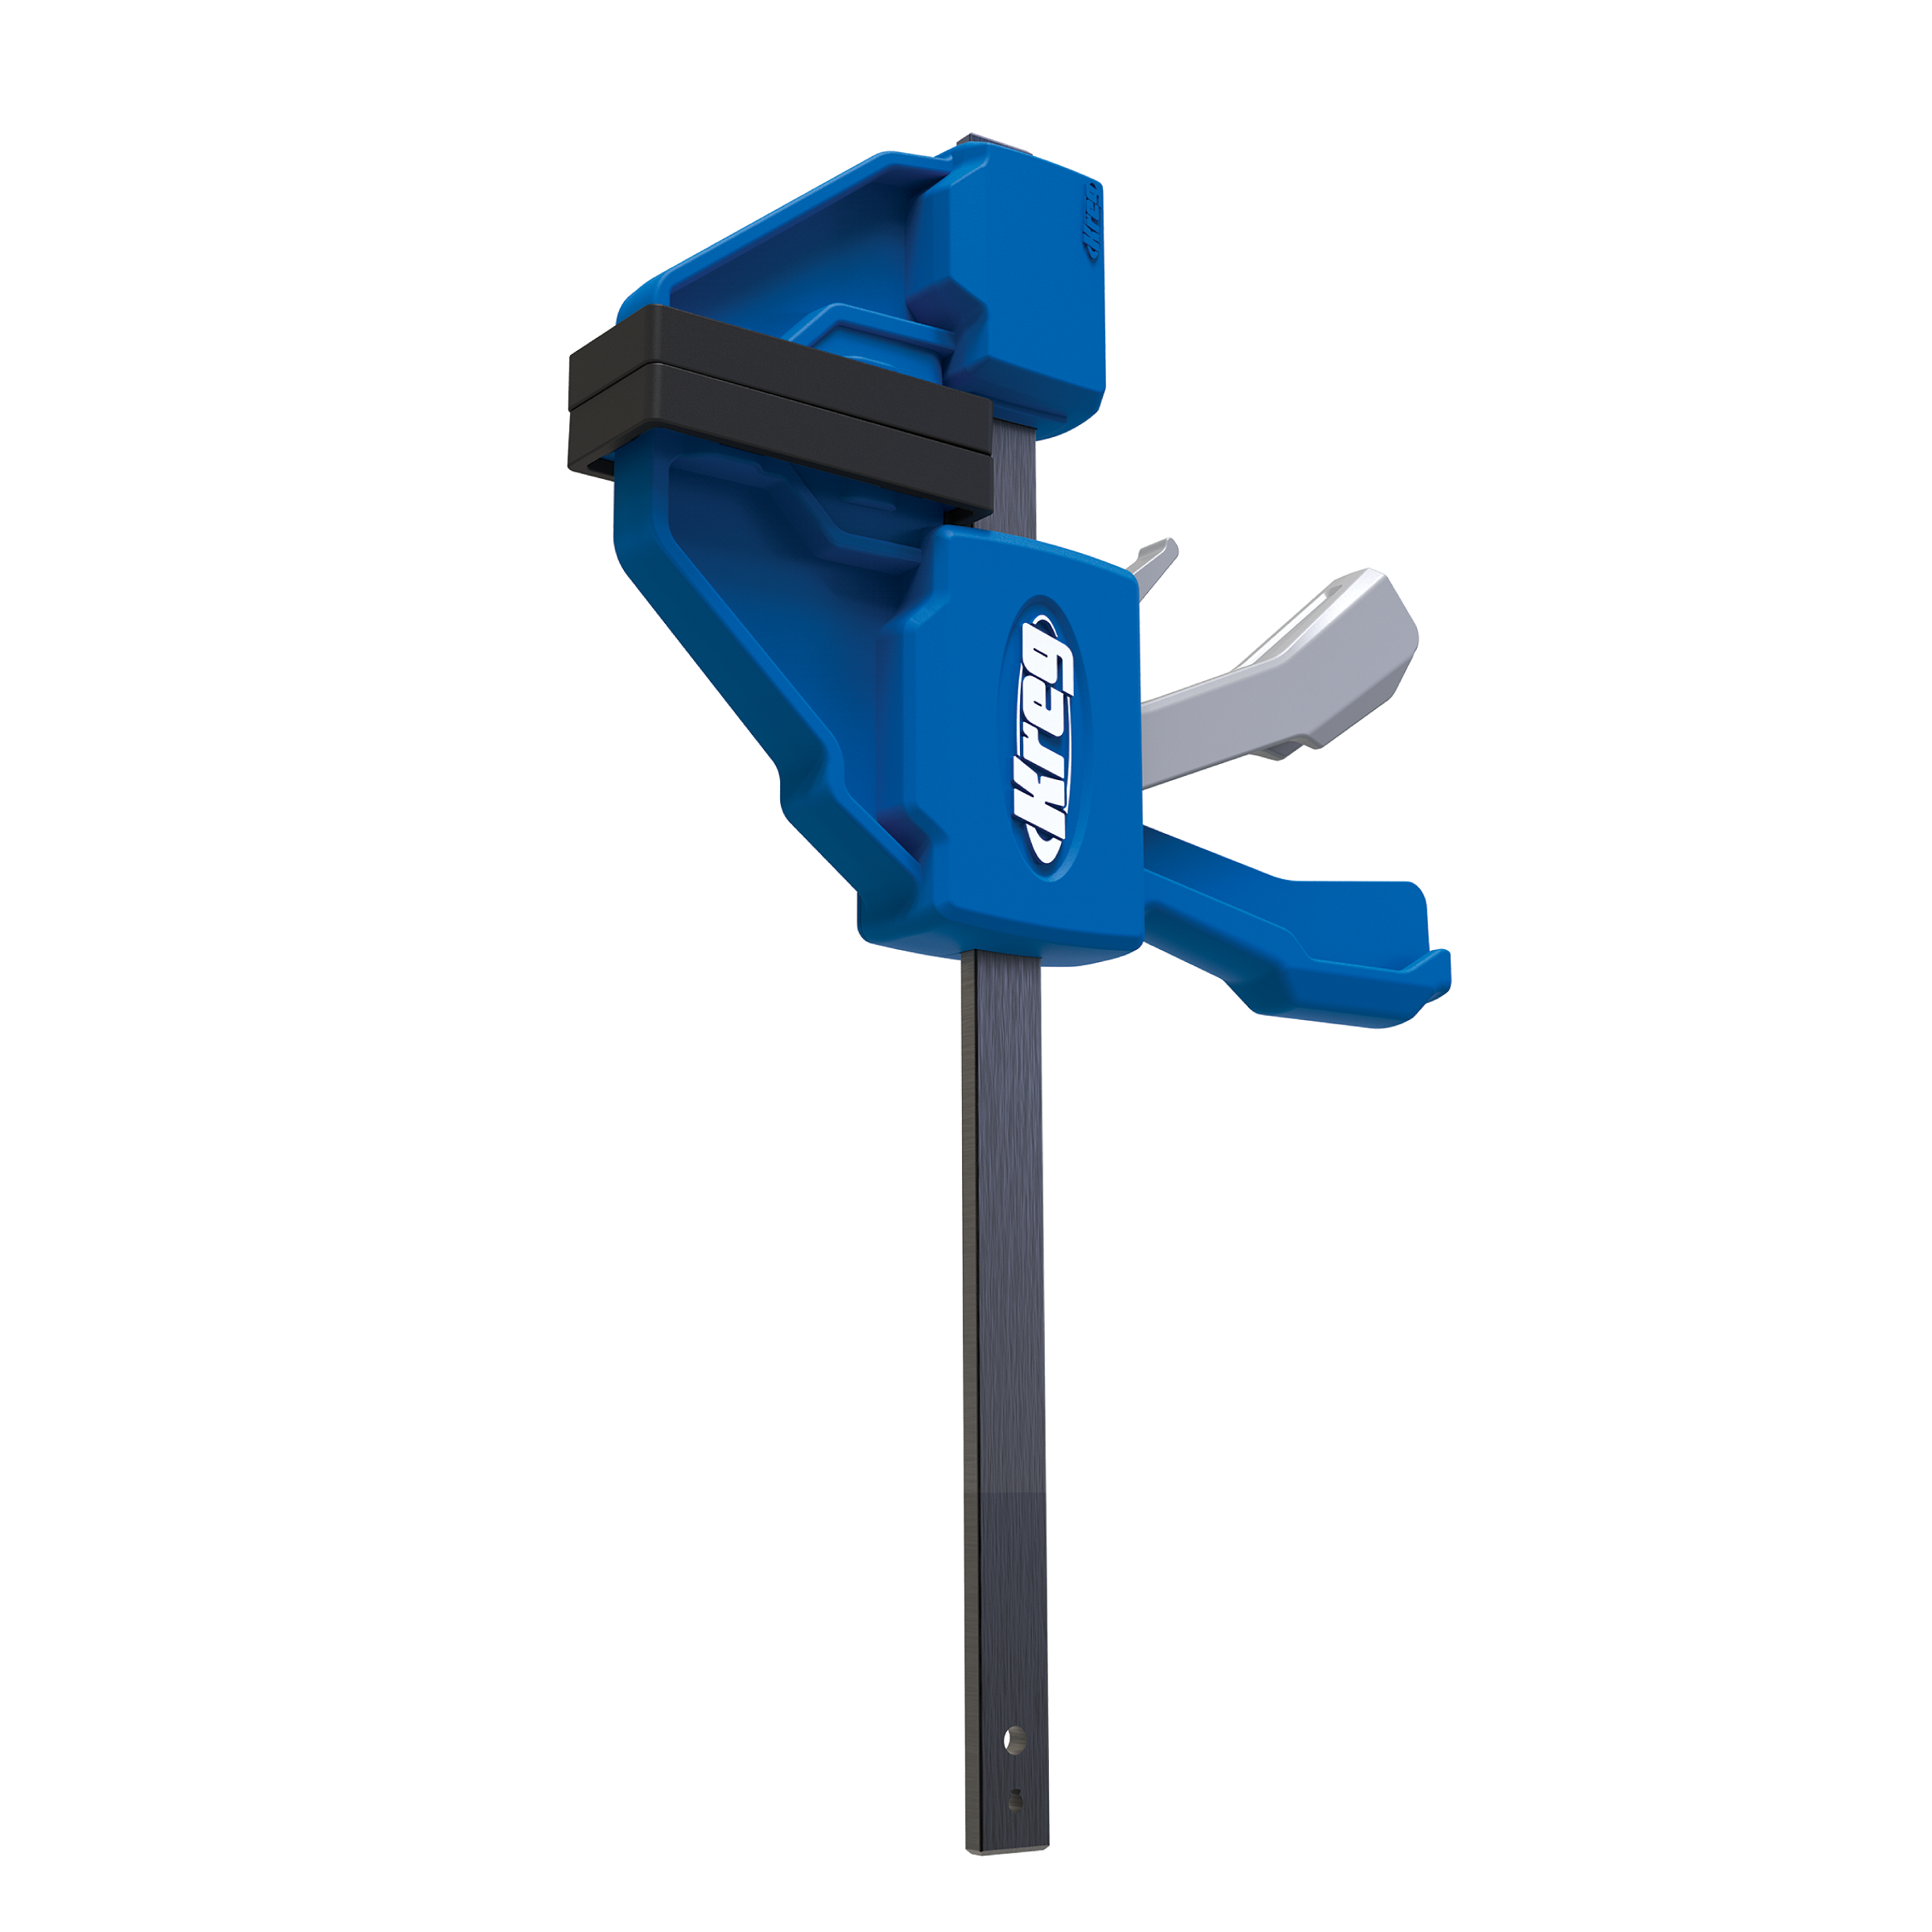
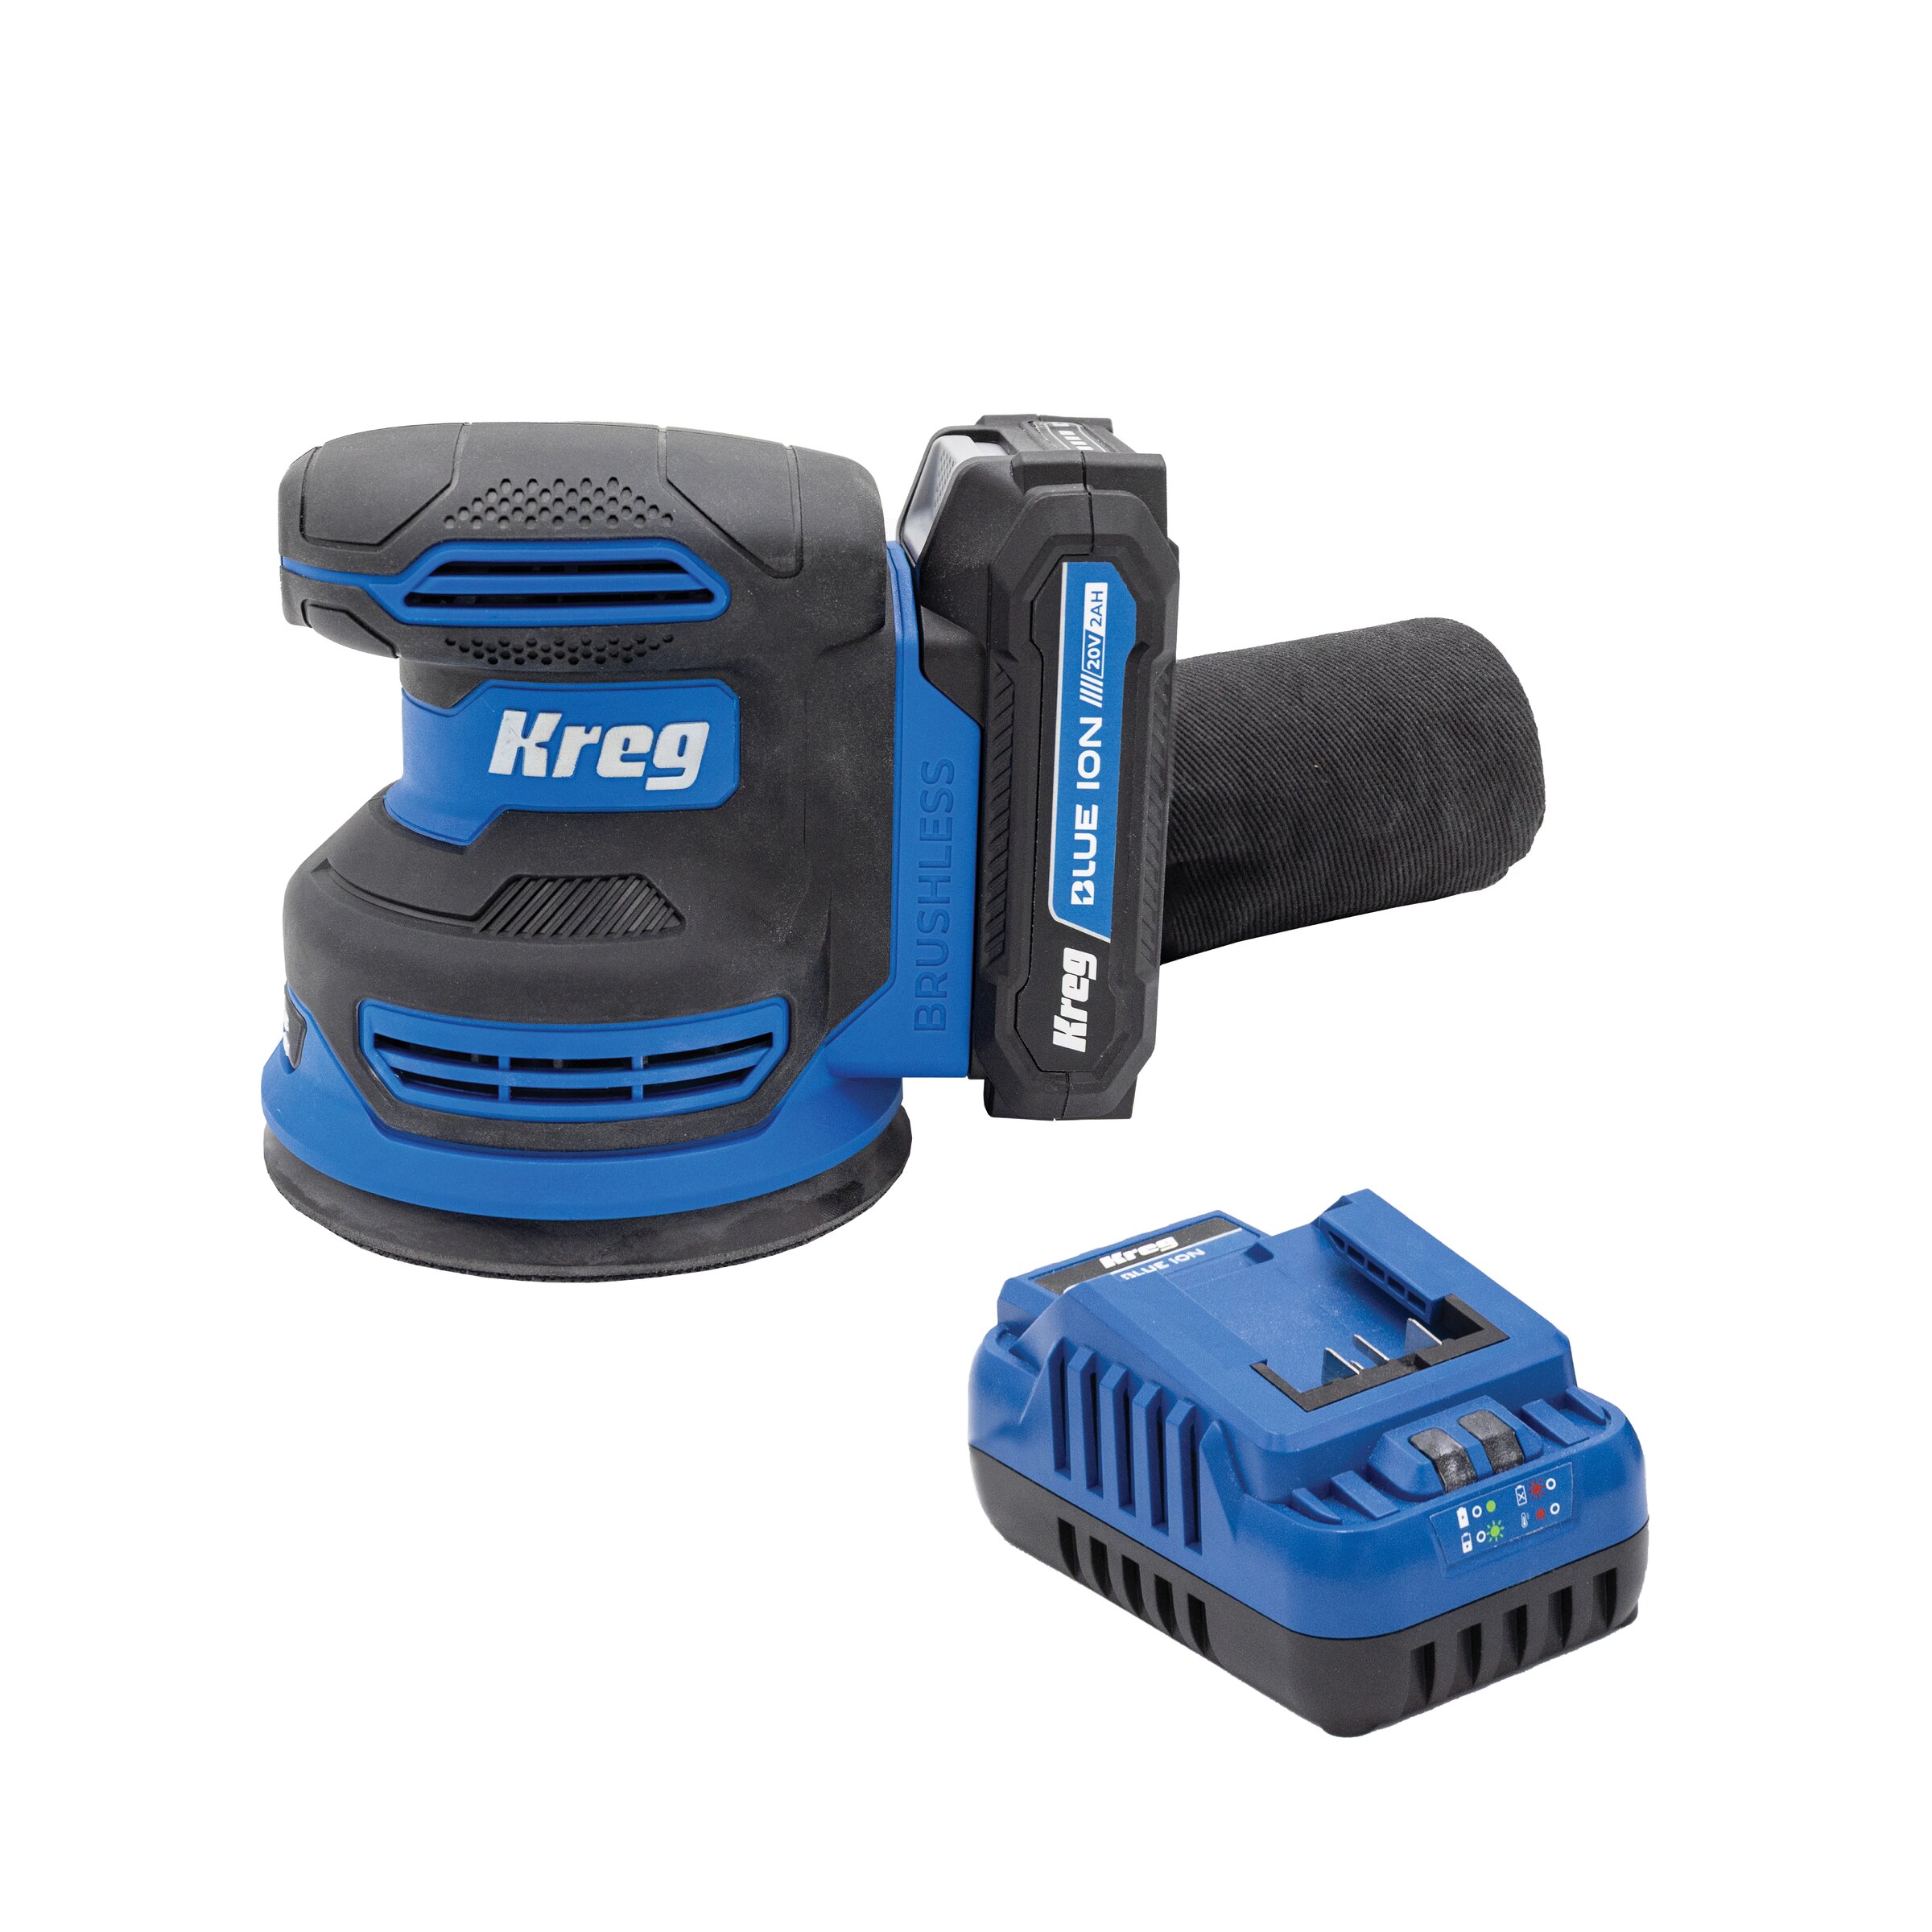
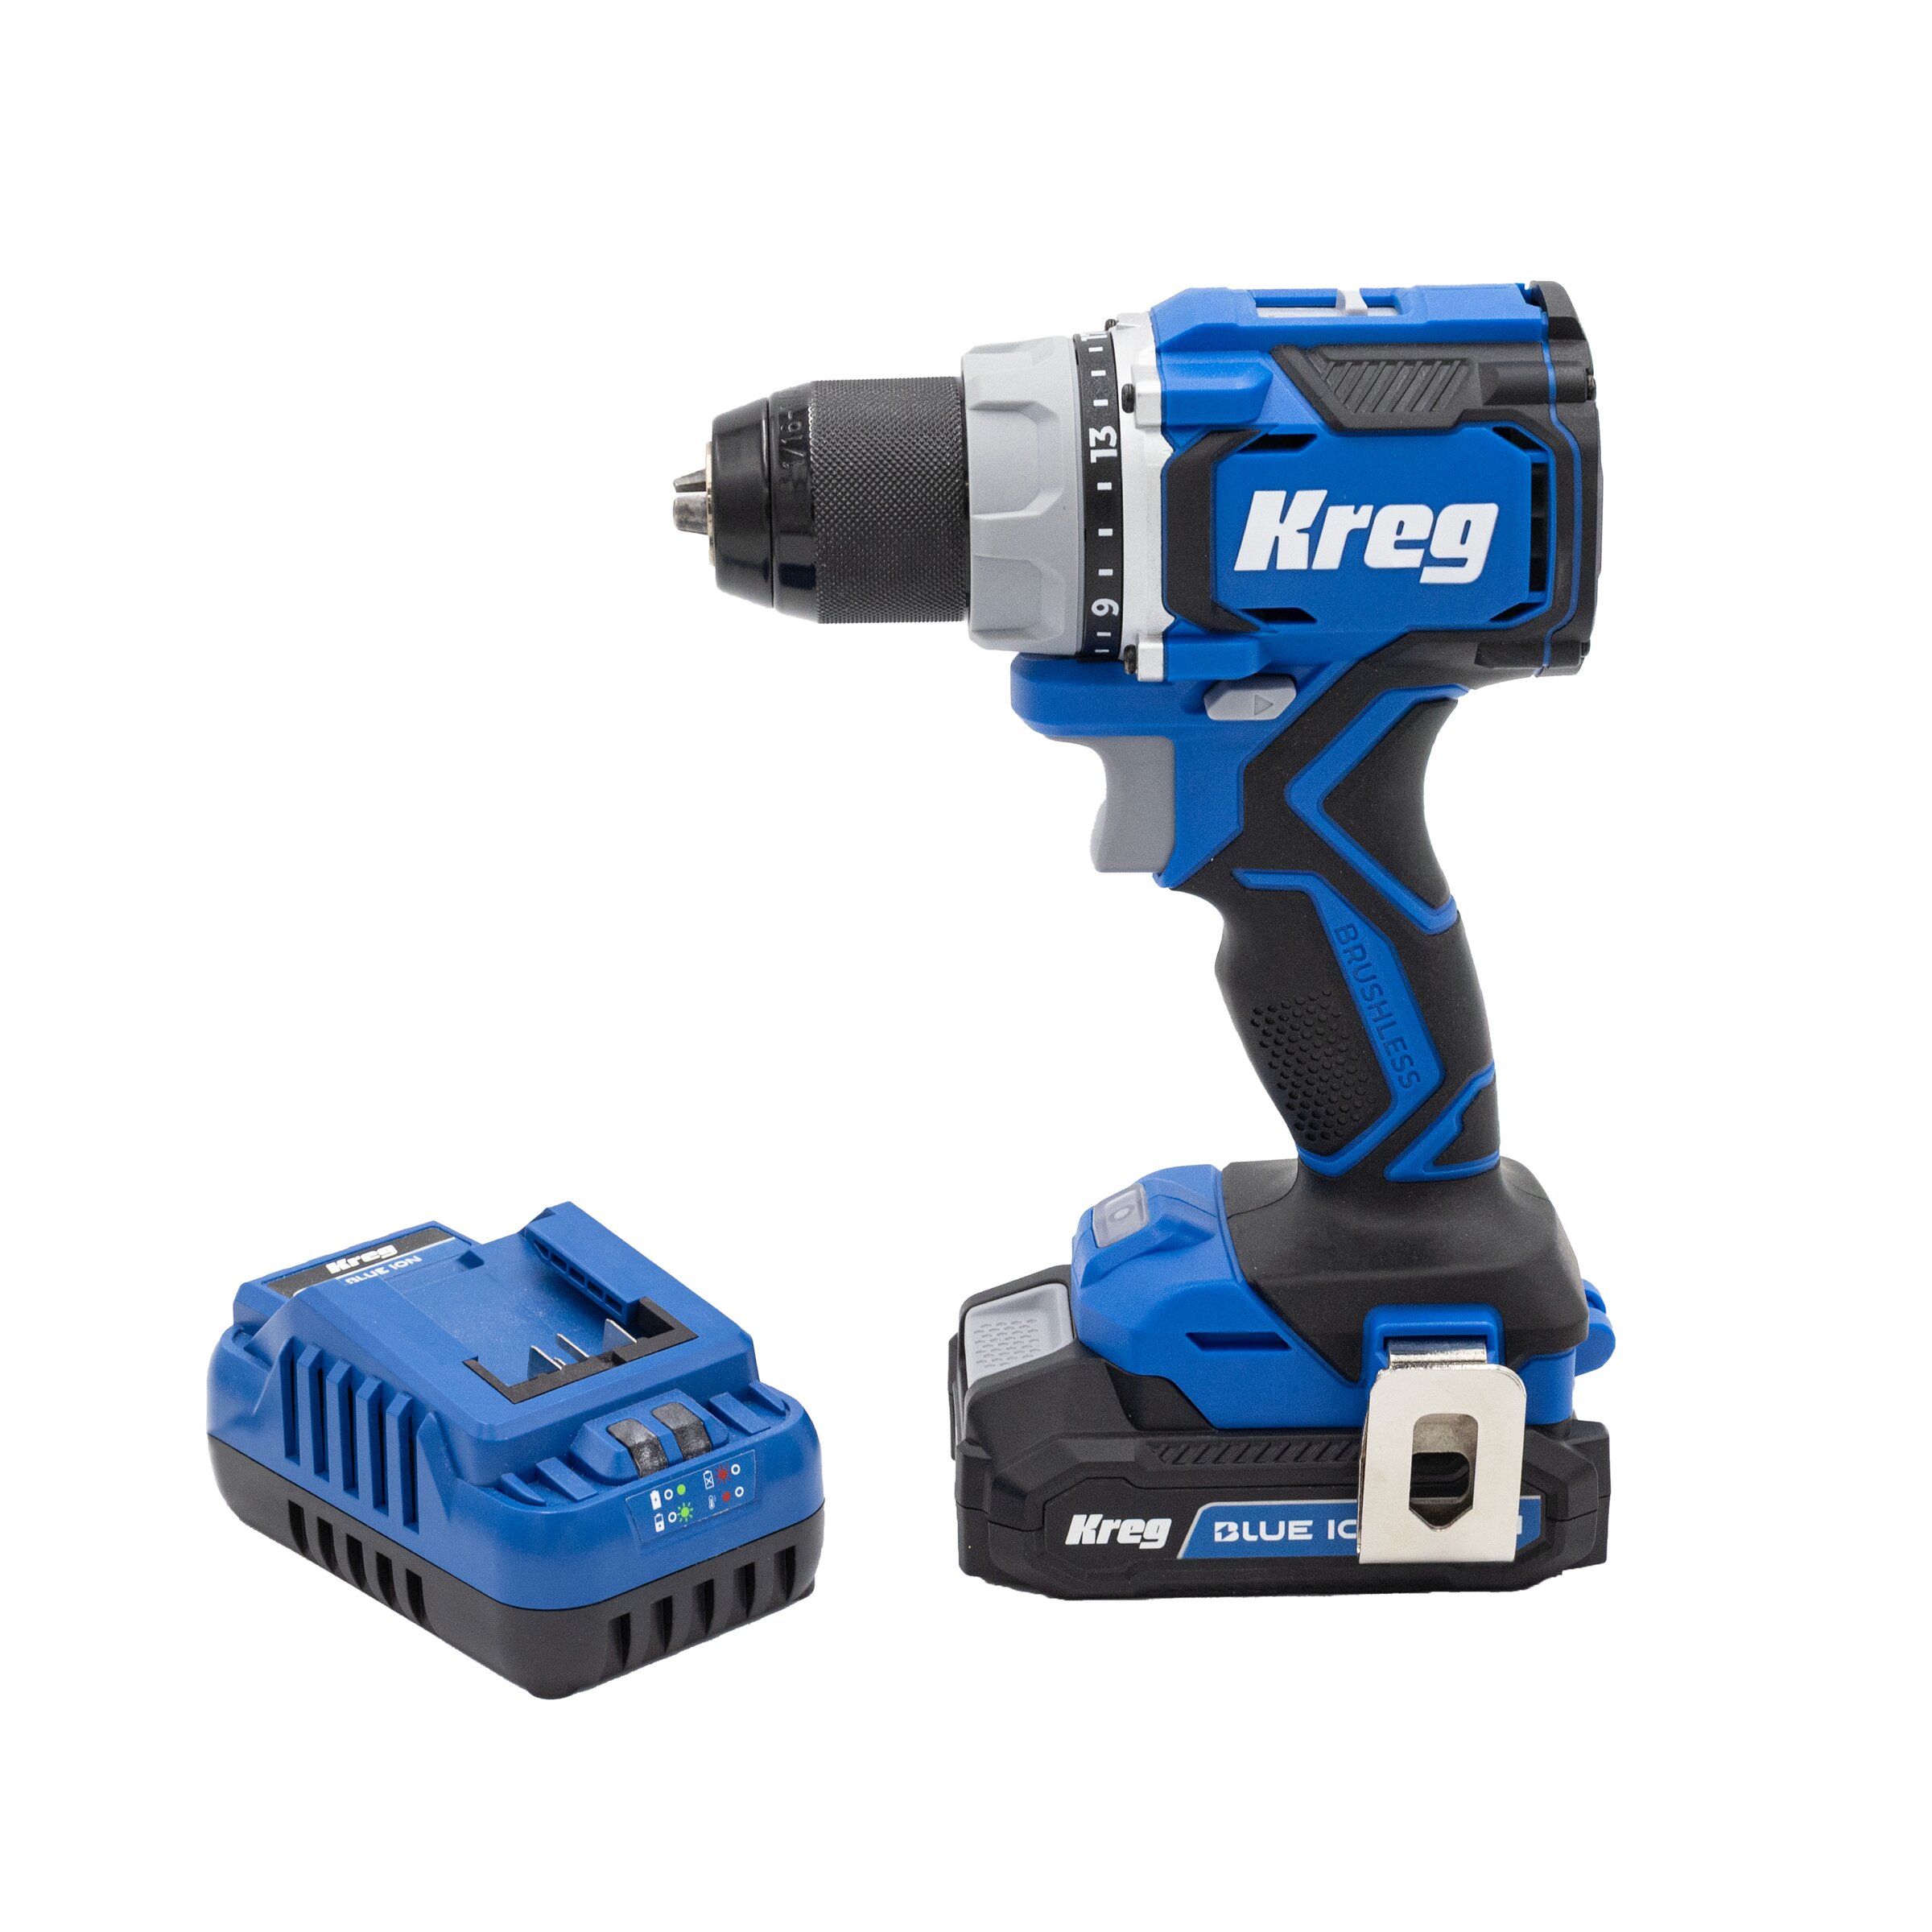
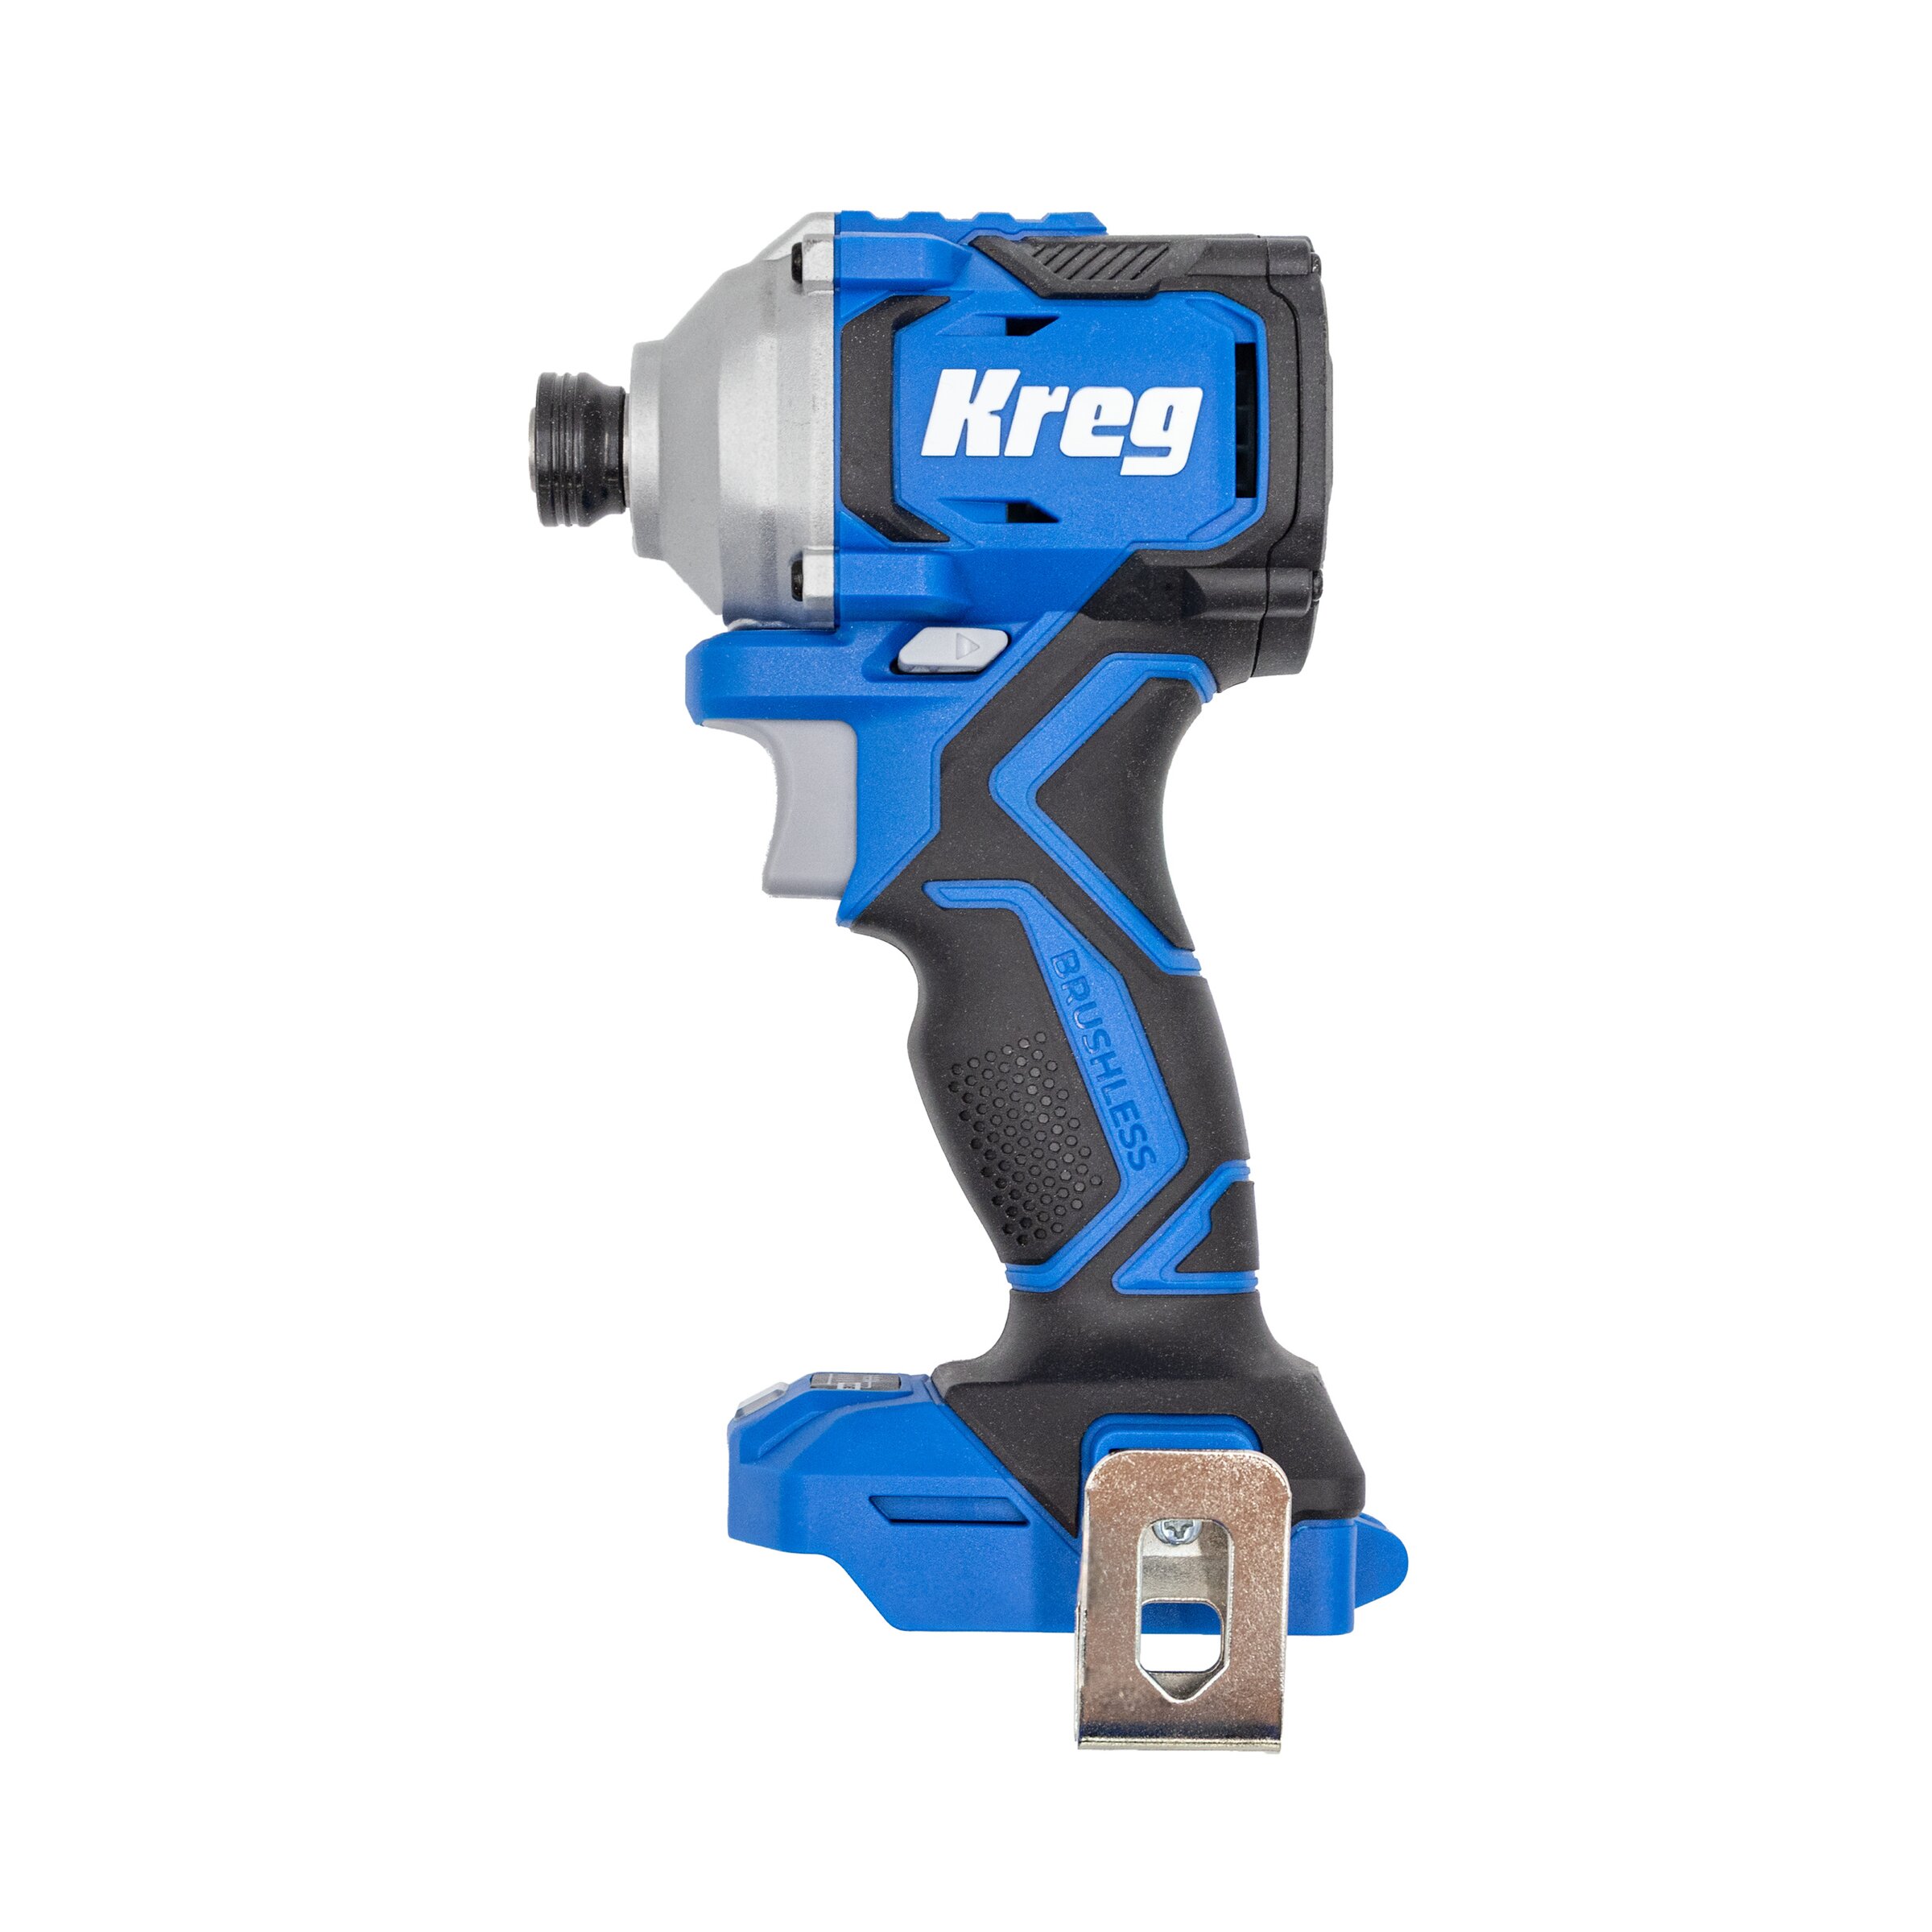
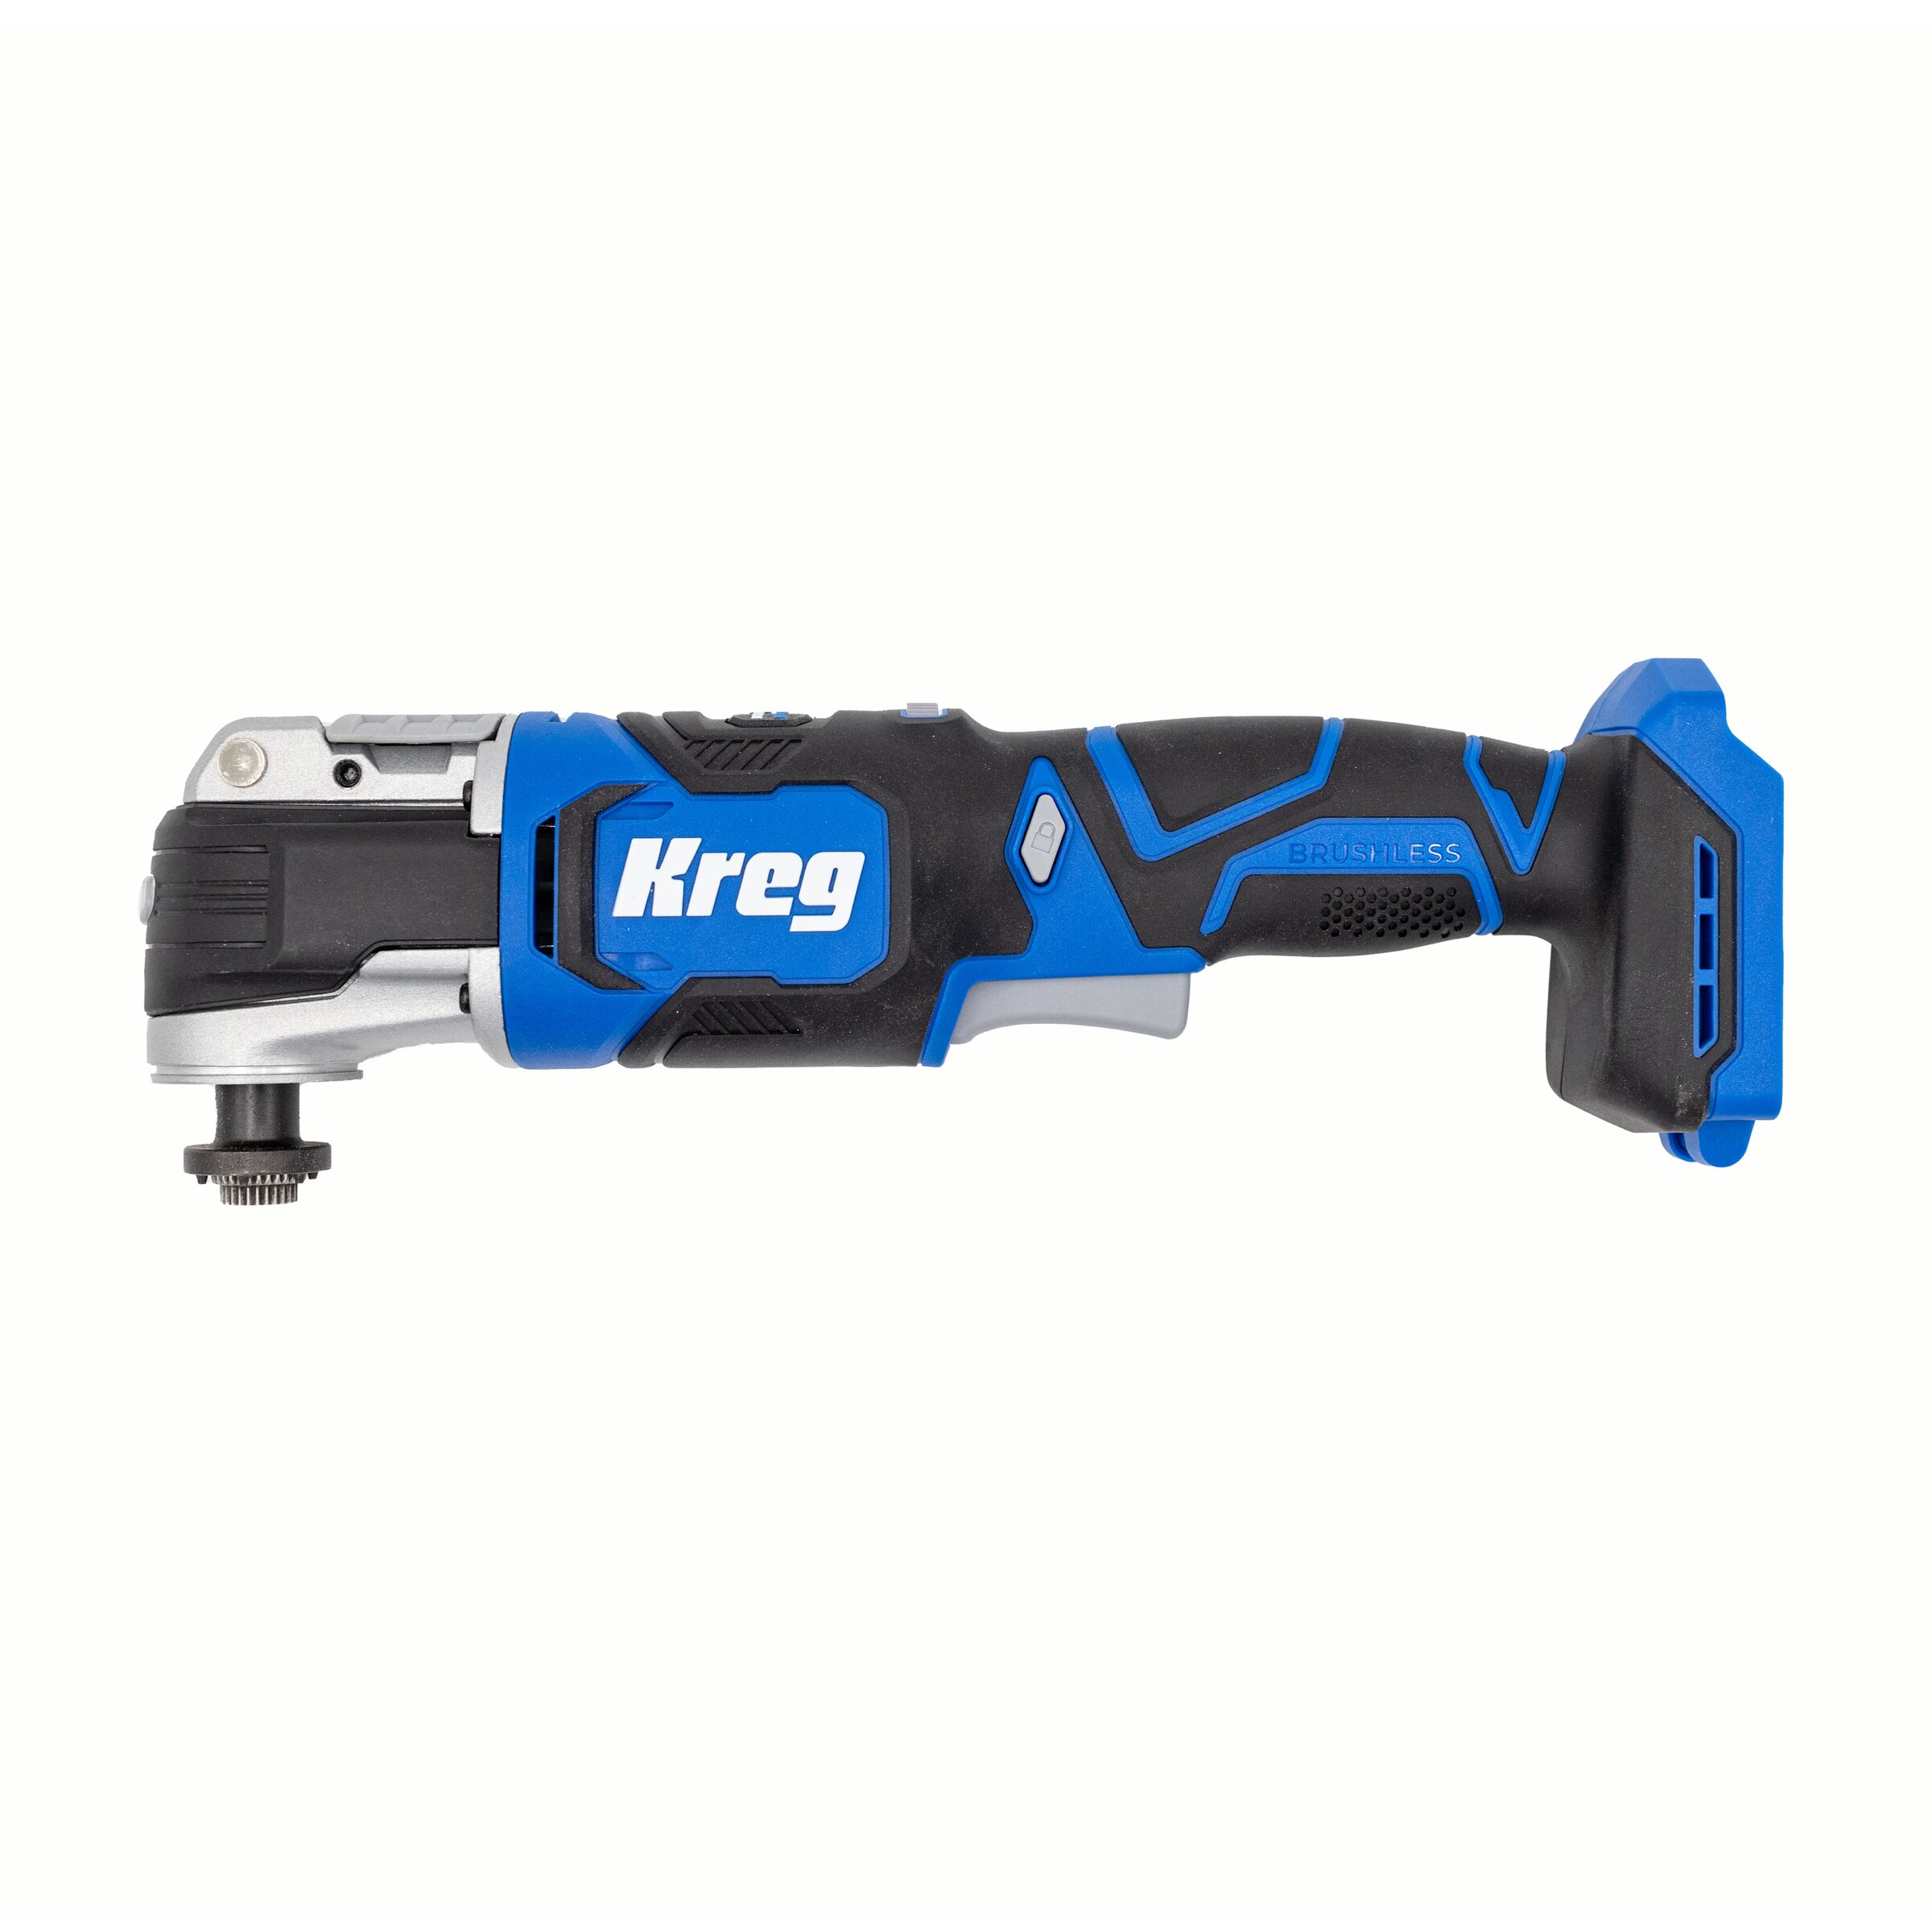
Other Tools
-
Table saw
-
Bar clamps
-
Roundover router bits
-
Miter lock router bits
-
Miter saw
-
Rubber mallet
-
Tape measure
-
Square
-
5/8" forstner bit
-
5/8" space bit
-
Drill press
-
Benchtop planer
-
Router sled with surfacing router bit
-
Heat gun
-
Center finder
Materials
Wood Products
- 4 Baslustrade legs , 10" x 4 7/8" x 4 7/8"
- 4 Walnut blocks , 5" x 5" x 5"
- -- 4/4 (5/16") Walnut , 75 board feet
Hardware & Supplies
- 4 5/8" dowels at least 19" long
- -- Sandpaper (60-grit to 220-grit)
- -- Wood glue
- -- Oil (we used Odie's Oil)
- -- 6mm tenons *see tools list
- -- Stain rags
- -- Wood filler (or mix sawdust with wood glue)
- -- Epoxy (black)
- -- Mixing cup
- 2 Soft-close drawer slides (12")
- -- Chalk or white pencil
Directions
-
Cut wood
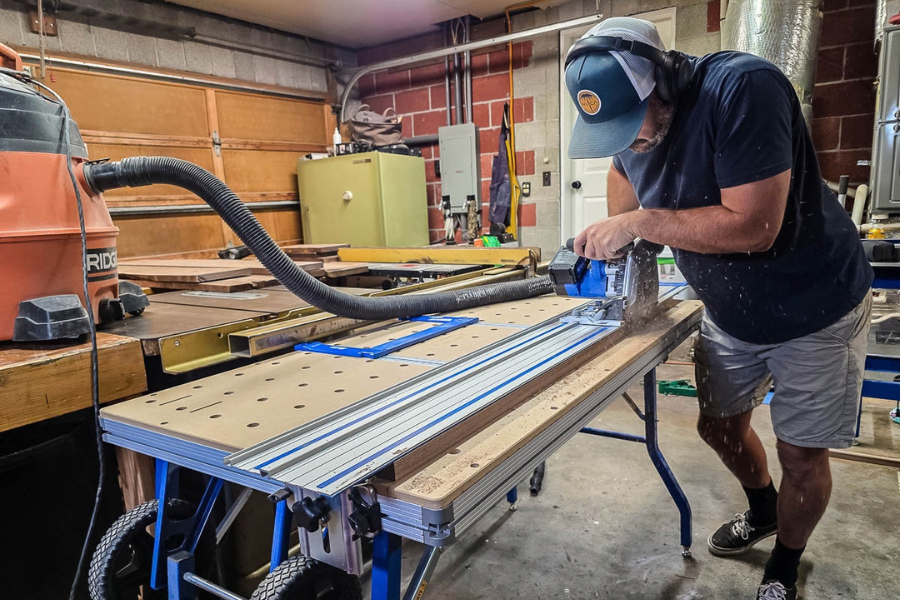
Cut the wood down to size according to the cut list in the woodworking plans. If needed, run the boards through the benchtop planer as well.
-
Make panels
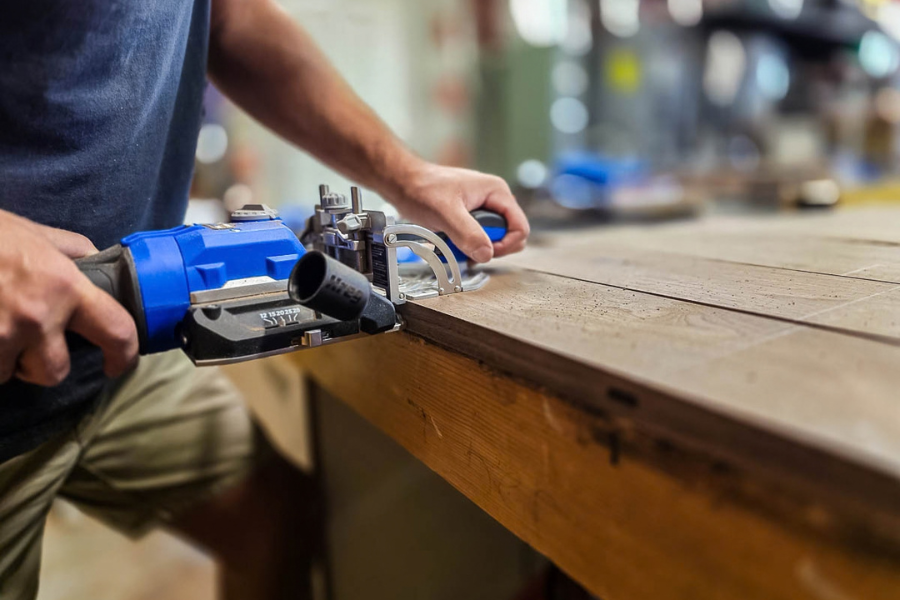
Use the Kreg Edge to make mortises. Add tenons and wood glue and clamp panels together on the bottom and on top to ensure the panels are level. Let dry.
-
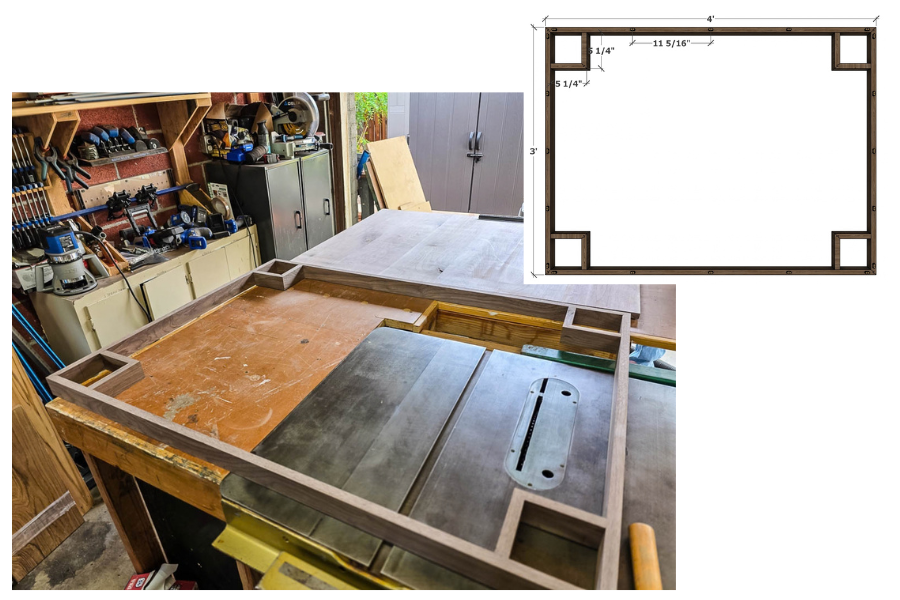
Build base frame
Cut miter lock joints (or miter joints). Use Kreg Edge to cut mortises where needed. Add wood glue to the tenons and clamp the base frame pieces together. Check for square and adjust as needed before it dries.
-
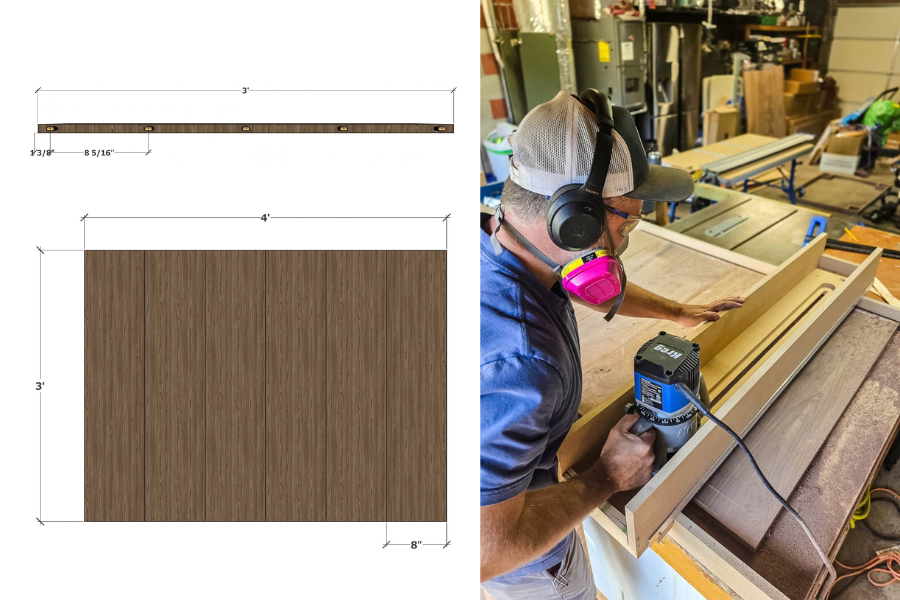
Plane base panel
Using a router sled, 3 ¼ HP Fixed Base Router, and surfacing bit, plane the base panel smooth.
Note:
Note: Only plane one panel at a time immediately before installing. The panels may shift after planing.
-
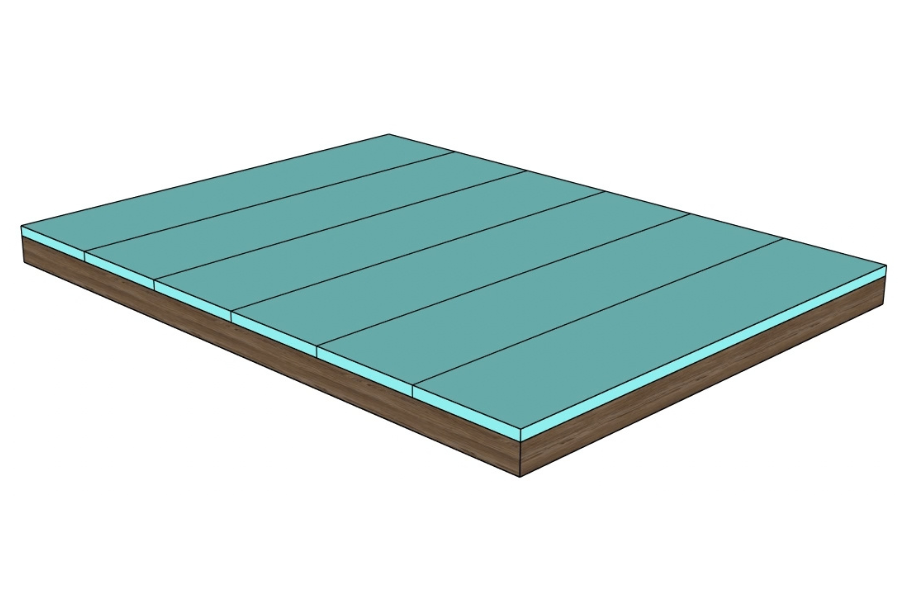
Attach base panel to base frame
Set the base frame on the bottom side of the base panel to mark the mortise locations. Drill the mortises with the Kreg Edge, add glue and tenons, and attach. Clamp and let dry. After it dries, you can use the flush-trim bit and the trim router if it is not completely flush. We also applied a roundover on the top edge of the base panel after attaching to the frame, but that is optional.
-
Attach legs and blocks
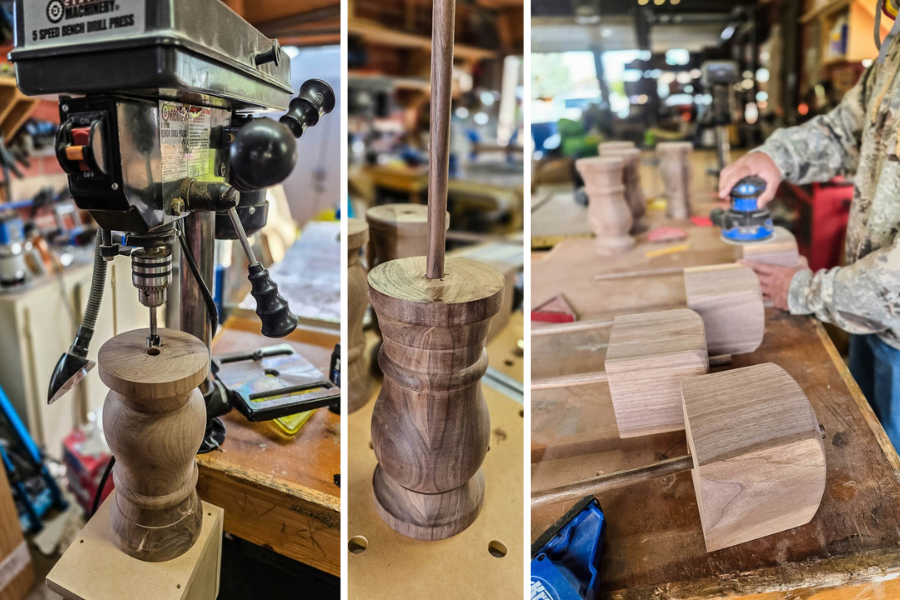
To assemble legs, drill a ⅝” hole through the balustrade legs and 5x5x5 blocks for dowels with a drill press. Start with forstner bit and finish with a spade bit. Use a center finder on the block before drilling. Before attaching the blocks, we also rounded the corners of the blocks by sanding to make them look more cohesive with the legs. Glue and clamp the blocks to the legs and let dry overnight. Once dry, use clamps and/or a rubber mallet to gently tap the dowels in. Ensure that the dowels hang out the bottom about ½”. This will help later when you’re attaching to the base.
Leg options
Alternatively, you can make or purchase legs that are the correct size/style to simplify this step.
-
Build top frame and attach to legs
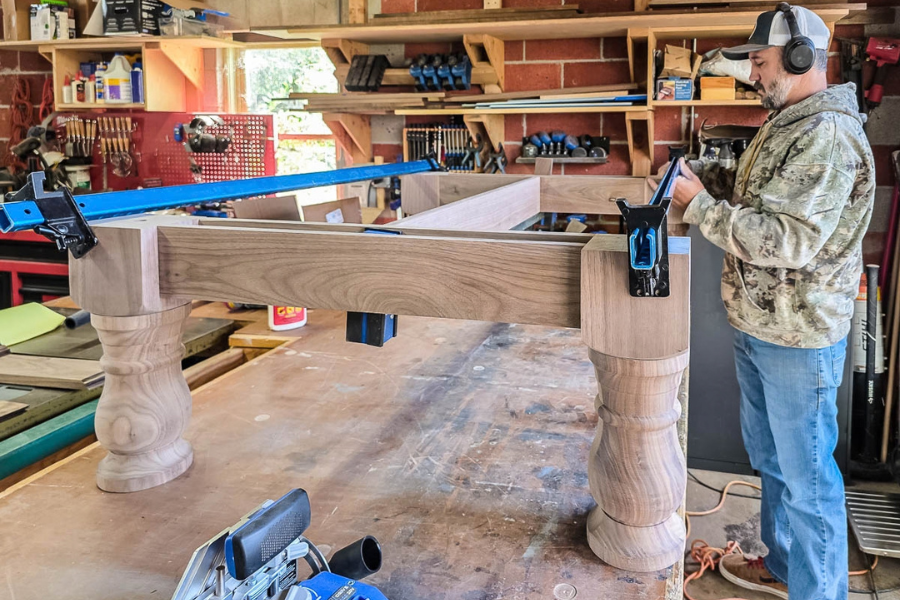
Drill mortises into legs and top frame pieces and assemble according to the plans. Check for square while clamping. Glue and let dry.
-
Attach legs to base
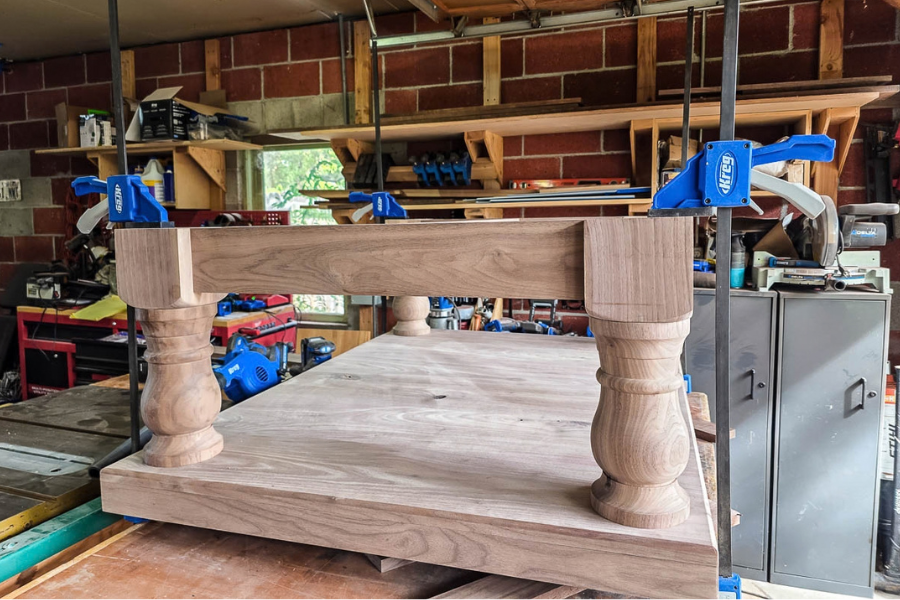
Use a ⅝” Forstner bit to drill holes in the base where the legs will go. Add wood glue at the connection points and tap the dowel down into the base from the top of the leg. Be sure to tap the dowel at least ¾” beyond the bottom of the base frame for the coffee table feet.
-
Attach feet
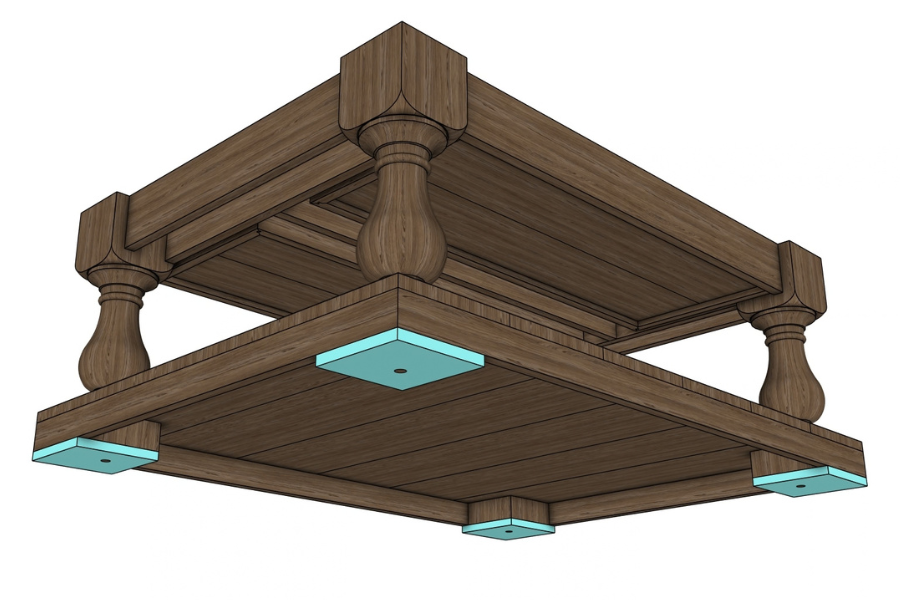
Flip table over. Mark dowel location. Drill hole with Forstner bit, apply glue, clamp, and let dry. Note: The dowel should be sticking through the bottom of the feet about ⅛”.
-
Wedge dowel joint
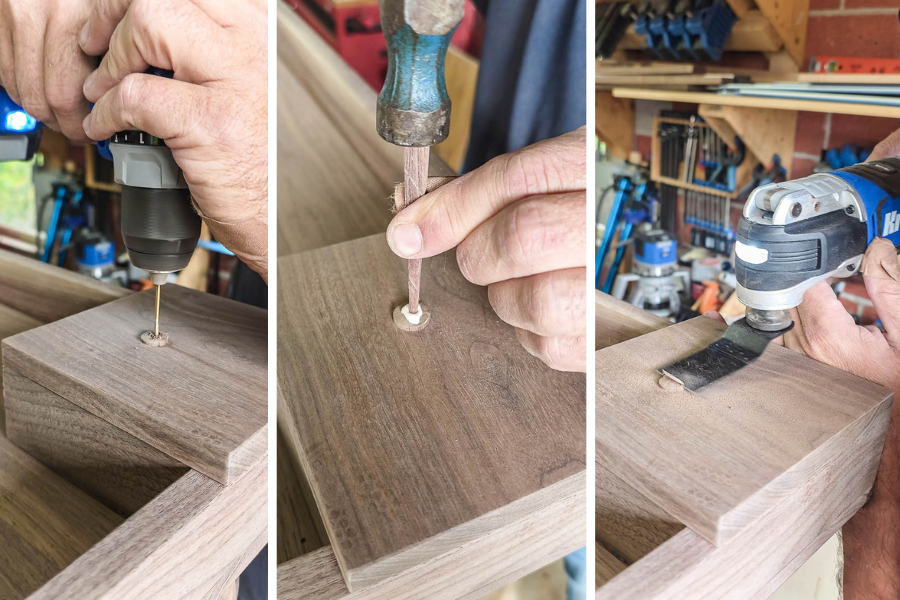
Drill a ⅛” hole in both ends of the dowels and make a small wedge with scrap wood. Add wood glue and tap into place. Once the glue is dry, trim any excess dowel with the multi-tool.
-
Build drawers
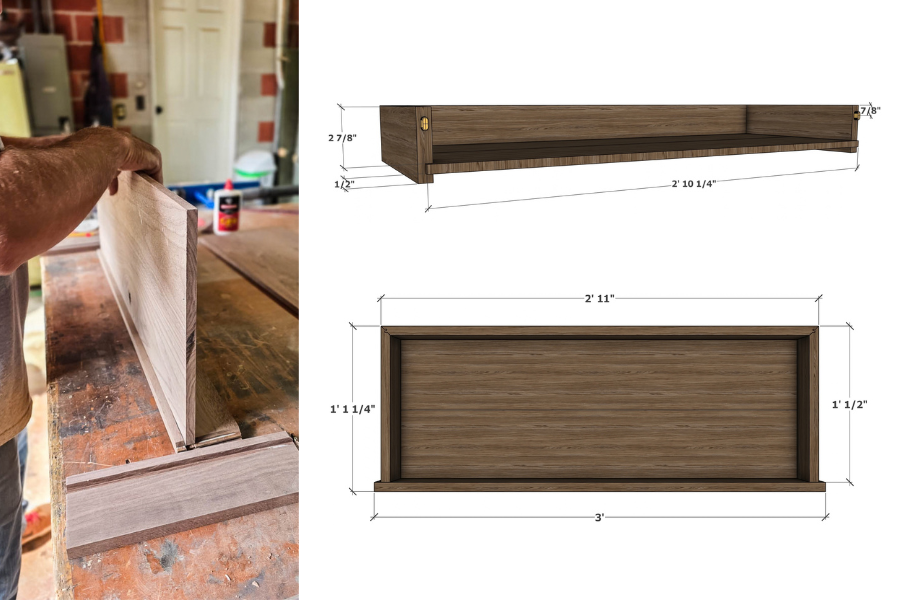
Plane drawer panel to ½”. Assemble drawers according to the plans. We opted for miter lock joinery. Make a dado cut with a table saw and slide the panel. To make sure the drawer fits perfectly, we left the drawer face wide so we can trim to fit later.
-
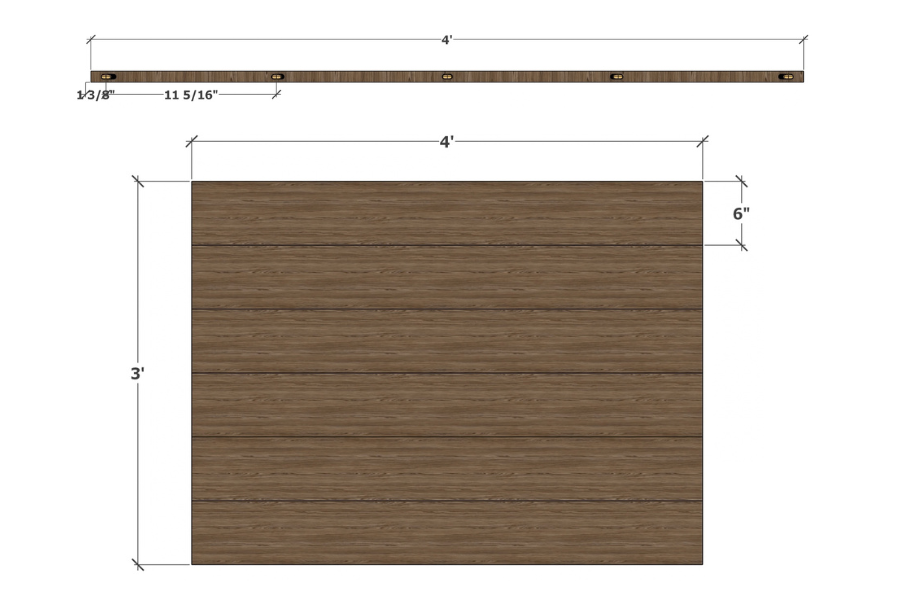
Prepare top panel
Use the router sled to plane the top panel in the same way as the bottom panel. Cut to size with the ACS and finish edges as desired. We did a roundover on both sides of the top edges. Sand the top smooth.
-
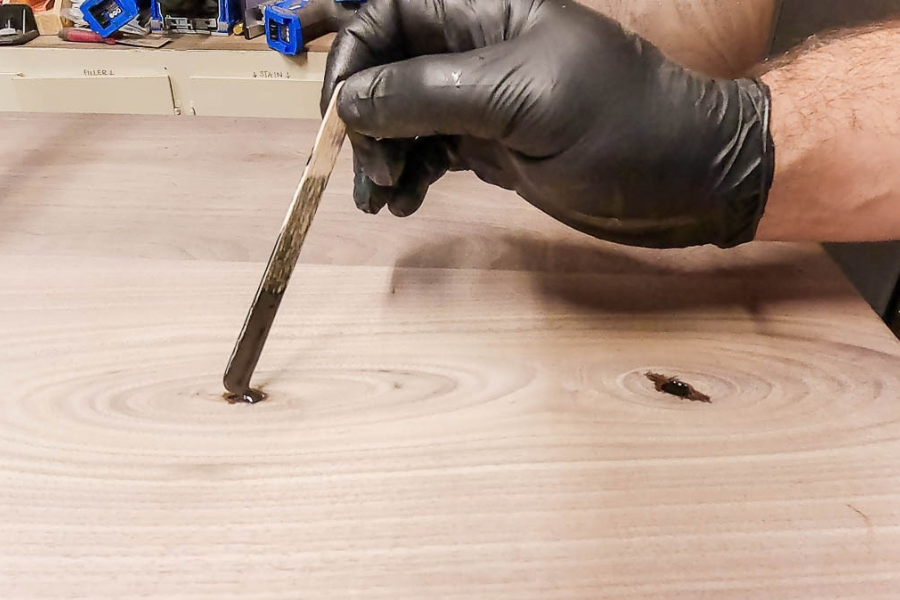
Fill wood knots and holes with epoxy
Mix epoxy and fill any large wood knots or holes in the wood. Use a heat gun to get the bubbles out. Let dry and sand smooth.
-
Final sand
Sand the entire structure from 80-grit to 220-grit sandpaper. Add wood filler to any gaps as needed. Sand again.
Filler hack
To make your own wood filler that matches perfectly, mix a little bit of your saw dust with wood glue.
-
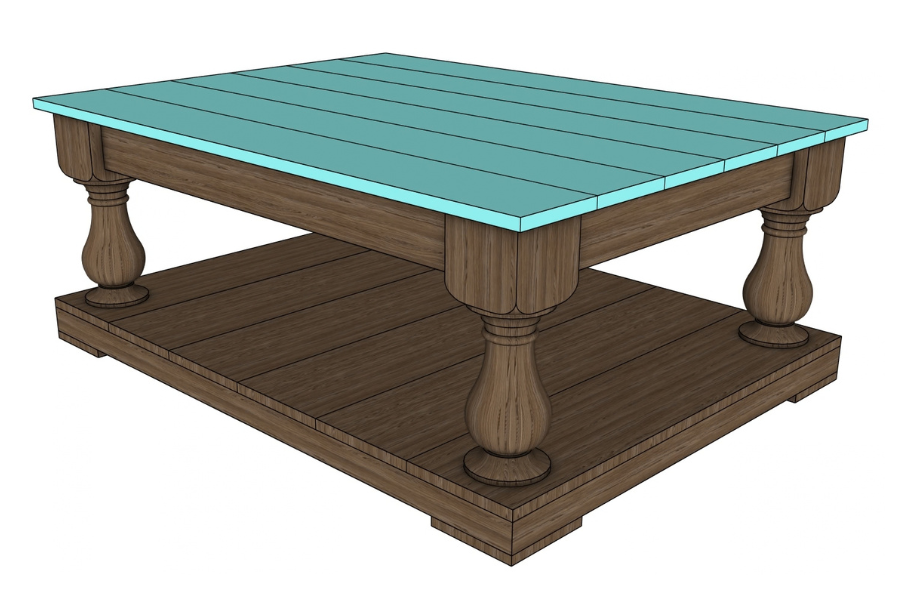
Attach top panel
Drill mortises and attach the top panel to the rest of the structure with wood glue and tenons. Clamp and let dry.
-
Finish
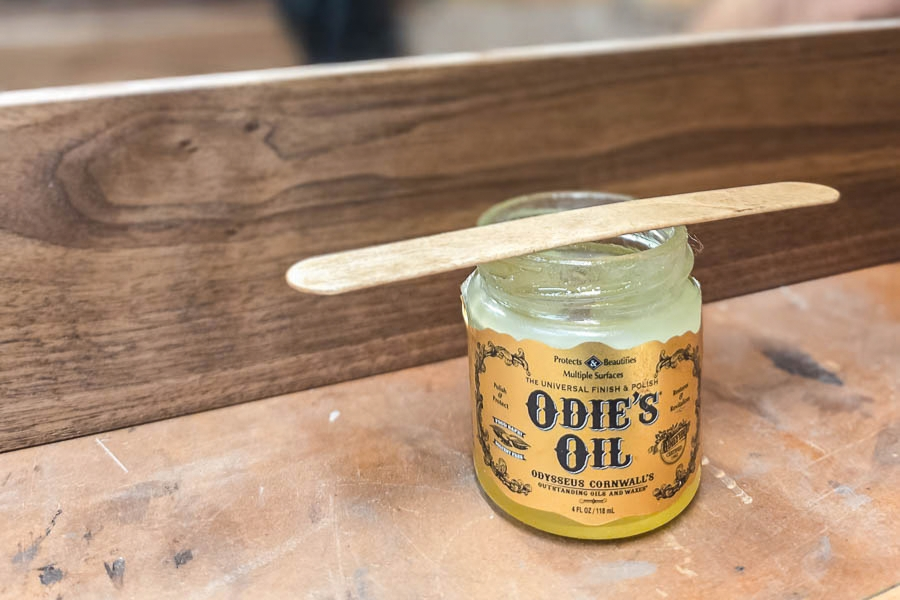
Rub oil onto the entire structure. We used Odie’s Oil.
-
Mount drawers
Measure carefully and trim the drawer face, making sure the slides function property. Mount drawer slides and add drawers.