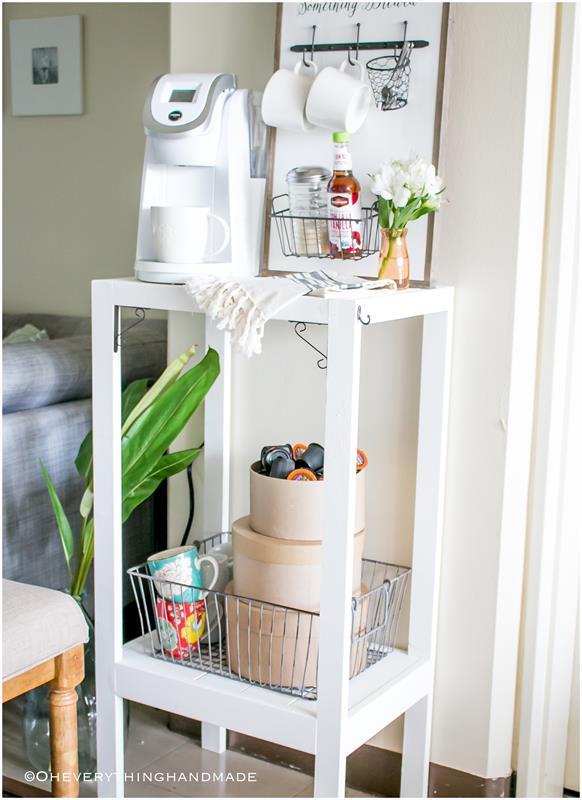
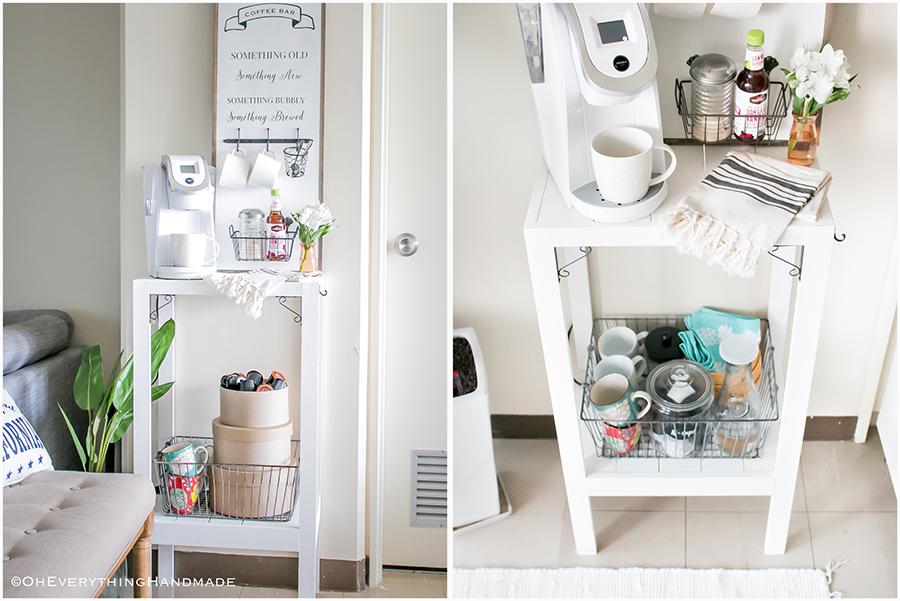
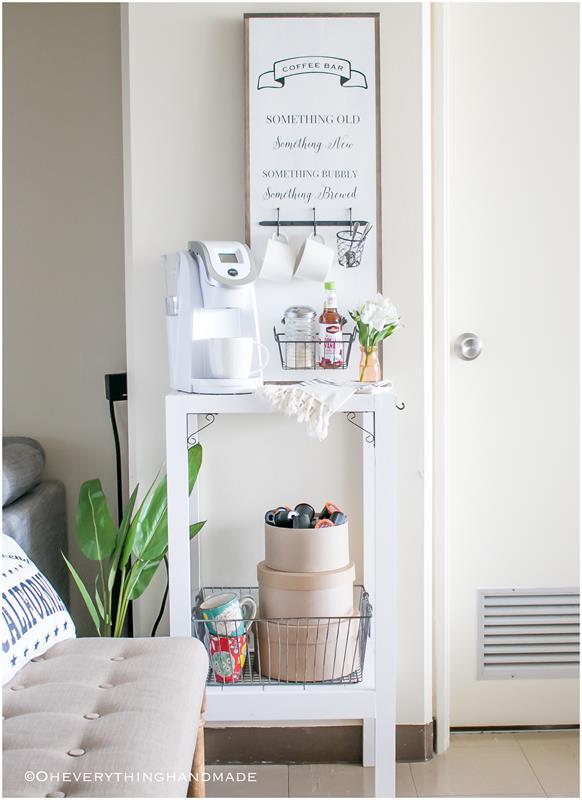

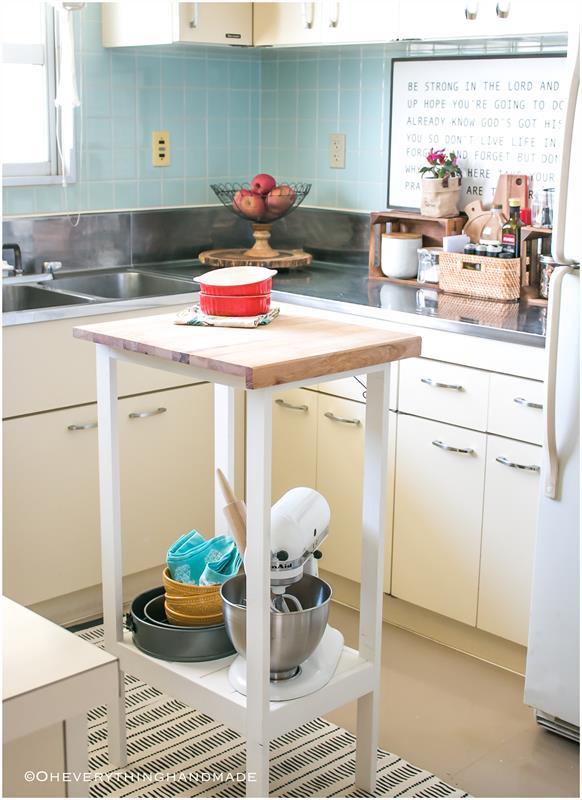


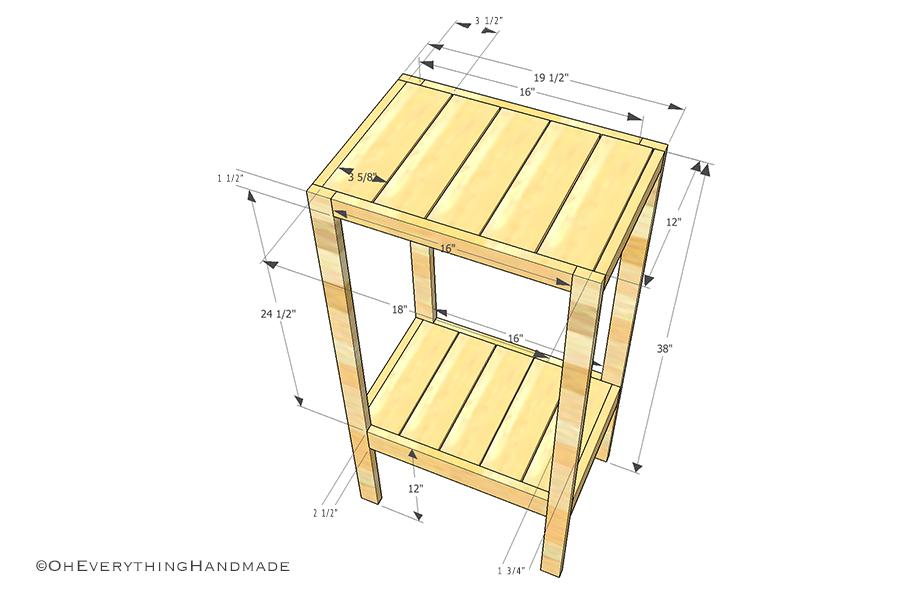
This shelf is 38″ high by 13″ wide and it’s multipurpose function allows you to use it as a coffee bar or kitchen island. It’s made exclusively out of framing lumber and is a quick project for beginner level builders.
Tools
Kreg Tools


Other Tools
-
Miter Saw

-
Table Saw
-
Tape Measure
Materials
Wood Products
- 2 Board , 8ft , 1x2"
- 1 Board , 6ft , 1x1 1/2"
- 1 Board , 6ft , 1x2 1/2"
- 1 Board , 12ft , 1x3 1/2"
Hardware & Supplies
- 1 Wood Glue
- 52 1 1/4" Pocket hole screws
- 1 1 cup Miss Mustard Seed's Milk Paint (Ironstone)
- 1 Miss Mustard Seed - Clear Furniture Wax
- 1 Brush
- 1 Sandpaper (220 grit or higher)
Cut List & Parts
- 4 Legs , 3/4" x 1 3/4" x 38"
- 2 Long Top Board , 3/4" x 1 1/2" x 16"
- 2 Short Top Board , 3/4" x 1 1/2" x 12"
- 2 Long Bottom Board , 3/4" x 2 1/2" x 16"
- 2 Short Bottom Board , 3/4" x 2 1/2" x 12"
- 10 Shelf boards top and bottom , 3/4" x 3 1/2" x 12"
Directions
-
Step 1: Measure and cut
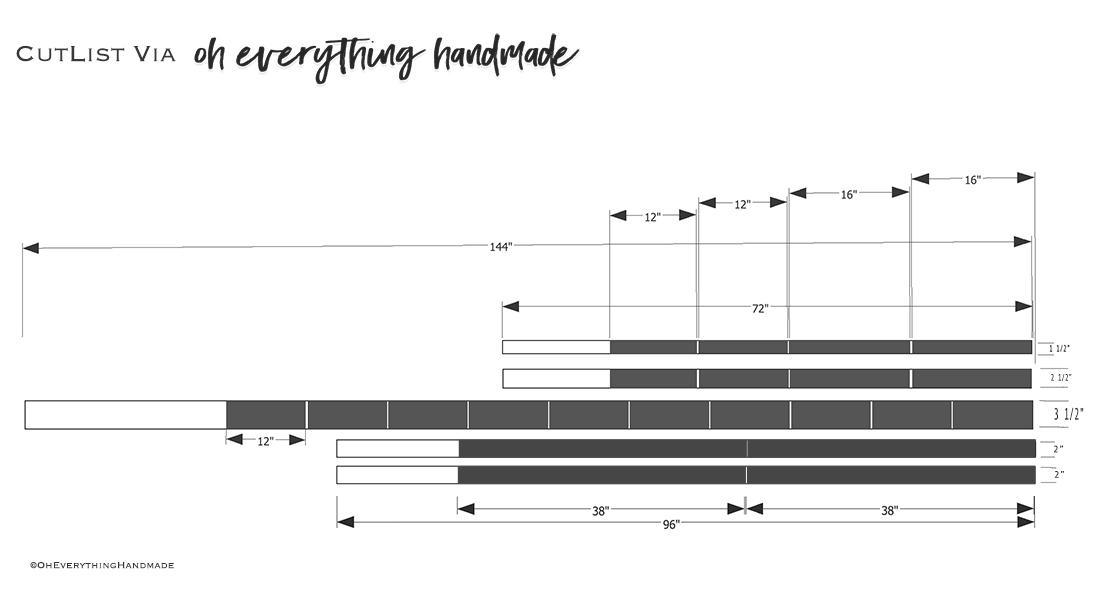
Make your cuts for the shelf:
2"x8' (4) @ 38" | 2.5"x6' (2) @ 16" and (2) @ 12" | 1.5"x6' (2) @ 16" and (2) @ 12" | 3.5"x12' (10) @ 12"
*Tip: I trimmed the edges of both lumber pieces for the legs (1" x 2" x 8") to achive a crisp finish.NOTE: Please note that all 1" lumber measures 3/4".
-
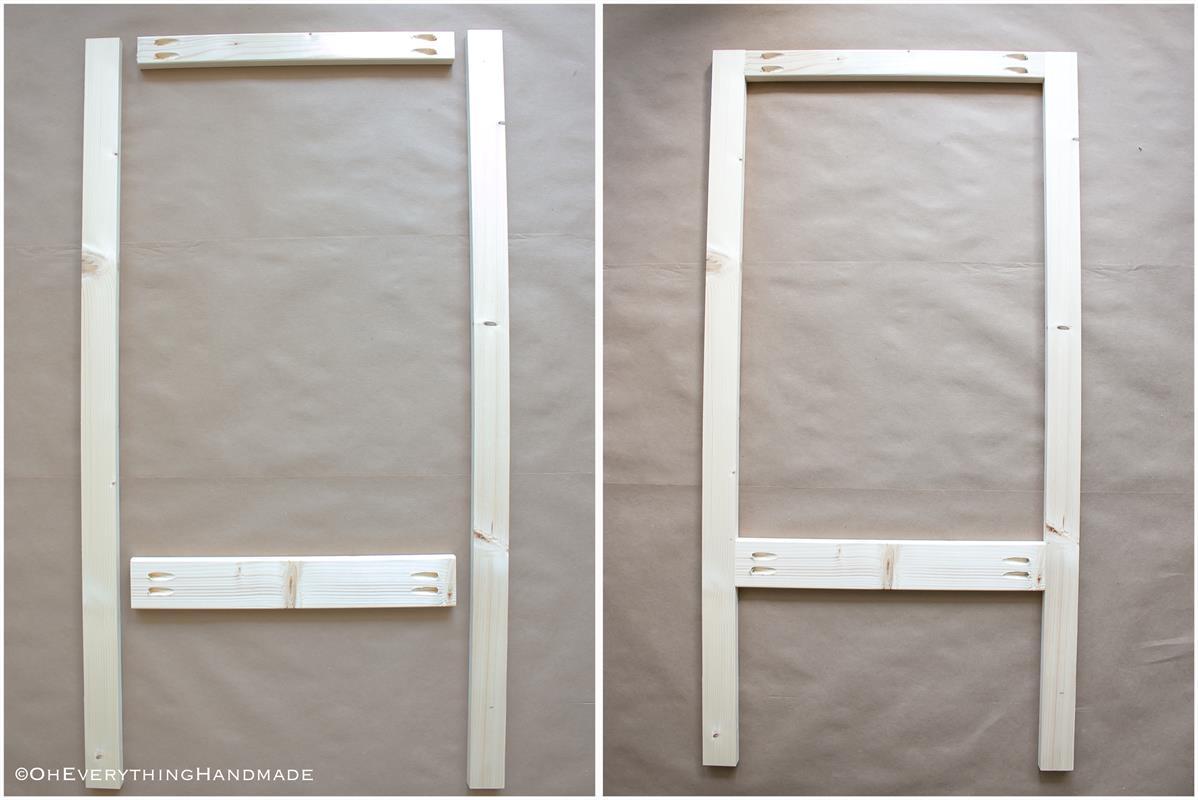
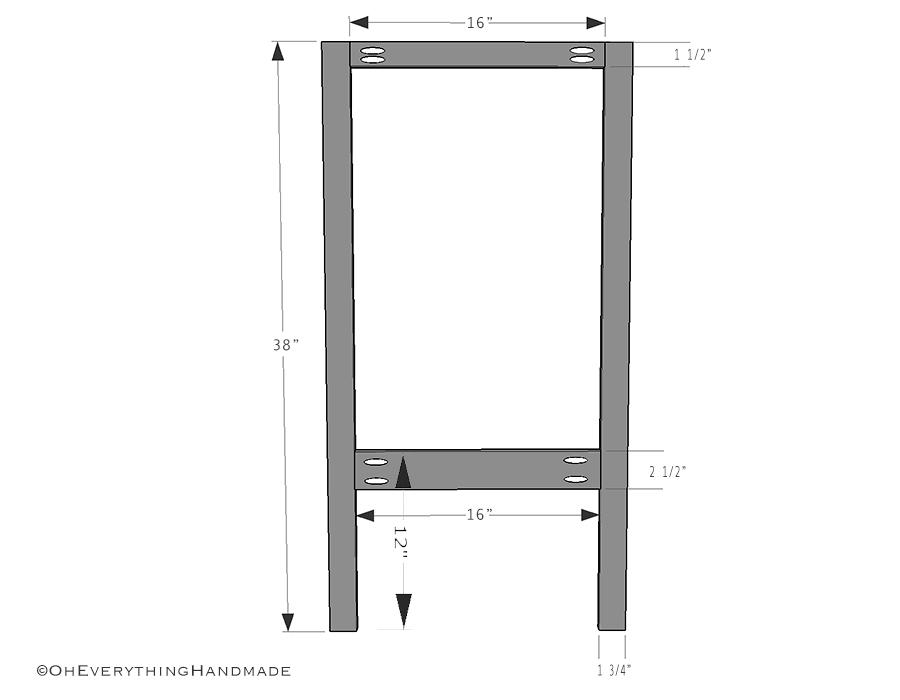
Step 2: Assemble the Legs
Lay out all four of the 38" pieces for the legs, connecting two legs with the 1 1/2 x 16" on the top and the 2 1/2 x 16" piece 12" from the bottom up. Mark where the pocket holes should go with a carpenter's pencil and drill 3/4" pocket holes using your Kreg Jig. Assemble the legs using 1 1/4" pocket hole screws and wood glue.
-
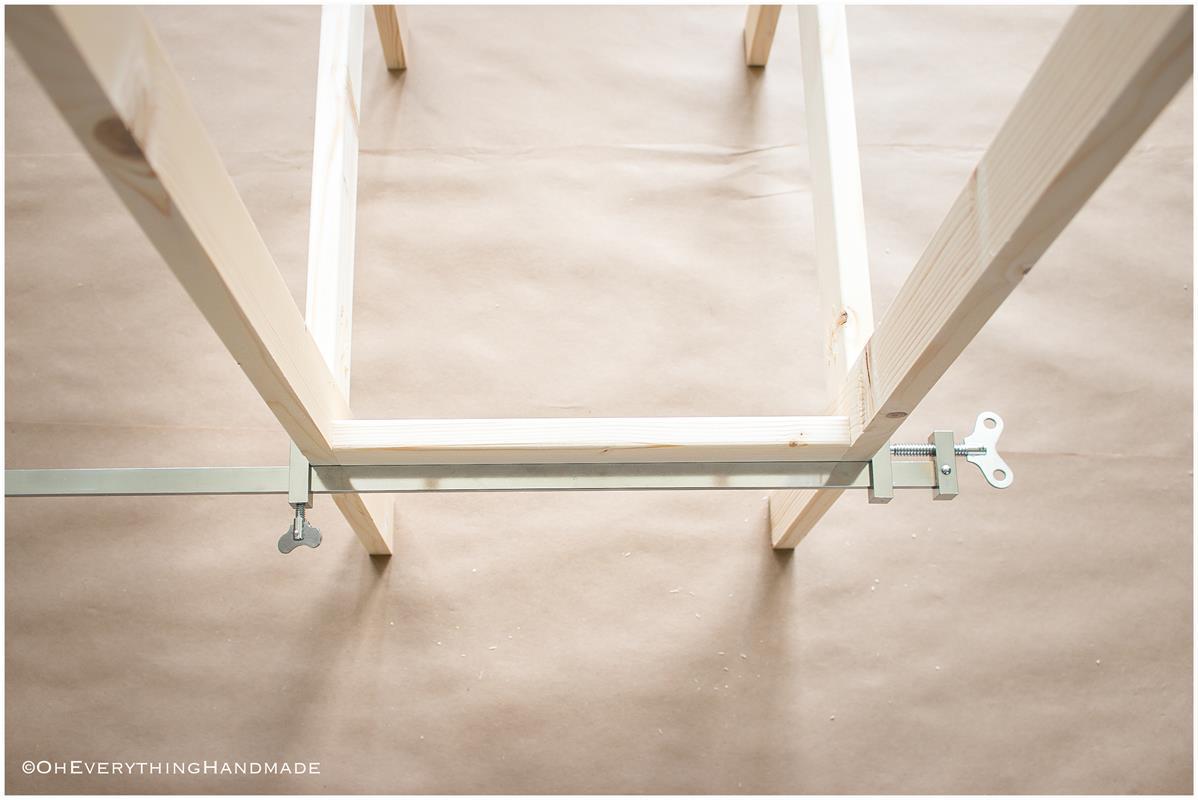
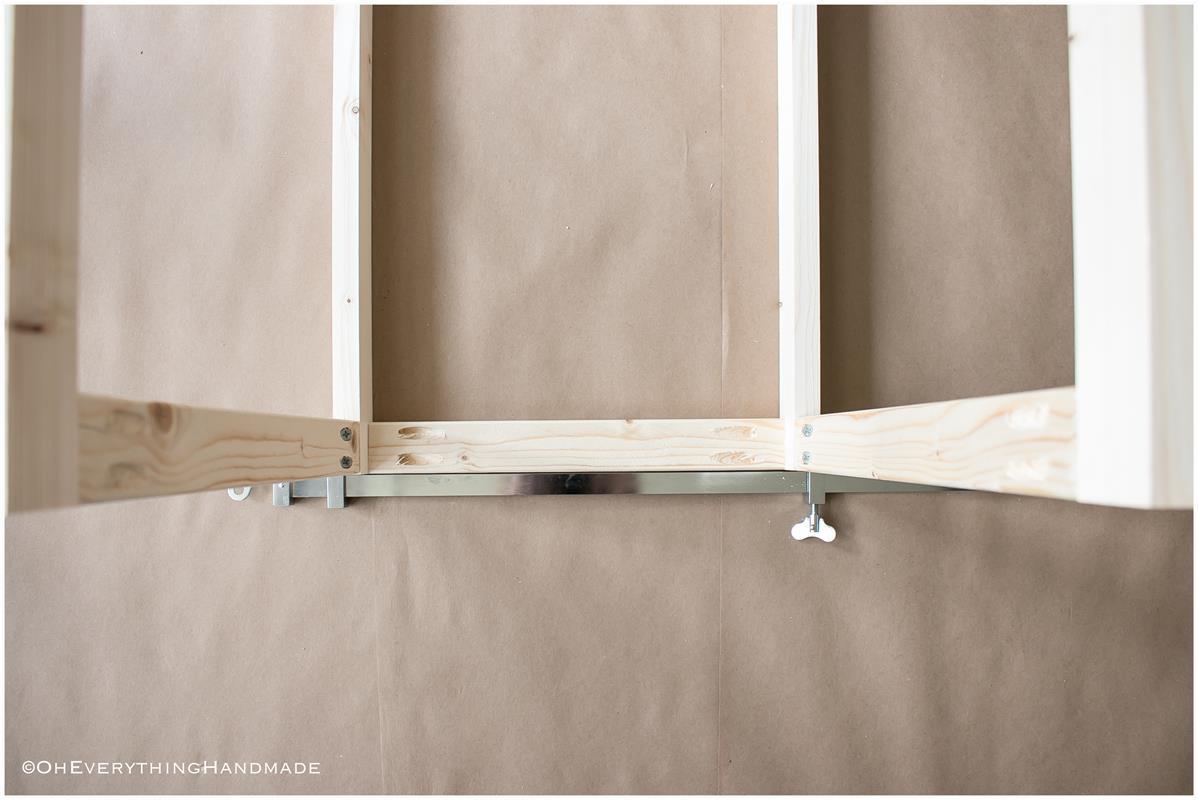
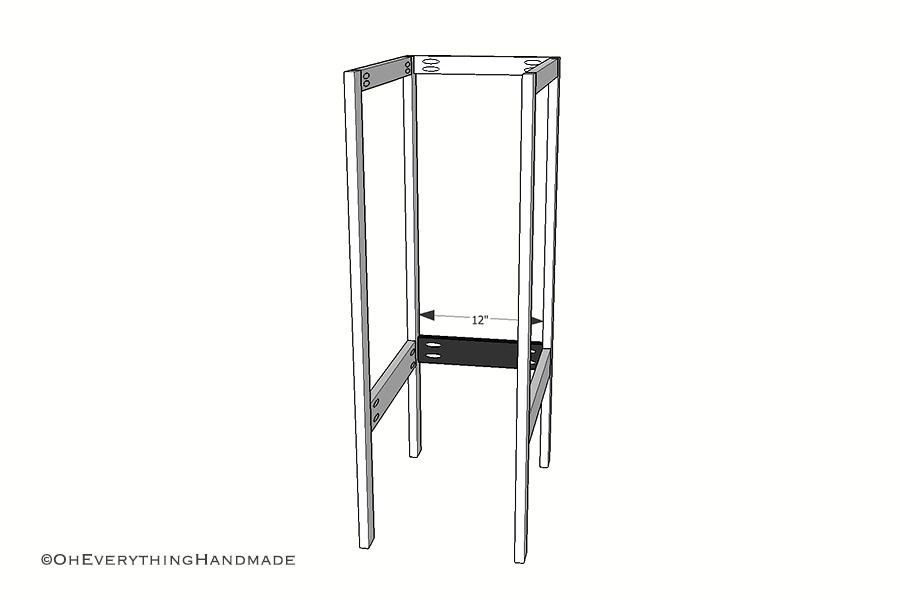
Step 3: Attach the side Boards
Pre-drill pocket holes with the Kreg Jig for 3/4" material into the ends of the 2 1/2 x 12" cuts. Attach 2 1/2 x 12"s to the leg frames using 1 1/4" pocket screws.
-
Step 4: Attach bottom & top Shelf
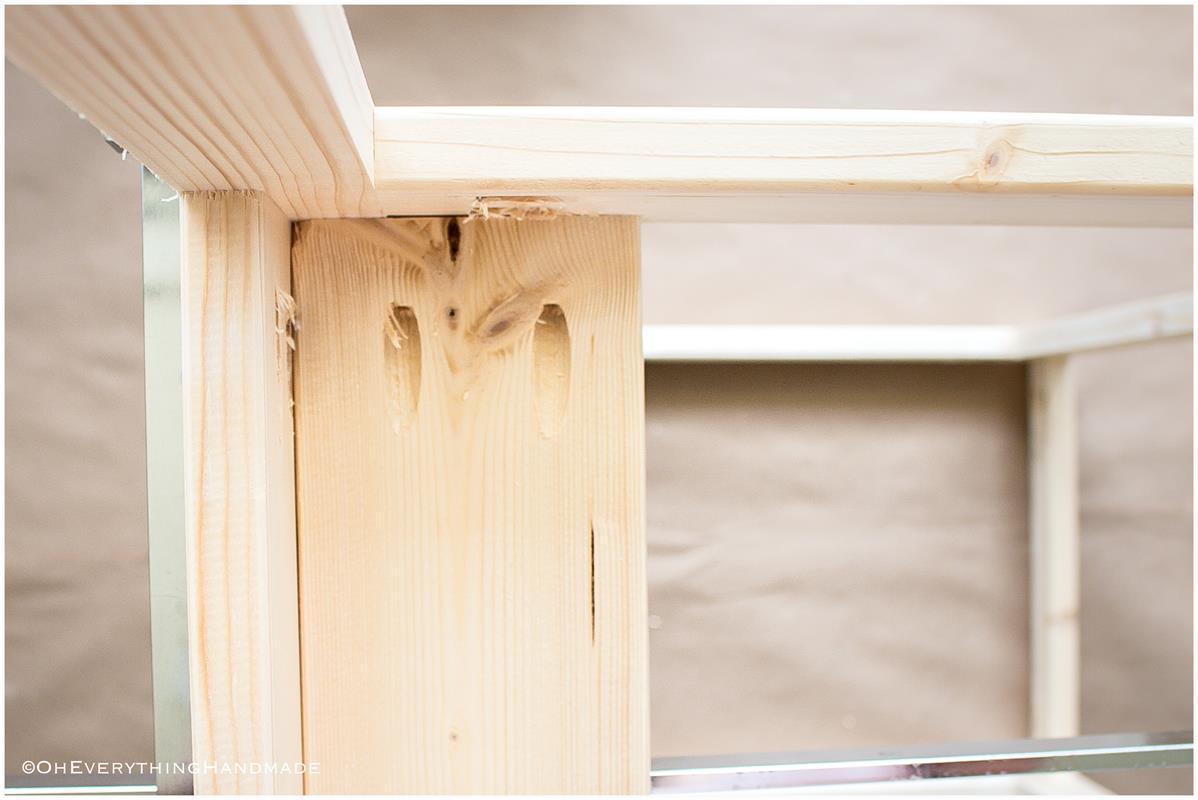
Drill pocket screw holes for 3/4" material with the Kreg Jig along the ends of the 3/4"x3 1/2"x12" boards.
Attach the boards to the edge of the base with 1 1/4" pocket hole screws, leaving 1/4" gap between each board (see image for reference)
-
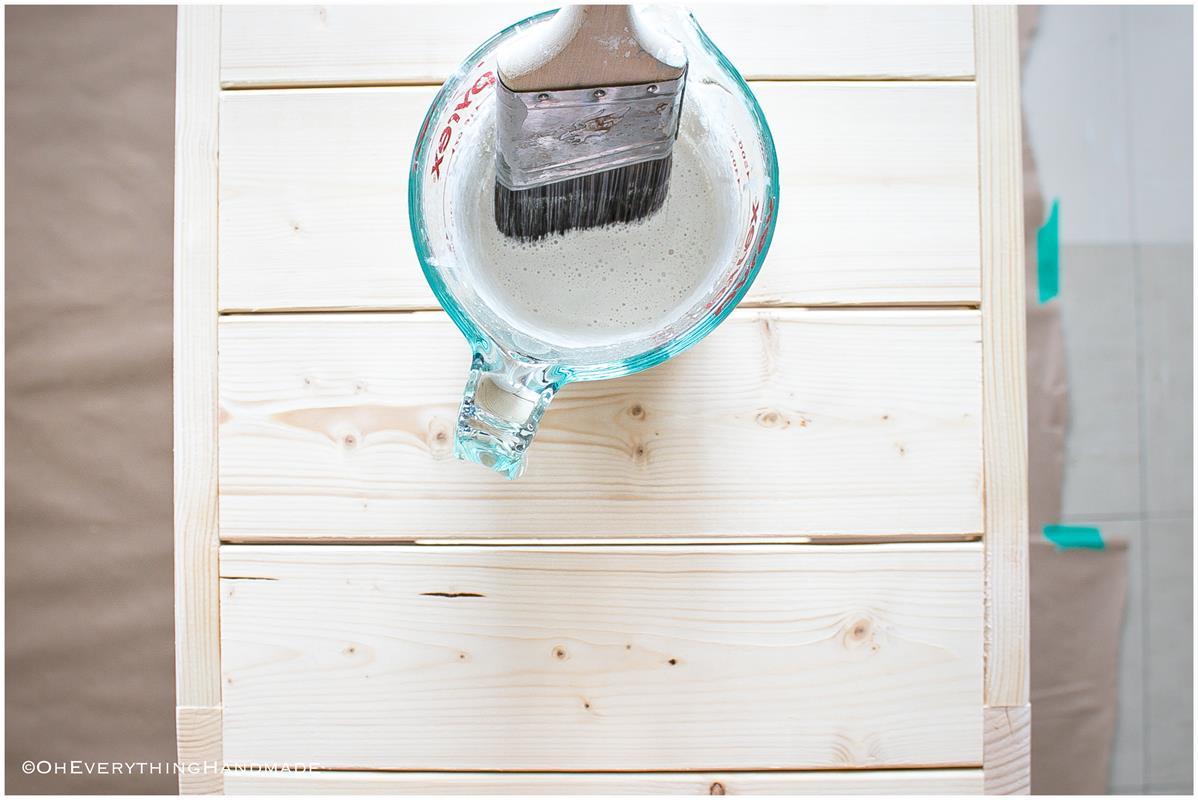
Finish as desired
Sand the shelf until smooth and fill any visible pocket holes if desired. For the shelf, I used Miss Mustard Seed's Milk Paint (color: Ironstone) followed by Miss Mustard Seed's Wax.
I applied four thin, coats of milk paint and let it completely dry. Then sanded lightly by hand using 220 grit sand paper.