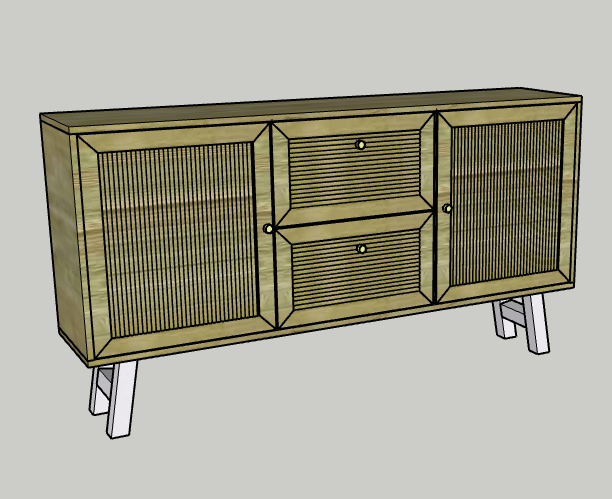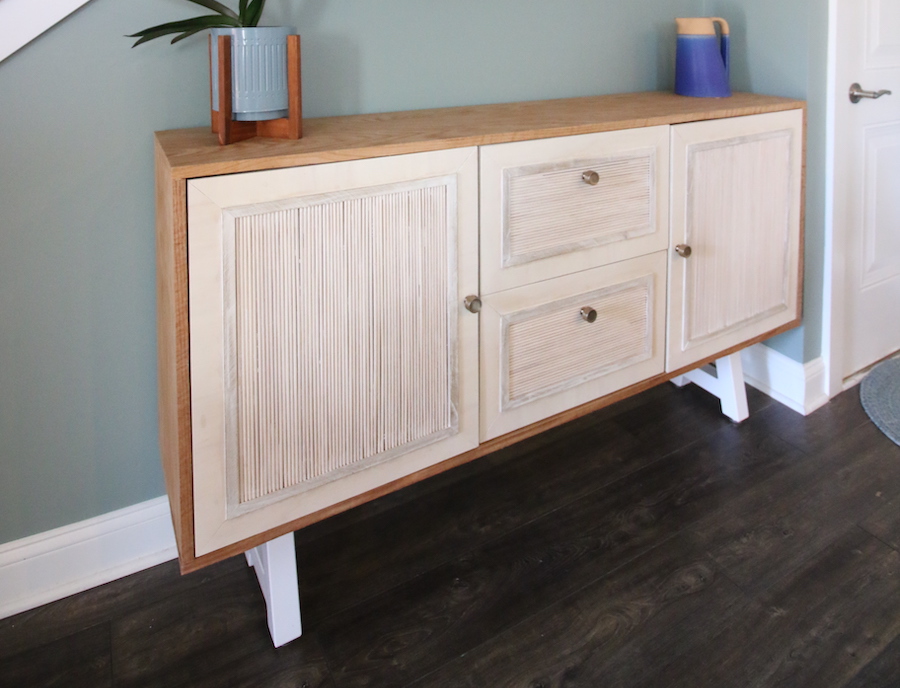
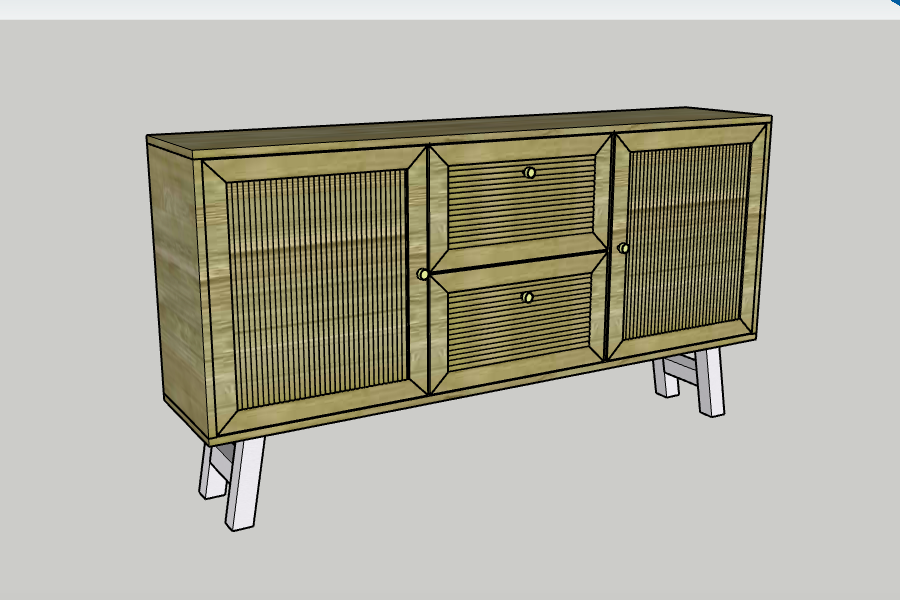


This buffet table is perfect for storing china or other dining room accessories. This fits perfectly against a wall behind a dining room table and has tons of storage. This buffet table has two drawers and two cabinets, meaning you can easily organize your decor!
Tools
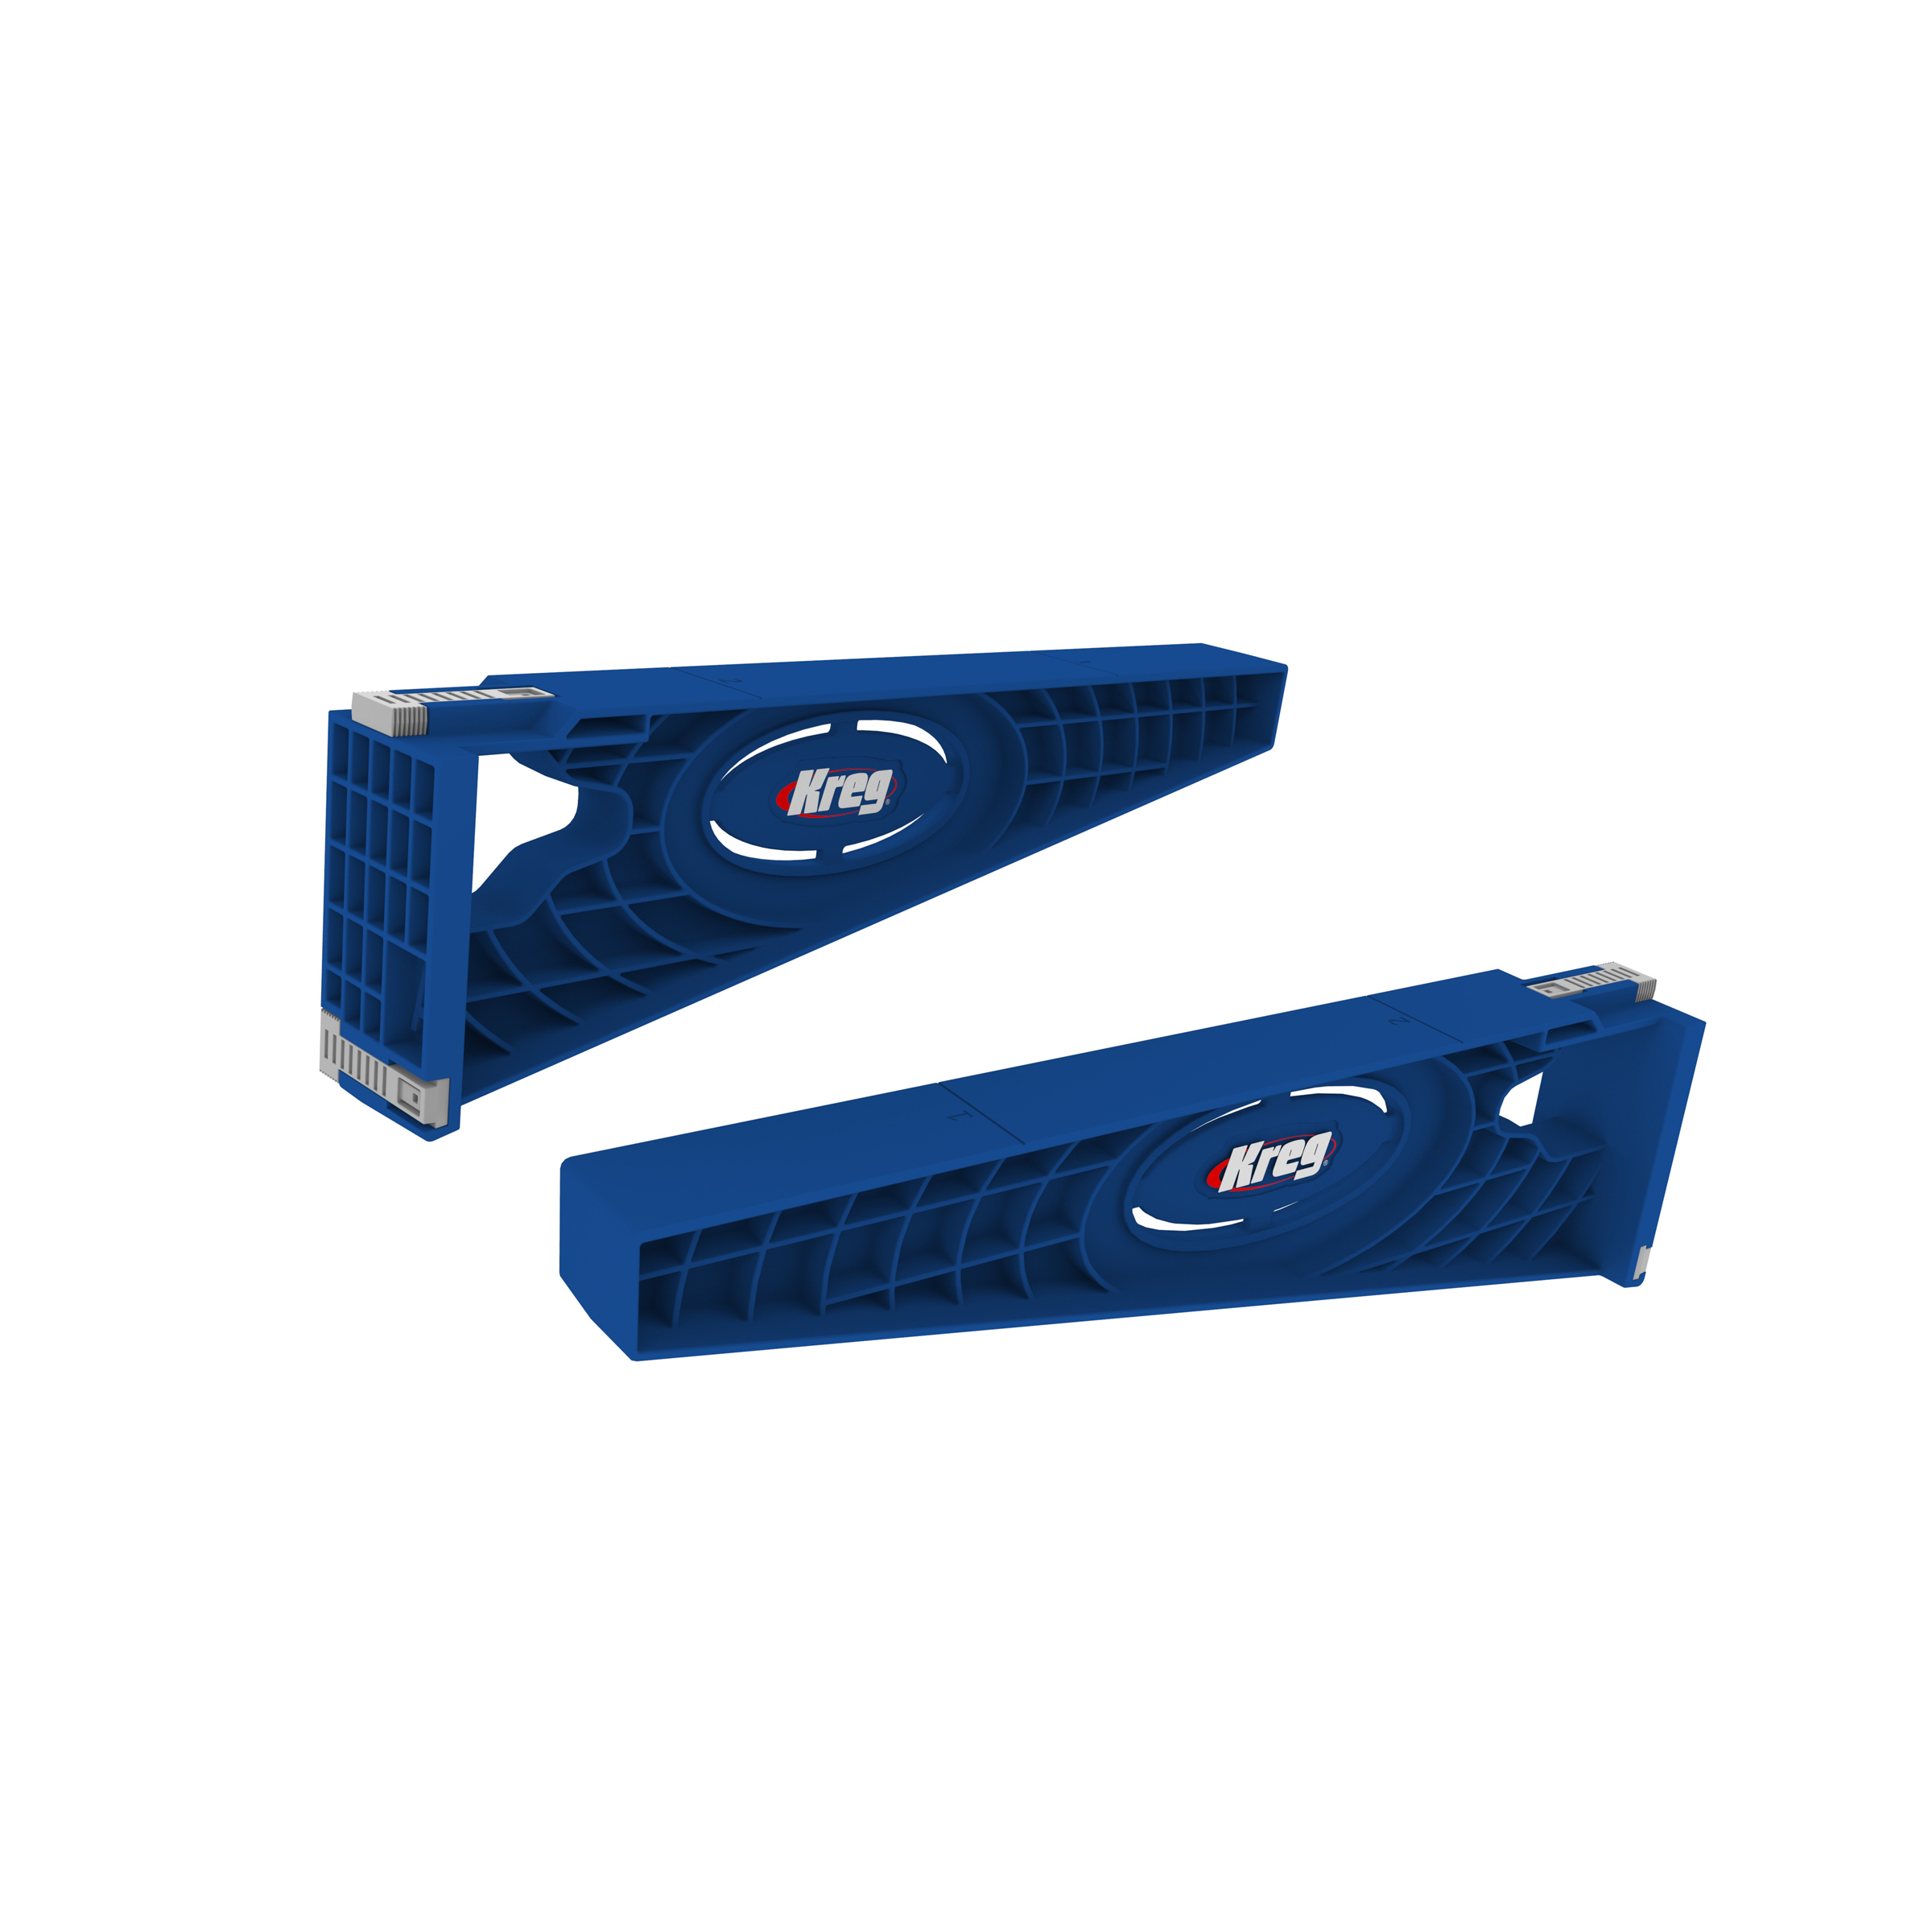
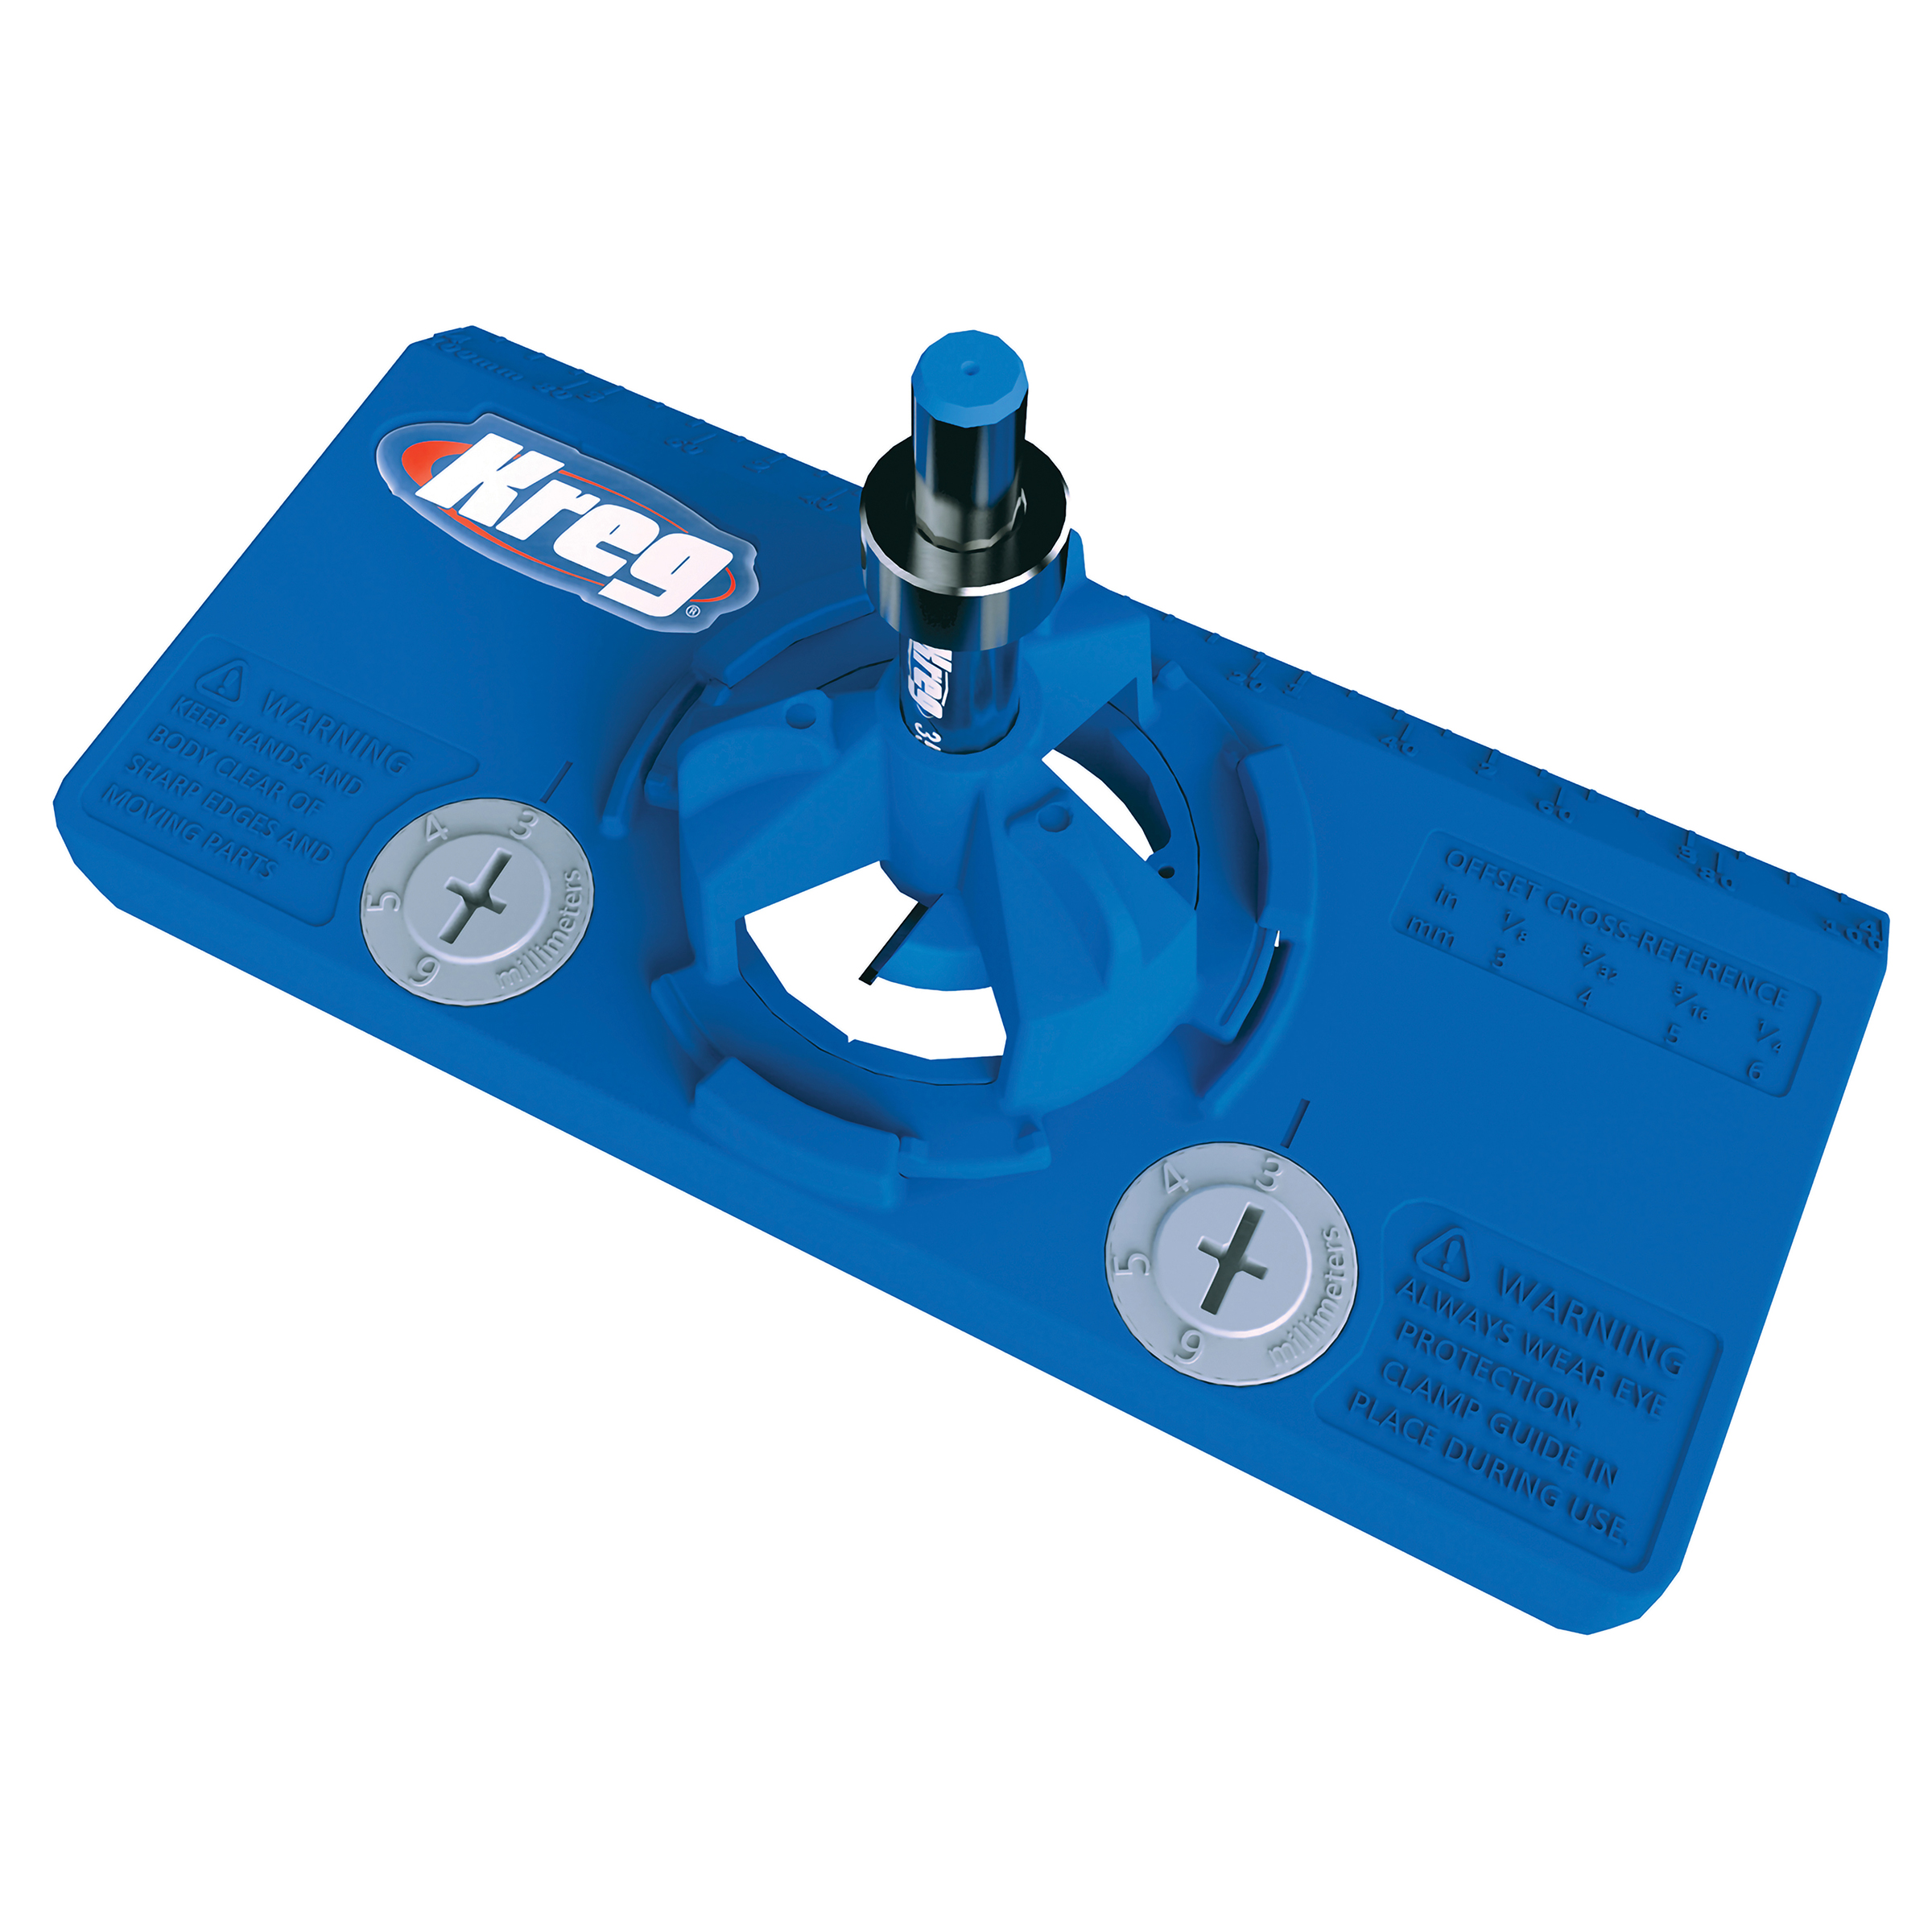
Kreg Tools


Other Tools
-
Miter saw

-
Brad nailer
Materials
Wood Products
- 1 Sheet of plywood , 4' x 8' x 3/4"
- 1 Sheet of plywood , 4' x 8' x 1/2"
- 1 Sheet of plywood , 4' x 4' x 1/4"
- 200 Dowels , 36" x 1/4"
Hardware & Supplies
- 1 Box of 1¼” Kreg Screws (see tool list)
- 1 Wood glue
- 4 12" drawer slides
- 4 Slow close hinges
- 4 Cabinet knobs
- 4 Metal legs of your choosing
- 1 Stain
- 1 Cutting board oil
Directions
-
Build Frame
- Drill three pocket holes in each short end of the Sides.
- Using pocket screws and wood glue, attach each Side flush with the outside edge of the Bottom.
- Using pocket screws and wood glue, attach the Top onto the other end of the Sides, flush on the edges.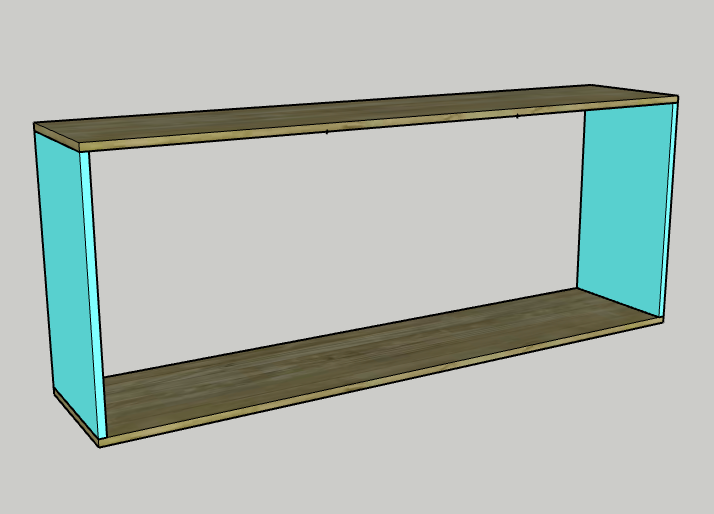
-
Attach Back
- Drill three pocket holes into the short sides of the Back and four pocket holes into the long sides of the Back.
- Insert the Back into the back of the frame so that it is flush on all sides.
- Using pocket screws and wood glue, attach the Back to the inside of the frame.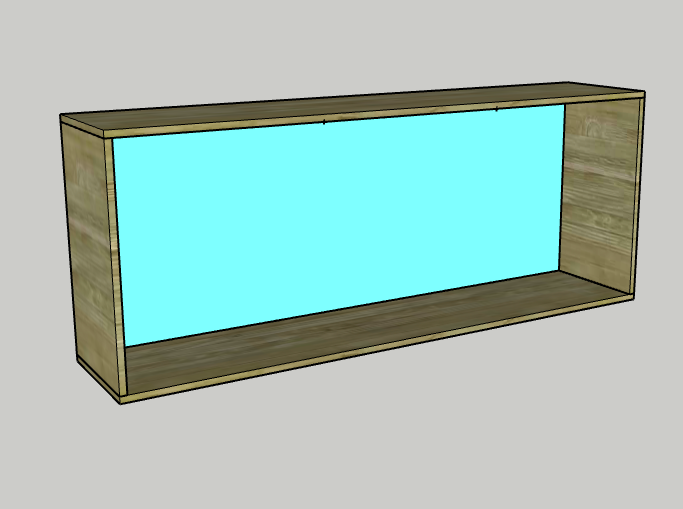
-
Attach Dividers and Shelves
- Drill two pocket holes into the short sides of both Dividers and both Shelves.
- Using pocket screws and wood glue, attach a Shelf into the center of a Divider. Repeat for the other Shelf and Divider.
- Using pocket screws and wood glue, attach the Shelves and Dividers inside the frame.
- If desired, add edge banding here along all outward facing plywood edges.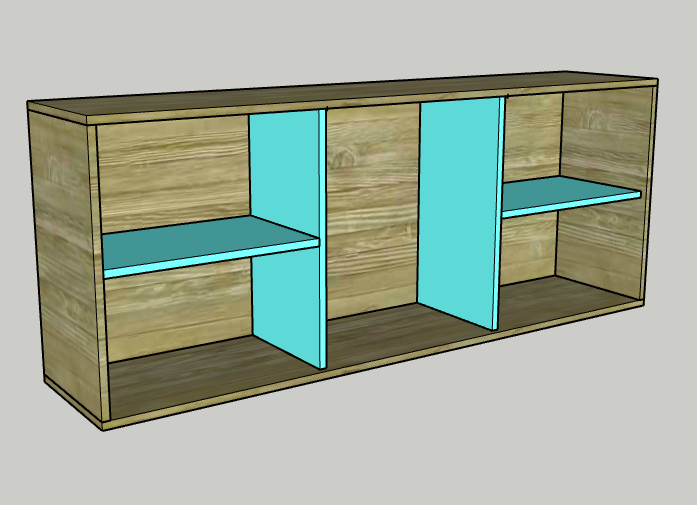
-
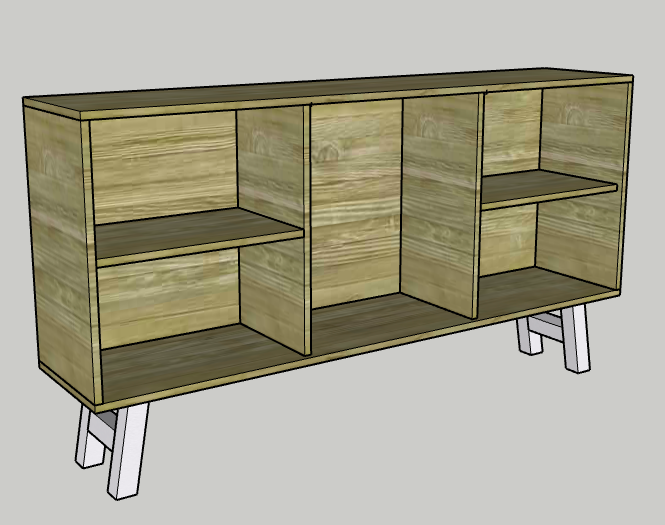
Attach Legs
Attach metal legs (or legs of your choosing) to the underside of the frame.
-
Build Drawer Boxes
- Drill two pocket holes in the short ends of the Drawer Fronts/Backs and on all four sides of the Drawer Bottoms.
- Attach a Drawer Front and Back to the inside edge of two Drawer Sides using pocket screws and wood glue.
- Attach a Drawer Bottom flush along the inside bottom edge of the box.
- Repeat to build the second drawer box.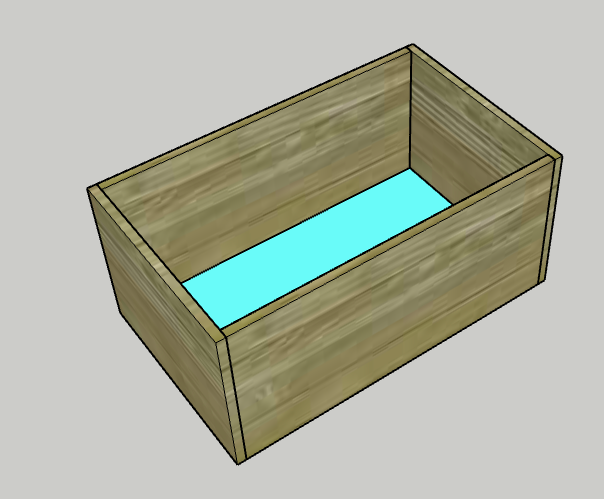
-
Assemble Drawer Fronts
- Use a miter saw to cut a 45 degree angle on both ends of all the Drawer Trim pieces, keeping the long edge the length in the cut list.
- Using wood glue and clamps, attach two Drawer Top and Bottom Trim and two Drawer Side Trim pieces to each Drawer Face along the outer edges.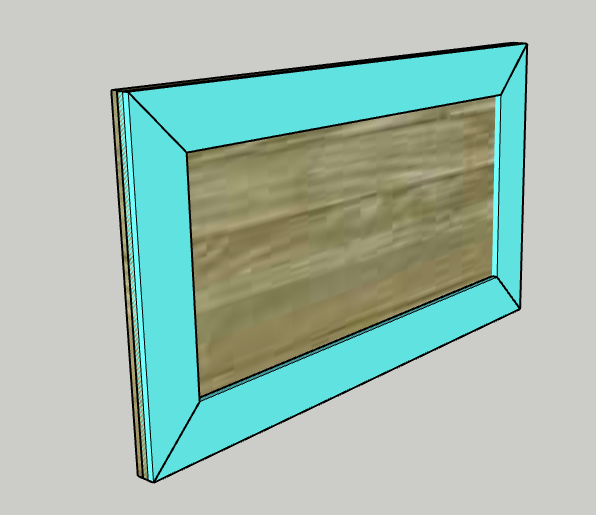
-
Add Drawer Dowels
- Coat the interior area of the Drawer Face with wood glue and lay down approximately 21 Drawer Dowels horizontally to fill the space.
- Clamp a board down across the dowels to keep them flush and smooth while drying.
-
Assemble Doors
- Use a miter saw to cut a 45 degree angle on both ends of all the Door Trim pieces, keeping the long edge the length in the cut list.
- Using wood glue and clamps, attach two Door Top and Bottom Trim and two Door Side Trim pieces to each Door Face along the outer edges.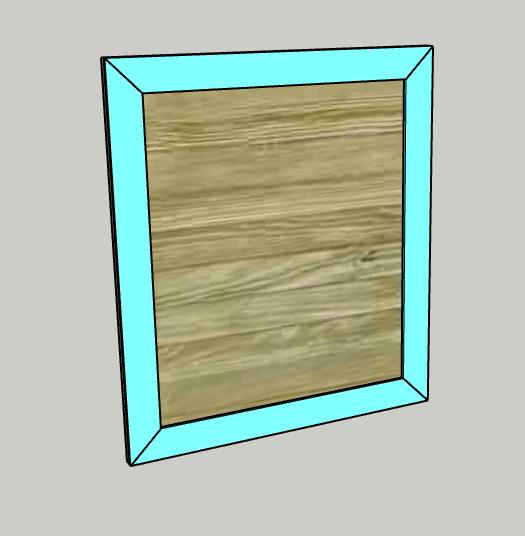
-
Add Door Dowels
- Coat the interior area of the Door Face with wood glue and lay down approximately 61 Door Dowels horizontally to fill the space.
- Clamp a board down across the dowels to keep them flush and smooth while drying.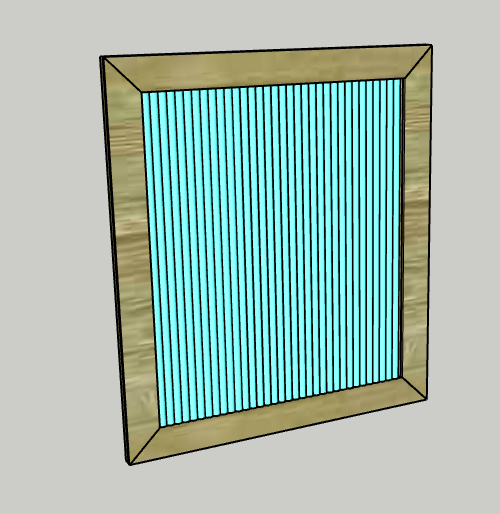
-
Insert Drawers
- Attach the drawer boxes to the middle section of the frame using drawer slides.
- When the drawer boxes are in place, attach the drawer faces to the boxes using wood glue and nails or screws.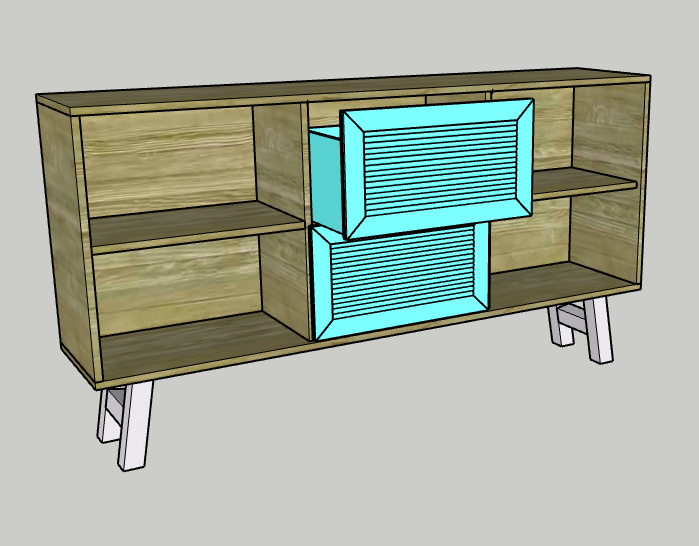
-
Attach Doors
- Drill two hinge holes in both doors and attach to the inner frame of the table.
- Each door should fit between the outside edge of the frame and the drawers.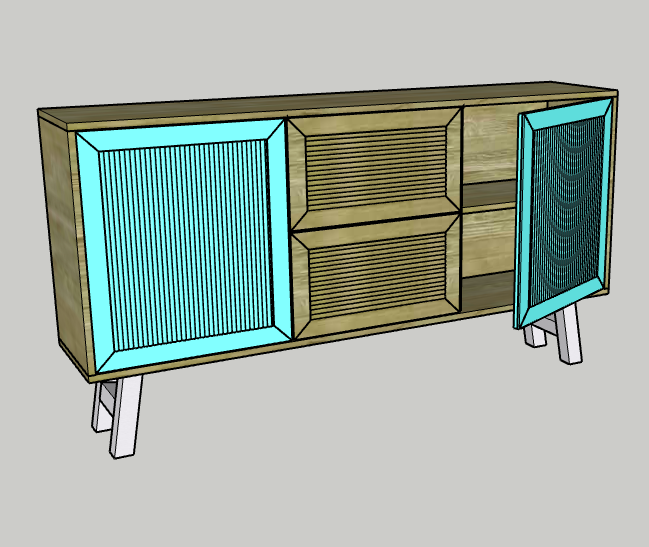
-
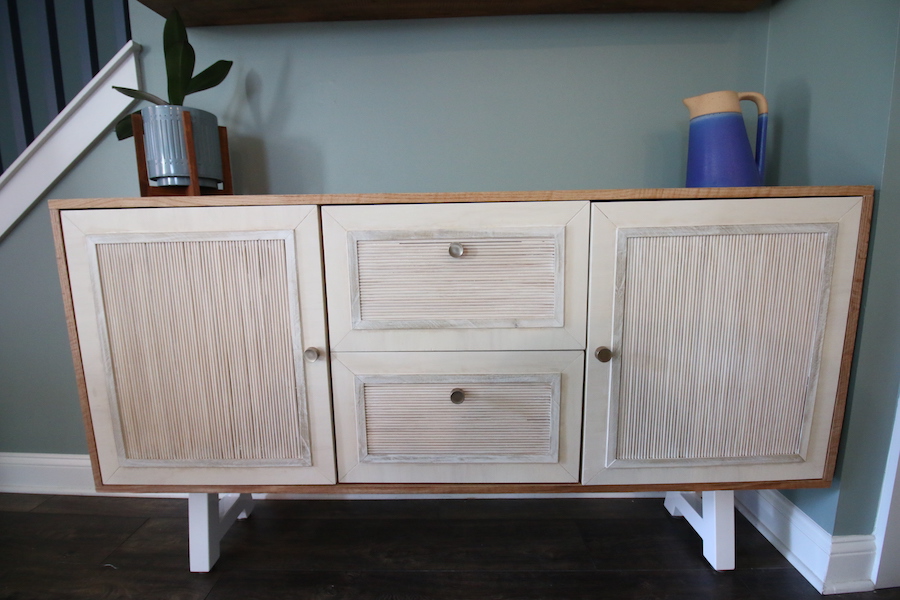
Add Knobs
- Add a knob on each cabinet door centered with where the drawer faces come together.
- Add a knob on each drawer face two inches below the trim.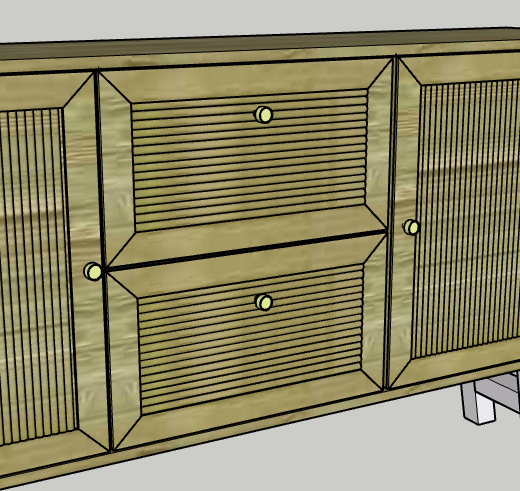
-
Enjoy!
Enjoy your handiwork and tag @CharlestonCrafted on Instagram with a picture!