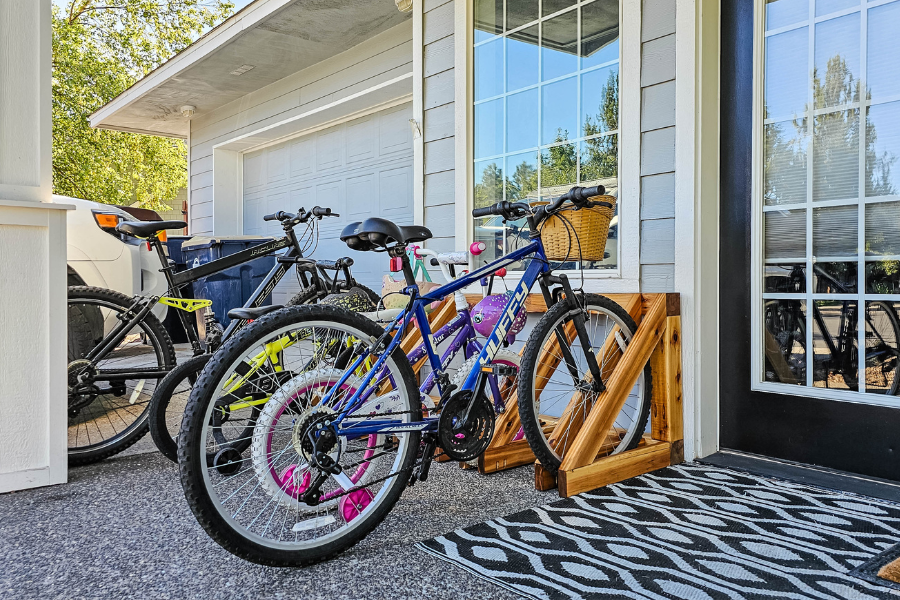
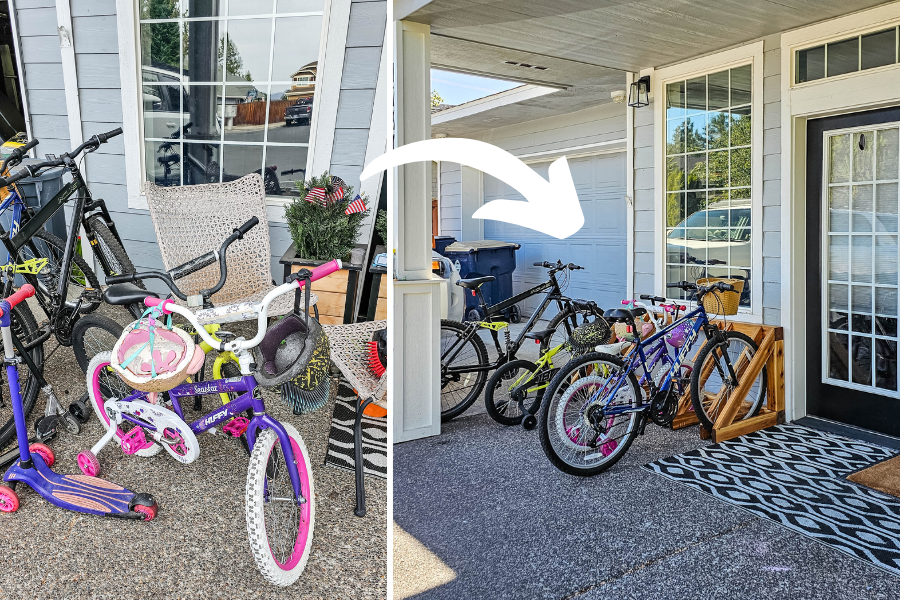
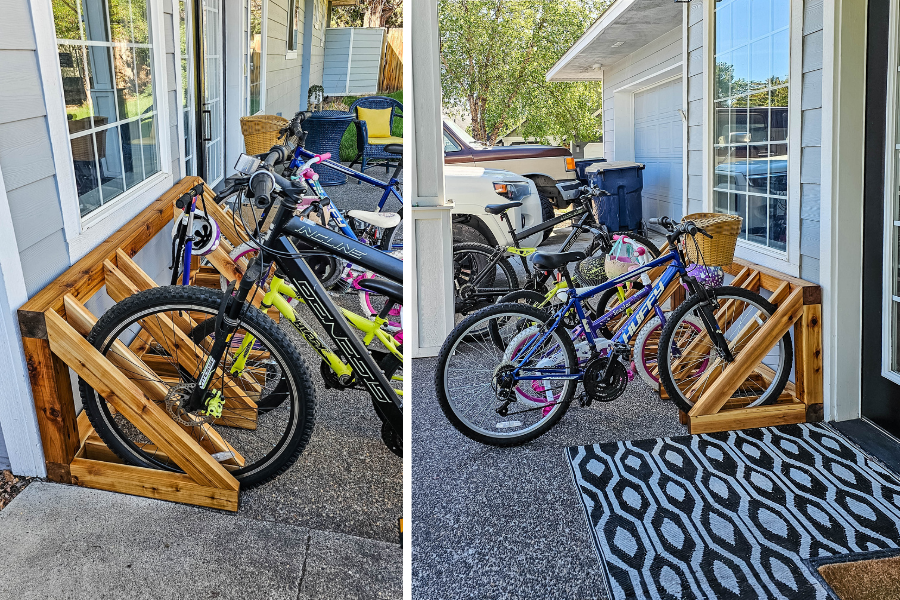
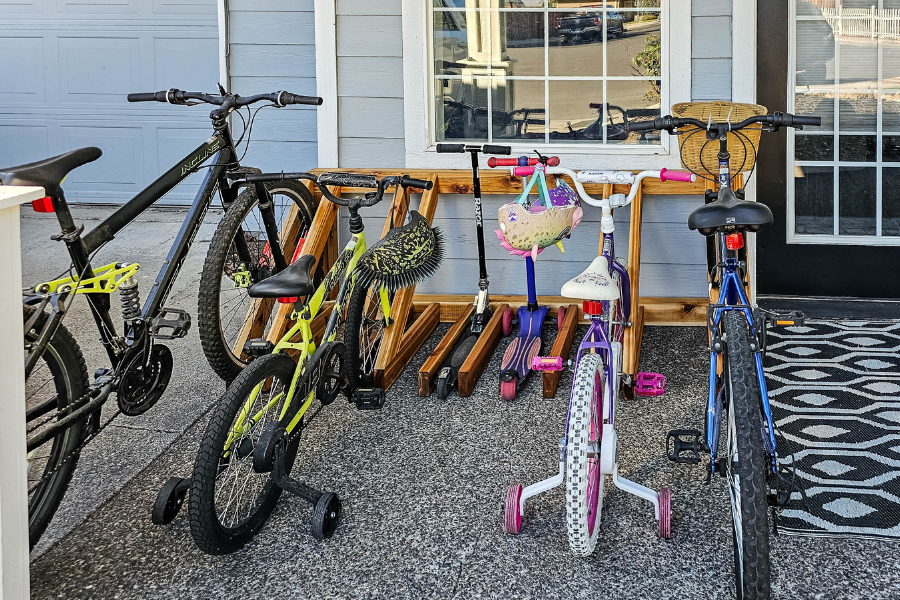


Get your bike and scooters organized with this wooden rack for your garage or porch.
Tools
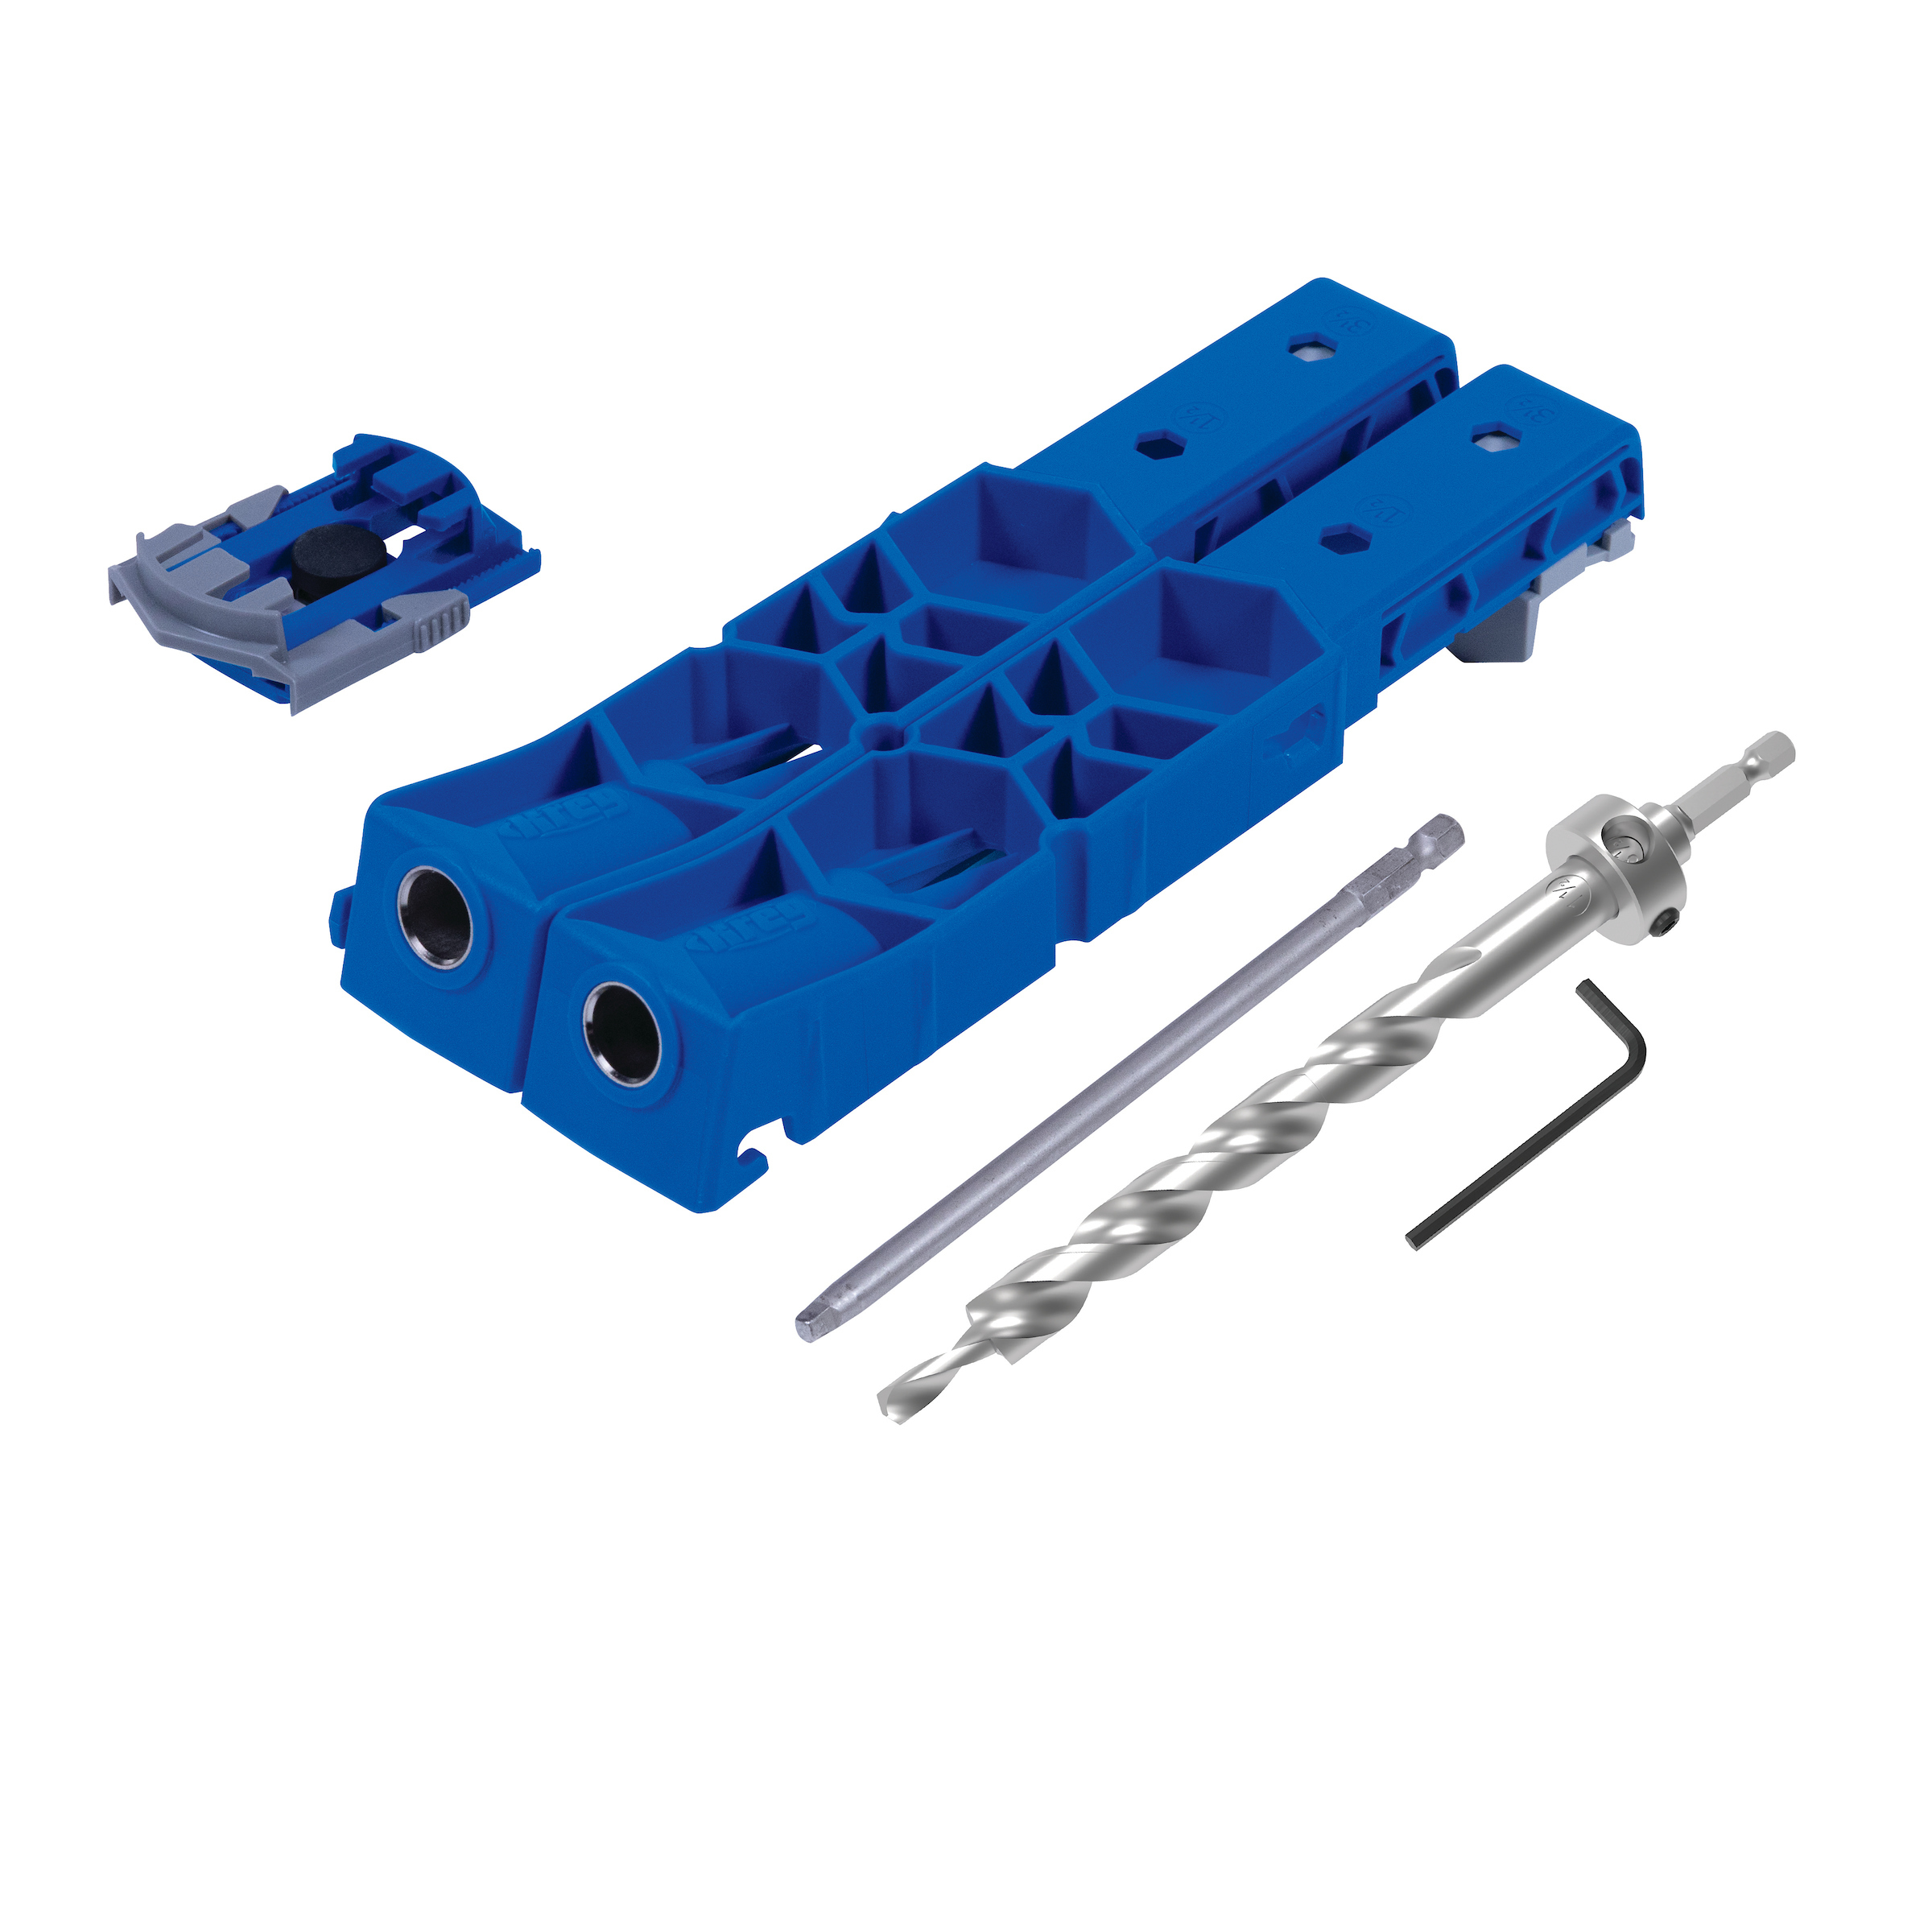
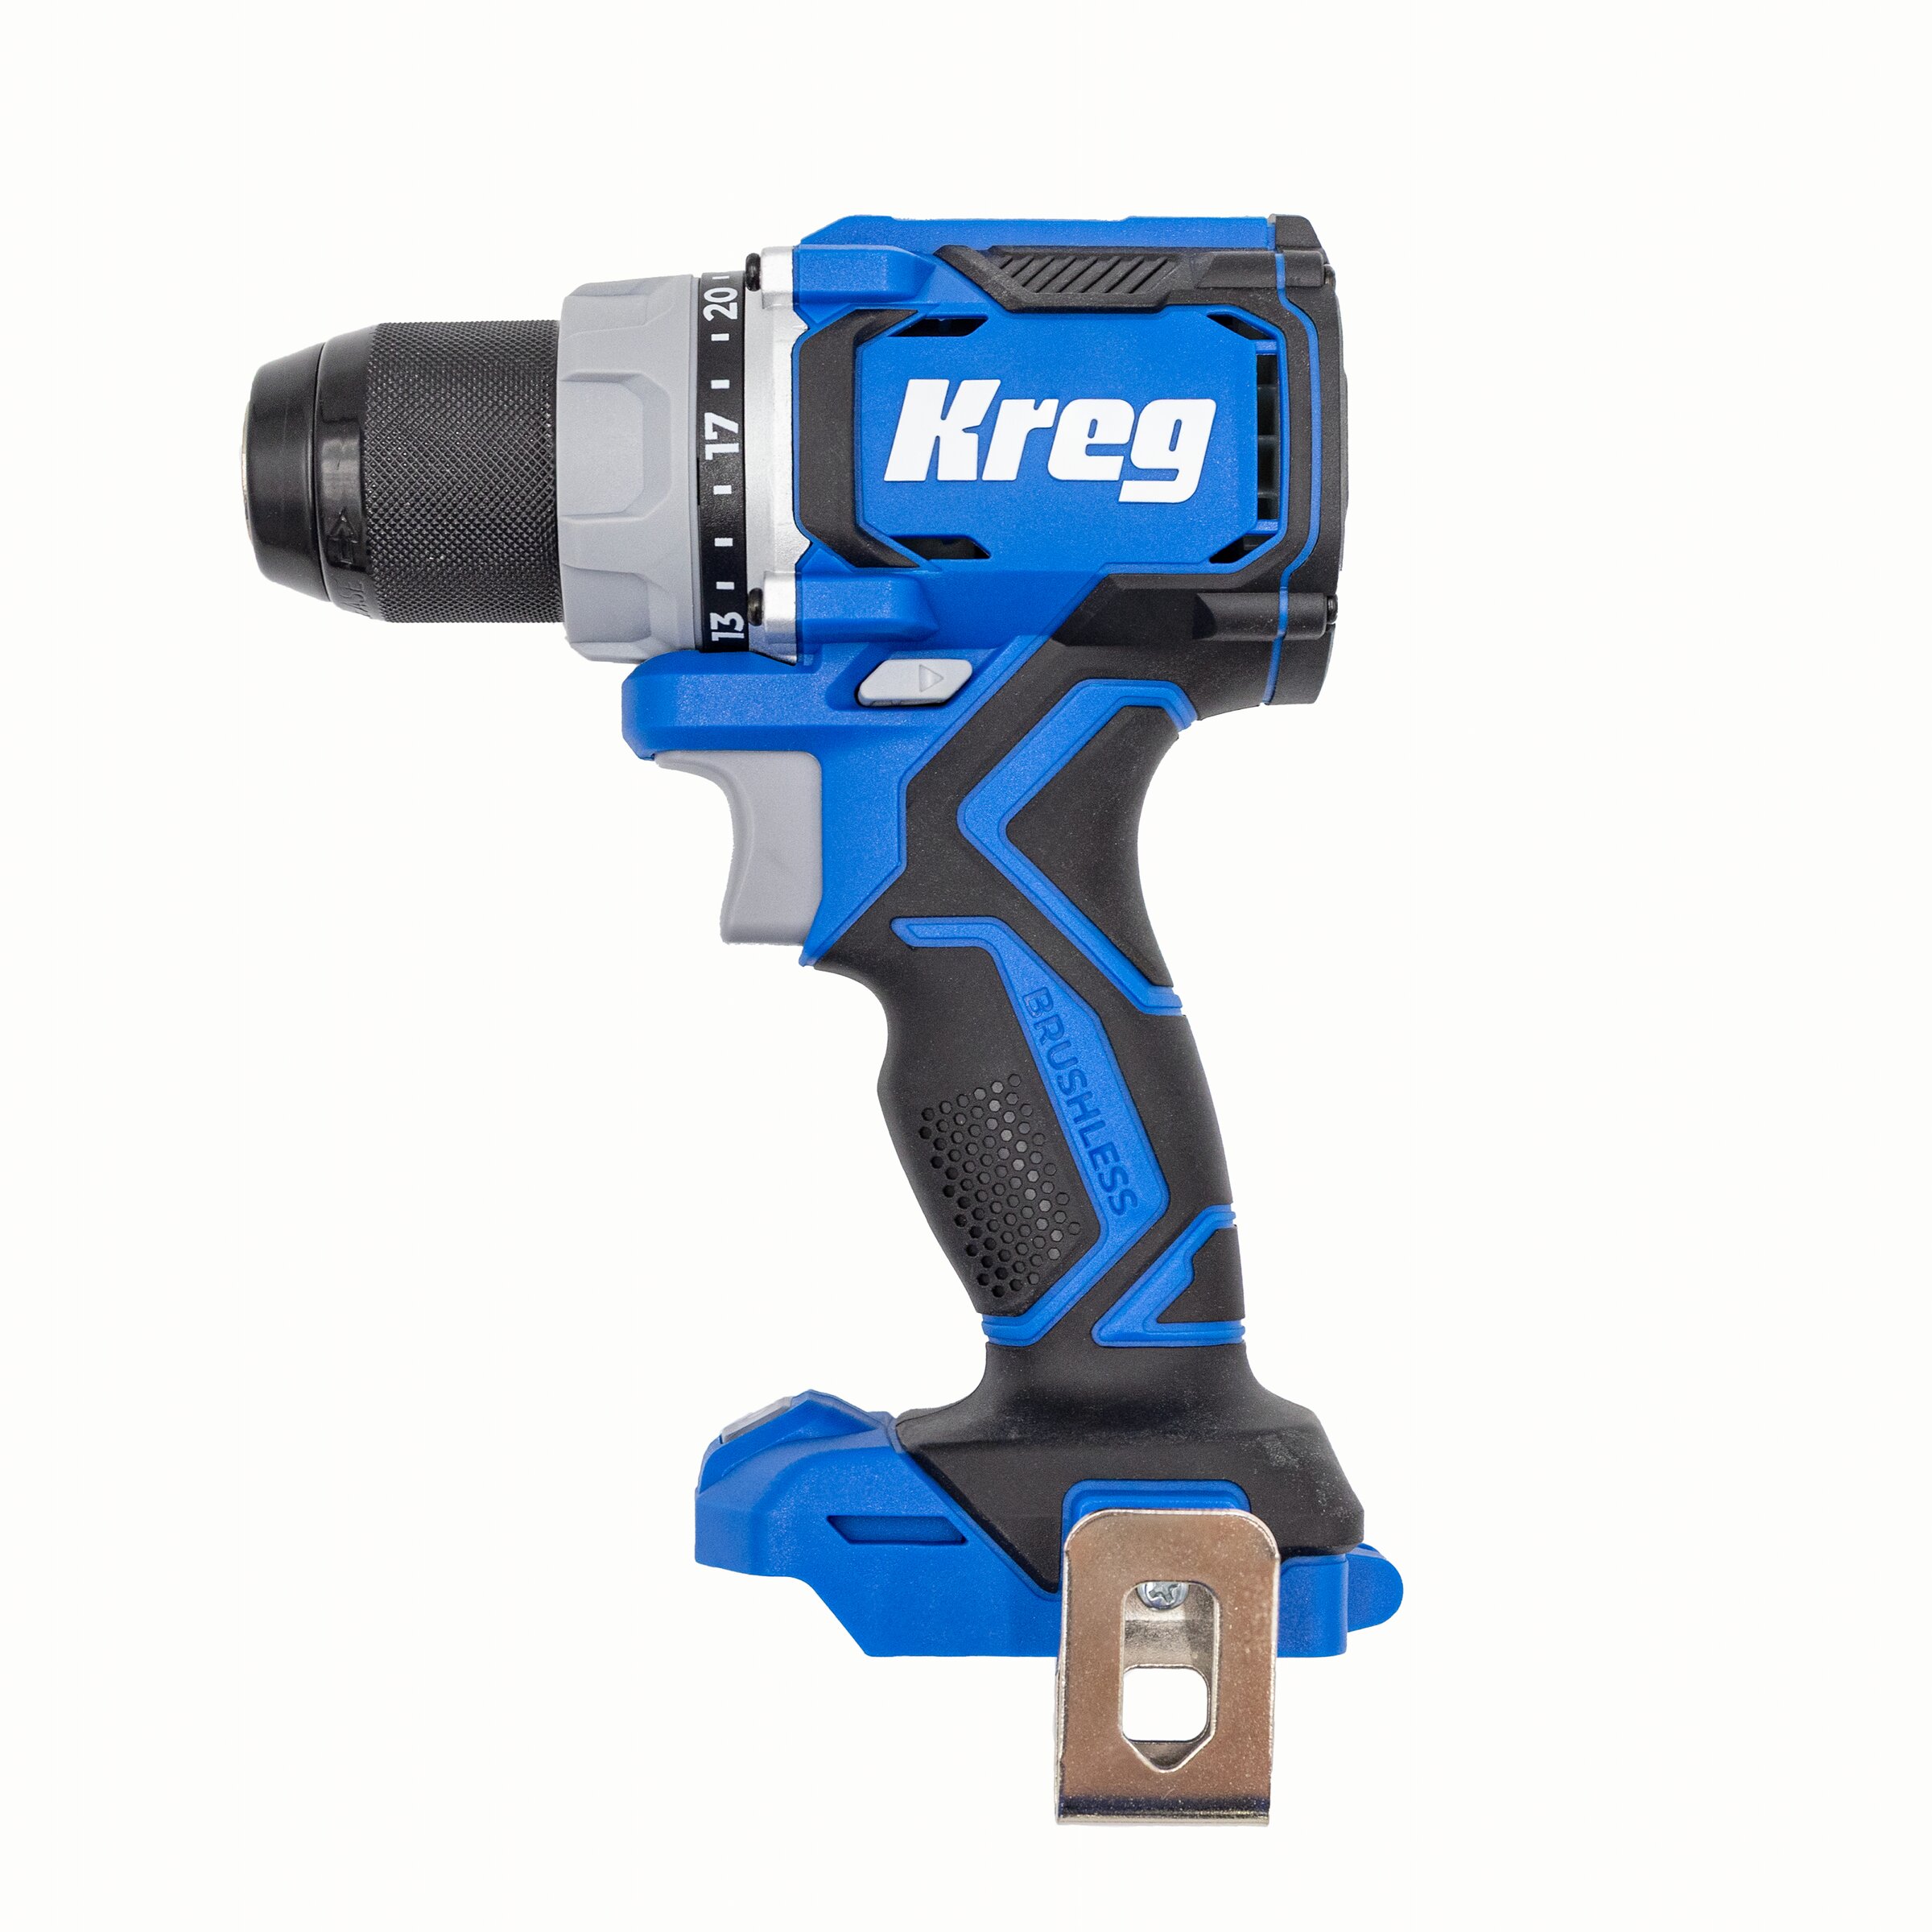
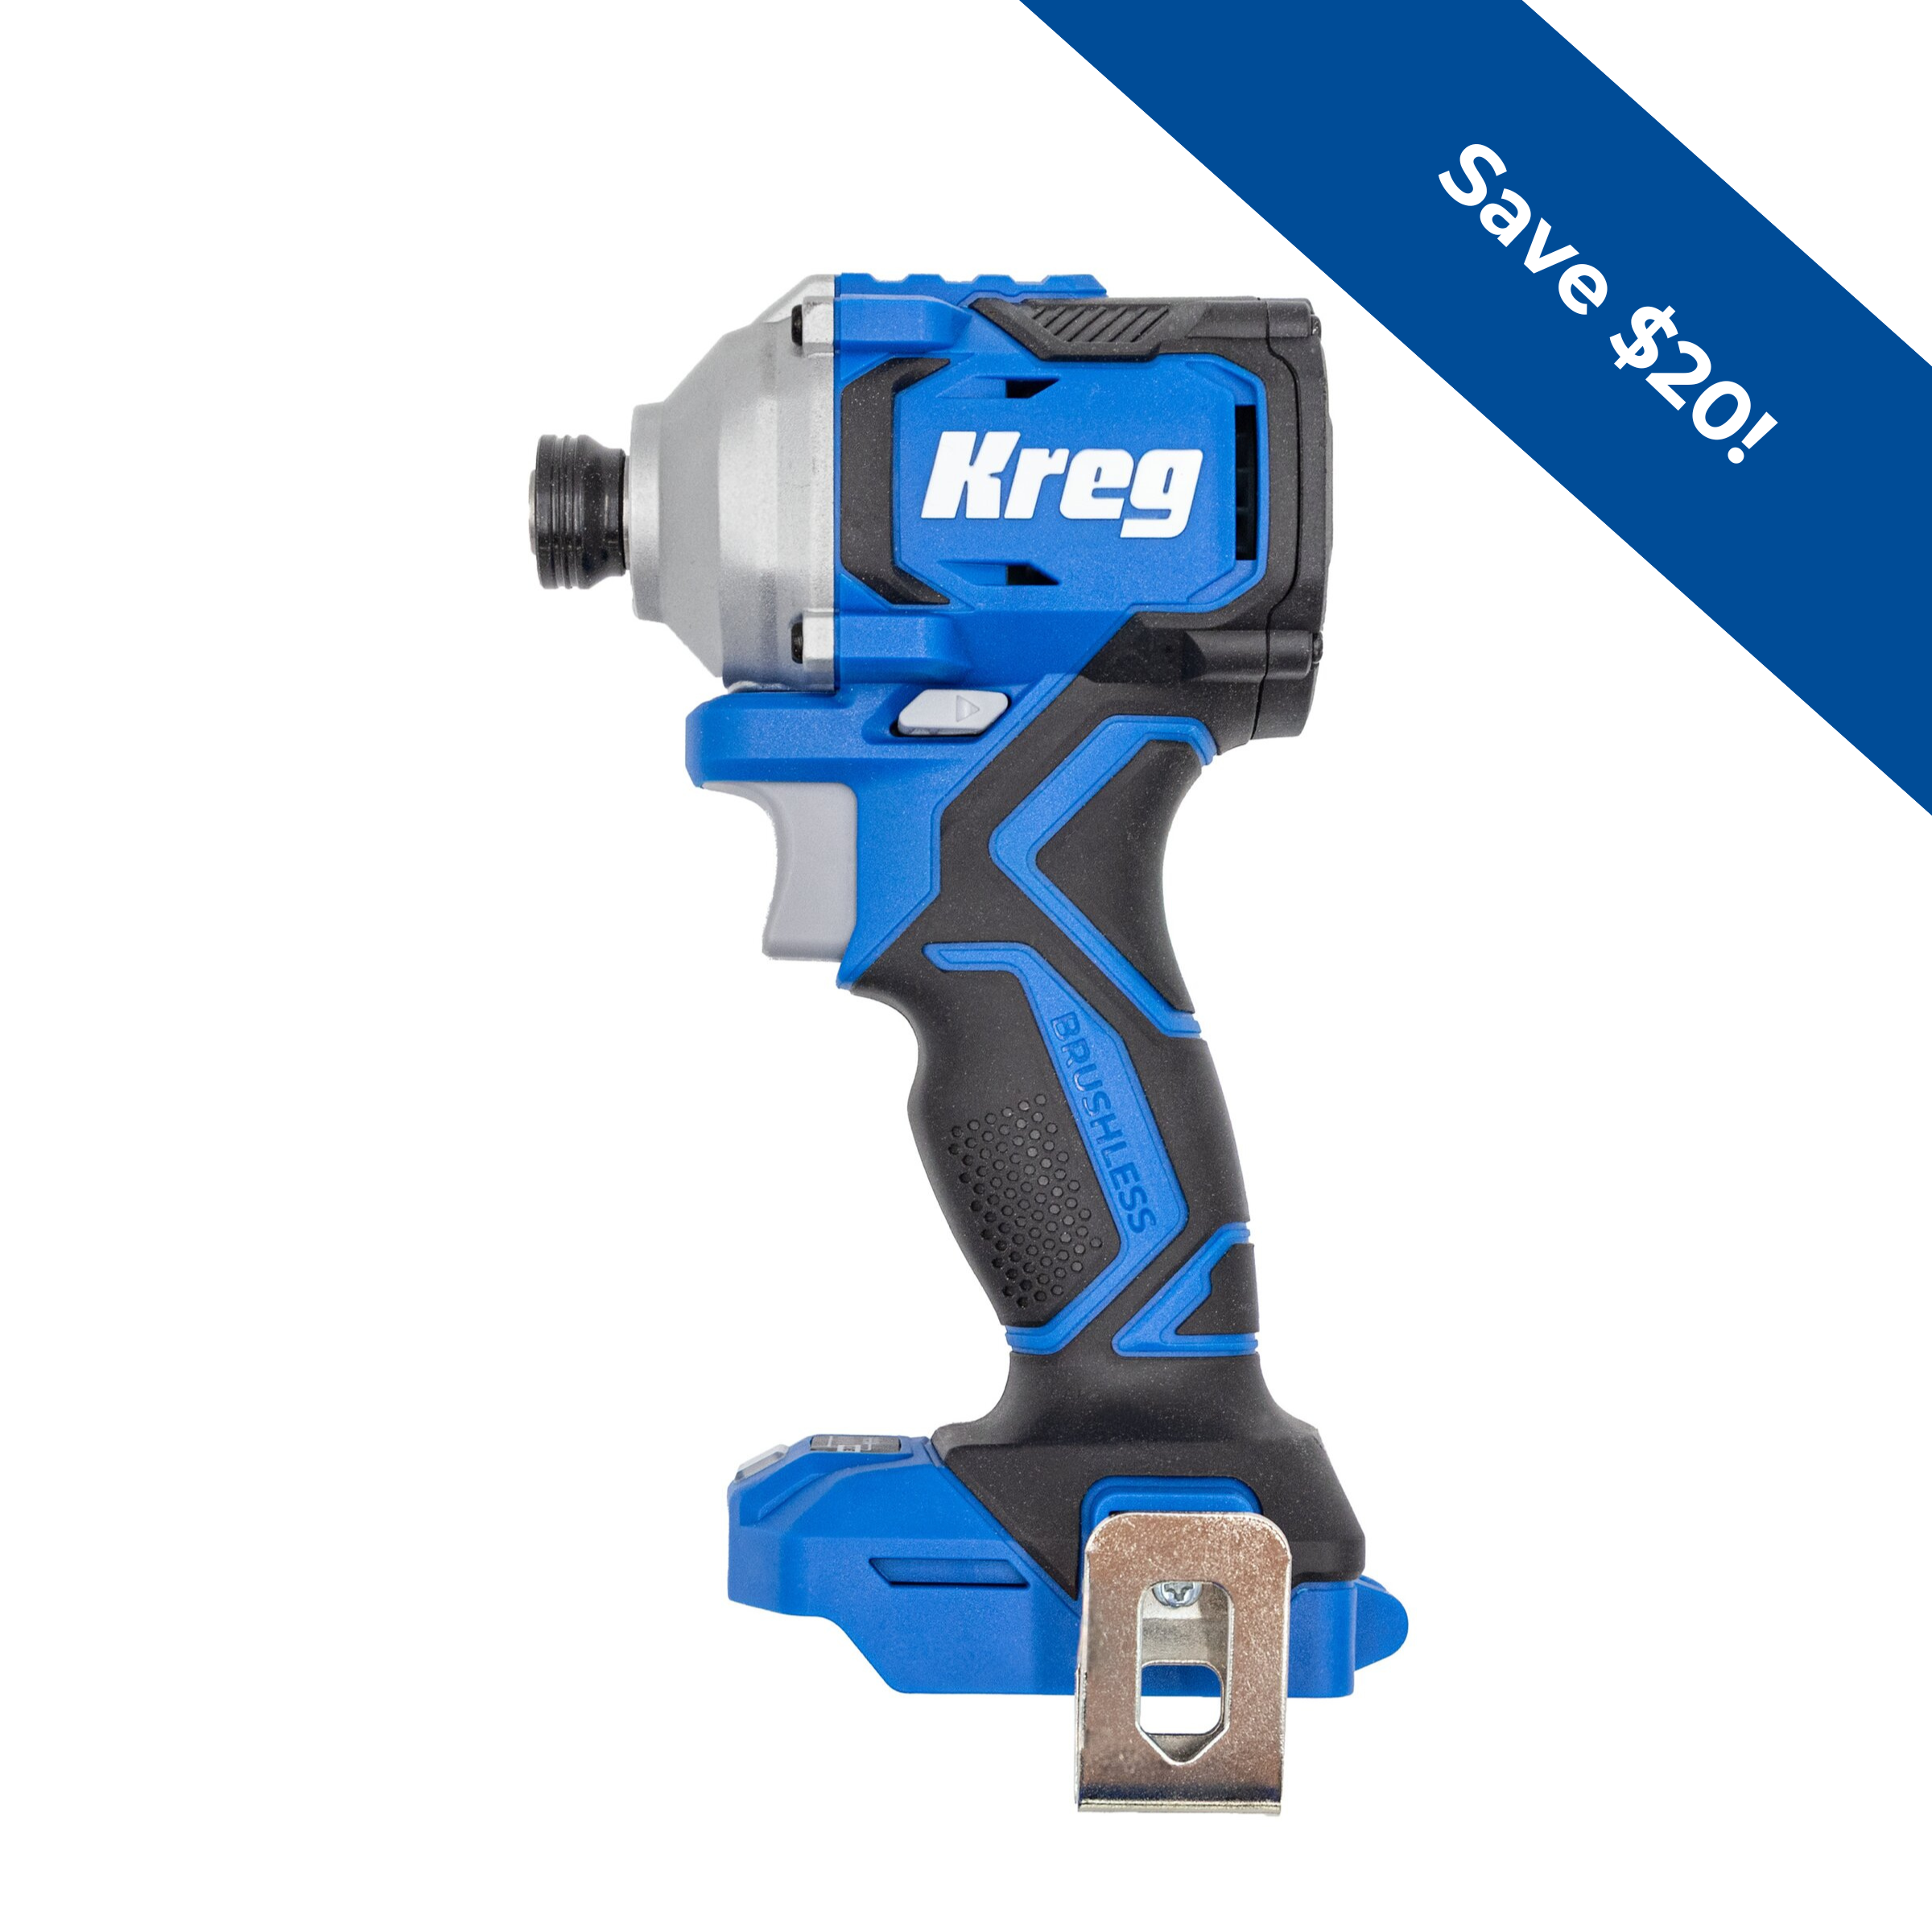
Kreg Tools
Other Tools
-
Miter saw

-
Tape measure
-
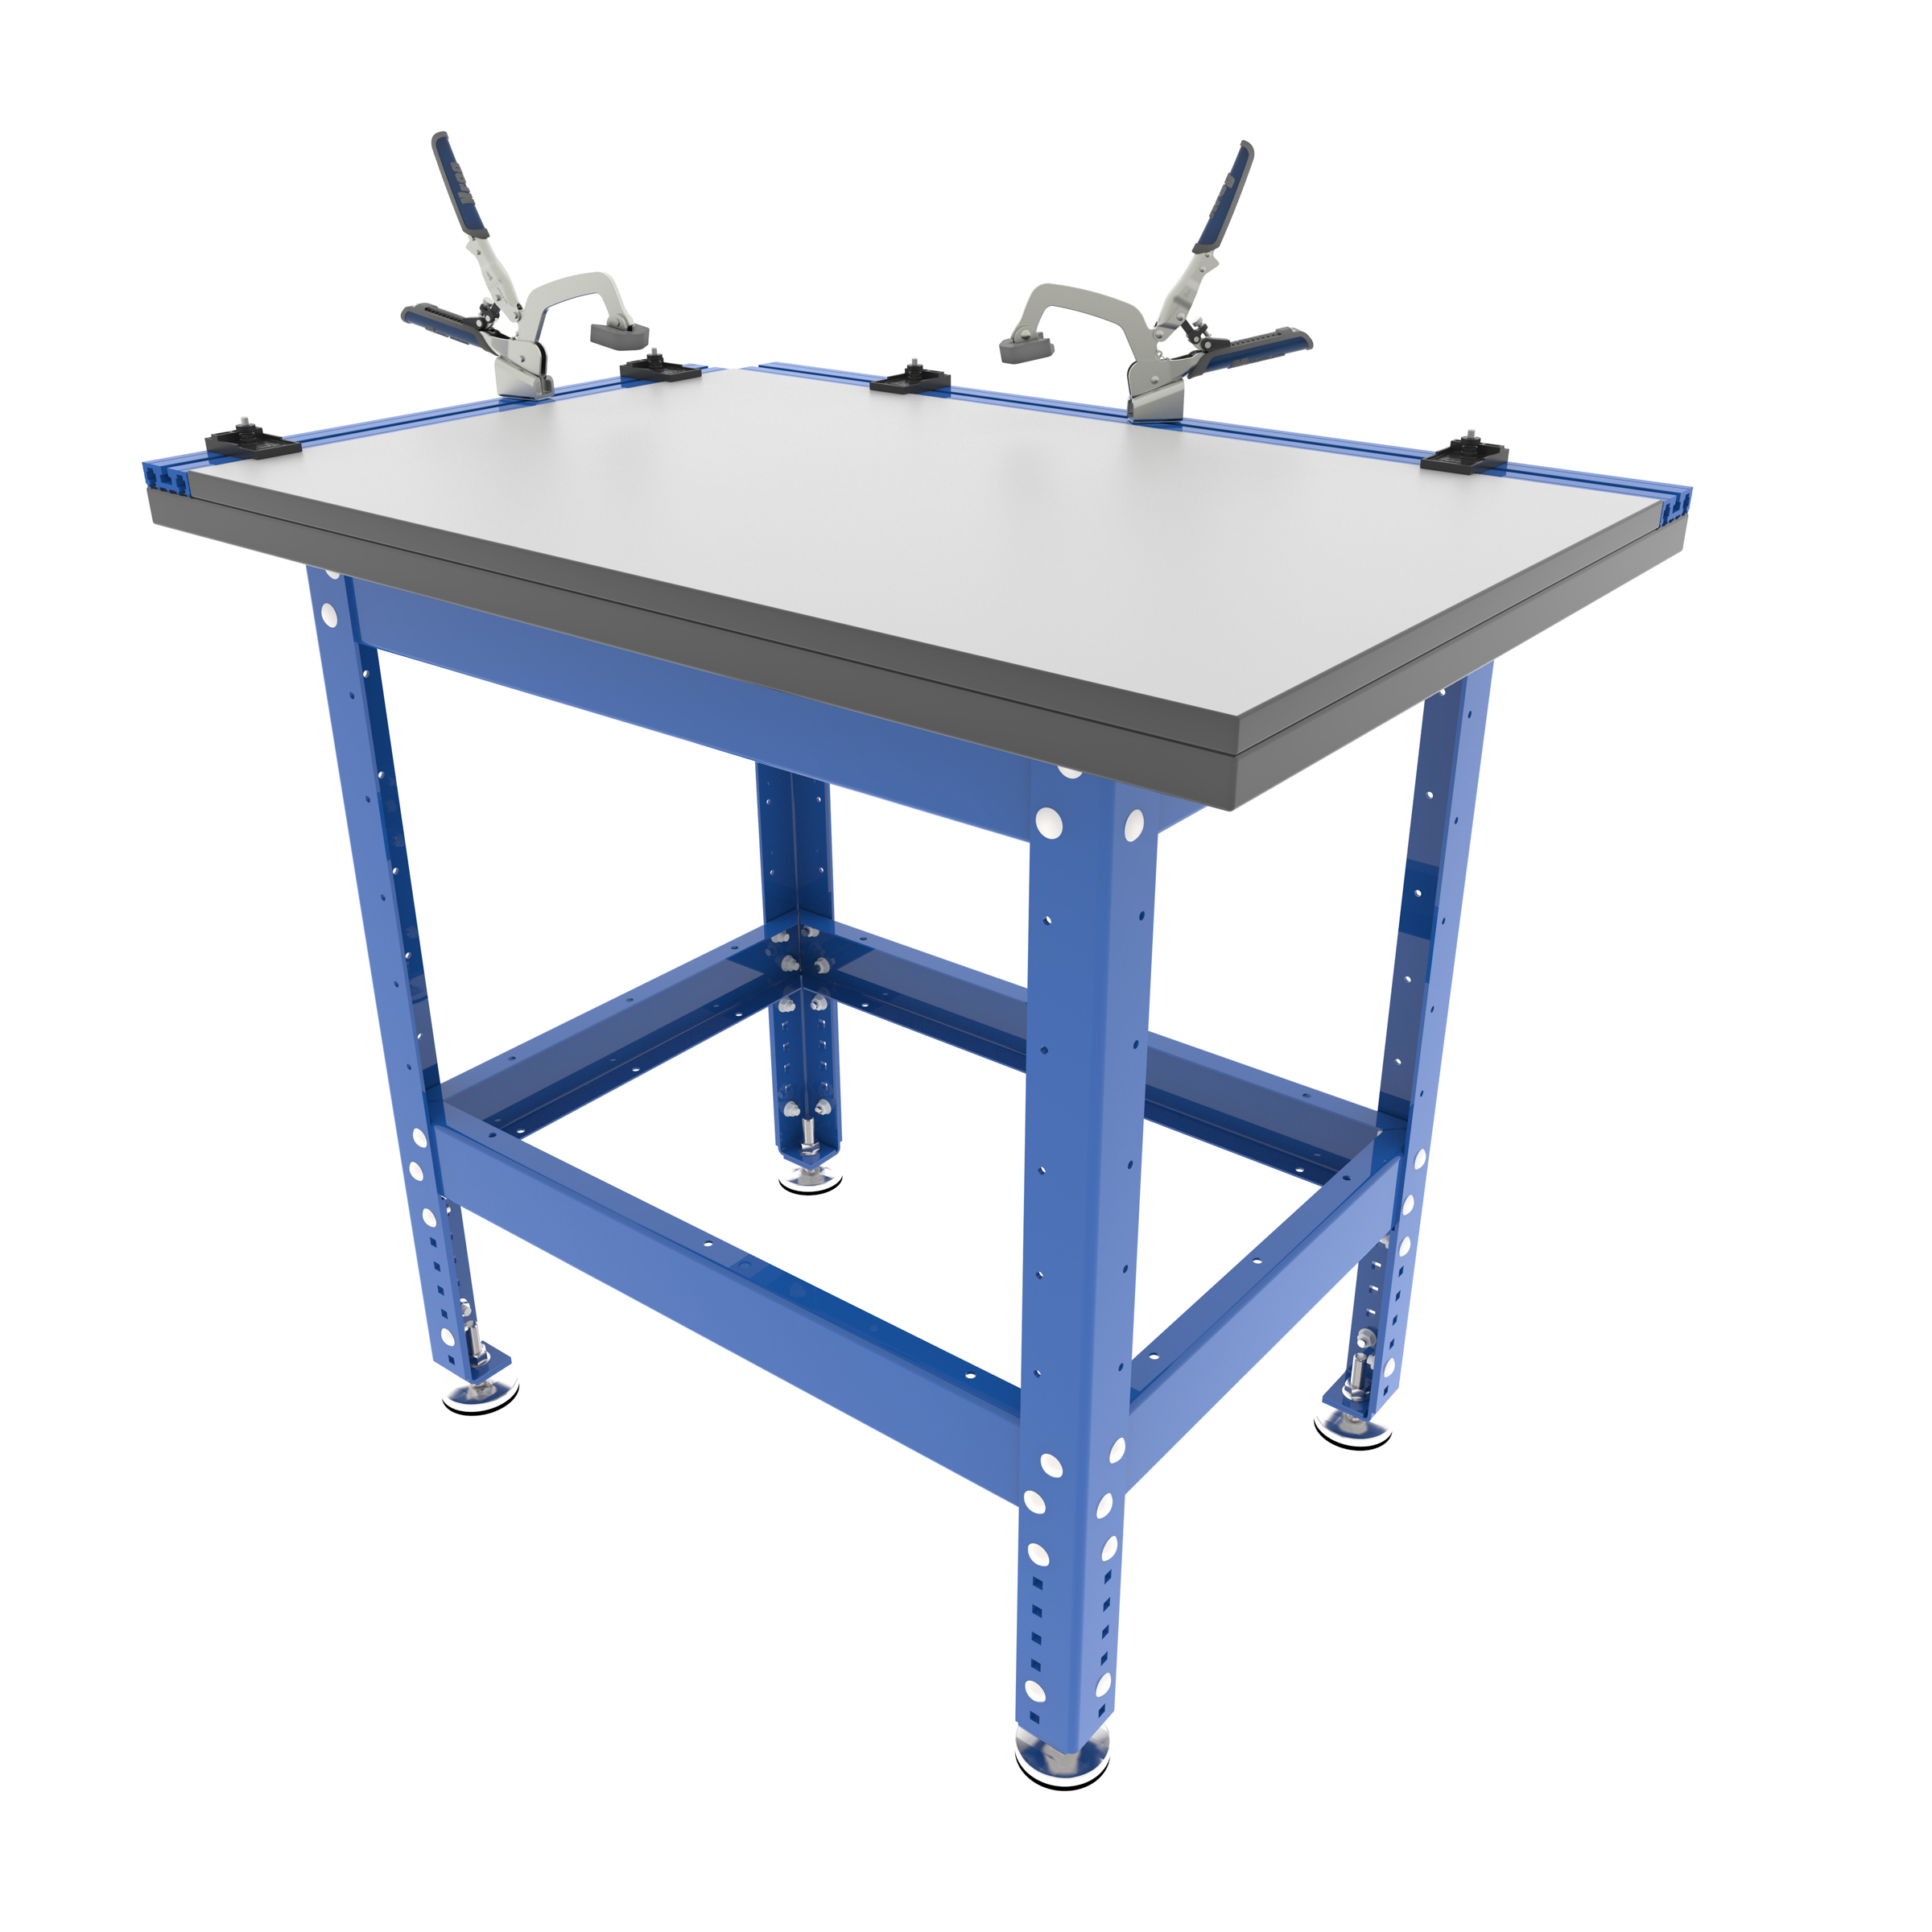
Bar clamps
Materials
Wood Products
- 2 Cedar posts , 4x4x8
- 6 Cedar boards , 2x4x8
Hardware & Supplies
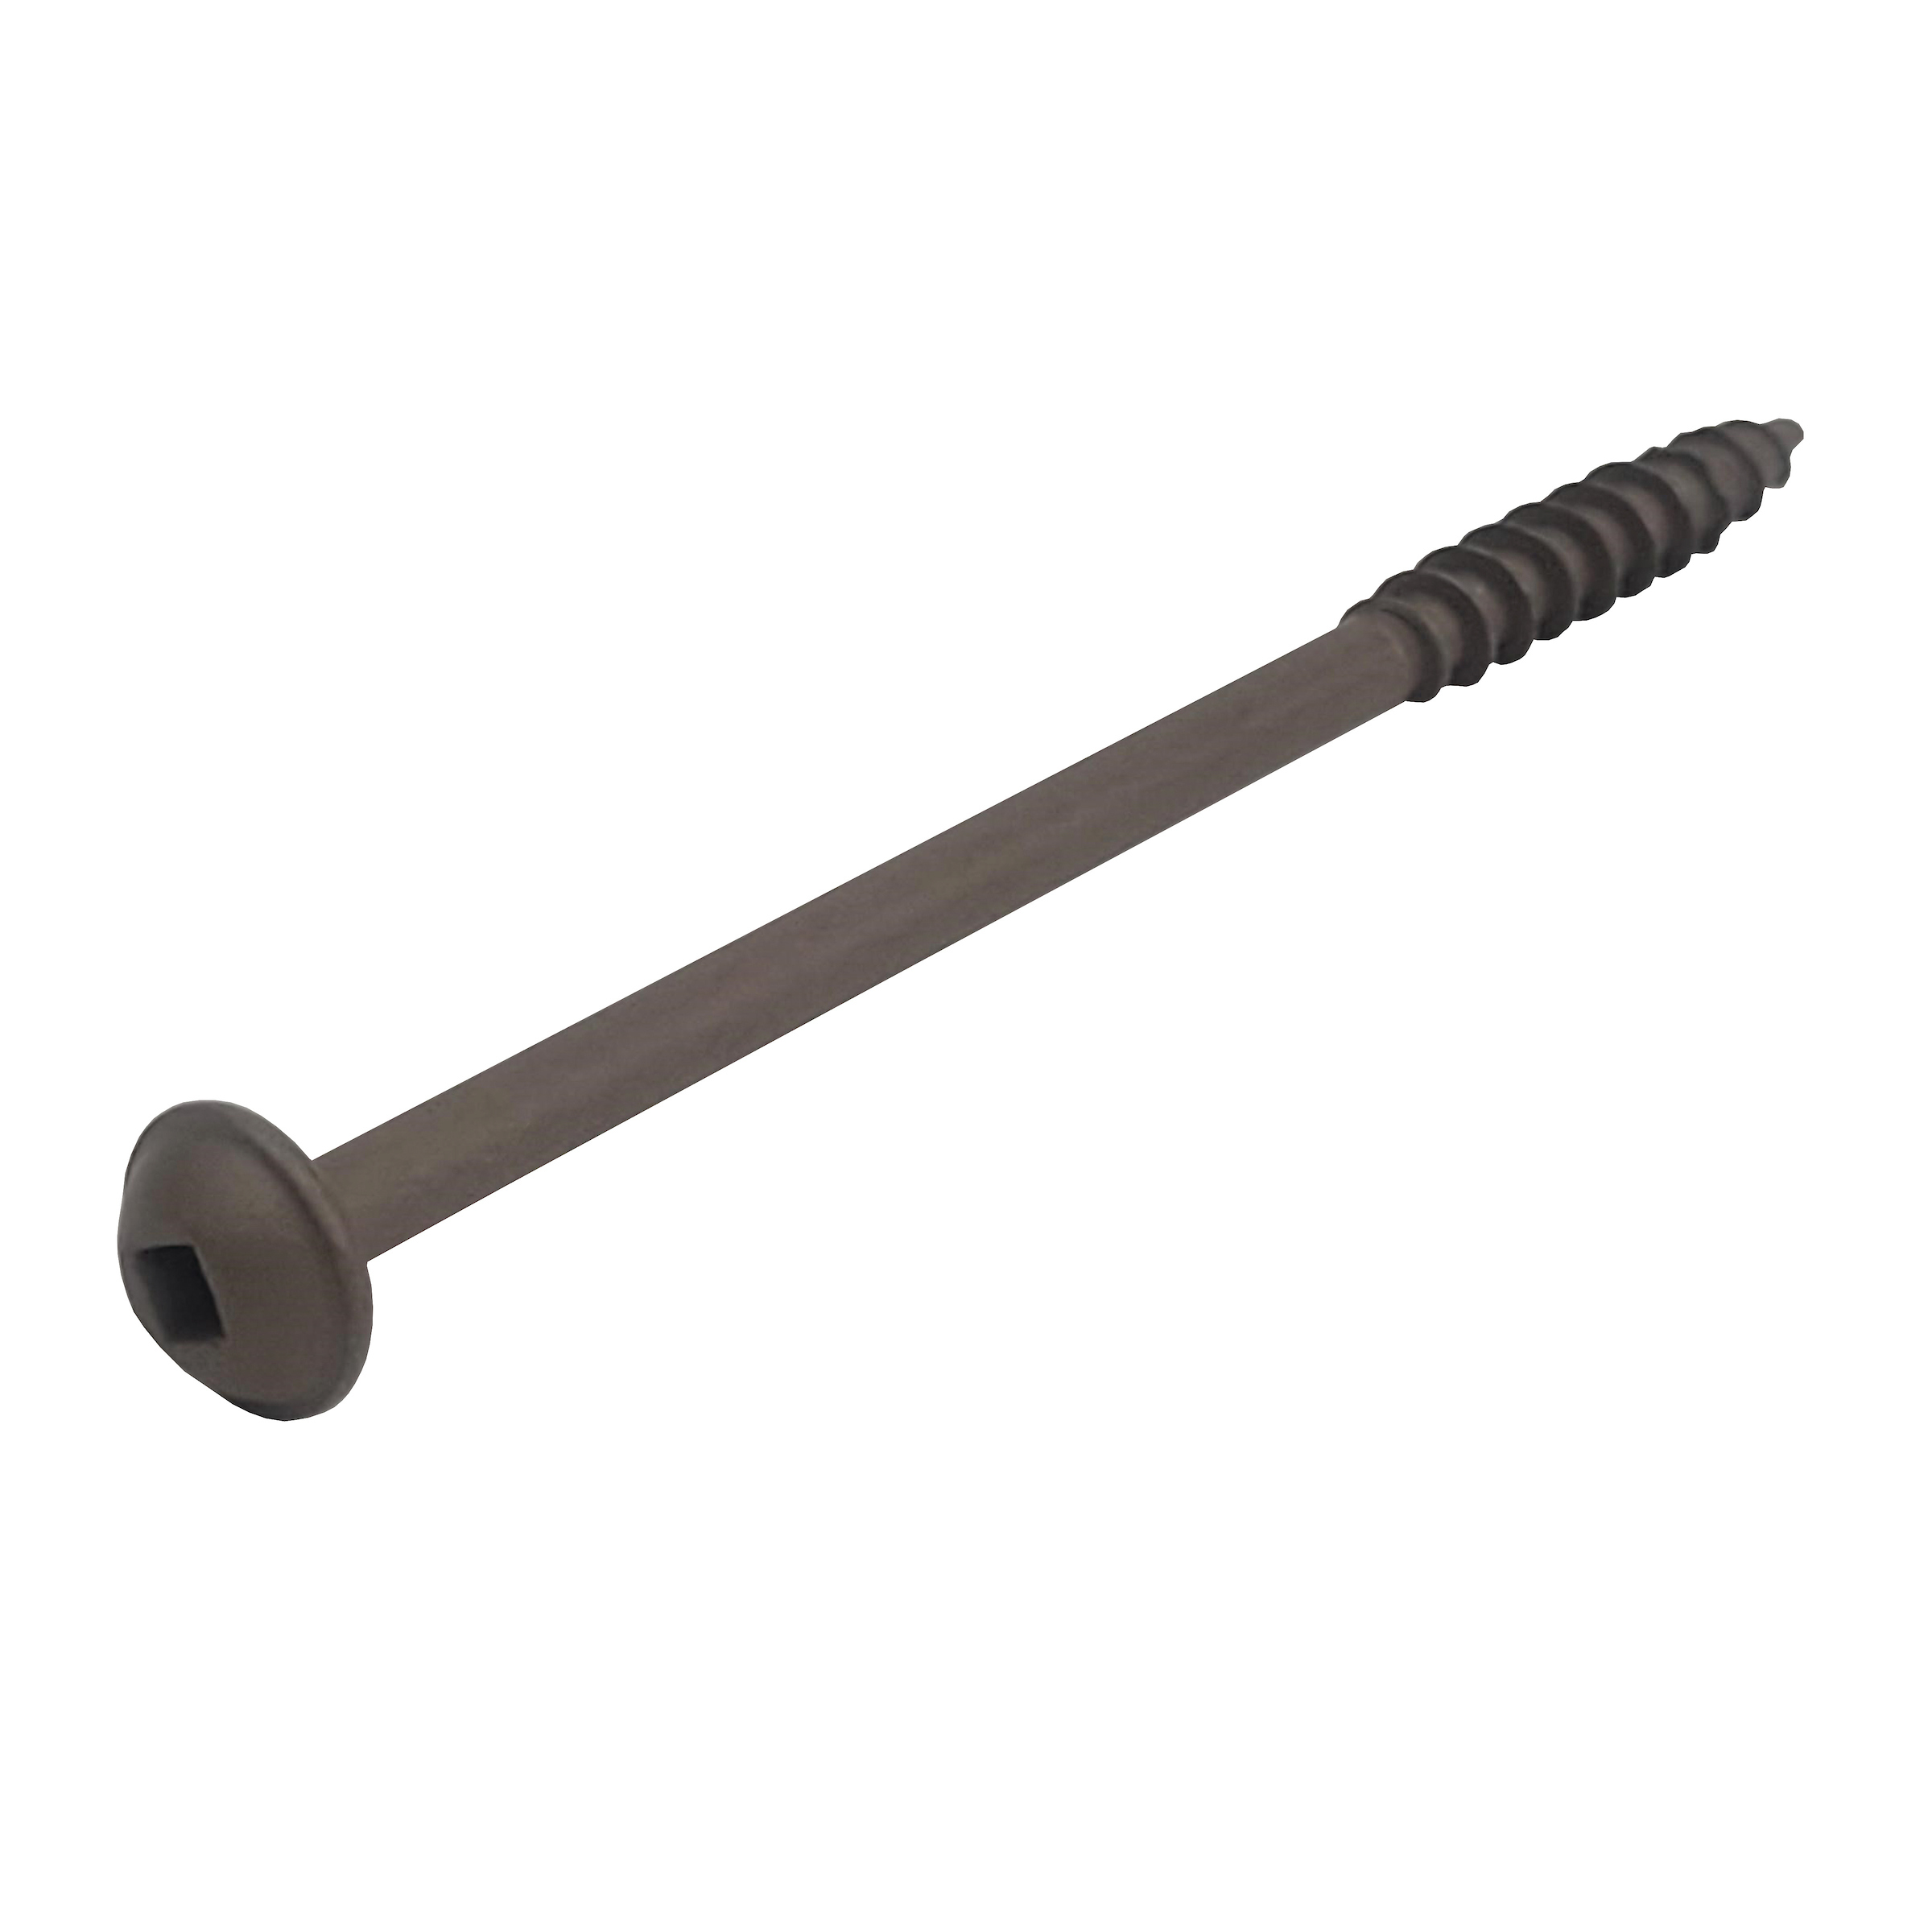
- -- Kreg XL pocket hole screws (4" and 2 1/2") *see tools list*
- 11 6" screws
- -- Boiled linseed oil
- -- Staining cloth
- -- Oil brush
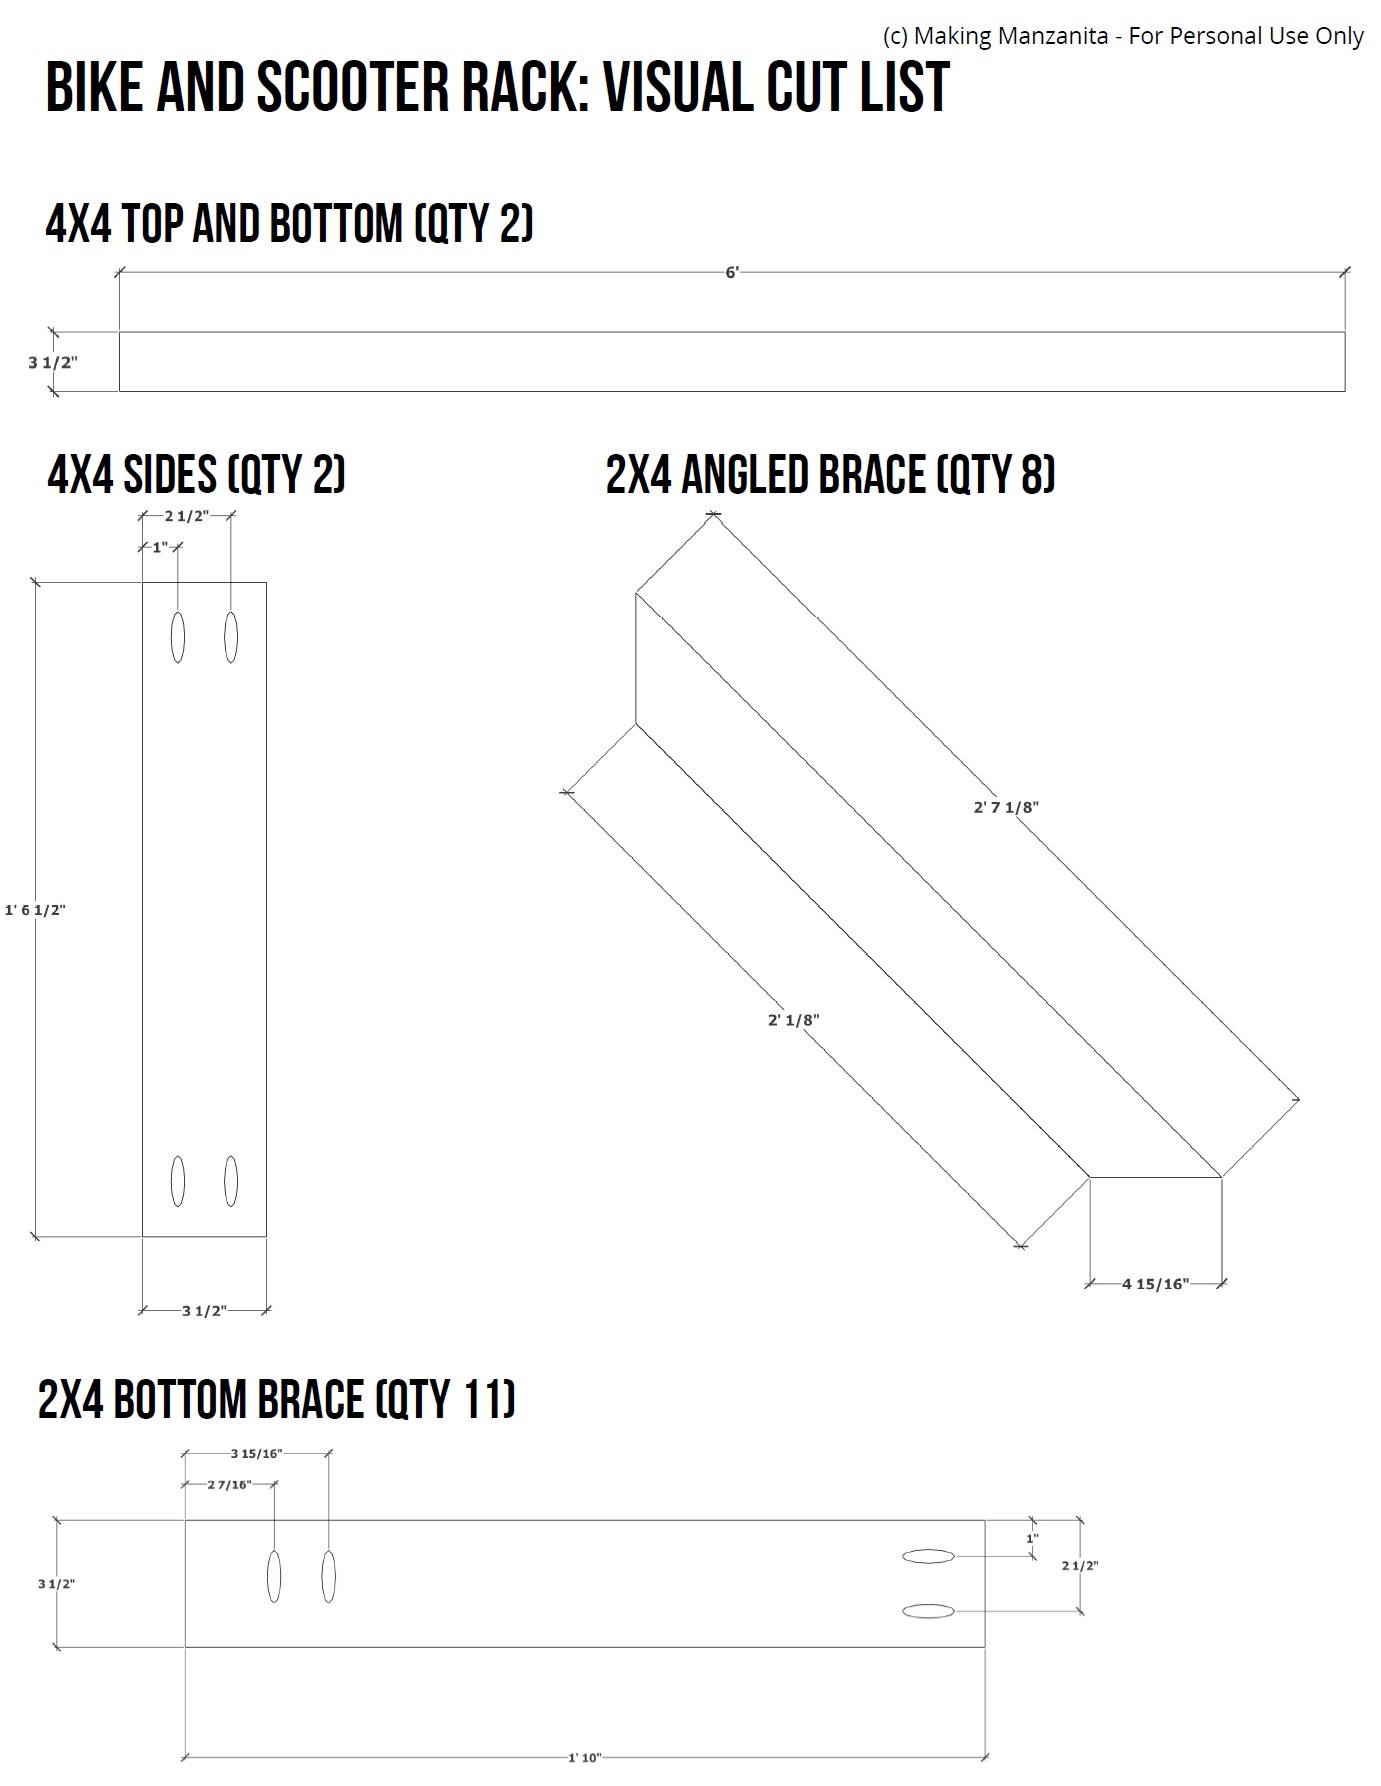
Cut List & Parts
- 2 4x4 Top and Bottom , 3 ½” x 3 ½” x 6’
- 2 4x4 Sides , 3 ½” x 3 ½” x 1’ 6 ½”
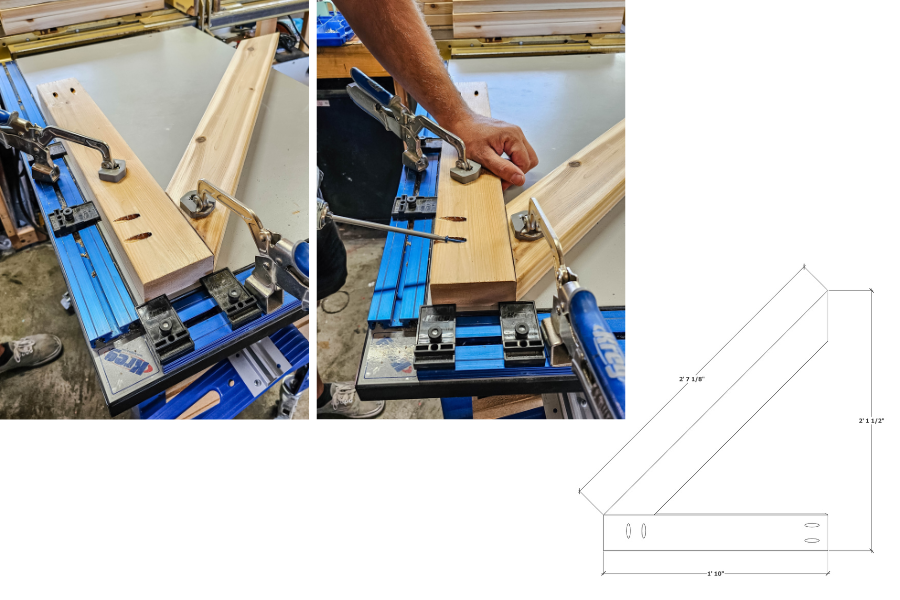
- 8 2x4 Angled Brace , 1 ½” x 2’ ⅛” on the short edge and 2’ 7 ⅛” on the long edge (cut at 45-degree angles on each end)
- 11 2x4 Bottom Brace , 1 ½” x 3 ½” x 1’ 10”
Directions
-
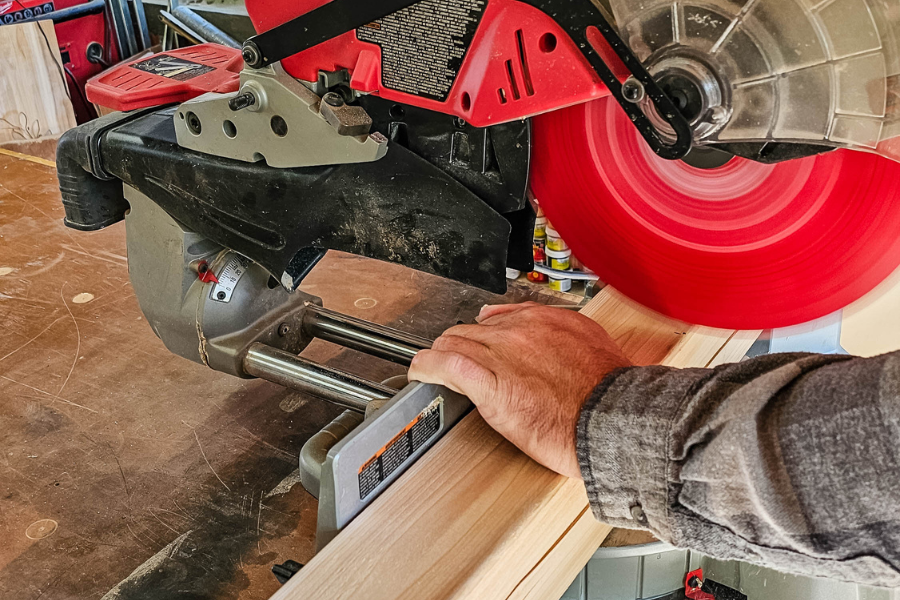
Cut wood
Cut wood according to the visual cut list in the woodworking plans with a miter saw for the lengths and angled cuts.
-
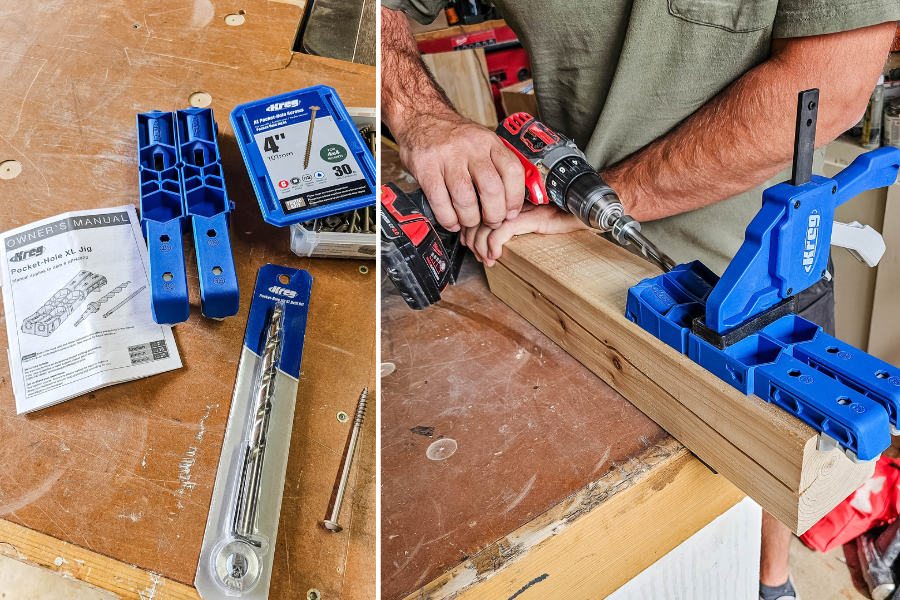
Drill pocket holes
Drill pocket holes as shown in the woodworking plans. Because we’re using 4x4 posts, you’ll need the Kreg pocket hole jig XL.
-
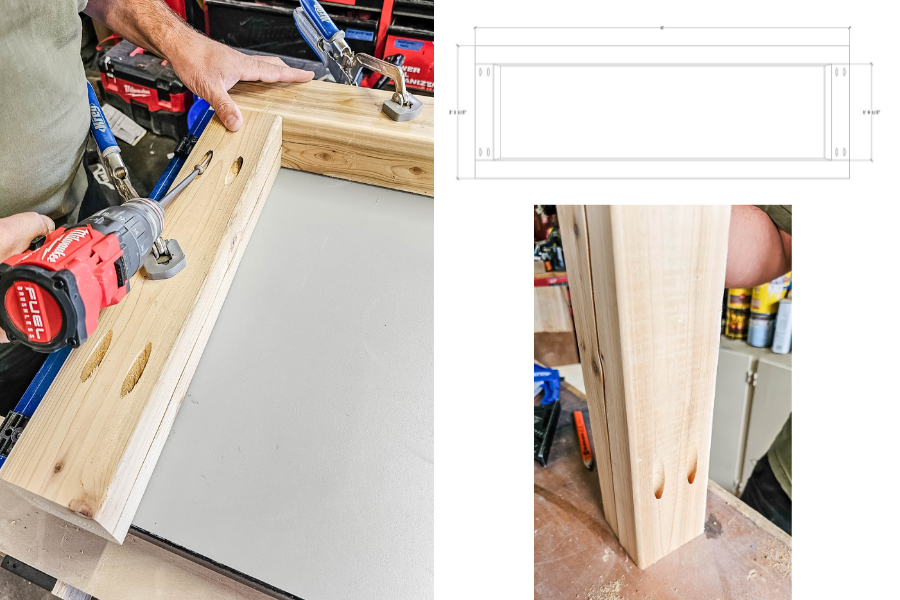
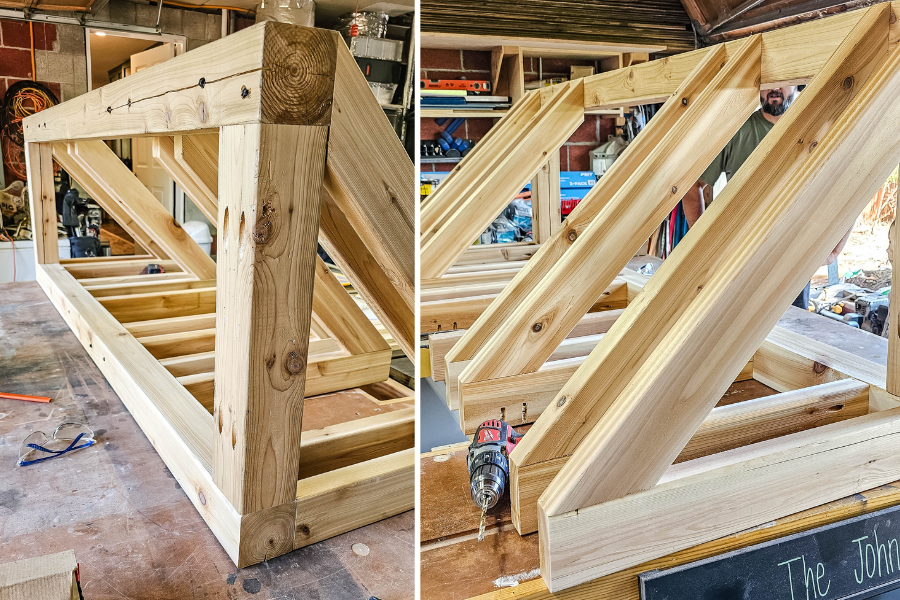
Assemble 4x4s
Using clamps, assemble the 4x4 posts together with the pre-drilled pocket holes and 4” pocket hole screws in an rectangle shape as shown in the woodworking plans. Be sure to keep the faces as square and flush as possible.
-
Assemble the cross braces
Attach the 2x4 angled brace with the 2x4 bottom brace using 2 ½” Kreg pocket hole screws.
-
Attach the cross braces to 4x4s
Following the woodworking plans mark out where each brace gets attached. Start by attaching the bottom pocket hole on the cross braces that go on each edge, working your way to the middle. Continue until all of the bottoms on the cross braces are attached to the 4x4.
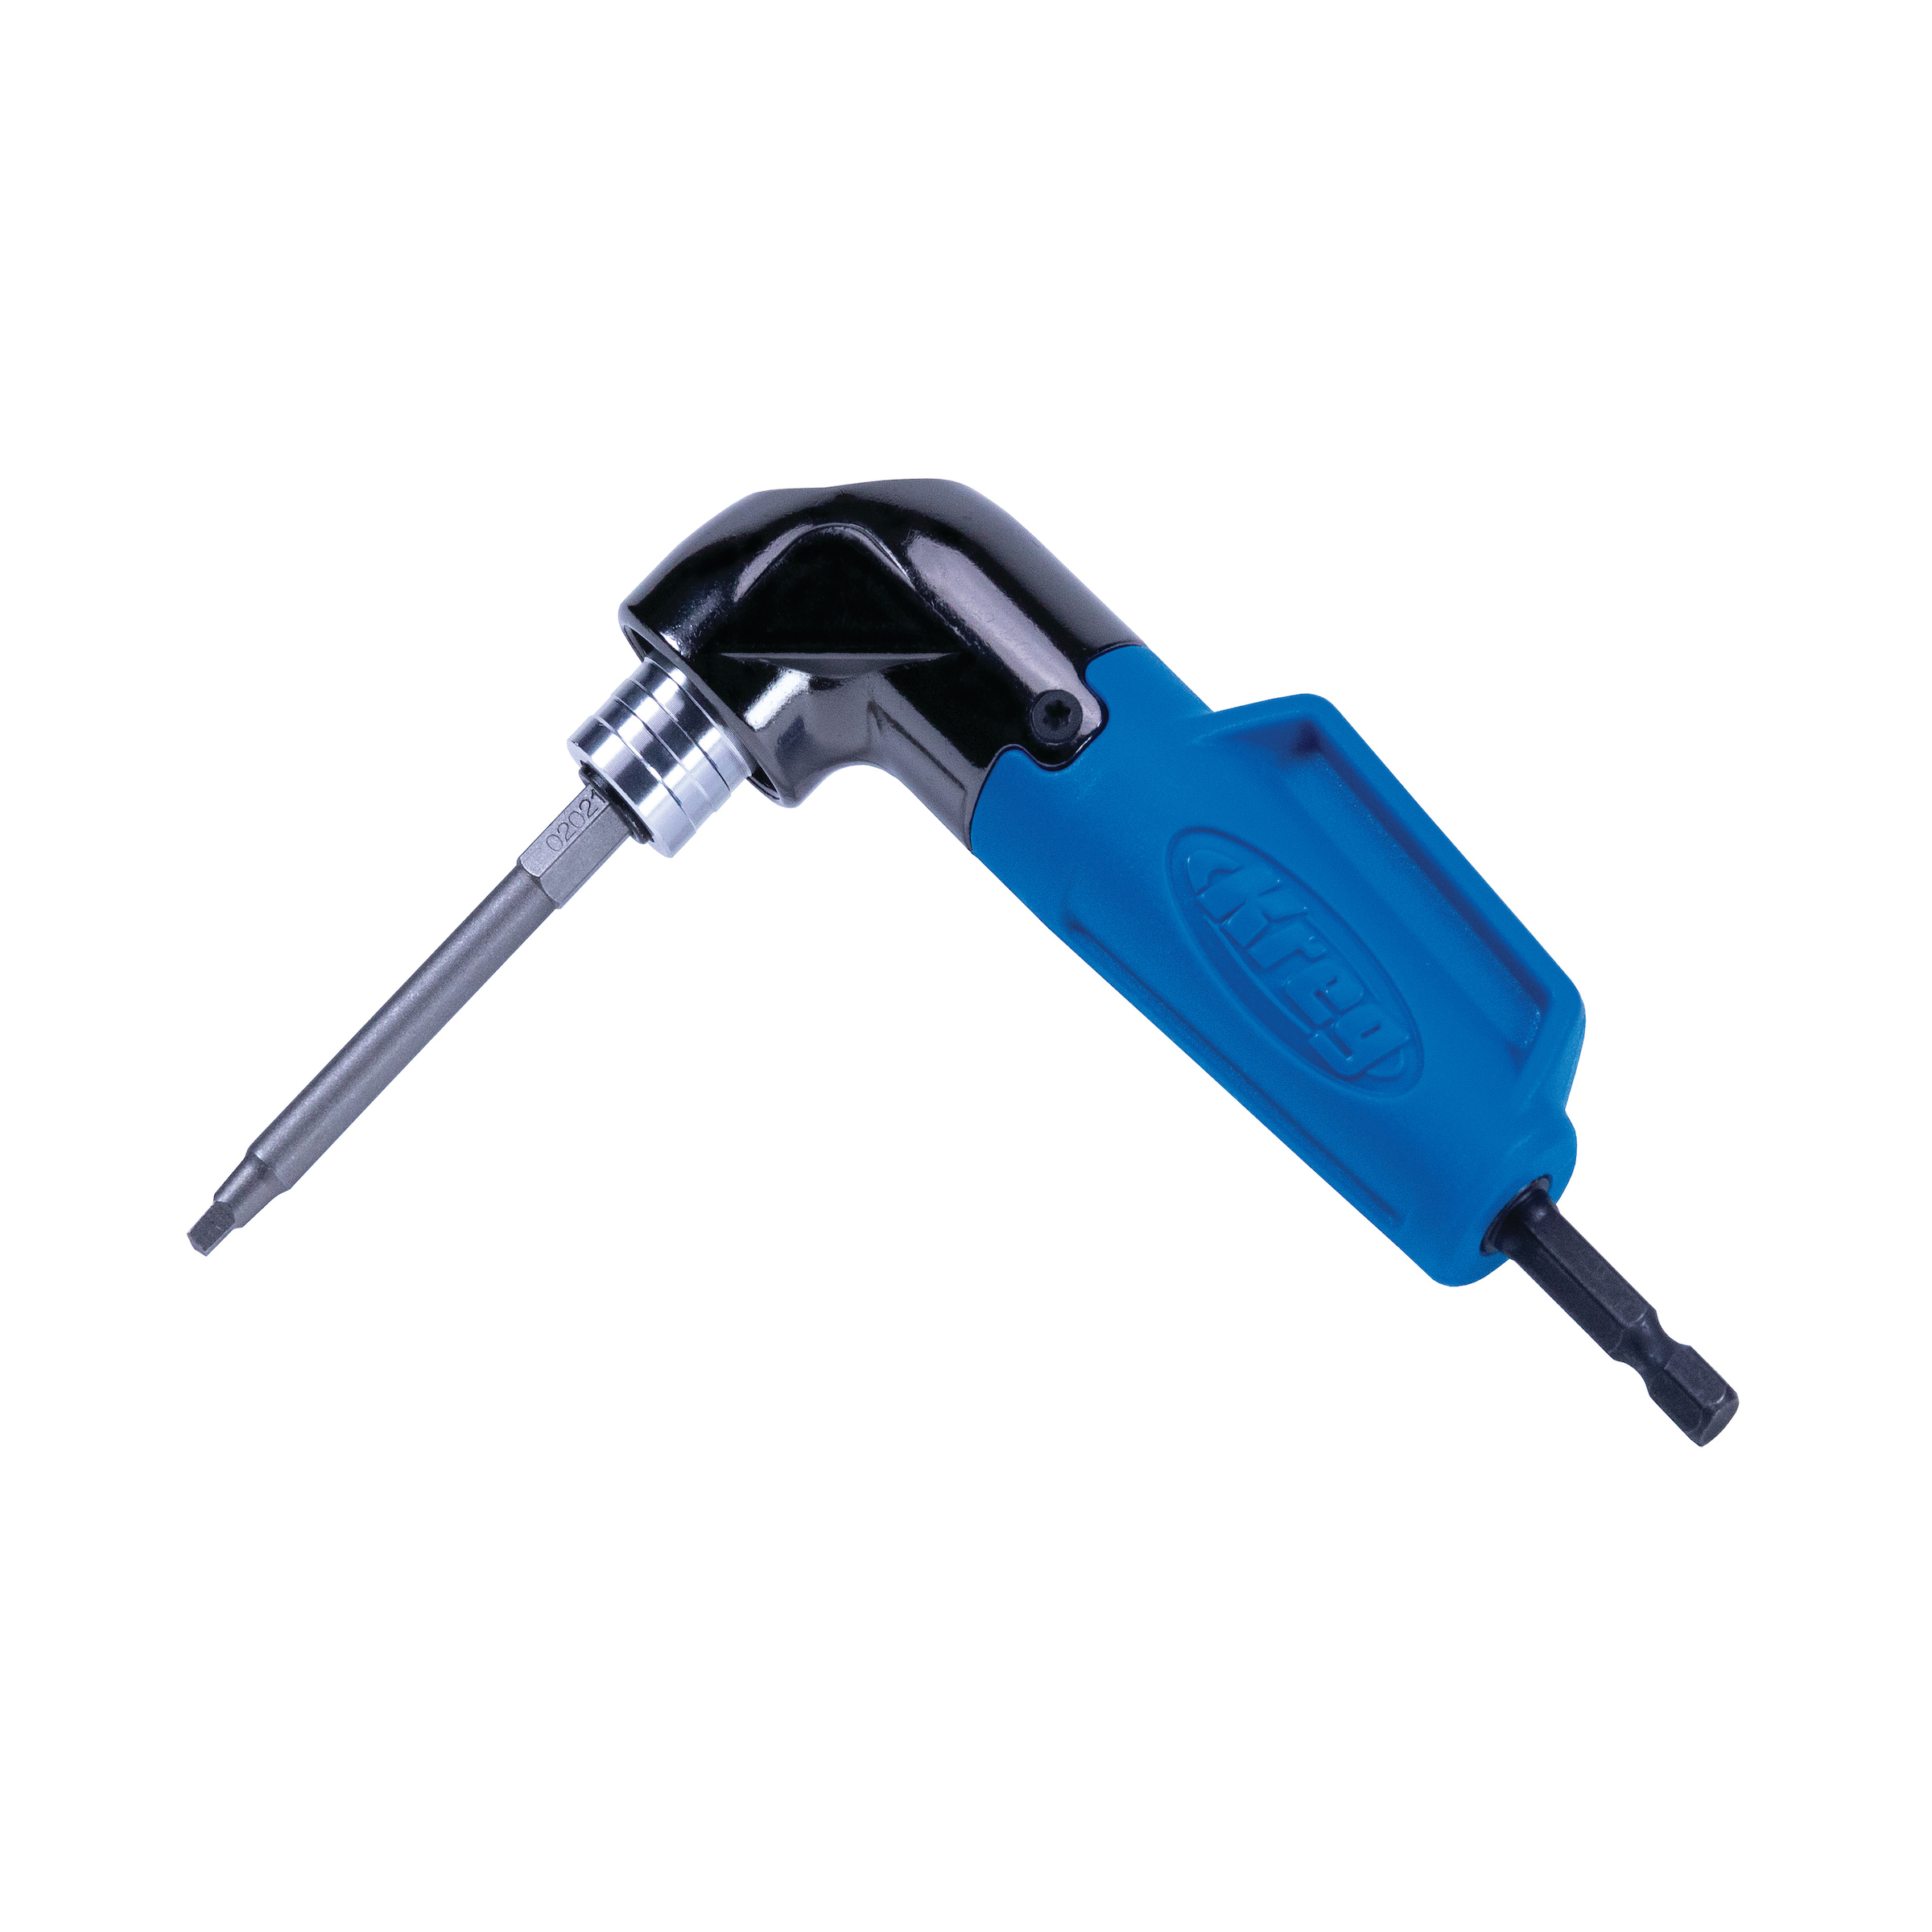
Trouble getting into the tight spaces?
The Kreg 90-degree pocket hole driver is handy for tight spots.

-
Secure the tops of the cross braces
Start by marking out where each brace should attach at the top 4x4. We used 6” screws attached from the back of the 4x4 into the cross brace. We used Timberlok screws because we had them lying around but any 6” screw will do. Be sure to angle the screws downward slightly as you drive them into the cedar so they don’t poke through the other side.
Prevent splitting
When drilling on the edges of the 4x4s to attach to the cross braces, you may want to pre-drill the hole to prevent splitting, which is common at the end of a board. Cedar boards are usually green from the store (which means they are less likely to crack than drier wood) but you don’t want the wood to split when your almost done!
-
Secure the scooter lanes (optional)
We added two scooter lanes to the middle of our bike rack (one for a 3-wheel scooter and one for a 2-wheel scooter). The scooter lanes are prone to more damage because they don’t have the cross bracing so secure them with your 6” screws from behind the 4x4 in addition to the pocket hole joinery. This will help them last longer as they take more of a beating.
-
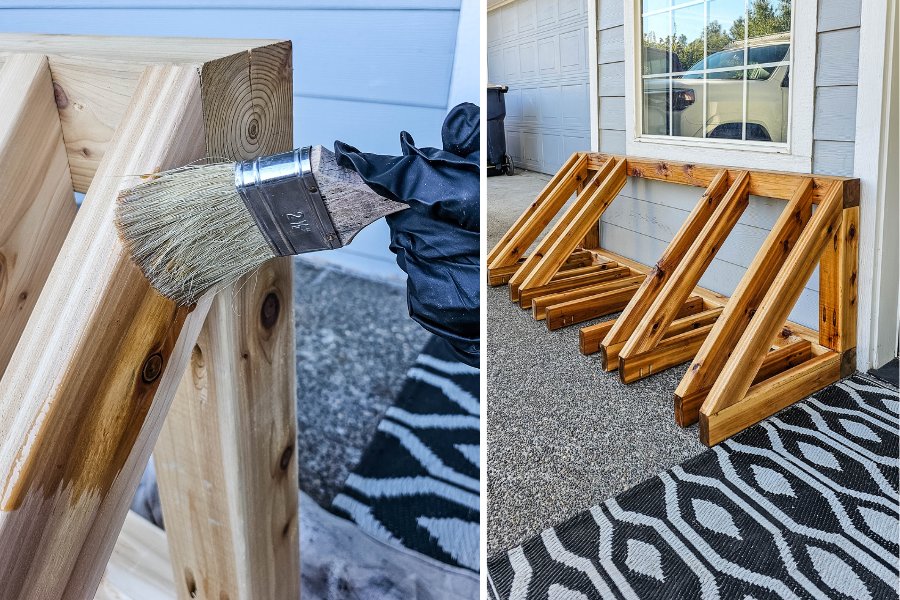
Finish the bike rack
Once you are finished attaching all the braces and shoring up the scooter lanes, the last step is to finish it with a sealer, stain, oil, or paint. We opted to use linseed oil to bring out the natural color of the cedar wood but any oil will do to help it last longer and look better. Alternatively, you can paint or stain it as well.