DIY Baseball Display Case – How to Build a Baseball Display Case
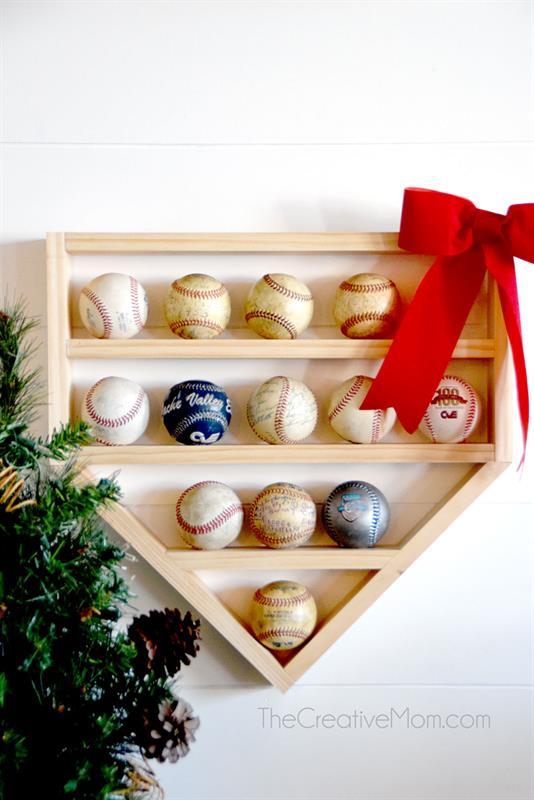
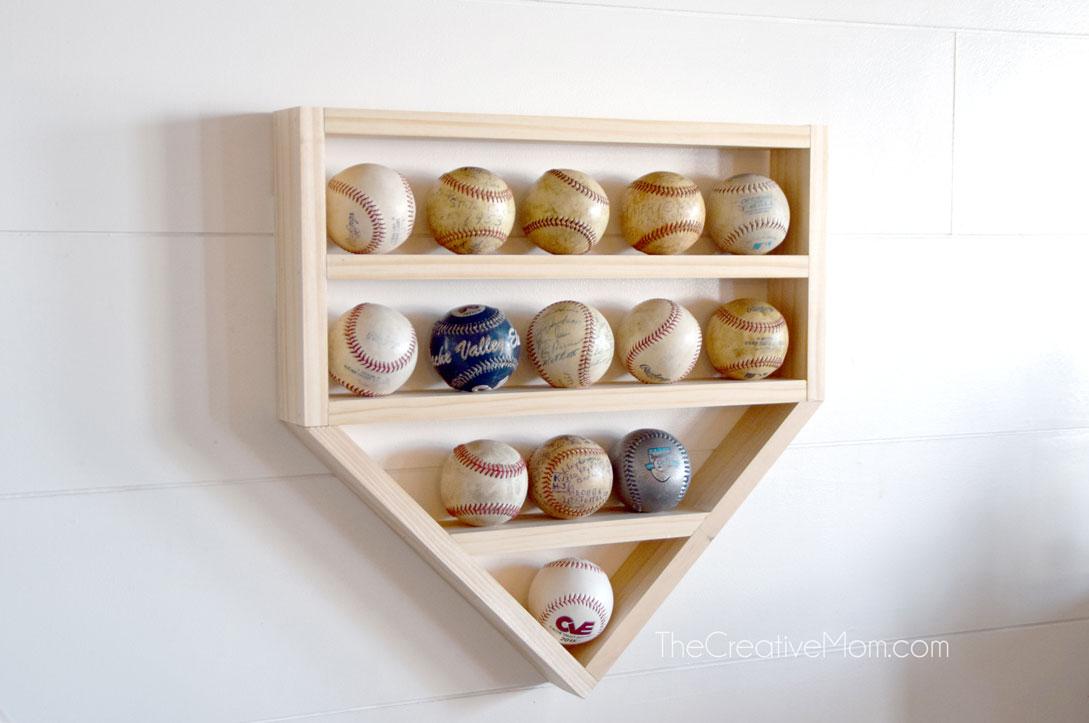
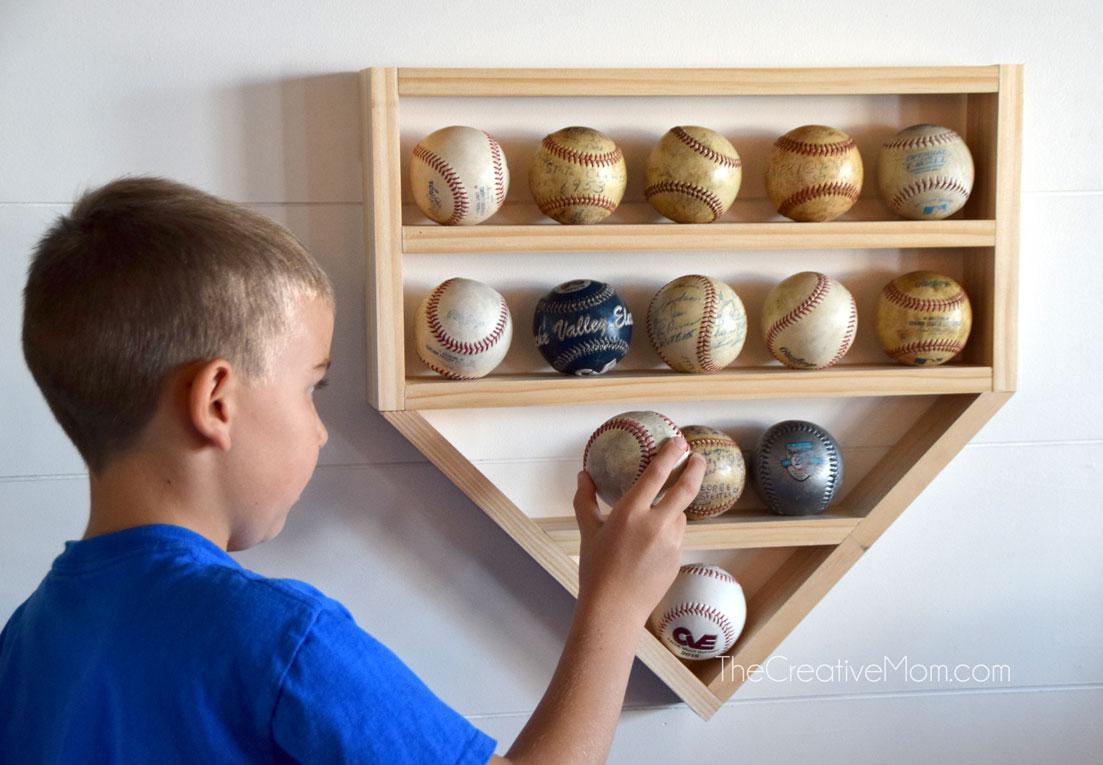
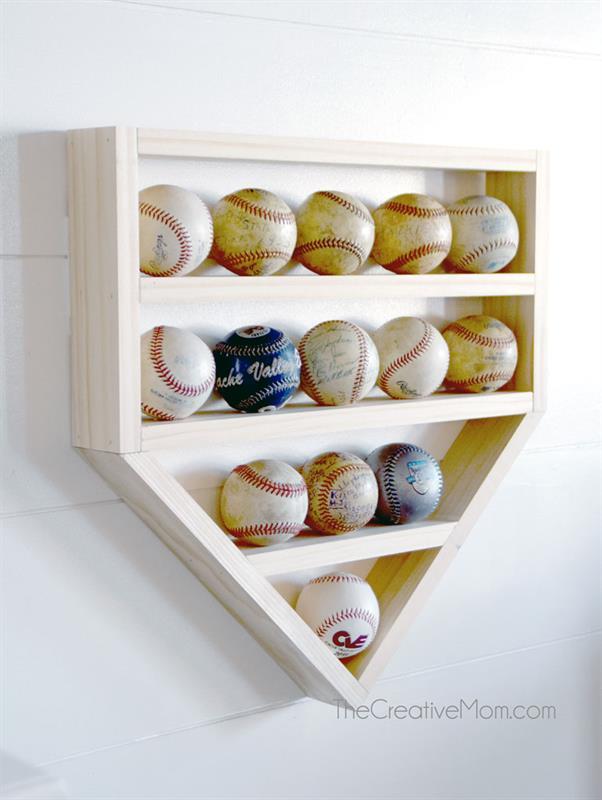
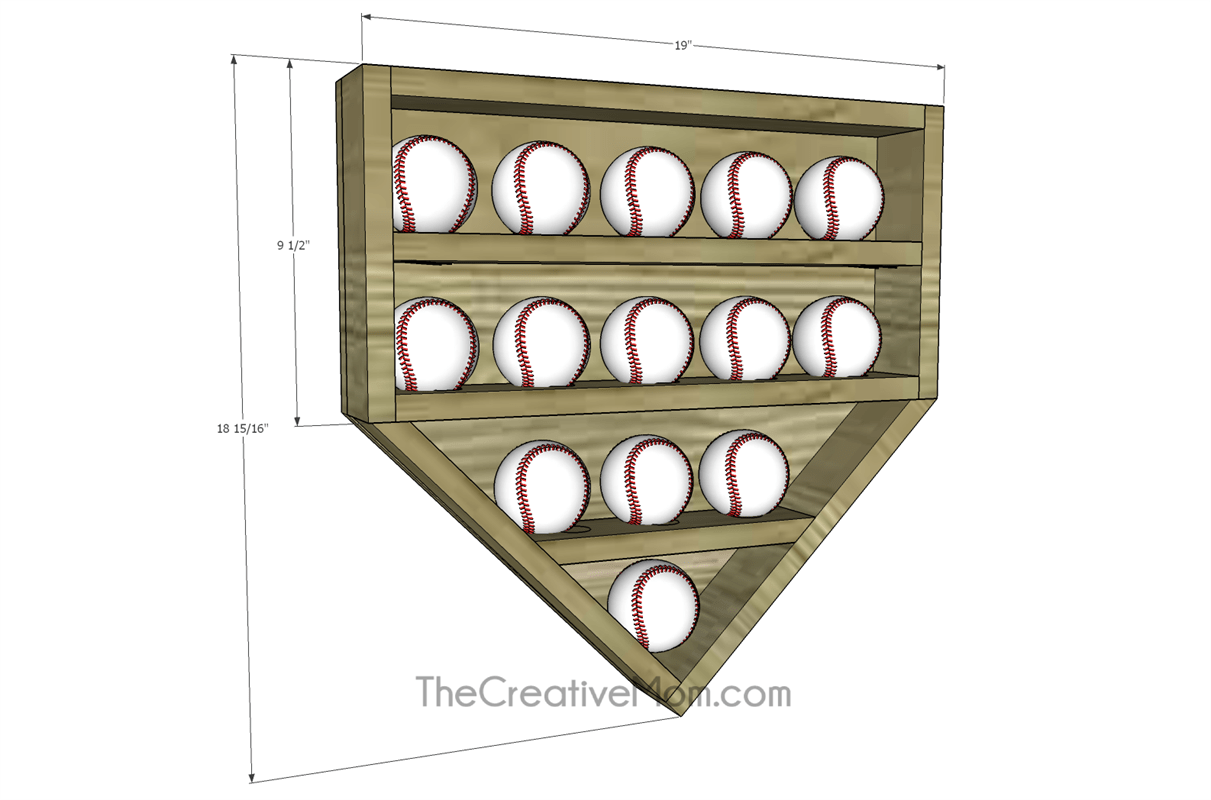
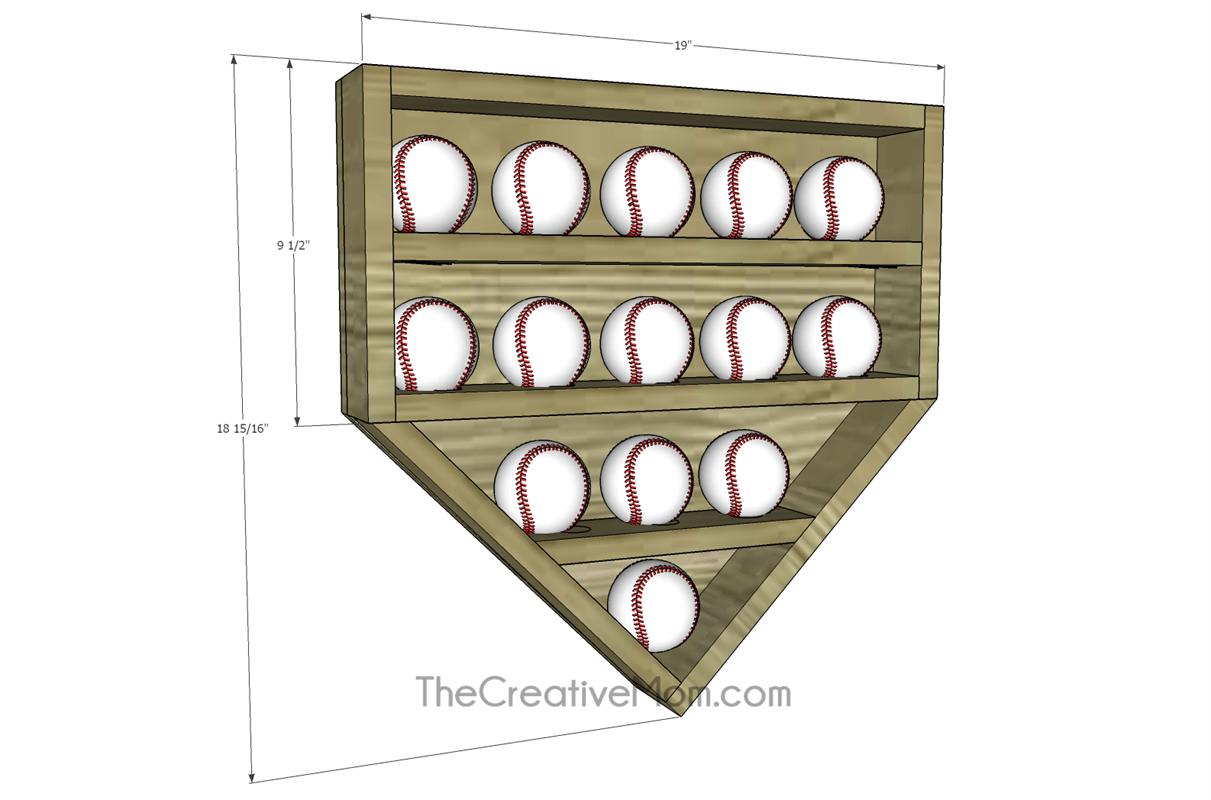
By The Creative MomThis baseball display case would be a great gift, or an addition to a kid's bedroom. It is a beginner build that can be finished in a day. There are some angles to cut and join, but besides that, it is a very basic build.
Directions
-
Build Top of Plate
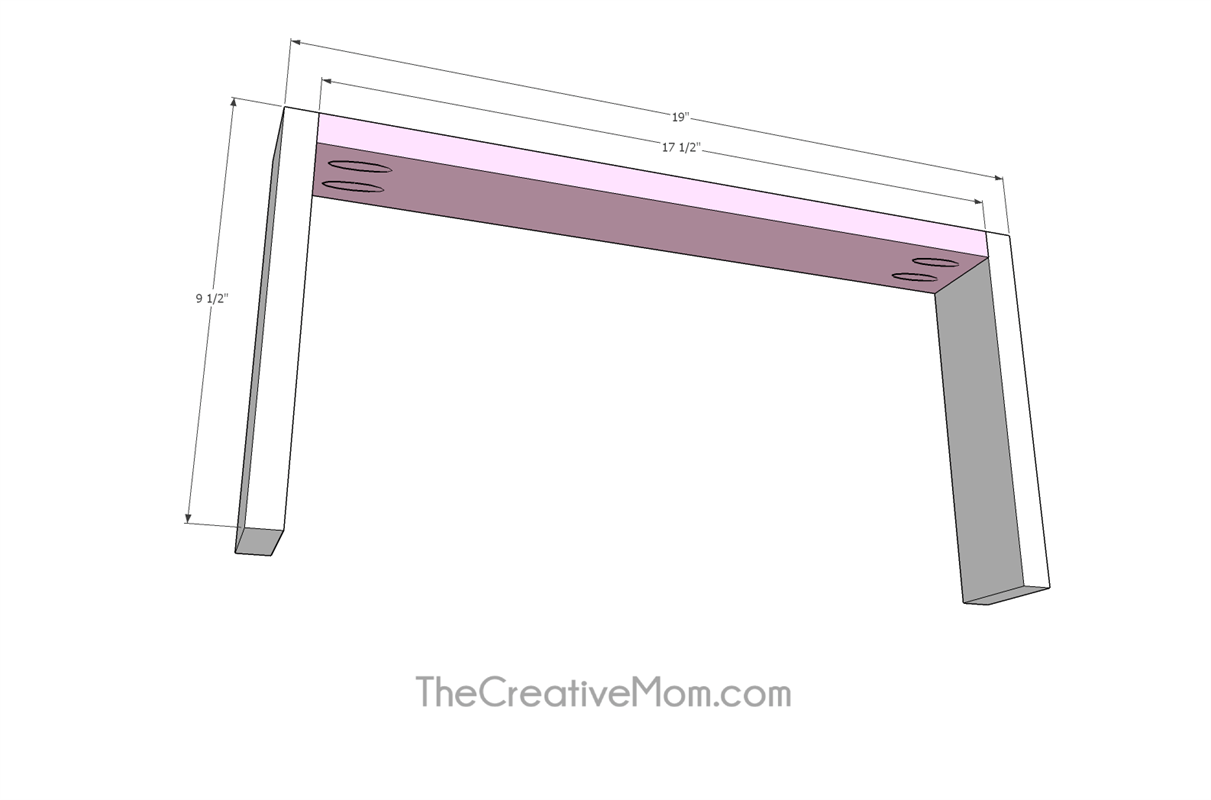
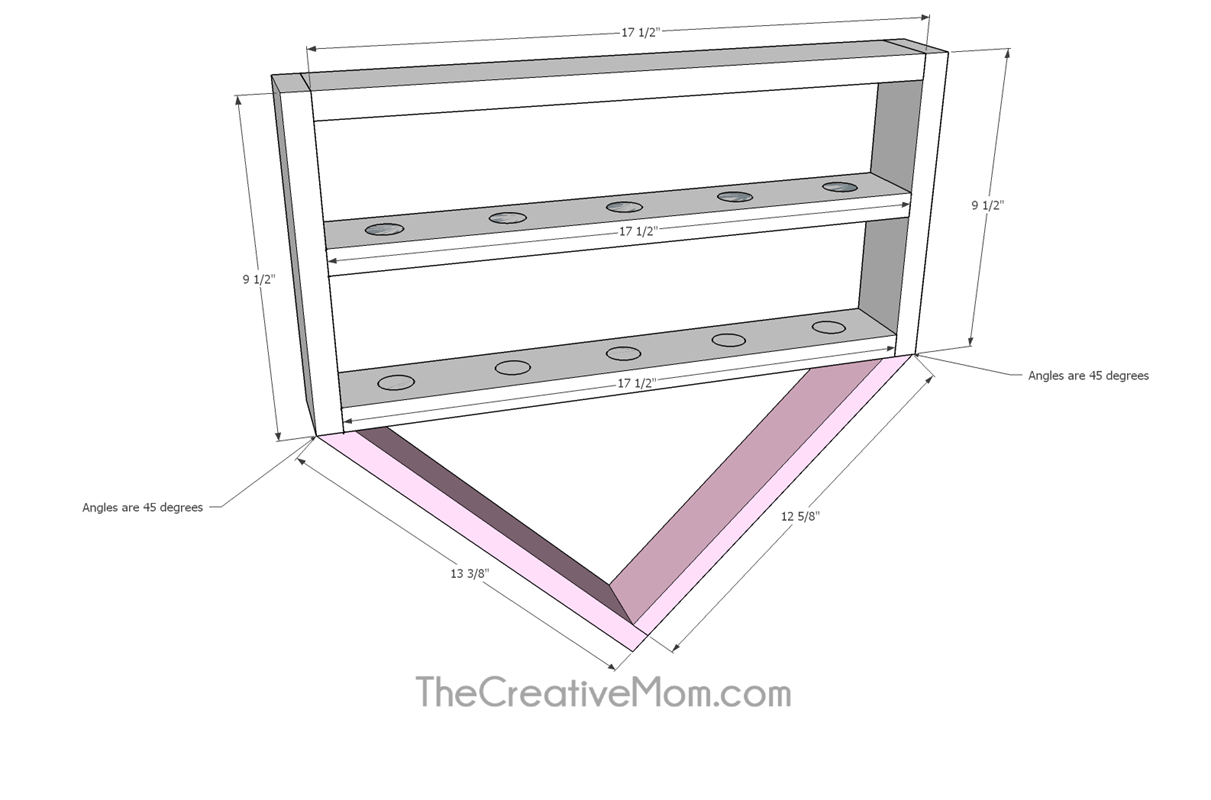
Cut 1- 17 1/2" 1x3 board. Drill pocket holes in both ends. Cut 2- 9 1/2" 1x3 boards. Using wood glue and pocket hole screws or brad nails to attach together.
-
Drill Baseball Holes in Shelf Board
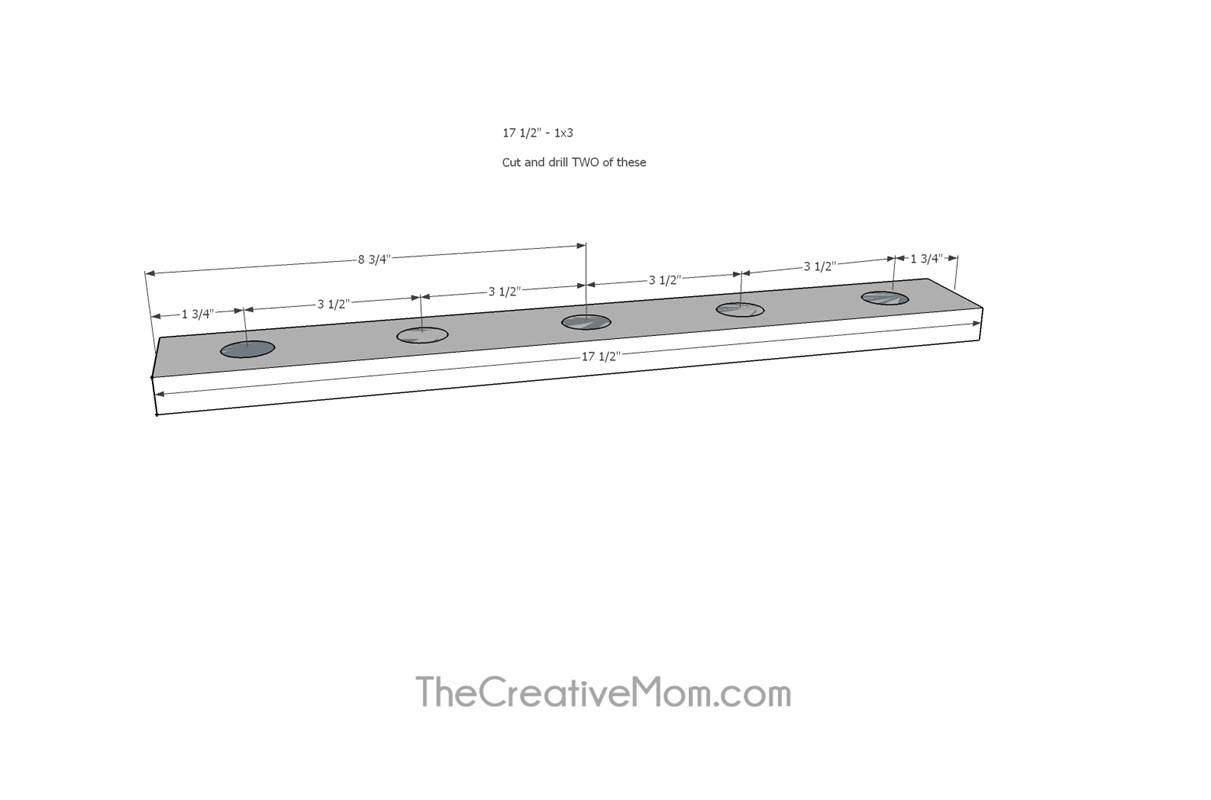
Cut 2- 17 1/2" 1x3 boards. Using a 1 inch forstner drill bit, drill holes in the board for the baseballs to sit in. Start at the center of the board, and drill one hole every 3 1/2", working your way outward to the end of the board. Make sure to only drill about 1/4" deep. Each board will have 5 holes. You will do this to BOTH boards. See diagram.
-
Attach Shelves
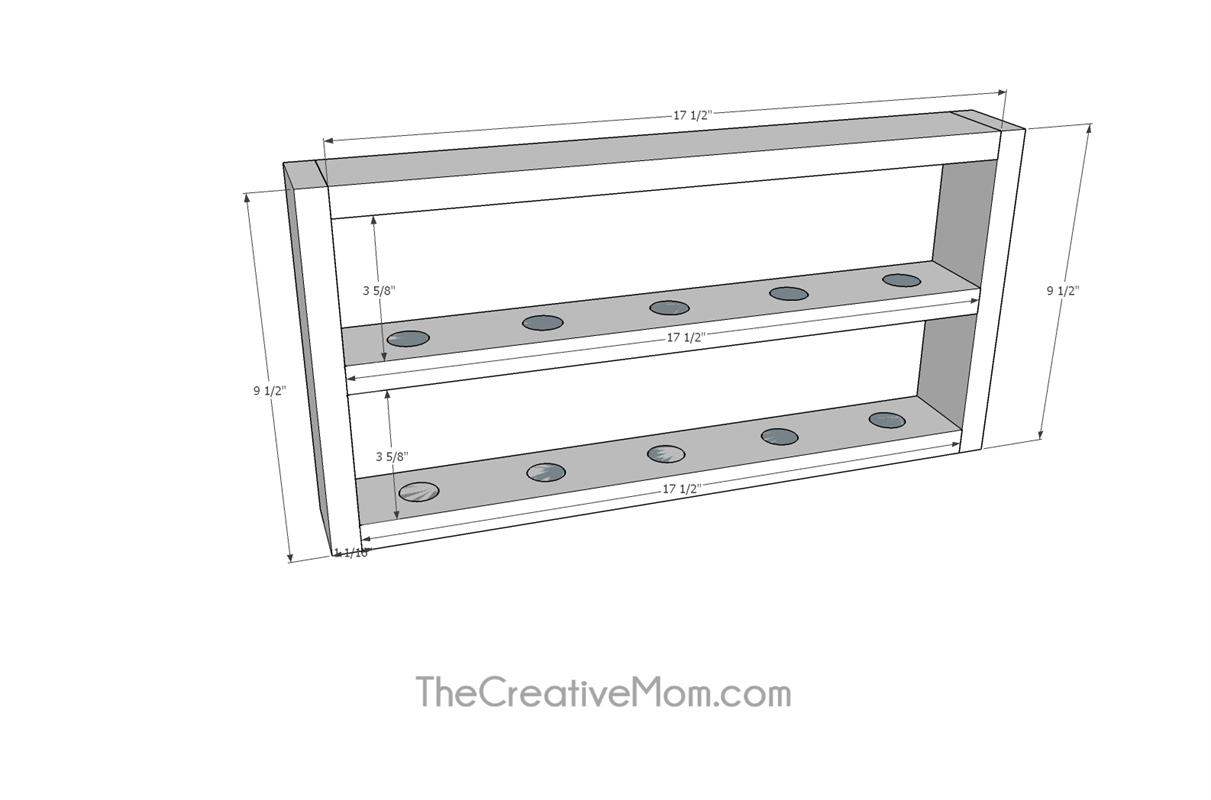
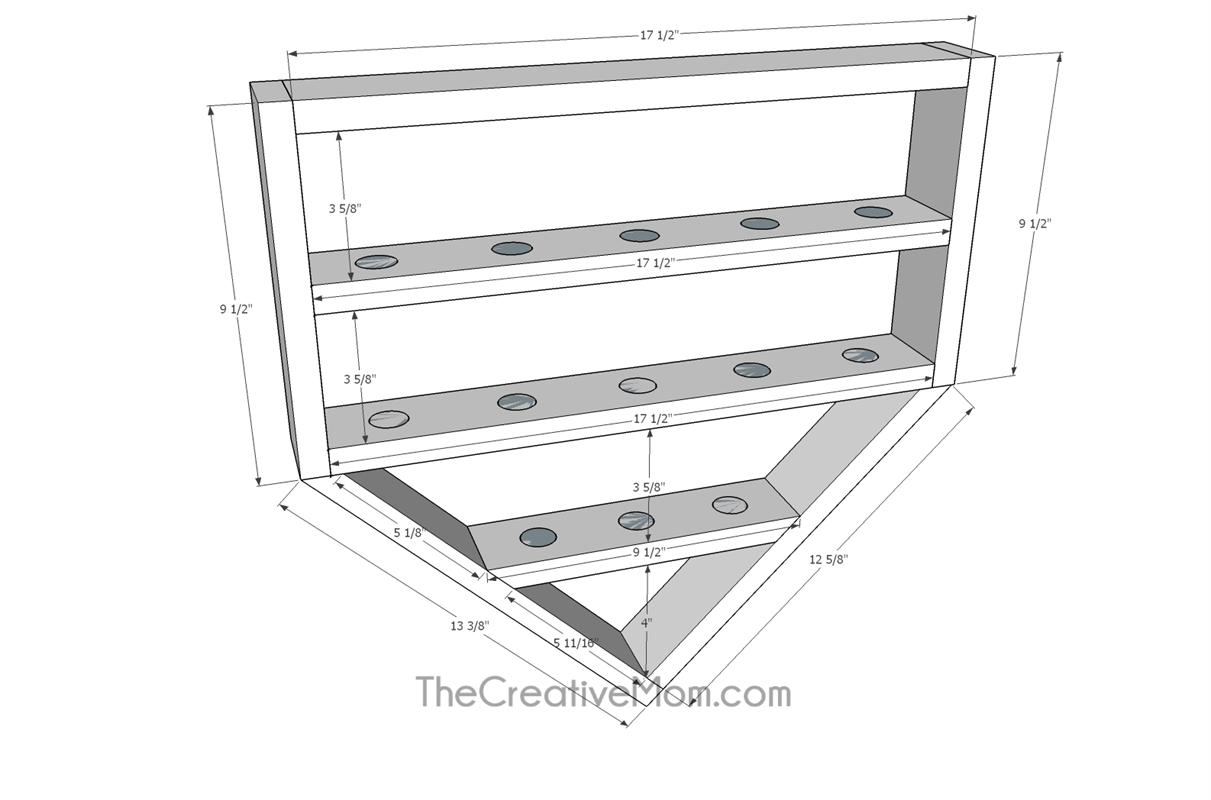
Attach the horizontal shelves to the vertical frame pieces, using wood glue and pocket hole screws or brad nails. The shelves should be 3 5/8" from each other.
-
Attach Bottom Frame Pieces
Cut 1- 13 3/8" 1x3 and 1- 12 5/8" 1x3. One end of these boards will be square, and the other end is cut at 45 degrees. Please note that the measurements are taken on the LONG side of the angle.
Using wood glue and pocket hole screws or brad nails, attach the square ends together, and the angled ends to the shelf part we already built. See plans. -
Cut Bottom Shelf
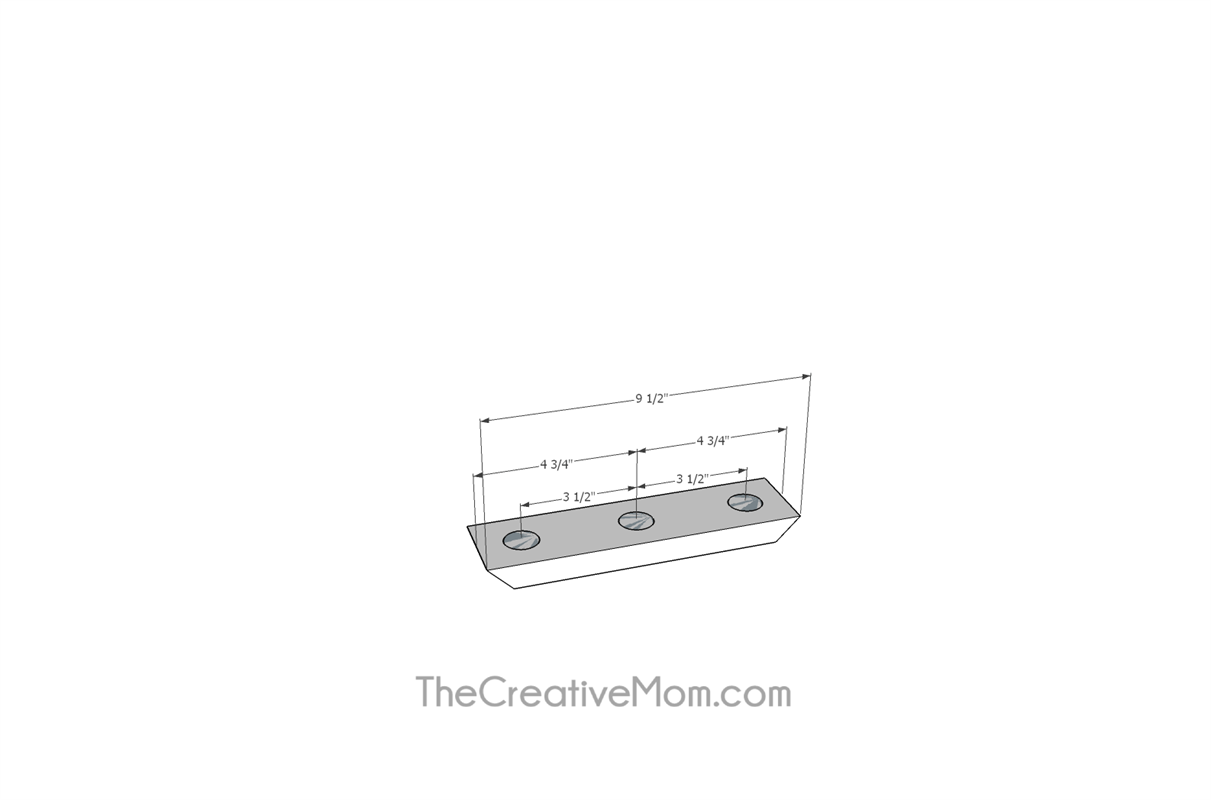
Cut 1- 9 1/2" 1x3, with the ends cut at 45 degrees- see plans. Using a 1 inch forstner drill bit, drill holes in the board for the baseballs to sit in. Start at the center of the board, and drill one hole 3 1/2" away on both sides. Make sure to only drill about 1/4" deep. You will need 3 holes. See diagram.
-
Attach Bottom Shelf
Using wood glue and pocket hole screws or brad nails, attach the shelf to the bottom part of the shelf frame. See the plans for measurements.
-
Add Backing
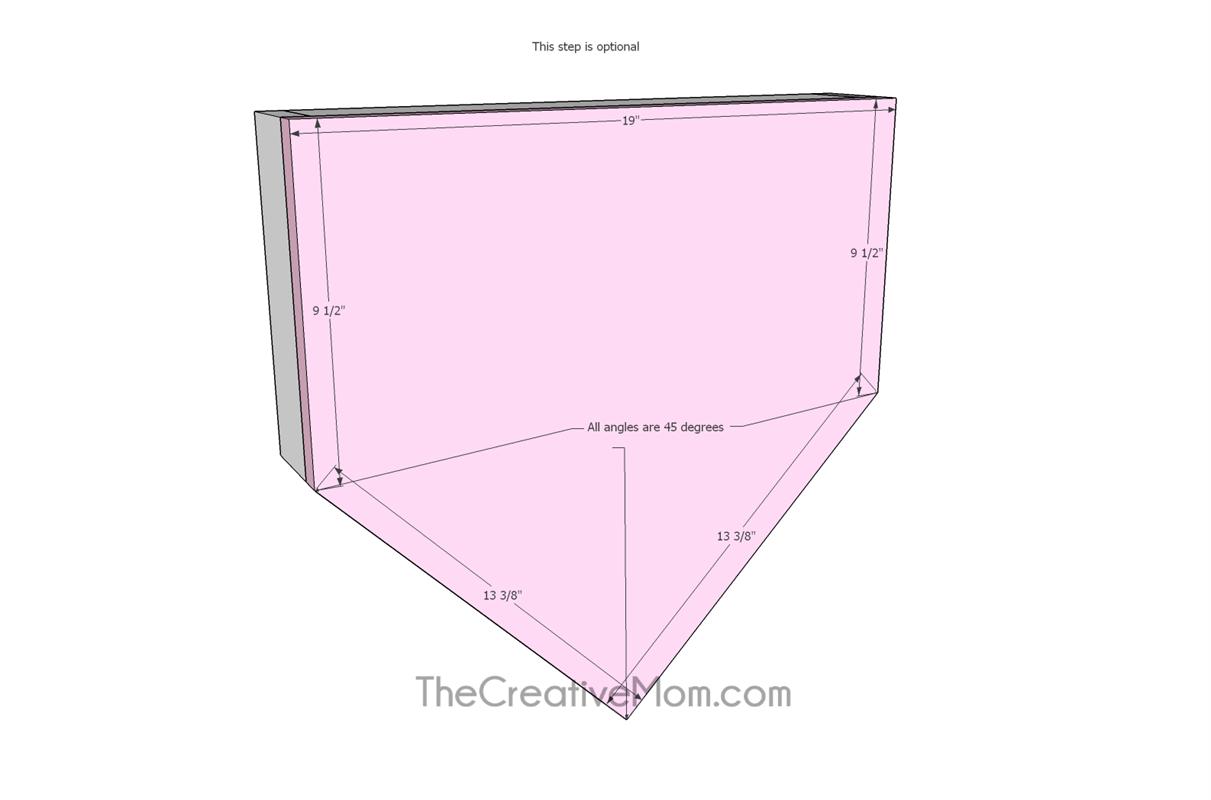
This step is optional. You can add 1/4" backing to the back of your shelf. Just cut according to the diagram in the plans.
-
Finish
Fill holes, sand, and stain the shelf.


