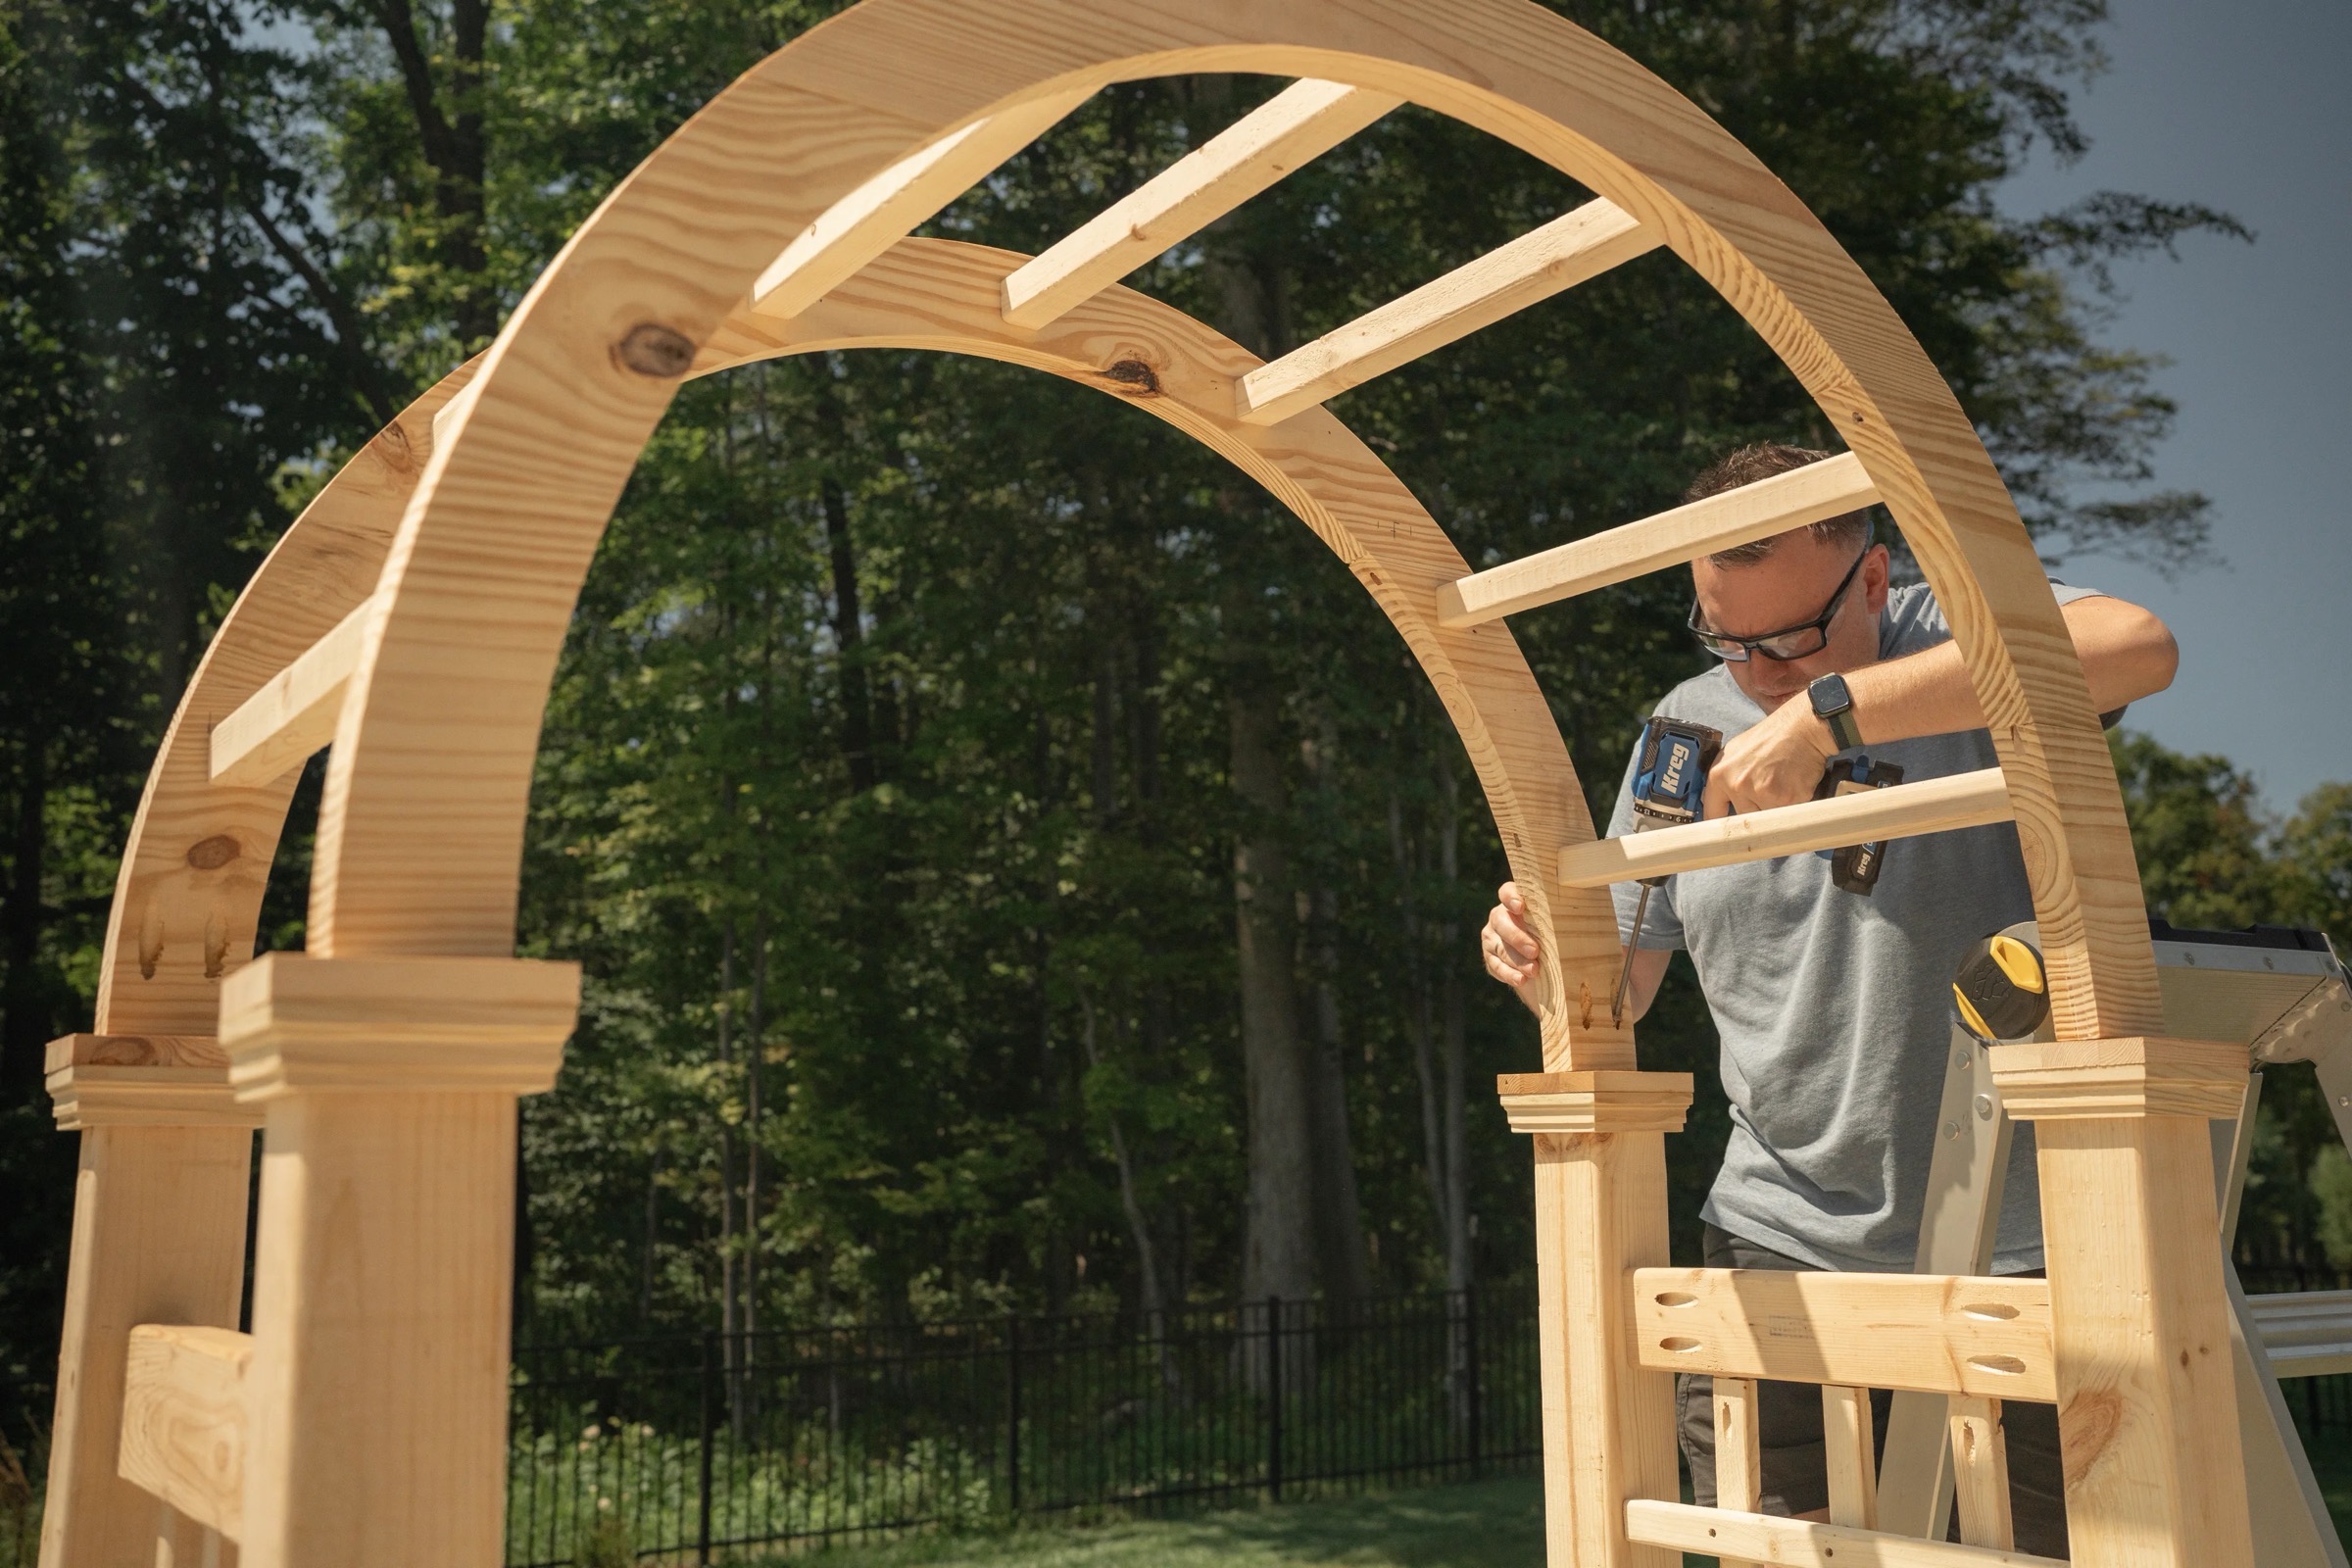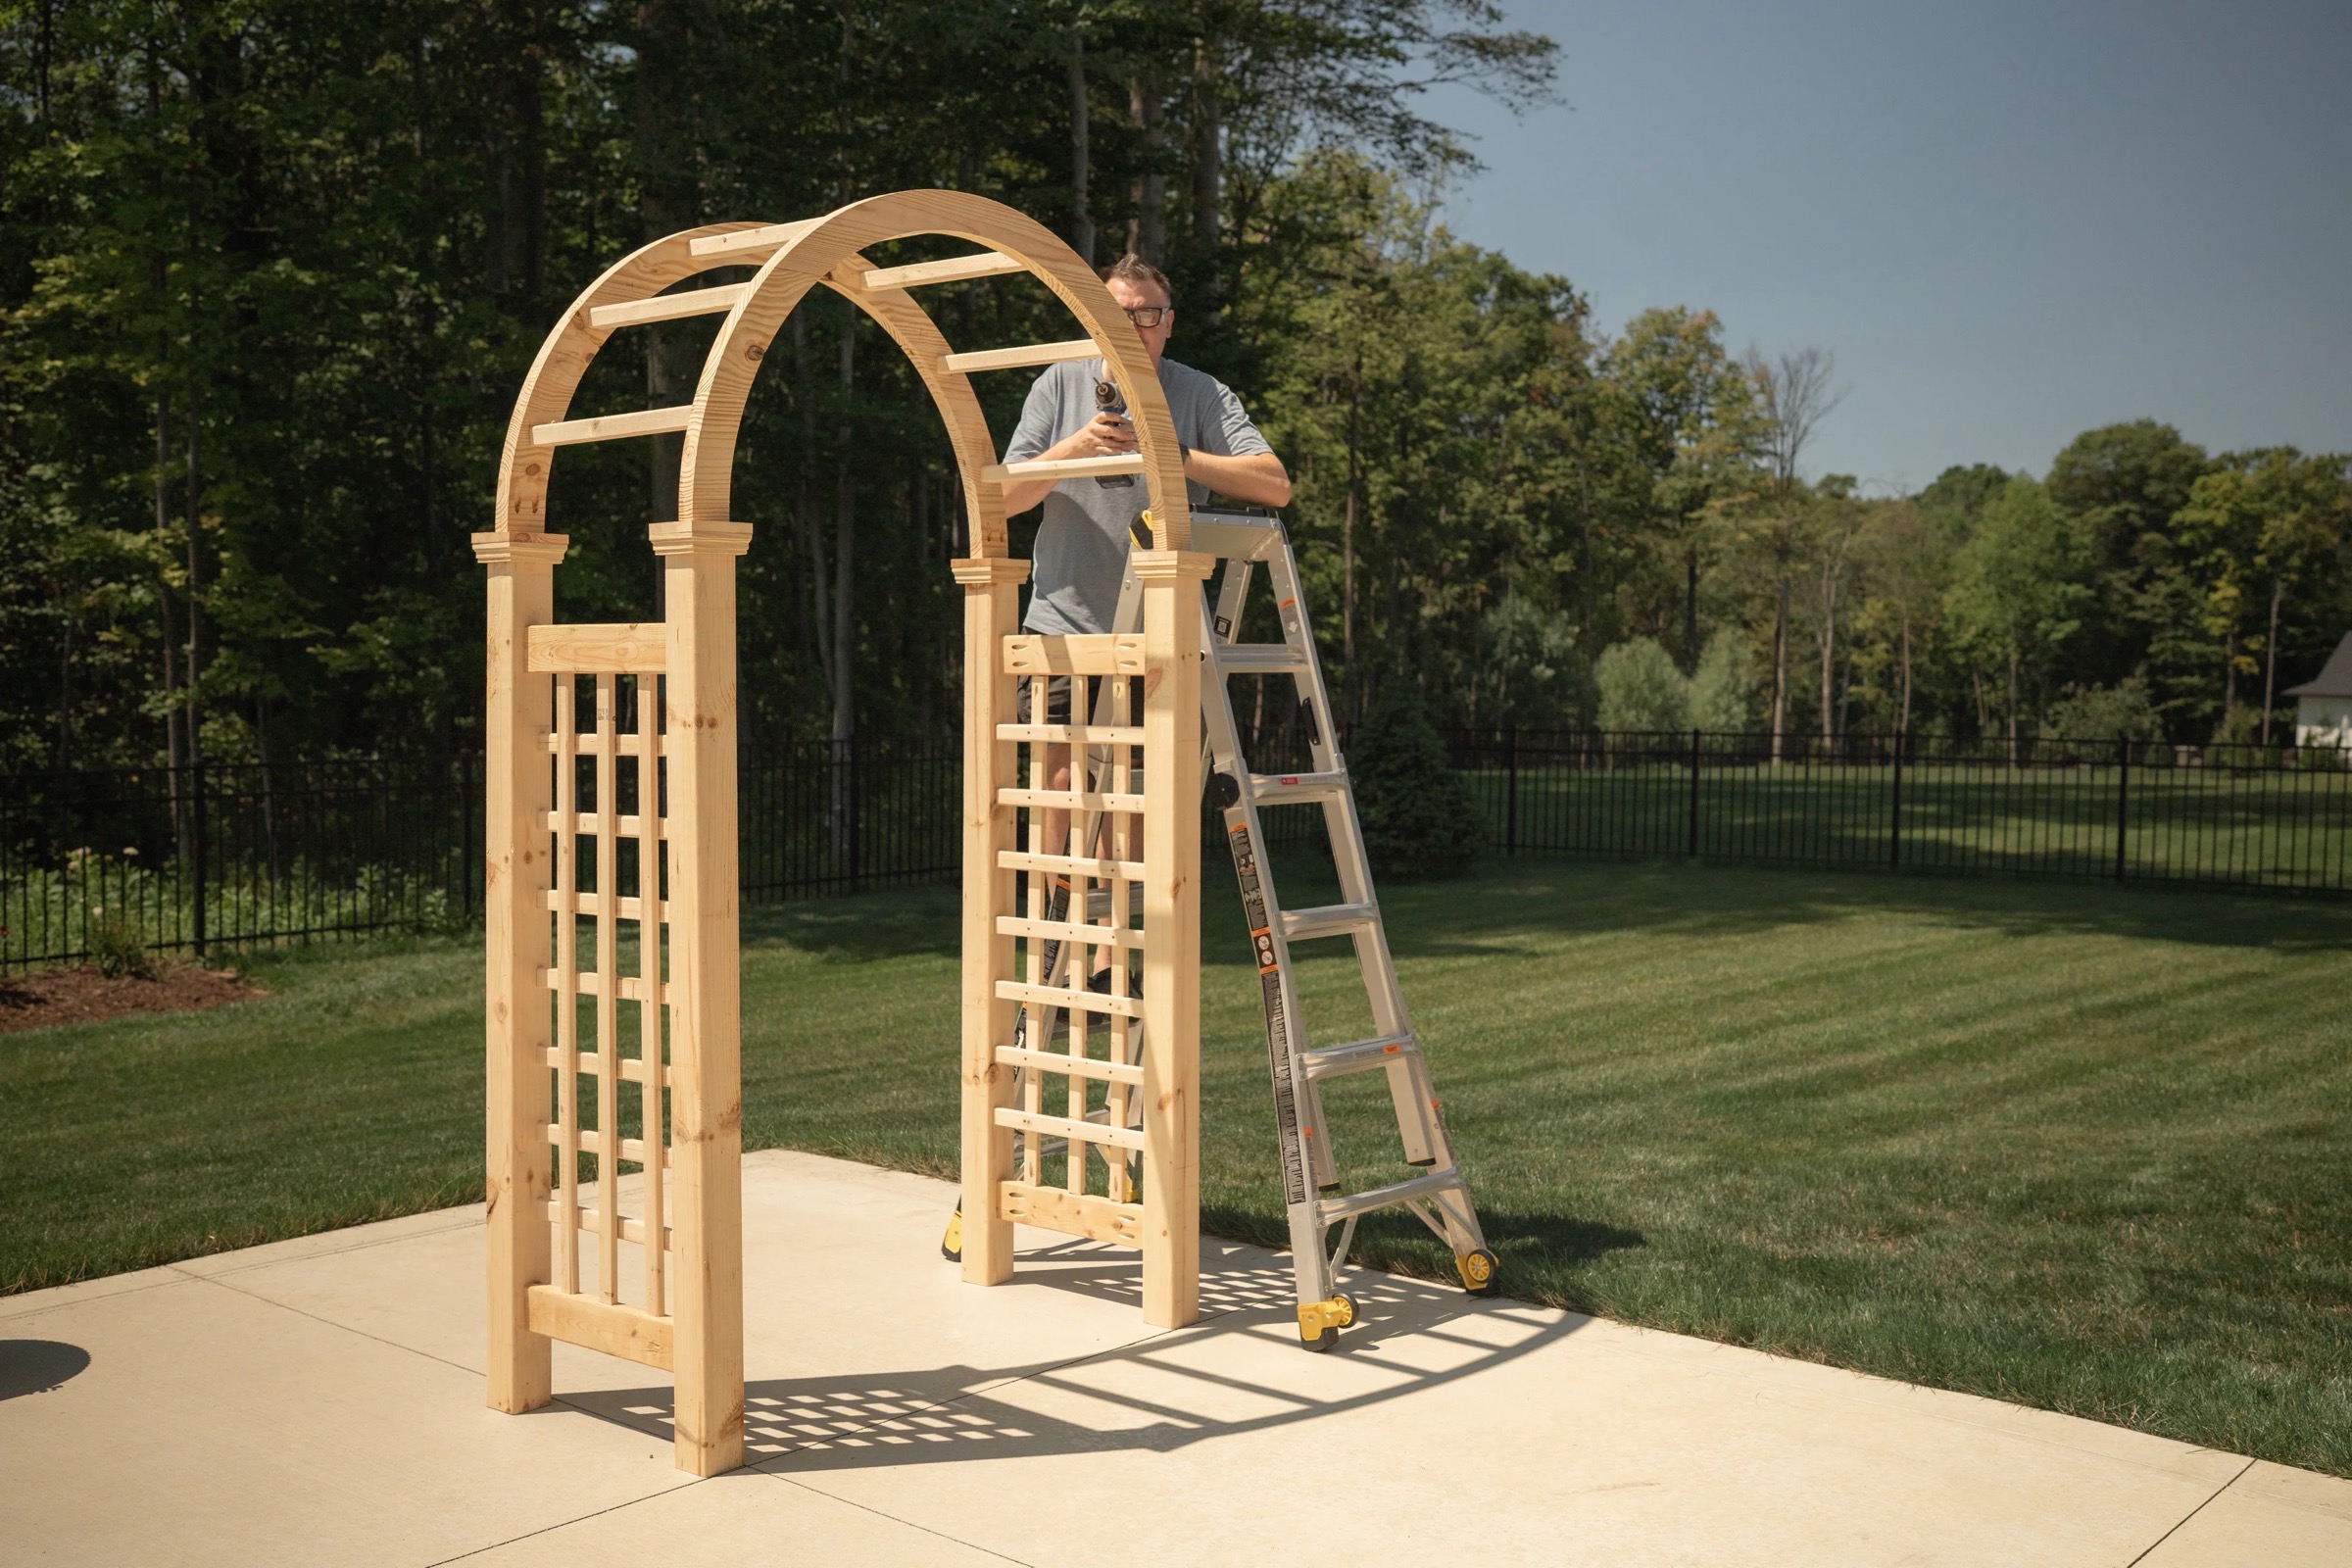


Every garden path deserves a grand entrance. To connect our lawn to the woods in the backyard, we designed and built this custom arched garden arbor. Featuring clean trellis gridwork and sturdy curved arches, it’s built to support years of blooming florals and serve as a beautiful backdrop for outdoor gatherings. Here’s how you can build your own!
Tools
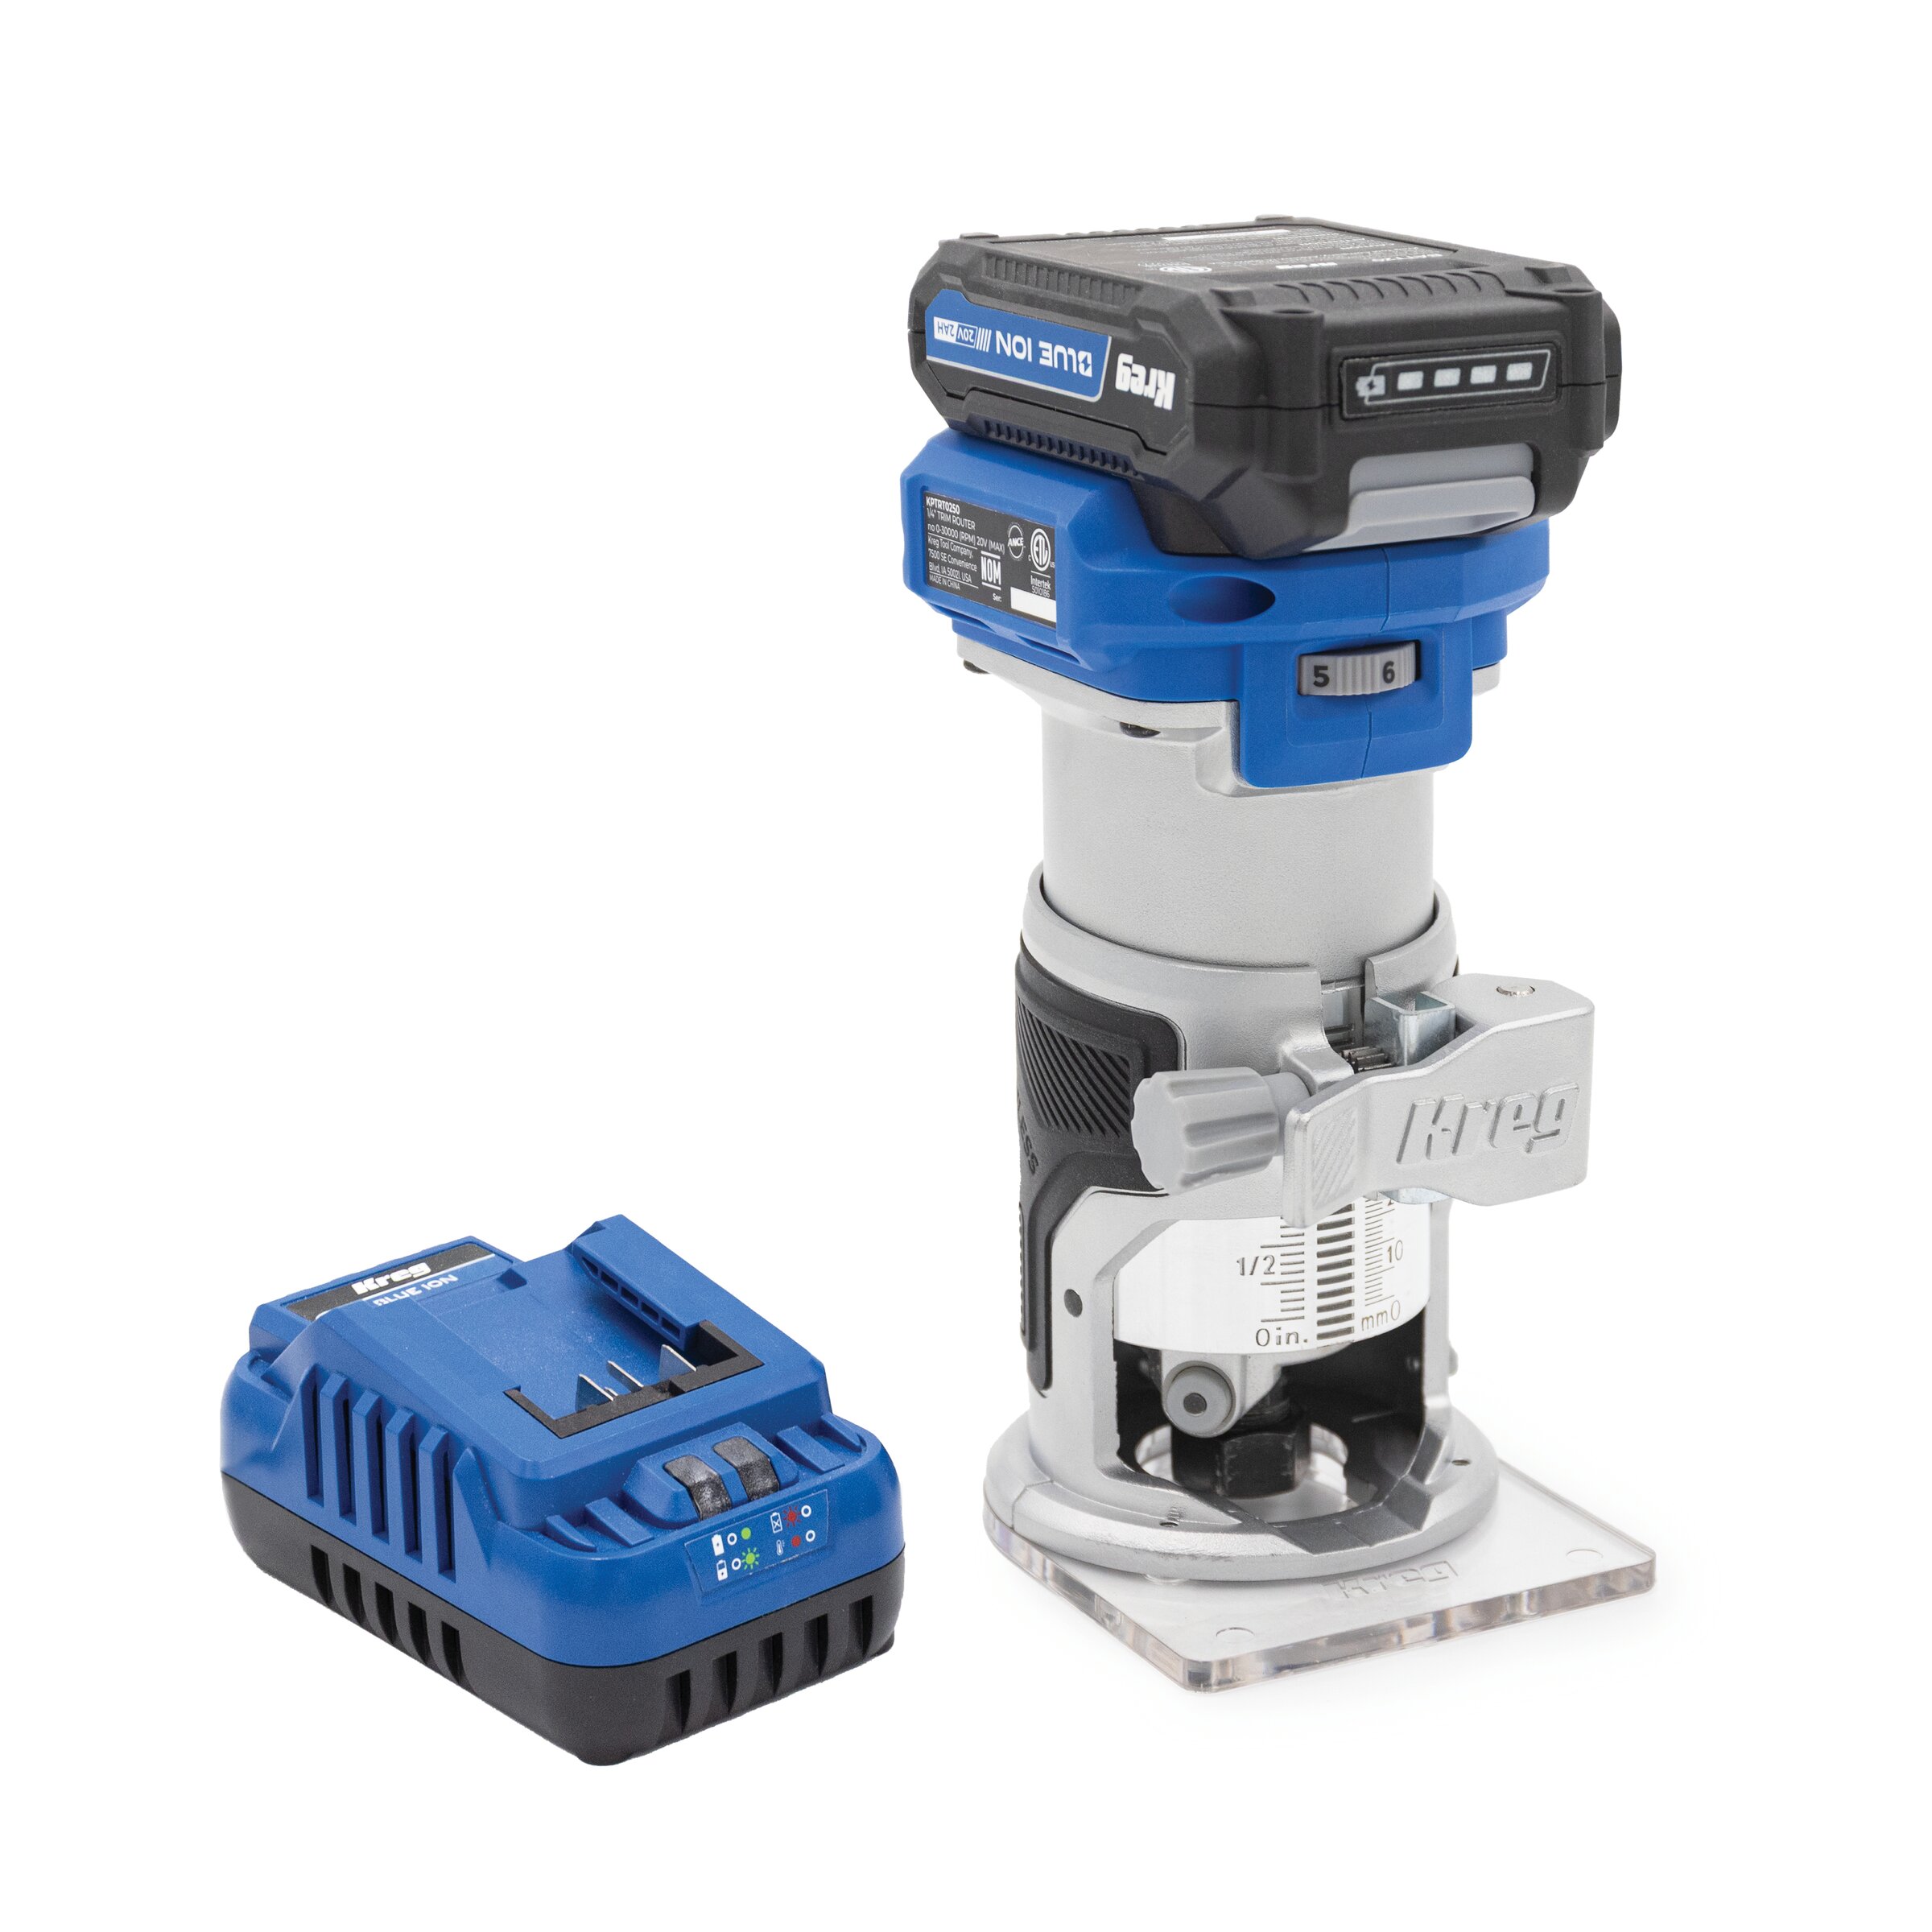
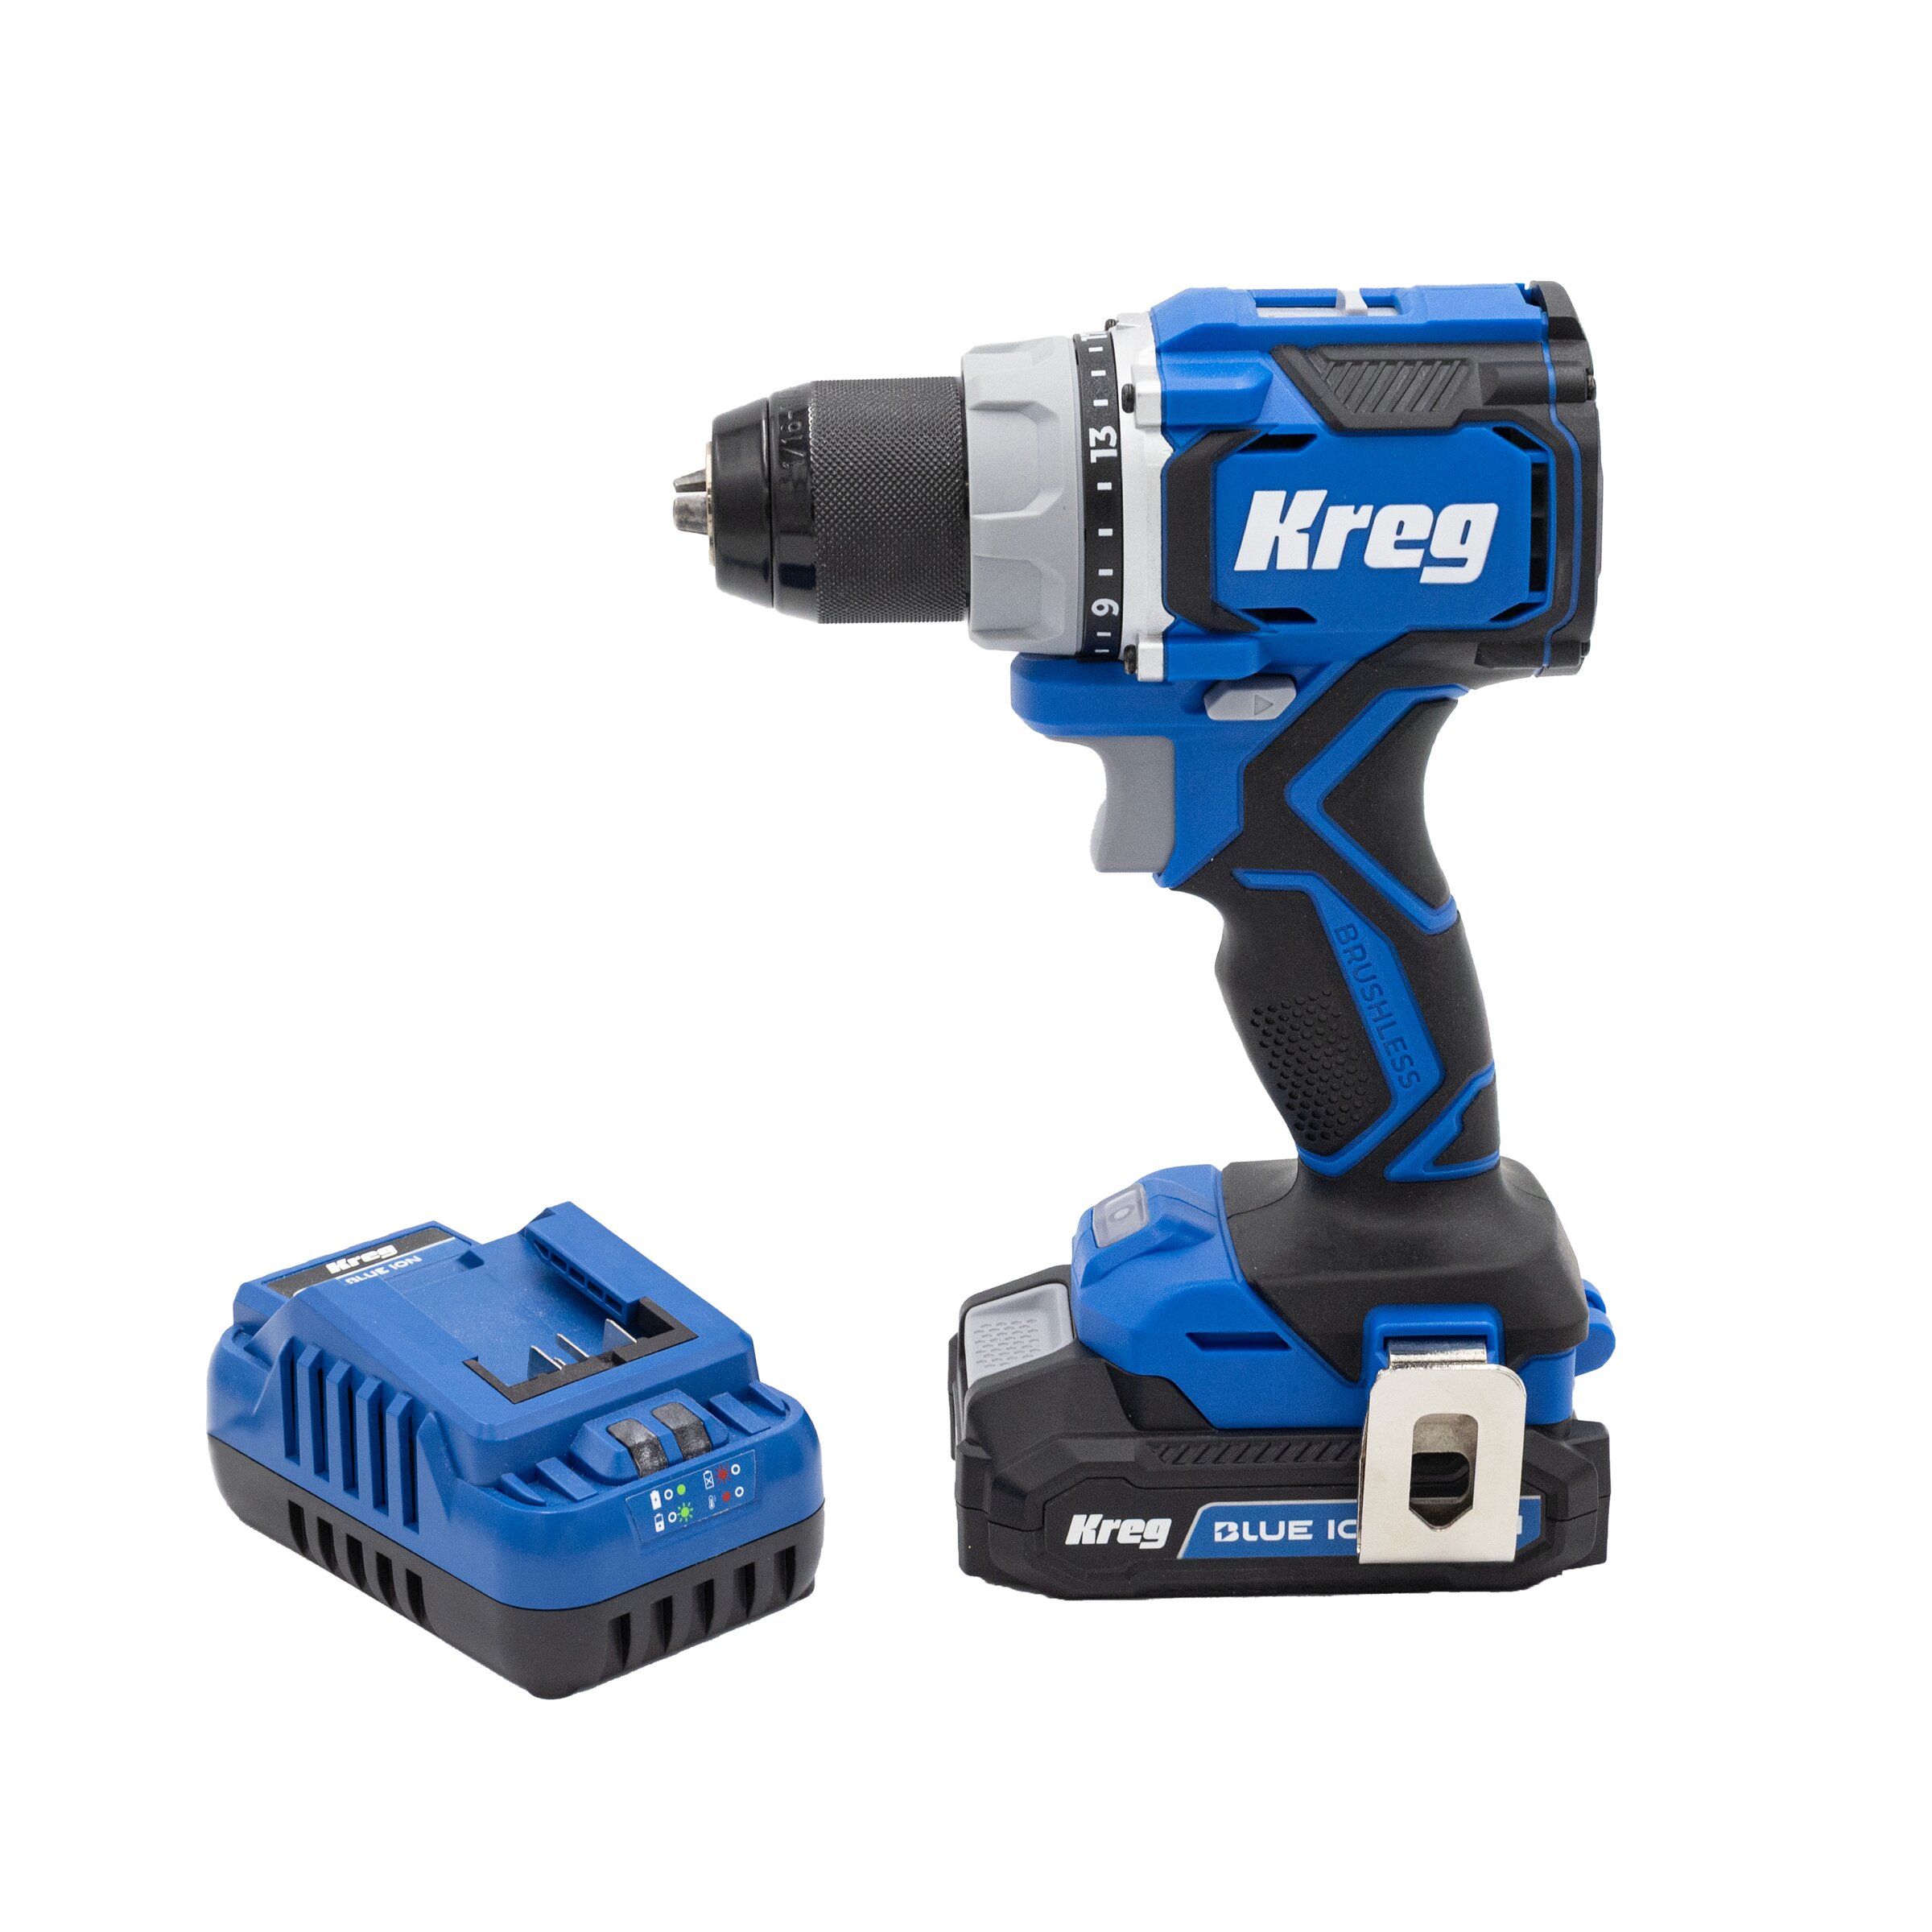
Kreg Tools
Materials
Wood Products
- 3 2" x 10" pine boards , 10' L
- 4 4” x 4” pine posts , 6' L
- 4 1" x 2" pine boards , 12' L
- 1 2" x 4" pine board , 8' L
- 2 2" x 2" pine boards , 8' L
- 4 4" x 4" post caps
Hardware & Supplies
- 1 Gallon exterior paint
- 1 Bottle exterior wood glue
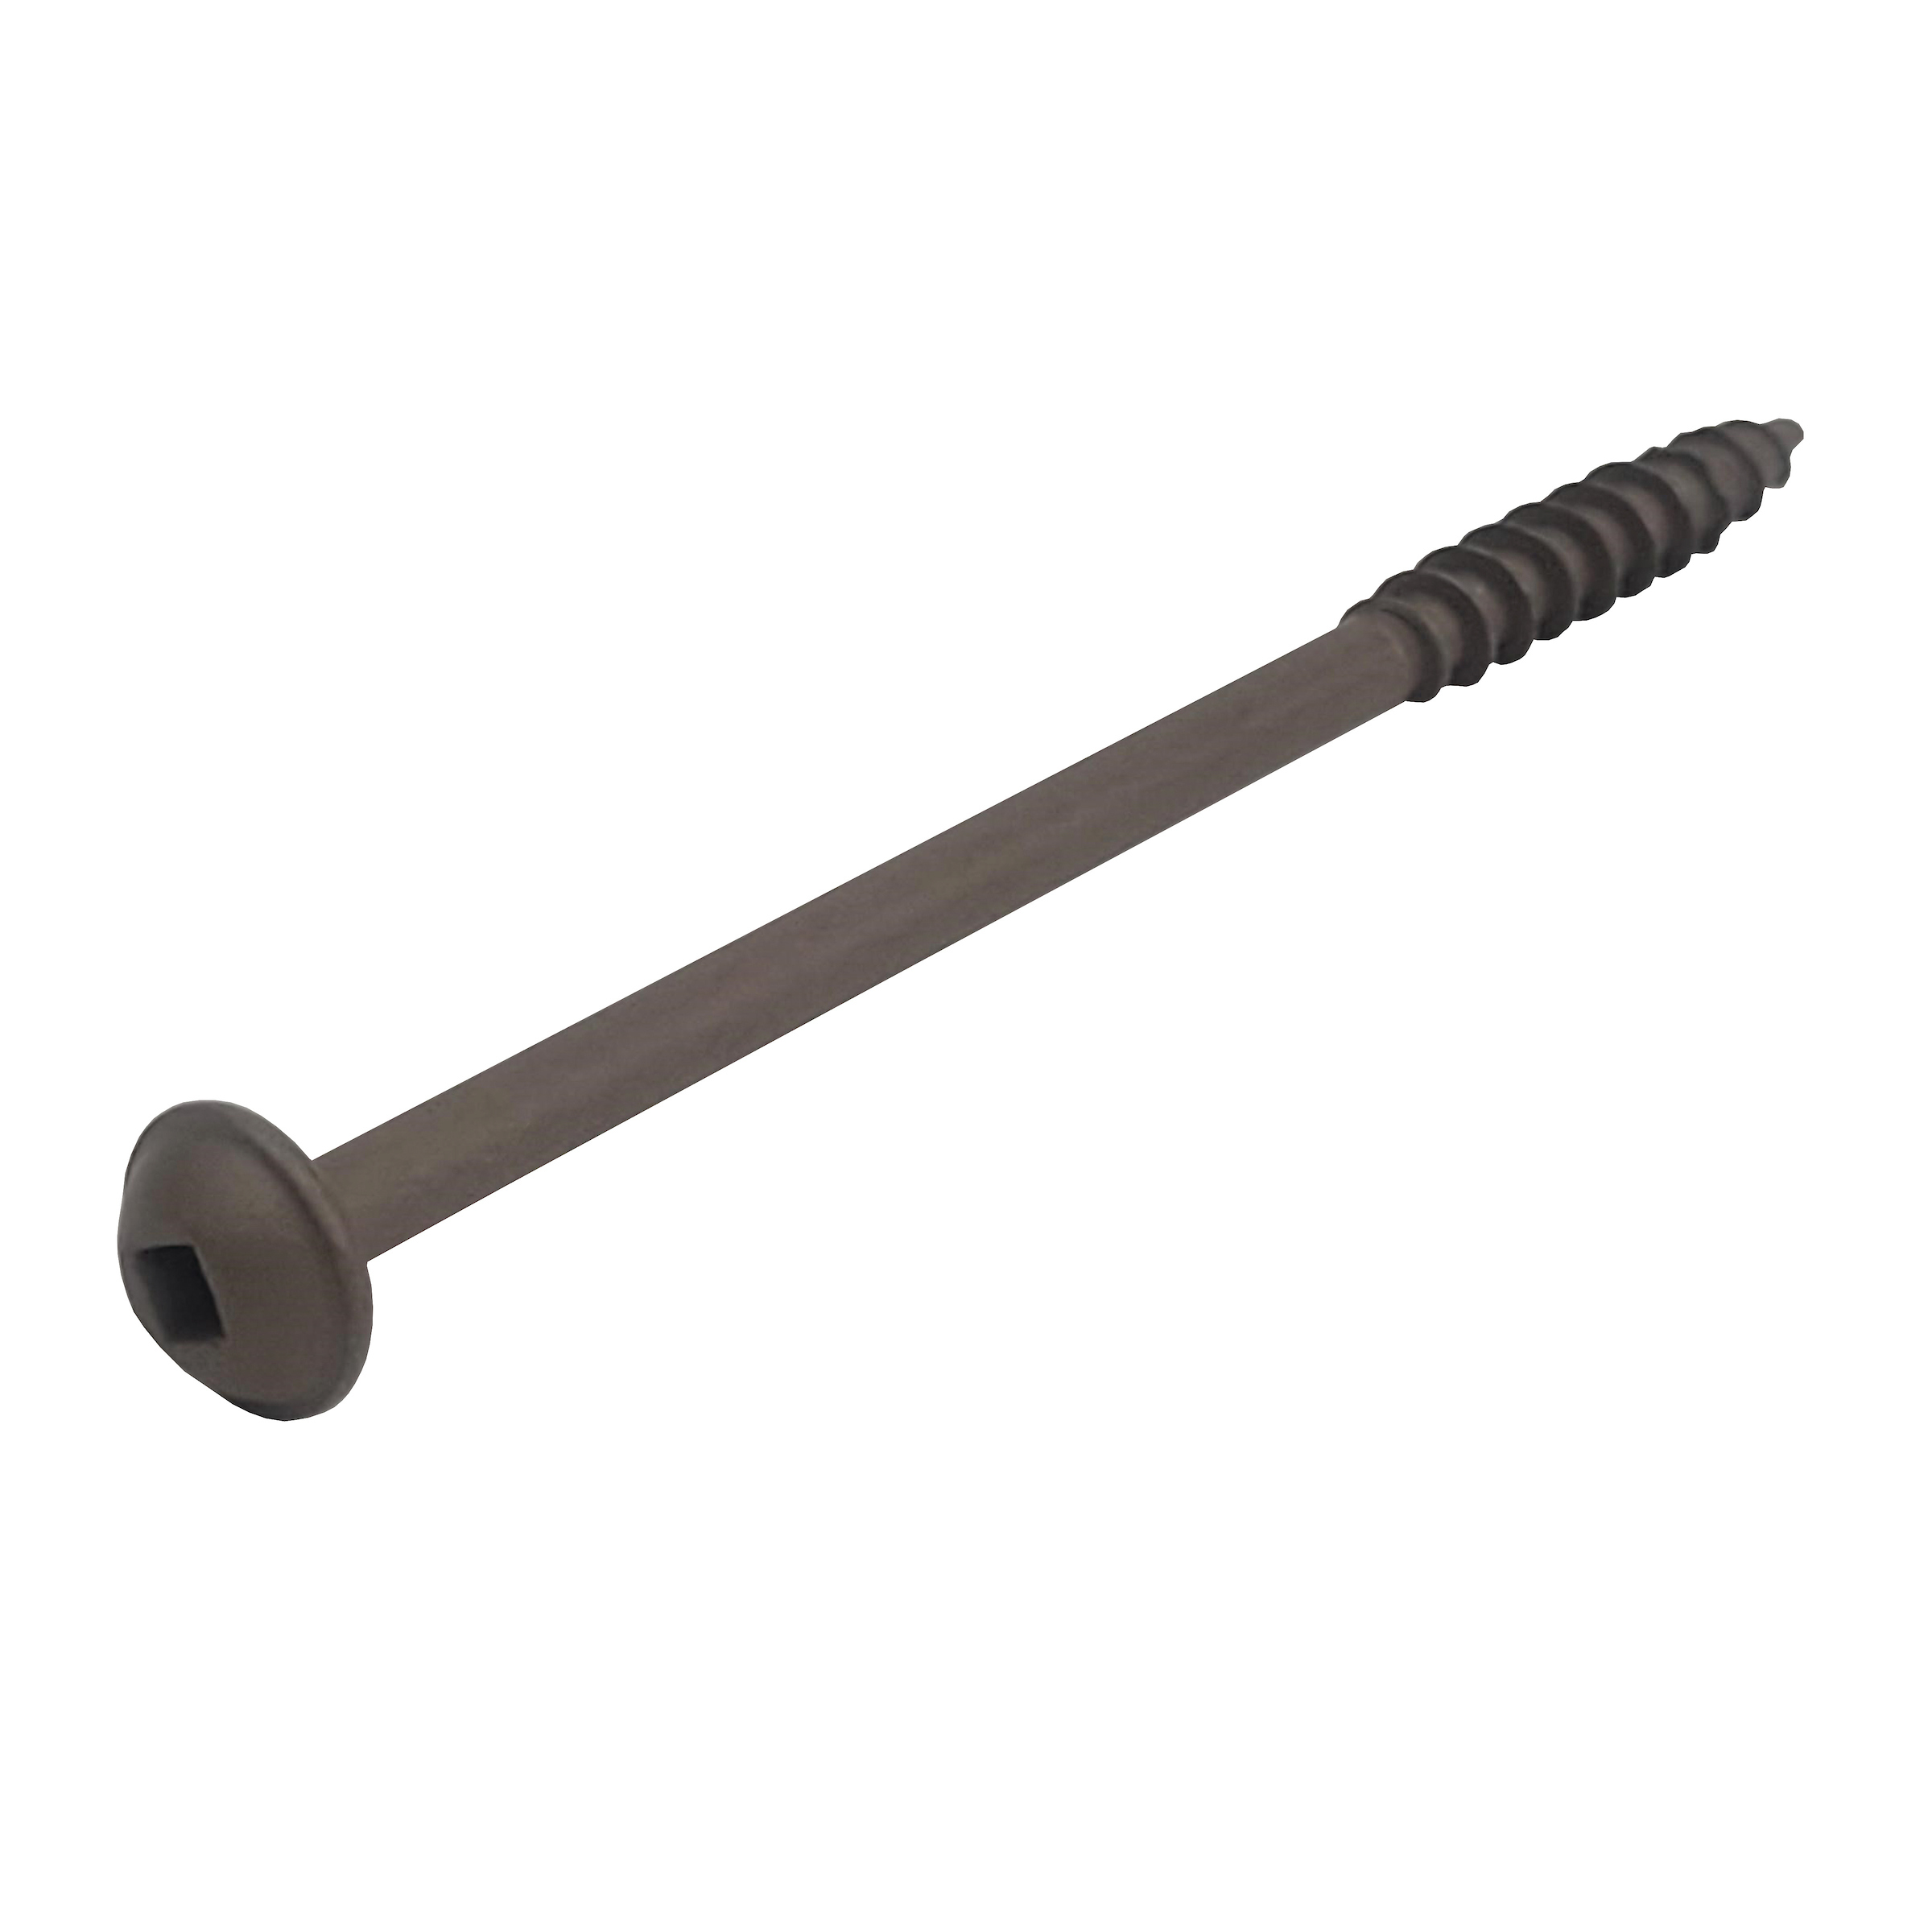
- -- 2-1/2" and 4" Kreg XL Pocket-Hole Screws
- -- 1-1/4" Kreg Blue-Kote Pocket-Hole Screws
- -- 1-1/4" Exterior Wood Screws
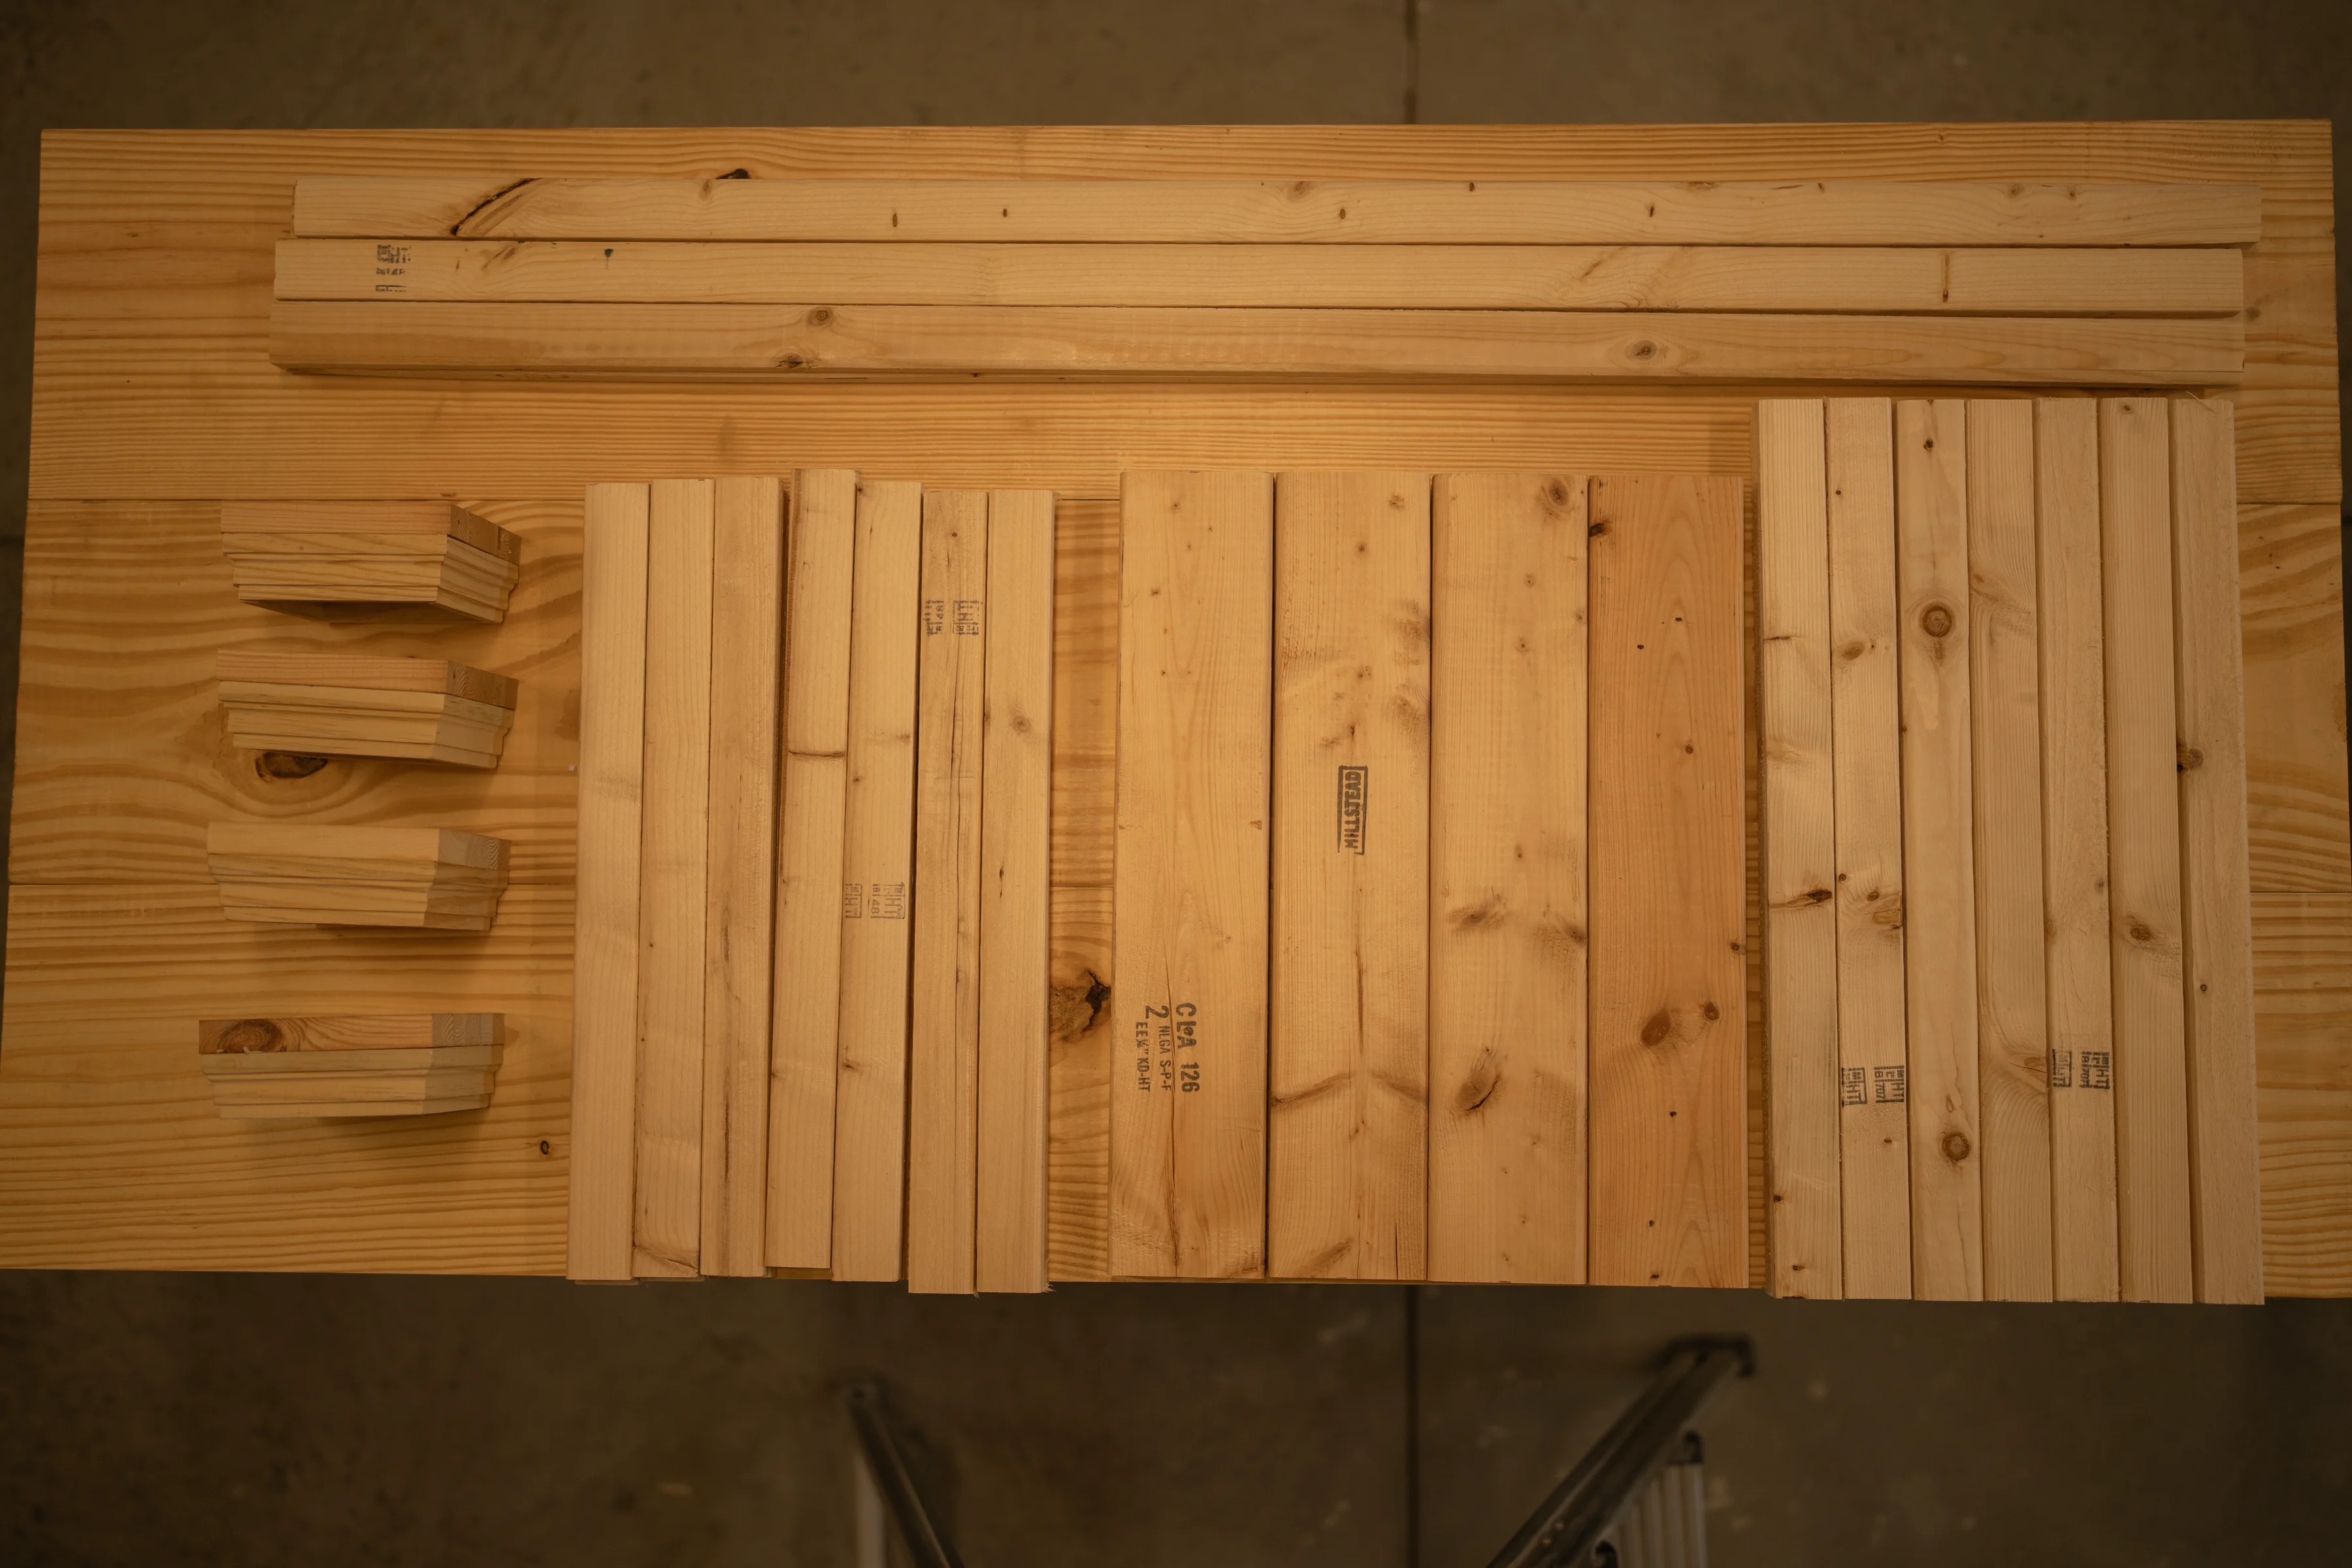
Cut List & Parts
- 6 Panels glued up x 2 of 3, 2" x 10" boards each , 2" D x 27" W x 54" L
- 4 Posts (Note: If anchoring into ground stakes, no bottom footing allowance is necessary.) , 64" L
- 6 Lattice verticals , 1" D x 2" W x 45" L
- 14 Lattice horizontals , 1" D x 2" W x 18" L
- 4 Trellis top/bottom , 2" D x 4" W x 18" L
- 7 Purlins , 2" D x 2" W x 20" L
Directions
-
Prep And Initial Sanding
Roughly sand all cut pieces with 80 or 120-grit sandpaper
Sand All Lumber
This will knock off the rough spots and any splinters before assembly.
-
Router & Cut the Arches
Mark the center of each panel (27 inches in our case) and drill a 1/8 inch pilot hole within 1/4 inch of the bottom edge.
Outer Radius Cut
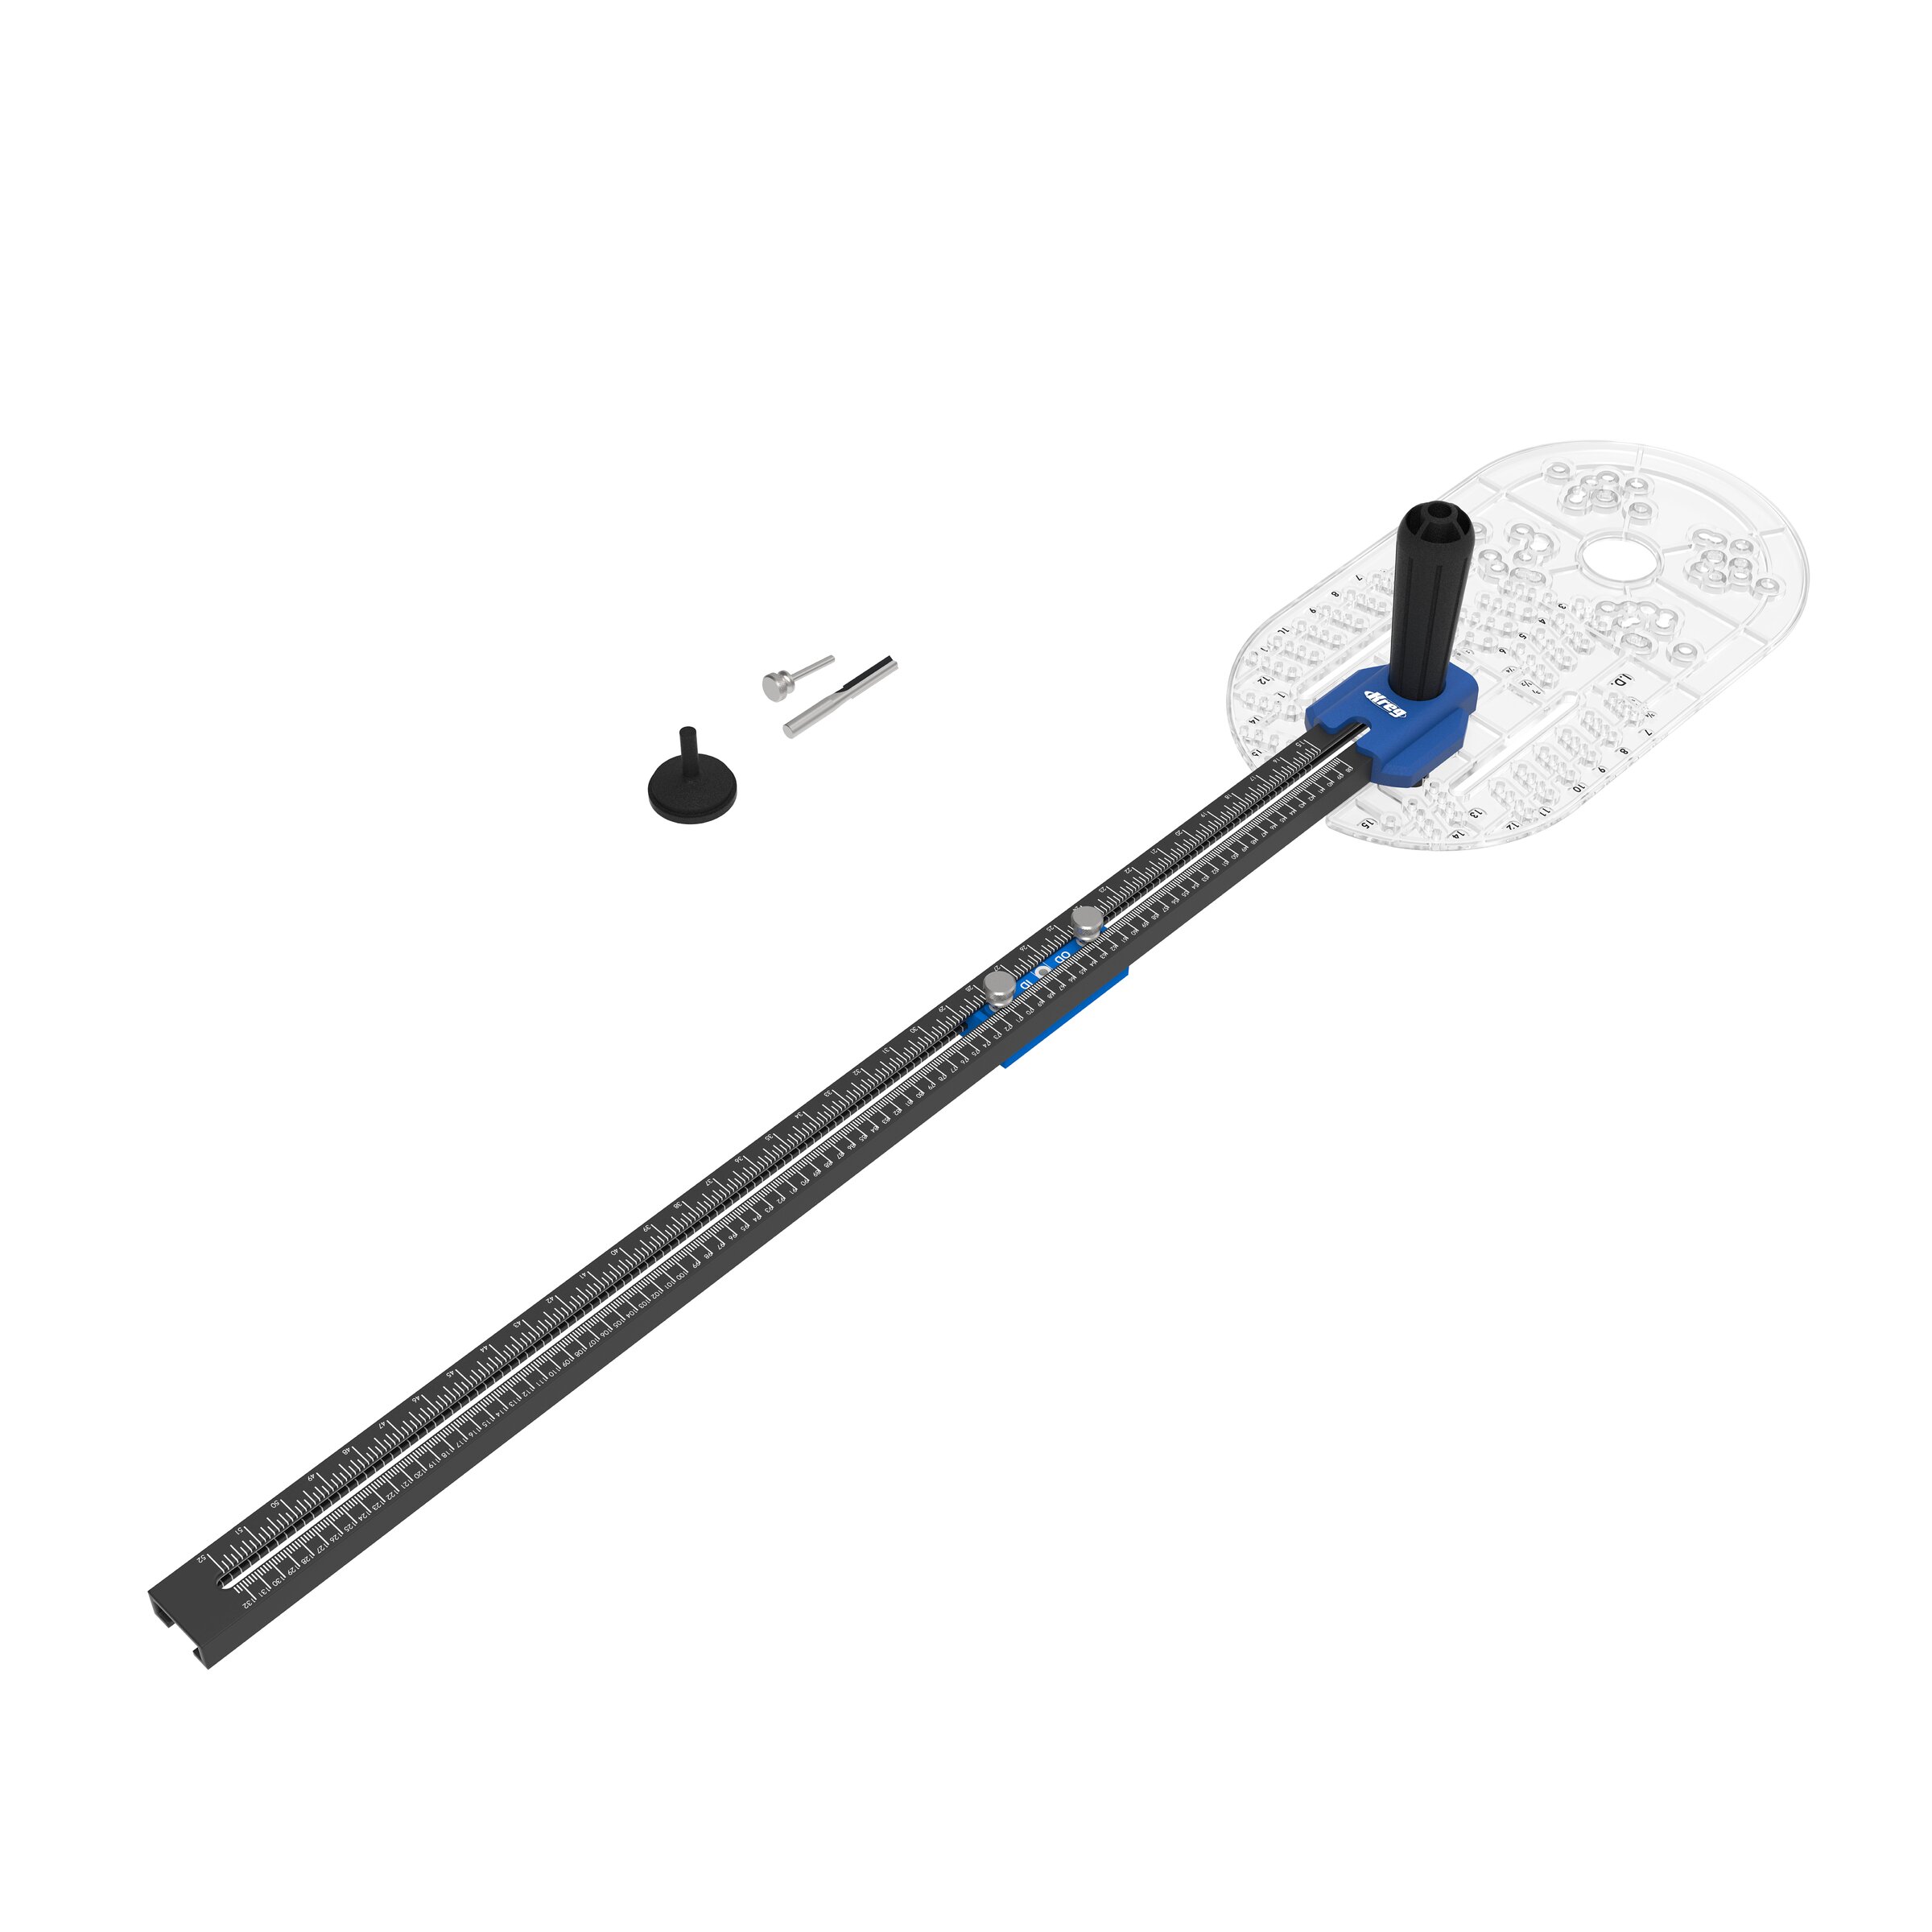
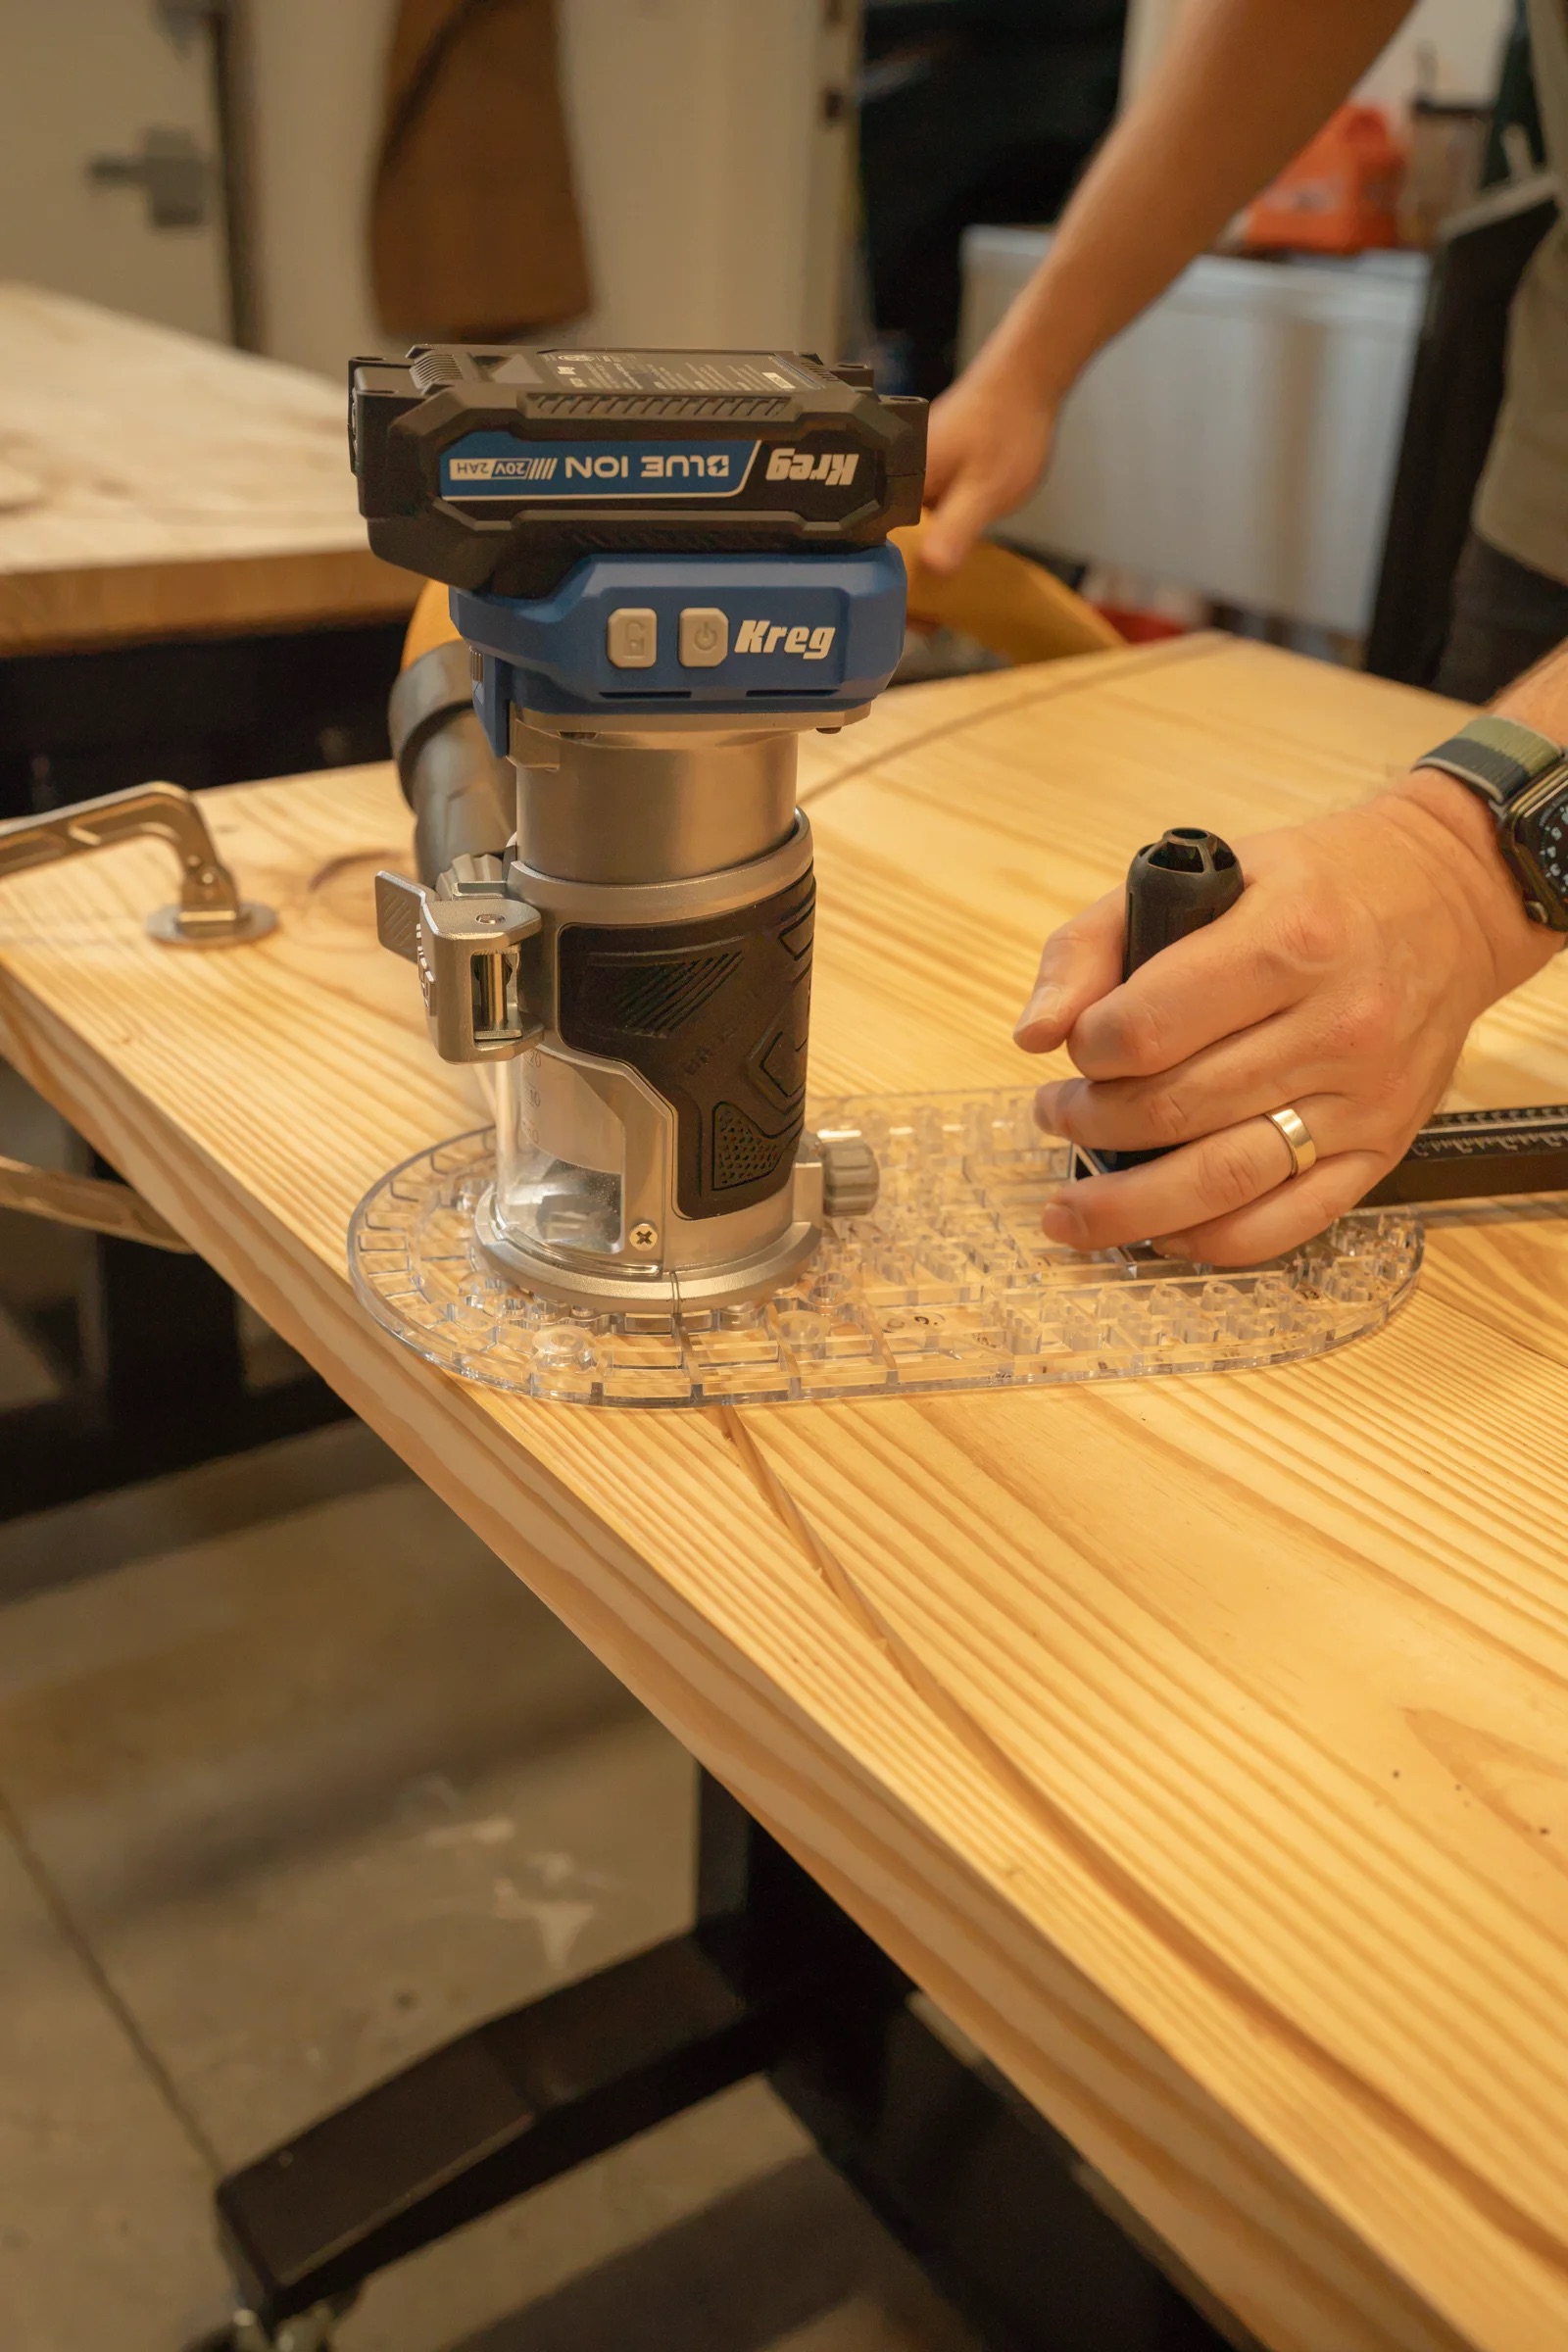
Attach the Kreg Trim Router Circle Guide to your router and set it to an Outer Diameter (O.D.) of 52 inches (adjust for your specific opening width if needed).
Kreg Trim Router Circle Guide
-
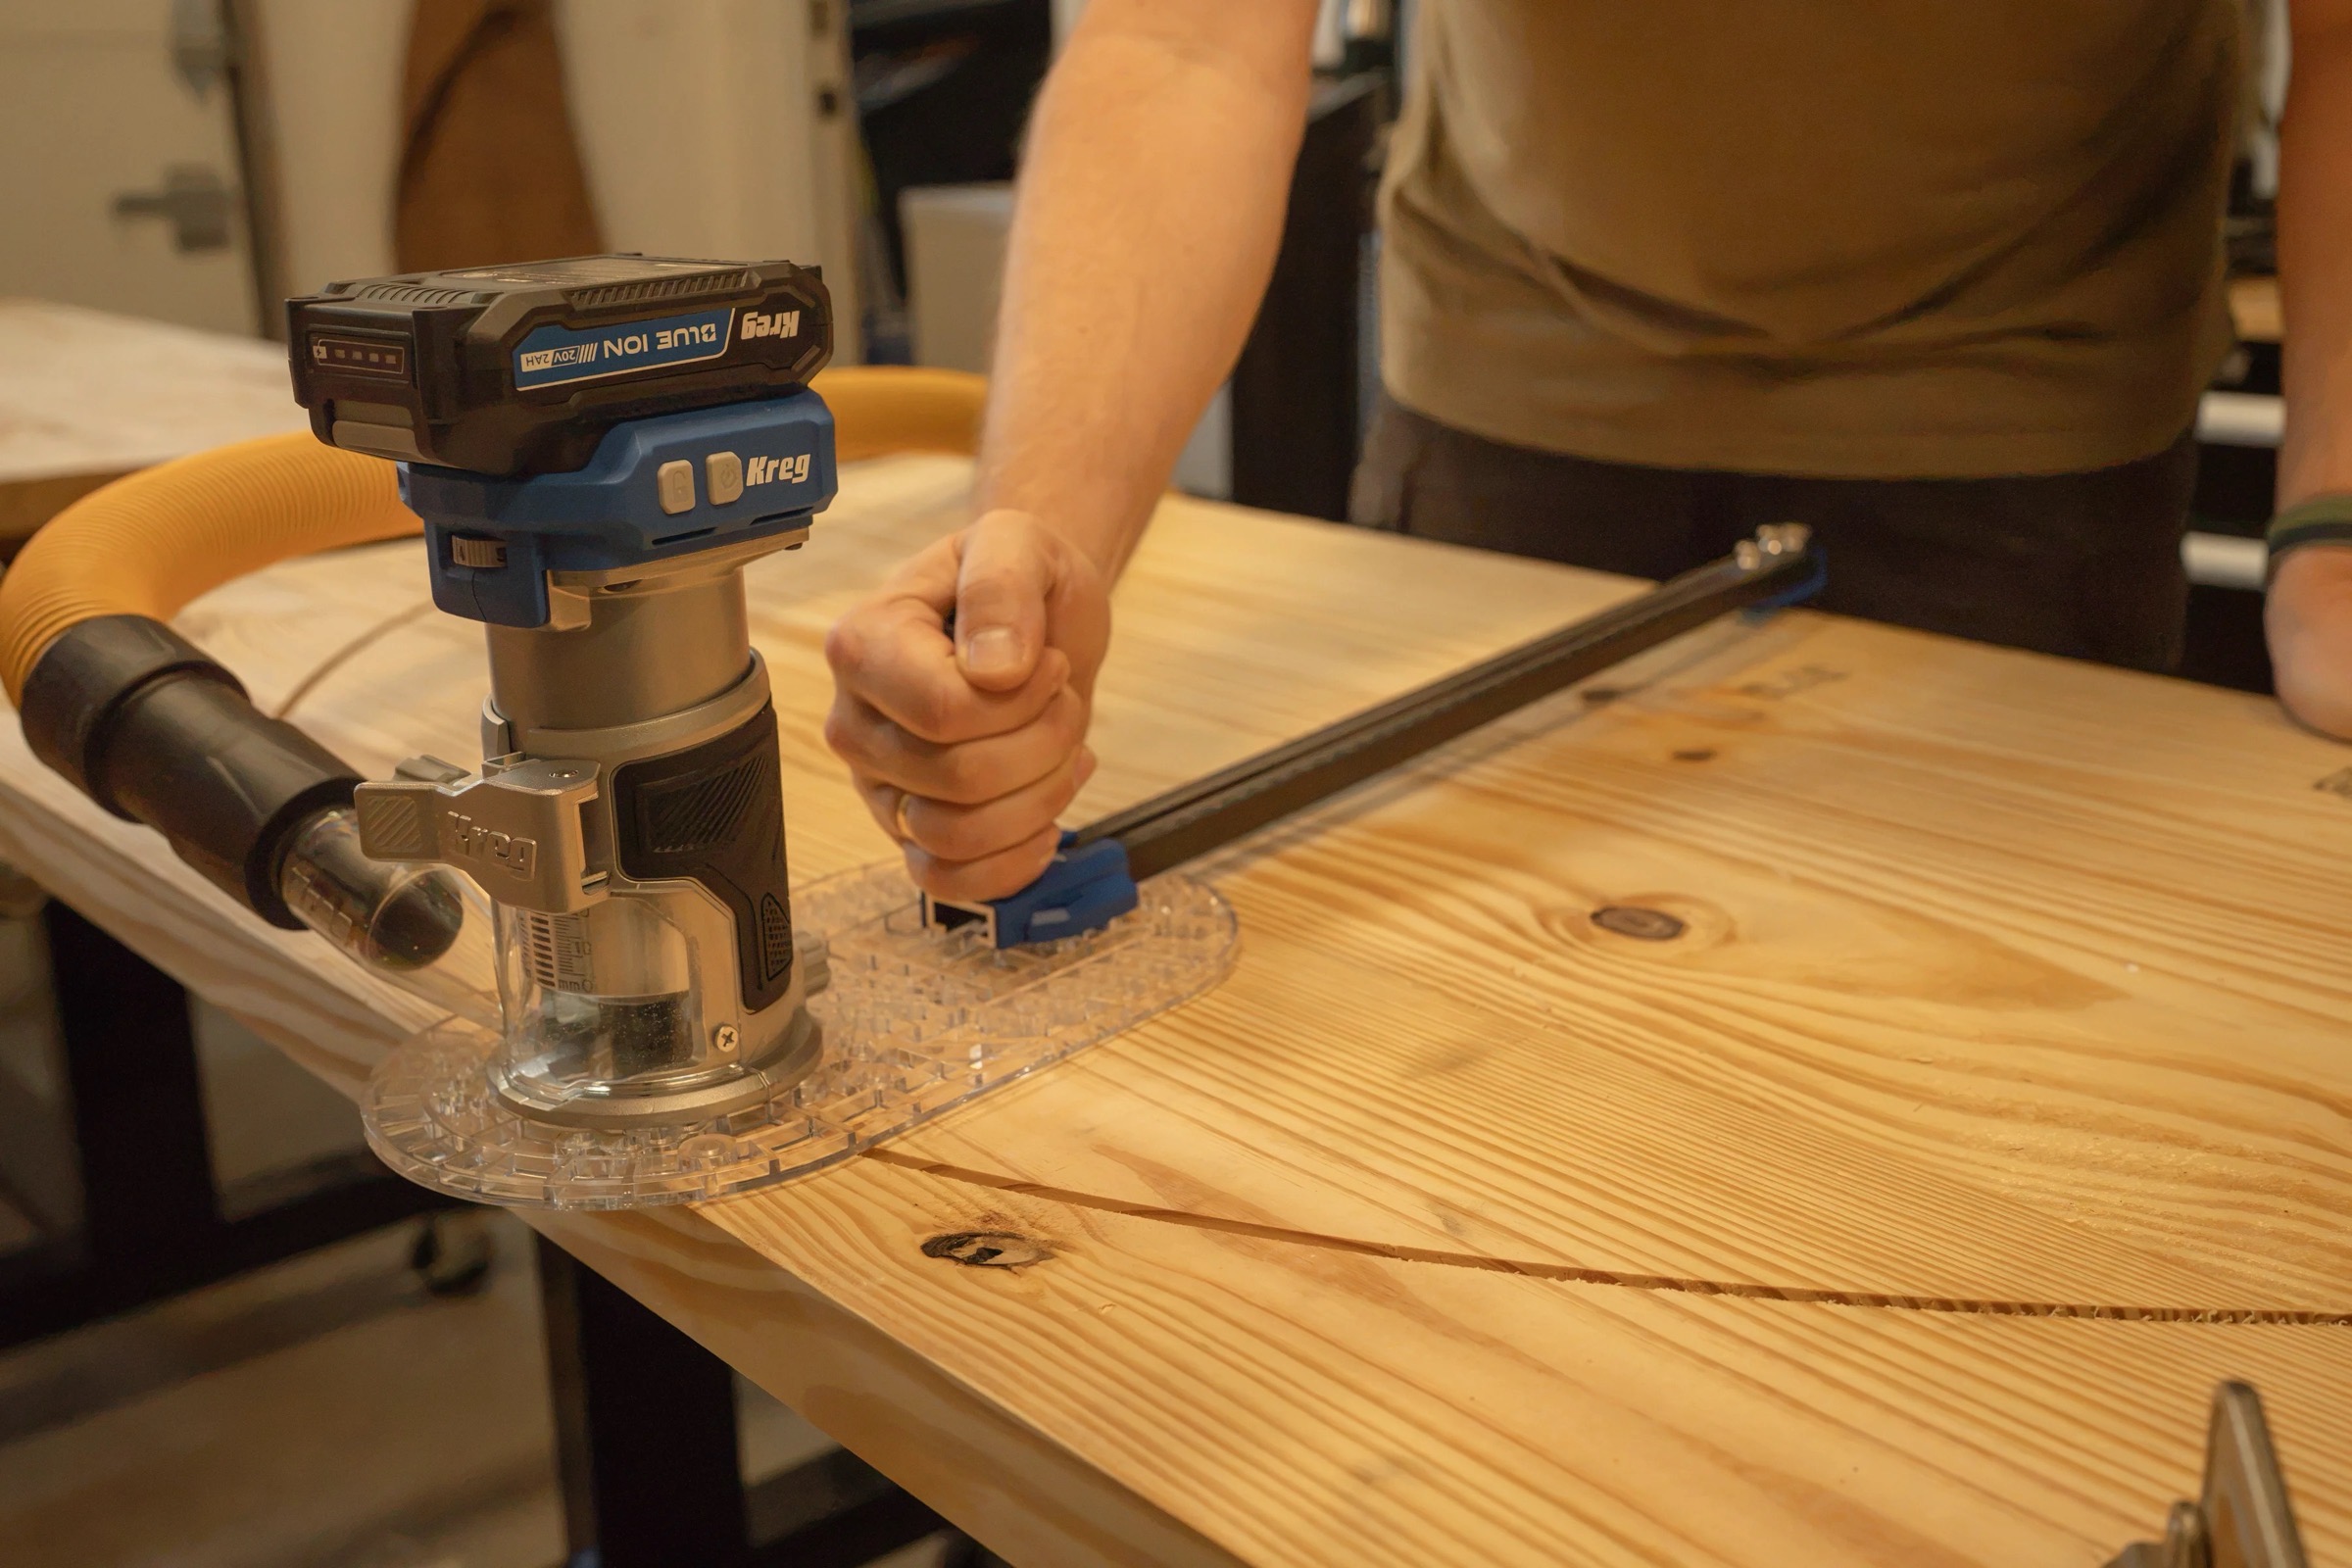
Make Multiple Passes
Route counterclockwise, adjusting the depth with each pass
Flip the Panel Over
Complete the cuts, again adjusting the depth with each pass.
-
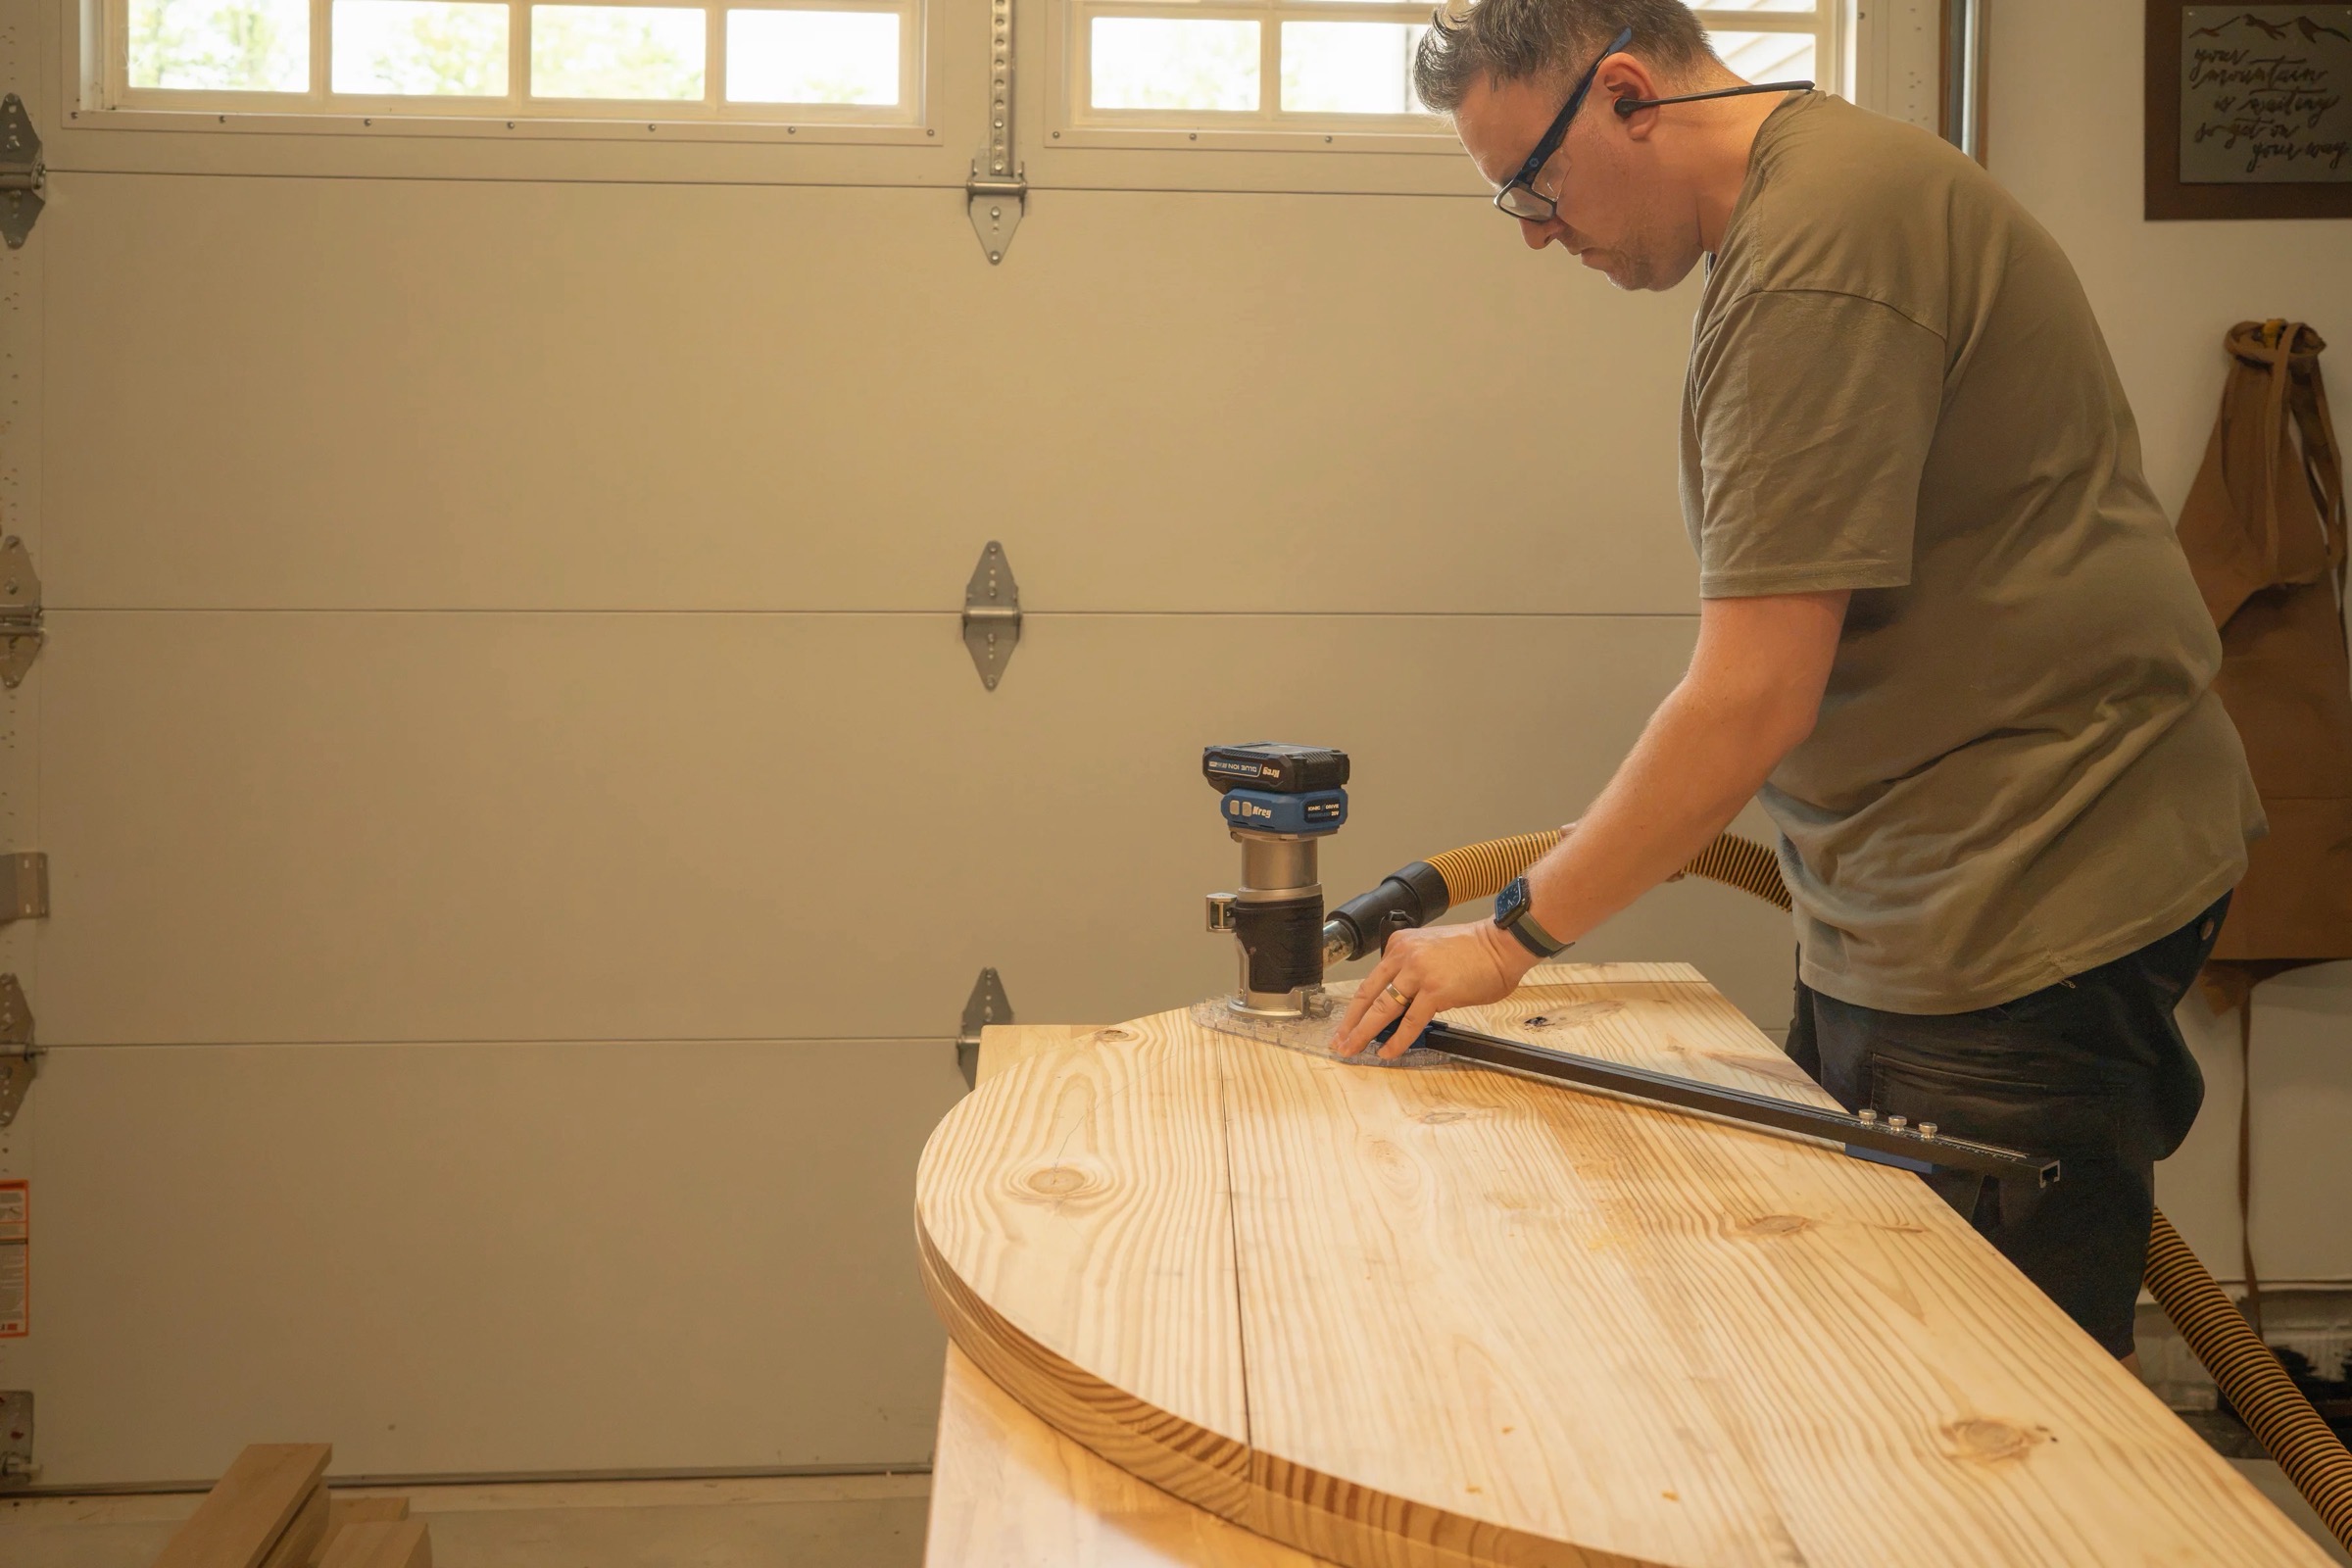
Inner Radius Cut
Reduce the circle guide setting by 3.5 inches (matching our post width) and repeat the routing process to form the arch.
Smooth Edges
Smooth out all routed arch edges using a random orbital sander.
-
Prep Lattice Frame
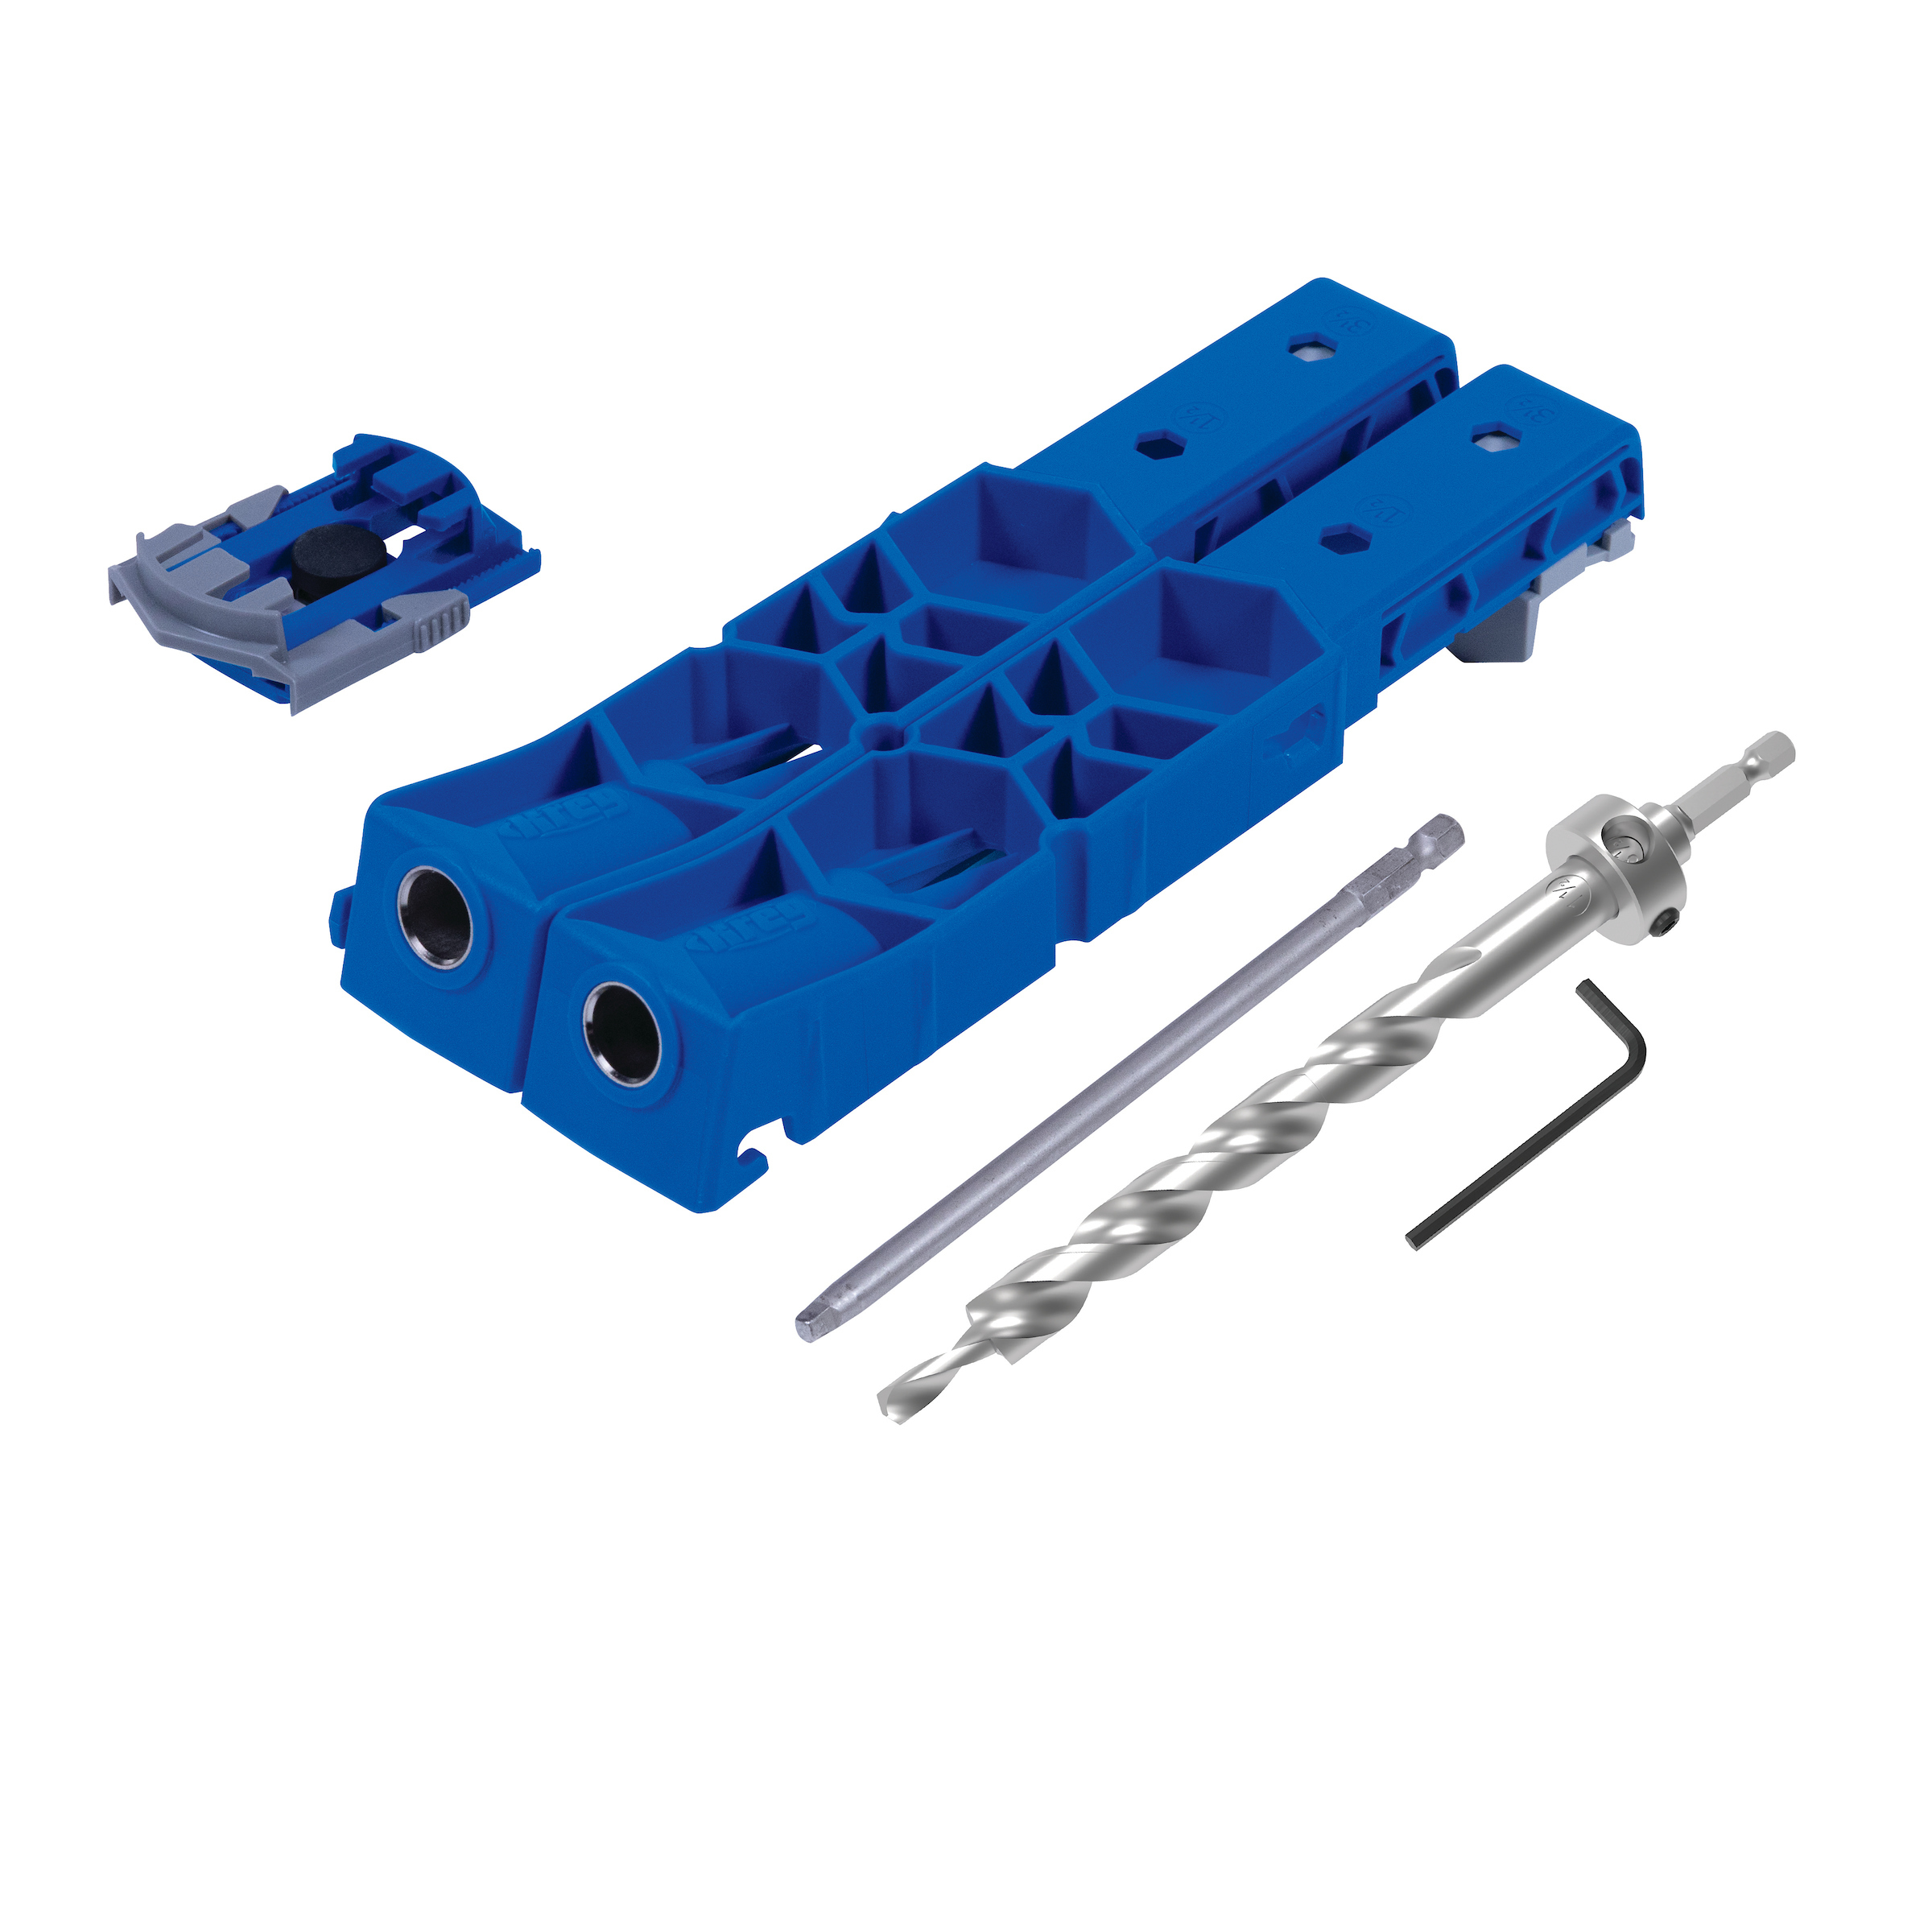
Set Jig (3/4 inch): Set your Kreg Pocket-Hole 720 Jig drill bit collar for 3/4 inch material.
Drill Outer Verticals
Drill pocket-holes on both ends of 4 of the vertical pieces (2 per lattice side frame — you can do all 6 but 4 will suffice)
-
Assemble Lattice for Trellis
- Space the 3 verticals 3-3/8 inches apart.
- Space the 7 horizontals 4-5/16 inches apart.
- Secure using 1-1/4 inch exterior wood screws.
- Repeat for the second lattice piece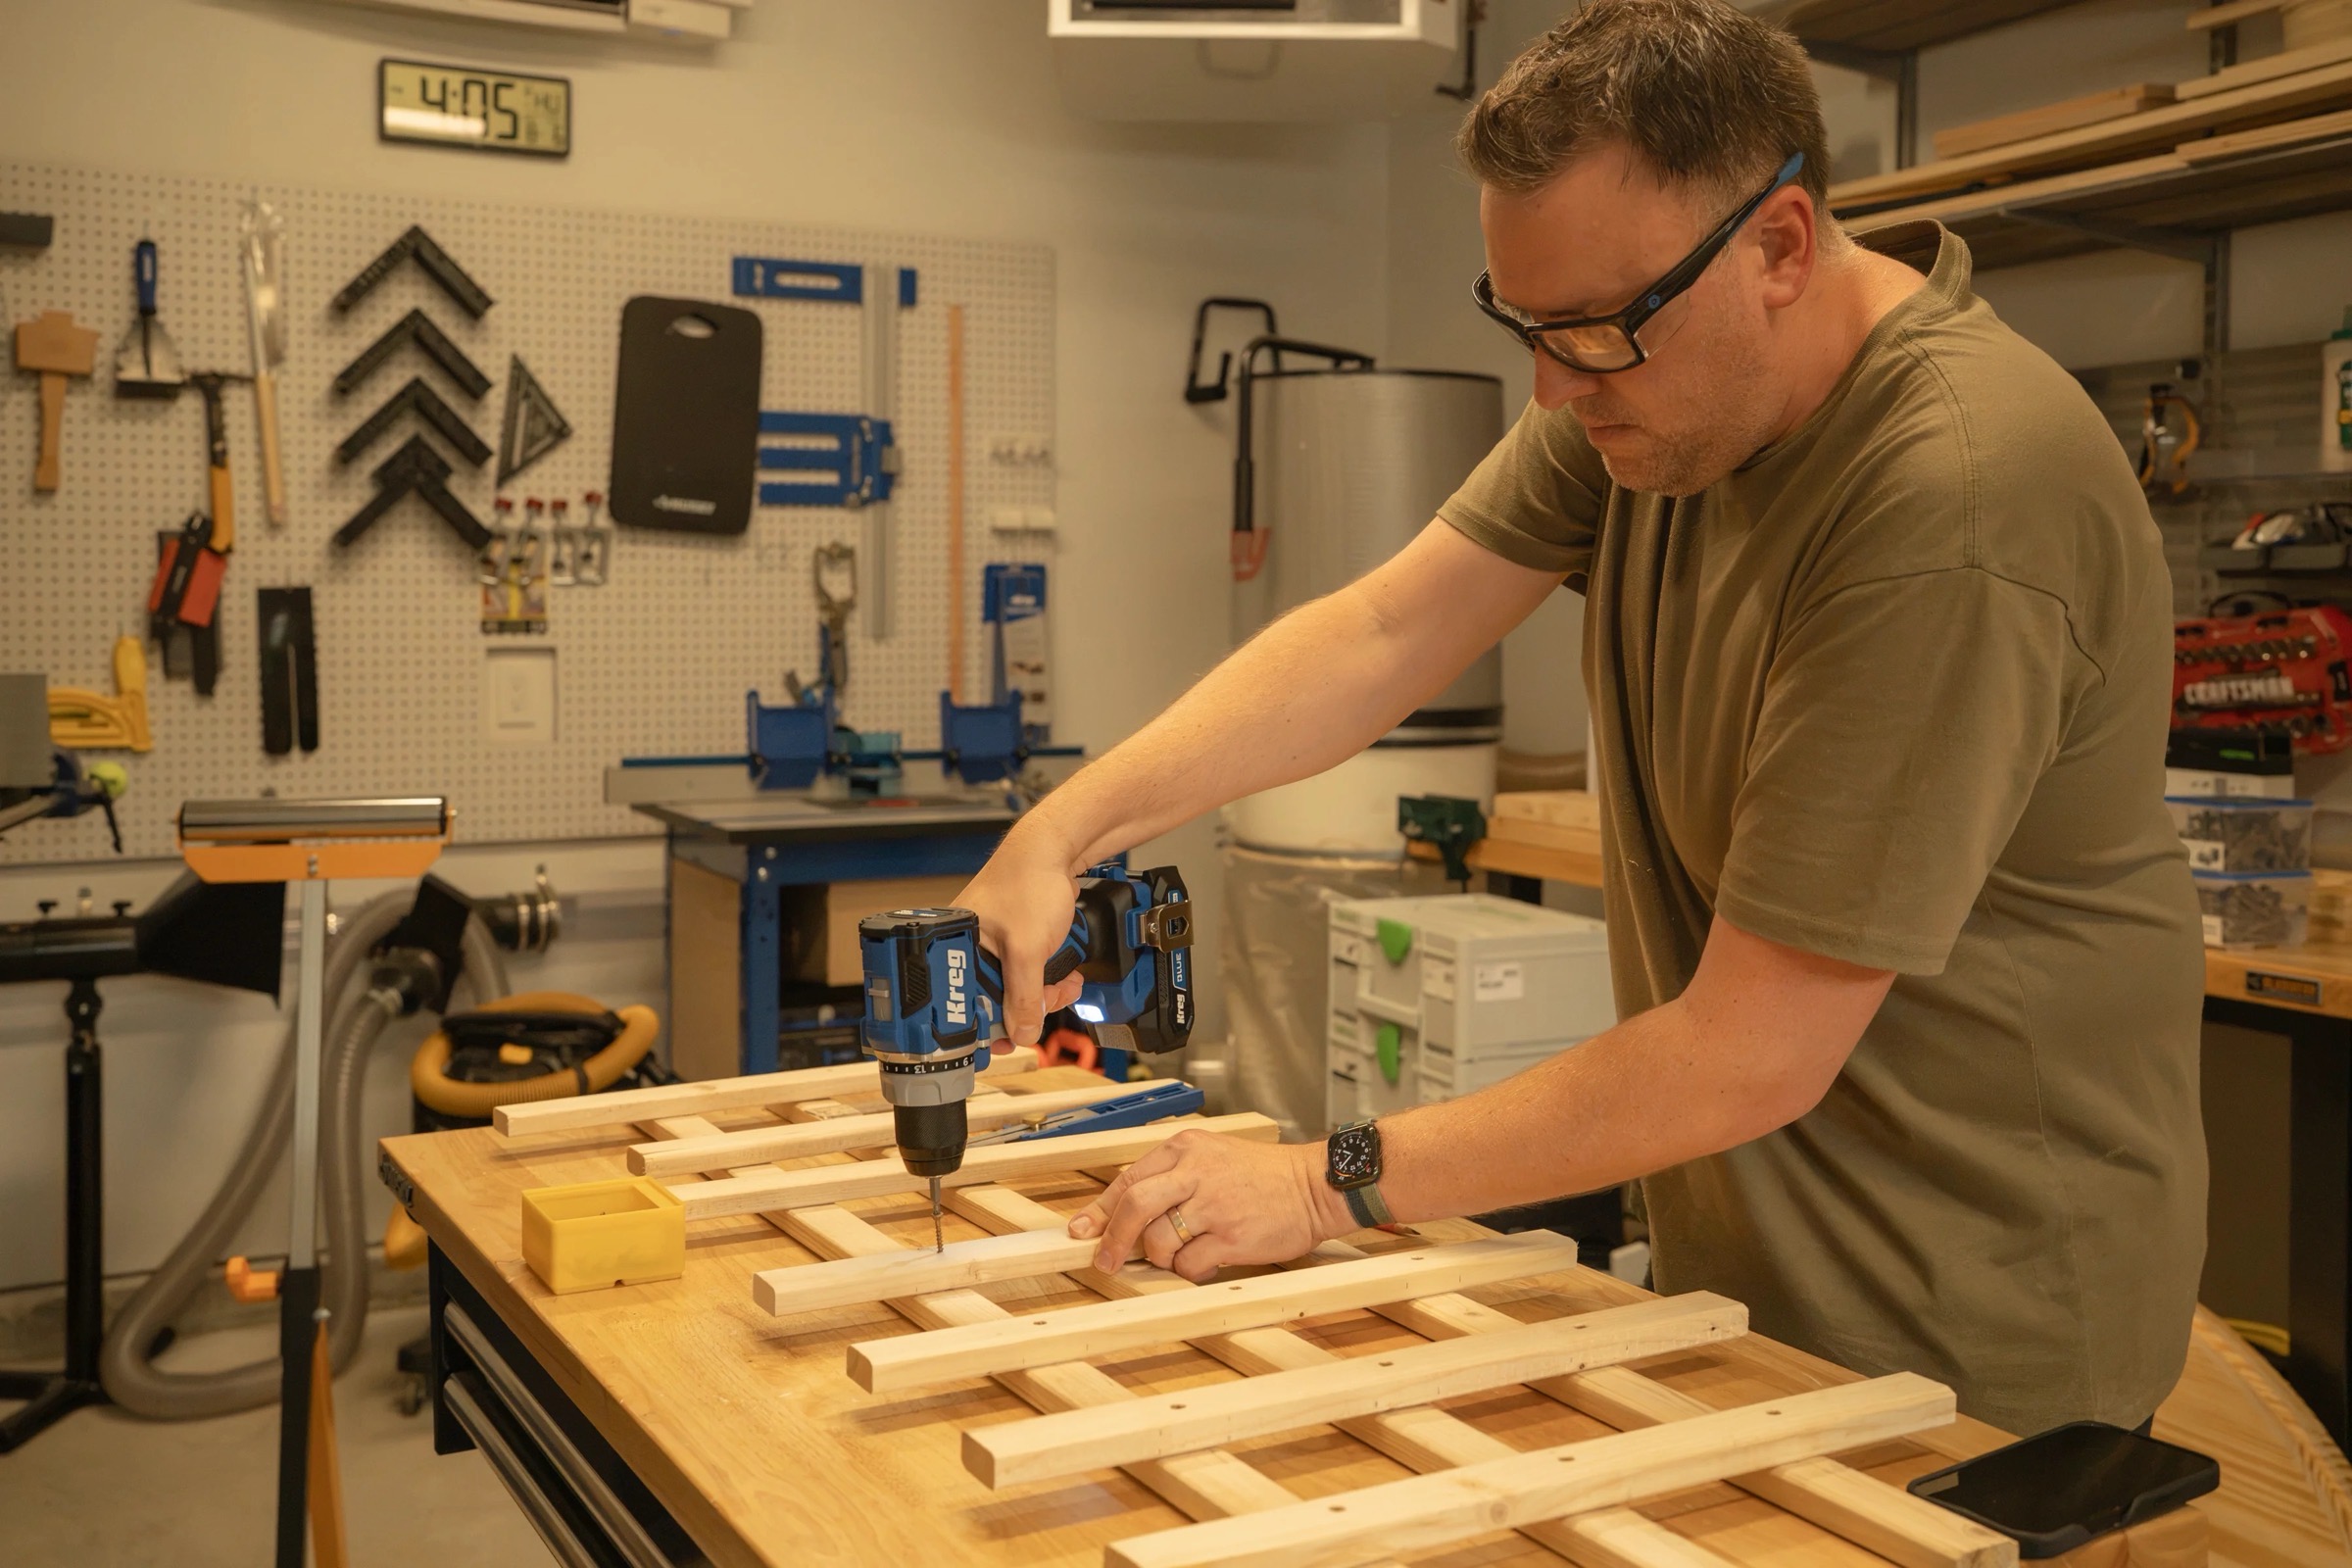
-
Heavy-Duty Pocket-Holes
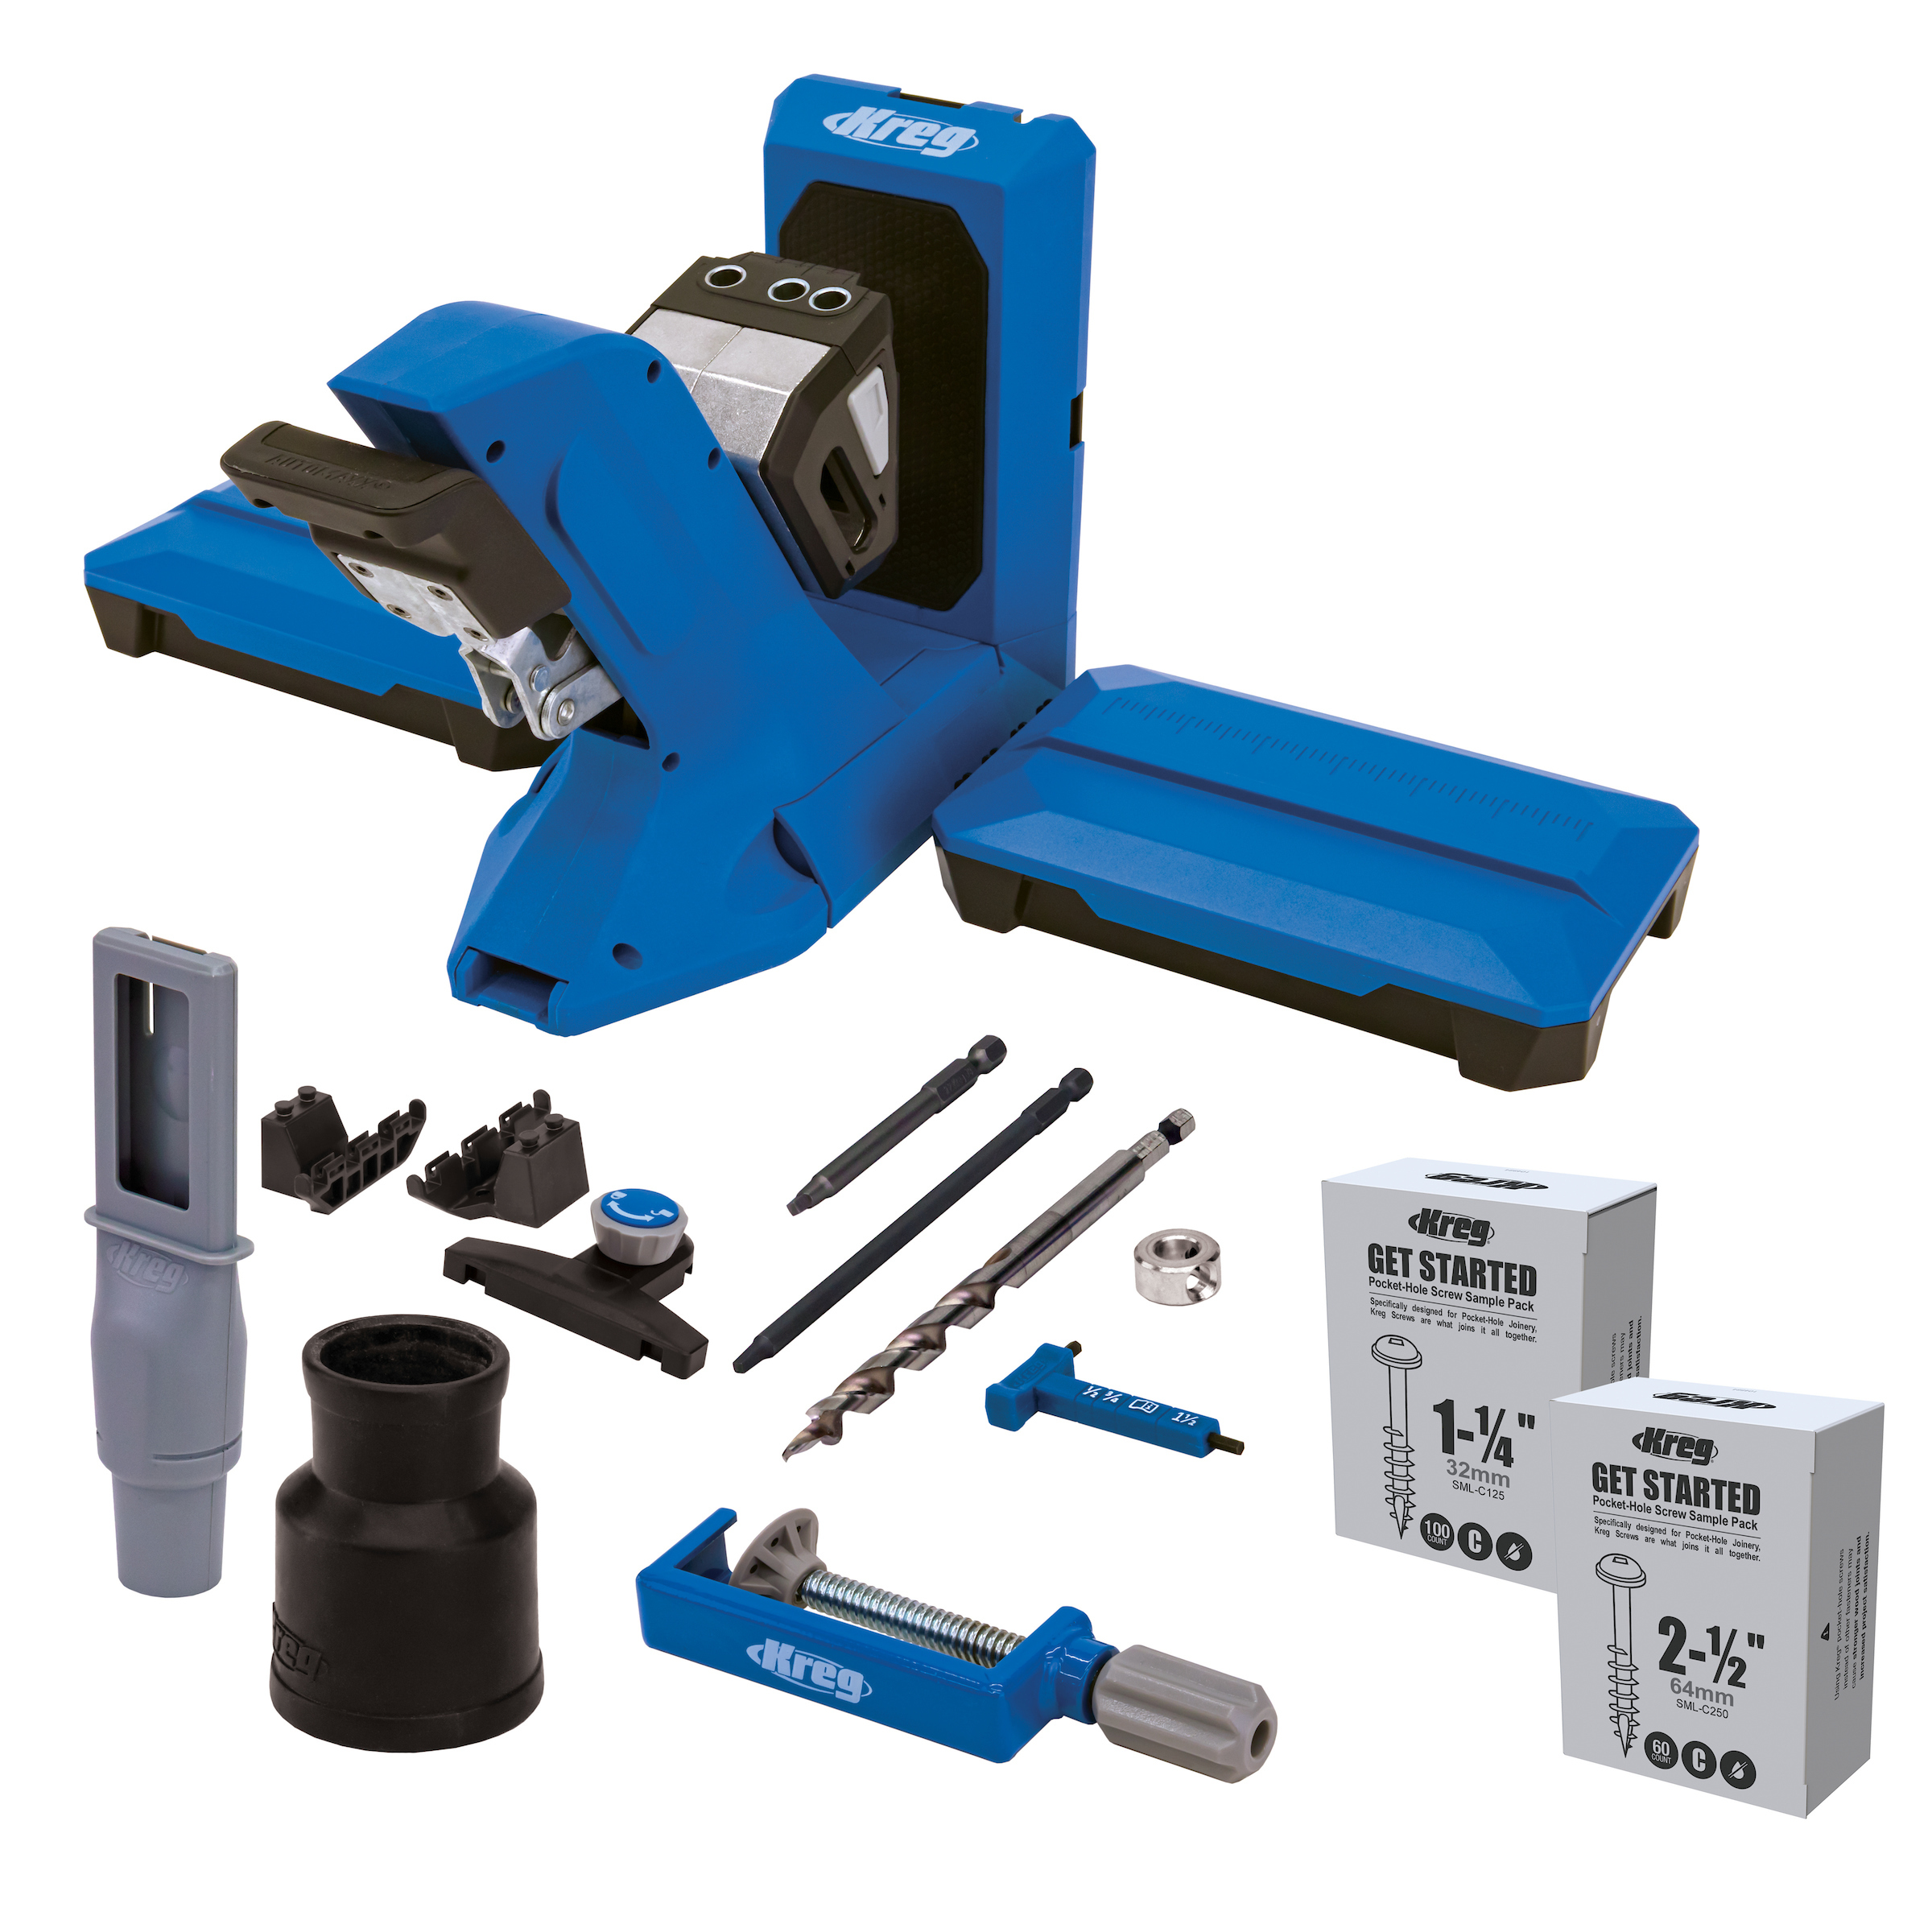
Switch to the Kreg Pocket-Hole Jig XL set for 1-1/2” material.
Drill pocket-holes into both flat ends of
- Both arches
- All trellis tops and bottoms
- All purlins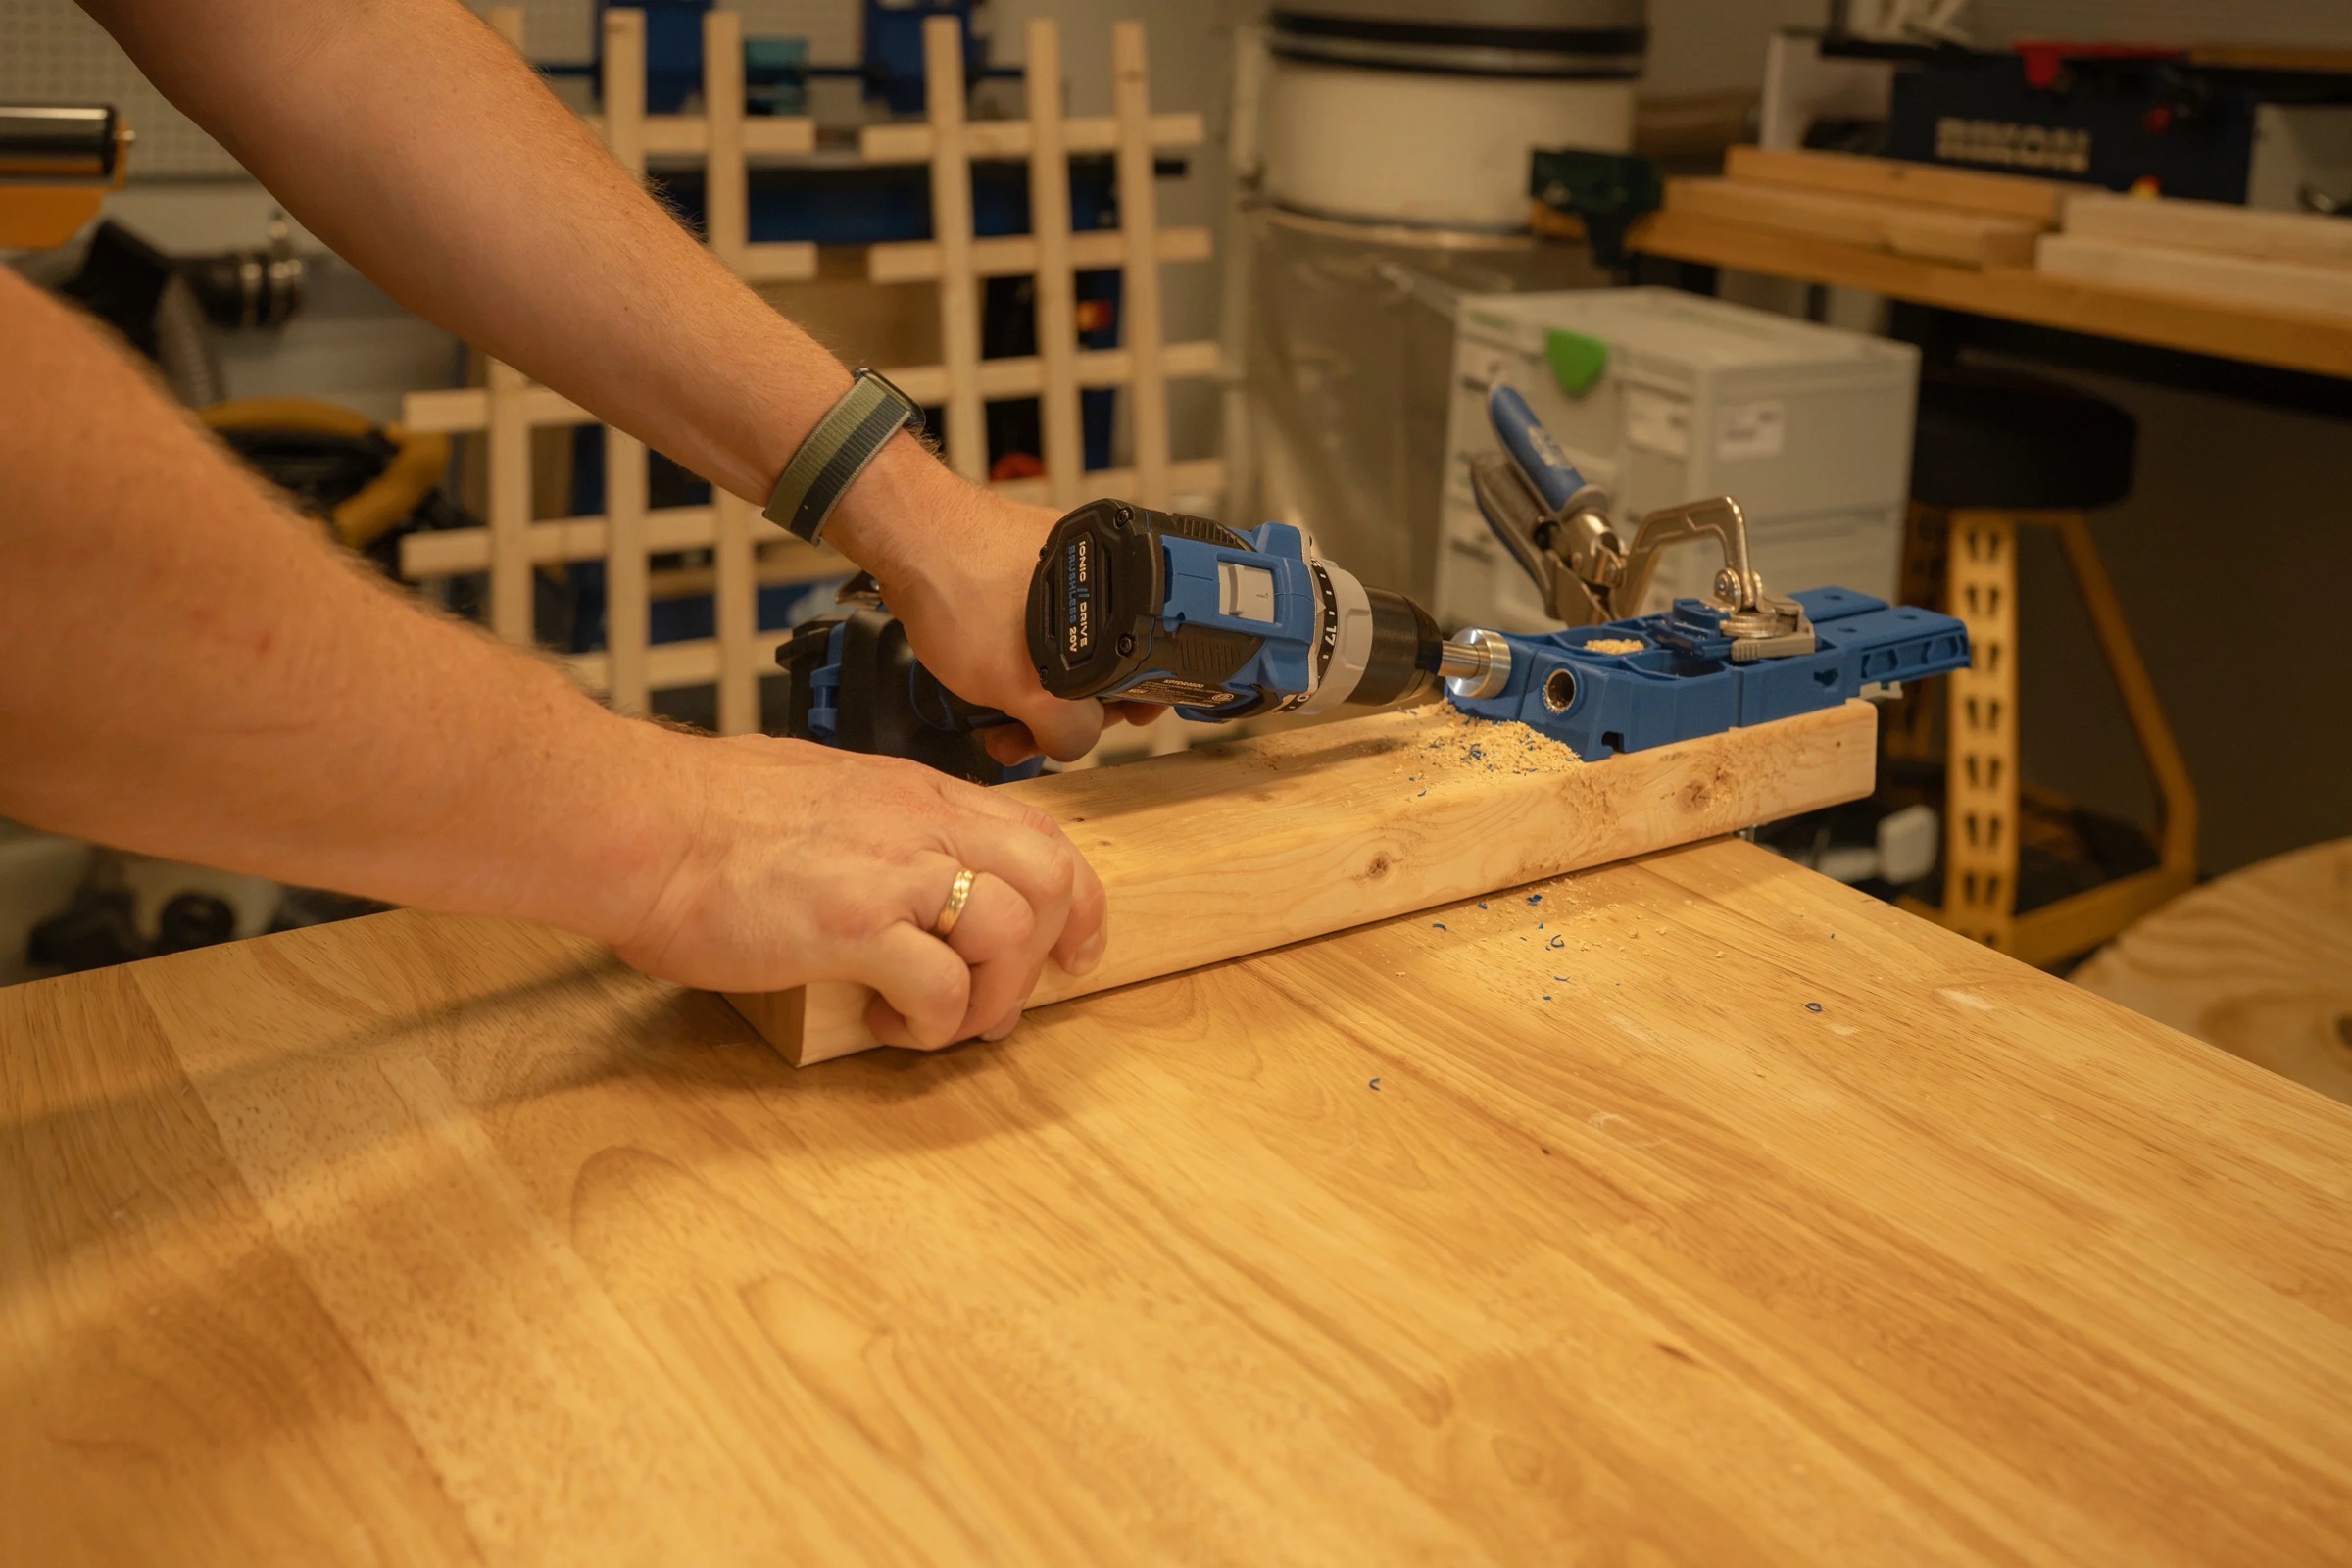
-
Attach Top/Bottom of Trellis
Join each lattice frame to its respective top and bottom 2" x 4" boards to form trellis pieces.
-
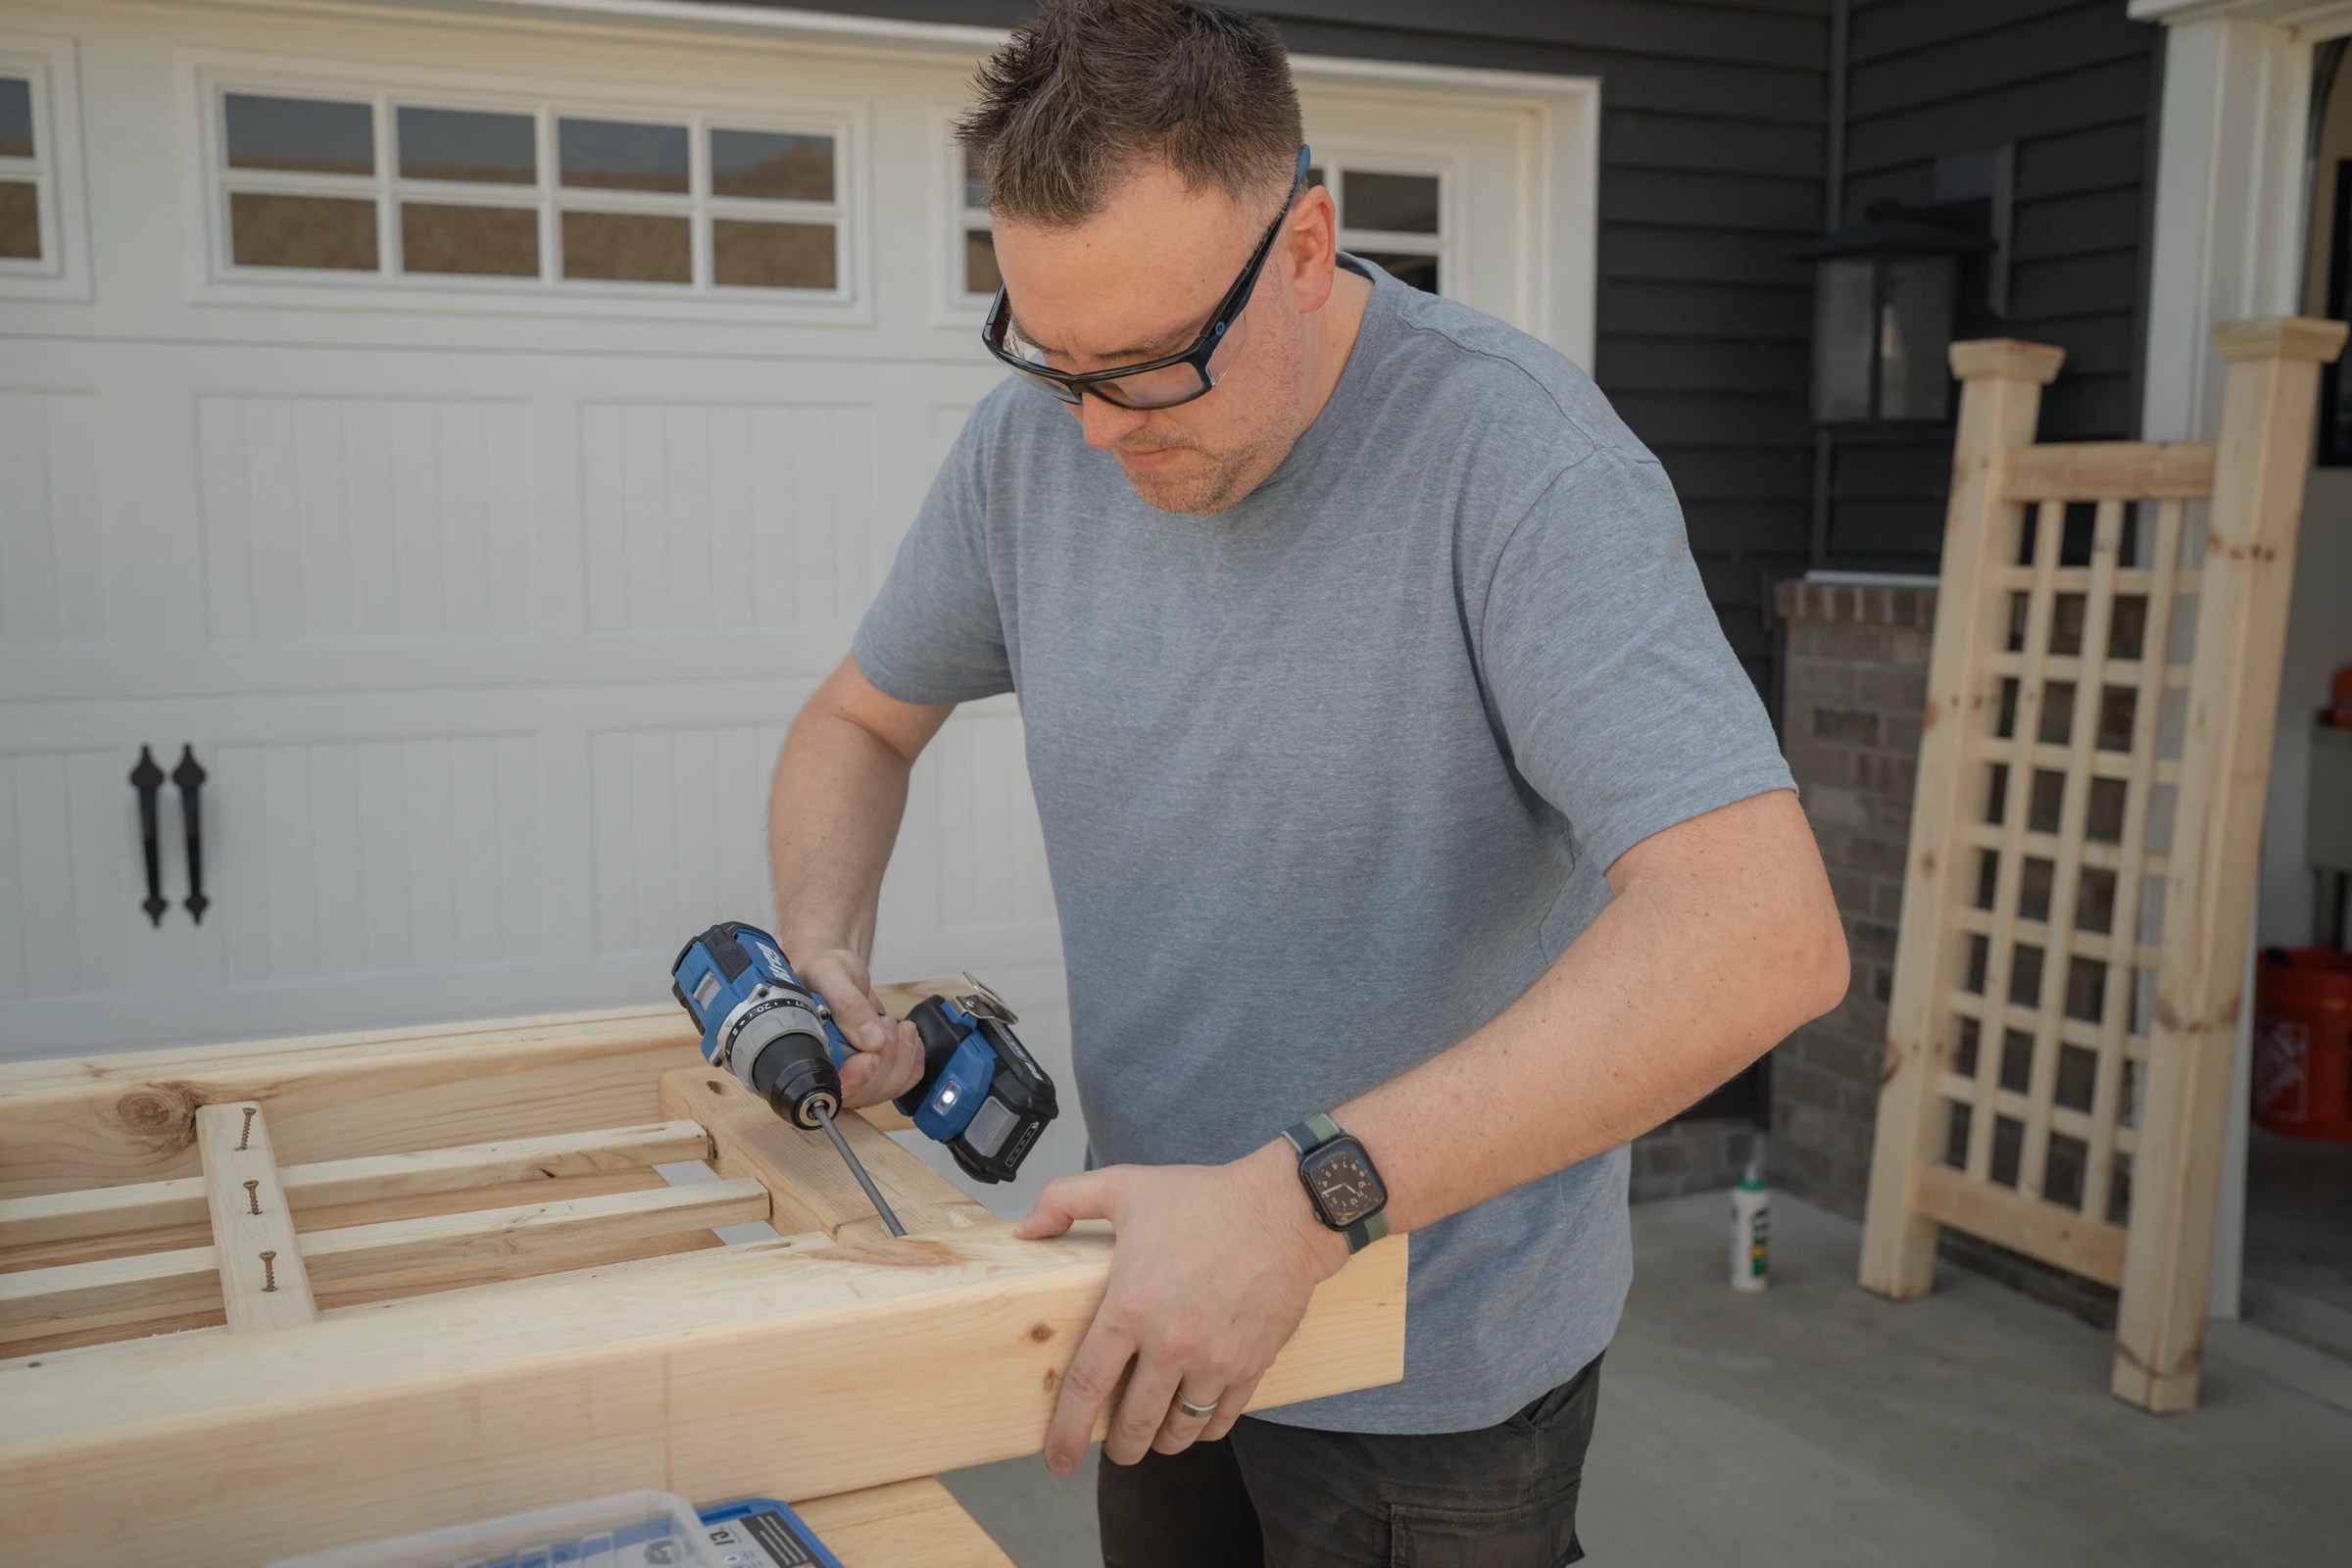
Attach Trellises to Posts
Fasten each assembled trellis panel between 2 posts using 2-1/2 inch Kreg Pocket-Hole XL screws—positioned 6 inches down from the top and 6 inches up from the bottom. Reminder: If anchoring into ground stakes, no bottom footing allowance is necessary.
Post Caps
Glue flat post caps onto the top of all 4 posts using exterior wood glue.
-
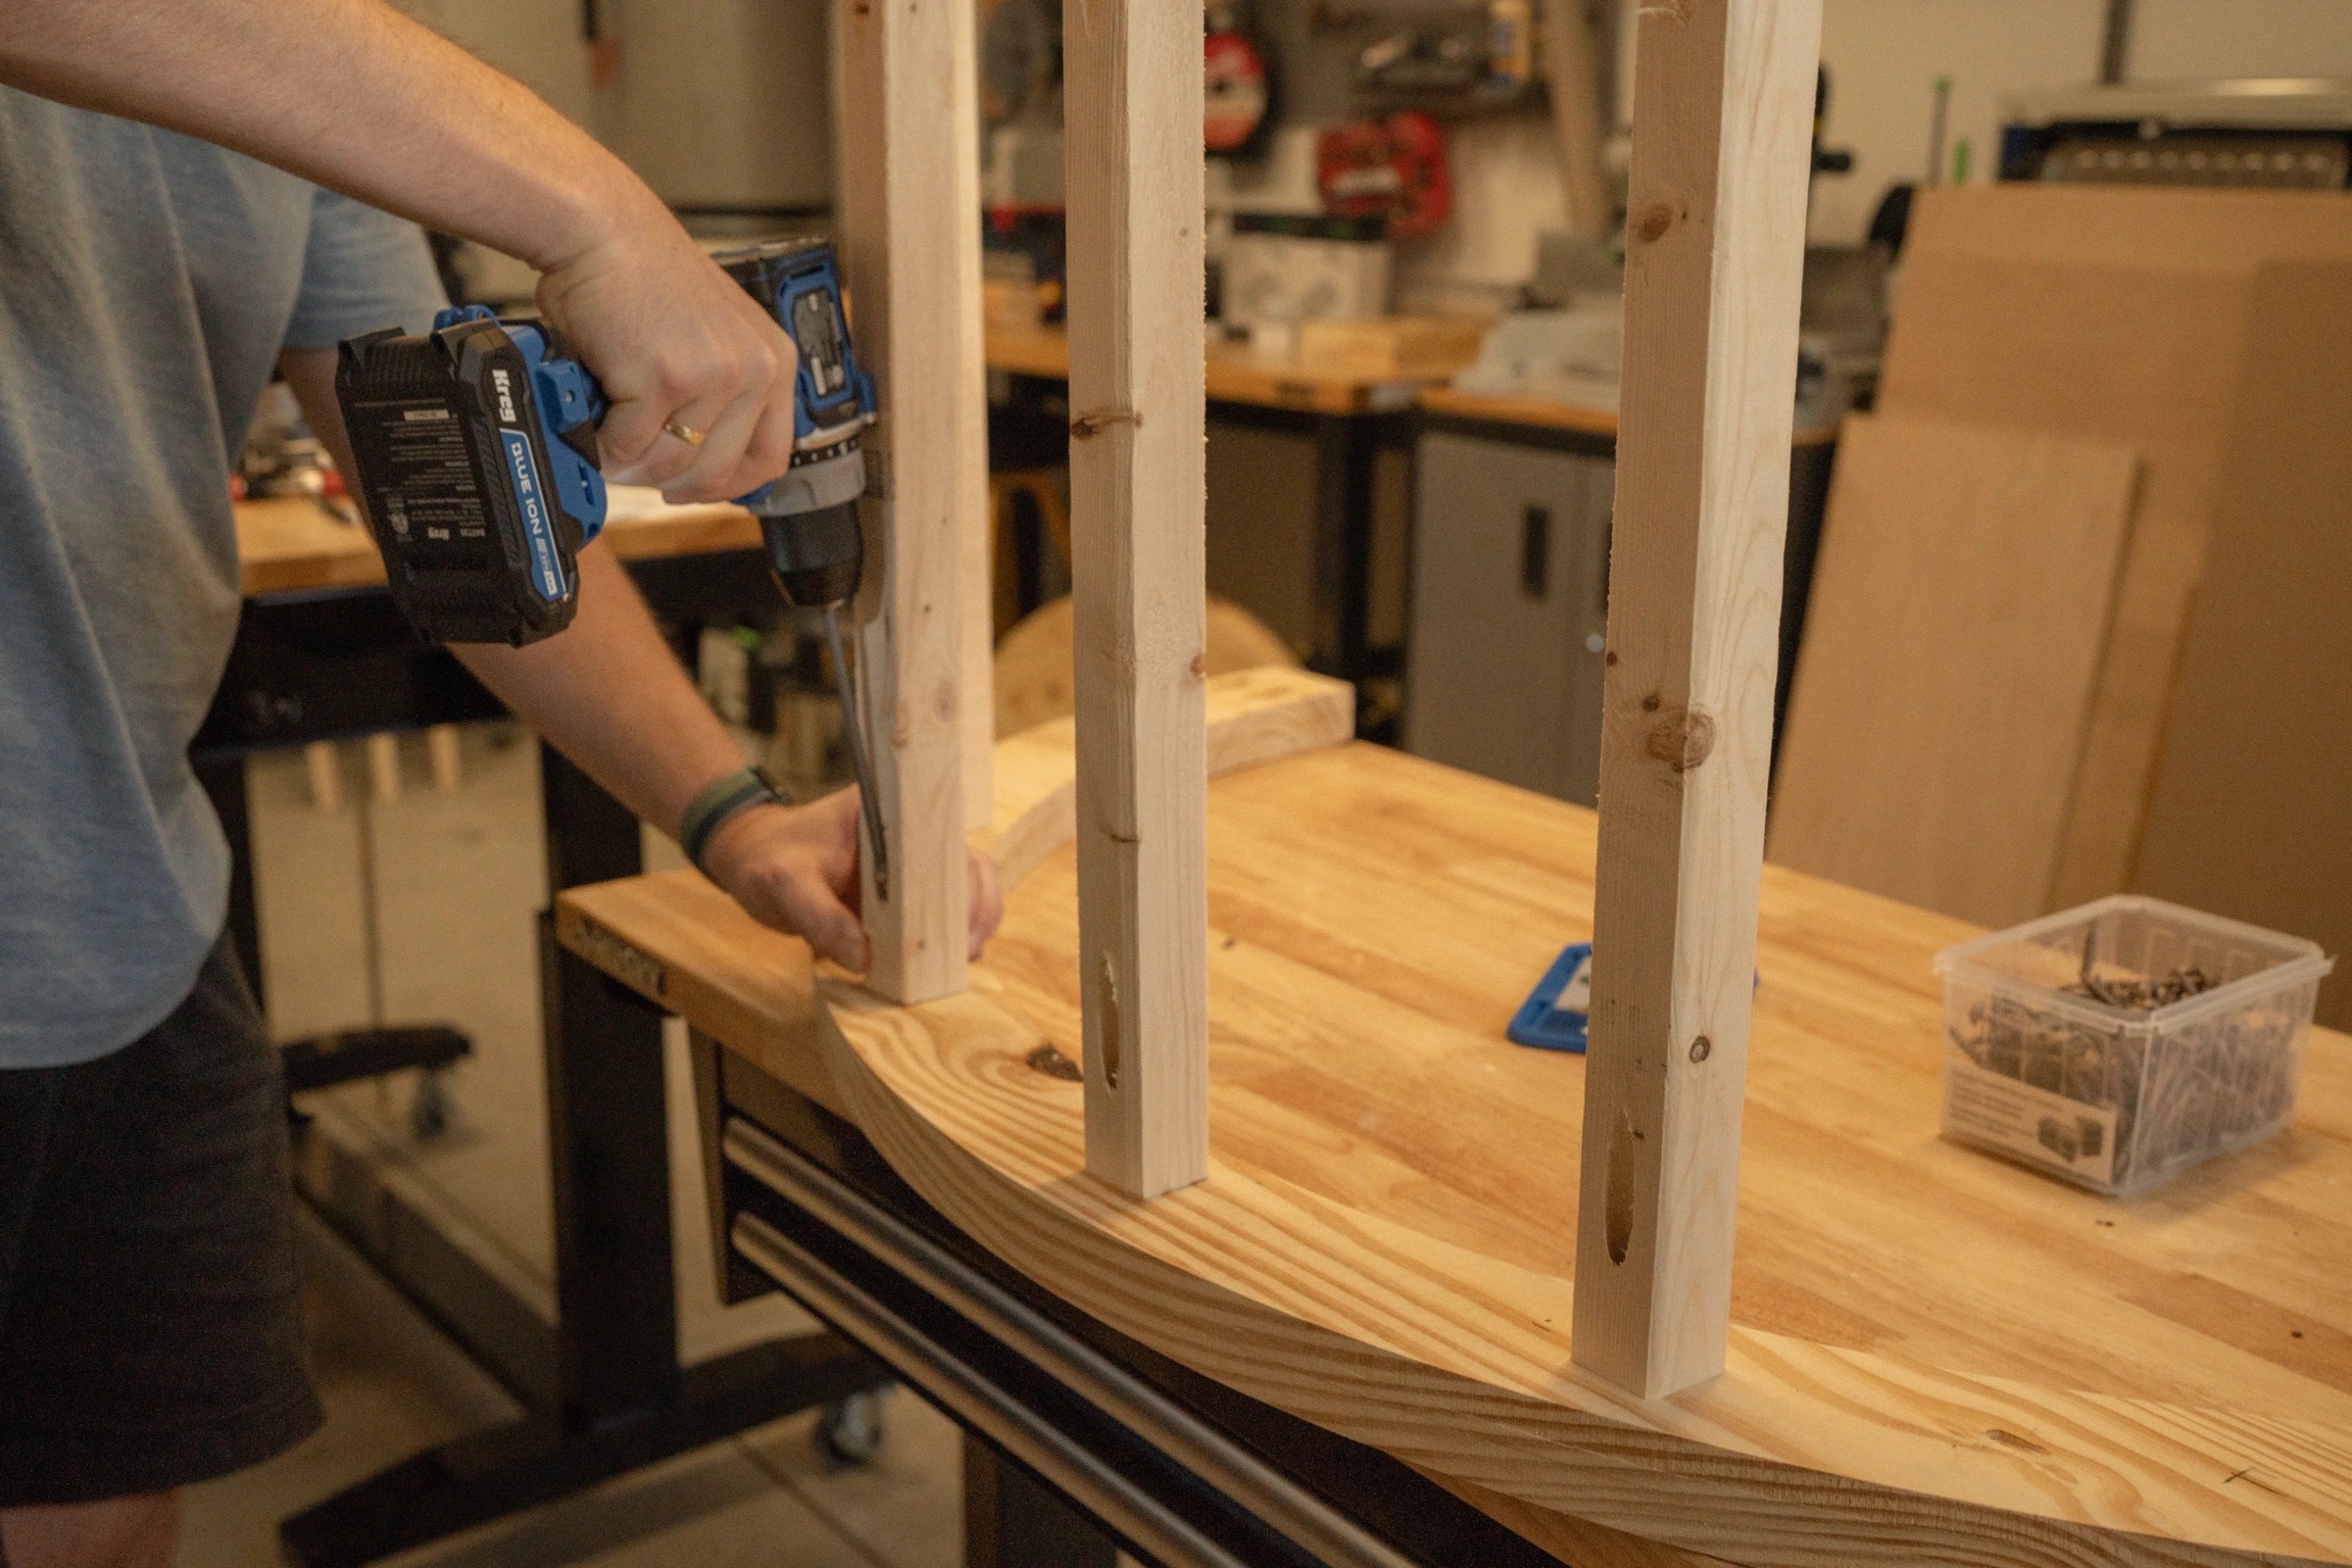
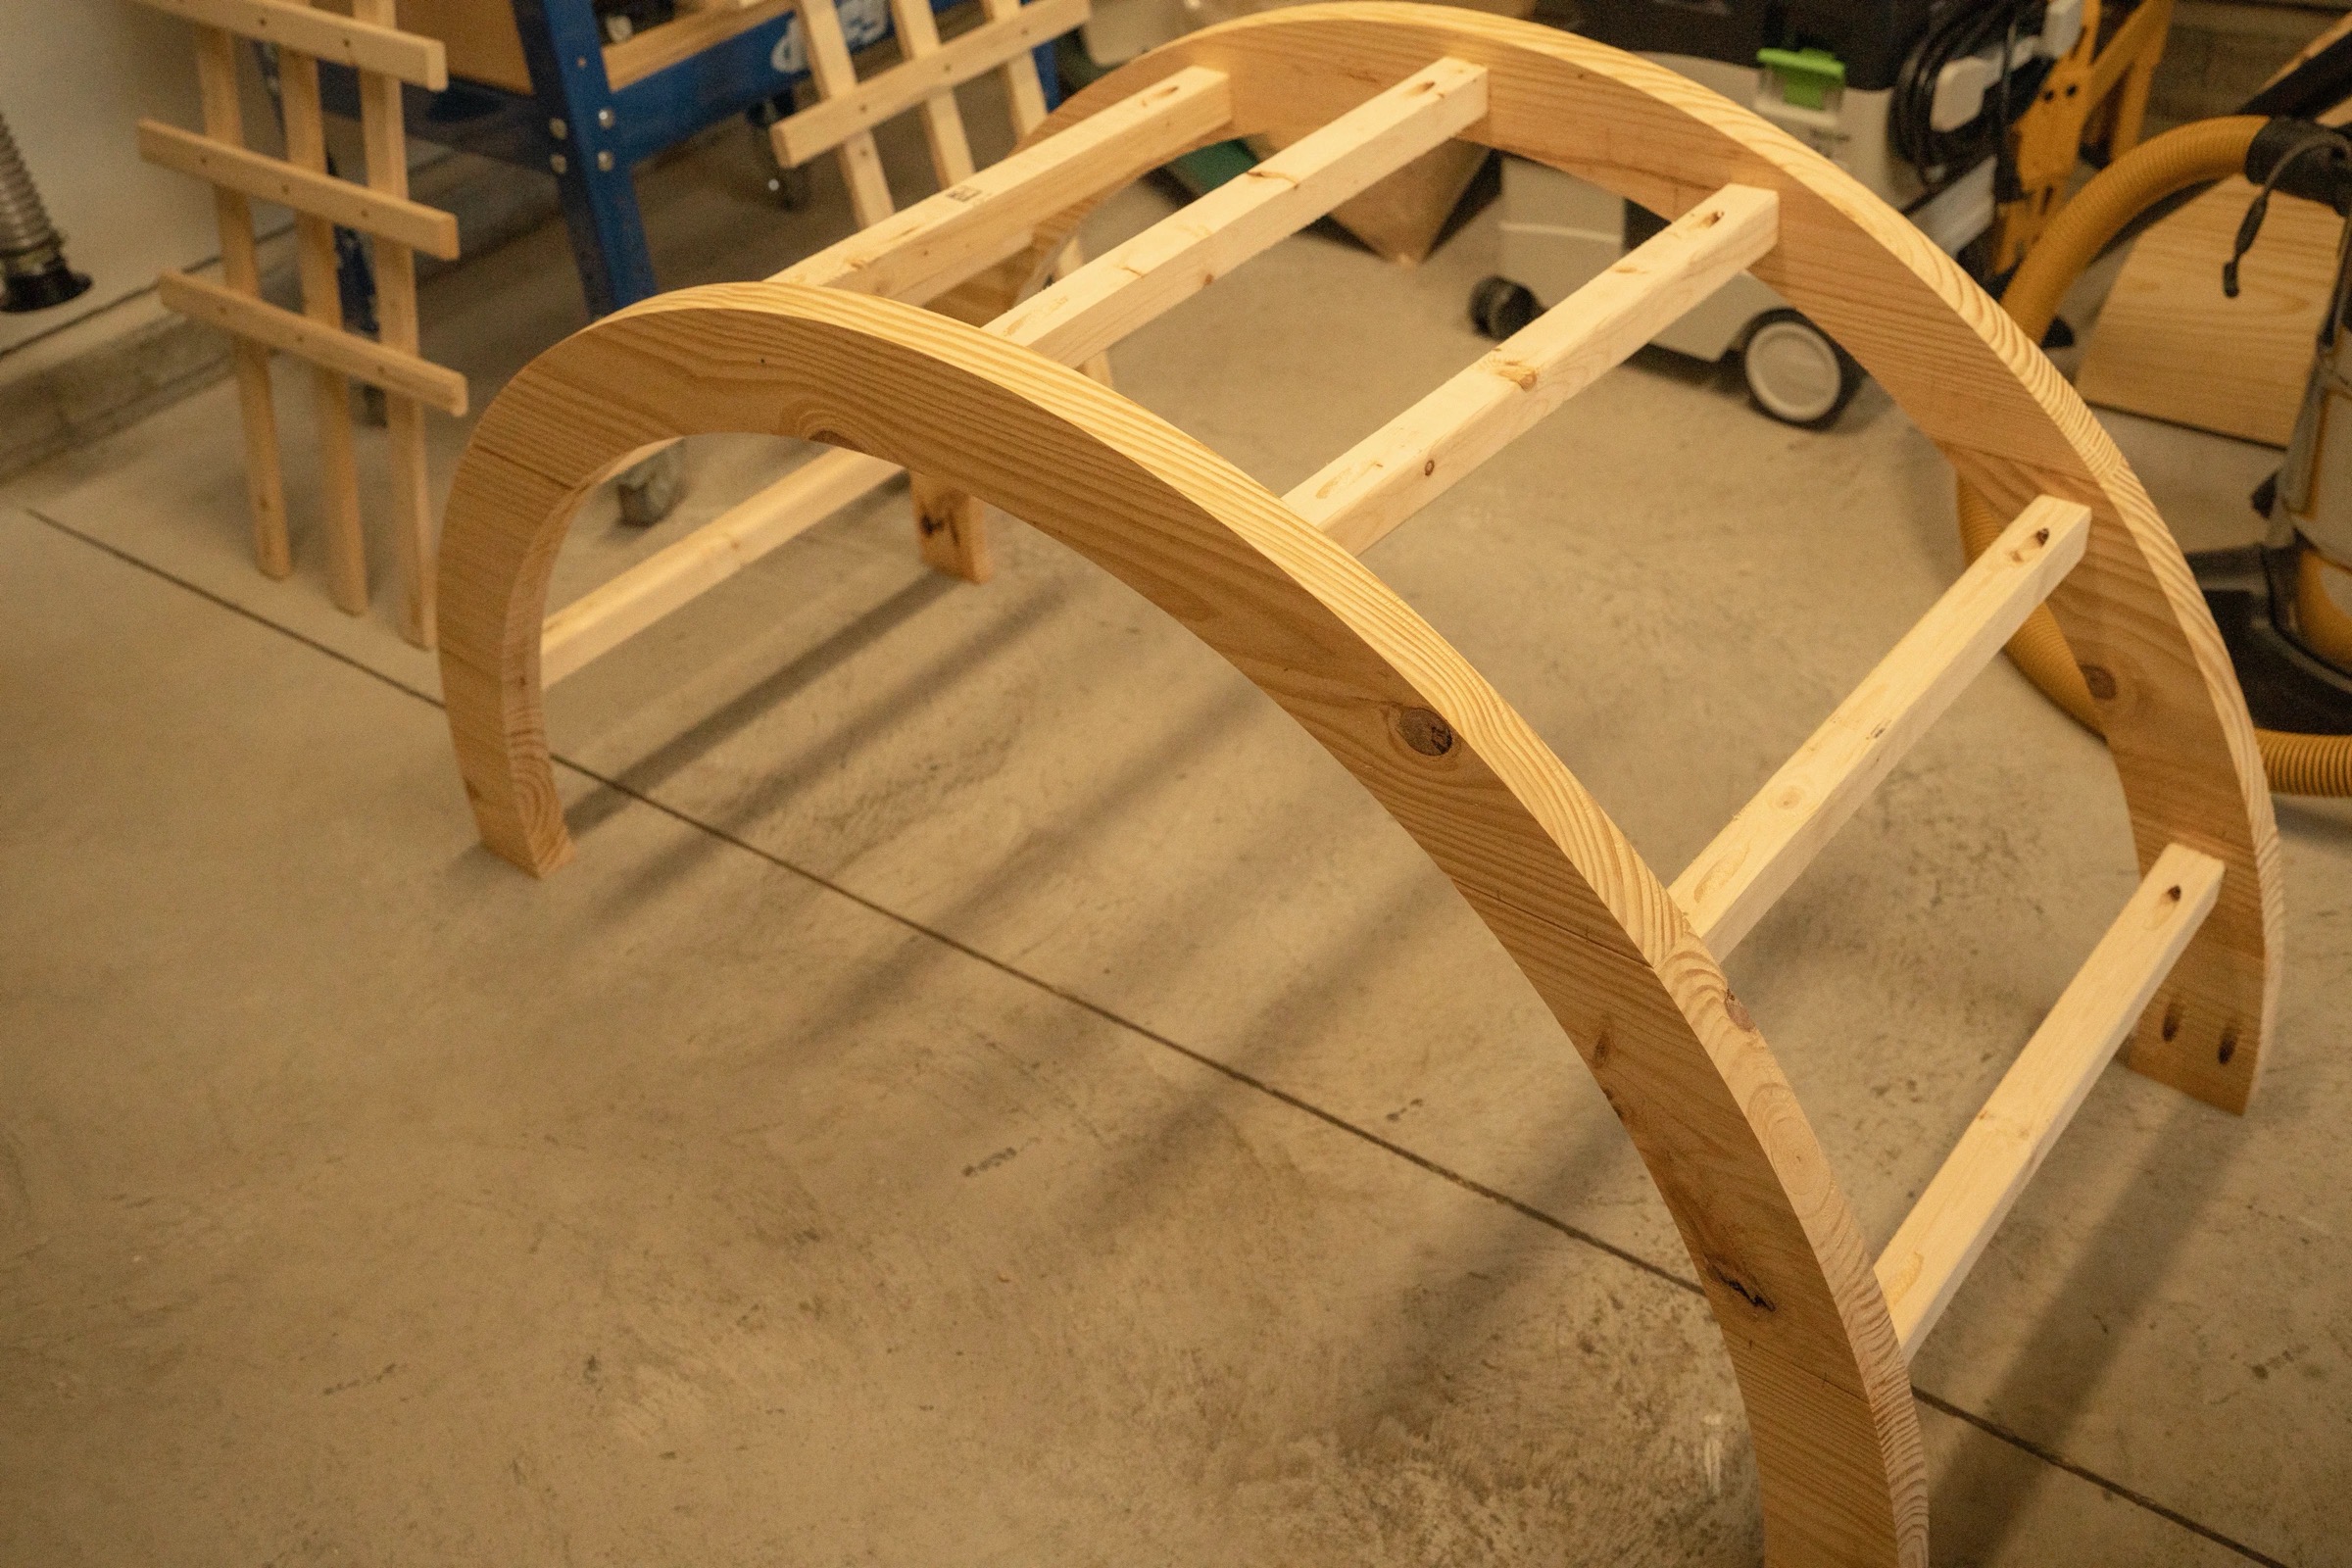
Purlin Sub-Assembly
Space purlins evenly across the top curve of one arch and attach using 2-1/2” Kreg Pocket-Hole XL screws.
-
Join Second Arch
Bring the second arch into position and attach it to the opposite end of the purlins to complete the top arch assembly.
-
Lift Into Position
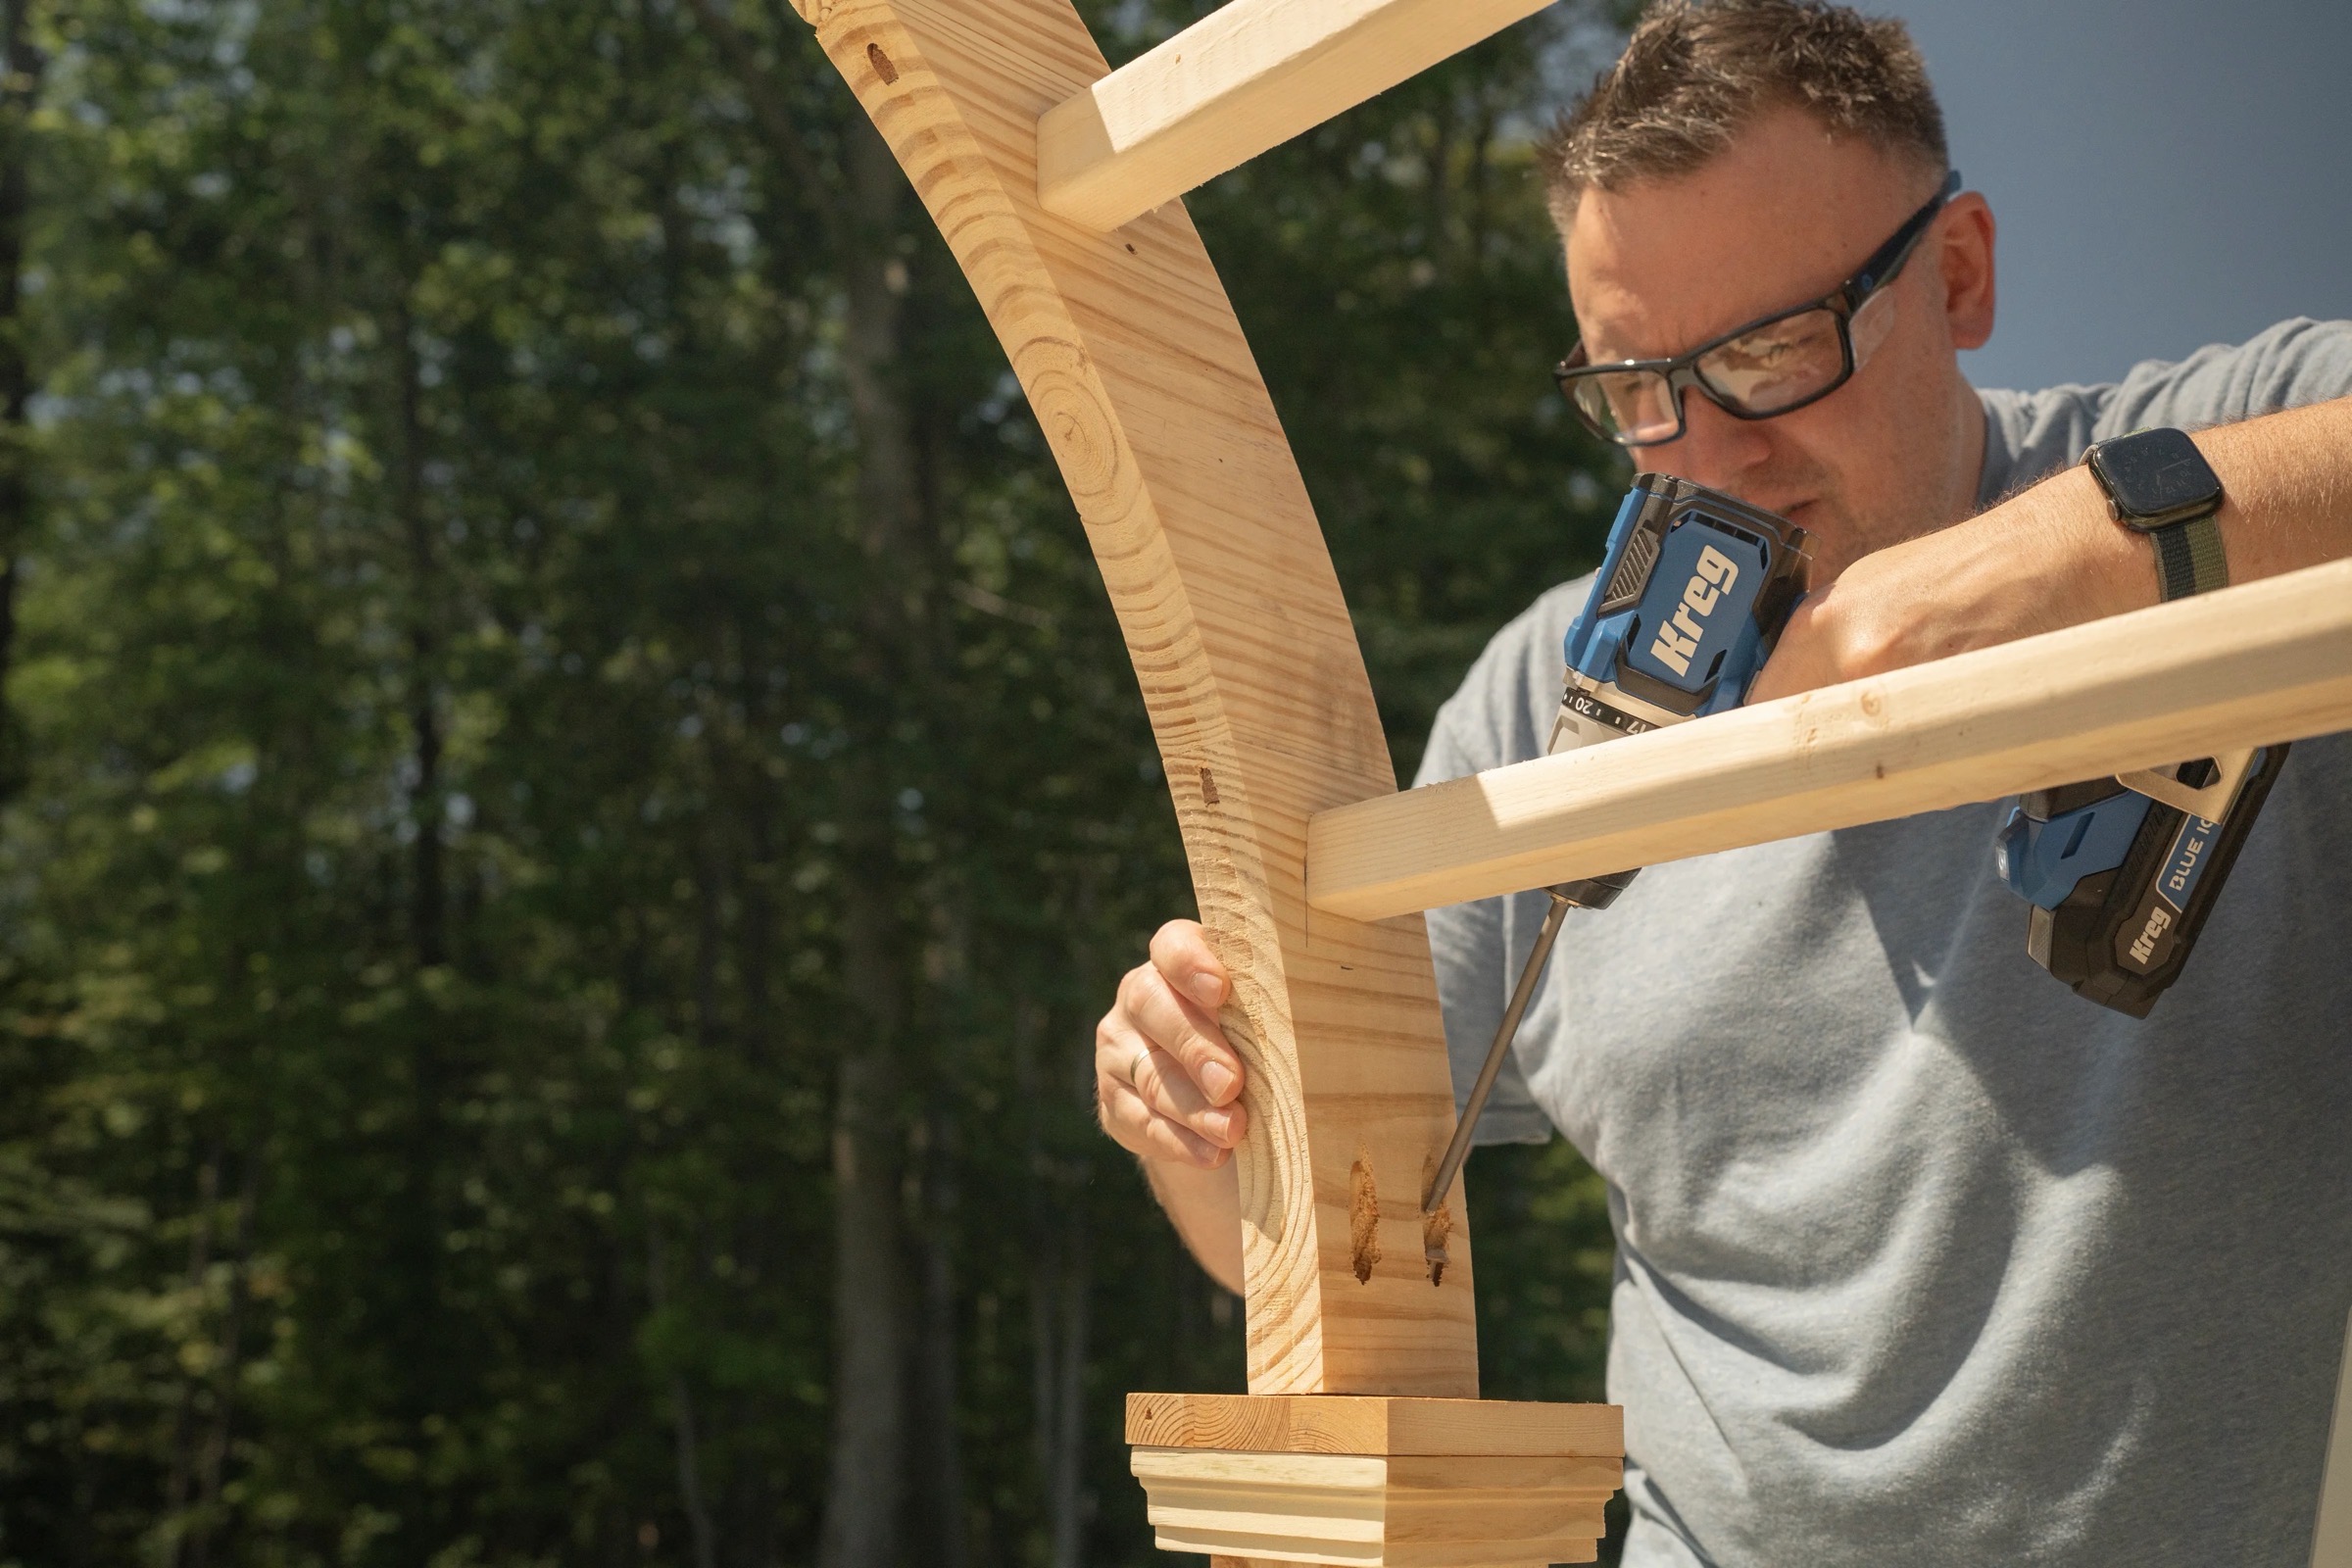
Caution, this is a two-person lift! Safely use a ladder (and helper) to raise the arch structure into place over the posts. The arched garden arbor stands roughly at 90” tall!
Secure Arches
Fasten the completed arch assembly to the side trellis posts using 4” exterior Kreg Pocket Hole screws.
-
Final Sanding
Give the entire arbor a final pass with 180- or 220-grit sandpaper to prepare it for your choice of paint, stain, or exterior sealer (we always apply two coats).
You're Done!
Take a step back and admire your new garden arbor!