

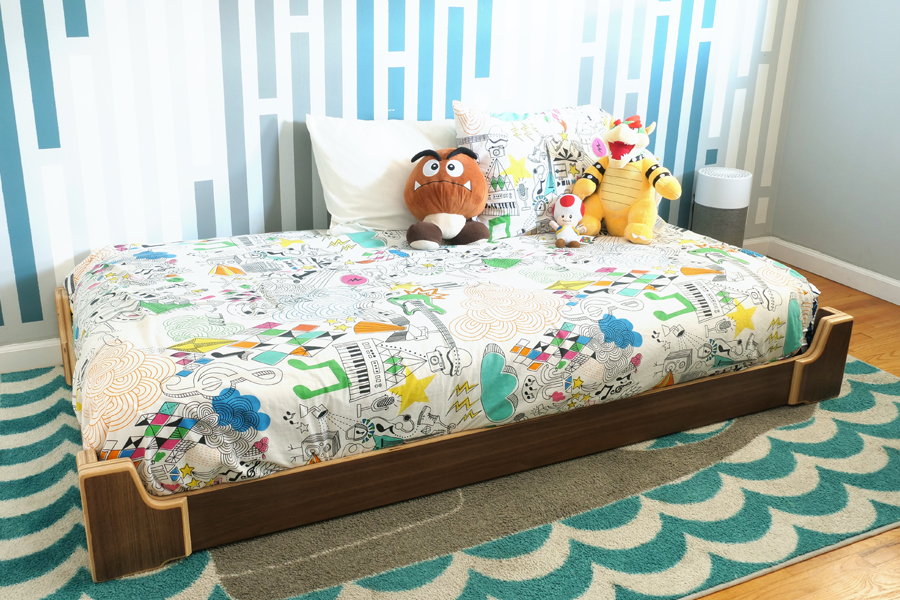
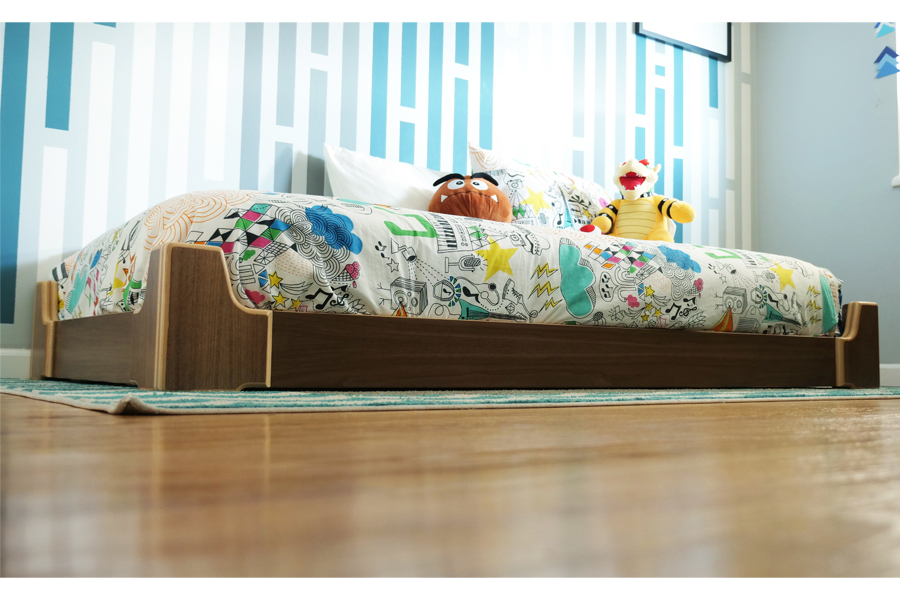


Our youngest was ready to transition from sleeping in a crib, to sleeping in a kid’s bed. We wanted something really low, but with the ability to adjust heights as he grows. So I designed and built this bed that can go from about 12” (mattress height) off the ground, up to about 18”..and will hopefully be useful for years to come.
Tools
Kreg Tools


Other Tools
-
Track Saw (Optional)

-
Table Saw (Optional)
-
Band Saw (Optional)
-
Doweling Jig (Optional)
-
Miter Saw (Optional)
Materials
Wood Products
- 2 Sheets plywood , 3/4" x4x8
Hardware & Supplies
- 1 Box of 1 1/4" pocket hole screws (see tools list)
- 1 Dowels (Optional)
Directions
-
Watch the Video
If you want to build this, I highly recommend watching the video. There are many nuanced techniques and "order of operation" approaches that are much easier to explain and understand by watching the video. Here is a link (also in Extras tab) - https://youtu.be/04jP6oDu2IE
-
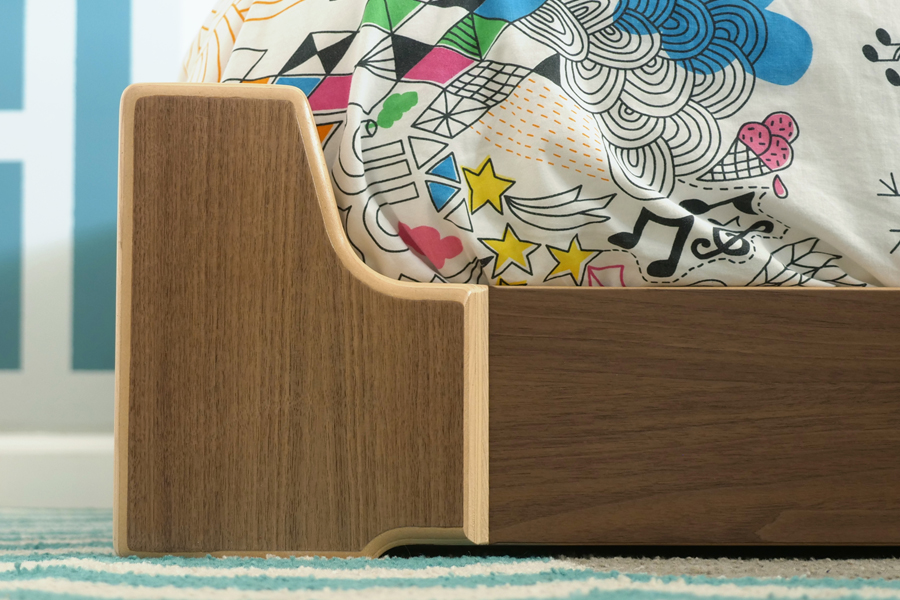
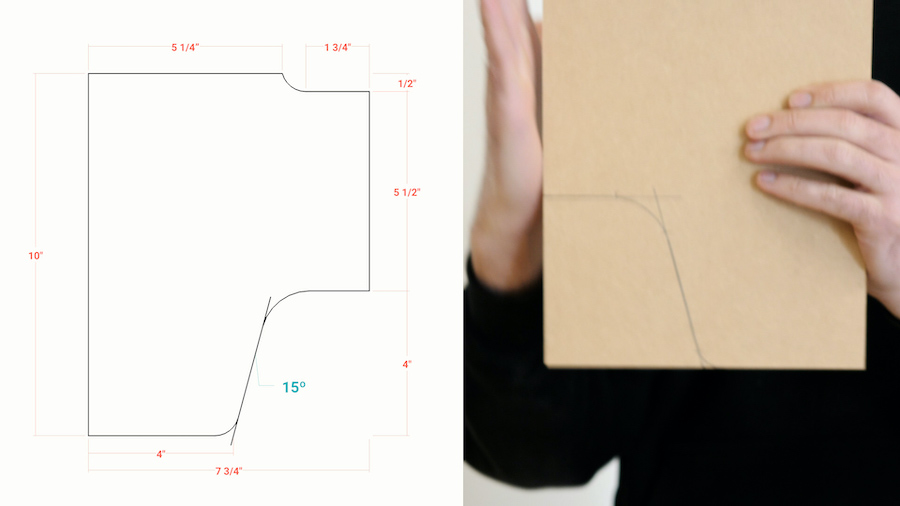
Create Template
Use a piece of 1/4” MDF to make a template. Cut a rectangle out at 10” x 7.75” and use the key dimensions in the image to create the shape.
I’ve also included a PDF in the “extras” section. You can also print that out, stick it to your MDF and create the shape that way. Then you don’t need to measure anything.
NOTE: If you do this, to verify that you’ve printed the PDF template correctly, make sure one of the dimensions matches what is listed in this image. I recommend the joint face at 5-1/2” or the total height at 10”
Alternatively. You could create the first shape on a piece of your 3/4 plywood, and then use that as the template. The advantage of the MDF is that it is easier to shape.
-
Cuts
Cut out a piece from your plywood approximately 52 x 16-1/2 to yield 16 “foot shapes”
-
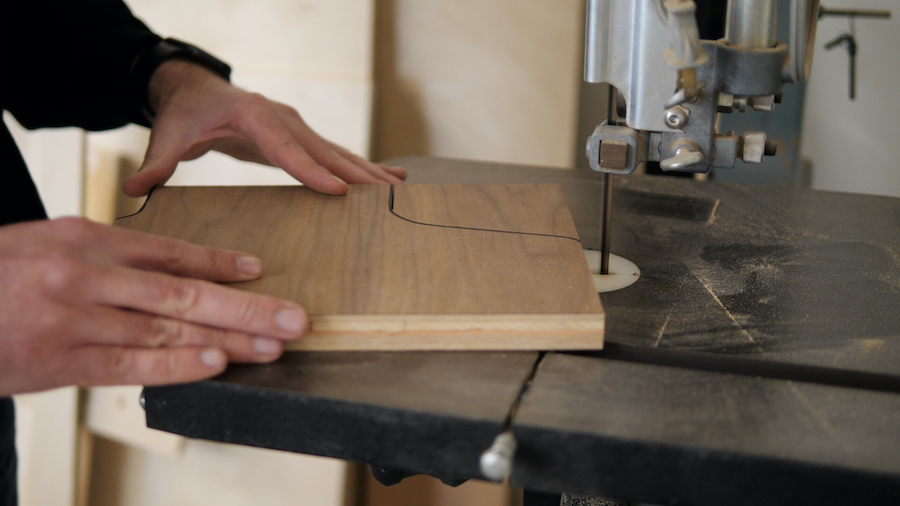
Cuts
Cut out 16 pieces that are 10 x 7-3/4. Use your template to mark out the shape and remove the bulk of the material on the bandsaw, or with a jig saw, making sure to stay on the outside of the line.
-
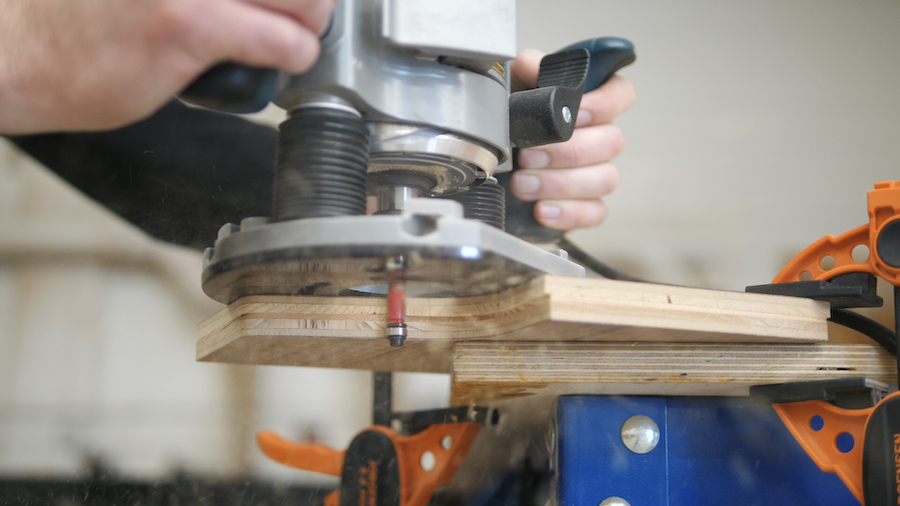
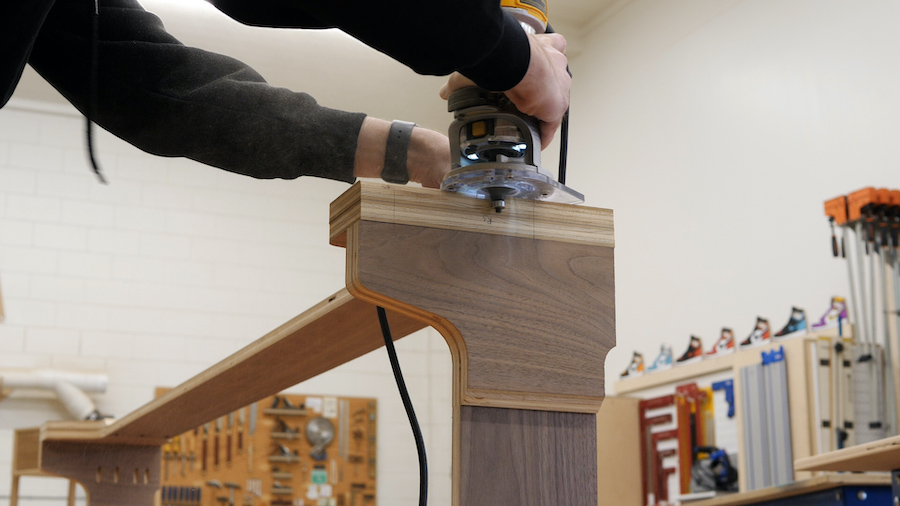
Router
Use your template, along with a router and a templating bit, and then a flush trim bit to route out the final shape on all 16 foot pieces.
-
Cuts
Cut a 1-1/2 inch strip off of the outside edge (long straight edge) of half of your foot pieces (8 of the pieces)
-
Glue
Glue your 16 foot pieces into 8 pairs. (Wider pieces become pairs, and narrower pieces become pairs. No wider pieces should be glued to narrower pieces)
-
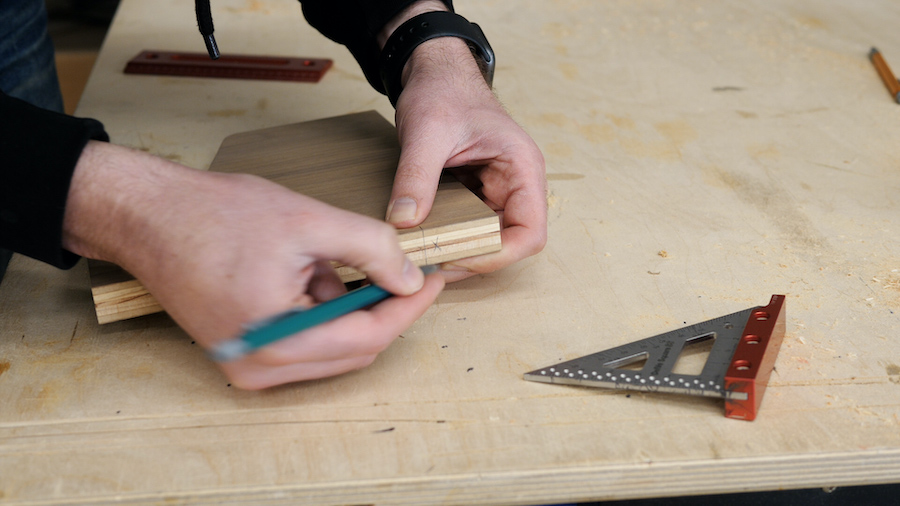
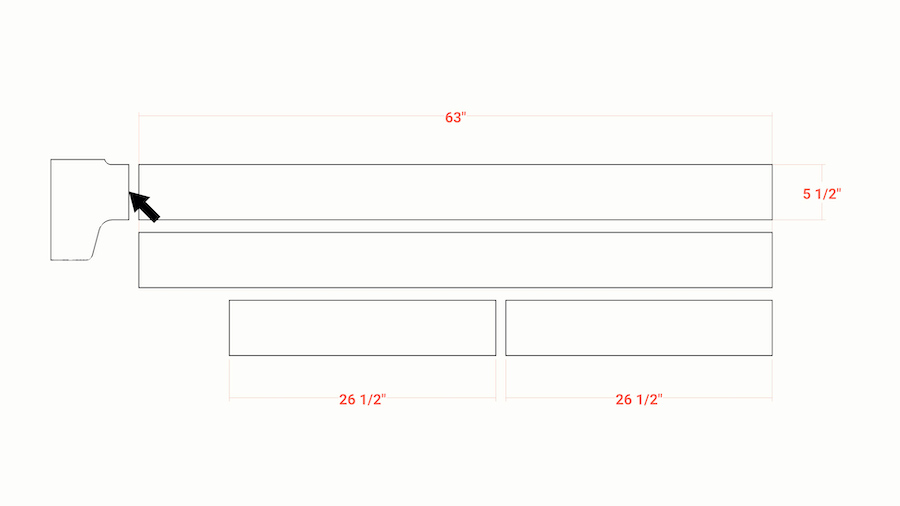
Cuts
Cut out 2 pieces that are 63” x 5-1/2” and 2 pieces that are 26-1/2” x 5-1/2”.
NOTE: the 5-1/2 dimension should match up to the joint face of your foot pieces. If this is slightly off from 5-1/2, try your best to match whatever that dimension is.Tip:
OPTIONAL - cut a 45º bevel on the outside joint face of each of your foot assemblies. This cut should be slightly less than half way deep into the assembly.
-
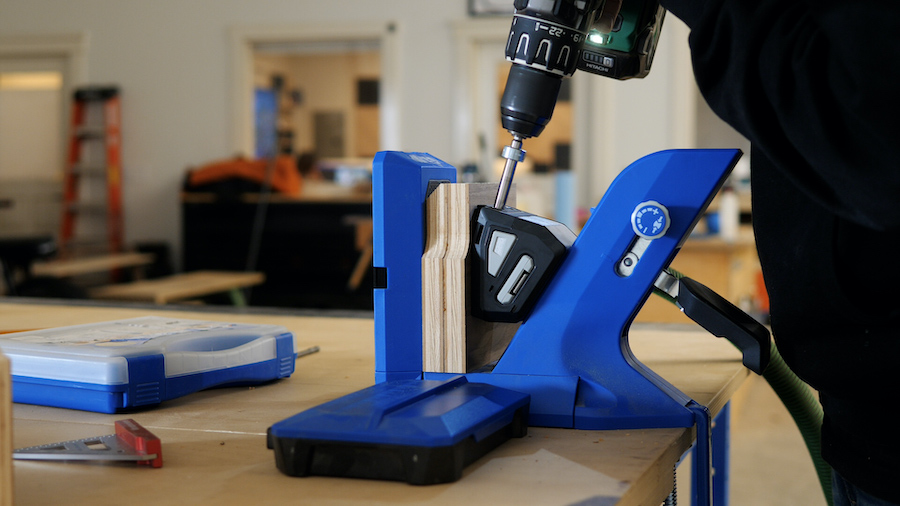
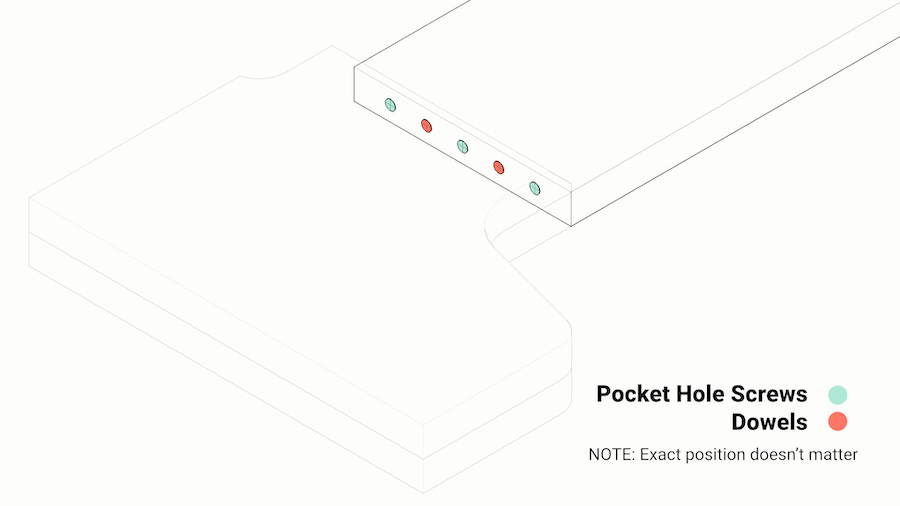
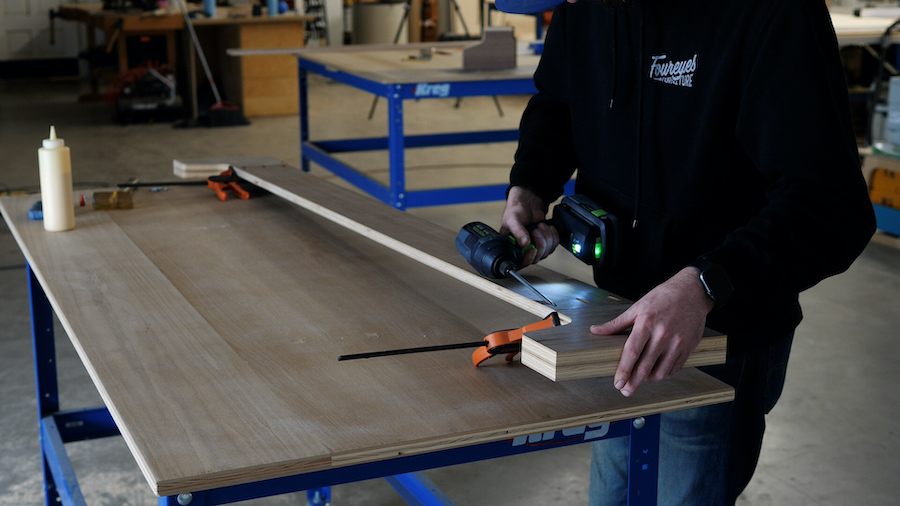
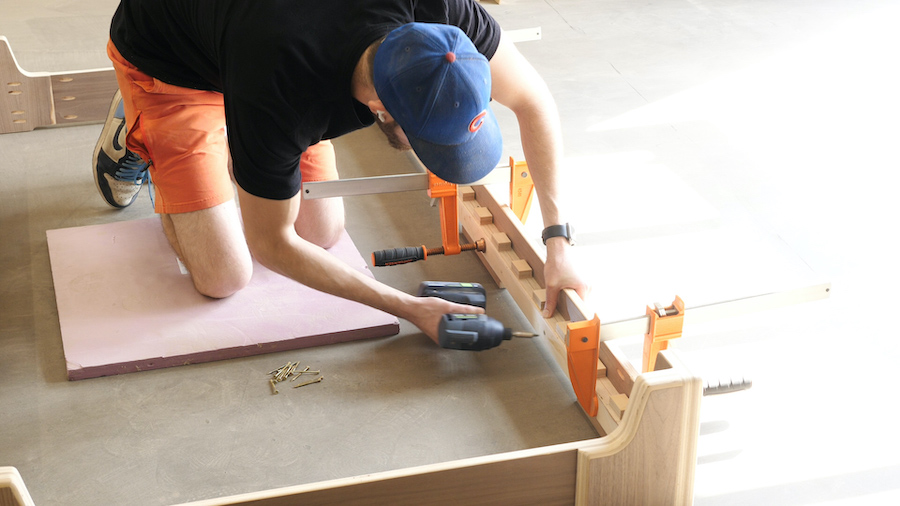
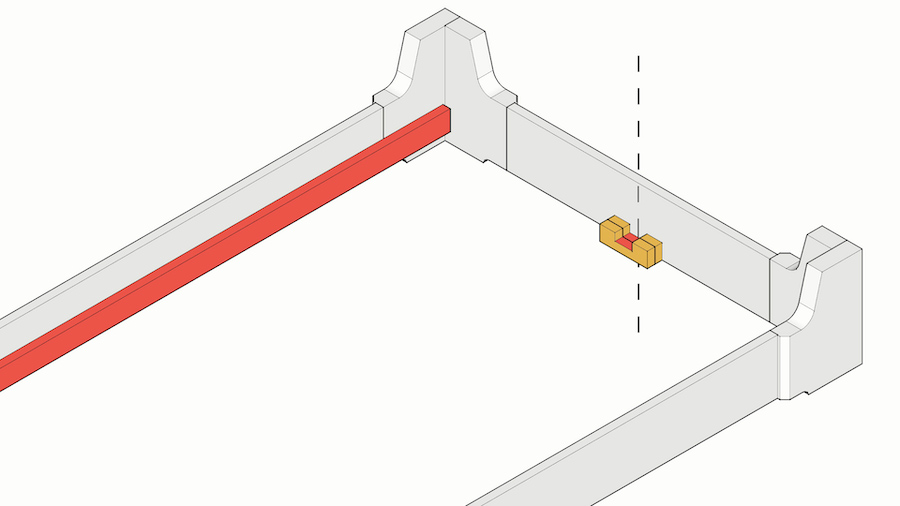
Create pocket holes
Drill Dowels and Pocket holes into each end of each of your rail pieces (all 4 pieces that are 5-1/2” wide.
Drill Pocket holes into the inside faces of all 4 of your narrower “foot assemblies”
-
Make Subassemblies
Use pocket holes to make 4 subassemblies. The longer rails attach to the wider feet. The shorter rails attach to the narrower feet.
-
Assemble
Assemble all 4 subassemblies into 1 bed frame.
-
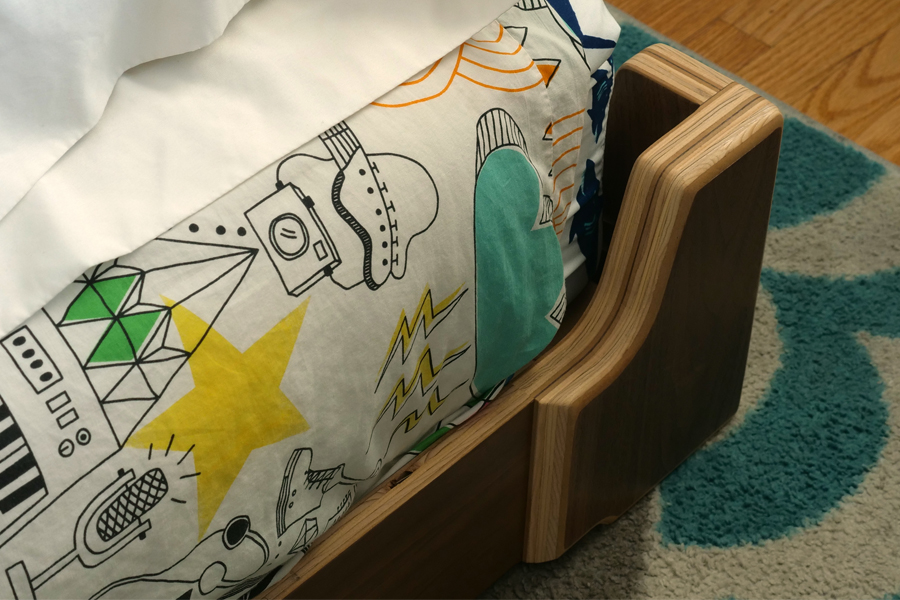
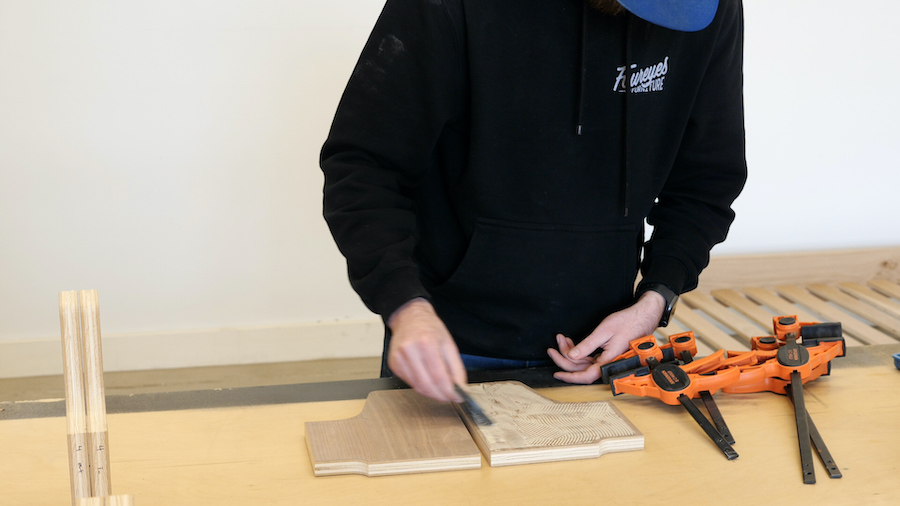
Sand
Round-over and Sand all sharp edges. I used a 1/4” round-over on the outside vertical edges, and 1/8” everywhere else.
-
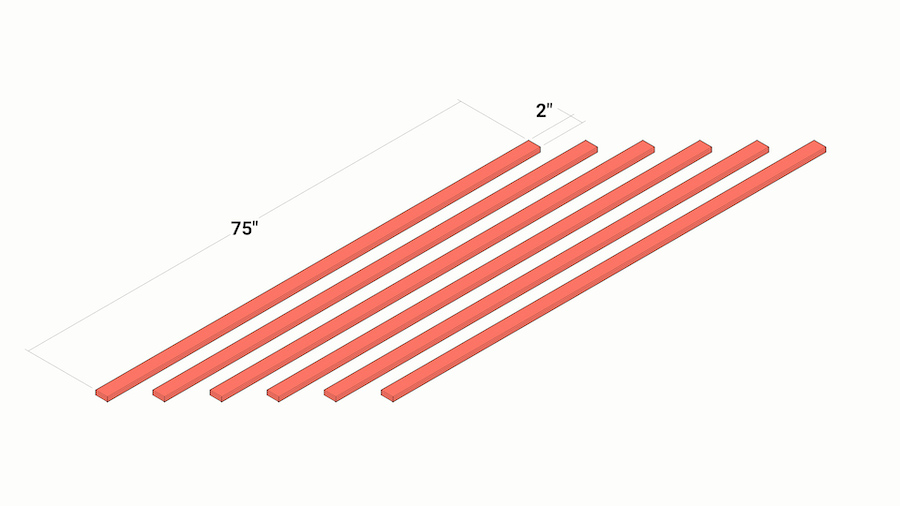
Cuts
Cut out six pieces that are 75” x 2” x 3/4”, and laminate them into 3 pairs that are 75” x 2” x 1-1/2”
-
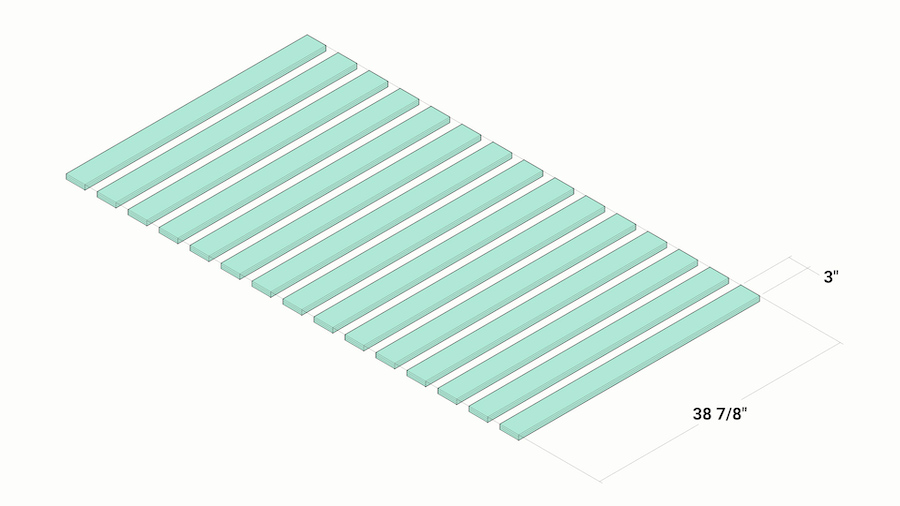
Cuts
Cut out fifteen pieces that are 38-7/8” x 3” x 3/4” (these are your slats)
Tip:
OPTIONAL round-over all of the pieces cut out in steps 13 and 14.
-
Cuts
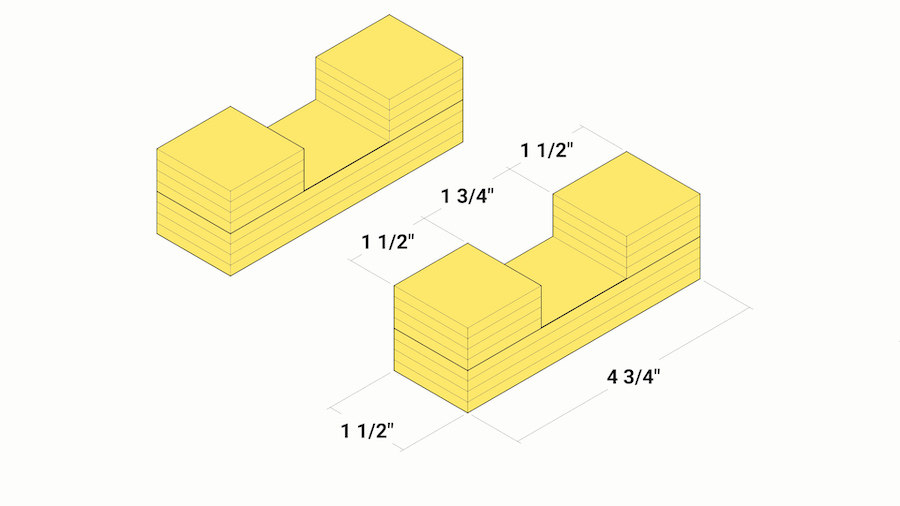
Cut out and create 2 cradle pieces as shown here
-
Cuts
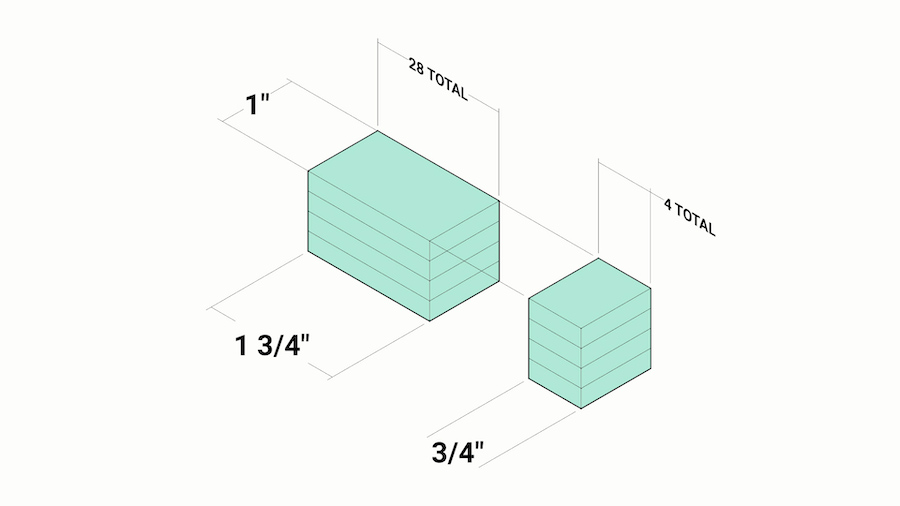
Cut out Twenty-Eight pieces that are 1” x 1-3/4” x 3/4” and 4 pieces that are 1” x 3/4” x 3/4”
-
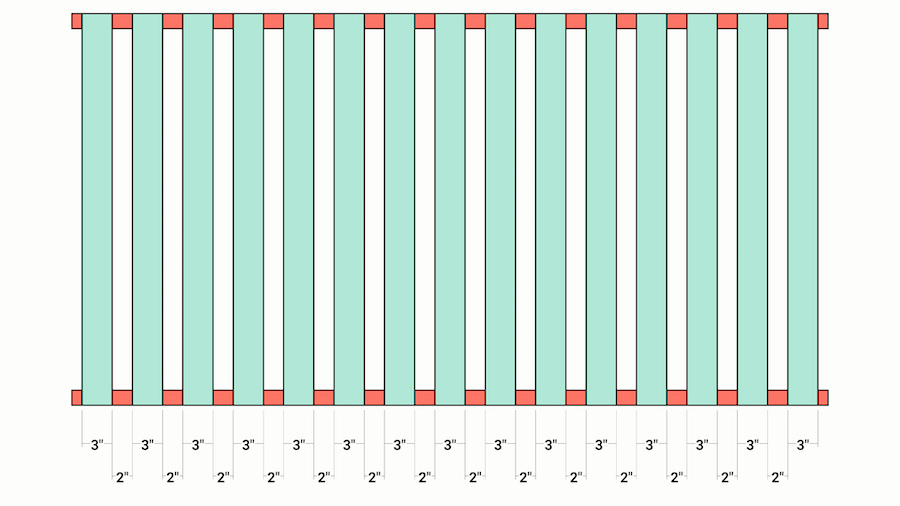
Mark location
Mark out slat location on two of the long runners (75” pieces)
-
Glue
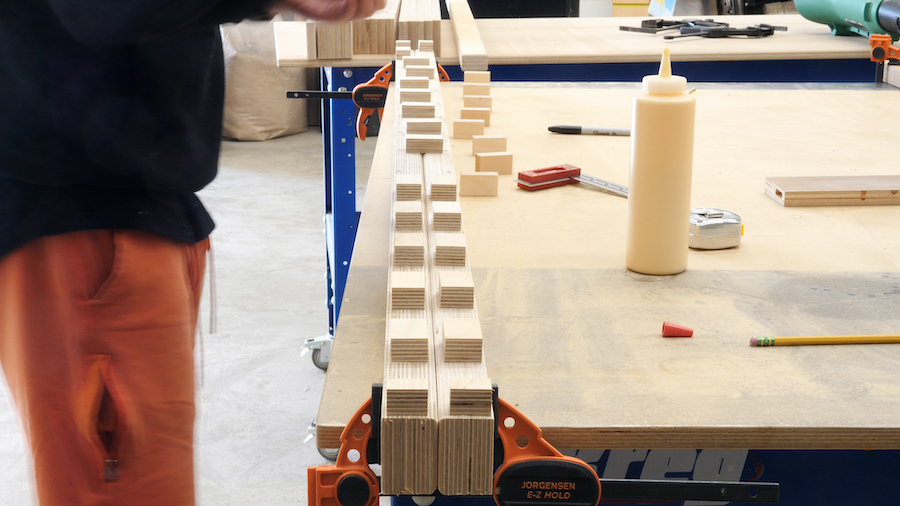
Glue Spacer Blocks to runners
-
Attach
Attach runners to inside of bed frame at desired height.
-
Attach
Attach the cradle pieces to the inside of the foot/head boards at the center and so that they will hold your center runner at the same height as the runners attached to the longer rails.
-
Go To Sleep
Do some final sanding and put on whatever finish you like, and you’re all done. This isn’t a super difficult build, but there are lots of details that are much easier to explain in the video. Again, go watch the video for more detail.
Thank you for taking an interest in building this project. I hope you enjoy :)
YouTube video – https://youtu.be/04jP6oDu2IE