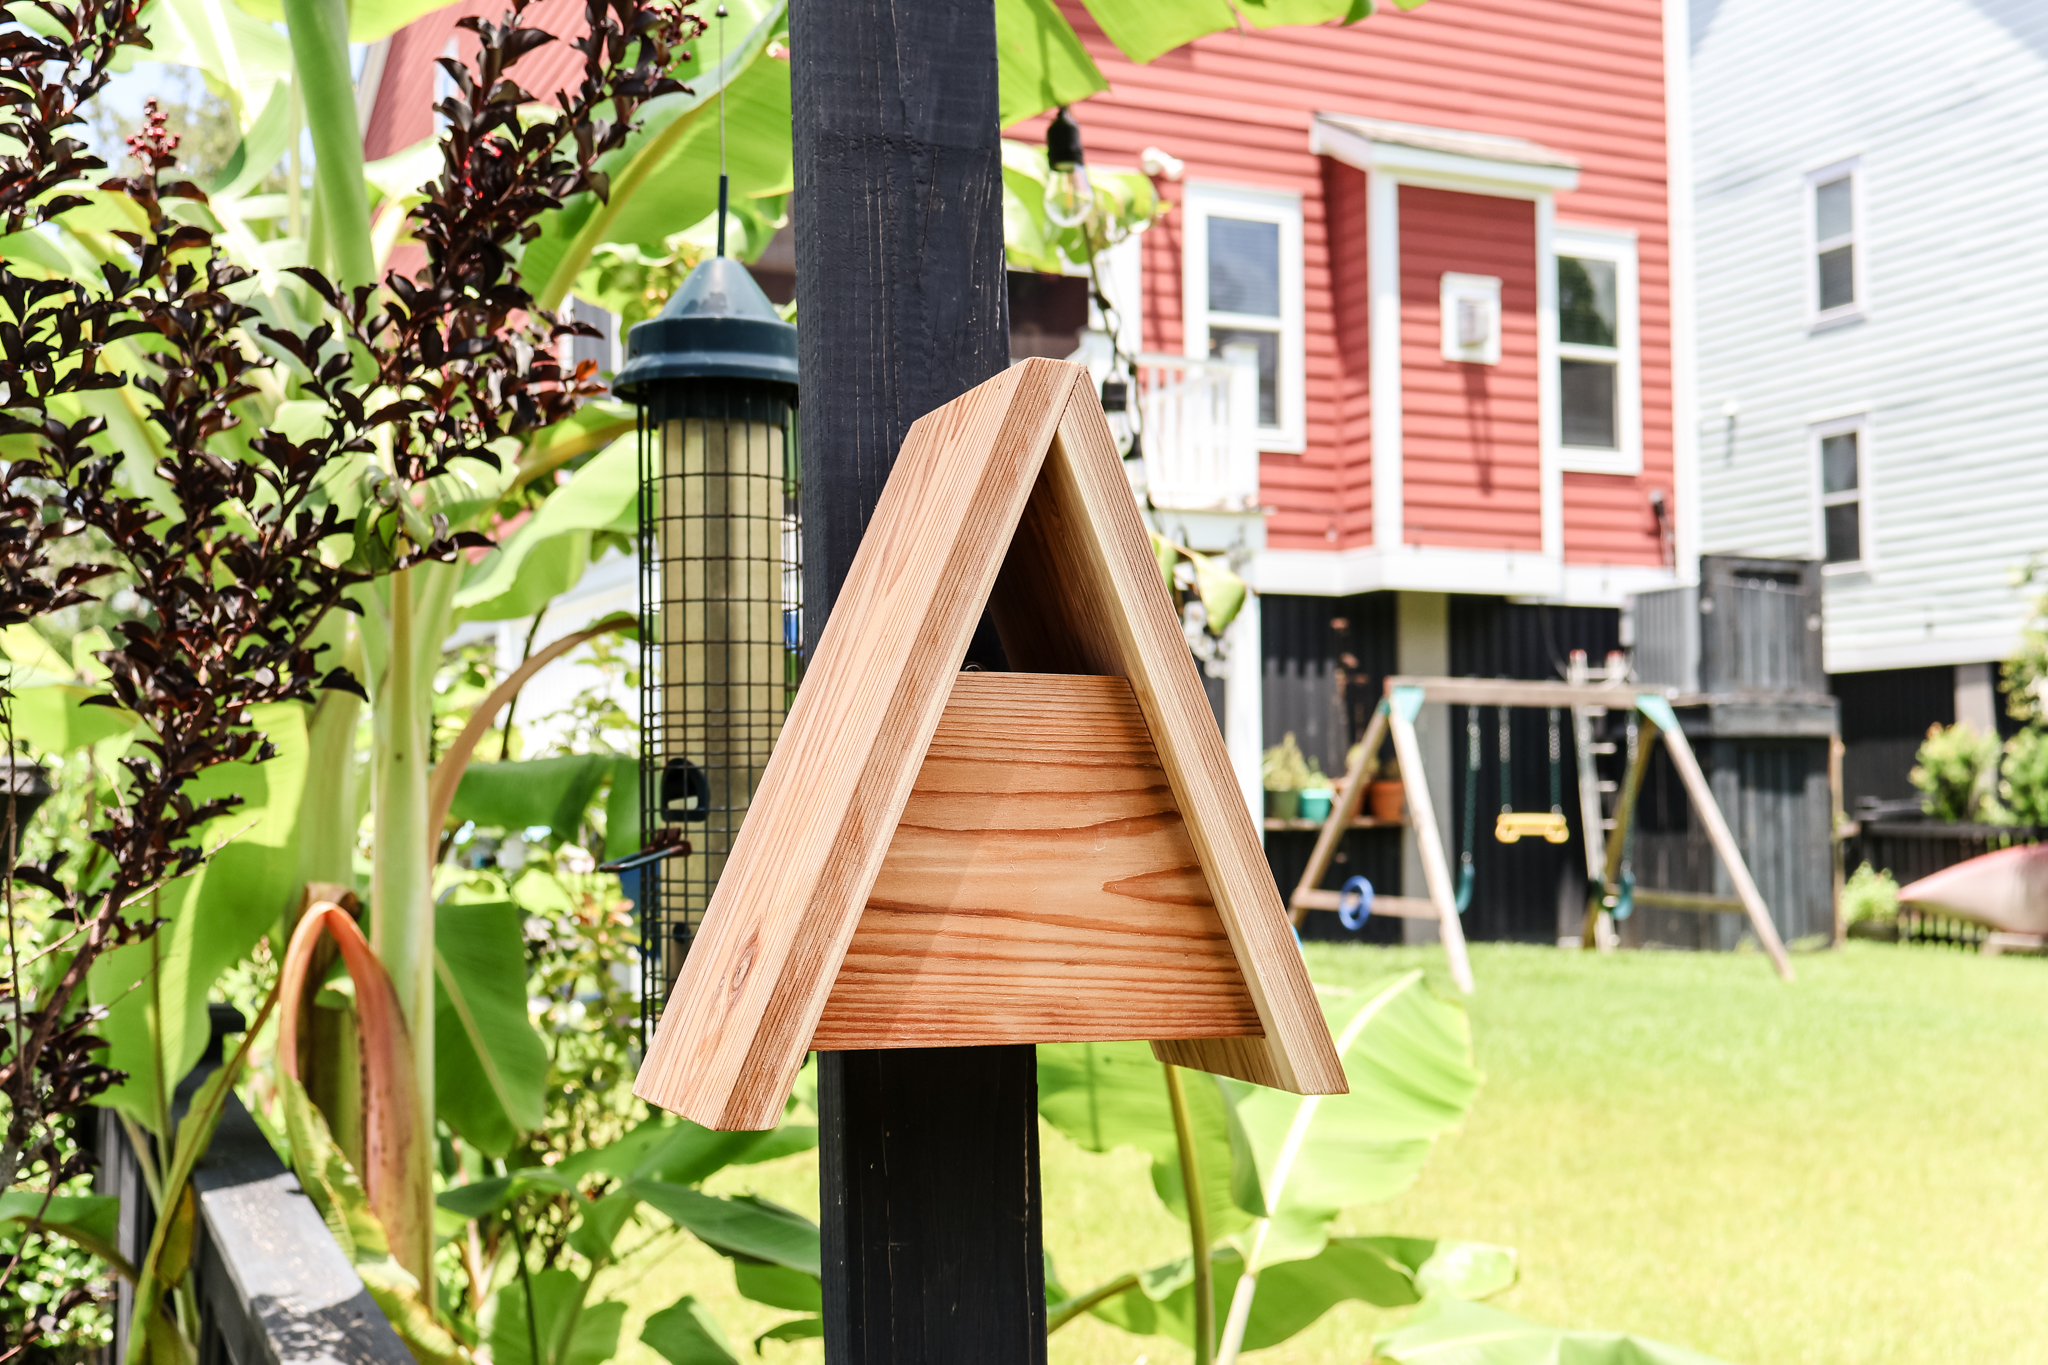
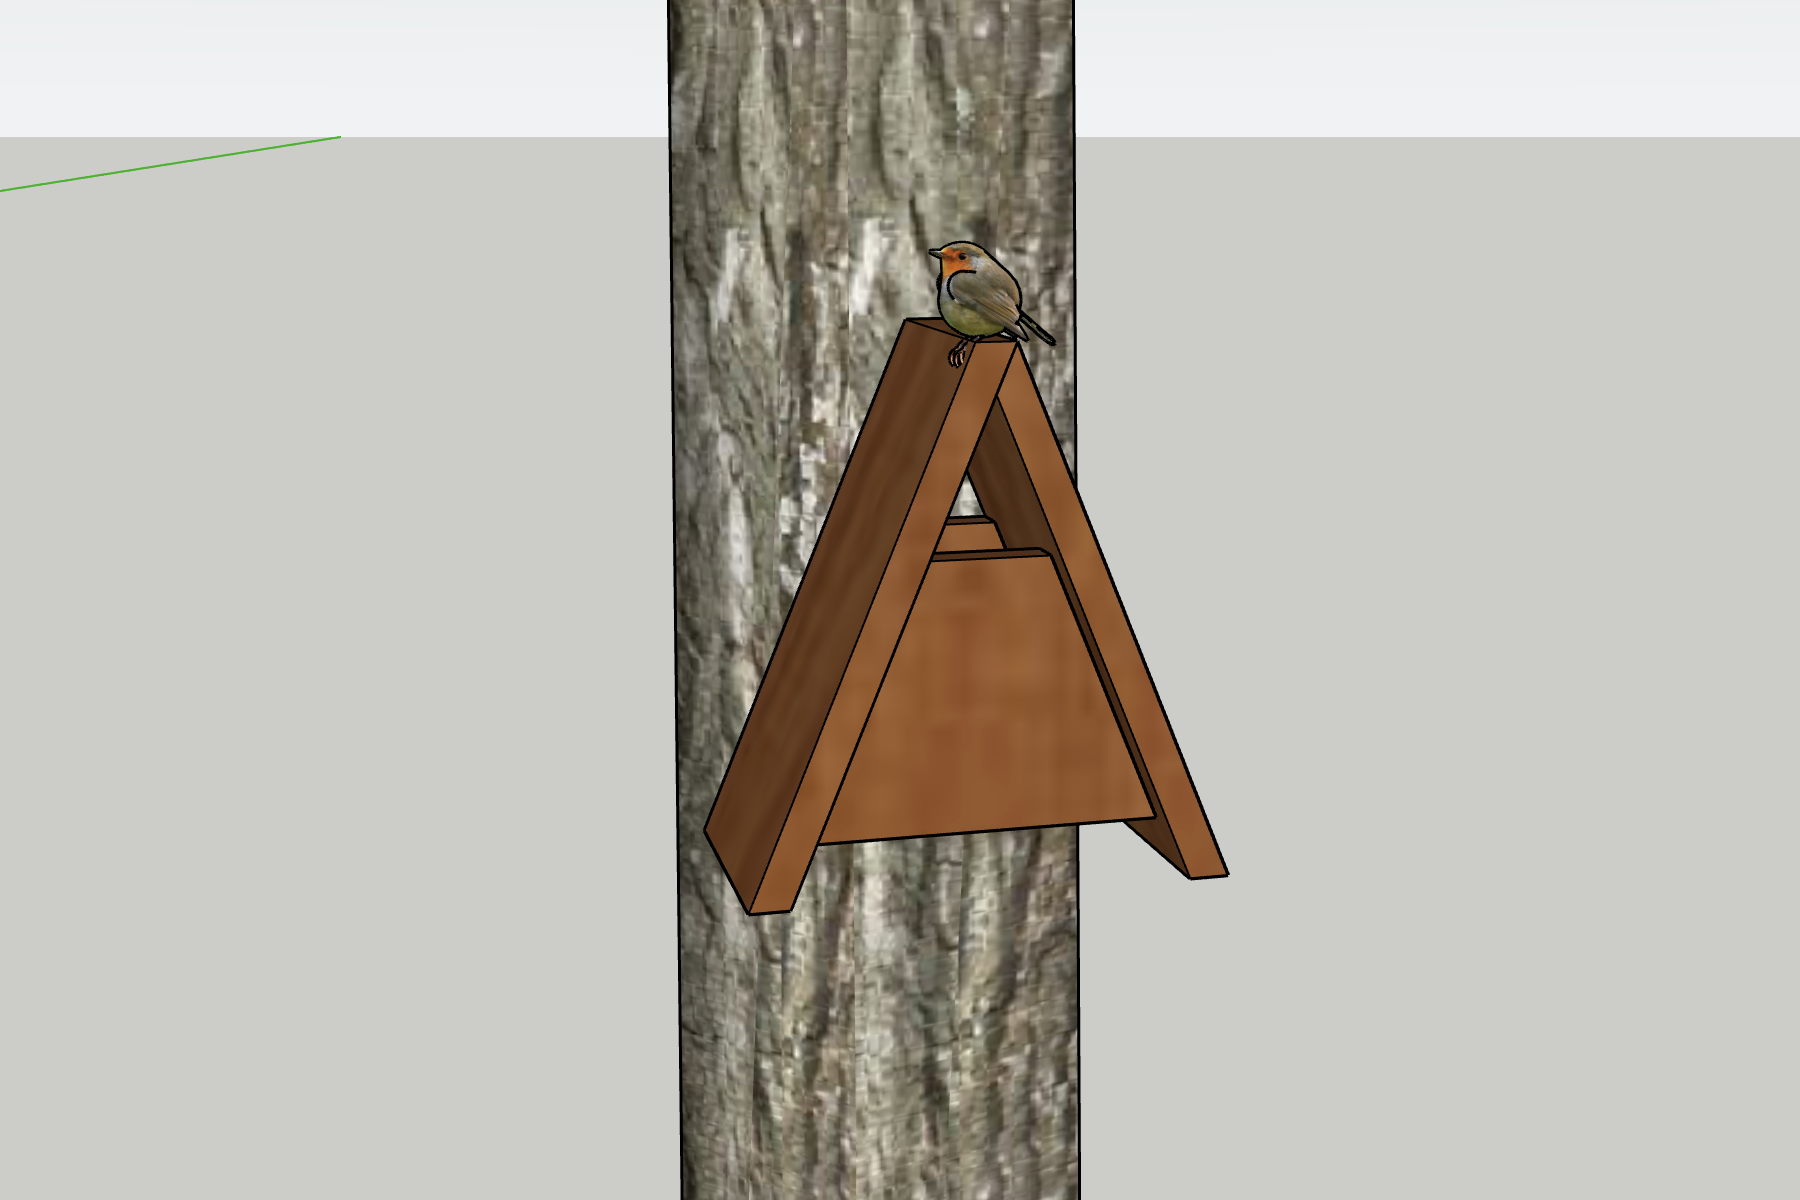
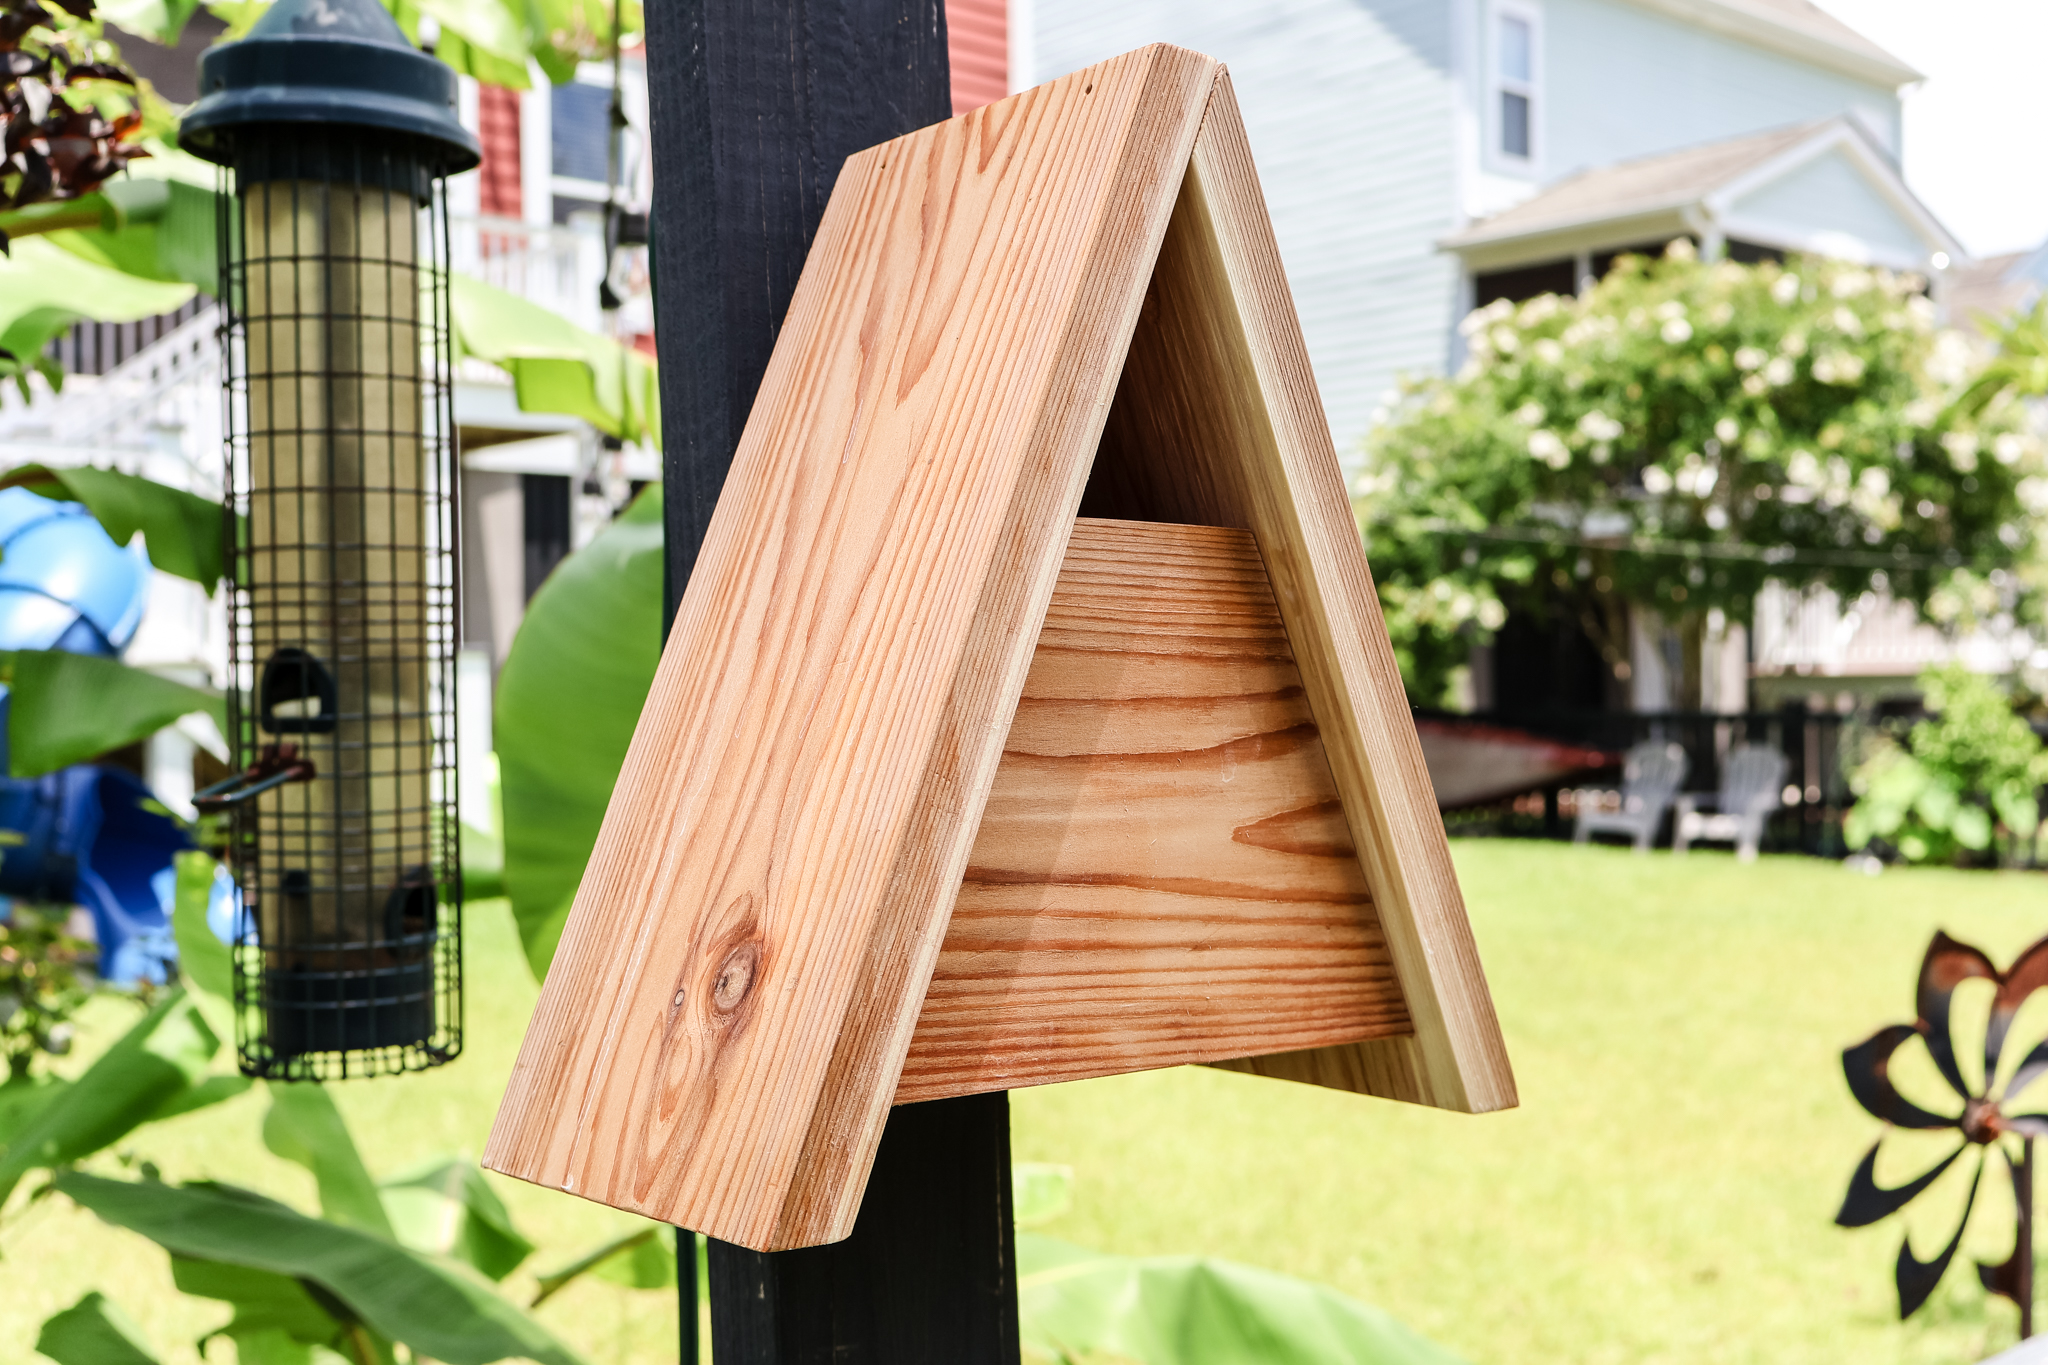
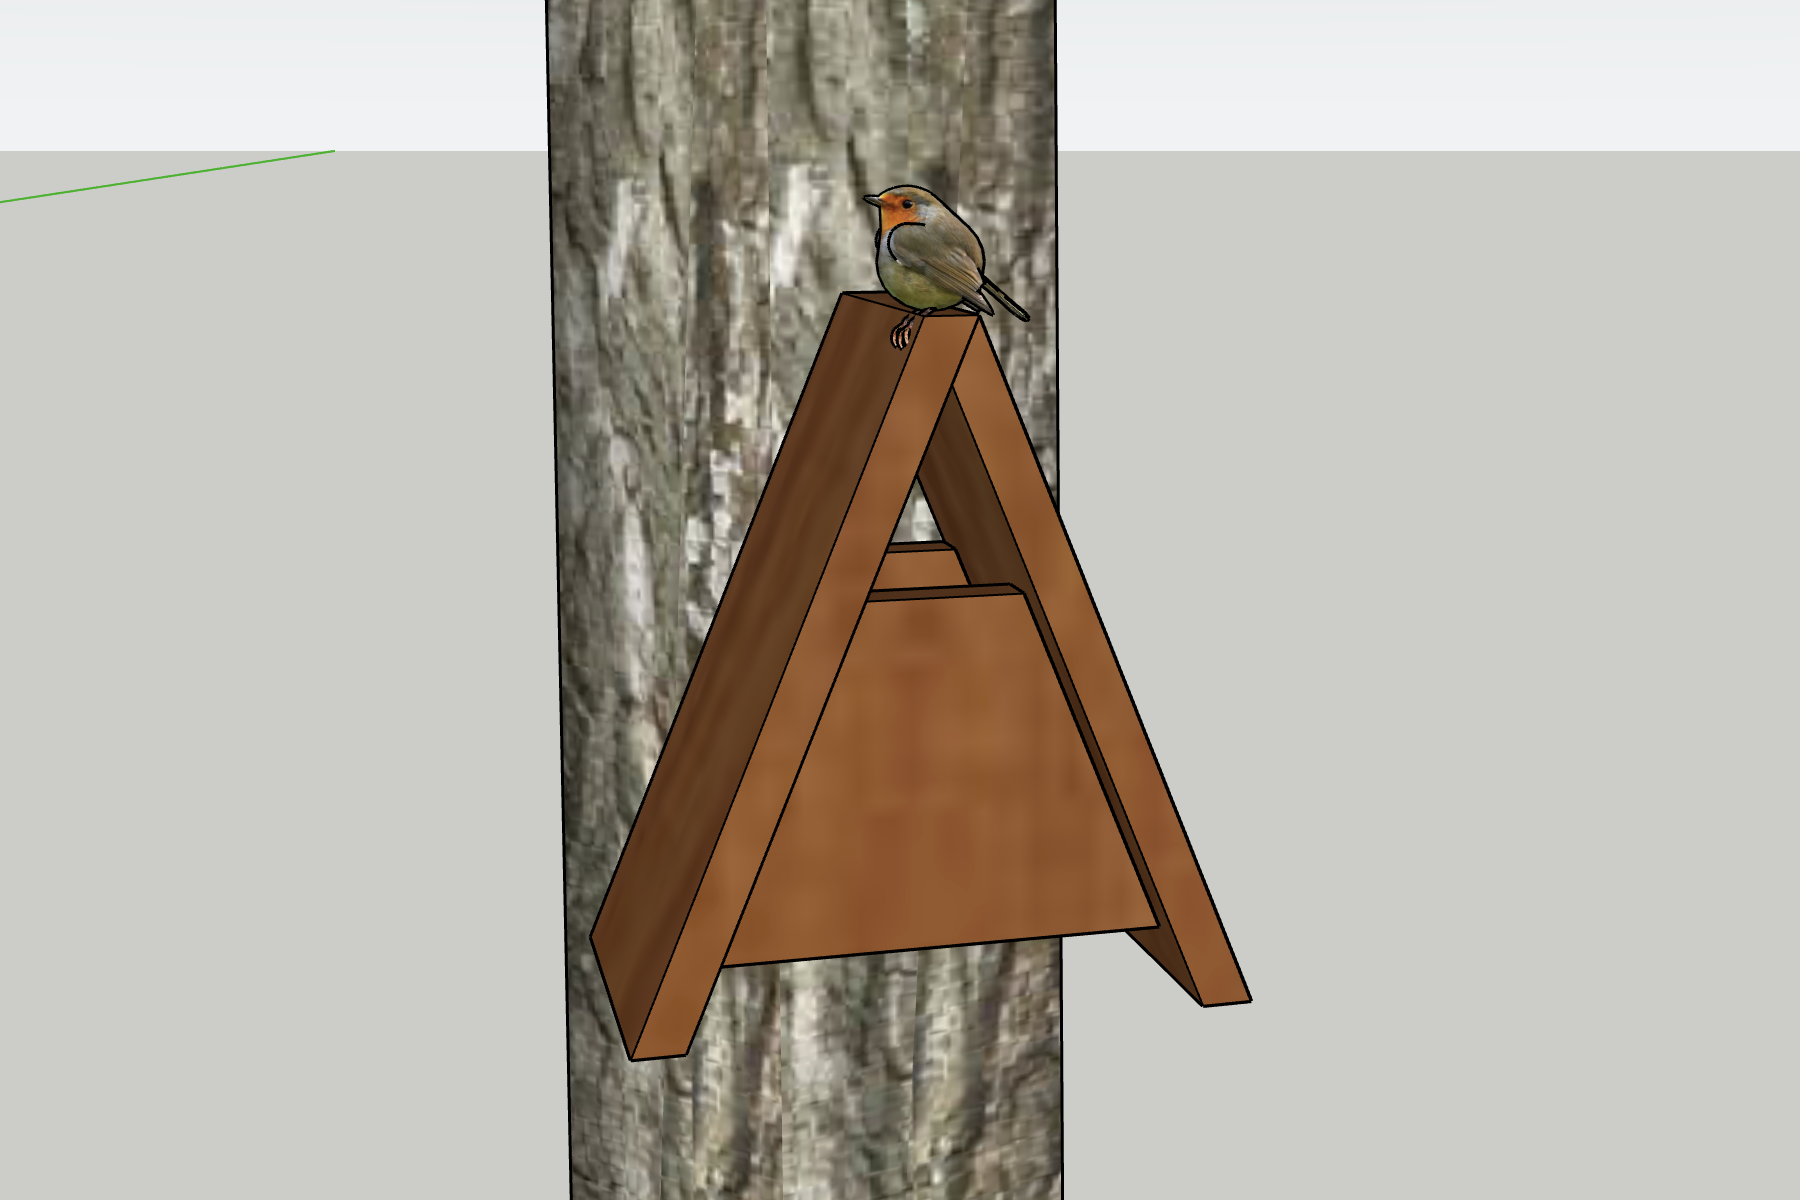
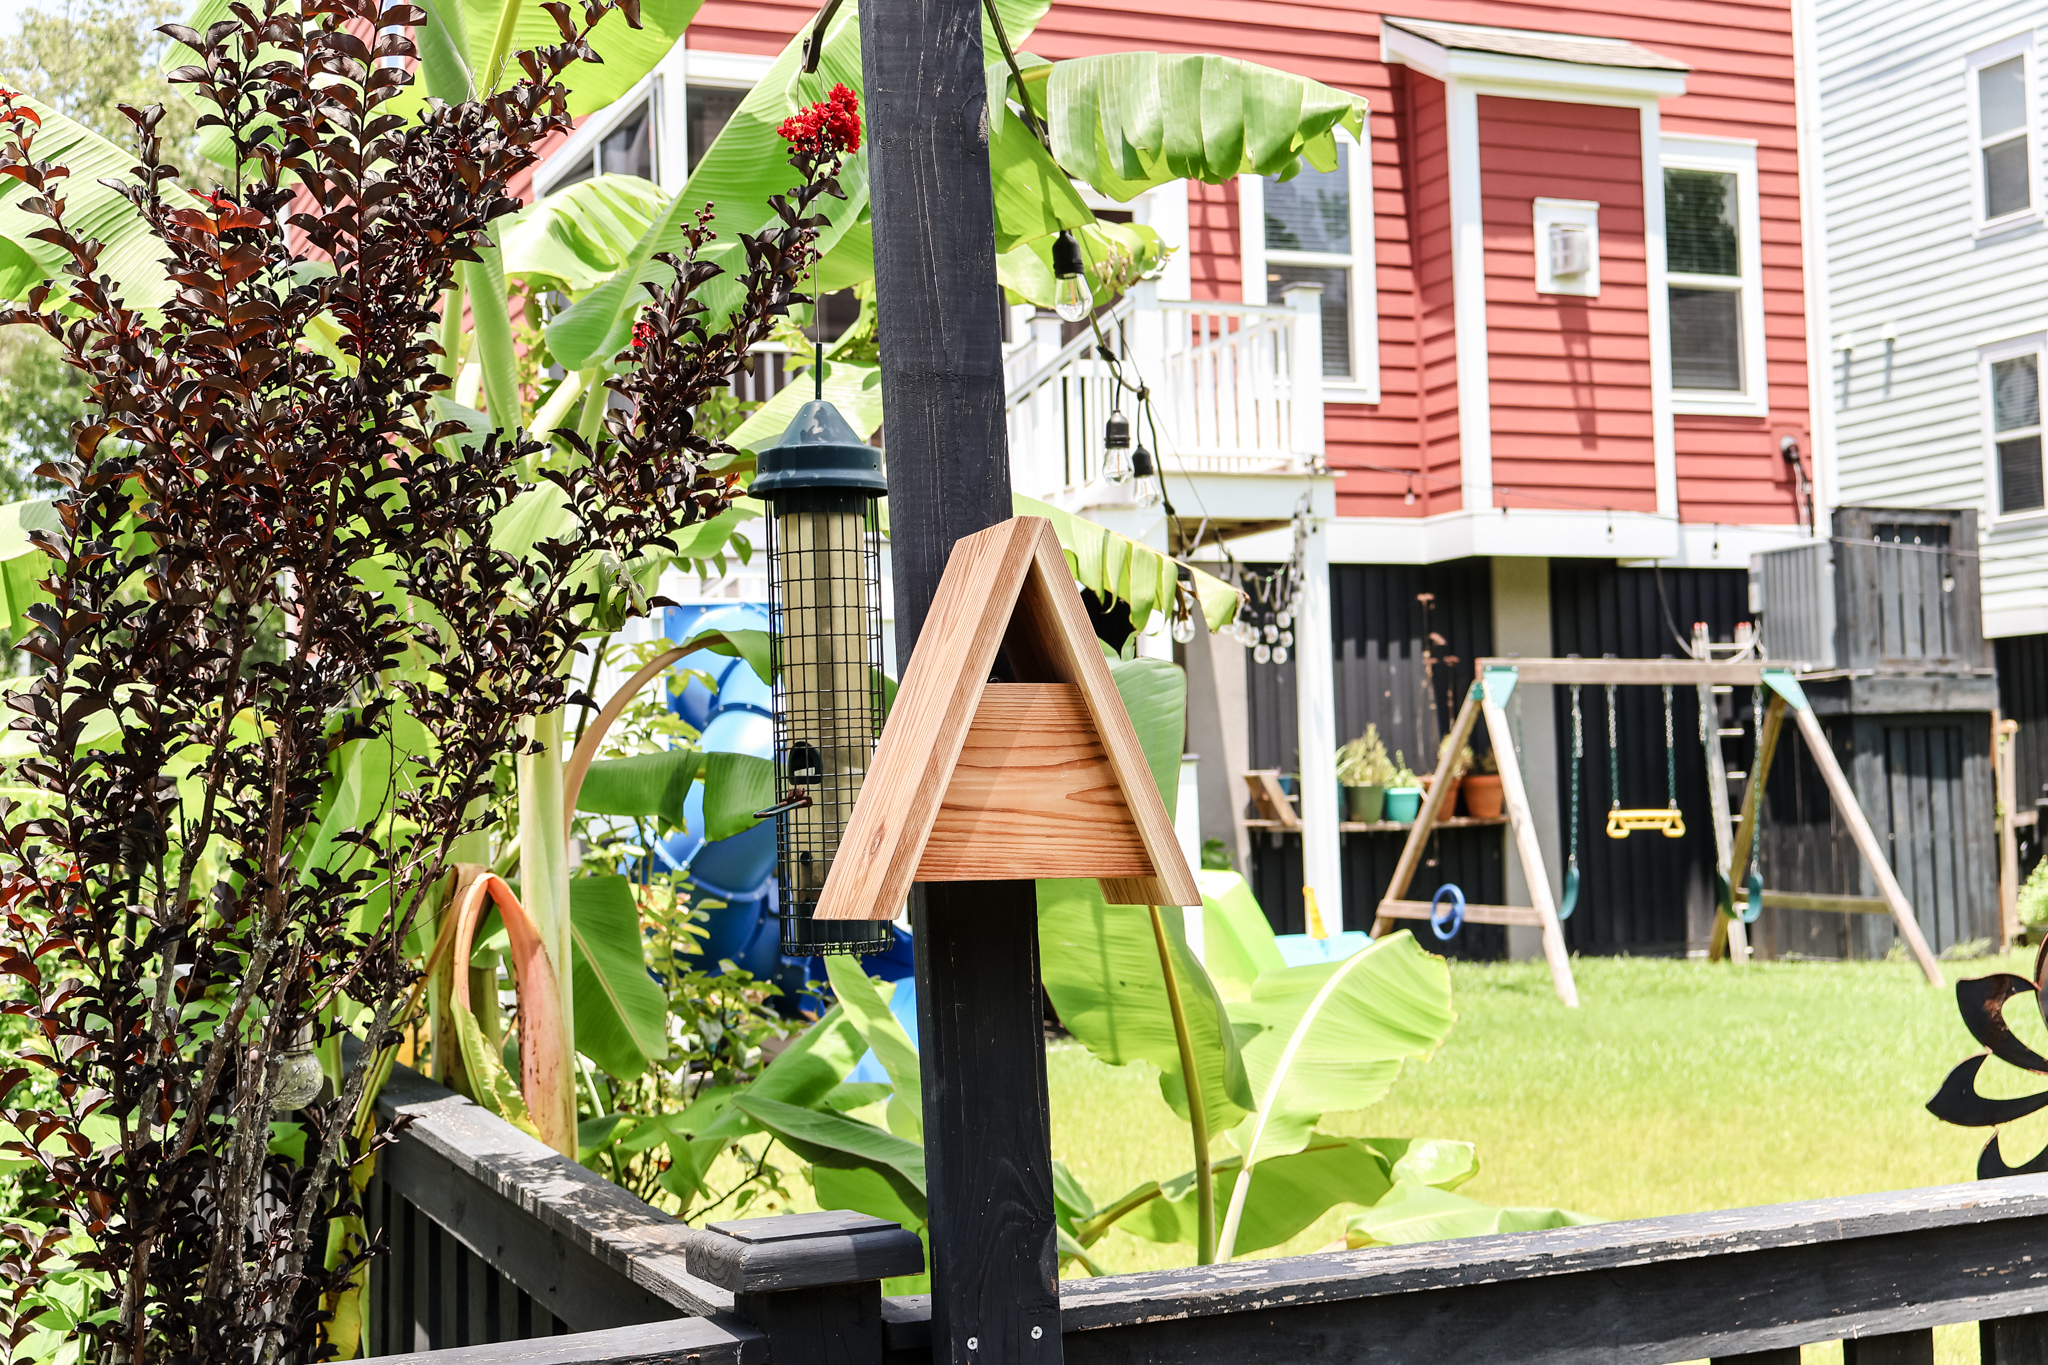
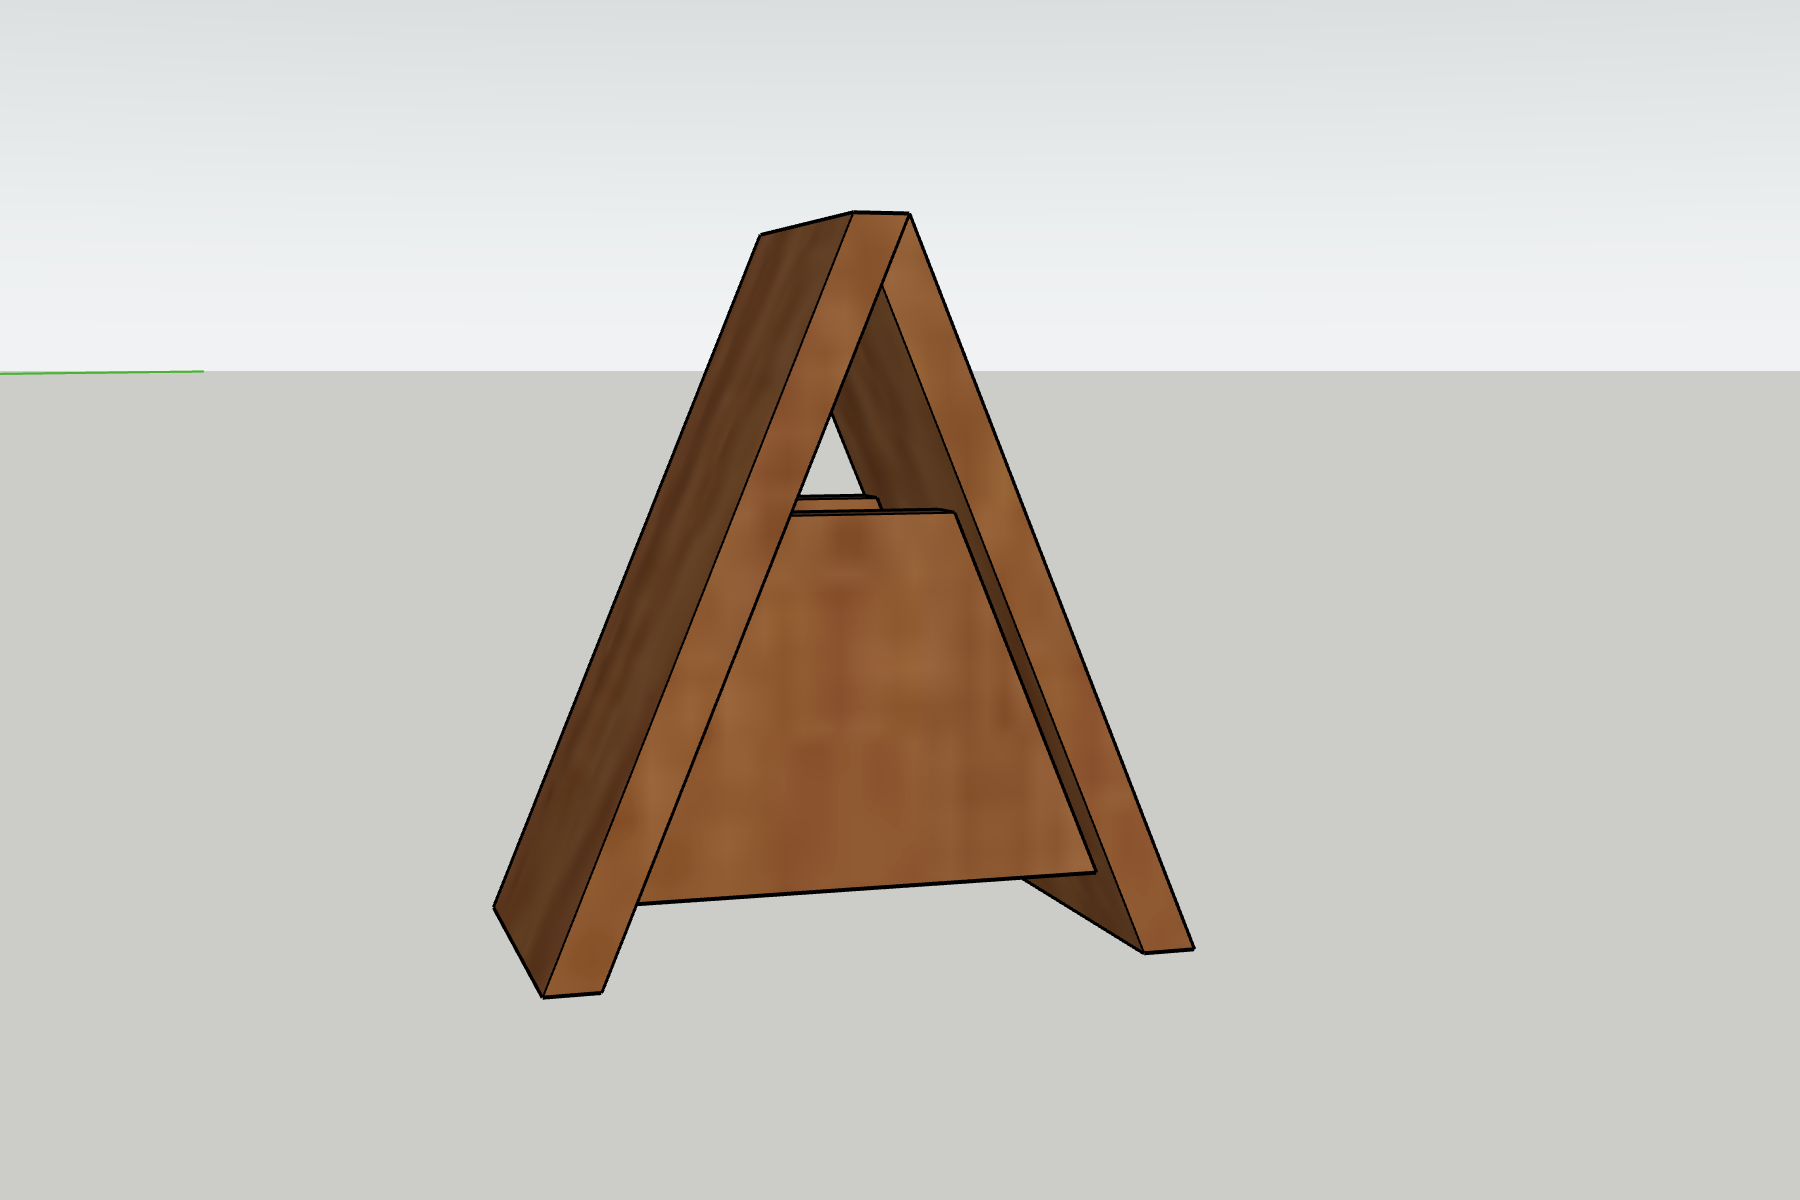


This modern A-frame birdhouse is the perfect addition to any yard or garden! It’s easy to build, looks sleek in your yard and you’ll have a new family of birds moving in in no time!
Tools
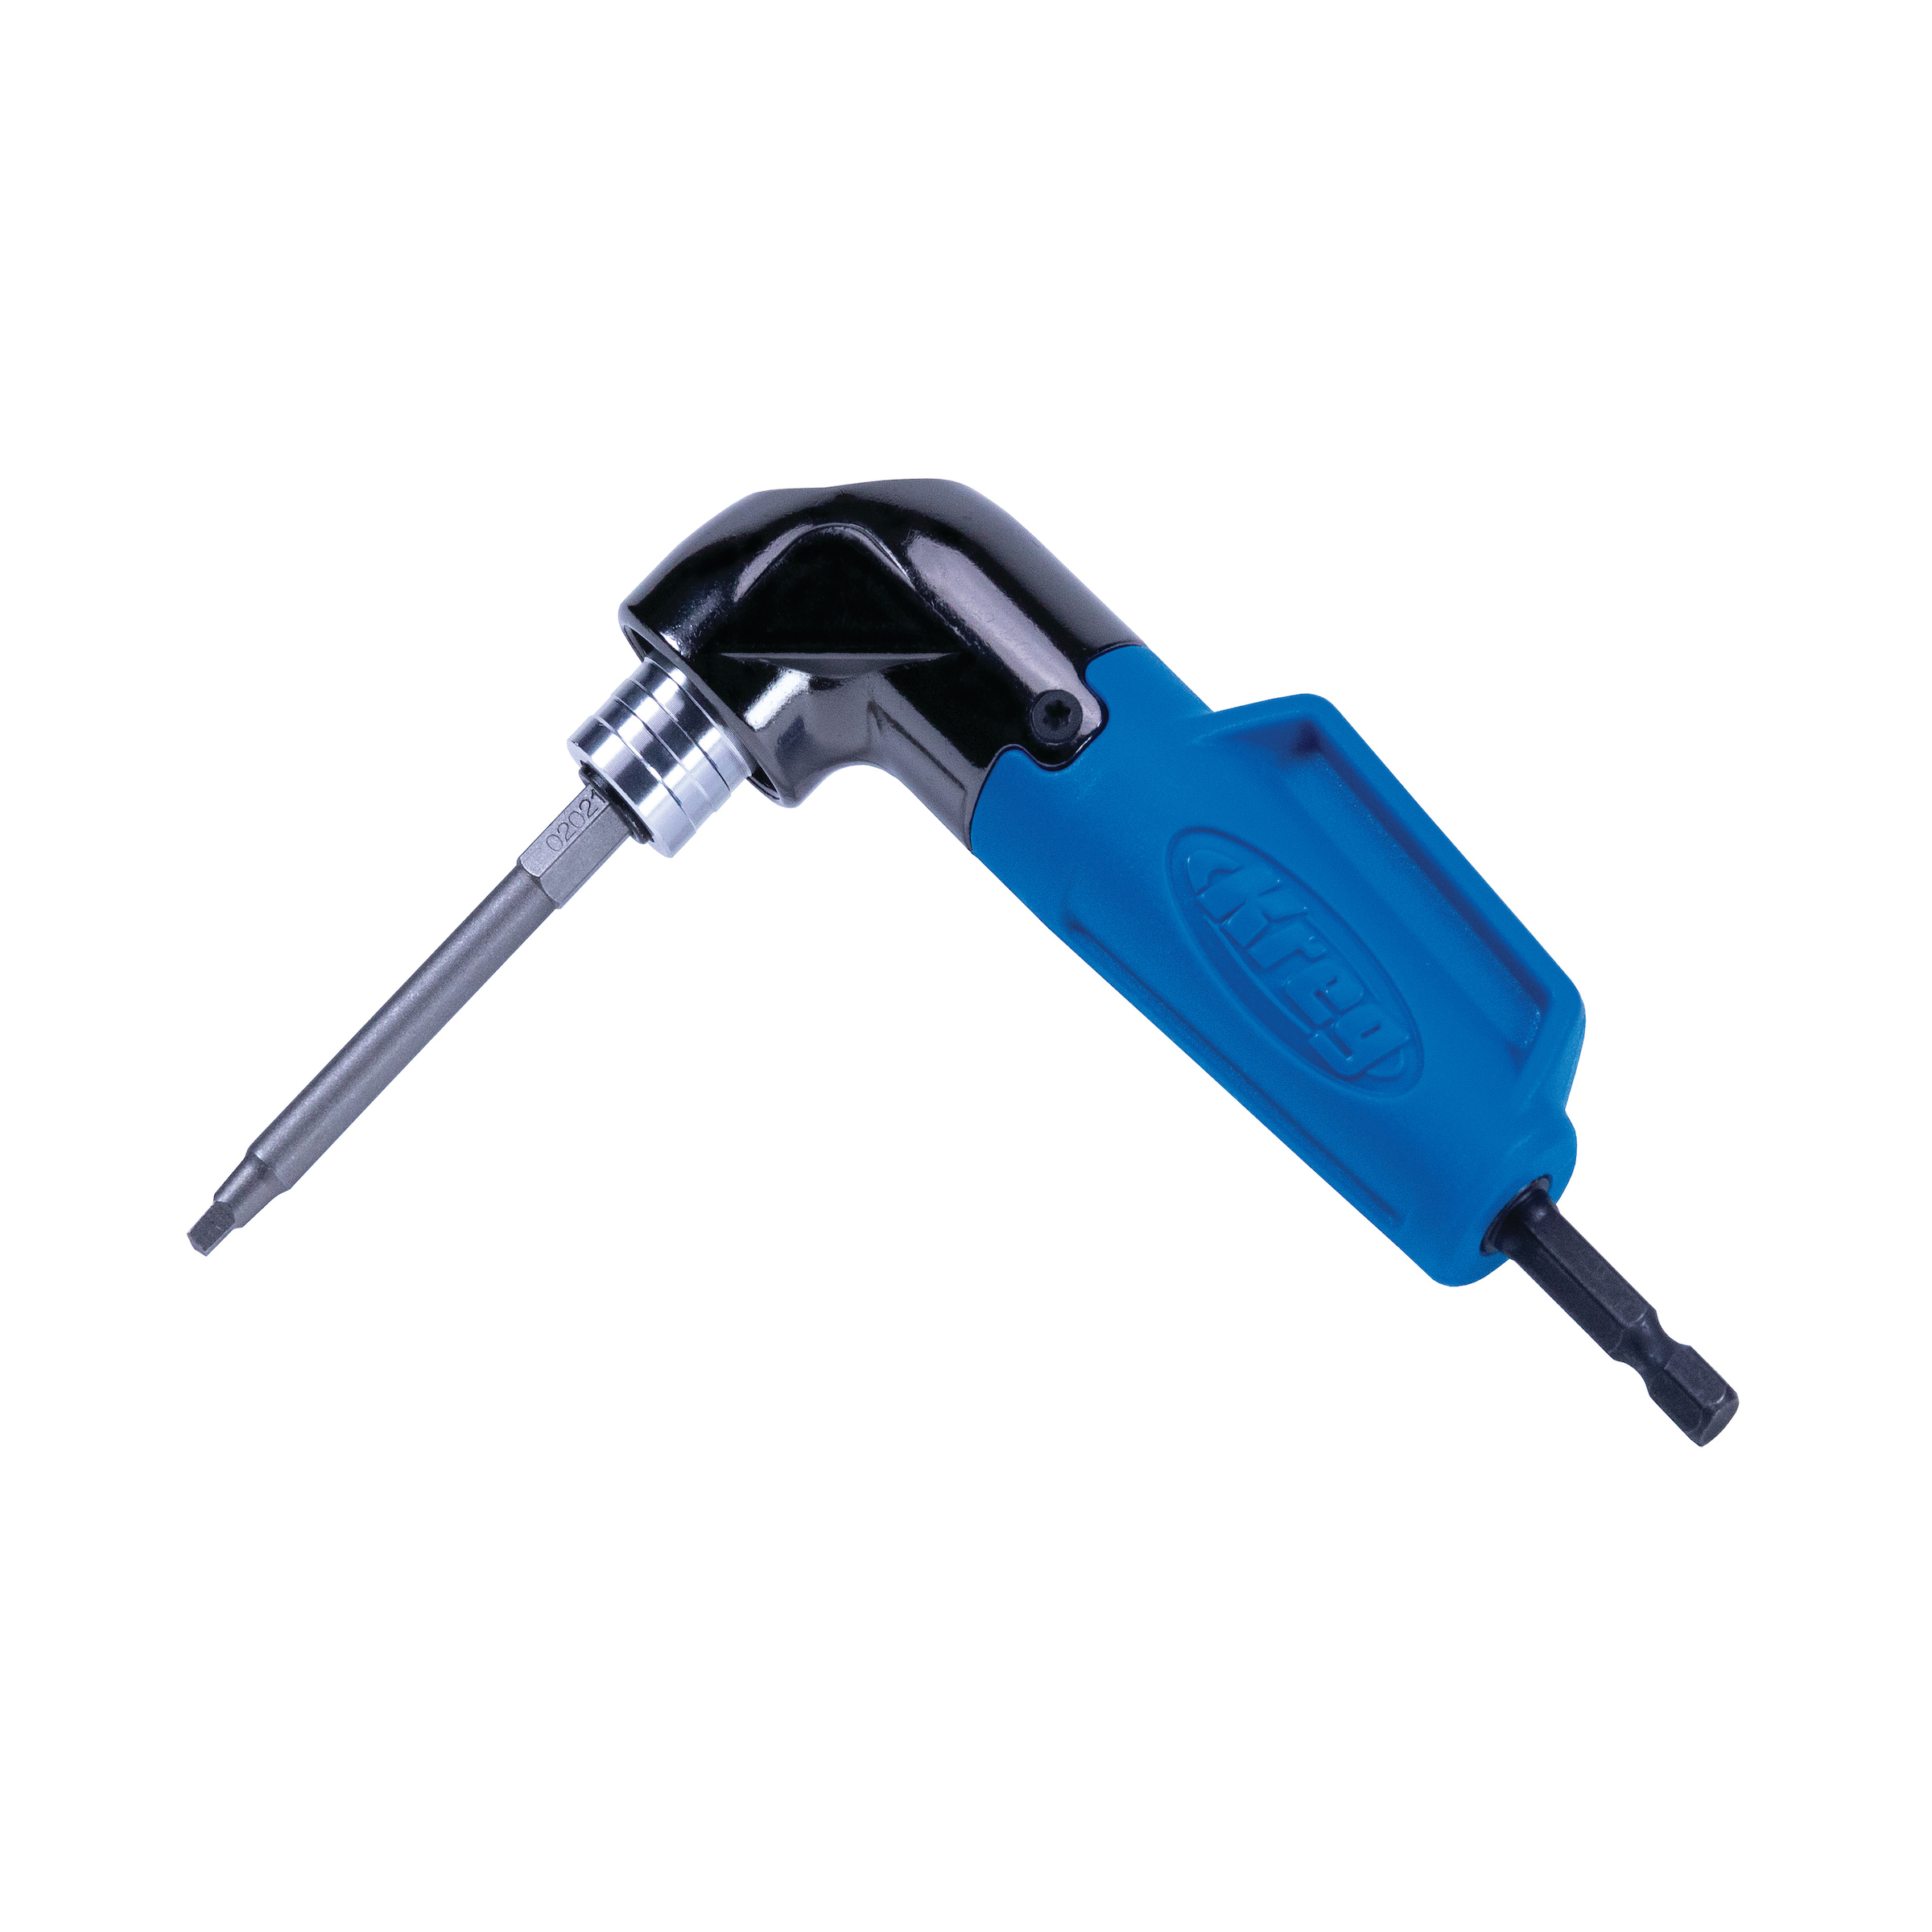
Kreg Tools


Other Tools
-
Miter Saw

Materials
Wood Products
- 1 Cedar board , 3/4" x 5 1/2" x 8'
Hardware & Supplies
- 14 1 1/4" Kreg Pocket Hole Screws
- 2 Keyhole Hangers
- 1 Wood glue
- 1 Stain/paint/sealant
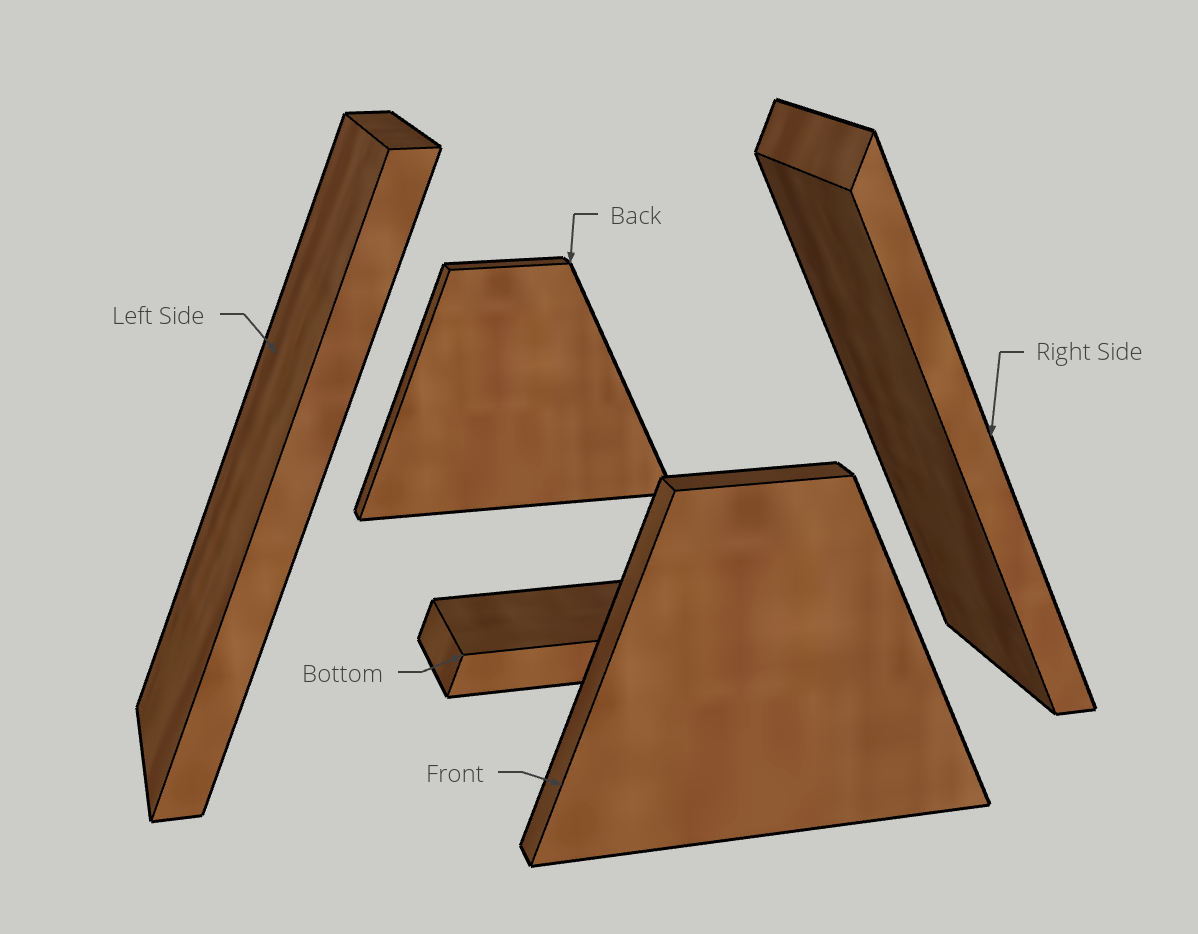
Cut List & Parts
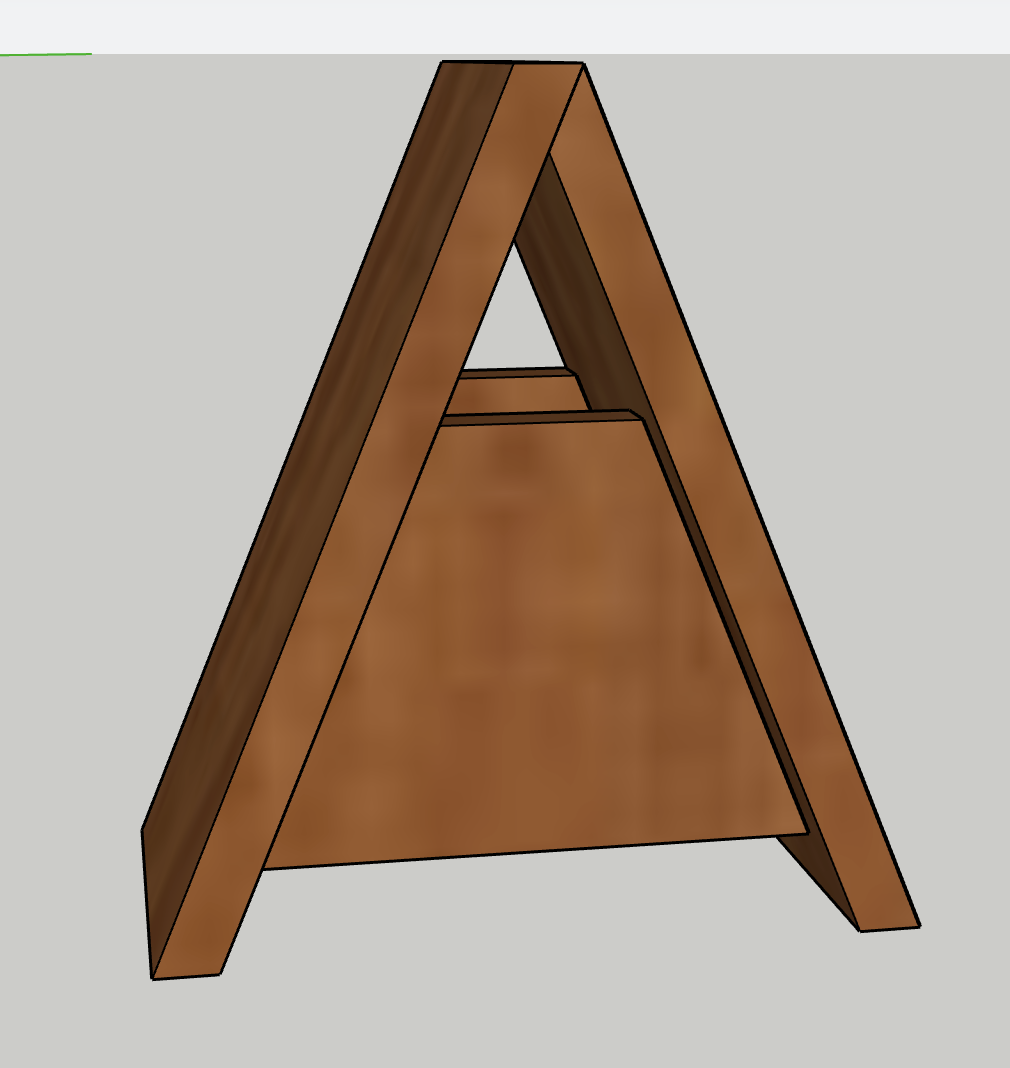
- 1 Left Side , 5 1/2" x 12" x 3/4" with parallel 22.5 degree bevels
- 1 Right Side , 5 1/2" x 11 3/4" x 3/4" with opposing 22.5 and 45 degree bevels
- 2 Front/Back , 5 1/2" x 7 1/4" x 3/4" with opposing 22.5 degree miters
- 1 Bottom , 3 1/4" x 7 1/4" x 3/4" with opposing 22.5 degree bevels
Directions
-
Drill pocket holes
Start by drilling pocket holes on these cuts:
(1) Left Side- none
(1) Right Side- 2 on 45 degree bevel (set bit for 1/2" wood)
(2) Front/Back- 2 on each mitered side
(1) Bottom- 2 on each beveled edge -
Connect Sides
- Using wood glue and pocket hole screws, attach the 45 degree end of the Right Side into the Left Side.
- Ensure that the bottom 22.5 degree bevels are aligned flat and that there is a flat edge of the Left Side on top.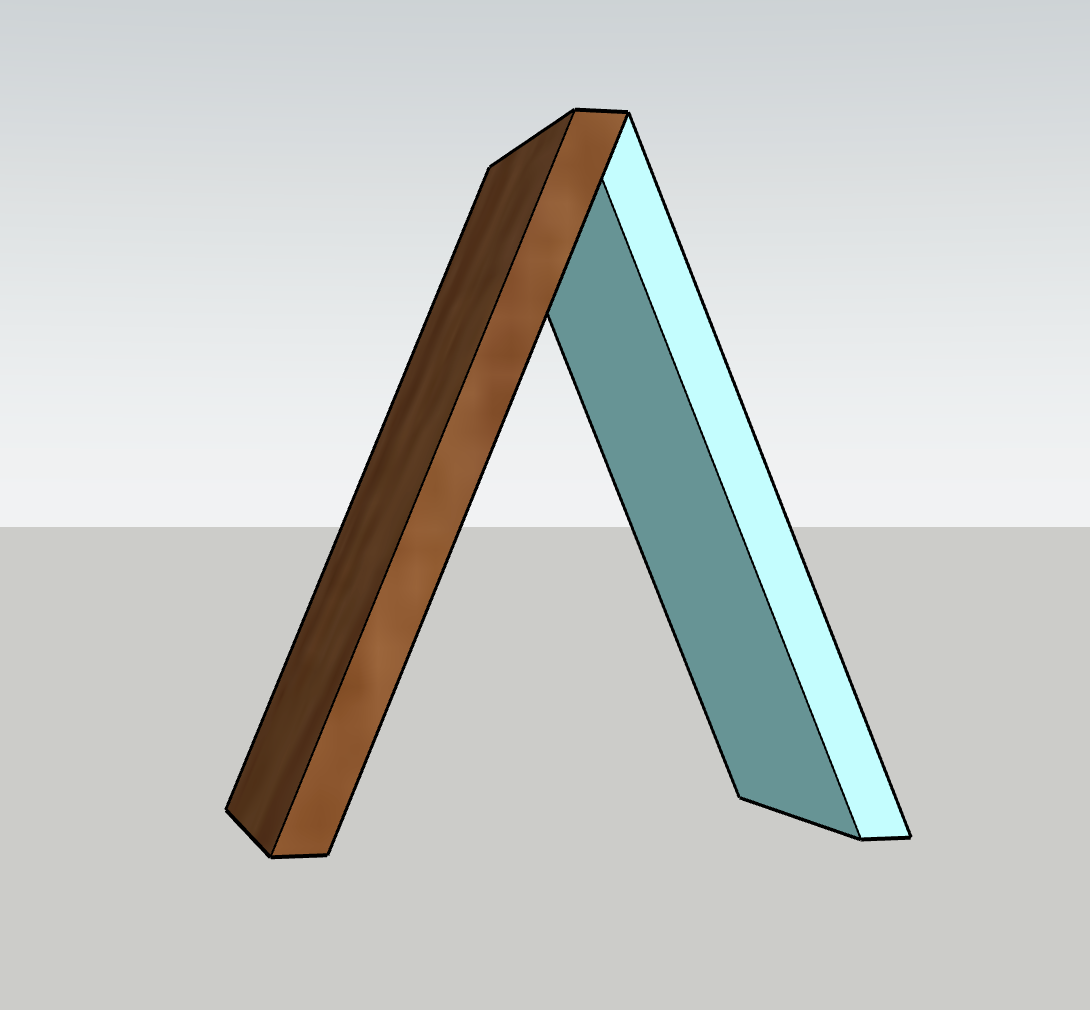
-
Attach Back
- Using wood glue and pocket hole screws, attach the Back flush along the edges of the Left and Right Sides where it fits into place.
- You’ll need the 90 degree driver for this.
- Apply wood glue to the mitered sides and slide it up between the two Sides until it makes flush contact with each side, then attach with pocket hole screws.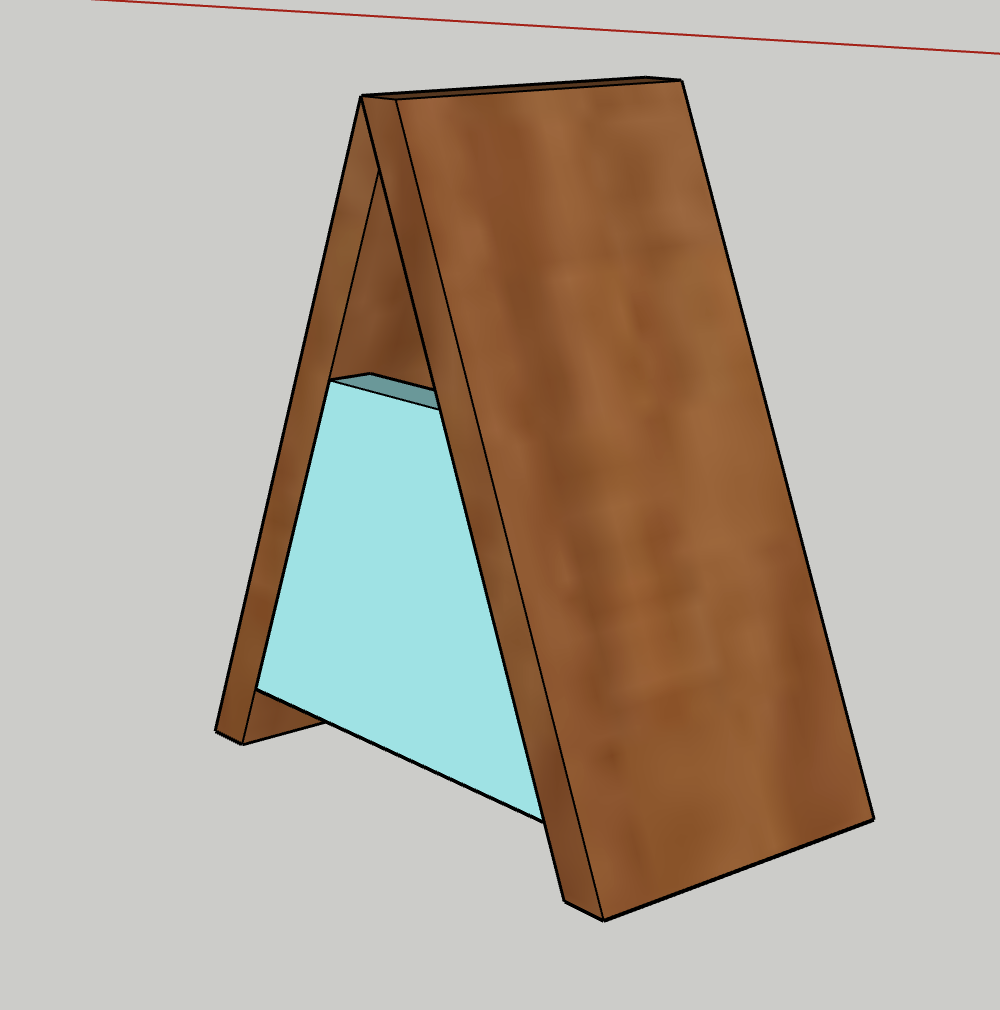
-
Attach Front
- Using wood glue and pocket hole screws, attach the Front between the two Sides in the same manner, but with 3/4" from the front edge.
- You’ll need the 90 degree driver for this.
- I recommend using the Bottom as a spacer between the Front and Back when attaching.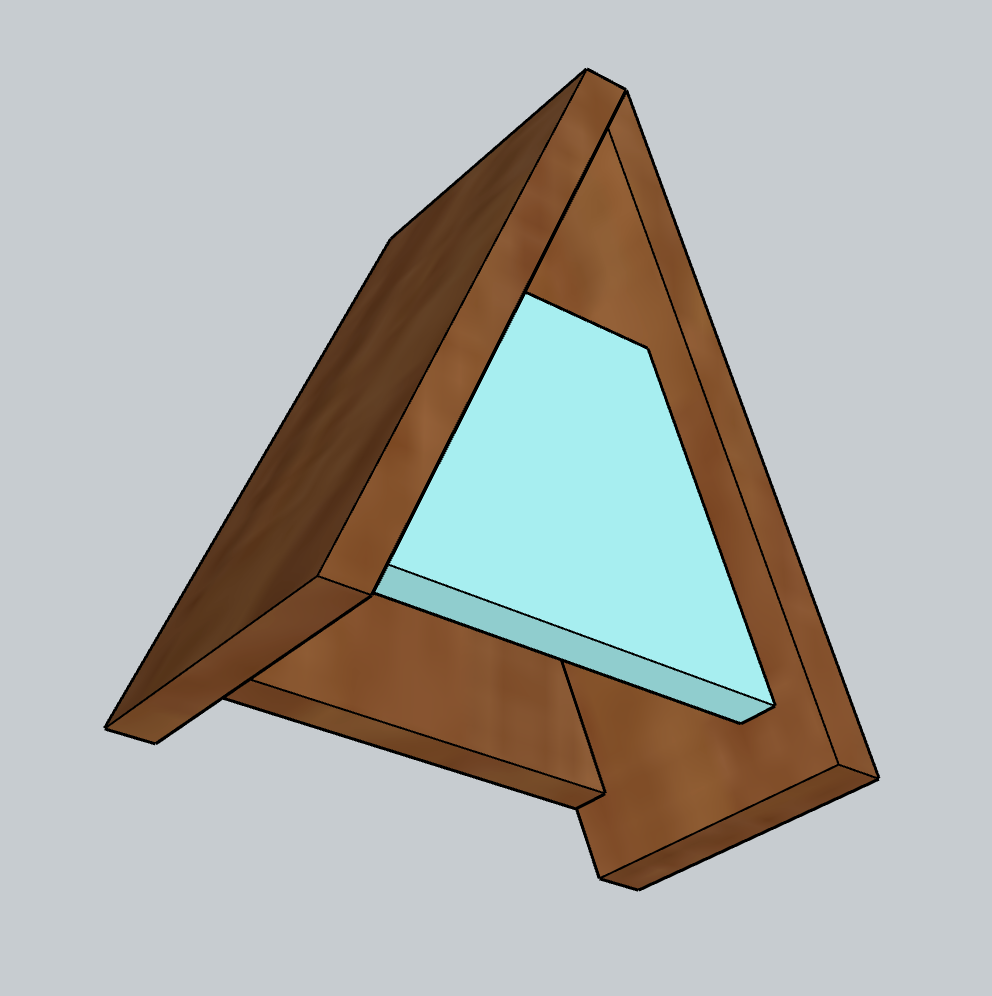
-
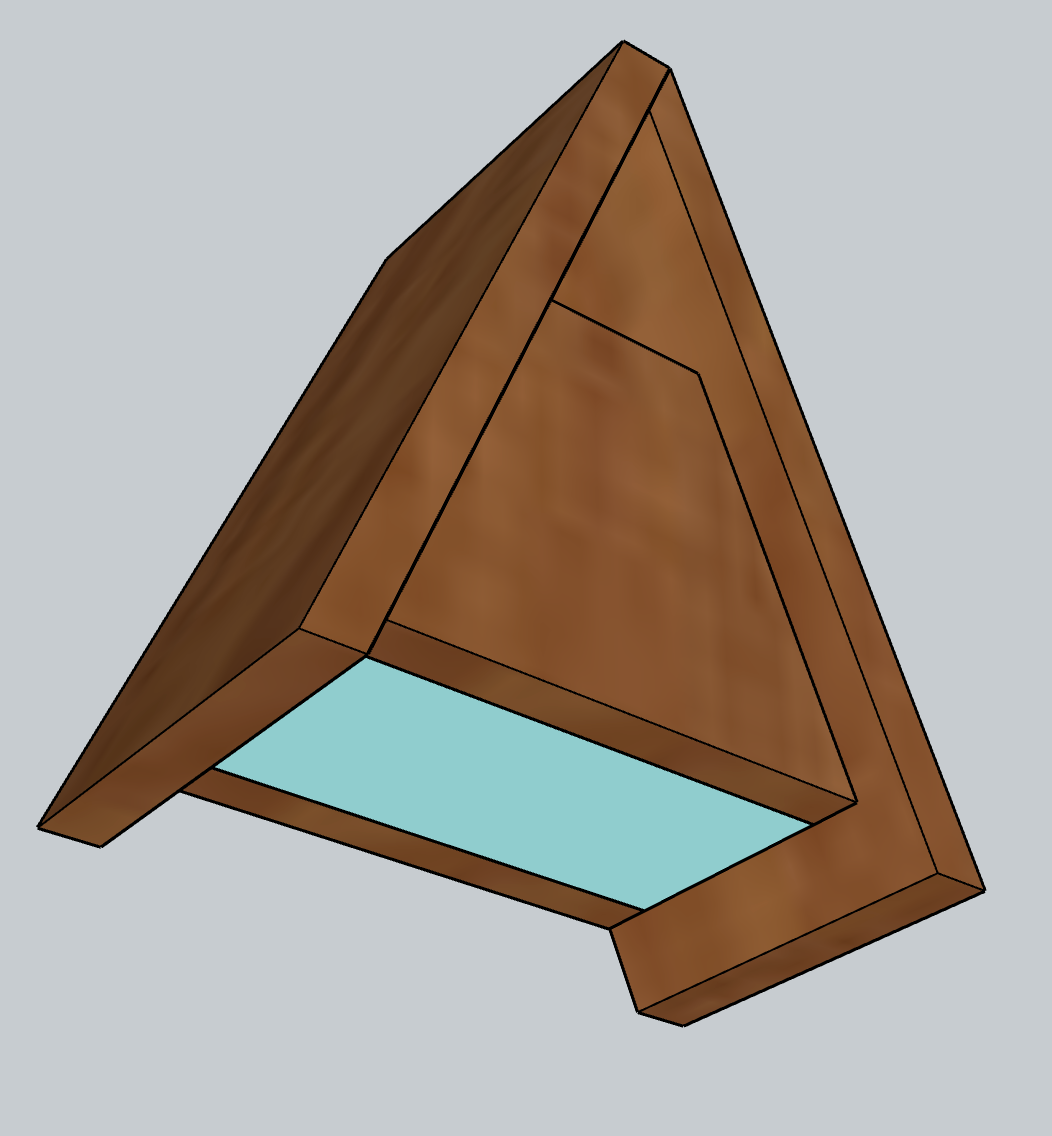
Attach Bottom
Using pocket hole screws (but no wood glue if you want to be able to clean out the birdhouse later), attach the Bottom into the two Sides, between the Front and Back.
-
Stain/Paint/Seal
Stain, paint or seal the outside of your birdhouse if you choose. If you used cedar, it is naturally rot resistant, but you may choose to add a protective coat or change the color with one of these methods.
-
Hang
- Attach screws onto the Back of the birdhouse.
- Attach keyhole hangers to a post, wall or tree.
- Hang the birdhouse onto the keyhole hangers.
- To clean out the birdhouse after birds have moved out, unscrew the Bottom of the birdhouse, clean and replace.
-
Enjoy!
Enjoy your handiwork and tag @CharlestonCraftedBuilds on Instagram with a picture!