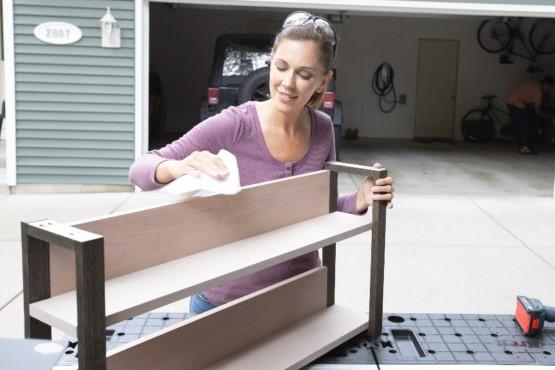
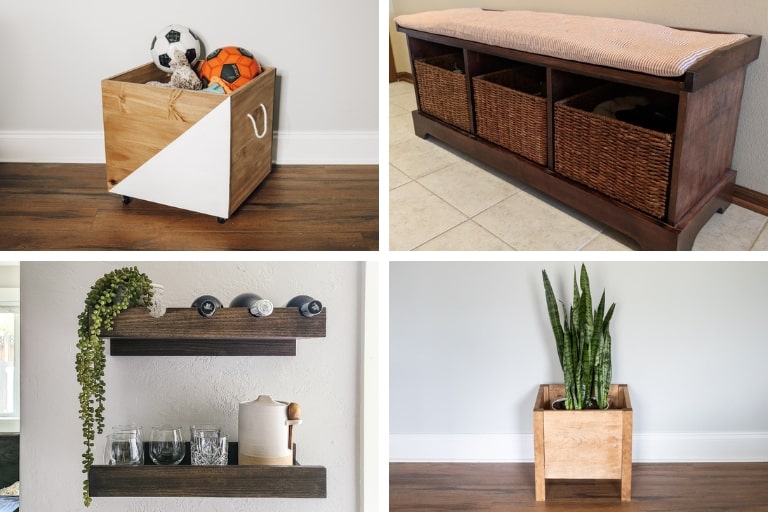
Woodworking is a rewarding hobby and profession that allows you to create beautiful, functional pieces with your own hands. But to truly excel in this craft, it’s good to have a dedicated space that’s well-organized, properly equipped, and designed for efficiency. Below, we’ll talk through the process of setting up the ultimate workshop at home, covering everything from planning your layout to selecting essential tools and implementing safety measures.
Benefits of Having a Home Woodworking Workshop
Improved focus and productivity
A dedicated workshop provides a distraction-free environment where you can fully immerse yourself in your projects. Without the need to set up and tear down your workspace for each session, you’ll spend more time actually working on projects.
Organized workspace for better workflow
With a permanent setup, you can organize your tools and materials in a way that maximizes efficiency and leads to a smoother workflow, with less time spent searching for the right tool or supply.
Enhanced safety and reduced clutter
A proper workshop allows you to implement safety measures more effectively, such as dust collection systems and proper tool storage. It also keeps your woodworking activities separate from living spaces, reducing the spread of dust and clutter throughout your home.
Who can benefit from a home workshop?
A home workshop isn’t just for professionals. It can be a valuable addition for:
- Hobbyists who enjoy creating wooden crafts in their spare time
- DIY enthusiasts looking to tackle home improvement projects
- Professional woodworkers who want to expand their business from home
- Anyone interested in learning and developing woodworking skills
No matter your skill level or goals, a thoughtfully planned and laid out workshop can help you take your woodworking to the next level.
Planning your woodworking workshop layout
The first step in creating your ultimate workshop is to plan its layout carefully. This involves assessing your available space and determining how to make the most of it.

Assessing Your Available Space
When choosing a location for your workshop, consider the following options:
Garage
Many homeowners convert their garage into a workshop. This space often provides ample room and easy access for bringing in materials and moving finished projects.
Basement
A basement can be an excellent choice for a workshop, offering a climate-controlled environment and protection from the elements. However, ensure proper ventilation and consider moisture issues.
Shed
If you have outdoor space, converting a shed into a workshop can be an ideal solution. It keeps noise and dust separate from your living area and can be customized to your specific needs.
For those with limited space, don’t worry; even a small area can be transformed into a functional workshop with careful planning and organization.
Key zones of a functional workshop
To maximize efficiency, divide your workshop into distinct zones:
Tool storage
Dedicate an area for storing your tools, keeping them organized and easily accessible.
Workbench and assembly area
This is where you’ll spend most of your time, so make it comfortable and well-lit.
Cutting zone
Set up your table saw, miter saw, and other cutting tools in one area to contain sawdust.
Sanding zone
Keep your sanders and sandpaper in a dedicated area, preferably near dust collection.
Finishing zone
Create a clean, well-ventilated space for applying finishes to your projects.
Workshop workflow tips
Consider these tips to optimize your workshop’s workflow:
Efficient tool placement
Arrange your tools based on frequency of use and natural workflow. Keep frequently used tools within easy reach of your workbench.
Power outlet positioning
Plan the placement of power outlets to accommodate your various tools without relying too heavily on extension cords.
Material storage
Create a system for storing lumber and sheet goods that allows easy access without cluttering your workspace.
Essential tools for every woodworking workshop
The right tools are crucial for any woodworking project. While your specific needs may vary depending on the types of projects you tackle, there are some essential tools that every workshop should have.

Must-have tools for beginners
If you’re just starting out, focus on acquiring these fundamental tools:
Table saw
The workhorse of most workshops; ideal for straight cuts.
Circular saw
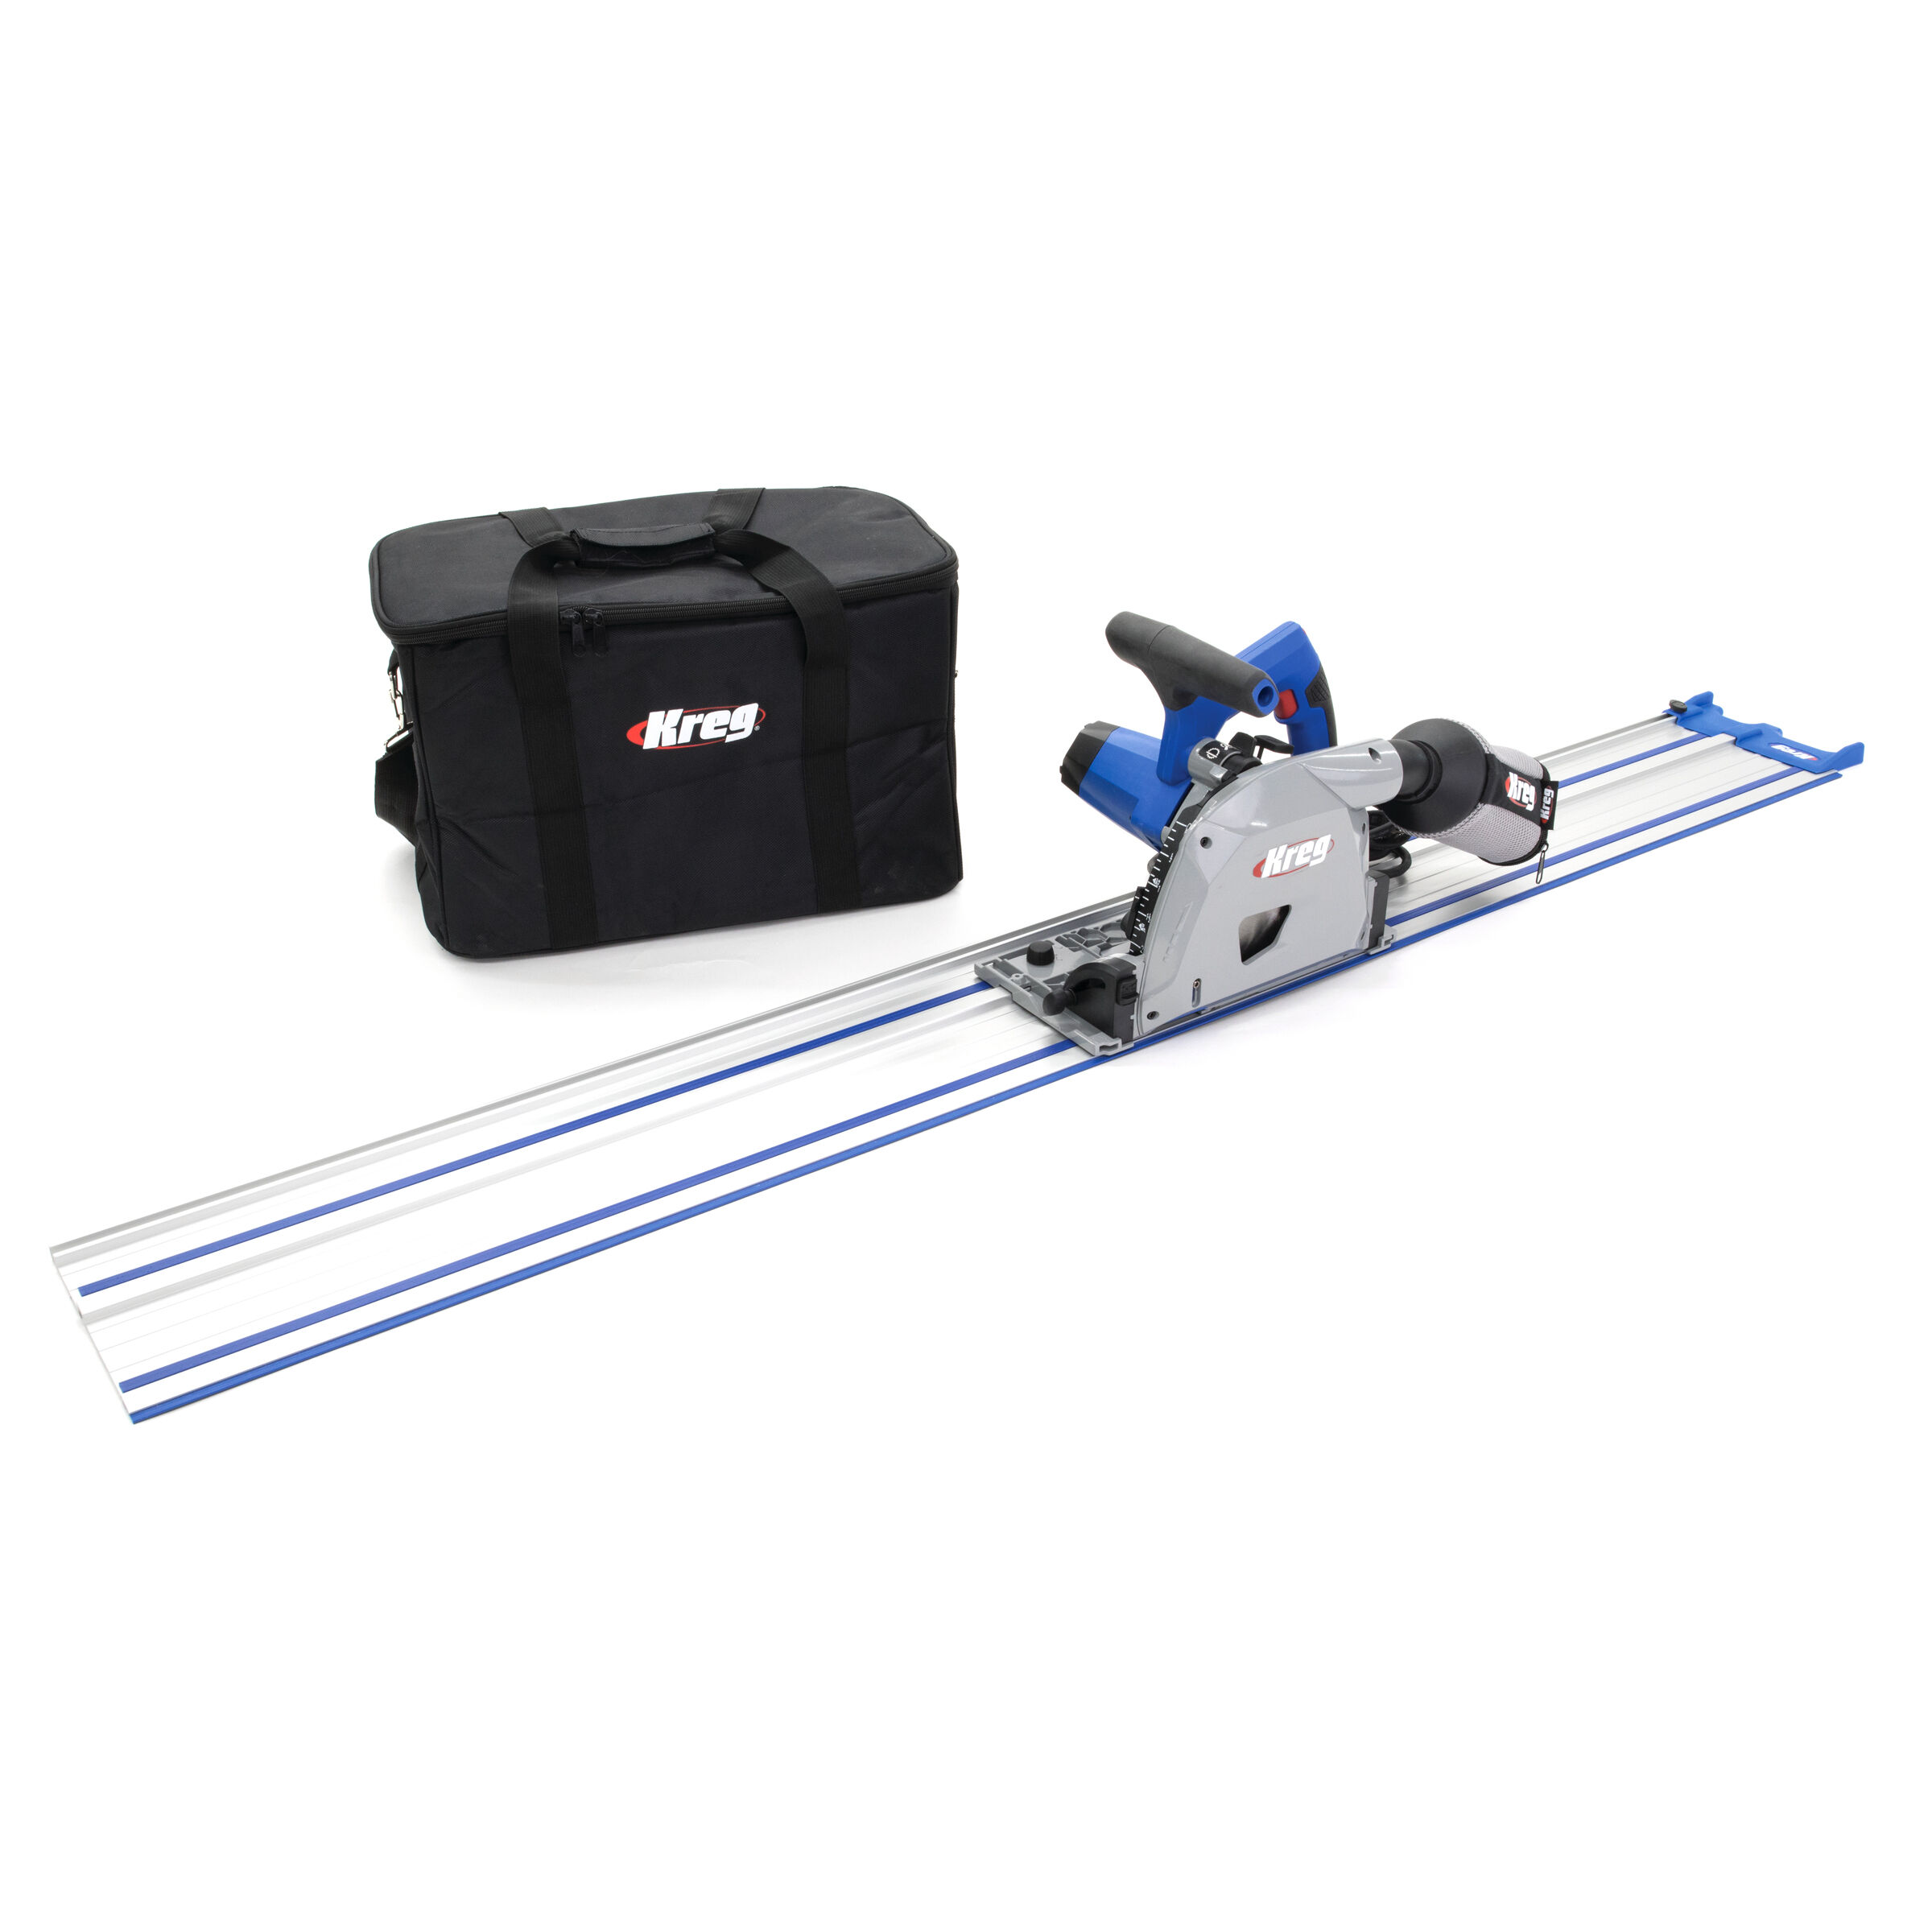
Great for making cuts in large sheets of plywood or on job sites.
Hand saws
Useful for quick cuts and situations where power tools aren’t practical.
Power drill
Essential for drilling holes and driving screws.
Drill press
Offers precision for repetitive drilling tasks.
Random orbit sander
Versatile for most sanding tasks.
Belt sander
Useful for heavy material removal.
Bar clamps
Available in various sizes for holding workpieces together.
Quick-release clamps
Handy for fast clamping needs.
Chisels
For cleaning up joints and cutting mortises.
Planes
Useful for smoothing and shaping wood surfaces.
Power tools vs. hand tools: what to prioritize
When building your tool collection, you’ll need to balance power tools and hand tools.
Benefits of investing in power tools
- Increased efficiency and speed
- Ability to tackle larger projects
- Consistent results, especially for repetitive tasks
Advantages of hand tools
- Greater control and precision for detailed work
- Often more affordable, especially when starting out
If you’re just getting started, put together a mix of basic power tools (like a drill and circular saw) and essential hand tools. As you develop your skills and take on more complex projects, you can gradually expand your tool collection.
Setting up your workbench and assembly area
The heart of any woodworking workshop is the workbench. This is where you’ll spend most of your time, so it’s important to get it the way that fits how you work and what you work on.
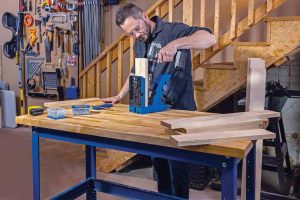
Choosing the right workbench
When selecting or building a workbench, consider the following:
Height
The ideal workbench height allows you to work comfortably without straining your back. A good rule of thumb is to have the bench top at the height of your wrist when standing with your arms at your sides.
Size
Your workbench should be large enough to accommodate your projects but not so large that it dominates your space. A common size is about 6 feet long and 2 feet deep.
Stability
A good workbench should be rock-solid, with no wobbling or movement during use.
Vises and dogs
Consider incorporating one or more vises and bench dogs for holding workpieces securely and lending more versatility to your workspace.
DIY vs. pre-built workbench options
You have two main options when it comes to acquiring a workbench:
DIY workbenches
Building your own workbench allows you to customize it to your exact needs and could be a good first project for your workshop. Many plans are available online, ranging from simple designs to more complex ones with storage features.
Pre-built workbenches
If you prefer to get started quickly or don’t feel confident in building your own, many excellent pre-built options are available. Look for sturdy construction and features that match your needs.
Optimal lighting for your workshop
Good lighting is important for working safely and efficiently. Consider these lighting options:
Task lighting
Use adjustable lamps or LED strip lights to illuminate specific work areas. This helps reduce shadows and providing focused light where you need it most.
Overhead lighting
Install bright, even lighting across your entire workshop. LED shop lights are energy-efficient and provide excellent illumination.
Natural light
If possible, incorporate windows or skylights into your workshop design. Natural light not only saves energy but also helps with color accuracy when finishing projects.
Ergonomic work setup
To prevent strain and fatigue during long woodworking sessions, it’s a good rule of thumb to pay attention to how your shop is set up for comfort.
Adjustable seating
If you want to have the option to sit, use an adjustable stool that allows you to maintain proper posture.
Anti-fatigue mats
Place cushioned mats in areas where you stand for extended periods to reduce strain on your feet and back.
Tool placement
Arrange frequently used tools within easy reach to minimize stretching and bending.
Tool storage solutions for a clutter-free workshop
Effective storage is key to maintaining an organized and efficient workshop. Here are some storage solutions to consider.

Wall-mounted storage for small tools
Use wall space for storing hand tools and small accessories.
Pegboard
Versatile and customizable, pegboards allow you to hang tools and rearrange them easily as your needs change.
French cleats
This system of horizontal rails lets you create custom holders for various tools and adjust their placement as needed.
Magnetic strips
Ideal for metal tools like chisels and screwdrivers, magnetic strips keep tools visible and easily accessible.
Shelves
Install sturdy shelves for items that don’t hang well, such as power tools or finishing supplies.
Space-saving ideas for small workshops
If you’re working with limited space, try these storage hacks:
- Fold-down workbench: A wall-mounted workbench that folds up when not in use can free up valuable floor space.
- Ceiling storage: Use overhead space to store lumber or rarely-used items.
Mobile storage options
For flexibility in your workshop layout, consider mobile storage solutions.
Rolling tool cabinets
These allow you to move your tools to where you’re working and can be tucked away when not in use.
Mobile workbenches
Choosing a mobile workbench with pre-installed or DIY-ed shelves and cabinets gives you a great combination of storage, work surface, and the ability to move your bench where you need it.
Utility carts
With plenty of options and sizes available, utility carts are great for transporting tools and materials around your shop.
Dust collection systems
Controlling dust is vital for your health and tool maintenance. Here are dust collection options to consider:
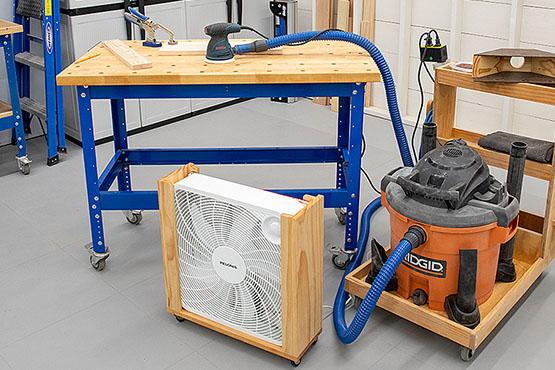
Shop vacuums
A good starting point for small workshops, these can be attached to individual tools. If using a shop vac, it would be beneficial to invest in a dust separator device to remove dust and debris before they reach the vacuum. Dust separators greatly reduce clogging, improve suction, and extend the life of the vacuum.
Central dust collection systems
For larger workshops, a central system with ductwork to multiple tools offers more powerful and convenient dust control.
Air filtration
These units help remove fine dust particles from the air, improving overall air quality in your workshop.
When choosing between DIY and commercial dust collection solutions, consider your budget, the size of the space, and the amount of dust your projects typically produce.
Safety tips for your workshop
Safety should be a top priority in any workshop. Always keep the following safety equipment on hand and use it consistently:

Eye protection
Safety glasses or goggles protect your eyes from flying debris.
Hearing protection
Use earplugs or earmuffs when operating loud machinery.
Dust masks or respirator
Essential for protecting your lungs from wood dust and fumes from paints, stains, and other finishes.
Work gloves
Use when handling rough materials or doing tasks that could cause splinters.
Push sticks and featherboards
These help keep your hands away from saw blades when using power tools.
Ventilation and air quality
Proper ventilation is crucial for maintaining good air quality in your workshop:
Windows and doors
When weather permits, open windows and doors to allow fresh air circulation.
Exhaust fans
Install fans to help remove dust and fumes from your workspace.
Air purifiers
Consider using an air purifier with a HEPA filter to remove fine dust particles from the air.
Proper storage of finishes and solvents
Store these materials in well-ventilated areas or fireproof cabinets to prevent fume buildup.
Frequently Asked Questions
How much does it cost to start a woodshop?
The cost of setting up your woodshop can vary widely depending on the tools you choose and the size of your space. A basic setup with essential hand tools and a few power tools can cost anywhere from $1,000 to $5,000. More comprehensive workshops with high-end tools and machinery can easily exceed $10,000. Remember, you don’t need to buy everything at once. It’s perfectly fine to start with the essentials and build your tool collection over time as your skills and project needs grow.
How big does a workshop need to be?
Ideally you want it be at least 200 square feet, but it can be as small as 100 square feet for hobbyists with limited equipment.
The size of your workshop depends on the type of projects you plan to tackle and the tools you’ll be using. A small hobby workshop can be as compact as 75-100 square feet, while a more comprehensive setup might require 200-300 square feet or more. The key is to have enough space to work safely and comfortably. Even if you’re working with limited space, careful planning and organization can help you make the most of what you have.
How do you organize wood in a workshop?
Use wall-mounted racks, vertical storage bins, or dedicated lumber carts to keep pieces sorted by type and size.
Here are some tips for storing lumber:
- Vertical storage: Use wall-mounted racks or bins to store boards vertically. This saves floor space and makes it easy to see and access your stock.
- Lumber rack: Build or buy a lumber rack to store longer boards horizontally. This keeps them straight and helps prevent warping.
- Sheet goods storage: Store plywood and other sheet goods vertically in a dedicated rack or lean-to storage area.
- Scrap bin: Designate a bin or area for storing usable scraps.
- Mobile cart: For frequently used pieces, consider a rolling lumber cart that can be moved around your shop as needed.
Remember to store your wood in a dry area of your workshop to prevent warping or other moisture-related issues.


