Introduction to Wood Staining
Staining is more than just changing the color of wood – it’s a process that involves applying a pigmented solution that penetrates the wood fibers to alter their color while highlighting the natural grain patterns. Unlike paint, which creates a solid layer on the surface, stain becomes part of the wood itself, creating a more natural and lasting finish that enhances the wood’s inherent character.
The benefits of staining wood are numerous and significant:
- Improved aesthetic appeal through color modification
- Protection against moisture damage and warping
- UV damage prevention; especially important for outdoor pieces
- Increased durability and longevity of the wood
- Preservation of wood’s natural character and grain patterns
- Added value to furniture and fixtures
- Customization options to match existing décor
- Prevention against deterioration
- Easier maintenance compared to painted surfaces
While the process might seem daunting to beginners, with the right knowledge and tools, anyone can achieve beautiful results. The key is understanding the different types of stains available and following proper preparation and application techniques. This guide will help you navigate through each step with confidence.
Materials and Tools Needed
A successful wood staining project begins with having the right supplies on hand. Here’s a comprehensive list of what you’ll need:
Basic materials:
- Wood stain in your chosen color and type
- Clean cotton rags or cheesecloth for application and wiping
- Synthetic bristle brushes (for water-based stains)
- Natural bristle brushes (for oil-based stains)
- Multiple grits of sandpaper (80, 120, 150, and 220 grit)
- Tack cloth for dust removal
- Heavy-duty protective gloves (chemical-resistant)
- Face mask or respirator rated for chemical fumes
- Drop cloths or newspapers for surface protection
- Mineral spirits (for oil-based stains)
- Clean water (for water-based stains)
- Stirring sticks for mixing stain
- Clean, lint-free cloths for cleanup
Optional tools:
- Pre-stain wood conditioner (highly recommended for soft woods)
- Wood filler matching your chosen stain color
- Electric orbital sander for larger projects
- Manual sanding block for detail work
- Paint stirrer or mixing paddle
- Protective sealant (polyurethane, lacquer, or varnish)
- Foam application sponges
- Wood scraper for removing old finishes
- Clean spray bottle for water popping
- Protective eyewear
- Workshop vacuum for dust collection
- Temperature and humidity gauge
- Good lighting setup
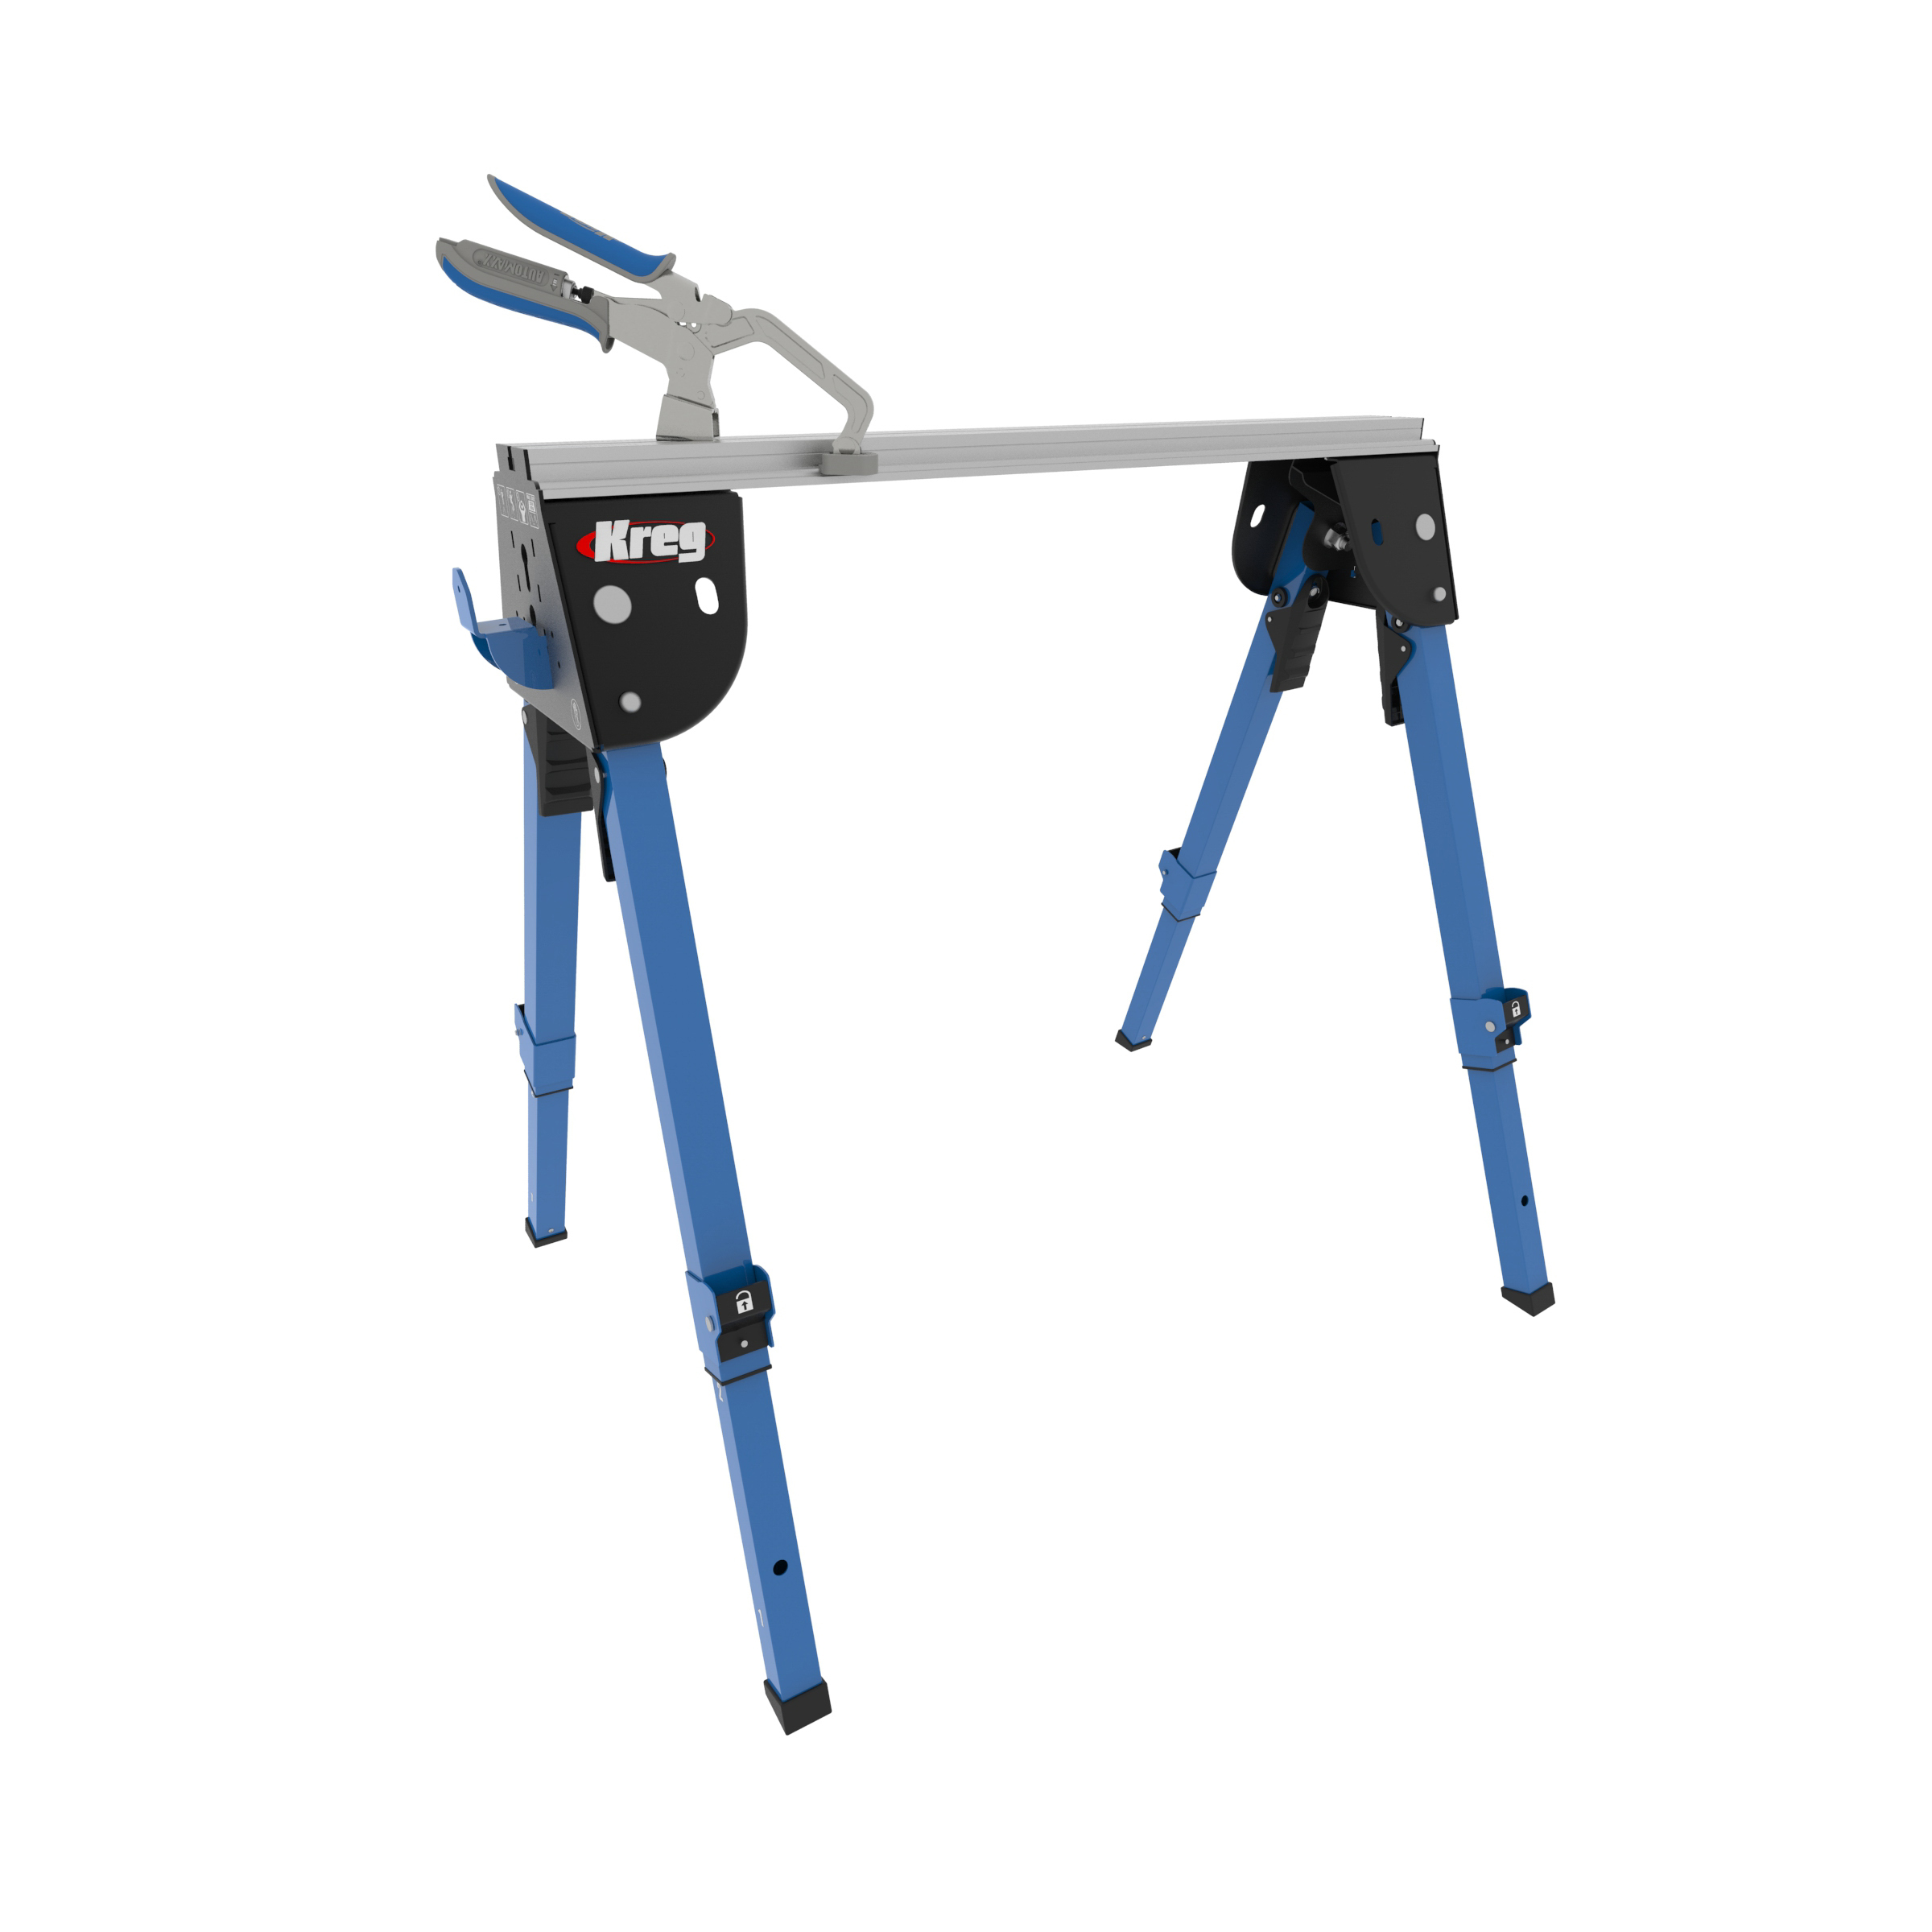
- Sawhorses or work table
- Storage containers for supplies
Types of Wood Stains Explained
Understanding the different types of wood stains available is crucial for choosing the right product for your project. Each type has its own characteristics, advantages, and best uses.
Oil-based stains
Oil-based stains are the traditional choice and remain popular among both professionals and serious DIYers.
Pros:
- Longer working time allows for more even application
- Deep penetration into wood fibers ensures lasting color
- Rich, warm color results that enhance wood grain
- Excellent durability and weather resistance
- Better grain enhancement and definition
- More forgiving application process
- Greater protection against moisture
- Ideal for outdoor projects
Cons:
- Longer drying time (24-48 hours typically)
- Stronger odor requiring good ventilation
- Requires mineral spirits for cleanup
- Less environmentally friendly
- More difficult to transport and store
- Higher VOC content
- Can be more expensive
- May darken over time
Water-based stains
Modern water-based stains have evolved significantly and offer several compelling advantages:
Pros:
- Quick drying time (2-6 hours)
- Low VOC emissions for better air quality
- Easy cleanup with just soap and water
- Wide range of colors available
- Less odor during application
- More environmentally friendly
- Better color stability over time
- Ideal for indoor projects
- Non-flammable
Cons:
- Shorter working time requires faster application
- May raise wood grain requiring extra sanding
- Can be less durable than oil-based options
- May not penetrate as deeply into wood
- More prone to lap marks
- Multiple coats often needed
- Can freeze in cold temperatures
- May show brush marks more easily
Gel stains
Gel stains offer unique properties that make them ideal for certain applications:
Pros:
- Excellent for vertical surfaces with minimal dripping
- More consistent color across different wood types
- Less dripping and mess during application
- Good for difficult-to-stain woods
- Ideal for wood with blotching tendencies
- Better control over color intensity
- Can be used on non-wood surfaces
- Good for creating special designs
Cons:
- May obscure wood grain more than liquid stains
- Can be harder to apply evenly
- Usually more expensive per square foot
- Limited color selection
- Requires special application techniques
- Longer drying time than water-based stains
- More difficult to touch up
- May require multiple coats
Learn more about how to select gel vs liquid stain.
Preparing the Wood for Staining
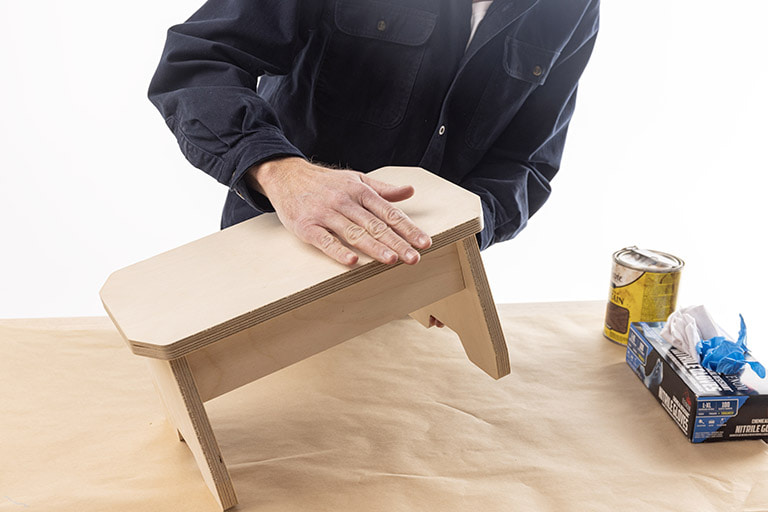
Step 1: Clean and inspect the wood
Proper preparation begins with a thorough examination and cleaning of the wood surface. Look for:
▪ Dirt, dust, and surface debris
▪ Old finishes that need removal
▪ Damaged areas requiring repair
▪ Nail holes or imperfections
▪ Grease or oil spots
▪ Water stains or discoloration
▪ Mold or mildew
▪ Loose knots or splits
Cleaning process:
- Remove all hardware and attachments
- Vacuum or brush away loose debris
- Clean with appropriate wood cleaner
- Remove any grease or oil spots with mineral spirits
- Allow surface to dry completely
- Repair damage using wood filler
- Test wood moisture content if possible
Step 2: Sand the surface
Proper sanding is perhaps the most crucial step for achieving an even stain. Follow a grit progression that will leave a smooth, uniform surface:
1. Initial sanding (if needed):
▪ Use 60-80 grit for severely damaged surfaces
▪ Remove old finishes or major imperfections
▪ Sand until surface is roughly even
2. Medium sanding:
▪ Progress to 120-grit for general smoothing
▪ Remove any remaining roughness
▪ Address any minor imperfections
3. Fine sanding:
▪ Use 150-grit for surface refinement
▪ Begin to achieve a smooth finish
▪ Pay attention to end grain areas
4. Final sanding:
▪ Finish with 220-grit for final smoothing
▪ Create optimal surface for stain absorption
▪ Ensure perfectly smooth texture
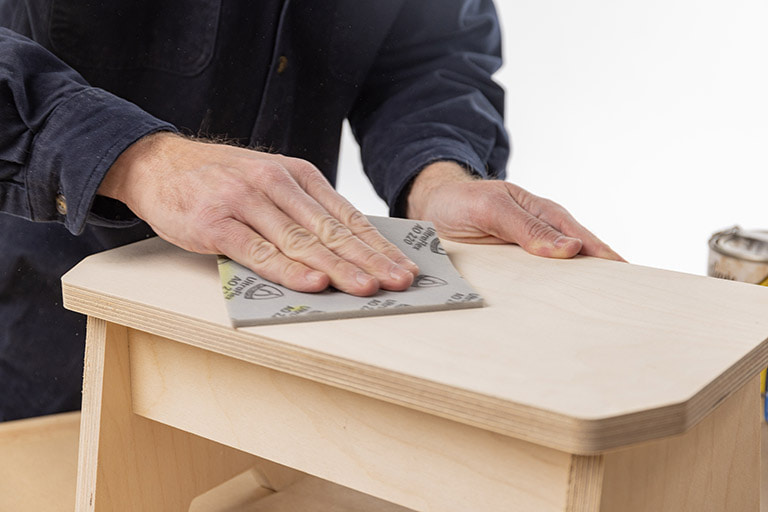
Important sanding tips:
- Always sand in the direction of the wood grain
- Remove all dust between grits
- Use even pressure throughout
- Pay special attention to edges and corners
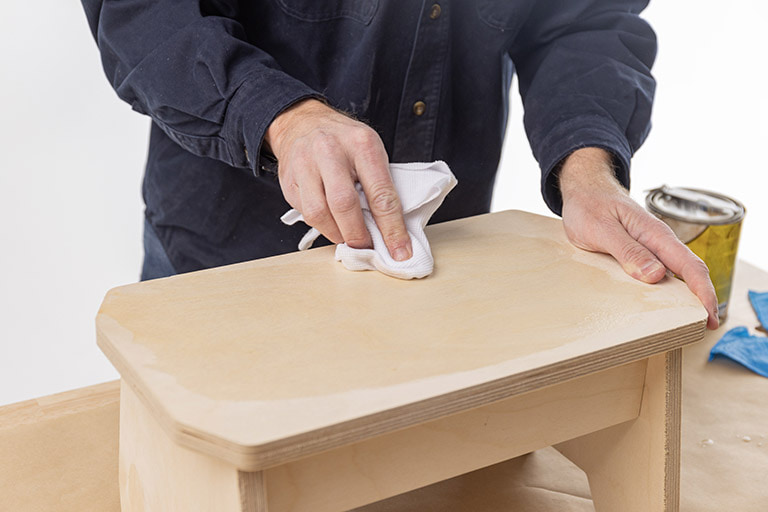
- Vacuum and wipe with tack cloth after final sanding
- Check surface in good lighting
- Feel for smoothness with your hand
- Document any problem areas
- Keep sanders well-maintained
- Replace sandpaper frequently
Step 3: Wetting the wood
The “water popping” technique can help ensure even stain absorption and is especially important for some wood species:
1. Preparation:
▪ Ensure surface is completely clean
▪ Use distilled water to avoid mineral deposits
▪ Prepare clean spray bottle or cloth
▪ Work in manageable sections
2. Application:
▪ Lightly dampen the wood with distilled water
▪ Use consistent application method
▪ Allow wood fibers to raise
▪ Maintain even coverage
▪ Watch for pooling or puddles
3. Drying:
▪ Allow to dry completely (usually 2-4 hours)
▪ Maintain consistent temperature
▪ Avoid direct sunlight or fans
▪ Check moisture content if possible
4. Final Preparation:
▪ Lightly sand with final grit (220)
▪ Remove dust thoroughly
▪ Inspect surface for evenness
How to Apply Wood Stain: Step-by-Step Guide
Step 1: Test the Stain
Before committing to staining your entire project, proper testing is essential:
Select test area
▪ Use a scrap piece of the same wood type
▪ Prepare it using identical methods
▪ Consider multiple test pieces for different techniques
Application methods
▪ Test different application techniques
▪ Try differing stain amounts
▪ Test multiple coat options
▪ Make note of drying times
Evaluation
▪ Check coloring
▪ Examine grain enhancement
▪ Assess absorption patterns
▪ Look for any blotching
▪ Consider lighting conditions
▪ Allow full drying time
Adjustments
▪ Modify technique if needed
▪ Try different dilution ratios
▪ Test alternative products
▪ Document successful methods
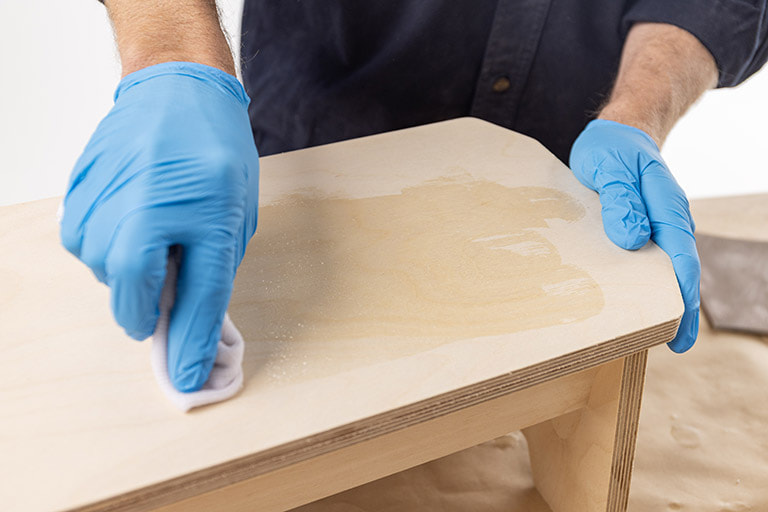
Step 2: Apply wood conditioner
Pre-stain wood conditioner is crucial for
▪ Soft woods (pine, cedar, fir)
▪ Woods prone to blotching (maple, cherry)
▪ Projects requiring very even coloration
▪ High-visibility surfaces
Preparation
▪ Ensure surface is clean and dust-free
▪ Check temperature and humidity are withing range listed for stain
▪ Prepare application materials
▪ Protect surrounding areas
Application steps
▪ Apply conditioner liberally with brush or cloth
▪ Work in manageable sections
▪ Maintain wet edge
▪ Follow grain direction
▪ Watch for pooling and remove excess as needed
▪ Let sit for 15 minutes
Processing
▪ Wipe off excess thoroughly
▪ Check for missed spots
▪ Allow proper absorption time
▪ Wait 2 hours before staining
Quality check
▪ Inspect surface evenness
▪ Check for dry spots
▪ Address any issues
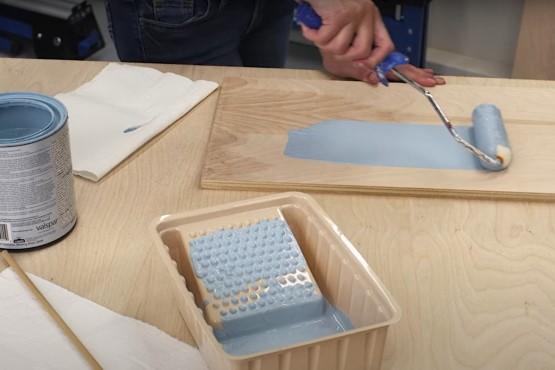
Step 3: Apply the stain
Different application methods suit different projects and stain types:
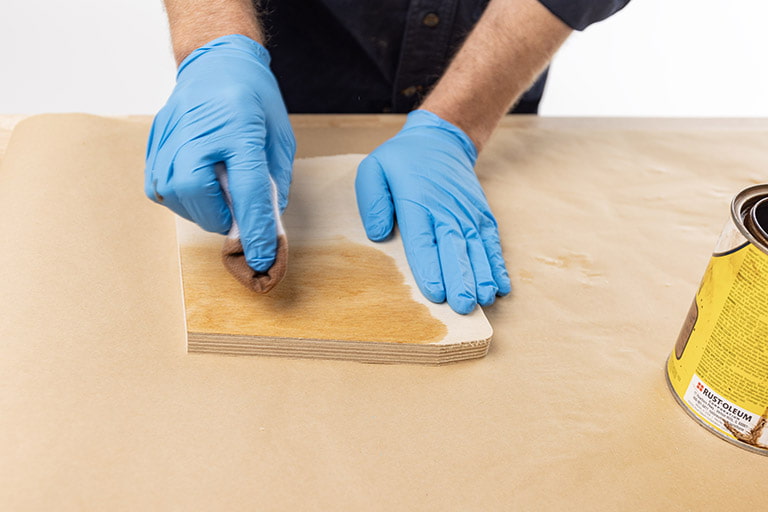
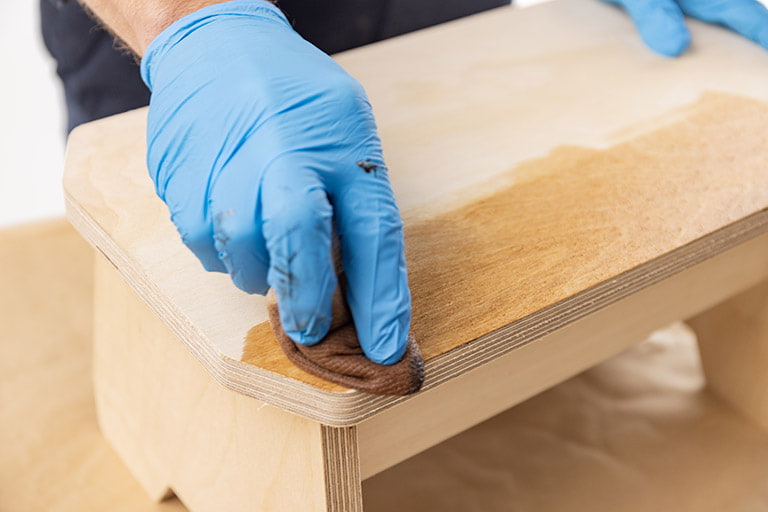
Cloth application
Setup
▪ Fold cloth
▪ Prepare multiple clean cloths
▪ Wear protective gloves
▪ Plan application pattern
Process
▪ Dip in stain and wring out excess
▪ Apply in circular motion
▪ Work systematically
▪ Maintain consistent pressure
▪ Wipe with grain for final pass
▪ Check for even coverage
Brush application
Preparation
▪ Stir stain thoroughly (never shake)
▪ Test brush for loose bristles
▪ Prepare clean-up materials
▪ Plan work sequence
Technique
▪ Apply with the grain using smooth, even strokes
▪ Work in manageable sections
▪ Maintain a wet edge
▪ Use consistent pressure
▪ Watch for drips and runs
▪ Blend section transitions
Spray application
Preparation
▪ Thin out the stain if necessary (according to manufacturer’s suggestion)
▪ Test spray pattern
▪ Protect surrounding areas
▪ Ensure proper ventilation
Technique
▪ Use steady, overlapping passes
▪ Maintain consistent distance
▪ Control spray pattern
▪ Watch for runs
▪ Back-brush if needed
▪ Monitor coverage
Step 4: Remove excess stain
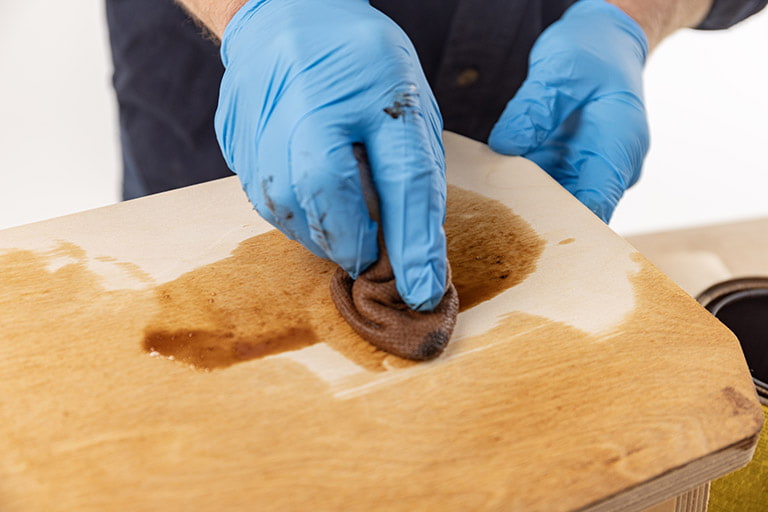
Proper removal of excess stain is crucial for professional results:
▪ Wait 5-15 minutes after application
▪ Monitor absorption rate
▪ Watch for surface changes
▪ Consider temperature effects
Removal process
▪ Use clean, lint-free cloth
▪ Wipe with consistent pressure
▪ Follow wood grain
▪ Work systematically
▪ Check for missed areas
▪ Address any pooling
Make sure of results
▪ Check for even color
▪ Look for streaks or blotches
▪ Address problems immediately
Finishing and Sealing Stained Wood
Step 1: Allow proper drying time
Keep in mind that several factors affect drying time.
Environmental factors:
▪ Temperature (ideal: 70-75°F)
▪ Humidity (ideal: 50-60%)
▪ Air circulation
▪ Direct sunlight
▪ Time of day
▪ Season
Stain-specific times
▪ Water-based: 1-2 hours between coats
▪ Oil-based: 24-48 hours between coats
▪ Gel stains: 24 hours minimum
▪ Heavy applications: Additional time
▪ Multiple coats: Progressive increase
Drying tips
▪ Maintain consistent conditions (i.e., humidity, temperature)
▪ Avoid rushing
▪ Test for dryness
▪ Document drying times
▪ Consider local climate
▪ Plan for weather changes
Step 2: Apply a protective sealant
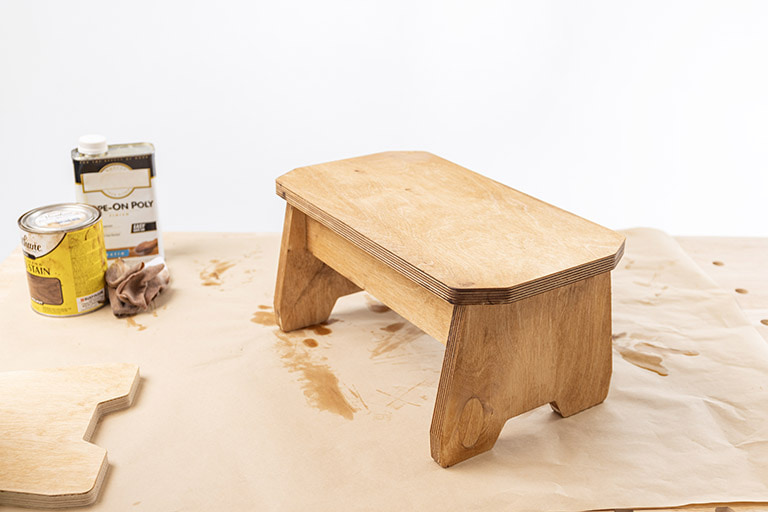
Selecting and applying the right sealant is an important part of the process.
Common sealant options
Polyurethane
▪ Most durable option
▪ Available in different lusters
▪ Good moisture resistance
▪ Excellent durability
▪ Can be applied in multiple coats
Lacquer
▪ Fast-drying
▪ Professional look
▪ Good clarity
▪ Easy repair
▪ Danish oil
▪ Natural look
▪ Easy application
▪ Good penetration
▪ Enhanced grain
▪ Simple maintenance
Shellac
▪ Traditional finish
▪ Warm appearance
▪ Fast drying
▪ Easy repair
▪ Natural product
Application guidelines
Preparation
▪ Ensure stain is completely dry
▪ Clean surface thoroughly
▪ Check temperature/humidity
▪ Prepare application tools
Applying the sealant
▪ Sand lightly between coats
▪ Apply thin, even coats
▪ Maintain wet edge
▪ Follow manufacturer’s instructions
▪ Allow proper curing time
▪ Monitor conditions
7 Tips and tricks for a perfect finish
Finishing is one of those places where you can really customize your project and give it a unique look. Even if you’re building from a plan, you can totally change it up depending on the stain color or the paint you use. Applying that final finish to your project doesn’t have to be as difficult or as intimidating as you might think. Here are some tips that will help ensure
Break it all down — separating project parts and removing hardware simplifies the process
Before you get started, you don’t really need to disassemble your project, but if it has pieces that easily come apart it’s a good idea to kind of separate them. Then you don’t have nearly as many nooks and crannies to reach into and try to work around. You can also pre-fit all the hardware and then remove it before finishing — that way if there’s any marks or anything around the holes drilled, they can be sanded out before finishing.
Sand the wood for consistent color — consistent sanding makes a big difference
Be sure to sand consistently. If you sand in some parts to 100 grit and others to 150 or 180, the rough parts and the smooth parts may absorb stain differently and lead to big inconsistencies in color. So it’s really important to take the time.
Start with a clean surface — learn about preparing the wood and using wood filler
When you’re done sanding, you’ll vacuum or wipe down your project and you may think it’s ready to go, but there’s probably a lot more sawdust left on the surface than you’d think. Try tack cloth when wiping down the surfaces. Tack cloth is kind of gummy so try to not press too hard — you don’t want to push that tacky material into the surface.
When you’re sanding, it gives you a great chance to look over your project one more time and make sure that you haven’t missed any spots. If you need to, add a little wood filler to fill in the gaps.
Test your stain — avoid color surprises with a stain sample board
When you’re ready to stain your project, one of the hardest decisions to make can be what color to choose.
Even if you’re sure you found the right stain color, there’s nothing worse than getting partway through and deciding that you just don’t like it, as stain can be nearly impossible to sand through. So a good idea is to start on an interior part of your project or with a small piece, or even a scrap piece that matches your wood type.
Prevent blotches, runs, and drips — learn about the benefits of gel stain
We recommend using a gel stain, because of two key advantages.
▪️ It’s thick and tends not to run and get all over the place like liquid stain.
▪️ It doesn’t soak in quite as deeply to the wood, meaning you won’t get inconsistencies in color like liquid stain.
▪️ It’s easy to apply.
Take it one step at a time — it’s important to have a plan when you’re staining
Make sure that you cover a whole panel at one time. Don’t stop part way across, and let that stain dry, and then start again. You may end up with a visible line — called a lap mark — where you get more stain overlapping.
Protect your stain with a wood finish — applying finish is a critical last step
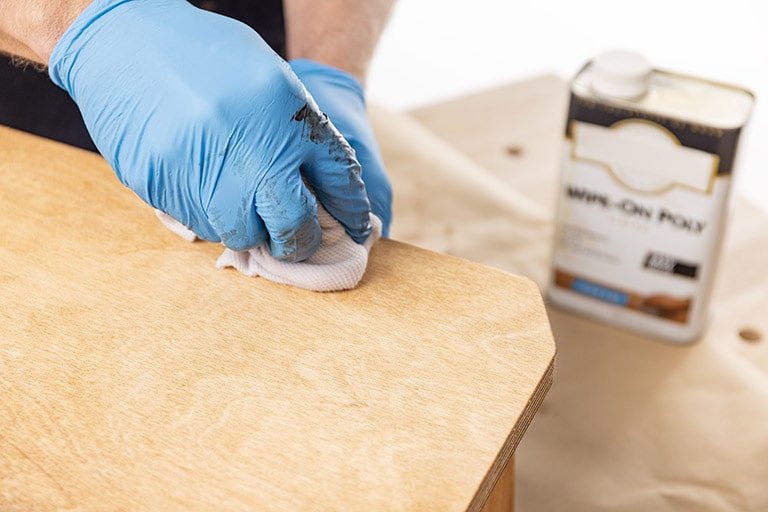
When you get your stain on, your projects will start to look great but you might be a little disappointed at first because you expect that really vibrant color but aren’t seeing it. That’s because stain alone doesn’t complete the finishing process. You also need a topcoat or a clear finish over the top. A good choice is a wiping varnish (wipe-on polyurethane or wipe-on varnish).
Learn about the difference between wood stain vs wood finish.
Just wipe on the varnish with a rag or with a foam brush. It’s just very forgiving and it’ll give a really nice look.
Can you stain treated wood?
Yes, you can stain treated wood, but it’s best to wait until it’s fully dry (typically 4-6 weeks after treatment) to ensure proper absorption and an even finish.
Learn more about staining treated wood.
Common mistakes to avoid
Preparation errors
- Insufficient surface preparation
- Inadequate sanding
- Skipping wood conditioner
- Poor cleaning
- Rushing the process
Application mistakes
- Applying stain too thickly
- Inadequate stirring
- Wrong application method
- Inconsistent technique
- Poor lighting conditions
Workspace issues
- Poor ventilation
- Incorrect temperature
- High humidity
- Direct sunlight
- Dusty conditions
Tool problems
- Using dirty applicators
- Wrong brush type
- Contaminated materials
- Improper storage
- Poor maintenance
Do’s and don’ts of wood staining
Do:
- Work in a well-ventilated area
- Maintain consistent temperature
- Stir stain frequently
- Use quality materials
- Test techniques first
- Plan your approach
- Clean tools properly
Don’t:
- Rush preparation
- Skip testing
- Work in direct sun
- Use dirty materials
- Shake oil-based stains
- Ignore safety precautions
- Mix different products
- Forget ventilation
FAQs about wood staining
What is the best way to apply stain to wood?
The best way to apply stain to wood is to use a clean, lint-free cloth to apply the stain evenly in the direction of the wood grain, ensuring complete coverage while maintaining consistent pressure and wiping off excess after a few minutes to prevent blotching or uneven coloring.
Is it better to stain wood with a brush or rag?
A lint-free rag is generally better than a brush for applying wood stain because it allows for better control, more even application, helps prevent streaking, and reduces the risk of leaving behind brush marks or pools of excess stain.
How long do you leave a wood stain on before wiping off?
For most wood stains, you should leave the stain on for 5-15 minutes before wiping off excess, though this can vary based on the desired color intensity, type of stain, wood species, and manufacturer’s recommendations.
What is the easiest wood stain for beginners?
Gel stain has distinct advantages that actually make it a strong contender for beginners — it doesn’t drip, provides more consistent color across different wood types, and is easier to control during application since its thicker consistency prevents many common issues like blotching, running, and uneven absorption that often frustrate beginners working with traditional liquid stains.
Learn about how to apply gel stain.
Is it better to apply stain with a roller or brush?
A brush is generally better than a roller for applying wood stain because brushes offer more control, better penetration into the wood grain, and more even coverage, while rollers can create air bubbles and uneven application.
Can you leave stain on without wiping?
While gel stains can sometimes be left unwiped, traditional liquid wood stains should never be left on without wiping off excess, as this will lead to a sticky, uneven surface that won’t dry properly and may eventually peel or flake.
Can you stain over wood without sanding?
While you technically can stain over wood without sanding, it’s not recommended because unsanded wood will likely result in uneven stain absorption, blotching, and poor overall finish quality, unless you’re working with a gel stain on an already smooth surface.
Can I stain over stain?
You can stain over existing stain as long as you’re going darker in color and the existing finish is in good condition, though it’s best to lightly sand the surface first and consider using a gel stain for more consistent coverage.
How do you stain wood without brush marks?
To stain wood without brush marks, use a pre-stain wood conditioner, apply the stain with a lint-free cloth using long, even strokes in the direction of the wood grain, and wipe off excess stain within 5-15 minutes of application.


