If you’ve ever tackled a woodworking or home improvement project that involved sanding, there’s a good chance someone told you to grab an orbital sander. But what are orbital sanders used for? And what makes them different from other types of sanders?
This guide breaks it all down. Whatever you’re working on, here’s everything you need to know about orbital sanders and why they’re a must-have.
What Is an Orbital Sander? Understanding the Basics
How Orbital Sanders Work
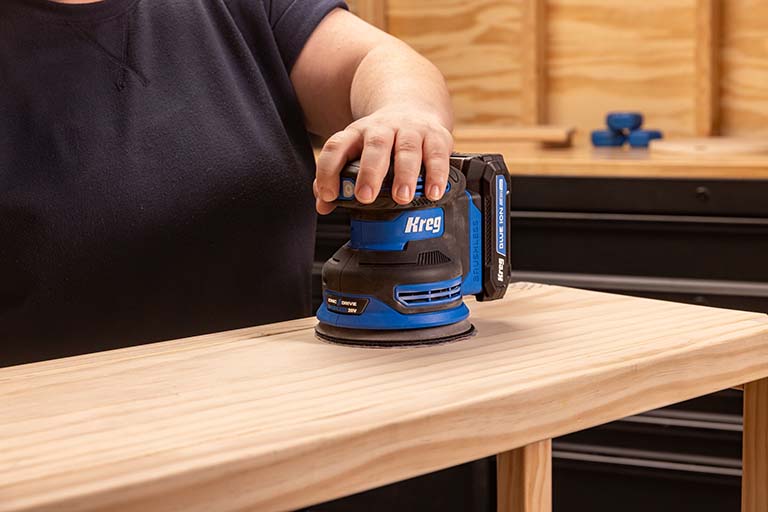
An orbital sander is a handheld power tool that sands by moving the sandpaper in small, circular motions (or orbits). Unlike sanders that move in a straight line (like belt sanders), orbital sanders don’t follow the grain of the wood, they move in a consistent orbit, making them ideal for light to medium sanding tasks.
Key Components and Parts
Here are the main parts you’ll find on most orbital sanders:
- Sanding Pad
A flat square or round base that holds the sandpaper. - Motor Housing
The body of the tool where the motor is housed. - Dust Port or Bag
Collects sanding dust (often connectable to a vacuum). - Speed Control
Lets you adjust the rate of orbital movement (on some models). - Grip / Handle
Usually a palm-style grip for easy control with one hand.
Orbital vs. Random Orbital Sanders: Key Differences
People often confuse orbital sanders with random orbital sanders (and for good reason).
- Orbital sanders move the pad in a consistent circular motion.
- Random orbital sanders combine the circular motion with a random spin of the disc. This reduces swirl marks and leads to a smoother finish.
If you’re doing more finish-type work, a random orbital might be better. But orbital sanders (especially sheet-style) are great for detail sanding, prepping surfaces, and working into corners.
Learn more about the differences between orbital sanders vs other sanders:
orbital sanders vs palm sanders
orbital sanders vs belt sanders
Common Uses for Orbital Sanders
So what are orbital sanders used for?
- Sanding between coats of paint or finish
- Prepping surfaces before painting or staining
- Removing minor blemishes or swirl marks
- Detail sanding on furniture, cabinets, and trim
They’re not aggressive like belt sanders, which makes them safer and easier to control – especially for beginners.
Orbital Sander Applications by Project Type
Surface Preparation Before Painting or Staining
Proper prep is critical before applying any finish and orbital sanders excel at it. Whether you’re painting a wall, staining a table, or sealing a cabinet, orbital sanders help create a smooth, clean surface for better adhesion and a more professional finish.
Where you might use it:
- Sanding bare wood before applying stain or polyurethane
- Lightly scuffing glossy finishes to improve paint bonding
- Leveling patched drywall areas before repainting
- Removing brush marks or roller texture between coats
Tips for best results:
- Use 120–150 grit for initial sanding
- Finish with 180–220 grit before stain or finish coats
- Always sand in the direction of the grain, even with an orbital
- Vacuum or tack-cloth the surface to remove all dust before applying finish
Smoothing Rough Wood Surfaces
Whether it’s construction lumber, DIY project panels, or salvaged wood, orbital sanders help smooth things out quickly and cleanly. They’re especially useful after cutting or routing, where surfaces may have minor burn marks or blade chatter.
Use cases:
- Sanding down planed boards
- Removing saw marks or router tracks
- Evening out small high spots after glue-up
- Softening edges and easing corners
Helpful techniques:
- Start with 80 or 100 grit on rough surfaces
- Check your progress often (especially on hardwoods)
- Don’t linger in one spot — make even, overlapping passes
- For rounded edges, use a gentle rocking motion to contour the surface
Removing Old Paint and Finishes
Orbital sanders are perfect for stripping off old paint, varnish, or polyurethane, especially when you’re working on flat surfaces like cabinet doors, furniture panels, or wood trim. They’re aggressive enough to break through layers, but gentle enough to preserve the wood underneath.
Common projects:
- Refinishing dining tables or dressers
- Removing peeling paint from doors or baseboards
- Stripping shellac or lacquer from vintage furniture
What to keep in mind:
- Use 60–80 grit to break through the topcoat
- Step up through finer grits (120–150) to prepare for refinishing
- Avoid applying too much pressure – let the sander do the work
- Always wear a dust mask (especially with old paint, which may contain lead)
Creating Smooth Joints and Seams
After assembling a project, joints can sometimes be a little uneven, especially if you’re gluing up panels or joining boards at corners. An orbital sander helps blend those seams to make everything flush and polished.
Where this is useful:
- Cabinet carcasses and furniture frames
- Edge-glued tabletops or butcher block counters
- Picture frames and trim joints
- Pocket hole or biscuit joinery cleanup
How to approach it:
- Use 100 or 120 grit to start
- Check for glue squeeze-out first (a scraper or chisel helps before sanding)
- Keep the pad flat and balanced across the joint
- Avoid tipping the sander at edges, as it can round over corners unintentionally
Detail Work and Finishing
While not as precise as a detail sander, orbital sanders can still do surprisingly good work in tight spots. They’re ideal for final finishing where you want a smooth, swirl-free surface.
Perfect for:
- Chair arms and legs
- Tabletop edges and beveled surfaces
- Drawer fronts and cabinet face frames
- Trim boards and molding
Best practices:
- Use higher grits (180–220) for final passes
- Light pressure helps prevent swirl marks or edge burnishing
- If working on softwood, test on a scrap piece first to gauge removal rate
- Avoid using old or worn sanding pads
Can You Use an Orbital Sander on Different Materials?
Orbital sanders are surprisingly versatile. Here’s a quick breakdown:
Wood
Their most common application. Use them on softwood, hardwood, plywood, MDF, or even veneered surfaces. Just adjust your grit and pressure accordingly.
Metal
With appropriate abrasive pads, orbital sanders can remove rust, smooth welds, and prep metal for paint.
Drywall and Painted Surfaces
Use lightly! Orbital sanders can level small drywall patches or remove flaking paint from walls. Avoid using on full drywall seams unless you’re experienced. It can create divots quickly.
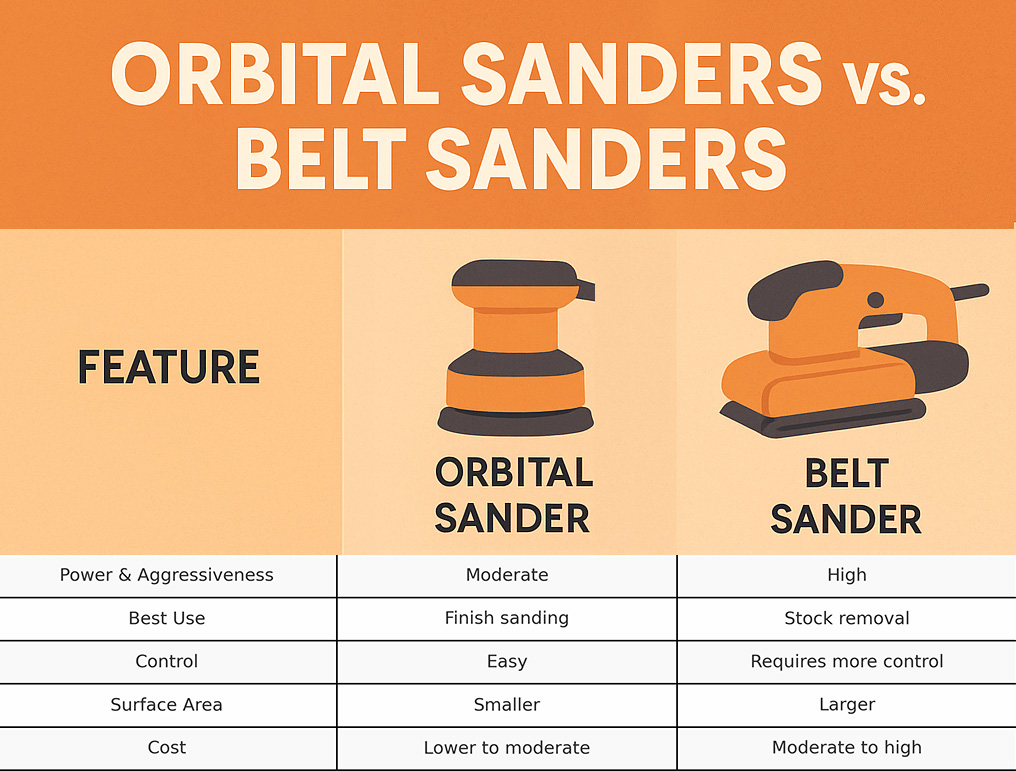
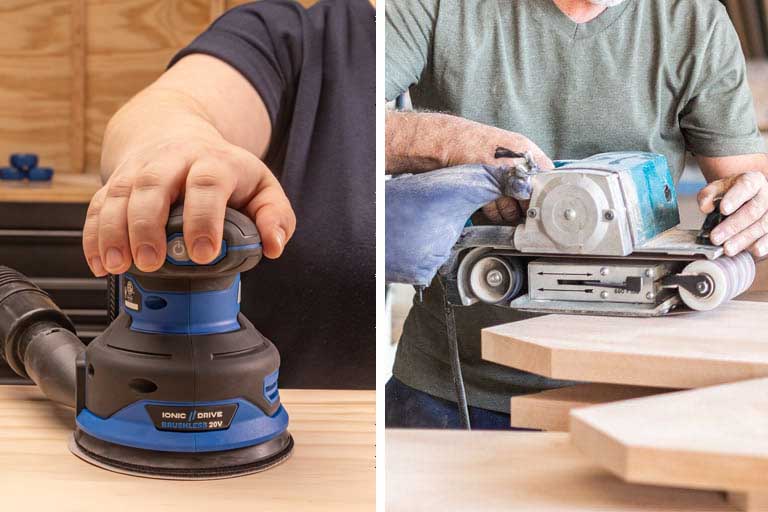
Orbital Sanders vs. Other Sanders
Orbital Sanders vs. Belt Sanders
Belt sanders are great for removing lots of material fast. Orbital sanders give a more gentle and refined surface, and are best for finishing work.
Orbital Sanders vs. Sheet Sanders
Sheet sanders (also called finishing sanders) and orbital sanders often overlap, but there are a couple of key differences:
- Sheet sanders usually take ¼-sheet sandpaper and have square pads.
- Orbital sanders (random or not) may use circular pads and often offer better dust collection.
How to Use an Orbital Sander Effectively
Selecting the Right Sandpaper Grit
- 60–80 Grit: Heavy removal (old paint, rough wood)
- 100–150 Grit: General smoothing and prep
- 180–220 Grit: Finish sanding
Always start coarse and work toward finer grits in stages. Skipping grits can leave hidden scratches.
Proper Technique and Movement Patterns
Keep the sander flat and moving at all times
Use overlapping passes and work in rows, not random directions
Don’t tip the sander — this creates gouges and uneven edges
Speed Settings and Pressure Application
Let the weight of the sander do the work. Pushing down won’t speed things up. In fact, it can wear out your pad, cause swirl marks, or burn the wood.
If your sander has speed settings, use a slower speed for delicate work or polishing.
Safety Precautions and PPE Requirements
- Always wear a dust mask or respirator
- Use safety glasses or goggles
- Wear hearing protection if using for extended periods
- Secure your workpiece (clamps or a bench vise help)
Dust Collection and Workspace Setup
Use a sander with a built-in dust bag or hook it up to a shop vac. Sanding dust builds up fast and can cause health issues and a big mess.
Common Mistakes to Avoid When Using Orbital Sanders
Over-Sanding and Surface Damage
Too much time in one spot can create low spots or rounded corners. Always keep moving.
Wrong Grit Progression
Going from 60 grit straight to 220 or higher will leave rough scratches behind. Step up through grits progressively.
Inadequate Dust Protection
Don’t skip the dust mask. Even if the air looks clear, fine particles stay suspended long after you’ve stopped sanding.
Poor Sander Maintenance
Check your sanding pad regularly. If it’s worn down, the sandpaper won’t stick properly, and your results will suffer.
Frequently Asked Questions about Orbital Sanders
When should I use an orbital sander?
Use an orbital sander when you need controlled, even sanding for finishing wood, prepping surfaces, or removing minor imperfections.
What is the difference between an orbital sander and a regular sander?
Orbital sanders move in small circular motions, while other types (like belt or detail sanders) use different motion patterns for specific tasks.
What is the difference between an orbital sander and a random orbital sander?
An orbital sander moves in consistent circular orbits, while a random orbital sander combines circular and spinning motions for a smoother, swirl-free finish.
Should I get an orbital or sheet sander?
Choose an orbital sander for general sanding versatility, but opt for a sheet sander if you need to sand into corners or want ultra-fine finish control.
Should you push down on an orbital sander?
No, you should not push down on an orbital sander. It’s best to let the weight of the sander and orbital motion do the work, as pushing down can cause gouges and uneven sanding.
How do you not leave marks with an orbital sander?
Avoid staying in one spot, use the right grit progression, keep the sander flat, and don’t apply excess pressure.
Should my orbital sander be high or low speed?
Use lower speeds for delicate work or soft materials and higher speeds for faster material removal on tougher surfaces.

Associated Products

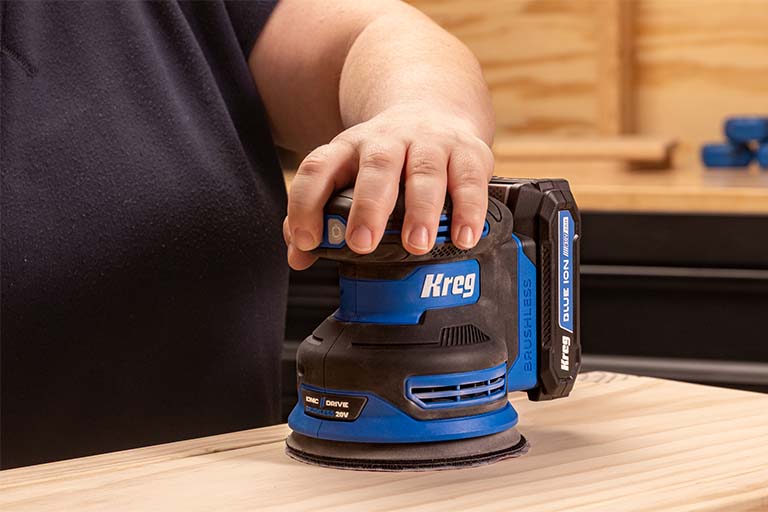
Kreg 20V Ionic Drive™ 5" Random Orbit Sander Kit
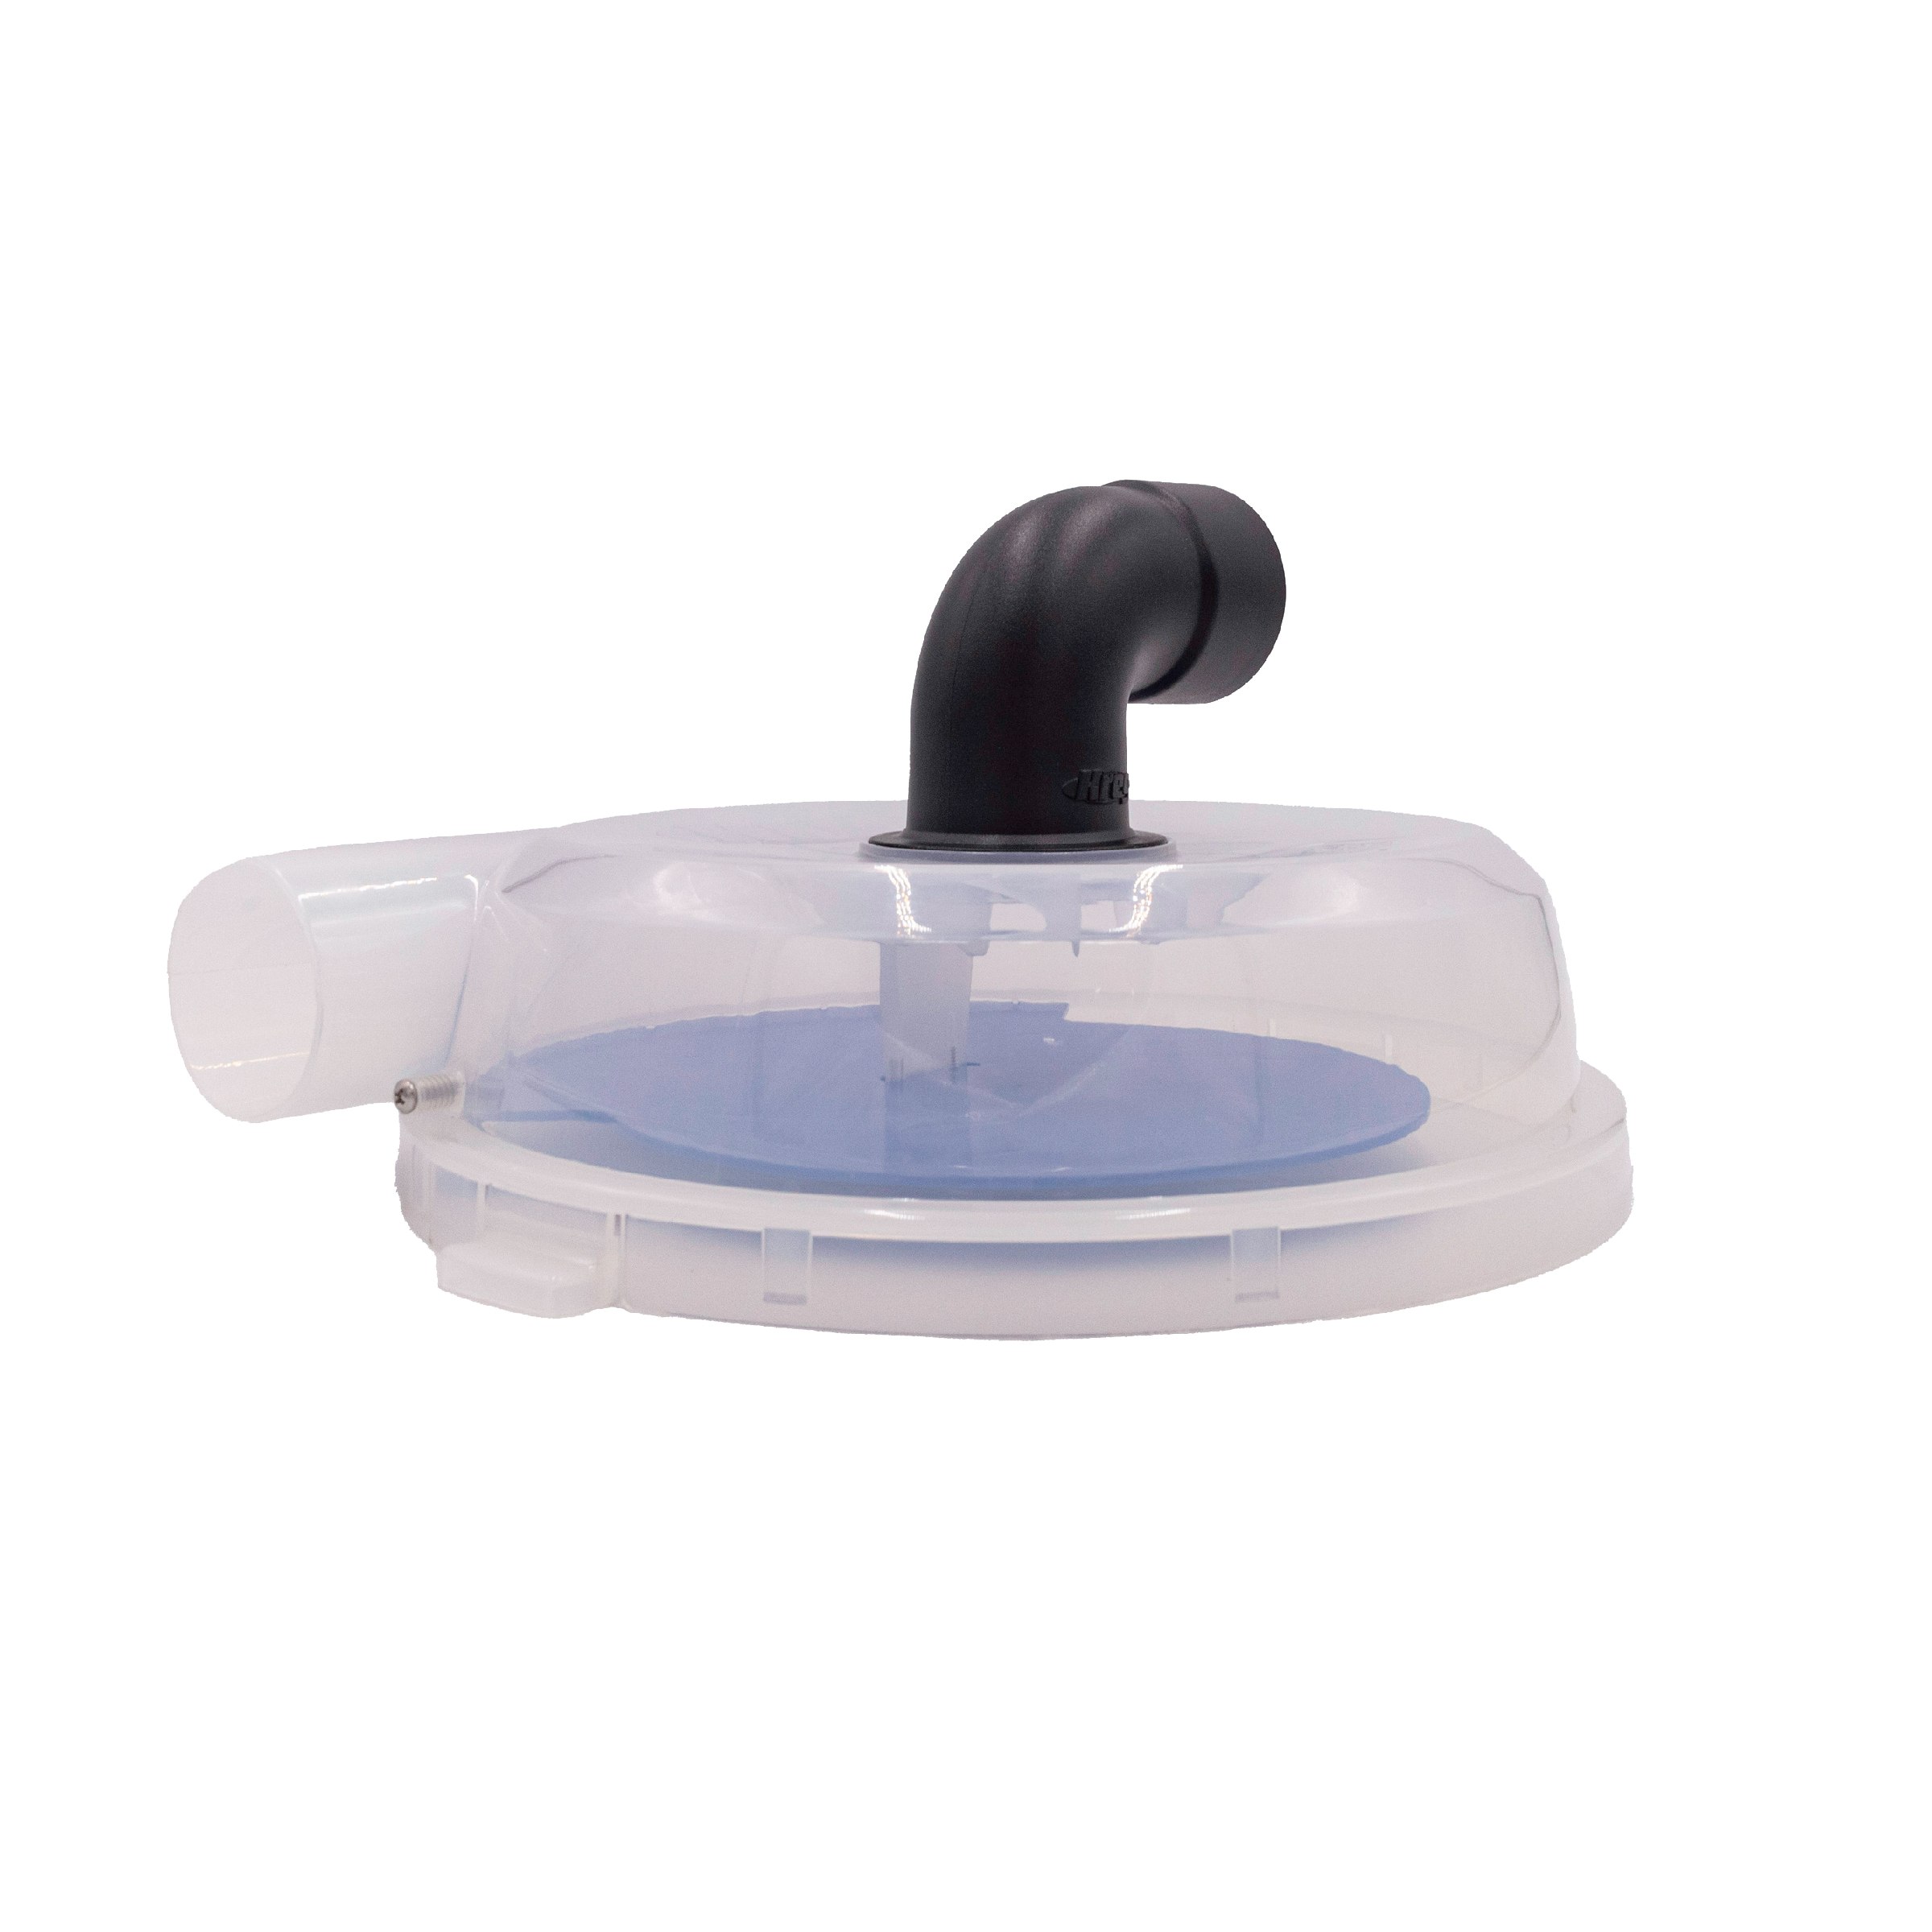
Dust Separator