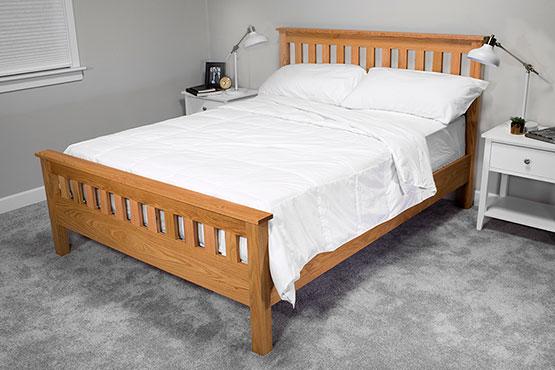
One of the biggest game changers in project building is the ability to rip lumber. When you can rip wide boards into narrower pieces, you can create custom widths and work with different types of boards, which opens up all kinds of possibilities for your do-it-yourself and woodworking projects.
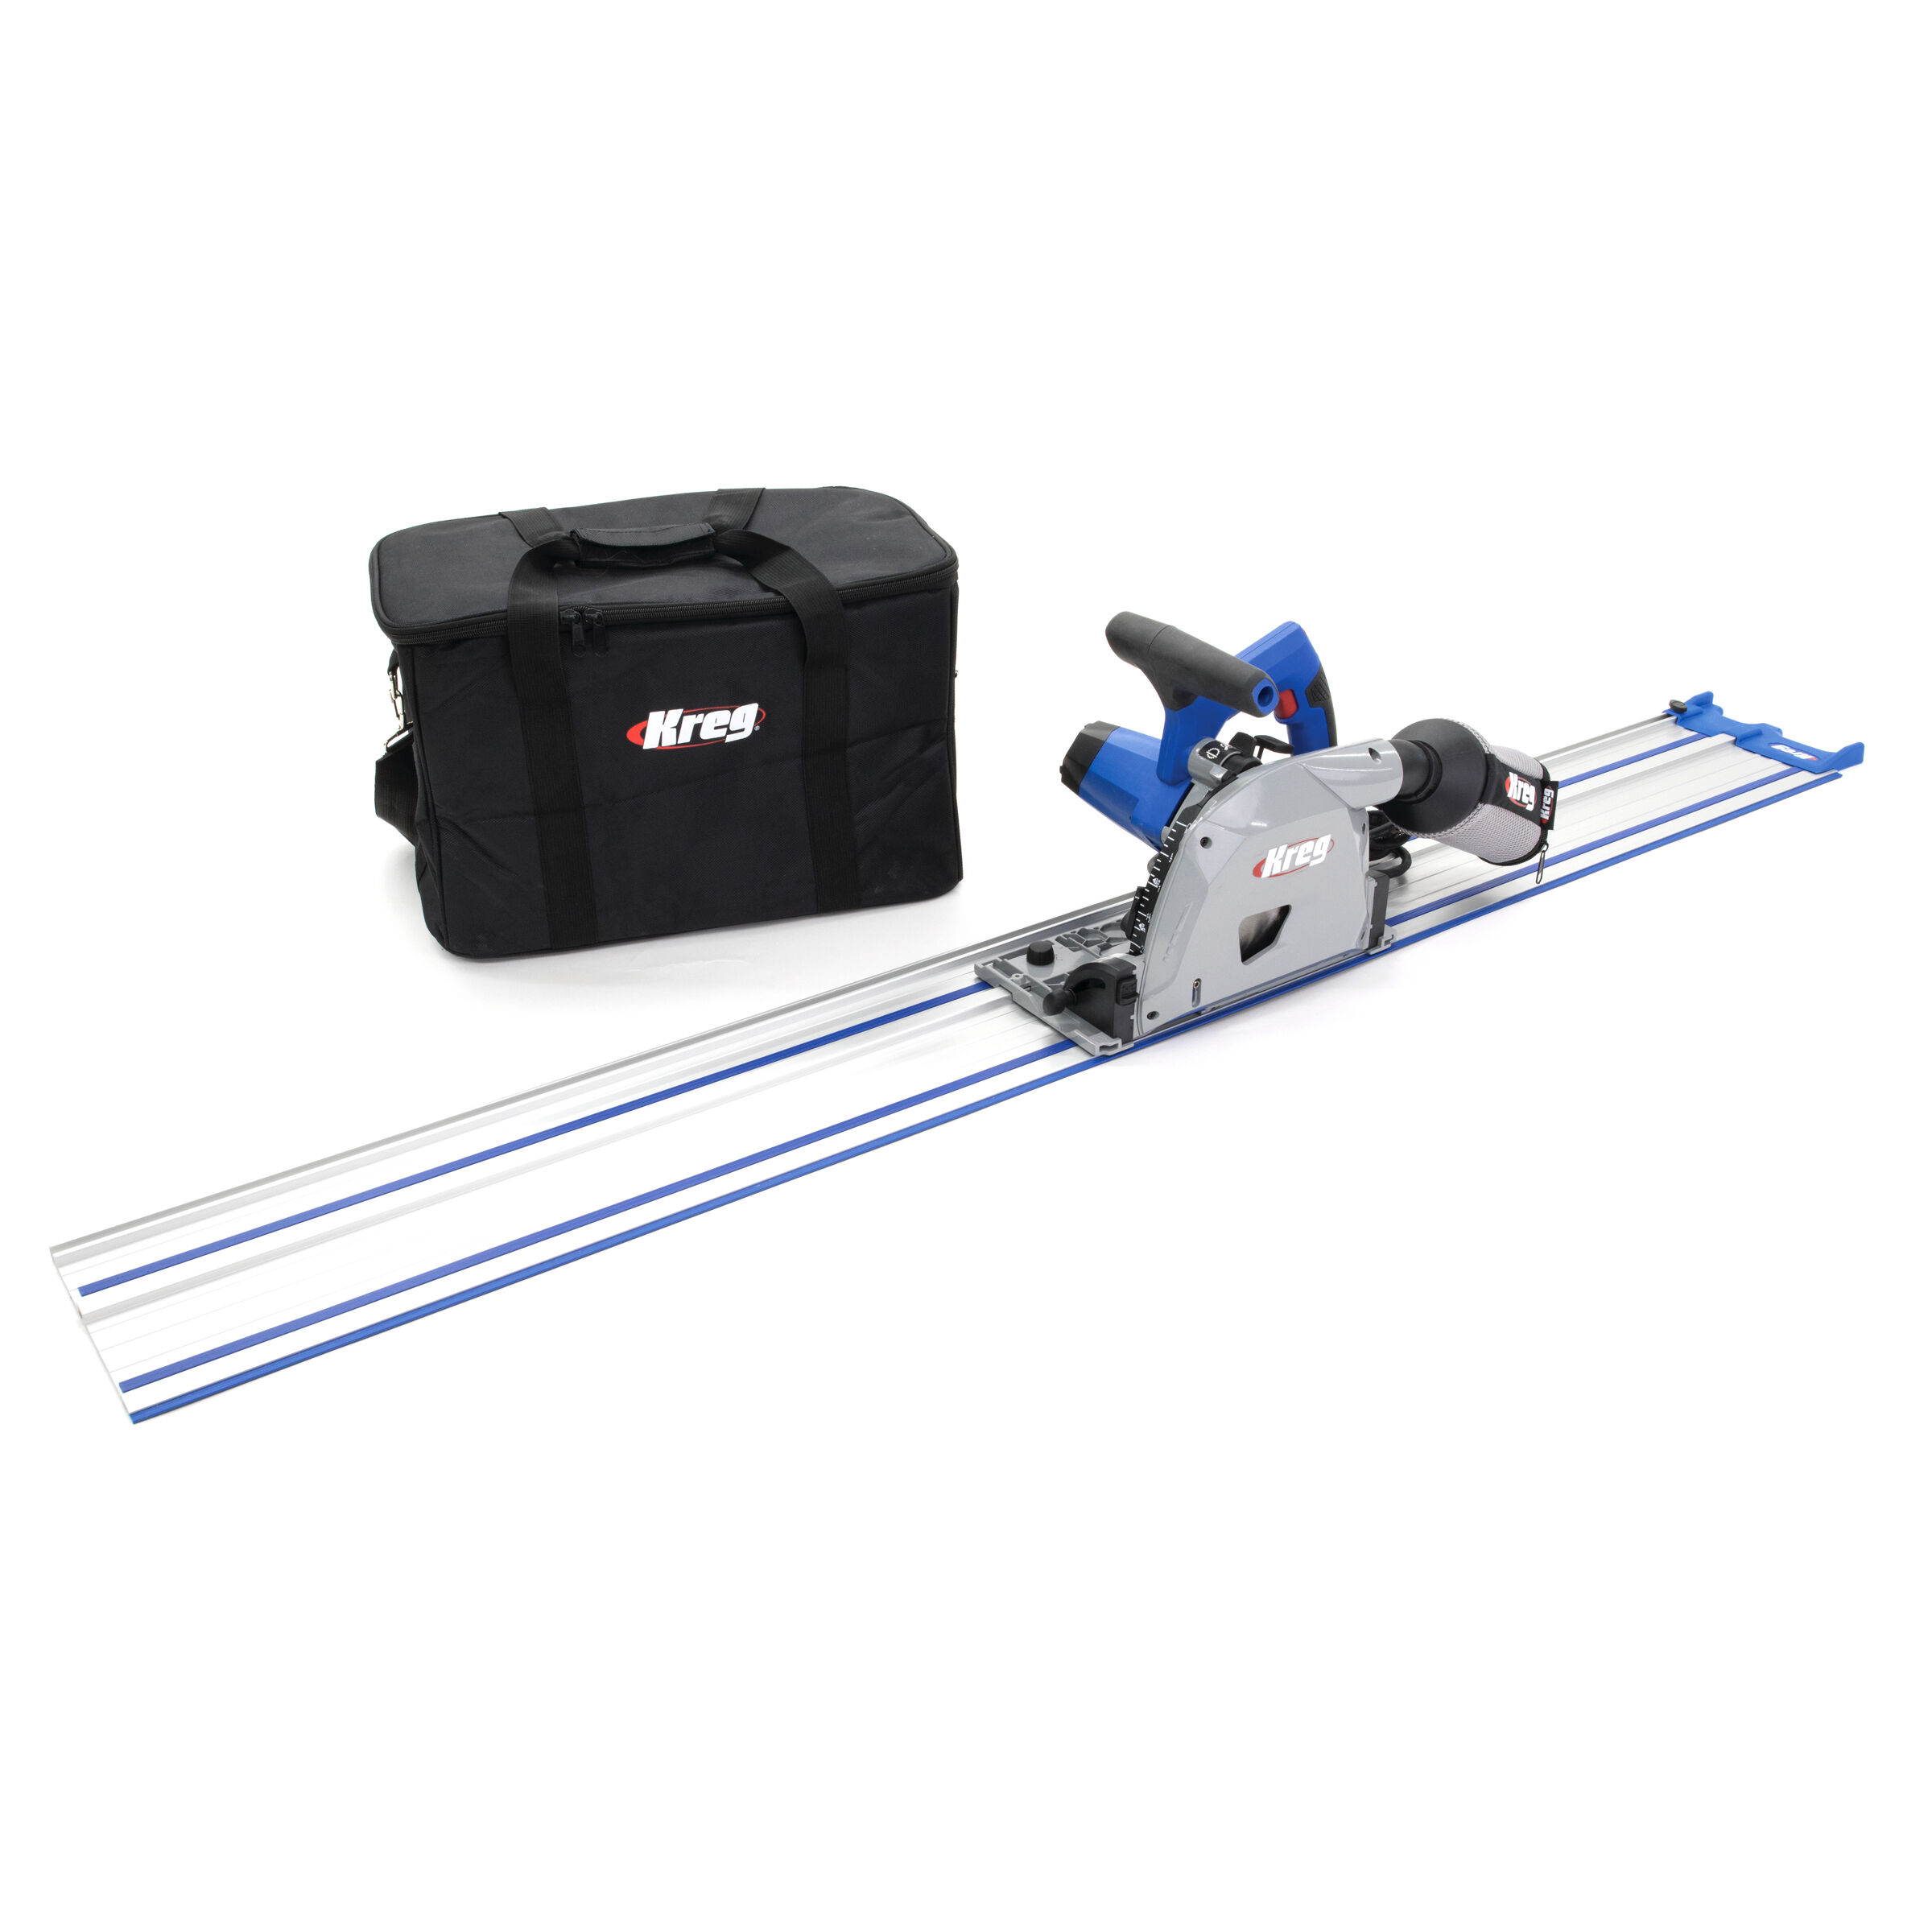
In the past, ripping effectively really required a table saw with a fence to guide the board past the blade. But now, there’s another option: the Kreg® Adaptive Cutting System. If you’re not familiar with the Adaptive Cutting System, you’ll quickly see that it’s not like the saws you’re used to, such as a table saw, a miter saw, or even a circular saw.
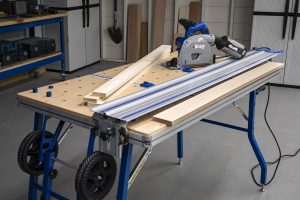
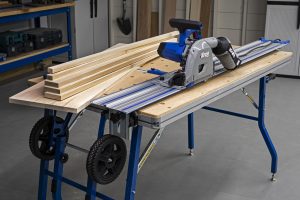
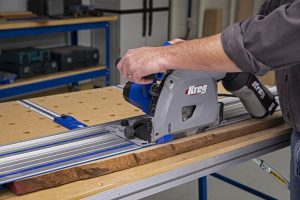
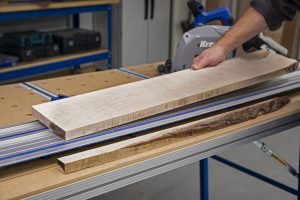
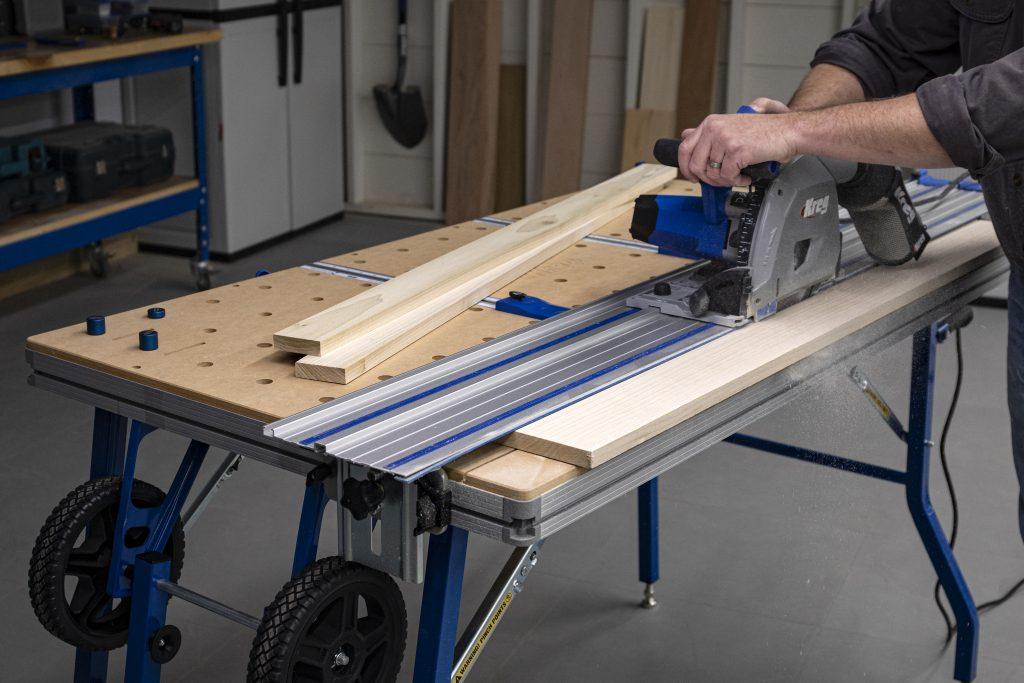 This system uses a Plunge Saw and Guide Track—a combination often referred to as a track saw—plus a one-of-a-kind Project Table that holds and position boards as you cut. Combined, the saw, track, and table allow you to make many kinds of cuts—all guided by the track and the system’s integrated measuring. You can crosscut, miter, cut sheet goods, and rip boards without needing a table saw. In fact, you can make rip cuts that you can’t easily make even if you have a table saw. Here’s just some of what you can do.
1. Create custom-width boards
When you can rip boards, you don’t have to be stuck with off-the-shelf sizes.
Lots of people build using dimensional lumber found in home centers because it’s readily available. These boards work great, but they restrict you to building your projects around the limited selection of standard widths.
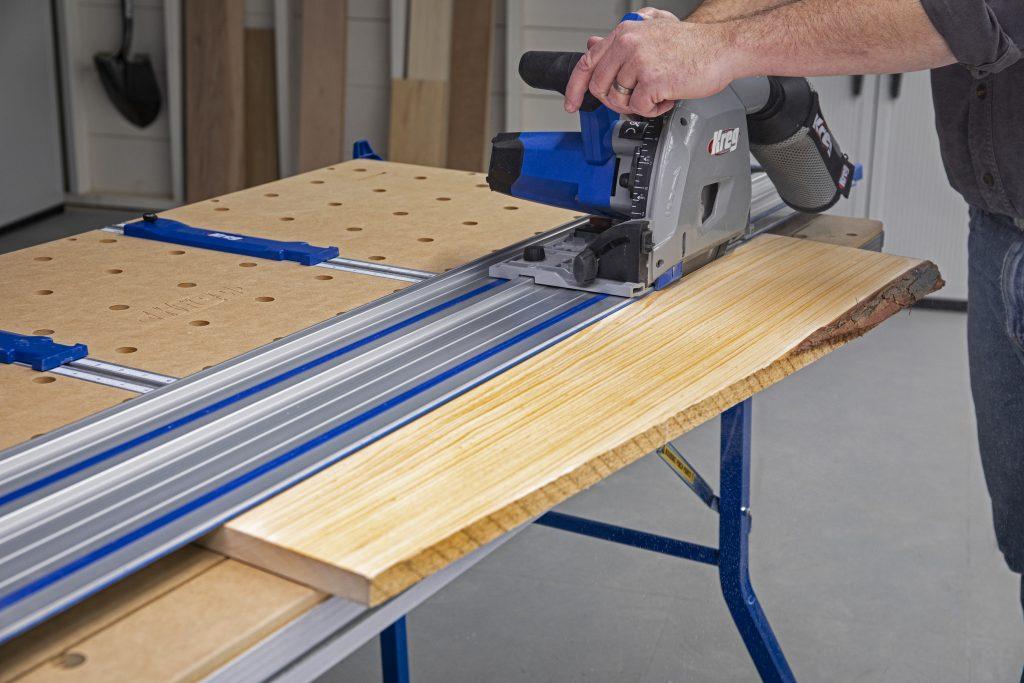
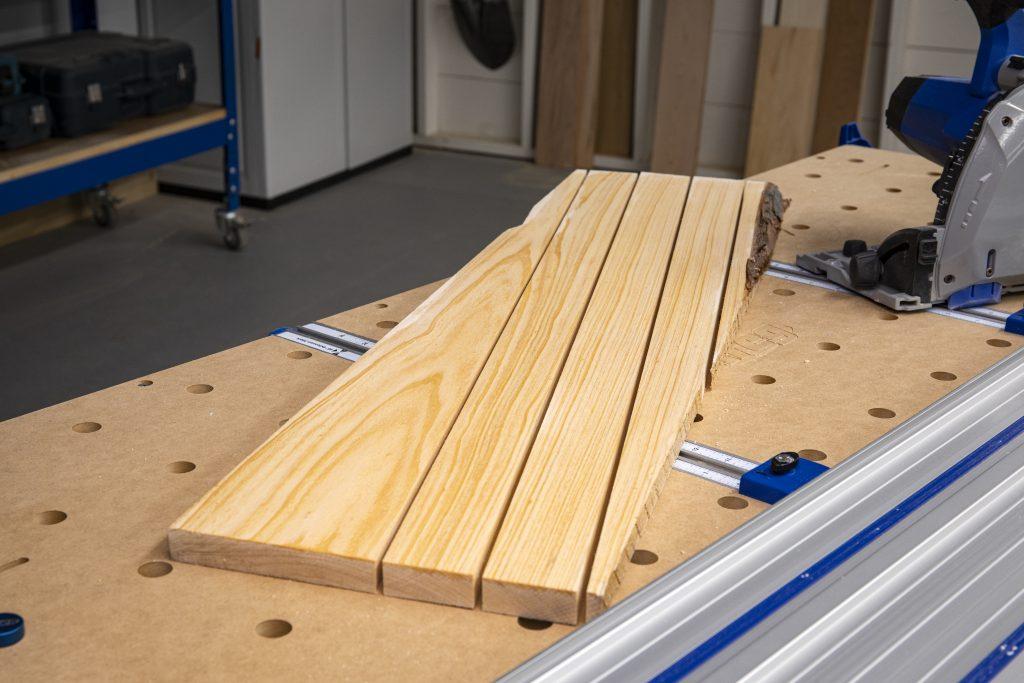
When you can rip boards, you’re no longer stuck with those restrictions. With the Adaptive Cutting System, you can rip wider boards down to any widths you want, as narrow as 1″.
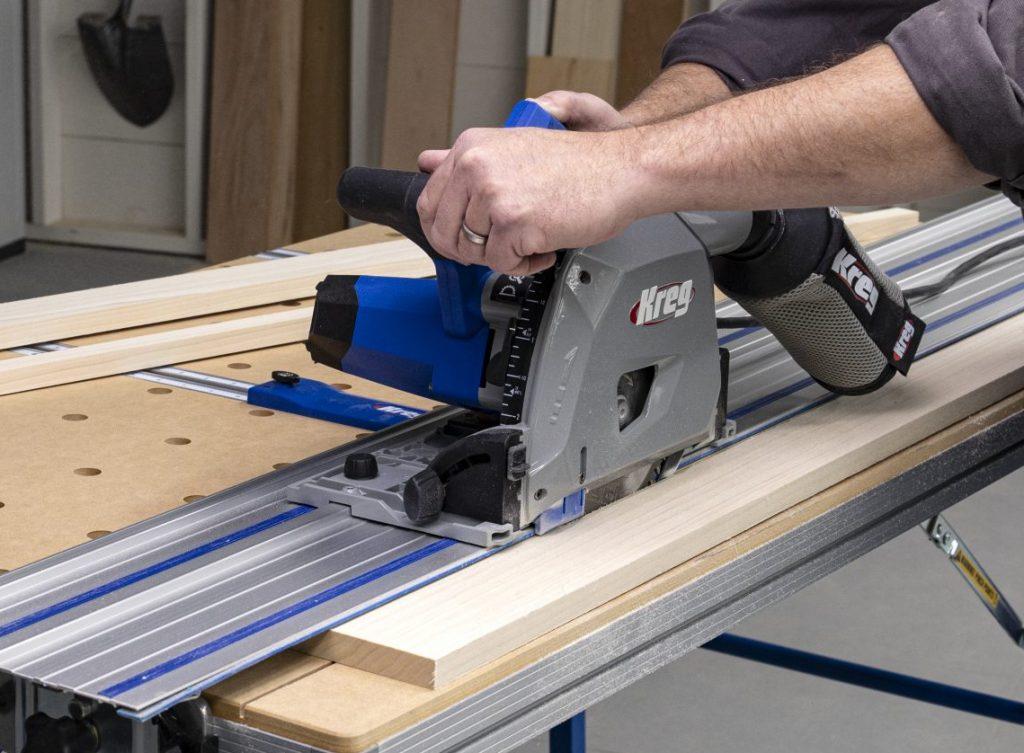
 When you use the Project Table, you even get integrated stops and measuring scales to set the exact width you want. So, you can rip multiple pieces the exact same with, or you can just as easily rip a board into pieces of different widths to match your project needs.
2. Make all your cuts safely
Cut with confidence when you don’t have to worry about kickback, or about your hands being close to the blade.
With this system, you’ll make the cuts safely because your hands are up on the saw, far away from the shrouded blade, and because the track’s anti-slip strips work with the table’s stops to hold the board in place.
Those and other integrated safety features mean you won’t have to worry about kickback, like you do when ripping on a table saw.
3. Rip short pieces without worry
On the Adaptive Cutting System, ripping short pieces is no problem.
On a table saw, ripping short pieces can be risky. That’s because short pieces are more likely to get caught by the blade, which can cause them to kick back. The Adaptive Cutting System, though, is equipped to rip short boards easily and safely.
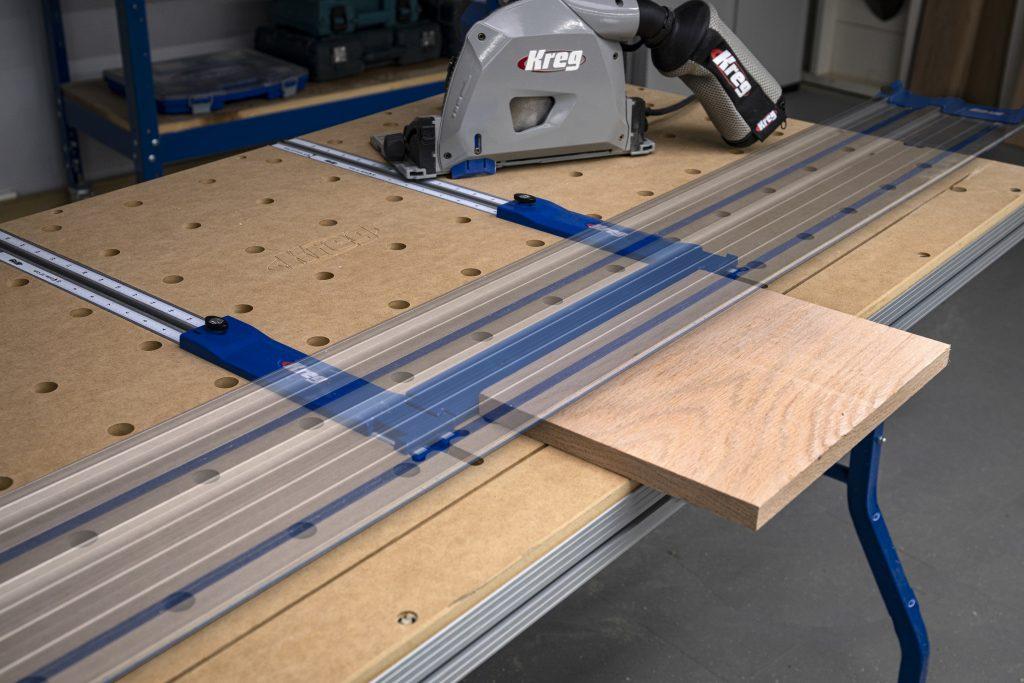
If the piece is too short to rest against the Repetitive Stops that are used to determine cut width, there’s a joining bar that can be positioned to span between the stops.
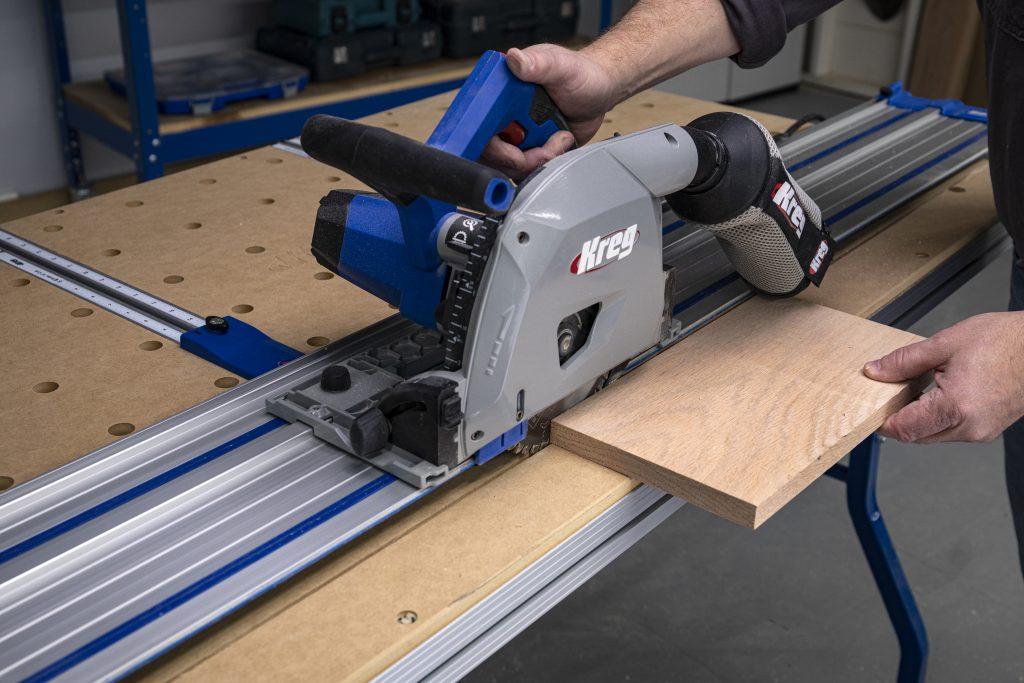 With this in place, plus the track’s anti-slip strips gripping the workpiece, you can rip short pieces without worrying about kickback, and without ever having to place your hands uncomfortably close to a spinning saw blade.
4. Rip long boards anywhere
Thanks to the Adaptive Cutting System’s portability, you won’t have to take your boards to the saw. You can bring your saw to the boards.
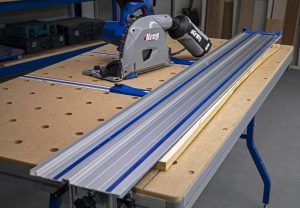
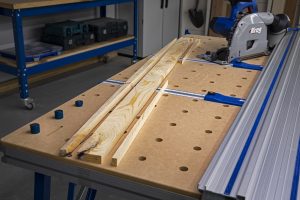
You can also rip boards easily, accurately, and safely with just the Plunge Saw and Guide Track. That’s great if you don’t own the project table, and also handy when you want to rip full 8′ boards, or when it’s simply more convenient cut without the table.
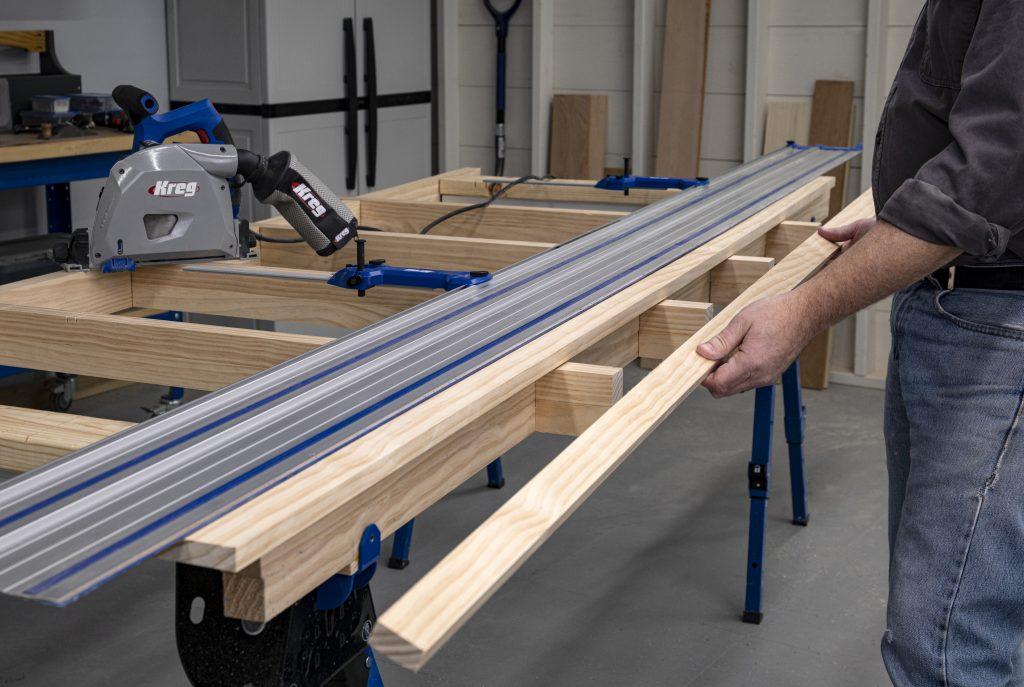
You can still get integrated measuring without the table by using Rip Guides. These attach to the track and have measuring scales and stops built in. Just set the width you want, position the board edge against the stops, and rip to the exact width you need. If you’re working with long boards, you can connect two Guide Tracks together using Connector Bars. With two tracks, you can make rip cuts up to 112″ long.
5. Salvage crooked boards
Sometimes boards don’t start out straight, or they bow after you get them home. Now you can turn those wasted pieces into usable lumber.
We all work hard to pick out straight boards to get the best building results, but sometimes between purchase and project a board will become crooked as it dries further or gets exposed to different weather conditions in our workspace. The result is a piece that might be flat but is anything but straight. Often, we’re forced to pitch those boards to the scrap pile.
With Adaptive Cutting System, though, you can easily salvage these boards by ripping off the crooked edges. That’s something you really can’t do easily on a table saw, but it’s no problem with the system’s saw and track.
Just position the board under the track so that you’ll rip away as little of the edge as possible to create a straight edge, and then cut.
 Now flip the board around and use the Repetitive Stops on the table, or use Rip Stops if you’re cutting with just the saw and track, to get the maximum width out of the board. Then just make another rip cut.
 Sure, you’ll lose some width and end up with a narrower board, but at least you’ll turn it into useable lumber instead of scrap.
6. Work with random widths
Open up a new world of possibilities when you can work with lumber that’s sold the way specialty wood dealers do.
When you buy lumber at the home center, it’s milled to specific sizes. These boards are commonly known as “dimensional lumber” because they are all cut to standardized dimensions for thickness and width.
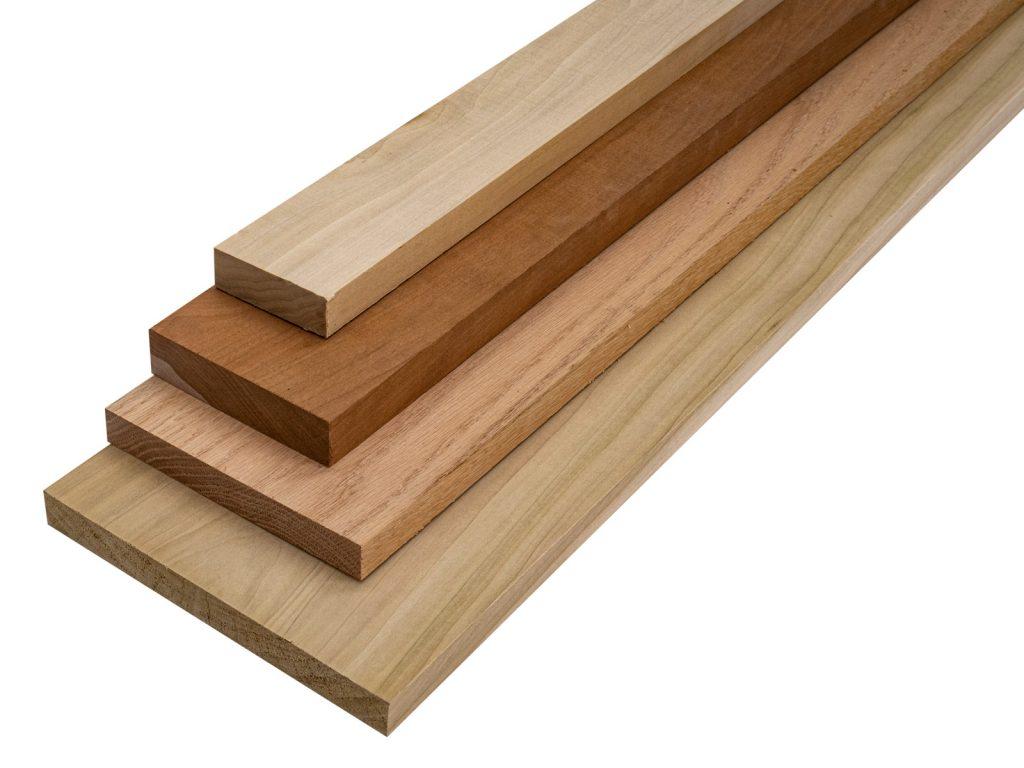
Another name for these types of boards is “Surfaced on Four Sides” or S4S. This term doesn’t just apply to dimensional lumber. It’s used to describe any board that has both faces and both edges milled flat, straight, smooth, and parallel to one another. Surfacing all four sides makes the boards easier to work with using fewer tools. Milling them to standardized dimensional size makes them easier to sell, since they’re all the same size. The process increases processing cost, though, and results in more wood waste. So, it drives up the price you’ll pay.
In woodworking specialty stores, lumber is usually sold in random width and lengths, and is surfaced on just two sides—the top and bottom faces. Called “Surfaced on Two Sides (S2S), this lumber will usually have one edge that’s rough milled, meaning it’s straight but not smooth. The other edge may be the same, or it may not even be parallel to the first edge.
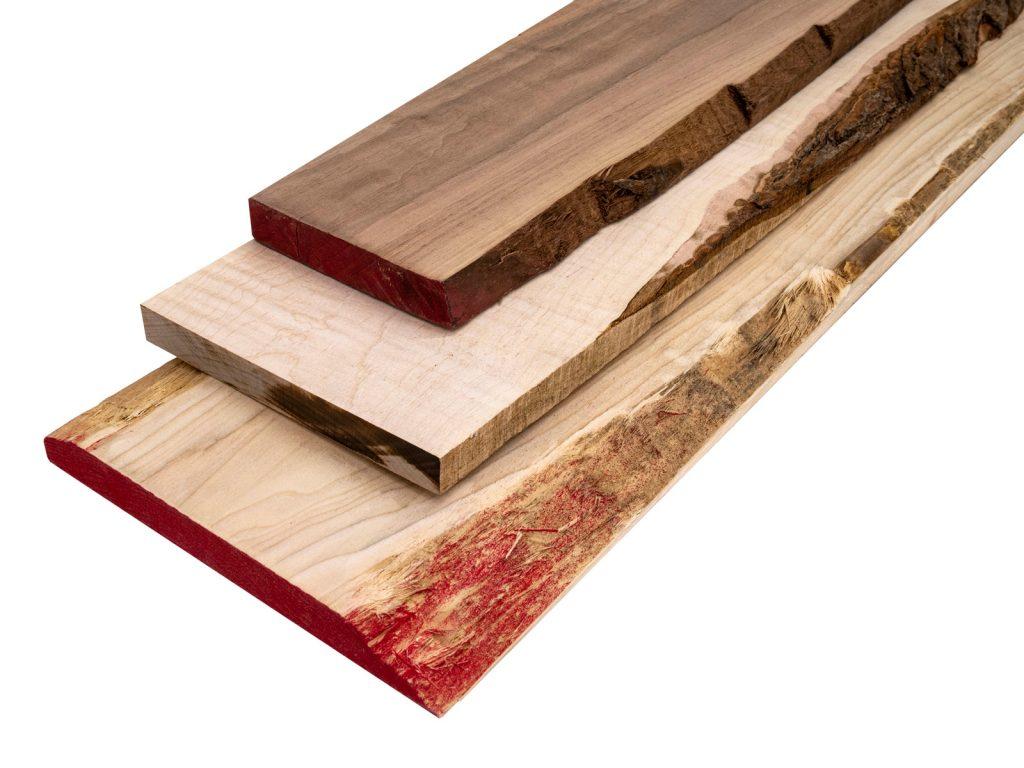
You’ll find most hardwoods sold this way in woodworking stores because it wastes less of this valuable wood buy letting almost the entire log be turned into sellable lumber. Many woodworking stores also sell S2S softwoods, too, so you can have a great alternative to depending on home centers. But to use these S2S boards, you’ll need the ability to rip them.
With the ripping abilities the Adaptive Cutting System offers, you can open up a lot of different possibilities for customizing and personalizing your projects by having many more species, sizes, and types of boards to choose from.
 All you have to do is rip away one rough edge—it comes out straight and smooth—and then then flip the board so the straight, smooth edge is against the stops. Then you can rip to any width(s) you want.
 Sometimes you’ll find S2S boards that still have bark on one or both edges. That’s cool if you want to make a live-edge table, but not if you want to create smooth-edged boards. Once again, though, you can simply rip away the bark using the Adaptive Cutting System.
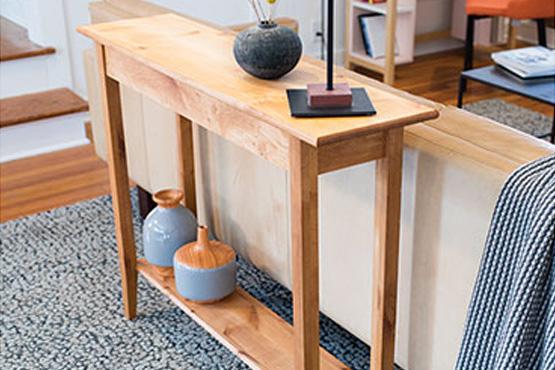
7. Go with the grain
The Adaptive Cutting System makes it easy to rip boards to get the best grain appearance–even if that grain isn’t parallel to one edge of the board.
Go with the Grain
Ripping a board doesn’t always guarantee pieces with the best grain appearance. That’s because the best grain doesn’t always run parallel to the edge of the board.
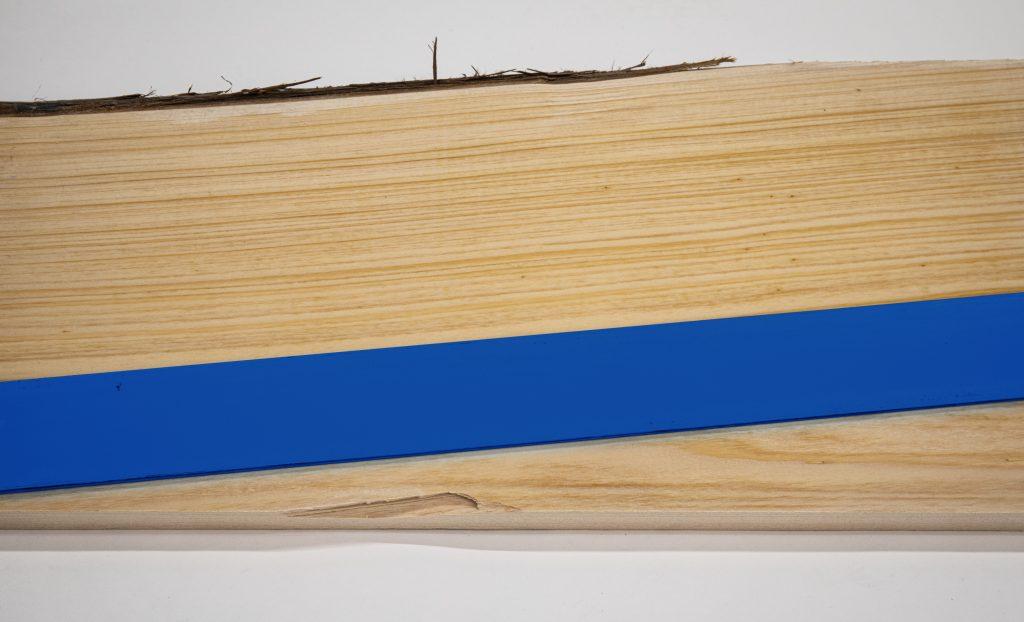 The board shown, for example, has beautiful straight grain along a large portion. It’s the perfect type of grain for making door rails or a photo frame. That grain isn’t parallel to the edge of the board, though. With a table saw, you wouldn’t be able to do much, at least without a special sled.
 With the Adaptive Cutting System, though, there’s no reason you have to position the board straight under the track. Simply align the board how you want it to get the best grain, and then make a cut to establish a straight edge.
 After that, just flip the board around with the straight edge against the stops, and then rip the piece or pieces free to get the exact grain you want.
It’s easy to see how ripping can step up your project game. The adaptive Cutting System gives you the ability to rip without the space a table saw takes, since it folds up and stores away. Plus, it alleviates some of the safety concerns table saws have, and it rips in ways that are tough to do on a table saw. So, check the system out when you’re ready to take your projects to new levels.

Associated Products

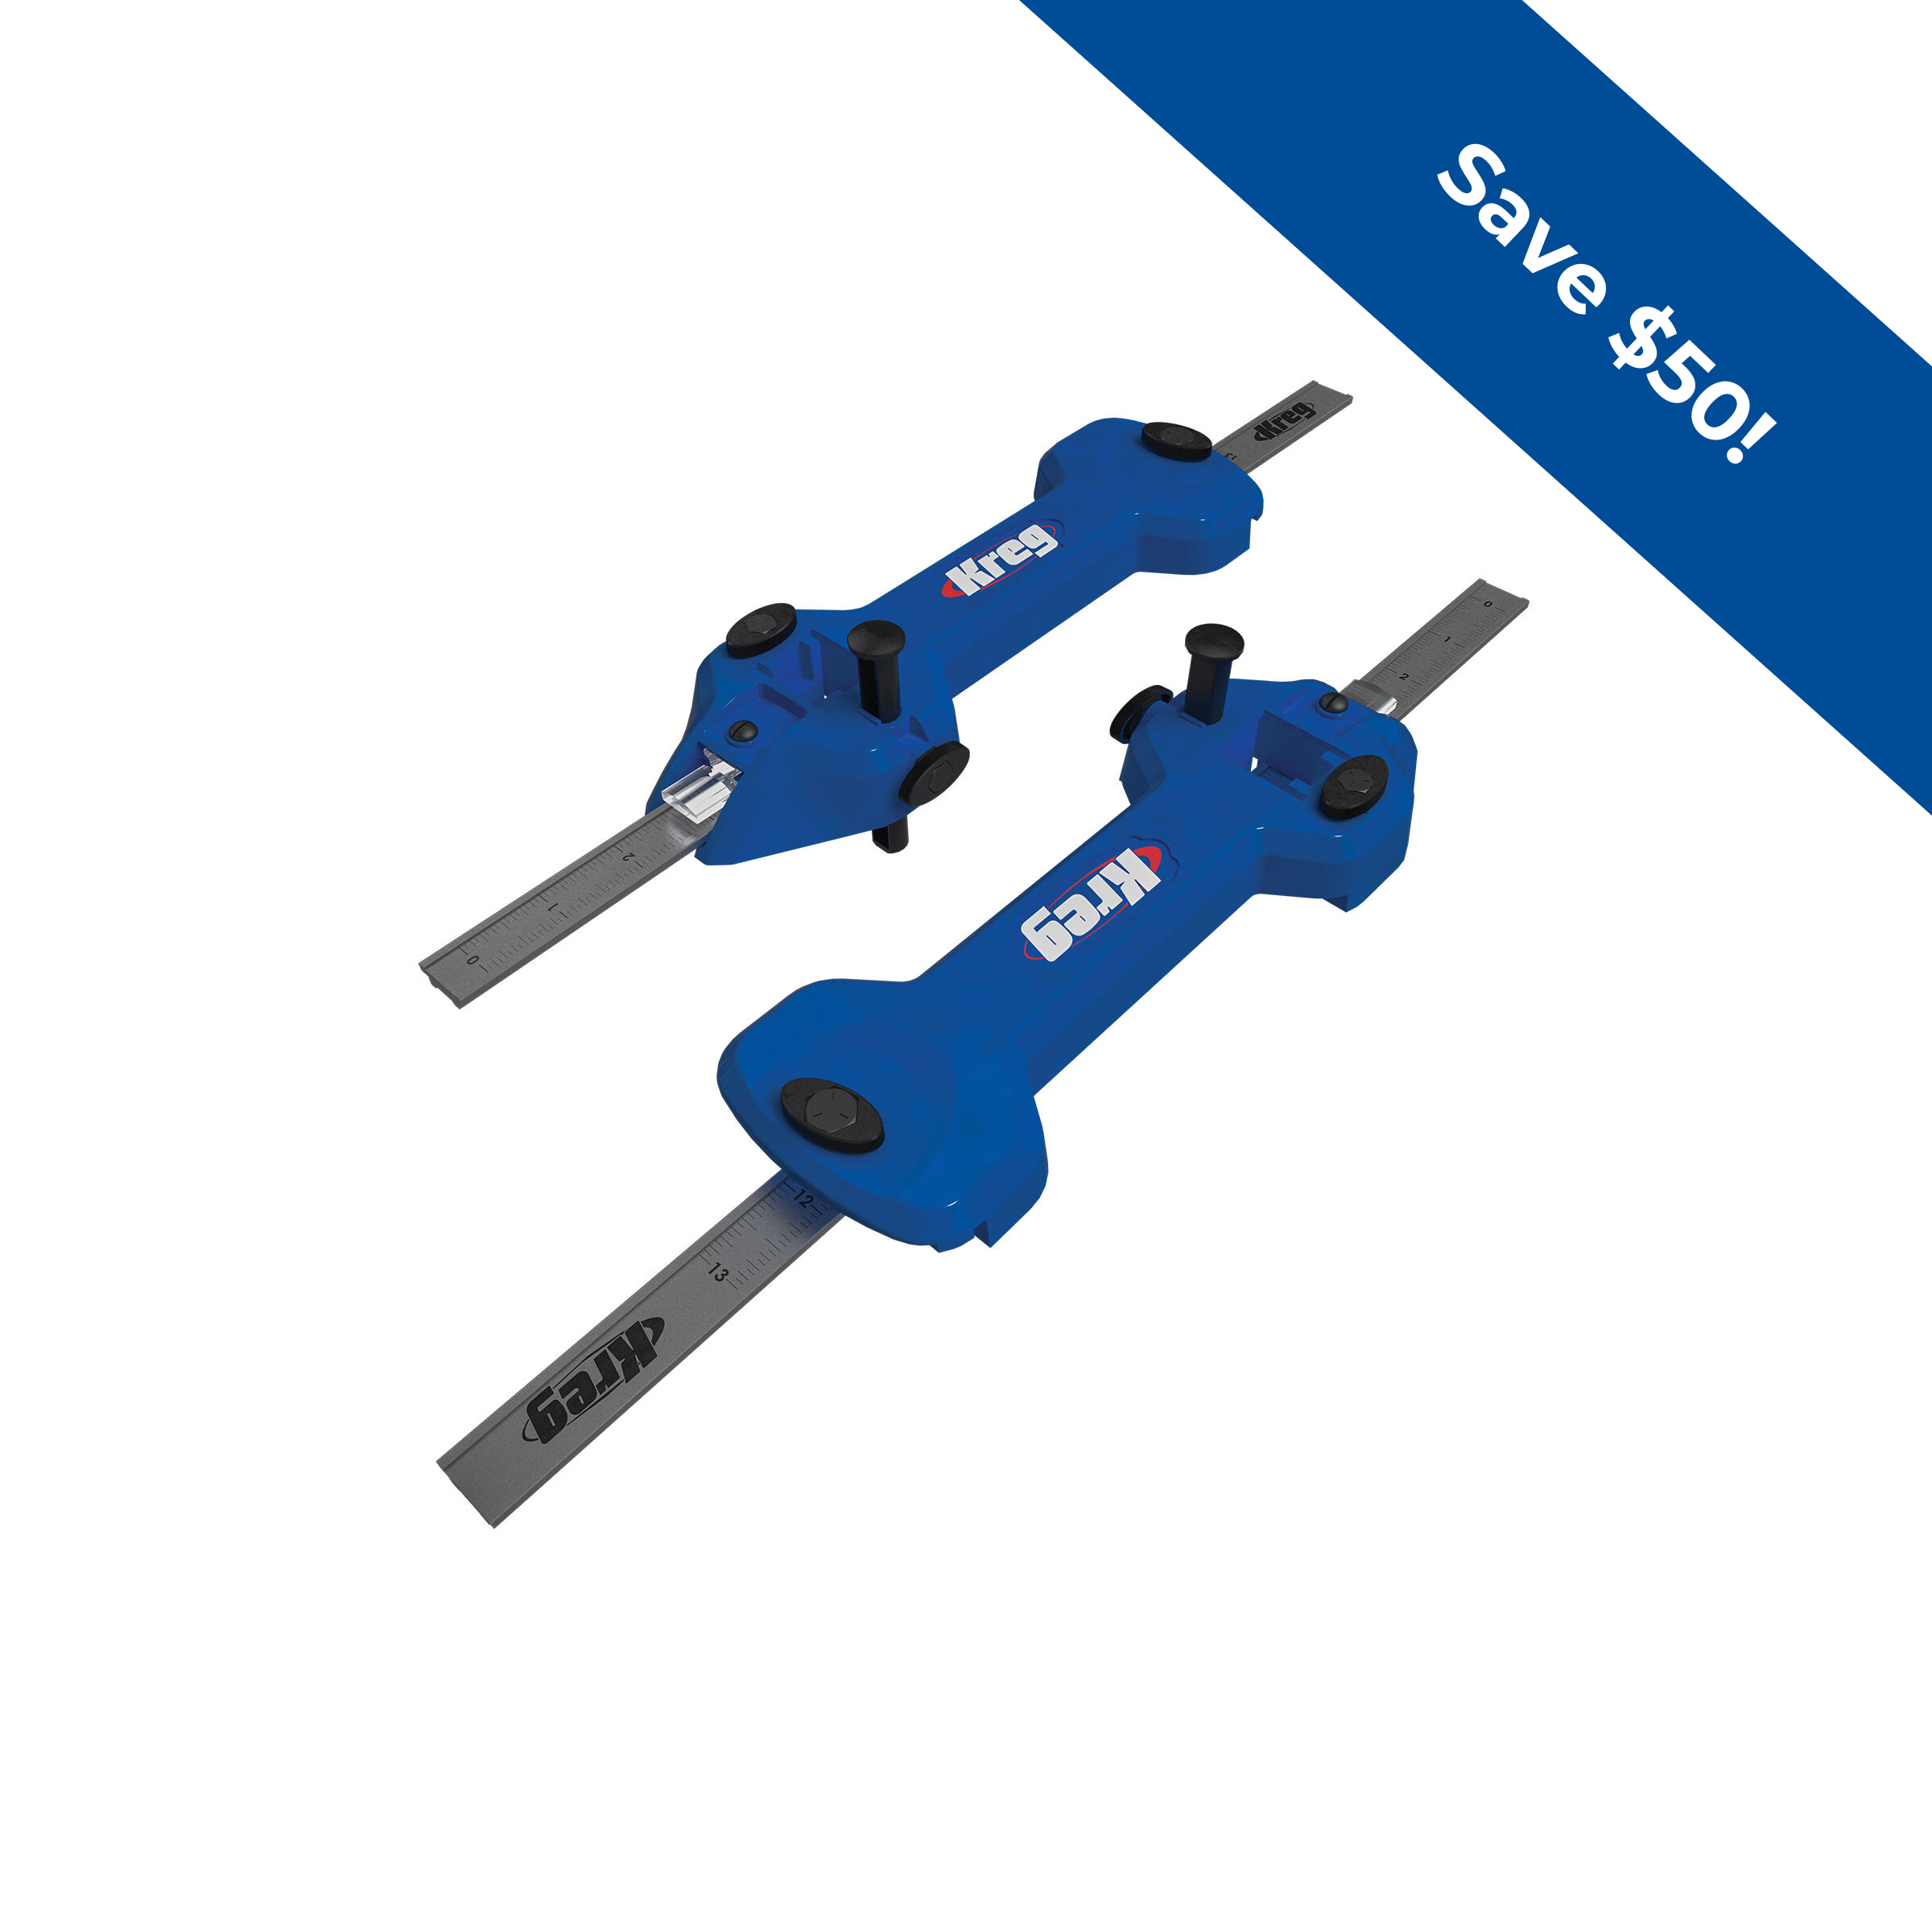
Adaptive Cutting System Rip Guides