Dowel joinery is a woodworking technique that results in strong, precise, and professional-looking joints. While often thought of a method for more advanced woodworkers, using a dowel jig can help people of all skill levels create seamless connections in their woodworking projects. This guide will walk you through using a dowel jig step-by-step, ensuring your joints are durable and have a nice, seamless look.
Benefits of dowel joinery over other methods
Aesthetics
Unlike screws or nails, dowel joinery creates clean, hidden joints.
Strength and durability
Dowel joints provide a strong mechanical bond without relying solely on glue.
Precision
A dowel jig ensures perfect hole alignment, reducing mistakes.
Versatility
Suitable for edge, corner, and miter joints.
Ease of use
With a dowel jig, even beginners can achieve professional results with minimal effort.
Repeatability
Ideal for batch production or making identical joints across multiple pieces.
When to use dowel joinery
- When you need a strong joint without visible fasteners.
- When working with furniture, cabinetry, or paneling.
- When making repeatable joints with high precision.
Common applications for dowel jigs
- Furniture assembly (tables, chairs, cabinets, etc.)
- Panel glue-ups
- Joining face frames
- Constructing frames and carcasses
- Repairs
Types of dowel jigs and their uses
Not all dowel jigs are the same. Different types are designed for various applications, ranging from simple alignment tasks to complex furniture joinery. Choosing the right jig can make a significant difference in the accuracy and strength of your joints.
Fixed vs. adjustable dowel jigs
- Fixed jigs have preset hole spacing, making them ideal for repetitive work.
- Adjustable jigs allow for more flexibility, accommodating various project needs.
Self-centering vs. edge-only jigs
- Self-centering dowel jigs automatically align with the center of the workpiece, ensuring symmetrical drilling, but can be hard to position and keep steady during the drilling process.
- Edge-only jigs focus on precise hole placement along edges or corners but can be more precise as they often have additional alignment tools built-in to the jig.
Choosing the right dowel size and spacing
Selecting the right dowel size and spacing is essential for creating strong and reliable joints. Dowels that are too small can result in weak connections, while oversized dowels may split the wood or make assembly difficult. Likewise, improper spacing can lead to alignment issues or compromised joint strength.
Dowel Pin Sizing Guide

Recommended Spacing for Different Wood Thicknesses
Note: Dowels align workpieces to keep their surfaces flush just as much as they reinforce joints. Space the dowel holes just close enough to correct any minor warping of the parts.
Thin stock (1/2”)
5” to 8” apart
Medium stock (3/4”)
5” to 10” inches apart
Thick stock (1”+)
8” to 10” inches apart
Step-By-Step Guide – How to Use a Dowel Jig
Tools and materials needed
- Dowel jig
- Drill with appropriate bit
- Dowel pins matching drill bit diameter
- Wood glue
- Clamps
- Measuring tools (ruler, square, pencil)
- Sandpaper for final touch-ups
- Stop collar for drill bit depth control
Step 1: Measure and mark your joints
Marking for edge joints vs. miter joints
- Use a square to ensure straight reference lines.
- Clearly mark hole locations to maintain symmetry.
- Double-check alignment before drilling.
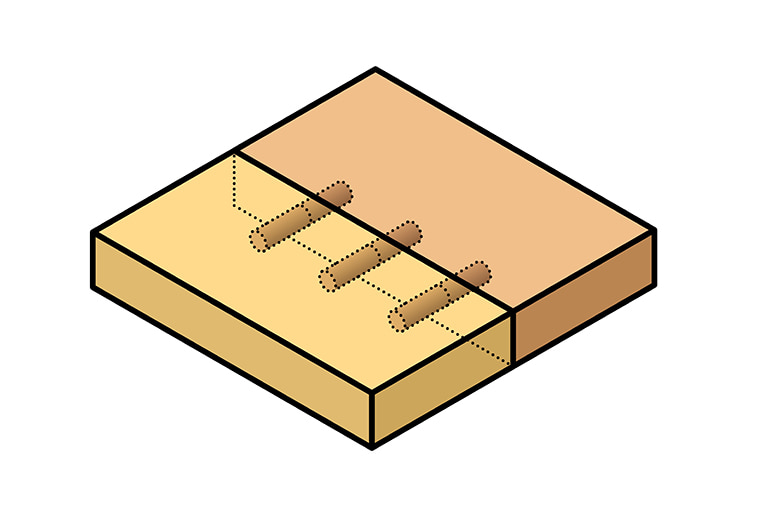
Aligning dowels for maximum strength
- Position dowels evenly.
- Avoid placing dowels too close to the edge to prevent splitting.
- Dry-fit the pieces before applying glue.
Step 2: Adjust the drill depth for precision
- Set the drill bit stop collar to match the dowel length.
- Test on scrap wood before drilling your actual project.
- Check that drill depth is consistent across all holes.
Step 3: Clamp the dowel jig securely
- Confirm the jig is flush against the wood.
- Tighten the jig to prevent movement.
- Check for proper alignment before drilling.
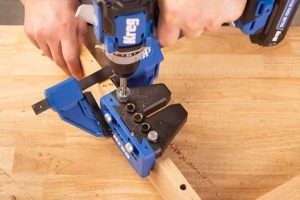
Step 4: Drill the dowel holes accurately
- Drill at a steady pace to avoid tear-out.
- Use a backer board when drilling through pieces to prevent blowout.
- Clean out sawdust from the holes for a snug fit.
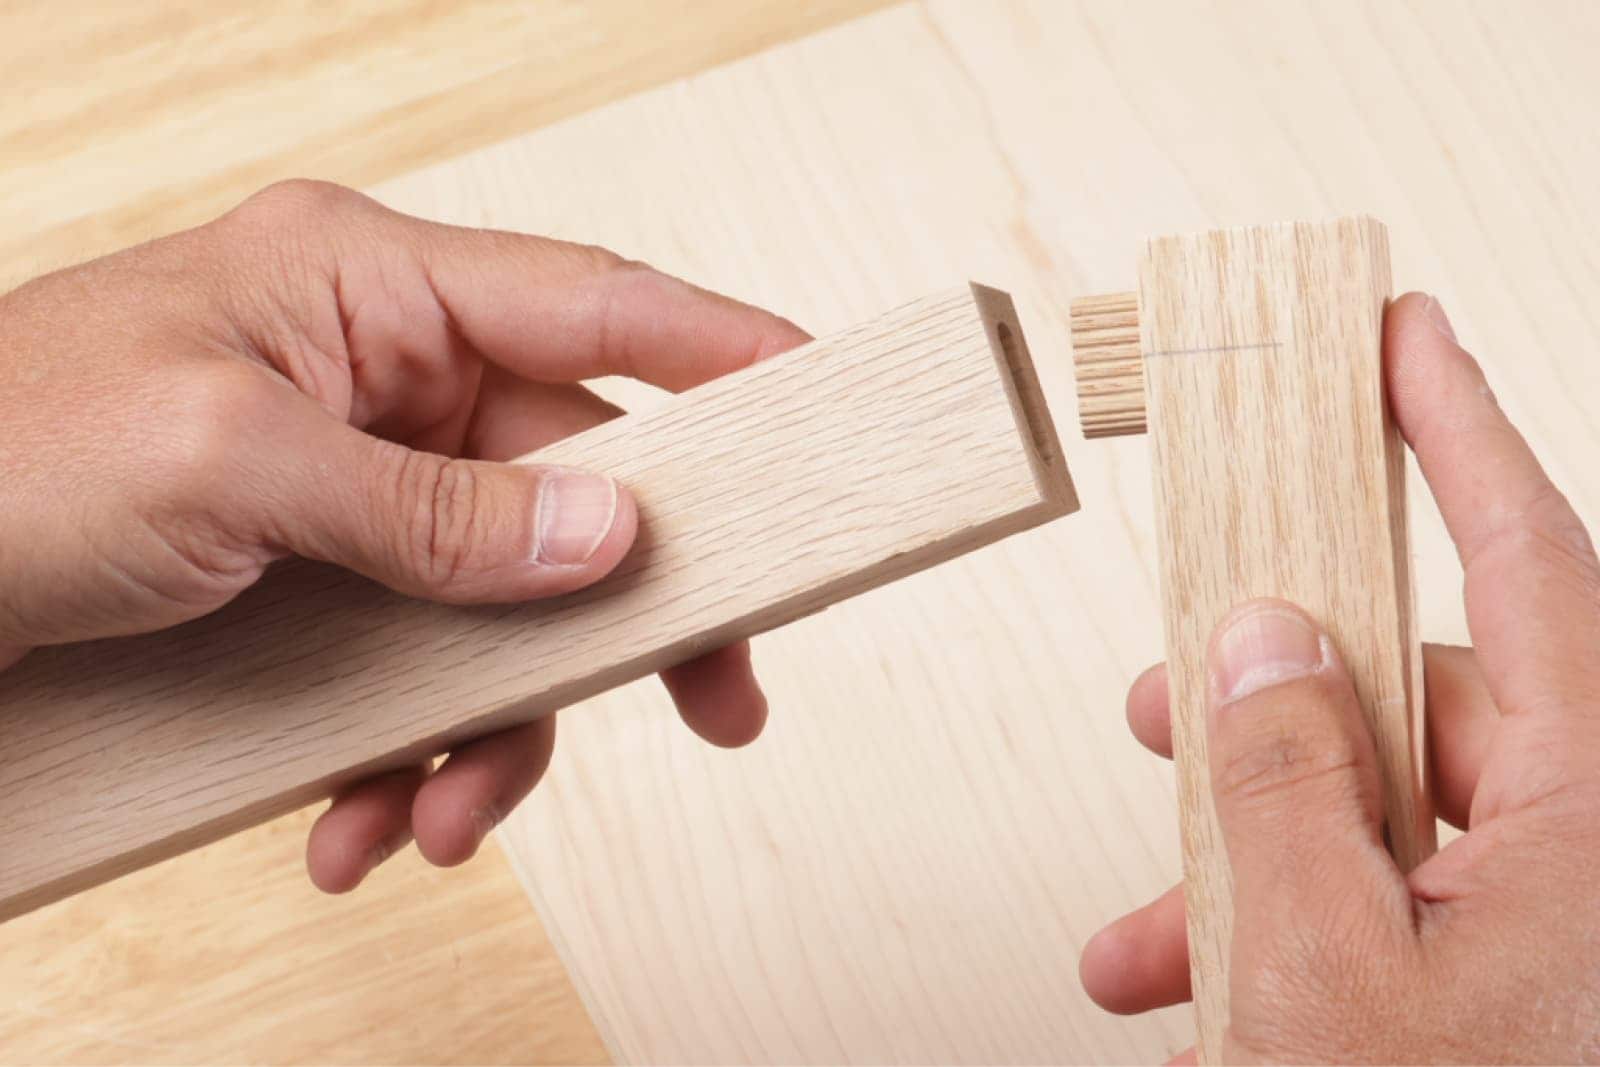
Step 5: Insert dowels and assemble the joint
- Squeeze a bit of wood glue into the holes.
- Insert the dowels into one board and apply glue down the length of the joint before sliding the two boards together.
- Clamp the joint together until it dries.
Clamping and Drying Tips
- Clamp tightly but avoid over-tightening.
- Allow glue to cure for the recommended time before handling.
- Sand down any uneven joints after drying.
Common Mistakes When Using a Dowel Jig (And How to Avoid Them)
Dowel jigs are a fantastic tool for creating strong, precise, repeatable joints in woodworking. However, even experienced woodworkers can run into problems if they don’t use the jig correctly. Misaligned holes, weak joints, and frustrating assembly issues can all result from simple mistakes.
Misaligned holes and how to fix them
- Use a center punch or awl to mark exact hole locations.
- Double-check measurements before drilling.
- Re-drill misaligned holes with a larger dowel size if needed.
Preventing tear-out when drilling
- Use sharp drill bits.
- Drill slowly and use masking tape over hole locations.
- Support thin materials with a scrap backing board.
Ensuring a strong and flush joint
- Dry fit pieces before applying glue.
- Sand lightly for a flush finish after assembly.
- Use clamps to keep joints tight while drying.
Best Projects to Practice Dowel Joinery
Dowel joinery is a fantastic way to create strong and precise connections without relying on screws or nails. If you’re still new to creating dowel joints — or simply want to keep your skill up — practicing with a variety of builds will improve your accuracy and technique. Below are some beginner-friendly and advanced projects to help you refine your dowel joinery.
Beginner-friendly dowel jig projects
Simple picture frame
A great starter project, a doweled picture frame helps you practice aligning joints and drilling dowel holes precisely in smaller stock. This project also introduces you to handling mitered or butt-jointed corners with dowels for extra strength.
Basic tabletop glue-up
Creating a tabletop with dowels ensures proper alignment and a strong, even surface. This project can also teach you how to space dowels evenly along board edges and clamp everything securely for a seamless finish.
Small storage box
Building a wooden box with doweled corners strengthens your ability to align 90-degree joints. This simple project reinforces clamping techniques and joint placement while resulting in a useful storage piece.
Wooden coasters with dowel-reinforced corners
These small yet stylish coasters offer a unique way to practice dowel-reinforced corner joints. This project helps develop precision drilling skills while adding a decorative element to your woodworking.
Intermediate & advanced dowel joinery ideas
Dowel-reinforced cabinet doors
Adding dowels to cabinet door frames ensures long-term stability and durability.
Sturdy bookshelf
A bookshelf reinforced with dowels provides excellent practice in creating strong, load-bearing joints. This project enhances your ability to align multiple dowels accurately while ensuring a rigid, wobble-free build.
Wooden chair with dowel joints
Chairs need precise and sturdy joinery to support weight and movement. Using dowels for leg and rail connections strengthens the structure while giving you experience in creating durable furniture joints.
Complex geometric coffee table using dowels for unique angles
This project challenges you to experiment with dowel joinery in non-traditional angles and shapes. It’s an excellent way to push your skills in measuring, drilling, and assembling intricate designs with dowels.
Hardwood bench using dowel joinery for durability
A hardwood bench showcases the strength of dowel joinery in a functional and heavy-duty project. This build requires precise alignment, multiple dowel connections, and strong clamping techniques to ensure long-lasting stability.
FAQs About Using a Dowel Jig
Is a dowel jig necessary?
A dowel jig is not strictly necessary, but it significantly improves accuracy, alignment, and ease of drilling precise dowel holes for strong joinery.
What is the rule of thumb for dowel pin depth?
A common rule is to drill each hole to a depth of half the dowel length plus a little extra space for glue and expansion, ensuring a snug fit.
How do I know what size dowel to use?
Choose a dowel diameter that is approximately one-third to one-half the thickness of the wood being joined for ideal strength and alignment.

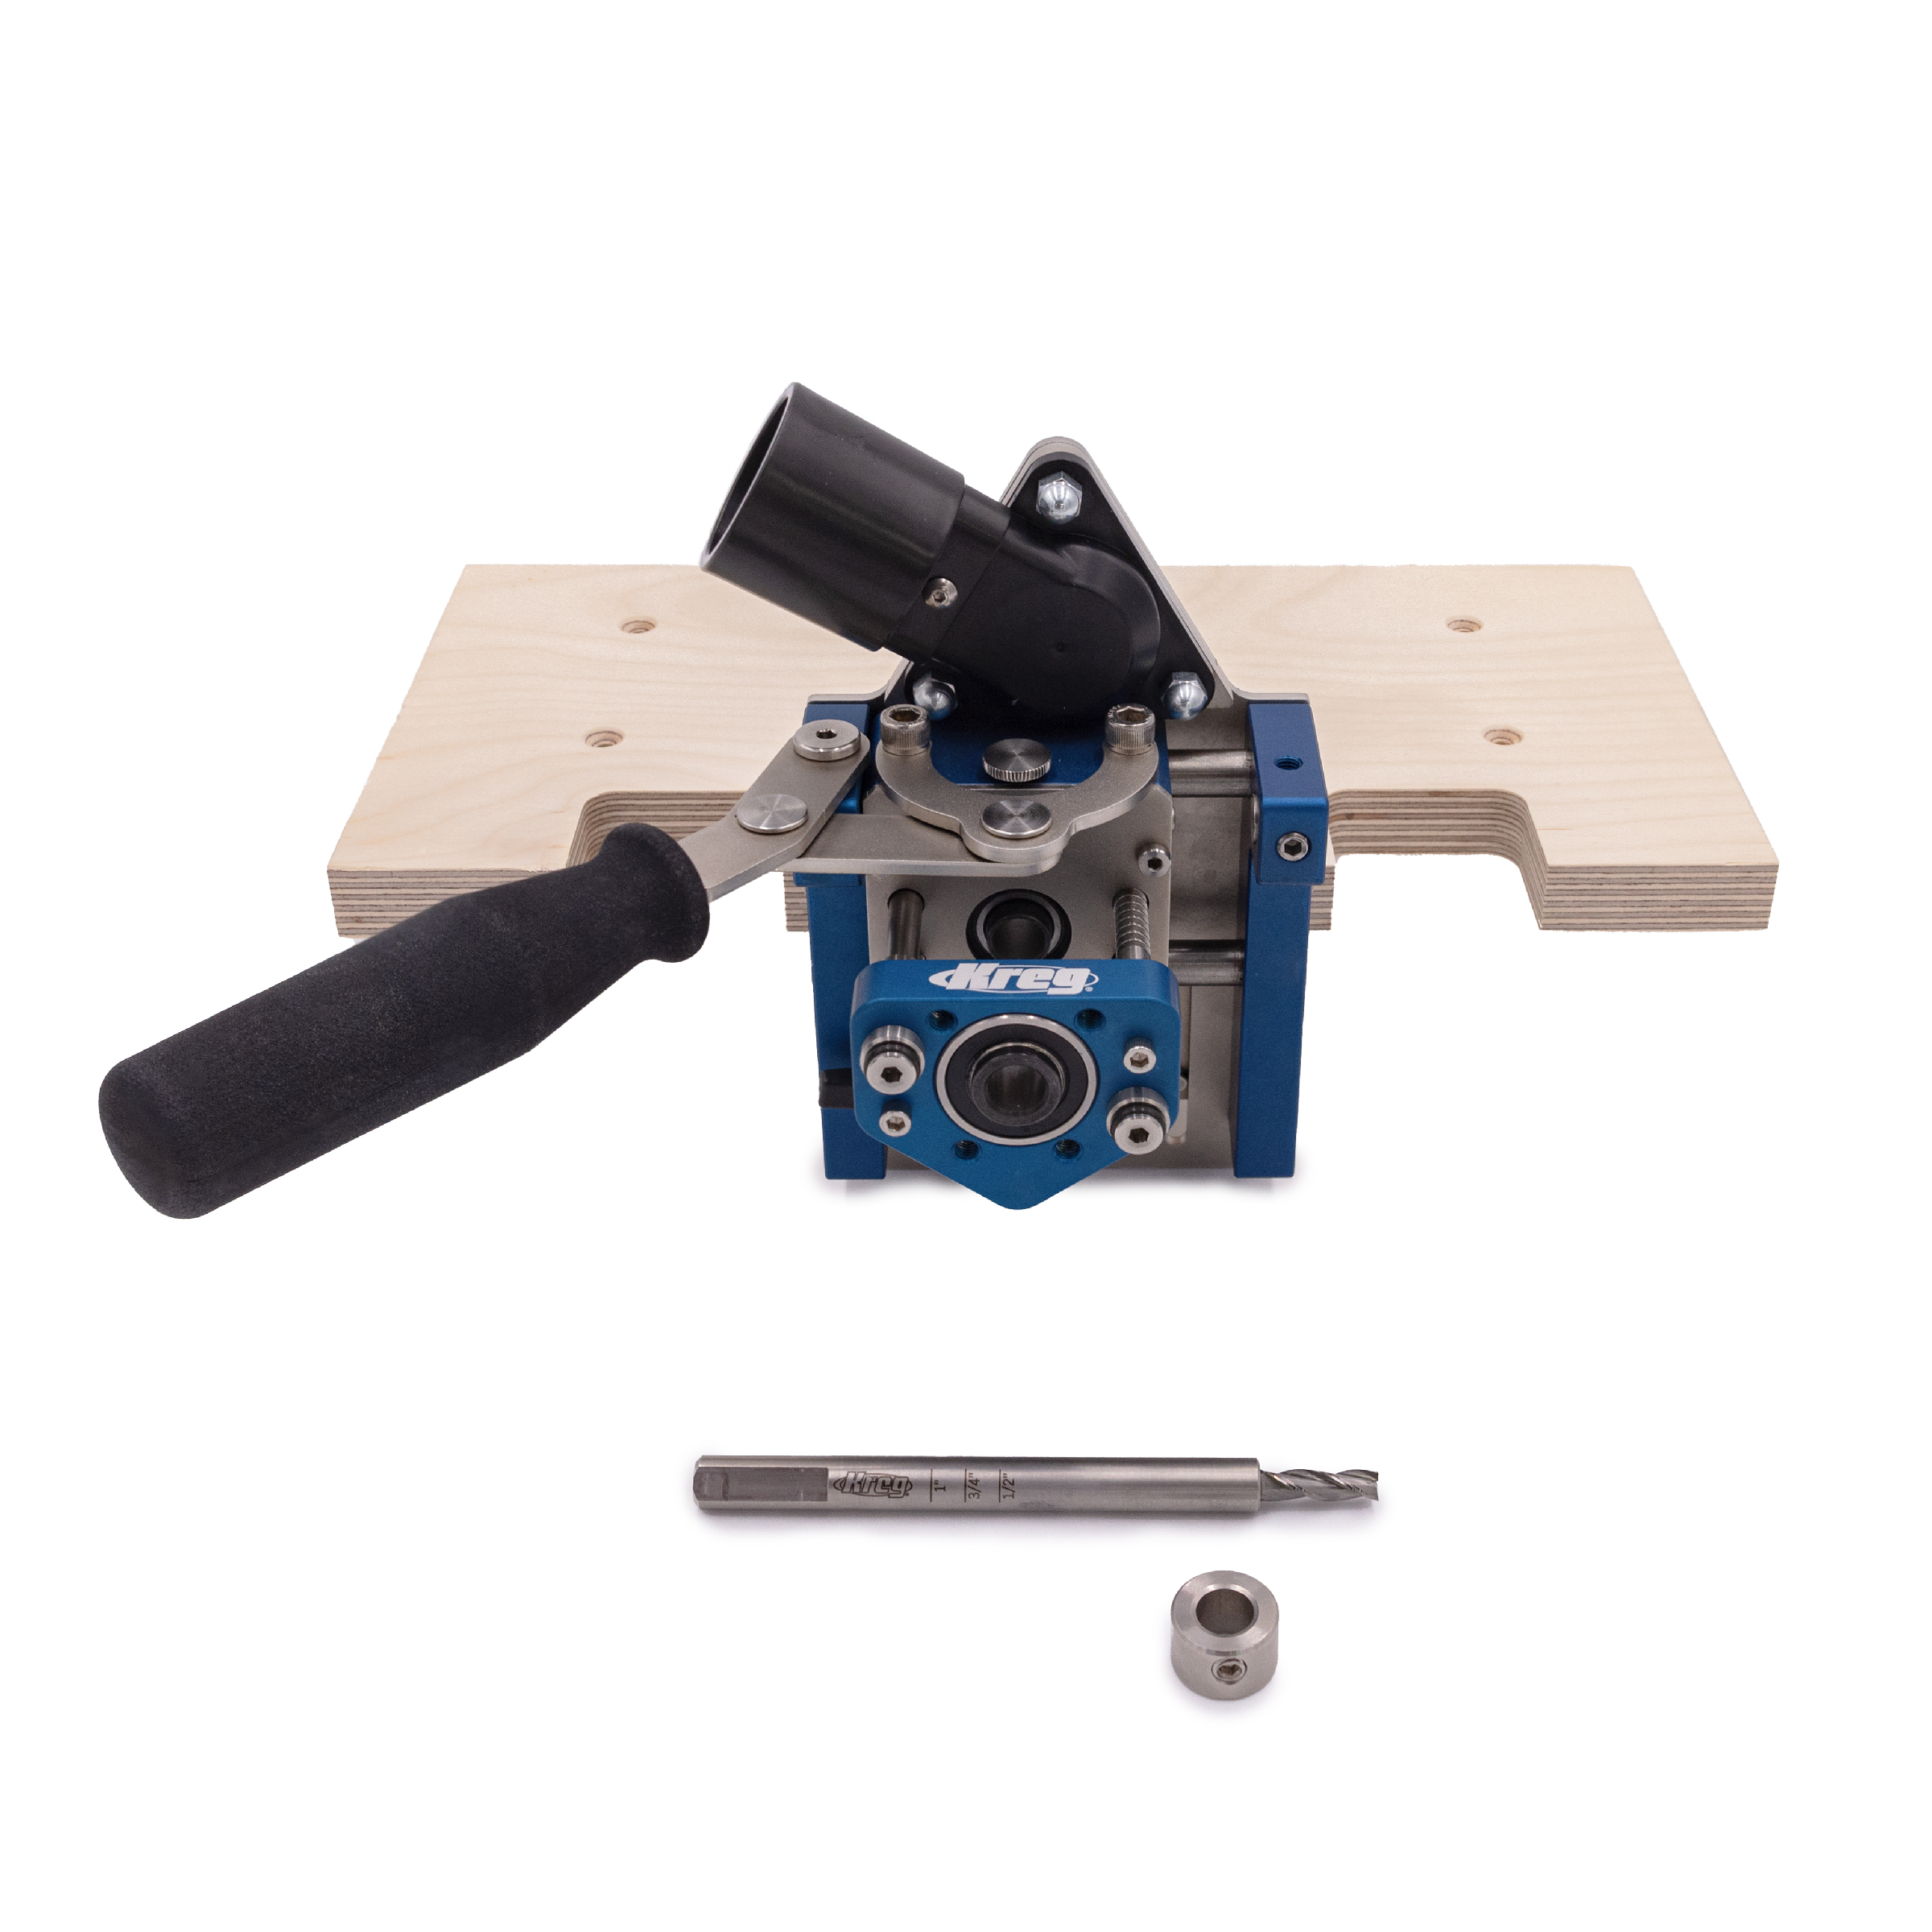
Associated Products
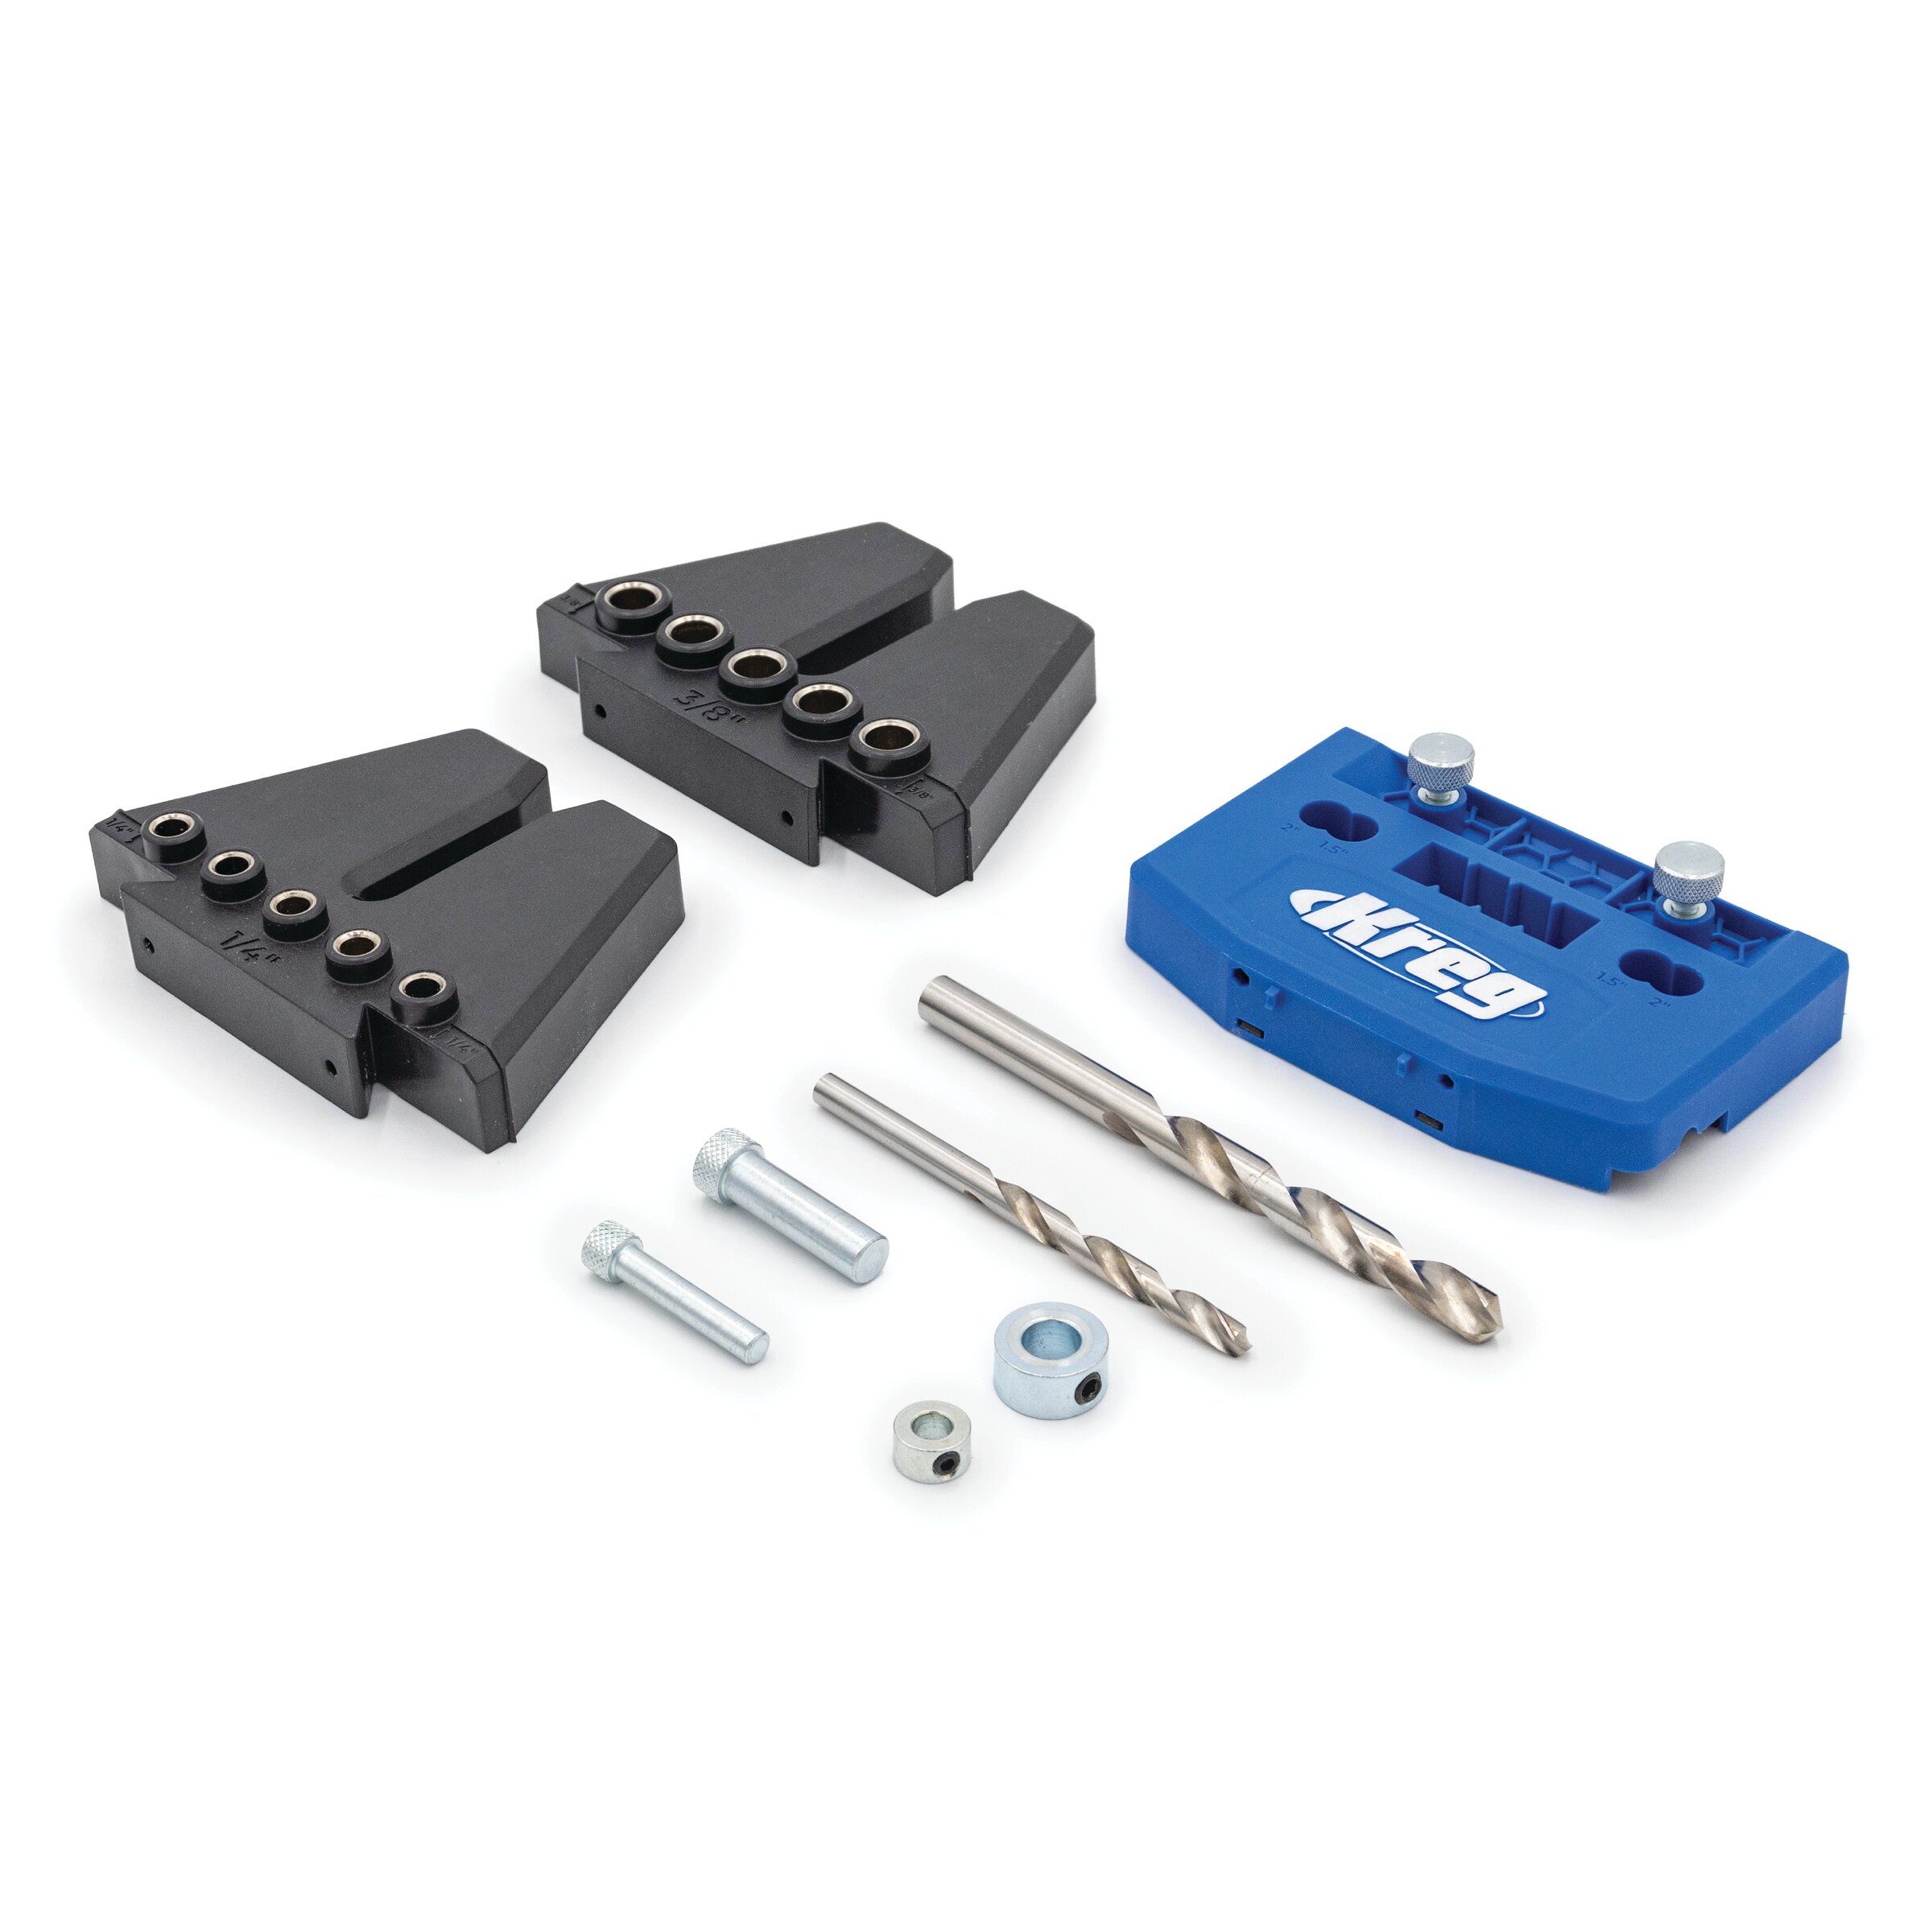
Kreg Dowel Jig Kit