Dowel joints have been a cornerstone of woodworking for centuries, offering a simple yet strong method for joining workpieces. In this comprehensive guide, we’ll explore everything you need to know about dowel joints, from their basics to advanced techniques.
What Are Dowel Joints in Woodworking?
Simply put, a dowel joint is a method of joining two pieces of wood using cylindrical wooden pins, known as dowels. Dowels are inserted into matching holes in the wood pieces, creating a strong and precise connection. This technique is widely used in furniture making, cabinetry, and DIY projects due to its versatility and ability to create nearly invisible joints.
Dowel joints are often compared to other types of joinery, such as pocket holes and mortise-and-tenon joints. While they may not be as strong as mortise-and-tenon joints, dowel joints offer a balance of strength, simplicity, and cost-effectiveness that makes them an excellent choice for many applications.
Additionally, dowel joints are a fantastic solution when you want to maintain a clean look for your woodworking projects. Dowel joinery allows for seamless connections without requiring additional fasteners like screws or nails, which can disrupt the visual appeal of your finished piece. This combination of form and function is one of the reasons why dowel joinery remains a popular choice in woodworking.
Advantages and Disadvantages of Dowel Joints
Advantages:
- Strength and Durability: When done correctly, dowel joints provide a strong connection that can withstand significant stress. This makes them ideal for furniture that will experience frequent use, such as chairs or tables.
- Versatility: Suitable for a wide range of woodworking projects, from furniture to smaller crafts. Dowel joints can be used for everything from edge-to-edge joints to T-joints and mitered connections.
- Aesthetic Appeal: The joint can be virtually invisible, preserving the clean look of your project. For those who prefer a decorative approach, exposed dowels can also serve as an intentional design element.
- Cost-Effective: Requires minimal tools and materials compared to other joinery methods. Even beginners can achieve professional-looking results without investing in expensive equipment.
- Ease of Reproduction: Dowel joints are relatively easy to replicate, ensuring consistency in multiple projects. This is particularly useful when working on large-scale builds requiring identical components.
Disadvantages:
- Precision Required: Misaligned holes can weaken the joint or cause assembly issues. Precision is paramount, especially when working with thinner wood pieces.
- Time-Consuming: Setting up and drilling holes for dowels takes time and care. While doweling jigs can expedite the process, it’s still more labor-intensive than some other methods.
- Limited Strength for Heavy Loads: While strong, dowel joints may not be suitable for heavy-duty applications, such as large structural frames.
- Potential for Glue Failure: If glue isn’t applied correctly or if the dowels don’t fit snugly, the joint may weaken over time.
Essential Tools for Creating Dowel Joints
To create strong and precise dowel joints, you’ll need the following tools:
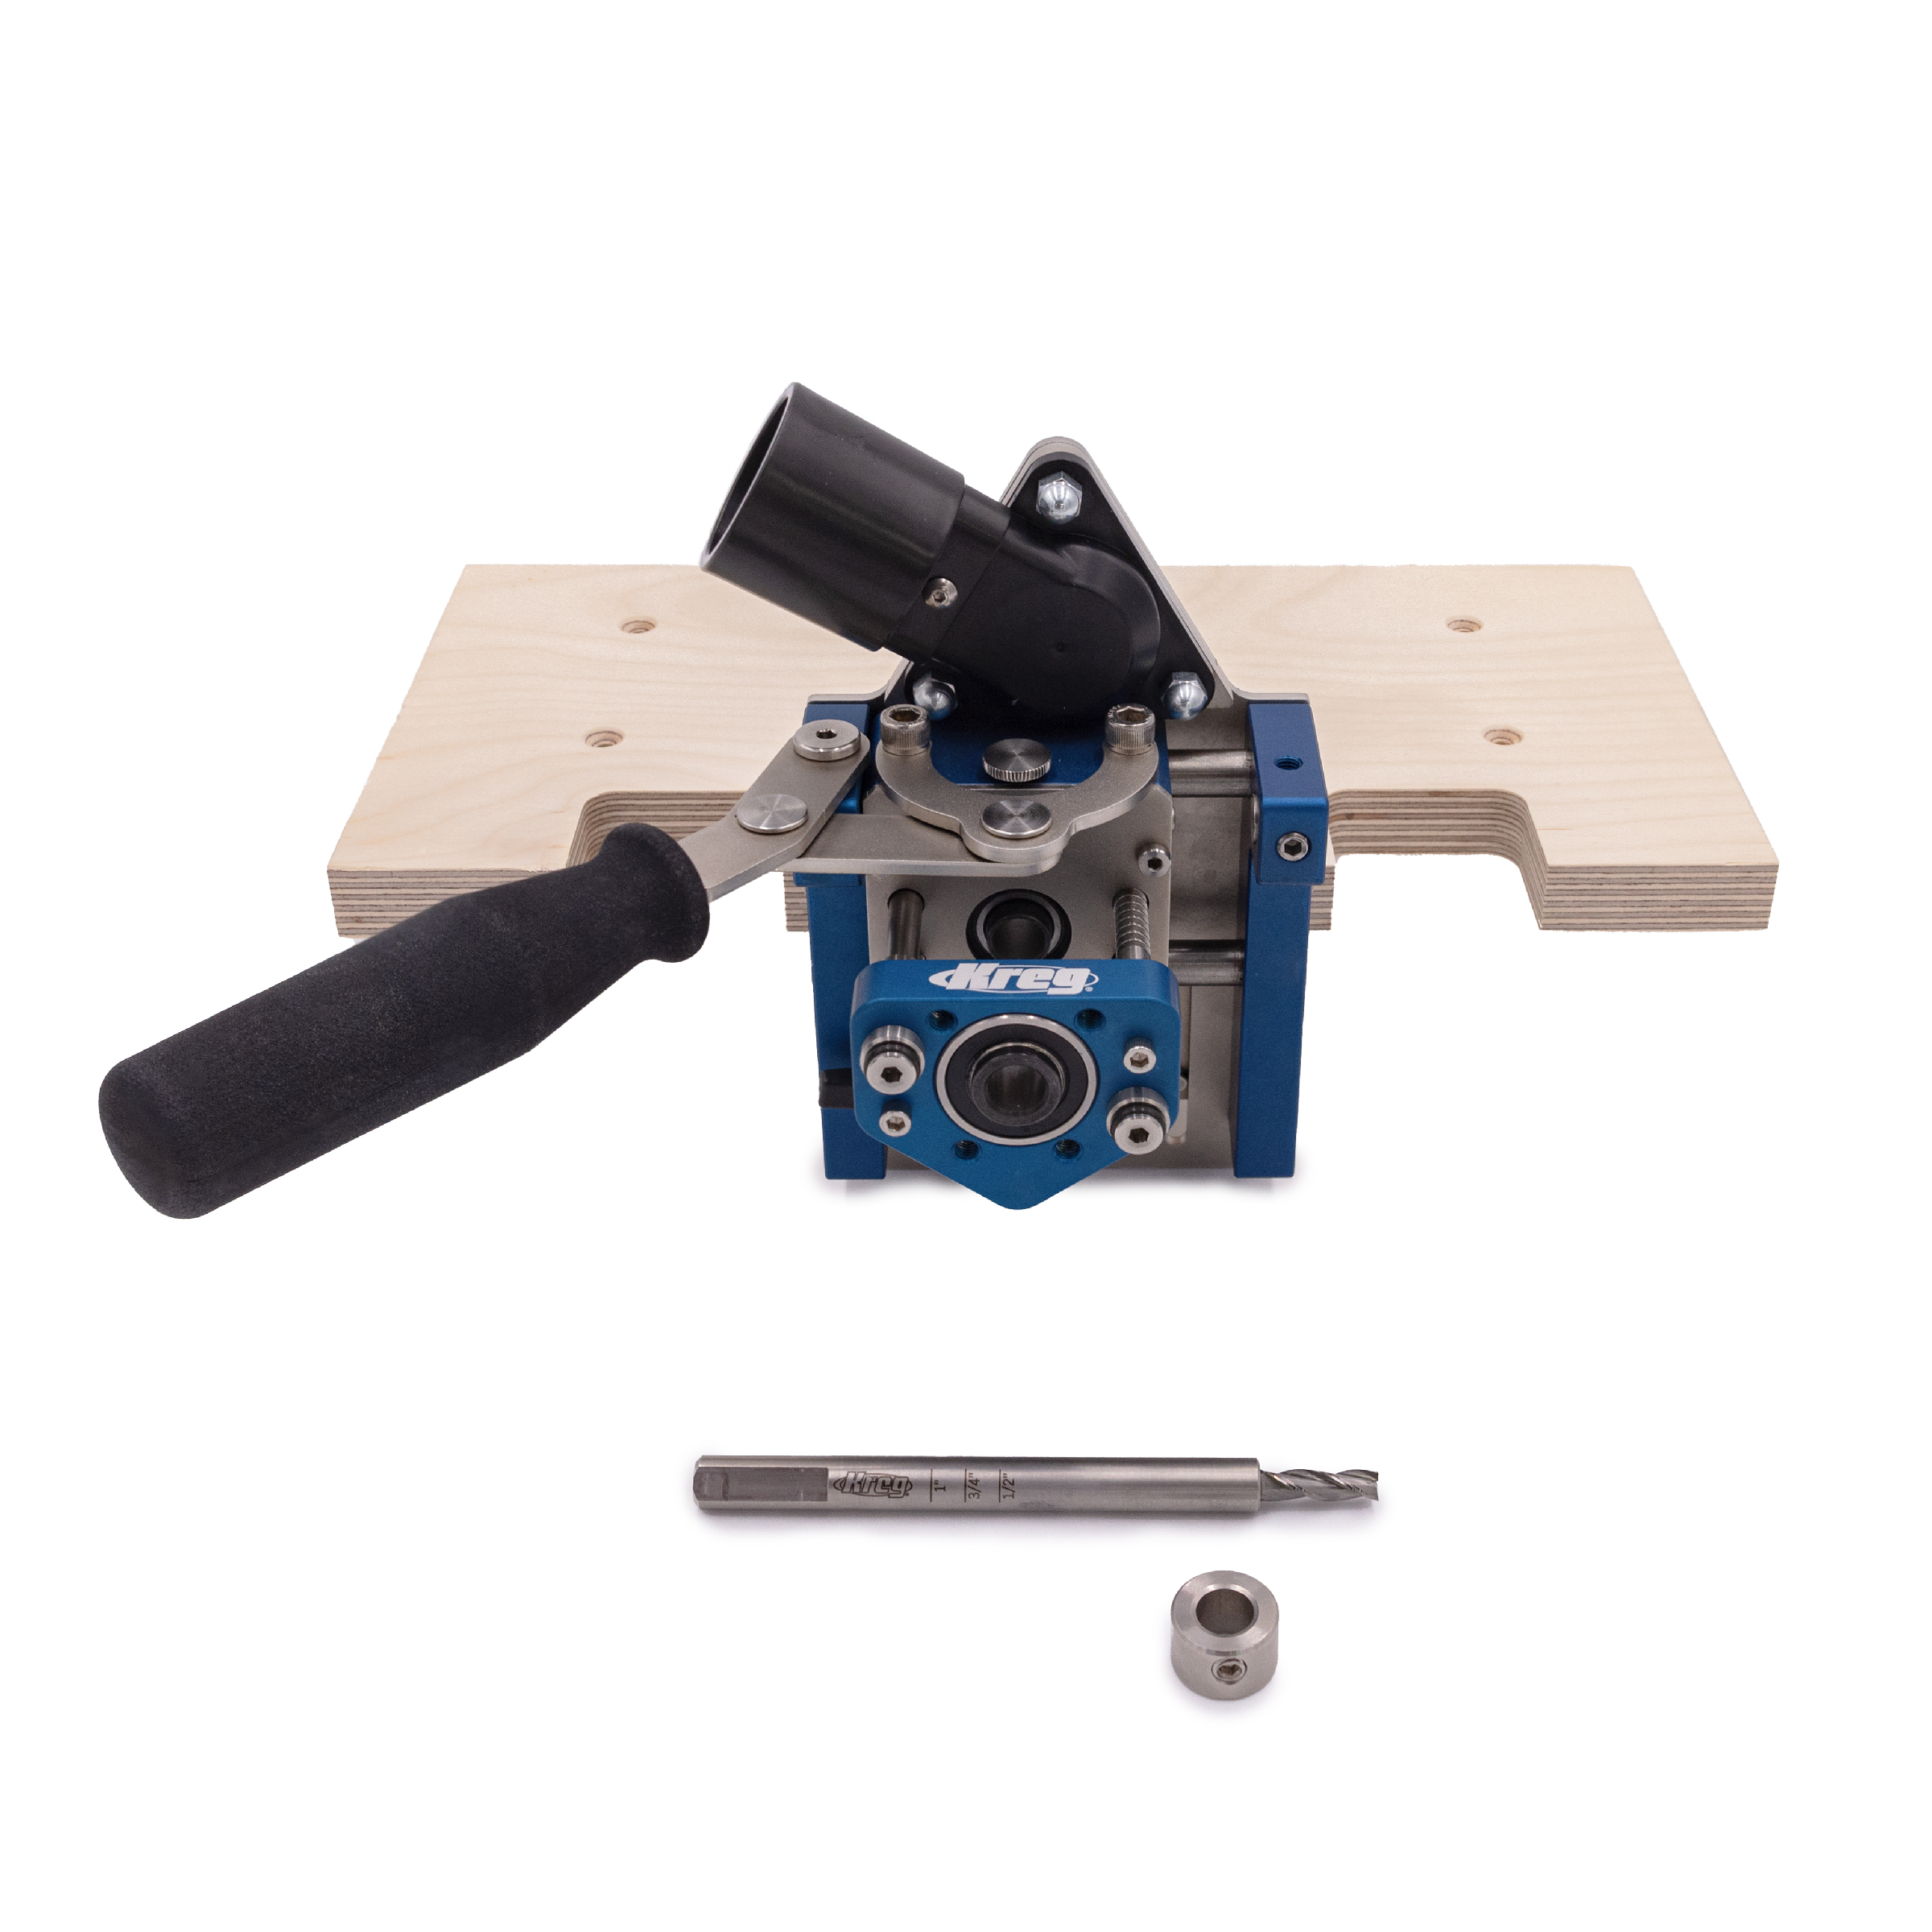
Dowel jig
A dedicated jig ensures perfectly aligned holes for your dowels. High-quality jigs can make the difference between a solid joint and one that wobbles, while also making the entire process much smoother and more efficient. Check out our guide to learn more about how to use a dowel jig and self-centering dowel jigs.
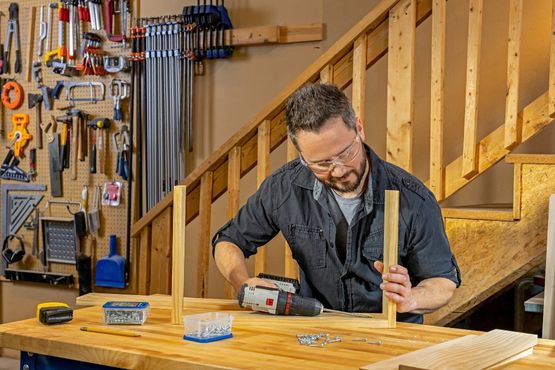
Drill and drill bits
A power drill with appropriately sized bits is crucial for creating accurate holes. For beginners, brad-point bits are recommended as they offer better precision and reduce the risk of the bit wandering off course.
Dowels
Choose dowels that match the size of your drill bit and the thickness of your wood. Hardwood dowels, such as oak or maple, offer better durability than softwood options.
Wood glue
High-quality wood glue ensures a strong bond between the wood and the dowels. Look for glue specifically designed for woodworking, such as PVA-based adhesives. Also be sure to consider where the finished piece will be located, as environmental extremes can cause joint failure if the wrong glue is used. Specialized glues for outdoor use will be effective against temperature and moisture fluctuations.
Clamps
Clamps are essential for preventing movement or misalignment while the glue dries. Bar clamps or pipe clamps work particularly well for larger projects.
Measuring tools
A ruler, square, and marking gauge will help with accurate measurements, ensuring your dowel joints are perfectly aligned.
Dowel centers (optional)
These small, metal accessories help transfer hole locations from one piece of wood to another, ensuring perfect alignment in joints.
![]()
Step-by-Step Guide to Making Perfect Dowel Joints

Step 1: Mark and measure
Begin by measuring and marking the locations for your dowels. Use a ruler and square to ensure precision. Mark corresponding points on both pieces of wood to guarantee proper alignment. For added accuracy, consider using a dowel center to transfer marks from one piece to the other. Double-check your measurements to avoid mistakes that could compromise the joint’s strength.
Step 2: Drill the holes
Using a dowel jig, drill holes at the marked locations. The jig will keep your drill bit aligned and prevent the holes from being off-center. Ensure the holes are drilled to the correct depth — this will vary based on the type of joint and thickness of the wood— to allow for glue and proper fit. Use a depth stop on your drill bit to maintain consistency, and be sure to periodically clear out wood shavings to prevent clogging.
Step 3: Insert the dowels
Apply a small amount of wood glue to the holes and the dowels. Insert the dowels into the holes, twisting them slightly to distribute the glue evenly. Wipe away any excess glue to keep your project clean. If the dowels are too tight, lightly sand them for a better fit.
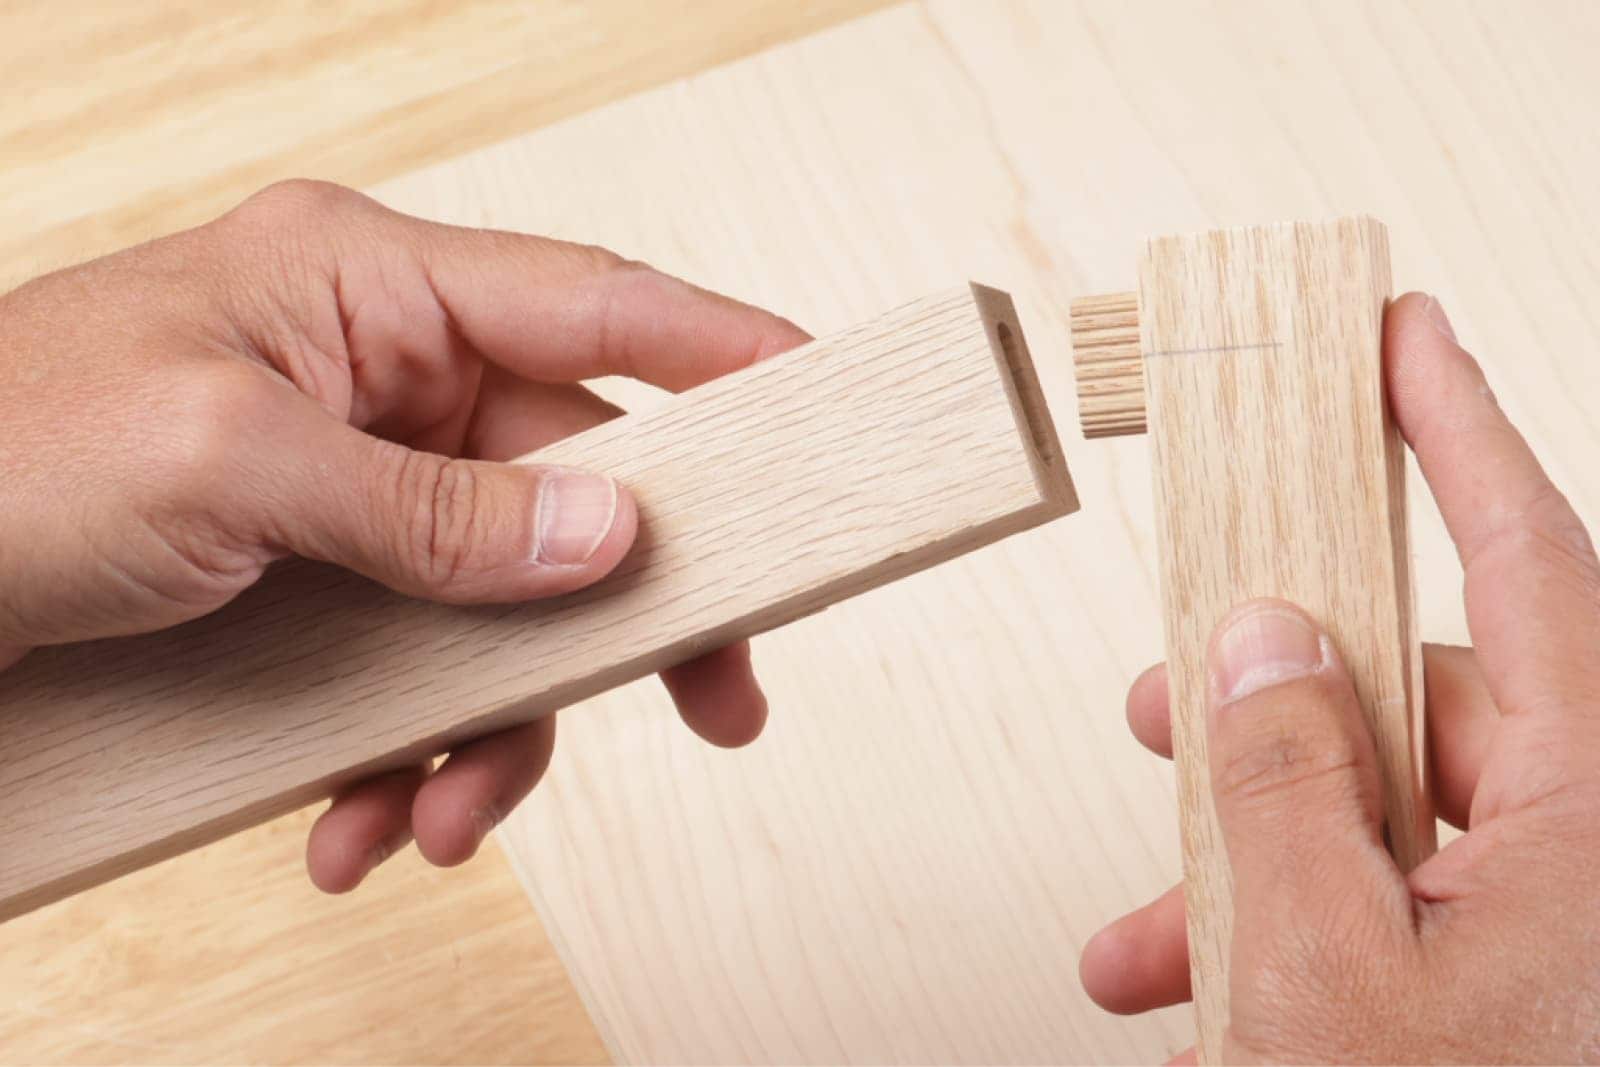
Step 4: Assemble the joint
Align the two pieces of wood, ensuring the dowels fit snugly into the corresponding holes. Press the pieces together gently but firmly.
Step 5: Clamp and dry
Secure the joint with clamps, applying even pressure to prevent misalignment. Allow the glue to dry according to the manufacturer’s instructions — typically 24 hours — for maximum strength. Avoid over-tightening the clamps, as this can squeeze out too much glue and weaken the bond.
![]()
Common Mistakes to Avoid with Dowel Joints
Misaligned holes
Use a dowel jig to ensure perfect alignment. Even a slight misalignment can result in a weak joint.
Poor dowel fit
Match the dowel size to your drill bit and wood thickness. Oversized or undersized dowels can compromise the joint’s integrity.
Wrong amount of glue
Apply enough glue to cover the dowels and holes, but not so much that it creates excessive squeeze-out. Too little glue can lead to a weak bond.
Skipping clamping
Always clamp the joint to prevent movement while the glue dries. Failure to do so can result in gaps or misalignment.
Rushing the drying process
Allow the glue to cure fully before handling the joint. Premature handling can weaken the bond and cause the joint to fail.
Advanced Dowel Joinery Techniques
Once you’ve mastered the basics, consider experimenting with advanced techniques.
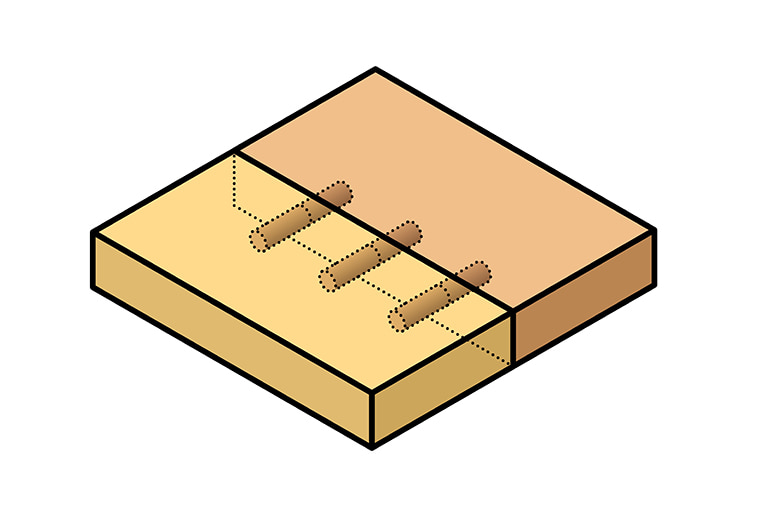
Edge-to-edge joints
Ideal for joining boards to create wider panels. Use multiple dowels for added strength.
Mitered dowel joints
Perfect for creating clean, angled connections, like those in picture frames or decorative boxes.
Double dowel joints
Using two dowels per joint adds strength and stability, especially for larger or load-bearing projects.
Decorative dowels
Leave dowels exposed for an intentional, design-forward look. Use contrasting wood species for visual interest.
Angled dowel holes
For unique designs, drill dowel holes at angles to create custom joinery solutions.
Expert Tips for Perfecting Your Dowel Joinery
Practice on scrap wood
Before working on your project, test your technique on scrap pieces. This will help you refine your process and avoid costly mistakes.
Use dowel centers
These handy tools help transfer drill marks with precision, ensuring your joints align perfectly.
Pre-sand the dowels
Lightly sanding dowels ensures a snug fit and better glue adhesion. Avoid over-sanding, as this can make the dowels too loose.
Invest in quality tools
A reliable dowel jig and sharp drill bits make a significant difference in the accuracy and durability of your joints.
Check for square
Ensure your wood pieces are square before drilling to avoid alignment issues. A square joint is not only stronger but also more visually appealing.
Label your pieces
When working on complex projects, label each piece to avoid confusion during assembly.
Keep your tools sharp
Dull drill bits can tear the wood fibers, resulting in a weaker joint and a less professional appearance.
![]()
Frequently Asked Questions About Dowel Joints & Dowel Joinery
Are dowel joints stronger than screws?
Dowel joints are generally stronger than screws in solid wood because they provide more glue surface area and distribute force across a larger area of the joint.
Do dowel joints need glue?
Yes, glue is essential for dowel joints to achieve maximum strength and stability.
Are dowel joints stronger than biscuit joints?
Dowel joints are typically stronger than biscuit joints since dowels penetrate deeper into the wood and provide structural support, while biscuit joints are primarily for alignment and offer minimal strength.
When should you use a dowel joint?
You should use dowel joints when you need a strong, invisible joint for connecting wood pieces at 90-degree angles or end-to-end, particularly in furniture making where screws would be unsightly and mortise and tenon joints would be overkill.
How far apart should dowels be placed?
Dowels should be spaced depending on the size and strength requirements of the project. If the material is under 4″ wide then 2 dowels is the minimum. At 6-8″ wide, use 3 dowels. For material beyond 8″ placement every 6-12″ is recommended.

Associated Products
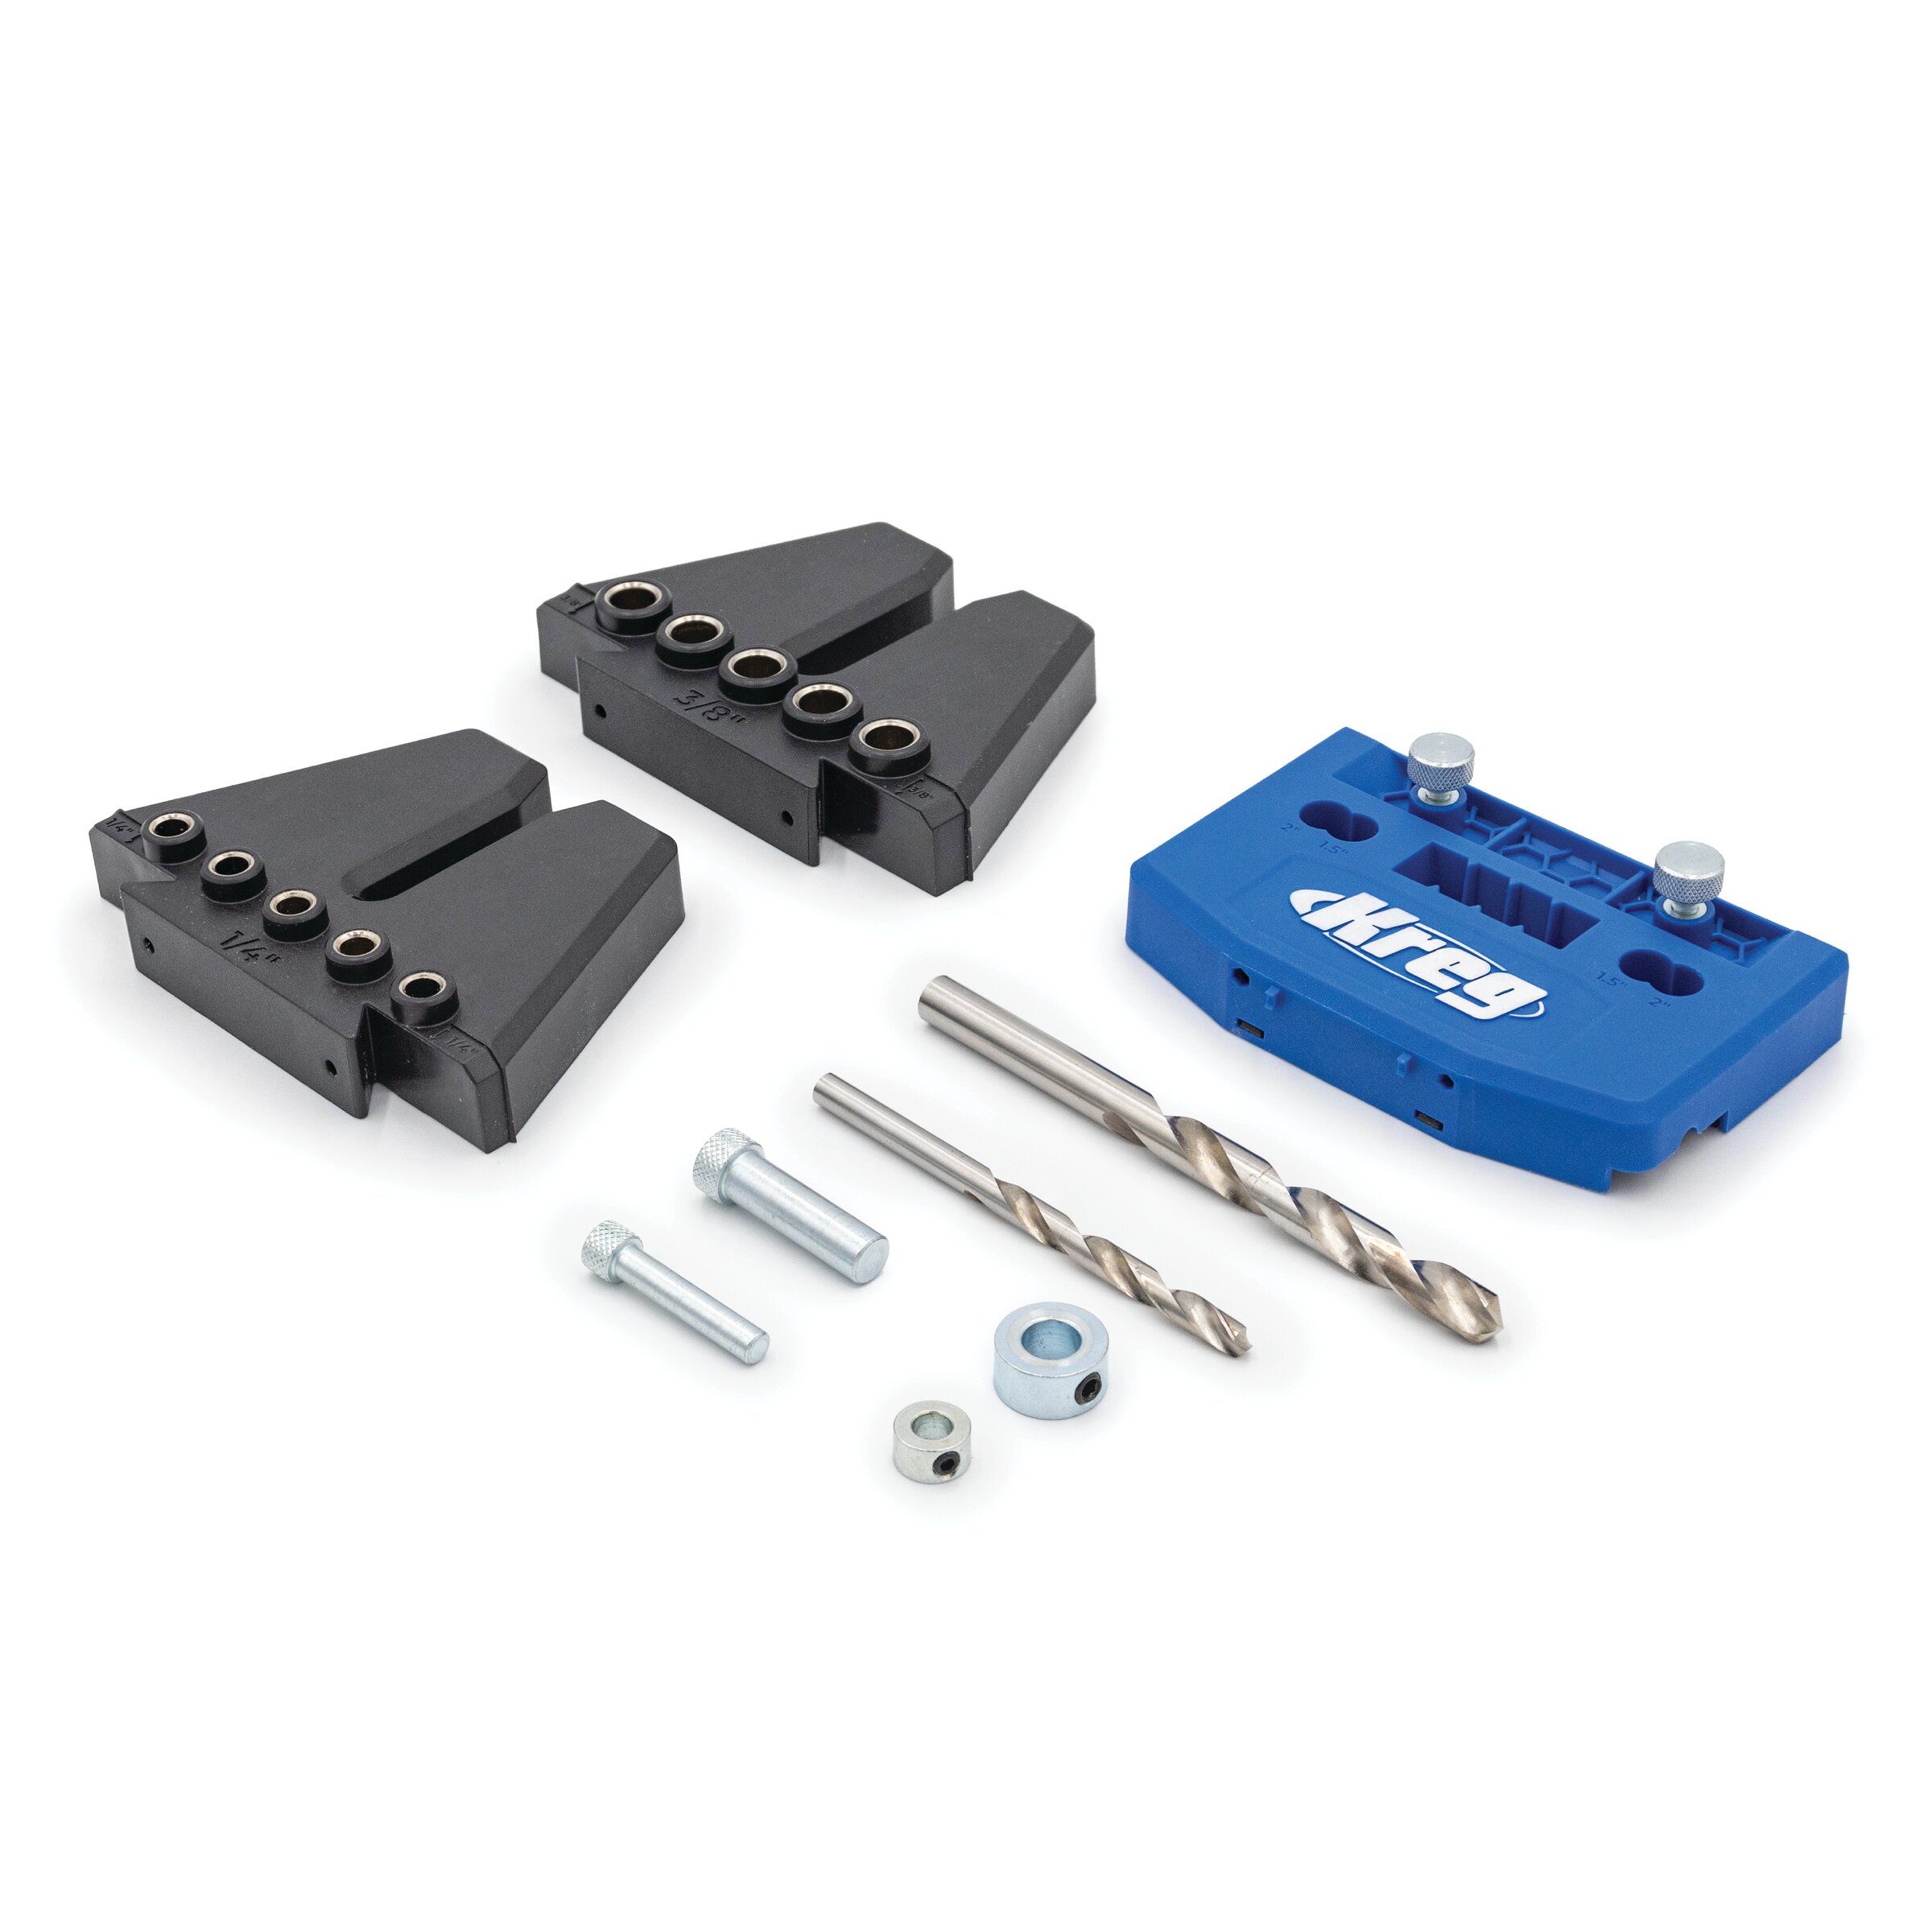
Kreg Dowel Jig Kit