
Create a great look with a cool board layout, then attach them with concealed fasteners.
When you’re working on a deck—whether you’re building a new one or giving your existing deck a makeover—nothing impacts the final appearance as much as the decking. That’s why many of us spend a lot of time pondering the huge array of options that are available in wood and composite deck boards to find the perfect look.
You can take your deck to the next level by laying those boards in an interesting pattern. There are many to choose from, and we’ll show you a few. Some patterns require some additional deck framing and more cutting, but the extra effort creates great-looking results. We’re not going to cover all the specific construction details here, but we’ll give you an idea of what the pattern will look like, as well as what may be required for supporting framing.
Dress things up with a divider
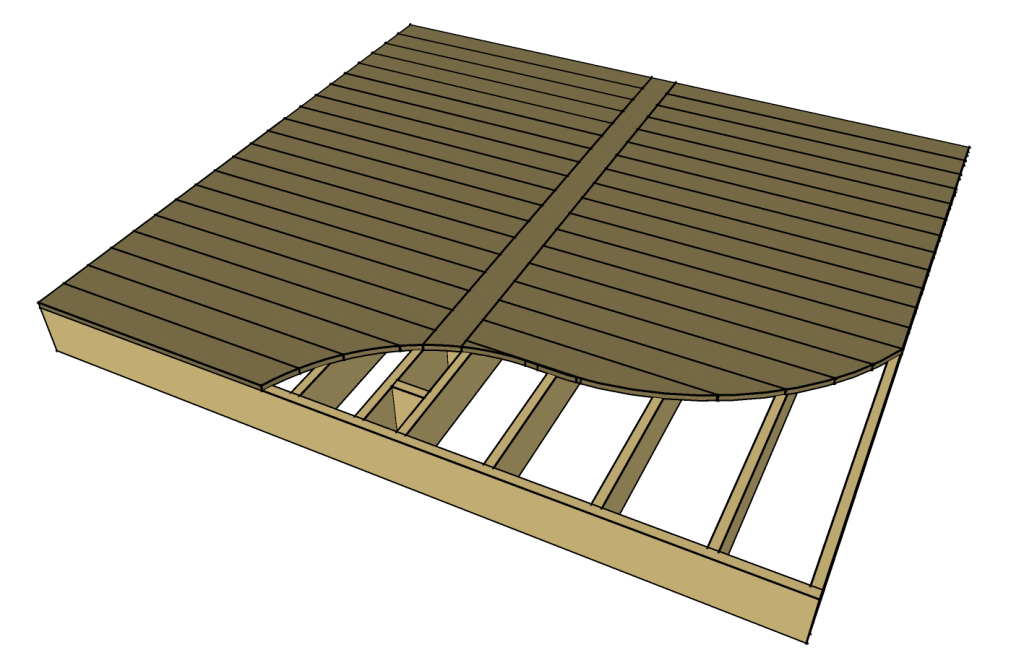
One of the simplest ways to add pattern to your deck is with a divider—sometimes called a transition board—that’s laid perpendicular to the main deck boards. A divider breaks up those long, straight lines without requiring much extra effort.
A divider can also help you separate your deck into two areas. If you use one side of your deck for dining and the other side for casual seating, the divider will help create a visual transition.
A divider can also allow you to use shorter deck boards. If you have a 16′-wide deck, for example, and you don’t want seams in the boards, you’d have to get 16′ decking which is more expensive and harder to transport and handle. With a divider, you could use 8′-long boards instead.
As you can see in the illustration, adding a divider does require a couple joists set closer together and some short pieces, called blocking, in between. But it’s easy to incorporate this into any new deck or into an existing deck if you’re doing a makeover.
Lay it down on the diagonal
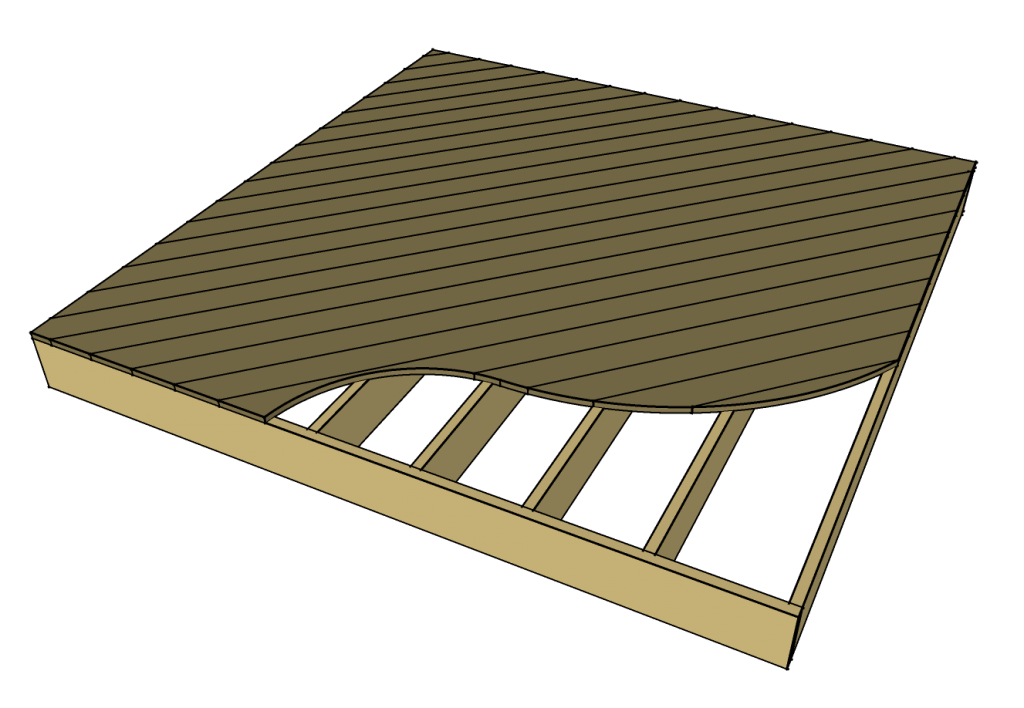
Another way to add pattern without much hassle is to lay the deck boards diagonally—usually at 45°—to the deck joists. With this setup, you’ll still have an uninterrupted field of decking, but with punched-up visual interest.
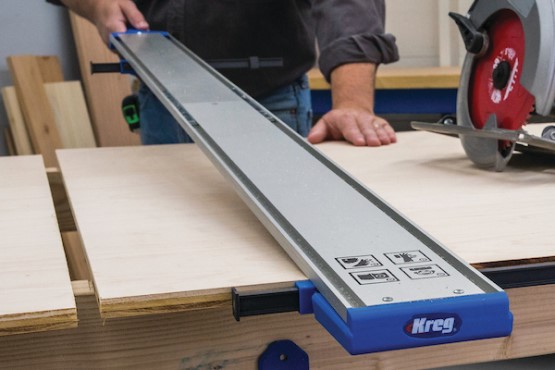
To lay decking diagonally, you will need to make a lot of 45° cuts, so you’ll want a miter saw, or a guide that guarantees great 45° cuts with your circular saw, such as the Kreg Portable Crosscut. Where the boards overhang the deck, you can just let them run long. After they’re all attached, trim them using the Accu-Cut™ or Accu-Cut XL™ to guide your saw straight over long distances.
The deck framing for a diagonal pattern is simple, though, because it’s exactly the same as laying decking conventionally.
Vary the pattern with a V
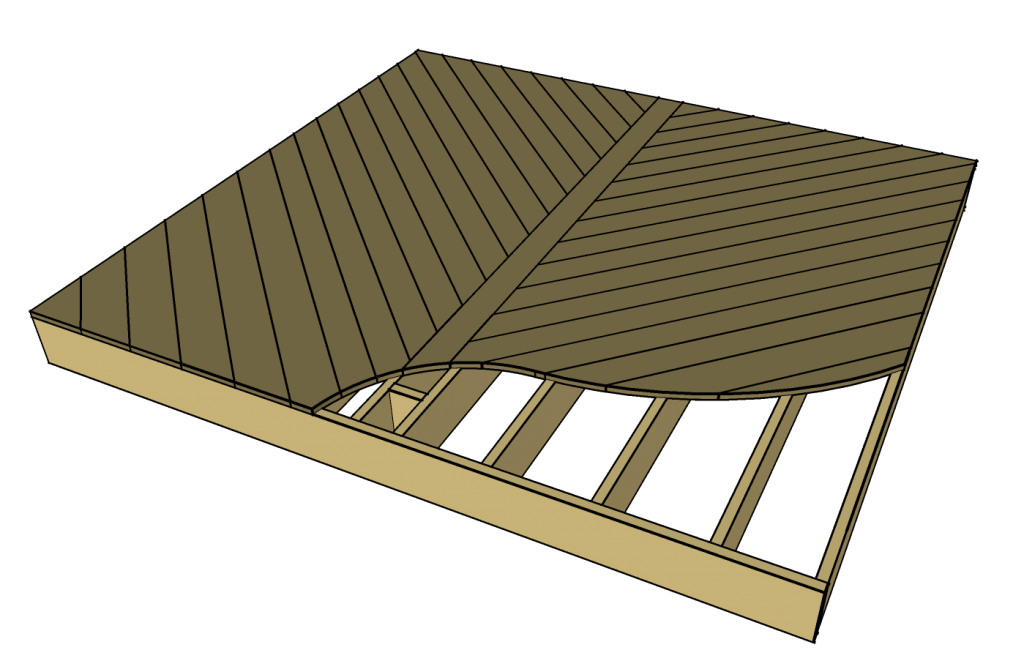
If you lay boards diagonally from two directions, you can create a “V” pattern. Laying the boards isn’t much different, but you’ll have to do a lot more cutting. It can be challenging, though to get tight-fitting joints where the boards meet at the point of each V. A simple way around this is to use a divider board, as shown.
Diamonds can be a deck’s best friend
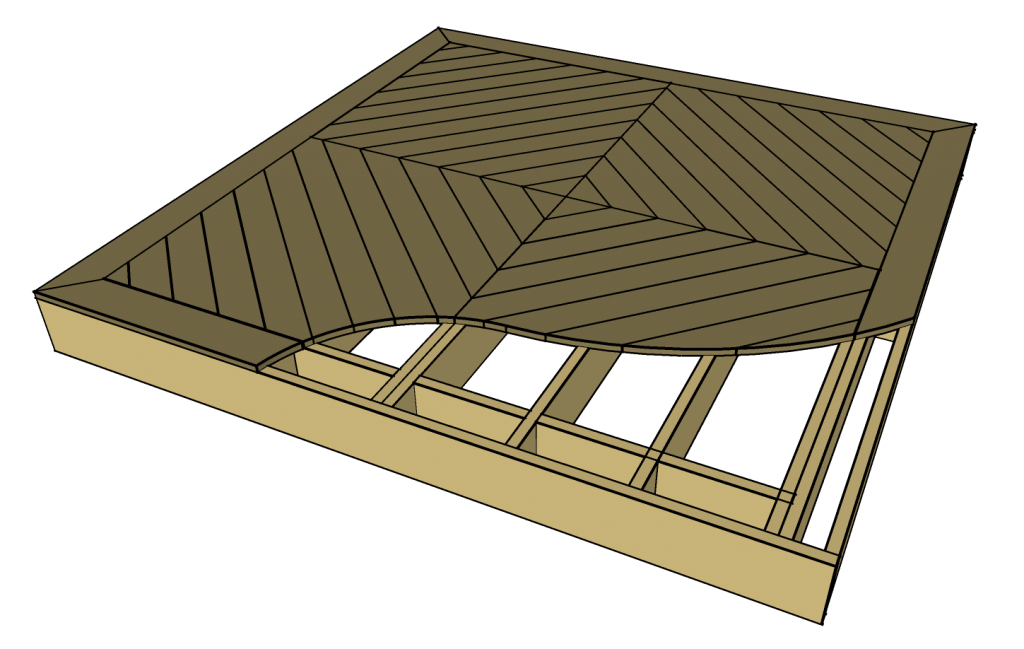
If you like the V idea and want to kick it up another level, you can create a diamond pattern by essentially having two V shapes meet in in the middle. Of all the patterns shown here, this one requires the most cuts, and the most exacting cuts, to make sure the shapes all meet up perfectly.
This pattern also means you’ll need to add some extra elements to the deck framing to support the boards. While we’ve shown a square deck here, you can certainly use a diamond on rectangular decks, as well.
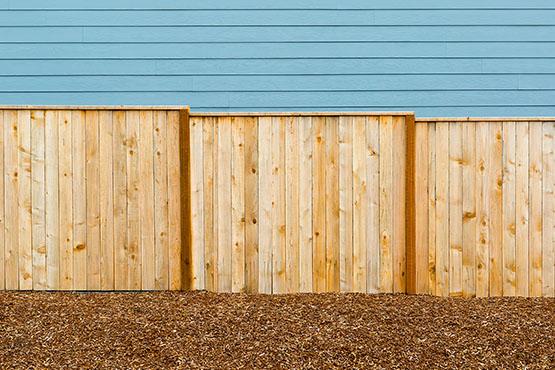
In this illustration, we’ve also shown a frame around the perimeter of the deck. That’s a feature you can add with any pattern that can give your deck a nice, finished look.
Bring on a basket weave

If V patterns aren’t your thing, but you still want to add some interest, you might want to try a basket-weave pattern—also sometimes called a tile pattern. It’s made by laying shorter boards in alternating squares.
Basket-weave patterns can be large, like this one that divides the deck into quarters, or they can be smaller. As you think about the size, though, realize that the framing underneath has to alternate, just like the decking. That means more squares will add more-complicated framing.
So, while this pattern looks less complicated than a diamond, it may be the most challenging due to the extra framing that’s needed. But if you like the look, it’s worth the extra work.
Use concealed fasteners for a clean look
Speaking of a nice, finished look, there’s something you can do with any deck to make it look it’s best. After all, you’ve gone to a lot of work selecting the decking you want to create your perfect look. You’ve decided how you want to lay it—whether that’s in a pattern or straight. So why detract from that look by driving a bunch of screws through the faces of every board?
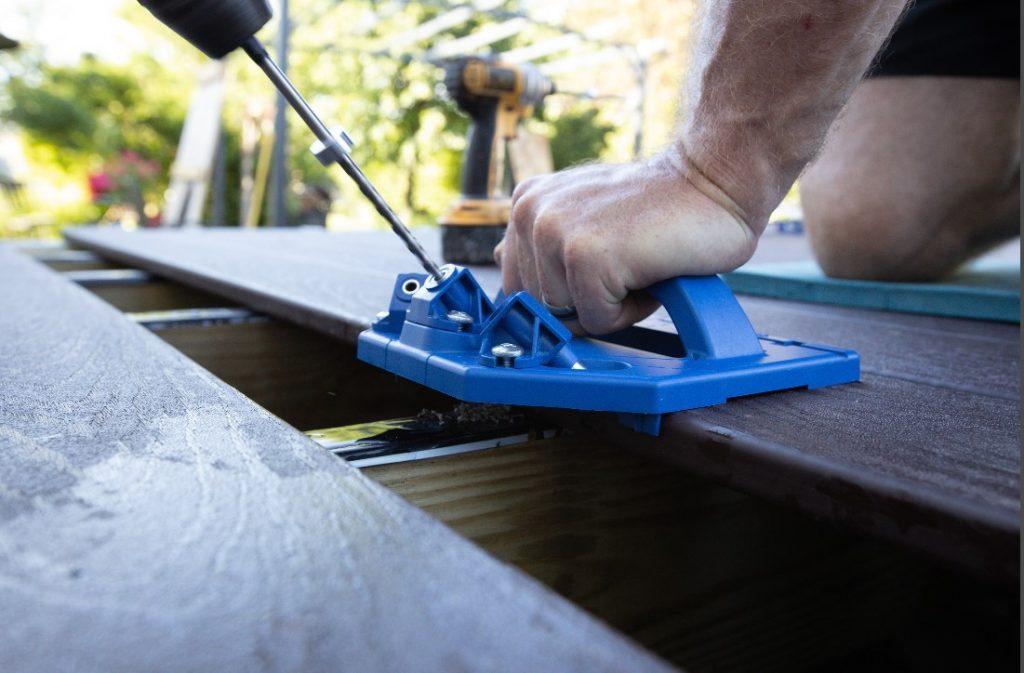 The remedy is to use a concealed fastener system, like the Kreg Deck Jig and Deck Screws. With a concealed-fastener system the screws are hidden. That means they won’t be seen, and also won’t catch your feet, cause water to pool around them, or rust and become unsightly.
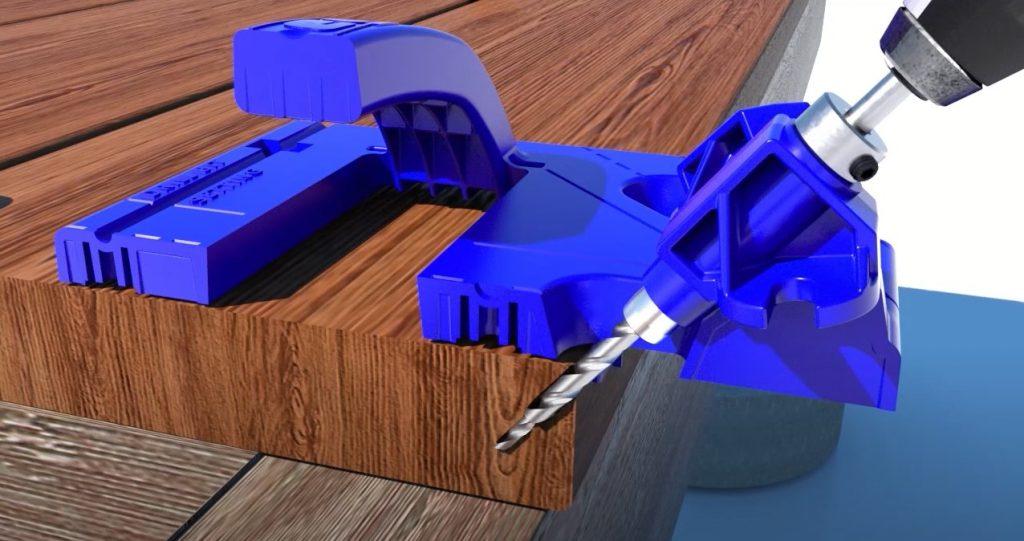 The Deck Jig has hardened steel drill guides that ensure you’ll drill at the exact angle needed, while the jig positions the holes precisely on the edge of the board. The bit has a stepped design, similar to the bit for a Kreg Pocket-Hole Jig, so it drills a pilot hole for the screw and a recess for the screw head at the same time. A stop collar on the drill bit ensures that you’ll drill to the proper depth every time. Because the holes are on the edge of the deck boards, they’re barely visible.
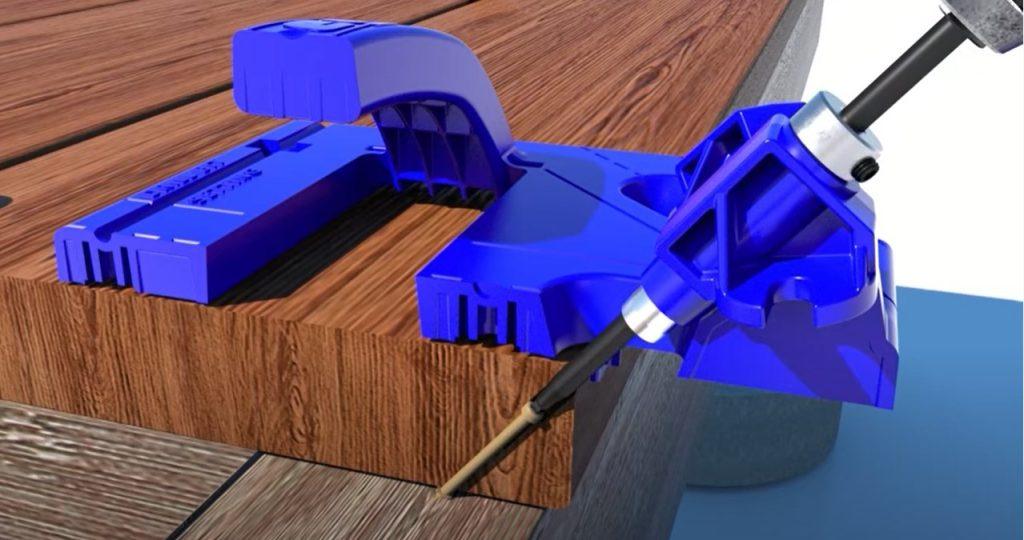 With the holes drilled, you then attach the boards with Kreg Deck Screws. These aren’t like ordinary deck screws. First, they have a very small head that tucks into the hole and stays out of sight. The screws have a self-tapping tip, too, along with a design that ensures they’ll pull the deck board down tight for a great hold. Of course, they’re coated for corrosion resistance. Or you can get the screws in stainless steel for the ultimate protection from the elements outdoors. Either way, the screws—like the holes they fit into—are barely visible on your finished deck, so what you see is the beautiful decking instead of a bunch of screw heads.
![]() The Deck Jig even comes with spacers that you can place between the boards as you attach them. That way, you’ll get consistent gaps between the boards, which really helps your deck look its best.
The Deck Jig even comes with spacers that you can place between the boards as you attach them. That way, you’ll get consistent gaps between the boards, which really helps your deck look its best.
Whether you’re creating a new deck or making over an old one, you can make it the deck of your dreams by choosing great decking, laying it in a pattern you love, and attaching with concealed fasteners. Sure, it takes a bit more work than just laying down the boards and driving screws through the faces. But you’ll end up with a deck that looks like it was build by a pro, and that you can be proud of for years to come.


Associated Products

Deck Jig™
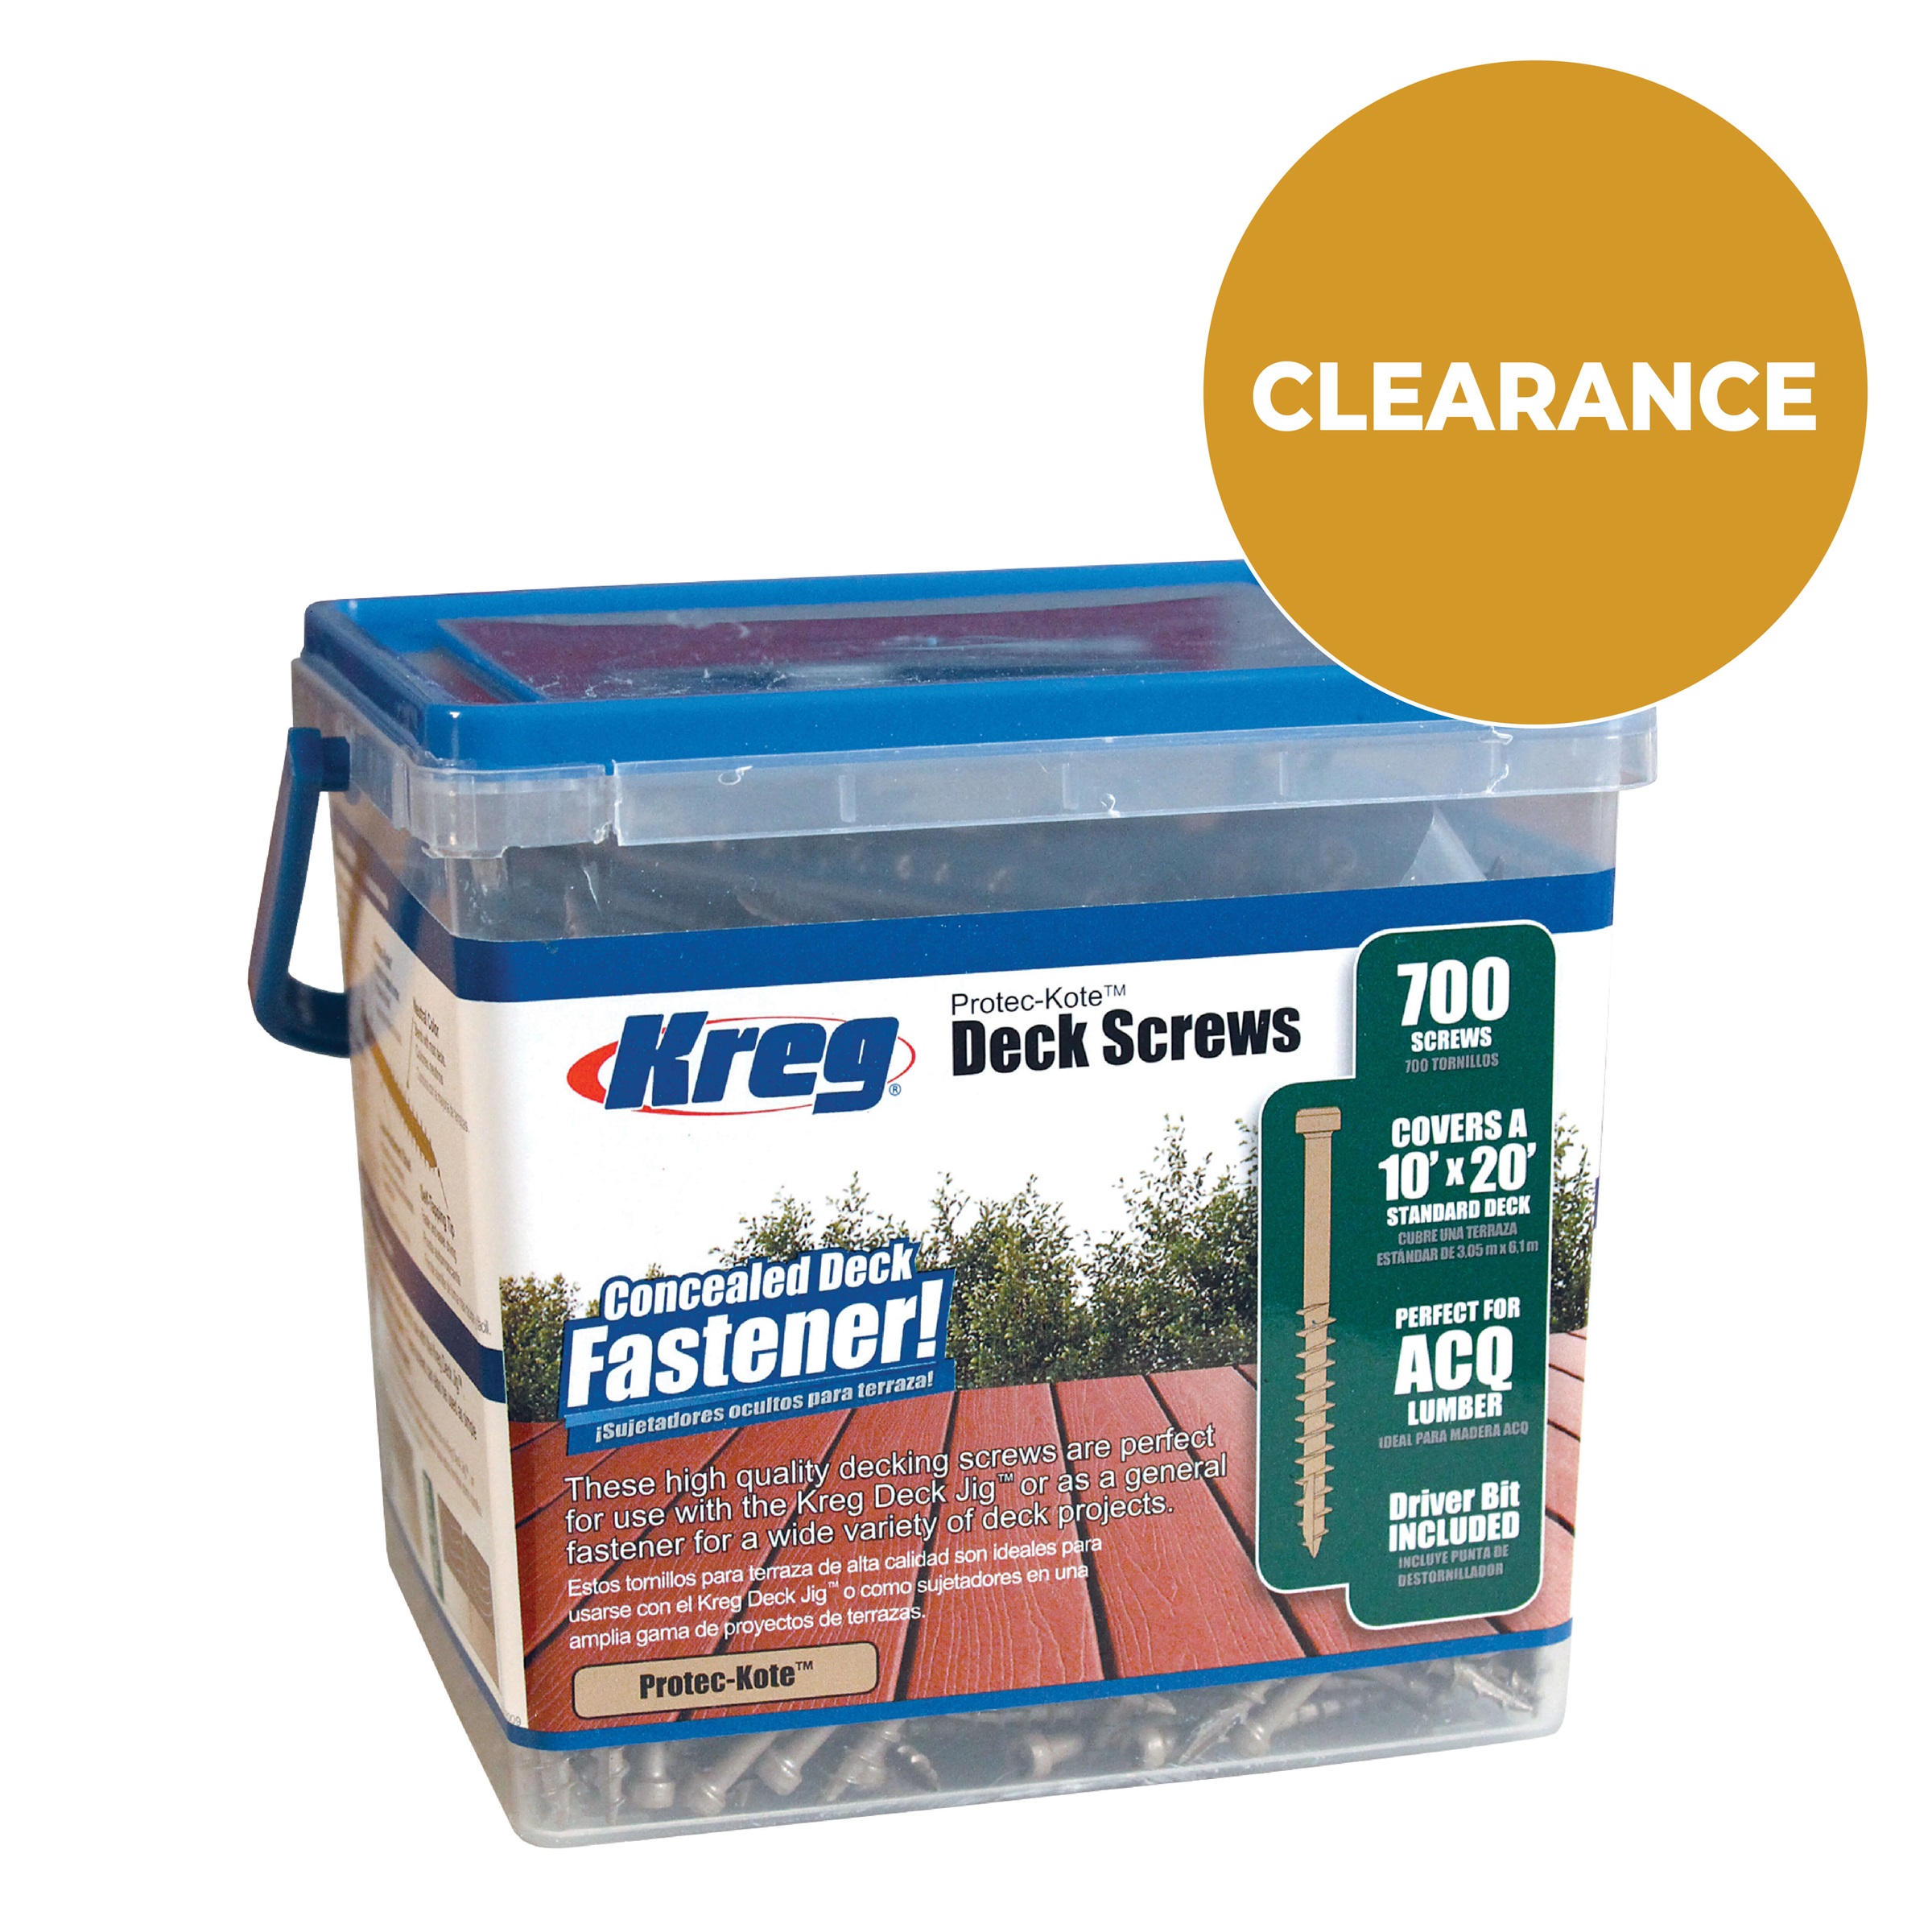
Protec-Kote™ Deck Screws - 700ct.

Stainless Deck Screws - 700ct.

Portable Crosscut

Accu-Cut™
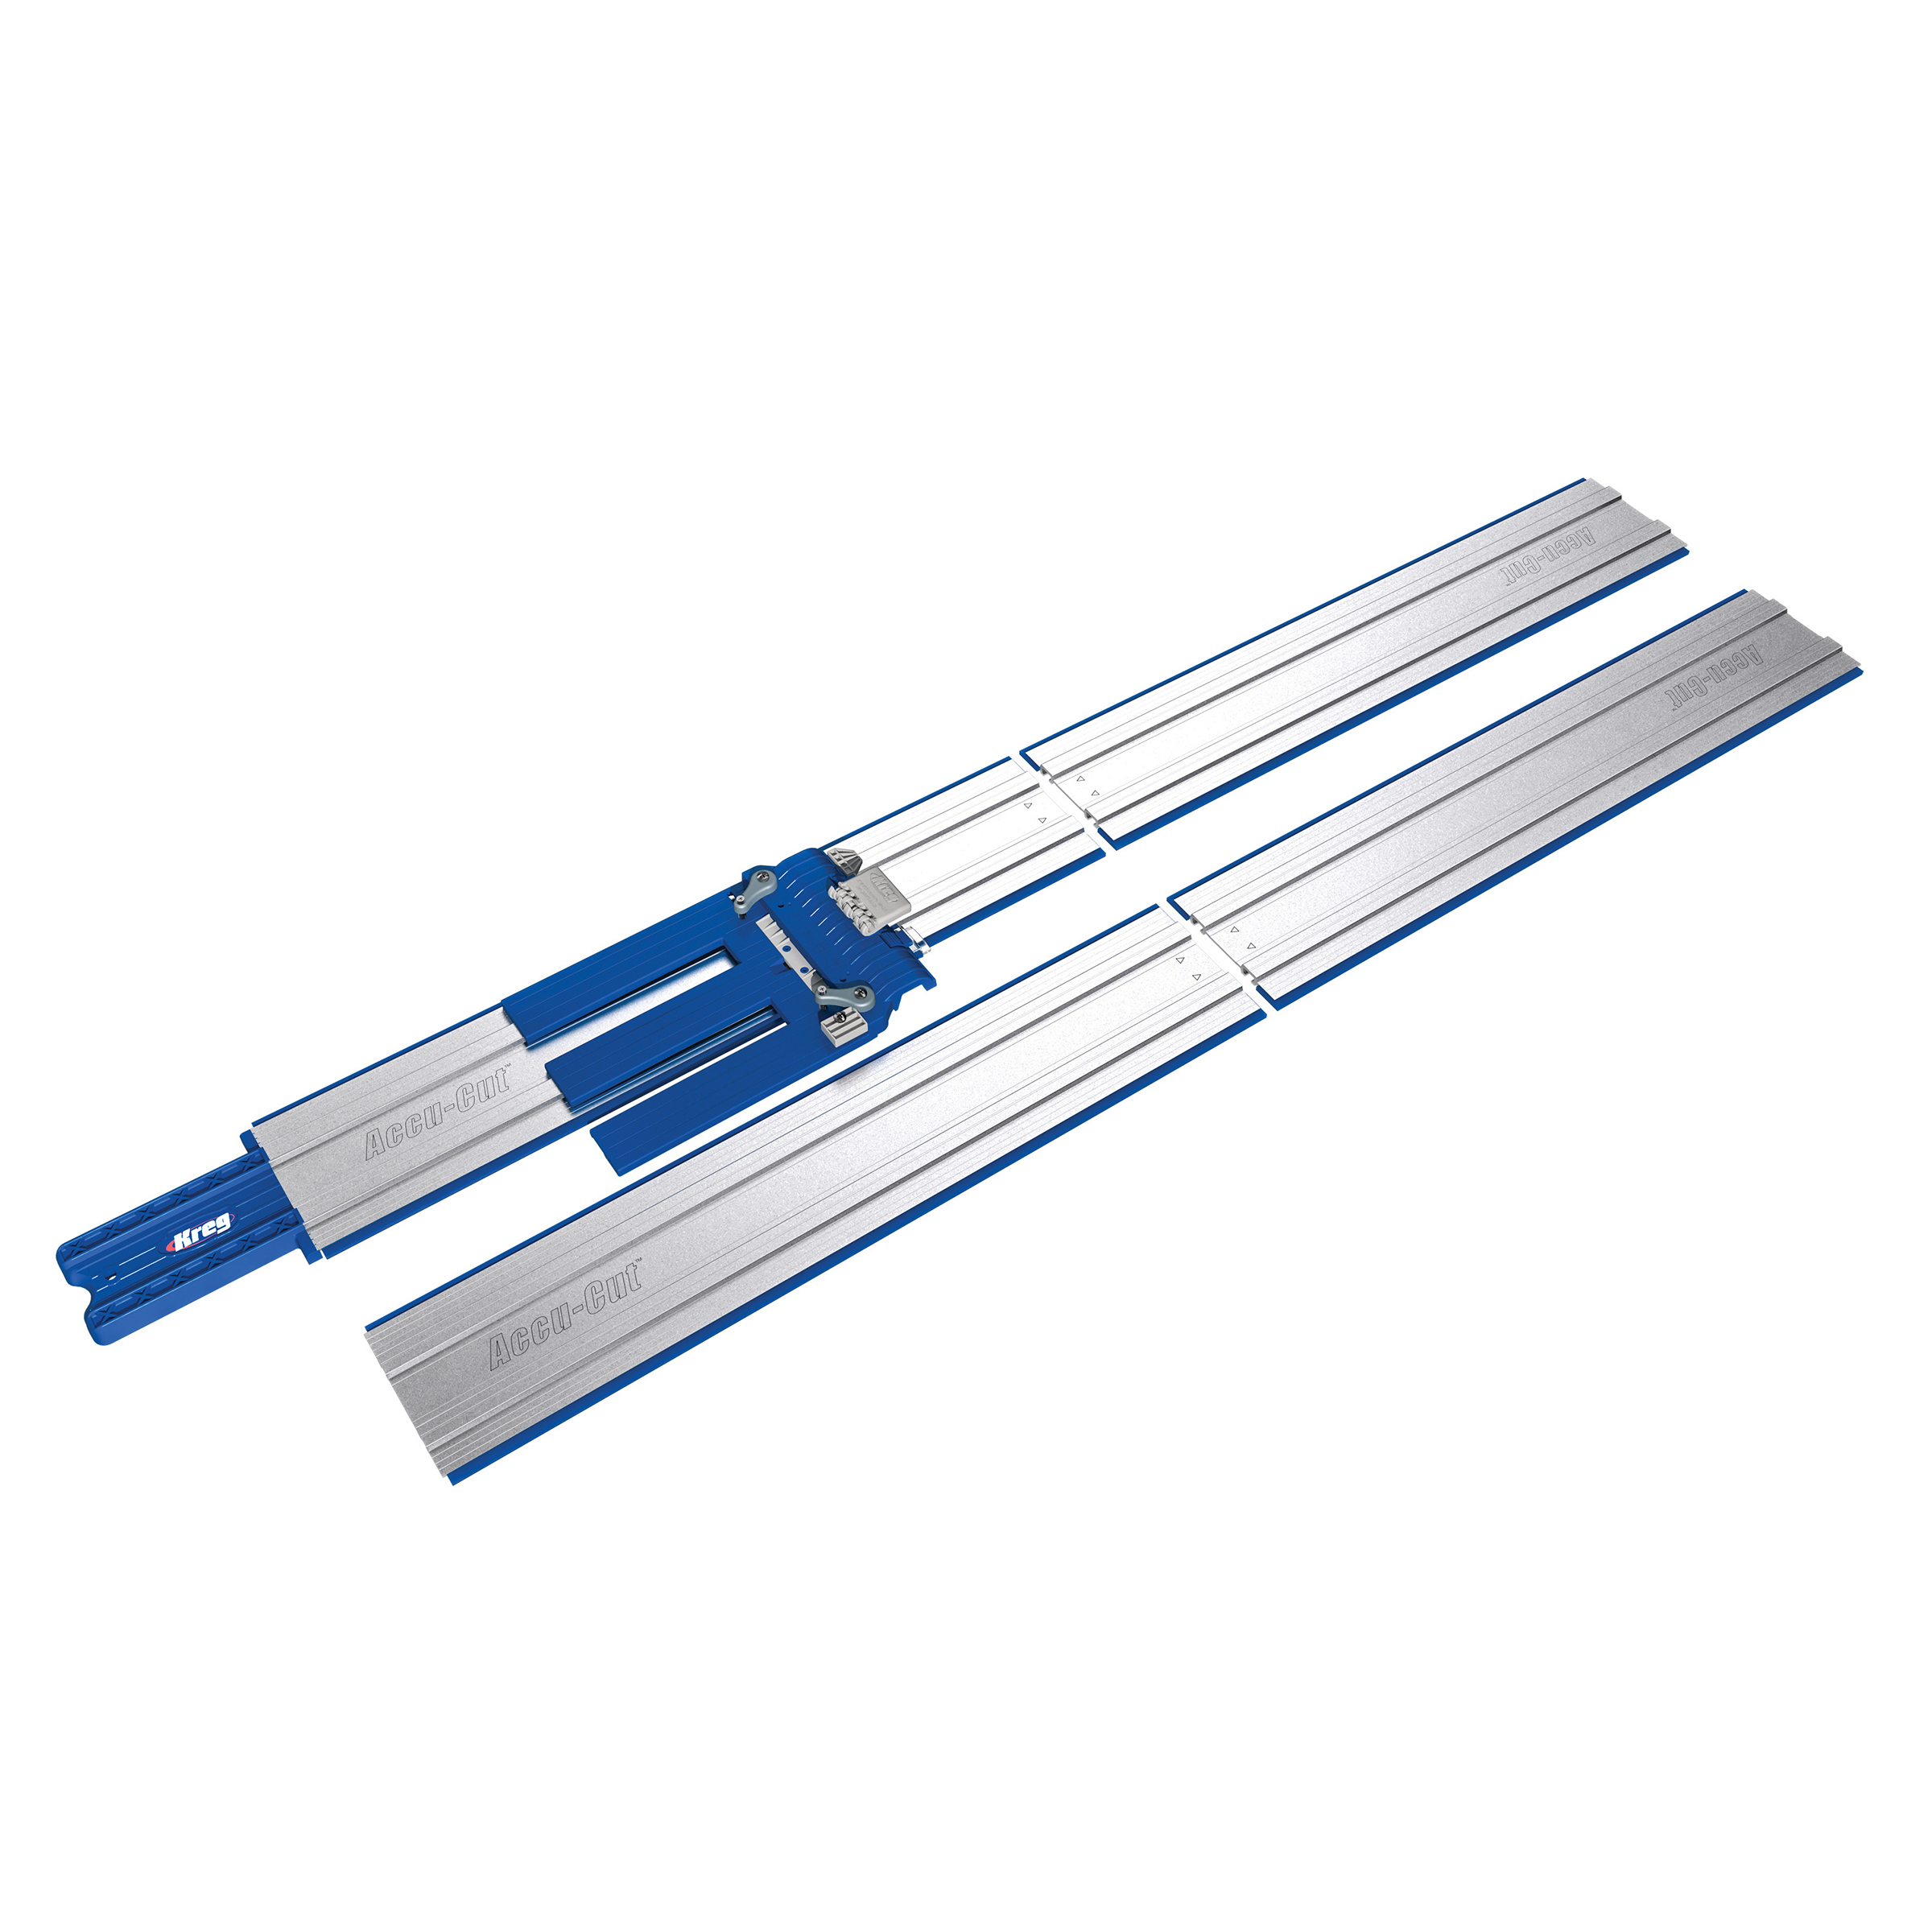
Accu-Cut™ XL

Kreg® Pocket-Hole Jig 520PRO
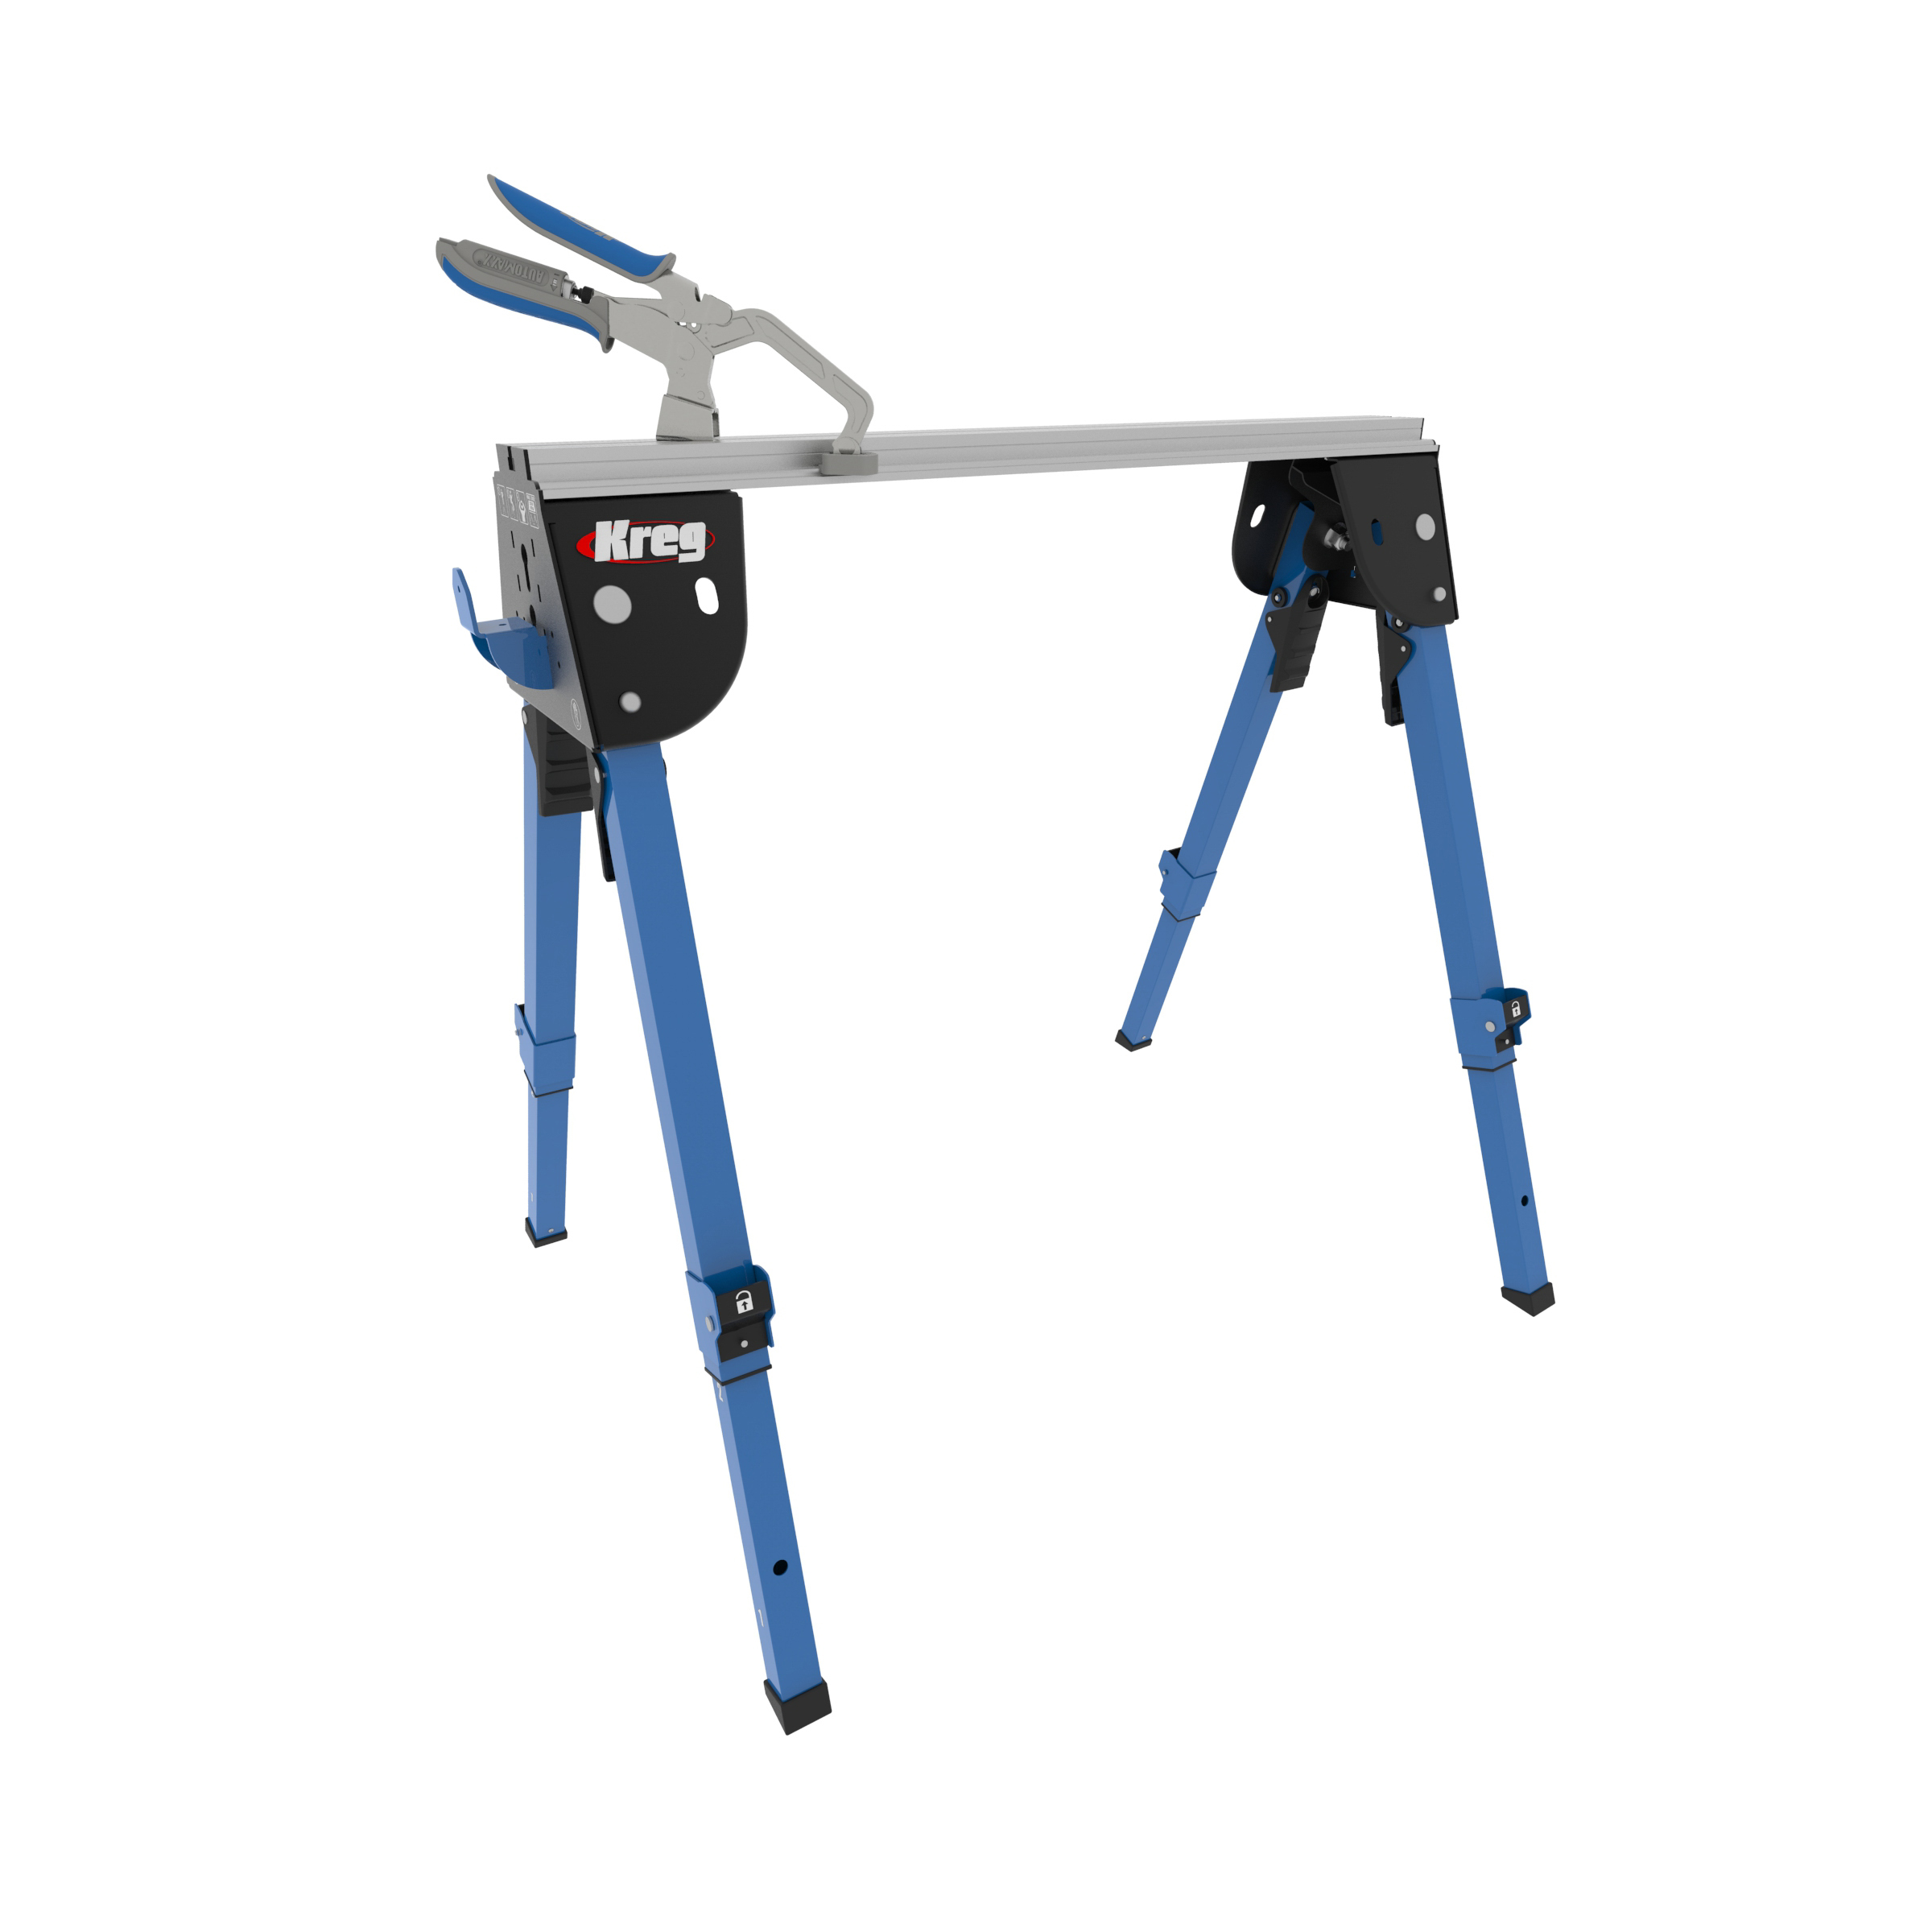
Track Horse

