


This is a plan to create a simple planter box for a deck railing.
Tools
Kreg Tools


Other Tools
-
Miter Saw

-
Tape Measure
-
Clamps
-
Workbench
Materials
Wood Products
- 1 Board , 1x6 , 96"
Hardware & Supplies
- 20 1 1/4" Blue Kote Kreg pocket hole screws
- 1 Piece of medium-grit sandpaper
- 1 Outdoor paint or finish of your choice
- 1 Paintbrush
- 2 Hanging planter brackets
Directions
-
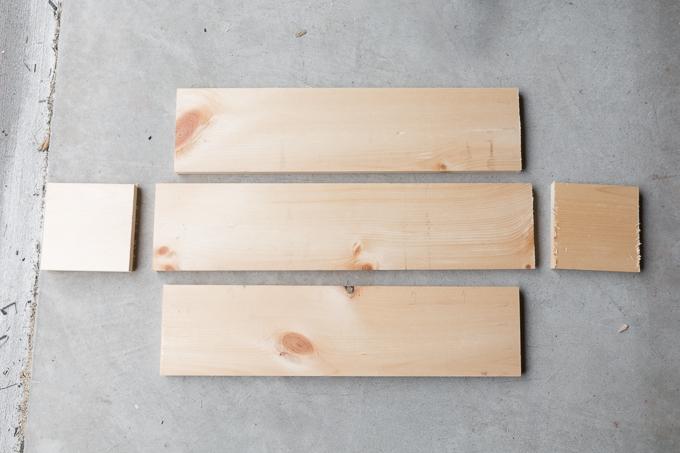
Cut Pieces
Cut the five necessary pieces according to the cut list. I've laid mine out here so you can get a rough idea of how they'll go together.
-
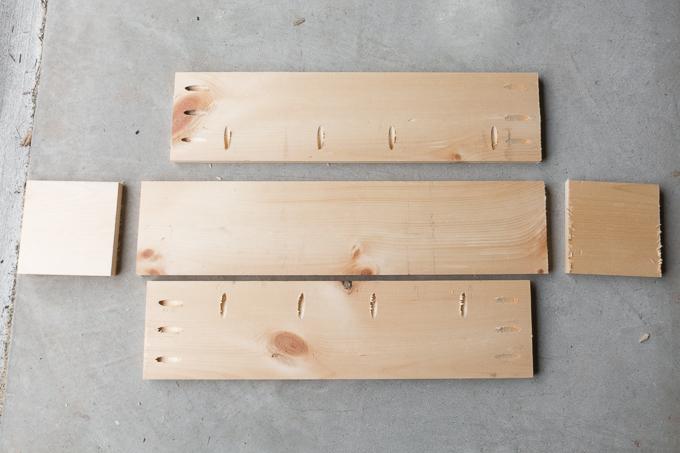
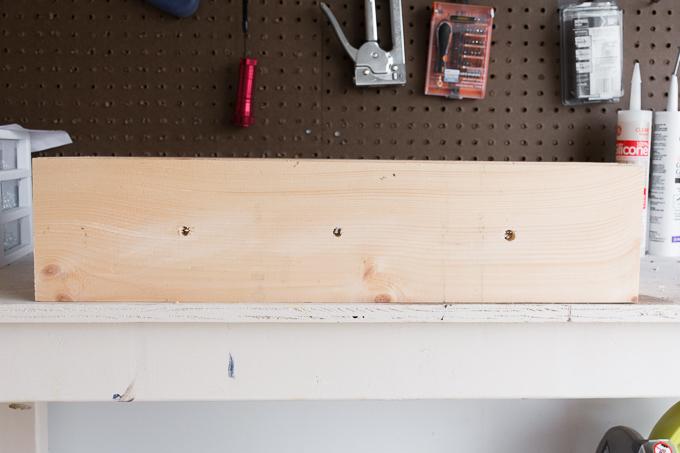
Drill Pocket Holes
Drill pocket holes on the two long side (22.5") pieces. I drilled three on each end and then four along the bottom of each.
-
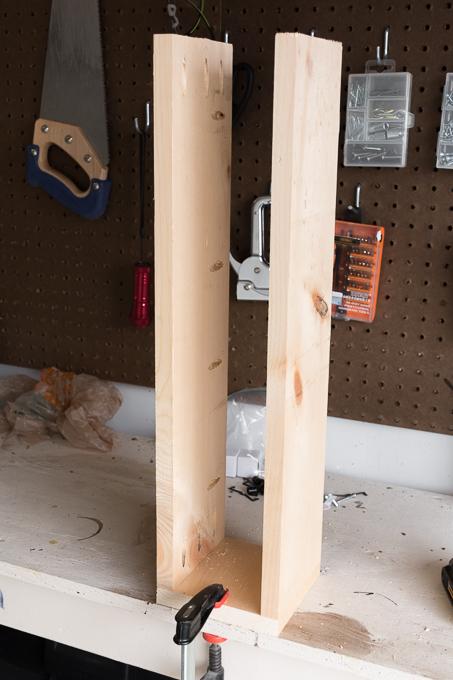
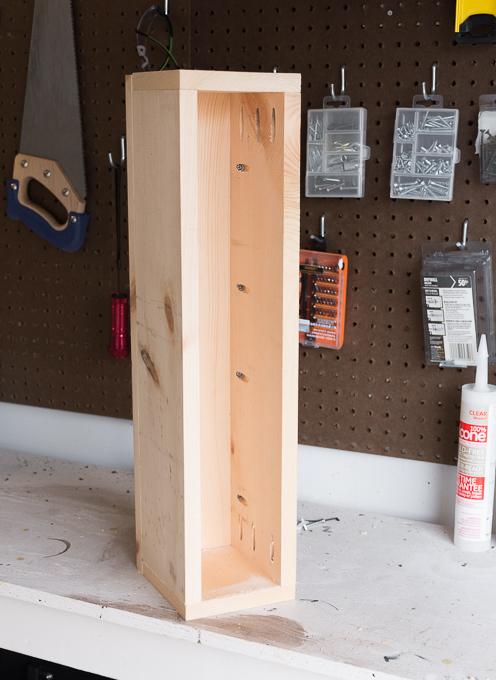
Begin Assembly
Begin assembling the planter by drilling through the pocket holes on the end of one of the 22.5" pieces. This will attach one side of one 22.5" piece to one end cap.
-
Continue Assembly
Continue assembling your planter by attaching the second 22.5" side piece to the other side of the same end cap you use in step 3. I used a clamp to hold everything in place on my workbench while I drilled.

-
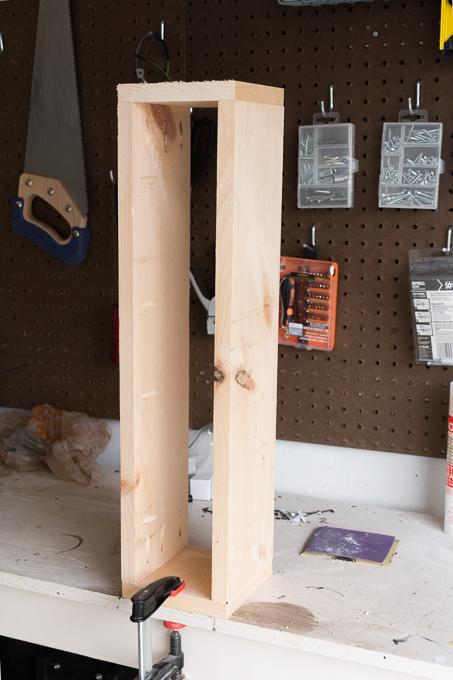
Attach the Second End Cap
Finish off the four sides of the planter by flipping it over and drilling down through the six pocket holes on the other end of the 22.5" pieces. Drill down to attach them to the second end cap piece.
-
Attach the Bottom Piece
Finish the planter by attaching the four assembled sides to the bottom 24" piece. To do so, lay the 24" piece on your workbench and carefully line up the four assembled sides with the pocket holes you haven't used yet facing down. Then drill through the pocket holes to attach the four sides to the bottom piece.
-
Drill Drainage Holes and Finish
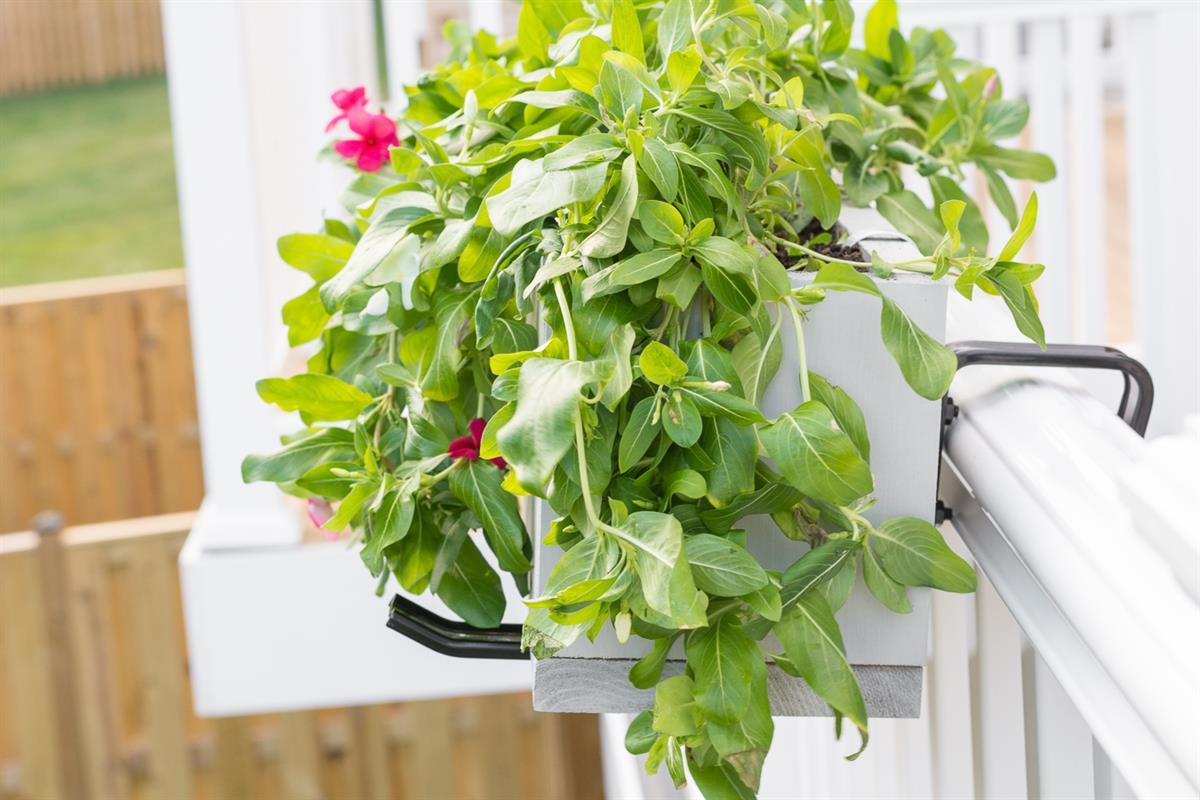
Use any drill bit to drill three drainage holes in the bottom of the planter. Then sand any rough spots down by hand, wipe the piece down, and finish it using an outdoor protective finish of your choice. I used a light gray outdoor paint.
-
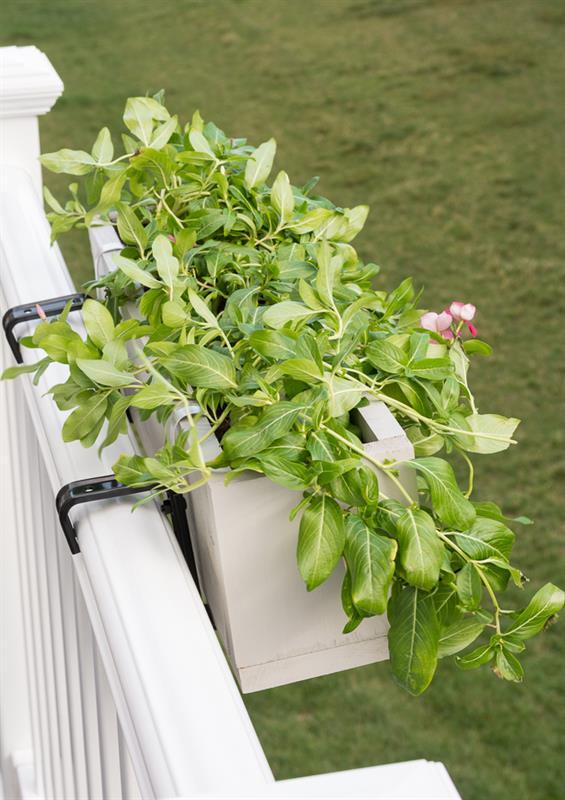
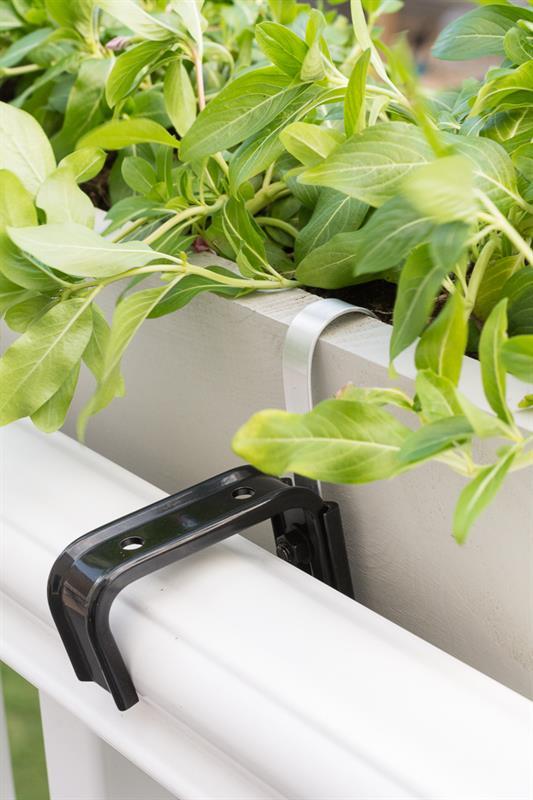
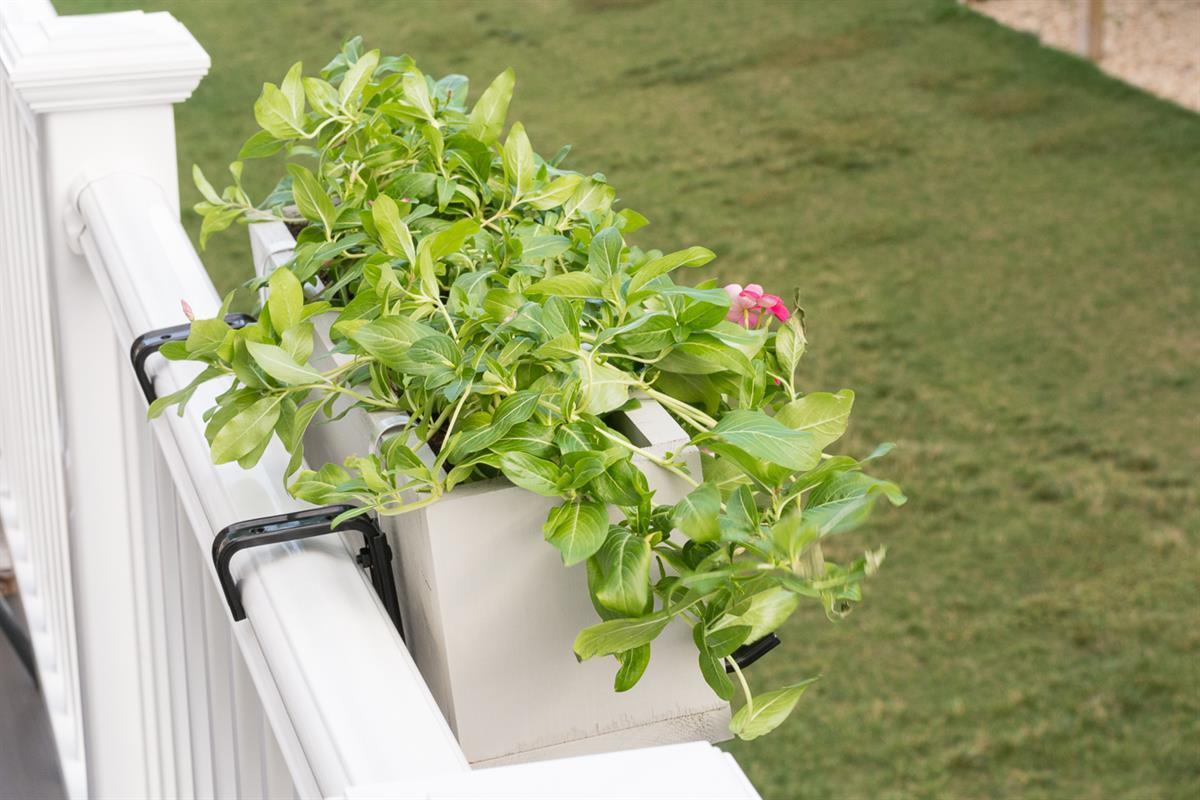
Hang on Your Railing
Pick up two brackets from your local big-box hardware store to hang your planter from your deck railing. Make sure to pay attention to the size and weight your brackets can accomodate. Plant something in the planter and hang.
