Wooden Christmas Tree Advent
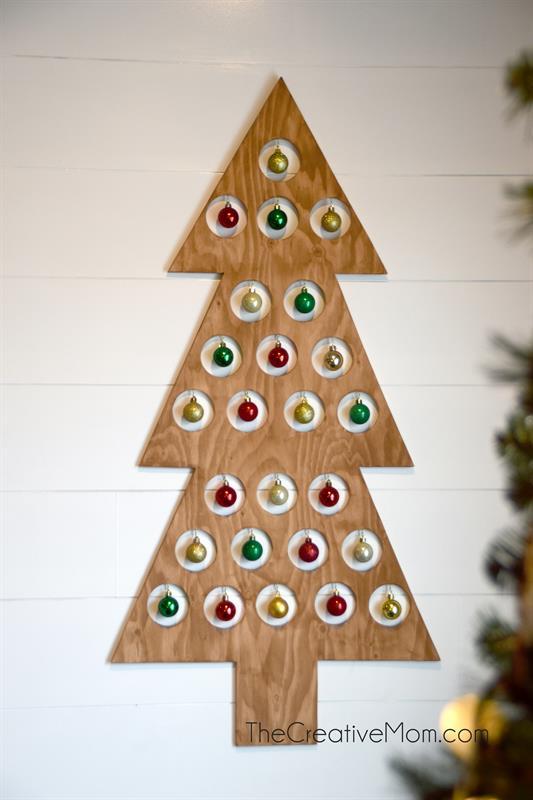
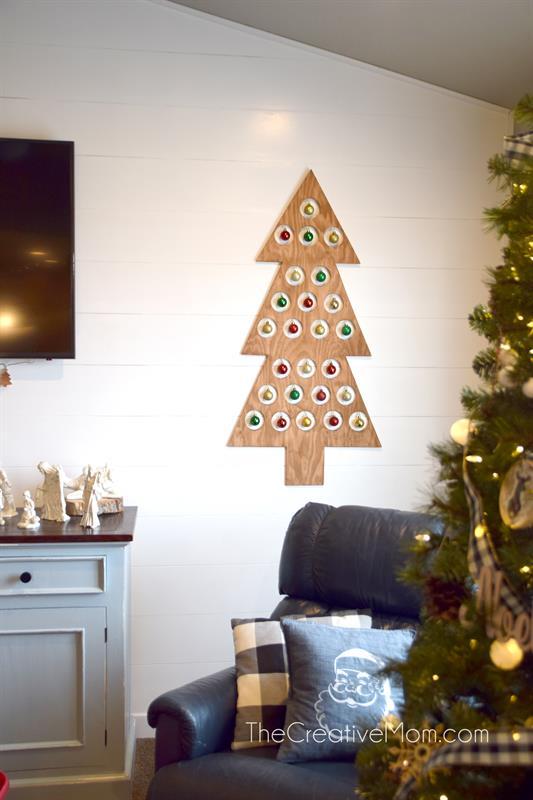
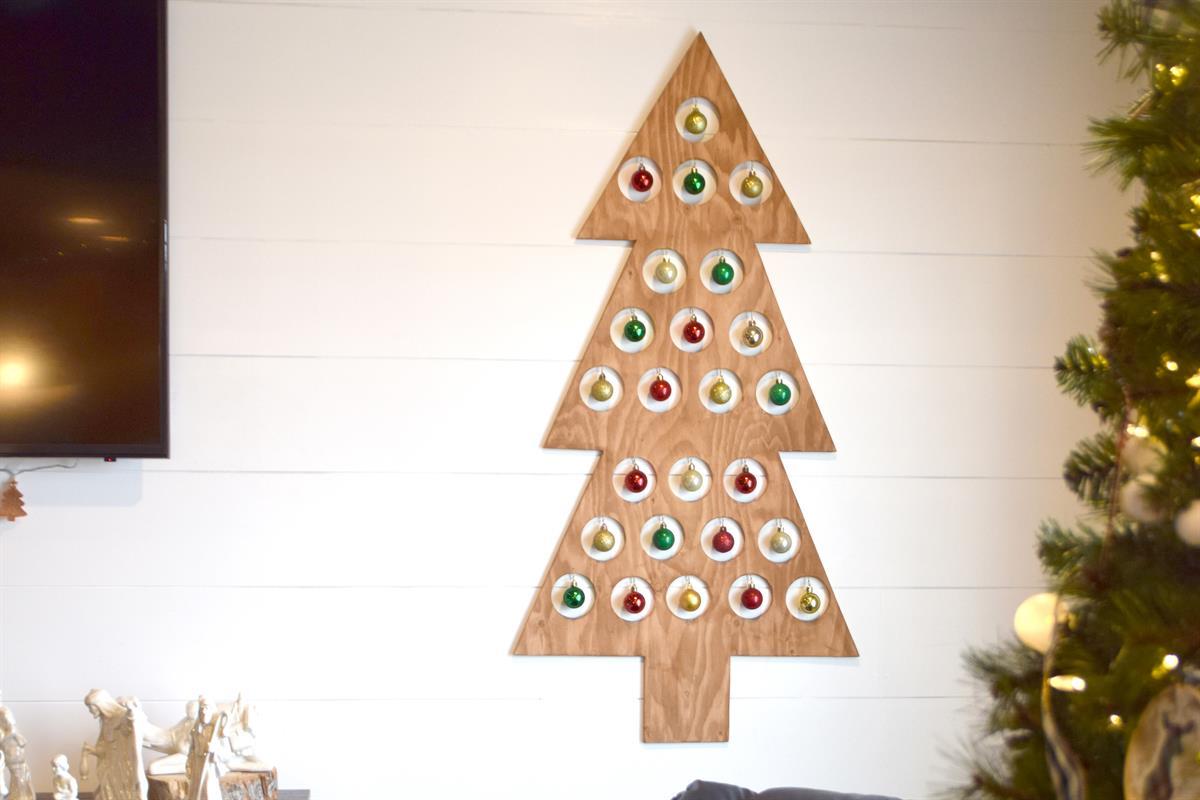
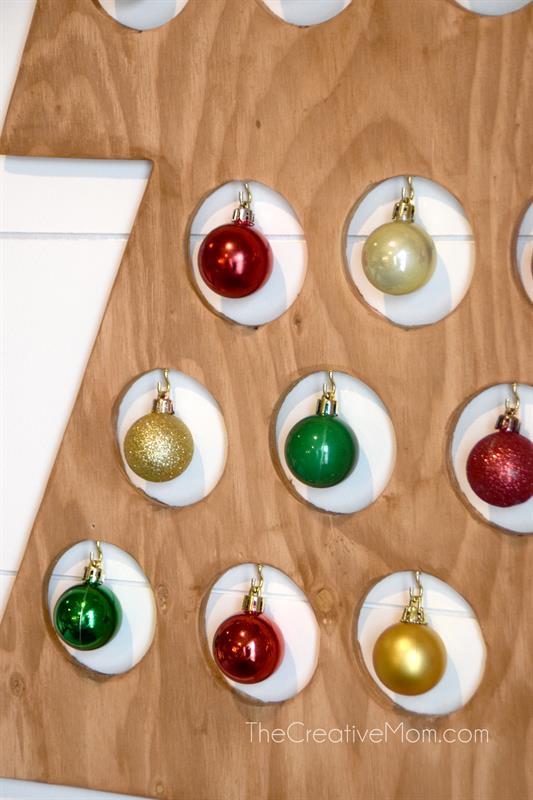
By The Creative MomThis is a very simple, minimalistic approach to an advent calendar. There are 25 holes drilled in this tree, leaving a place to hang an ornament a day in December.
Or, use this in place of a traditional Christmas Tree, and still have a place to hang your favorite ornaments.
Directions
-
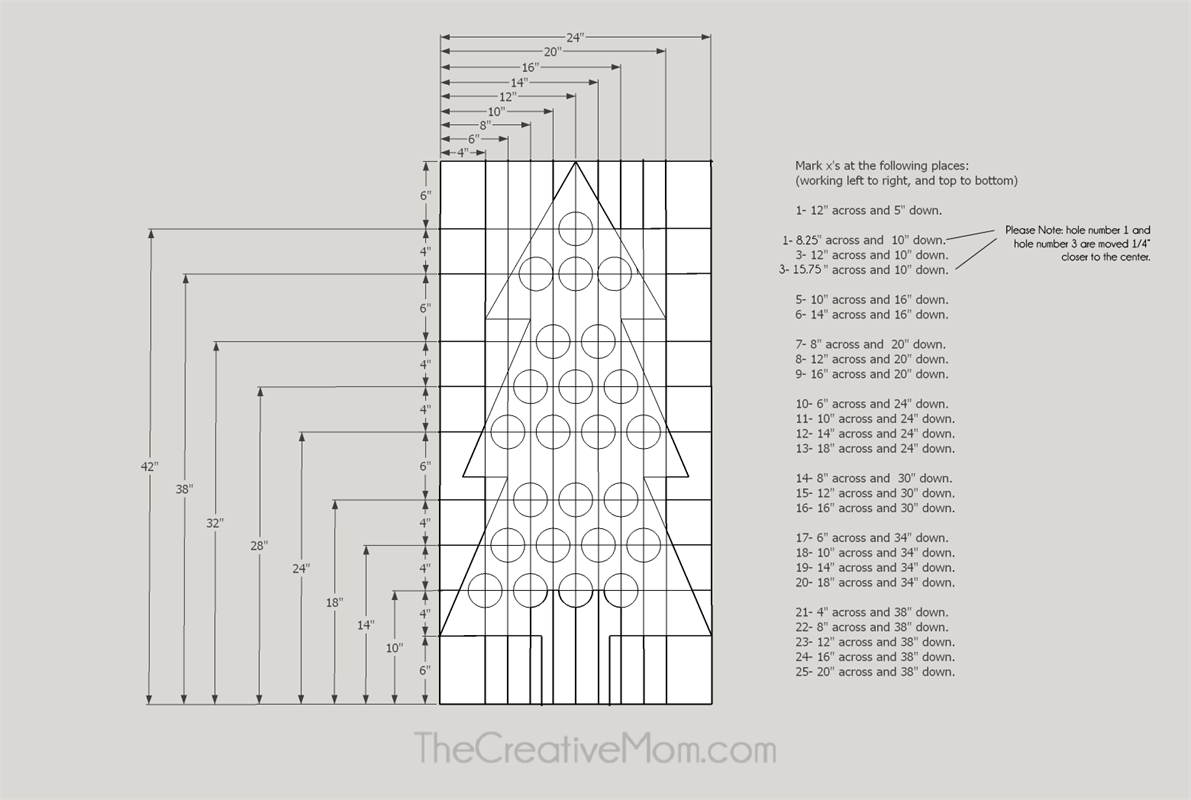
Measure Holes
Start with a 24" x 48 " Sheet of 1/2" or thicker plywood.
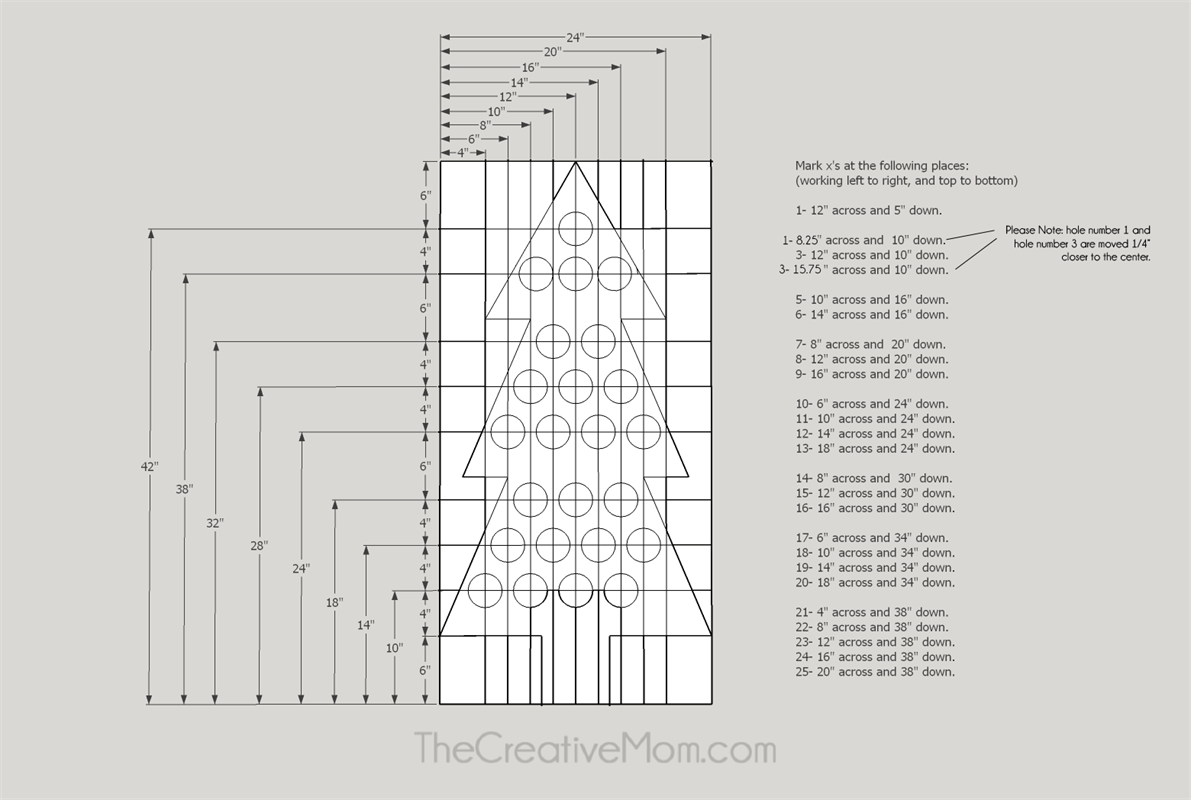
Measure out the holes, as seen in this cut diagram. You can measure and mark on the back of your plywood, but make sure to cut the holes from the front. -
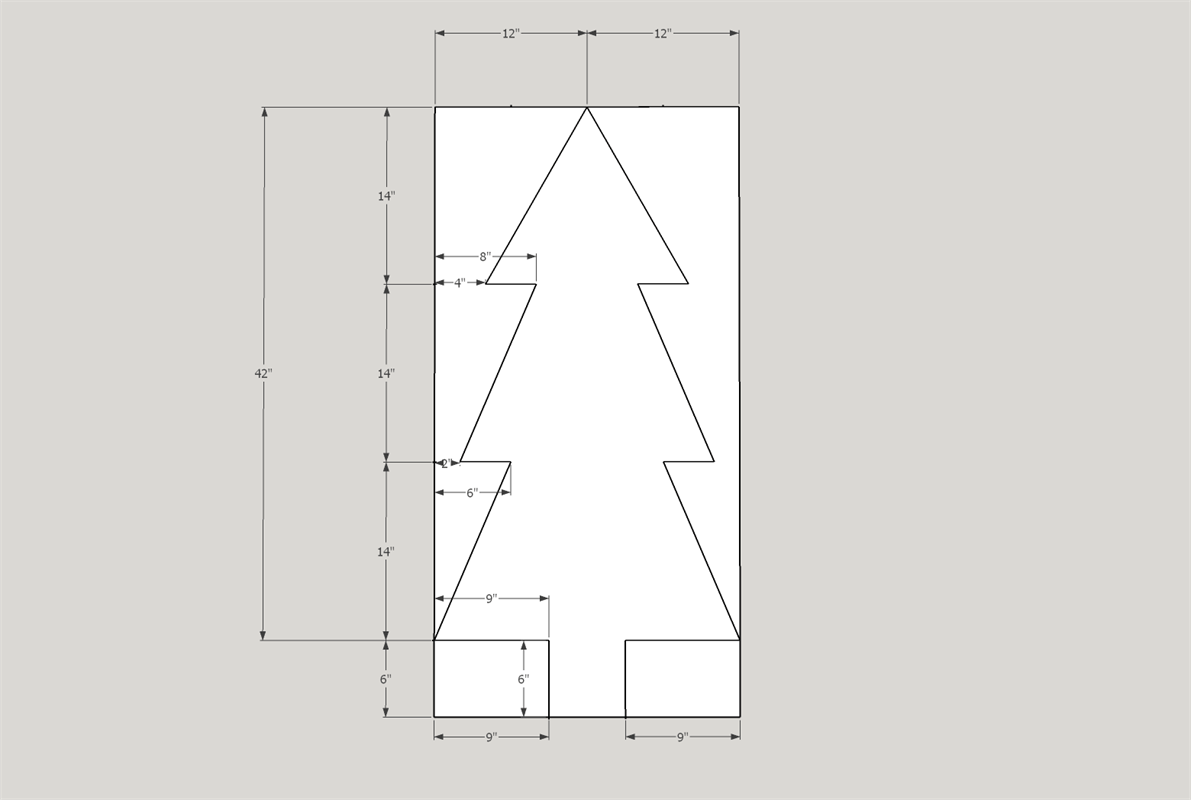
Mark Tree Shape
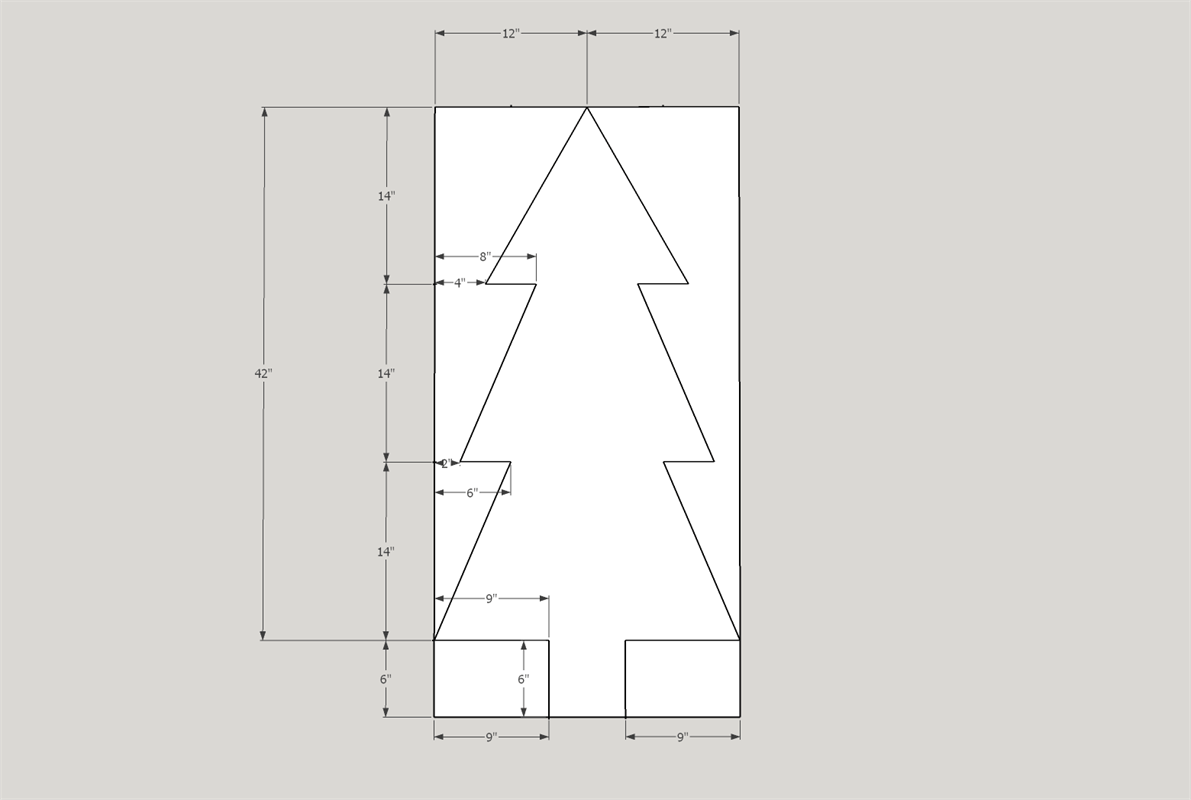
Measure and mark the shape of your tree onto your plywood using this cut diagram.
-
Cut Tree Shape
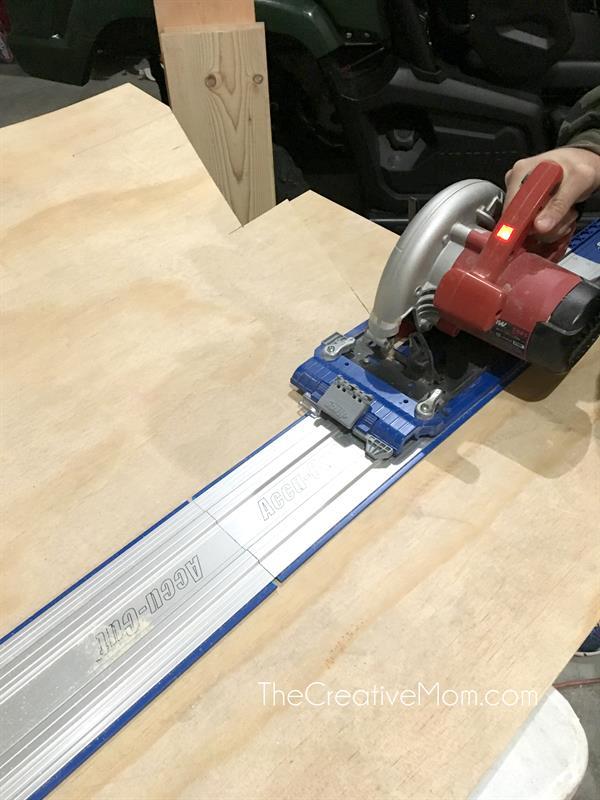
Once the holes are marked and you've measured the shape of your tree, cut the tree out with a circular saw and the Kreg Accu-cut track guide. The Accu-cut track guide helped us keep our cuts straight and accurate. I use this guide pretty much any time I use my circular saw.
Please note: This photo does not show the holes marked, that is because we marked the holes on the backside. Is wise to mark where your holes will be before you cut your tree, that way you have a square sheet of plywood to measure from the edges. -
Cut Holes
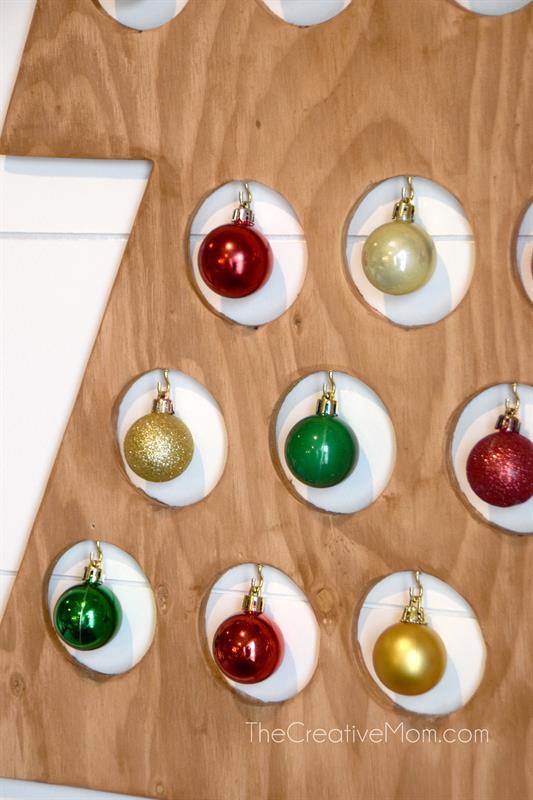
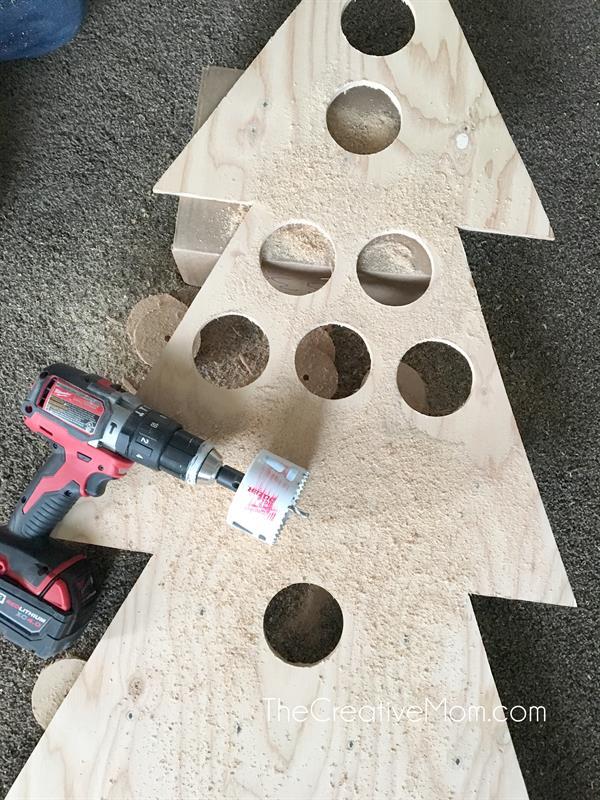
Using a 3" hole saw, cut the holes in your tree. You should cut the holes from the front side of the plywood.
If you marked the holes on the backside of your tree, simply drill a small hole from the back. Then you will have a pilot hole to drill your holes from the front side. -
Finishing
Sand and stain or paint your tree.
If you are hanging your tree on the wall, use a picture hanger or wire, attached to the back to hang your tree. -
Attach Stand (optional)
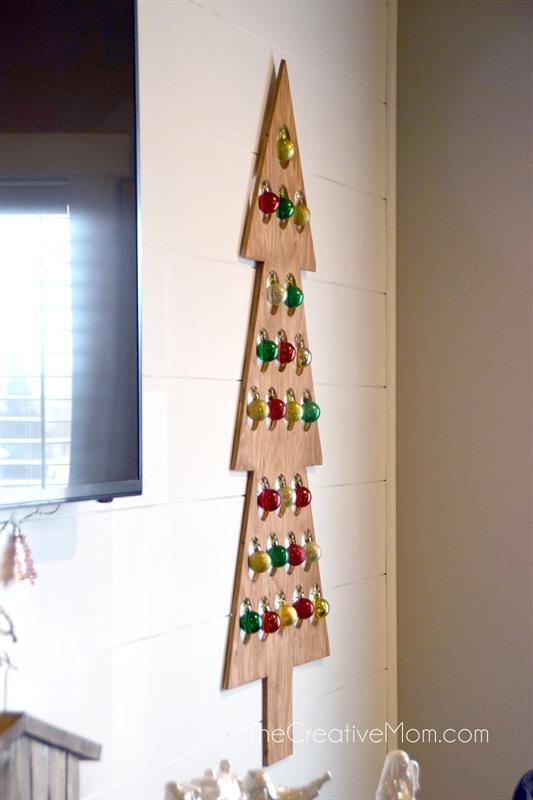
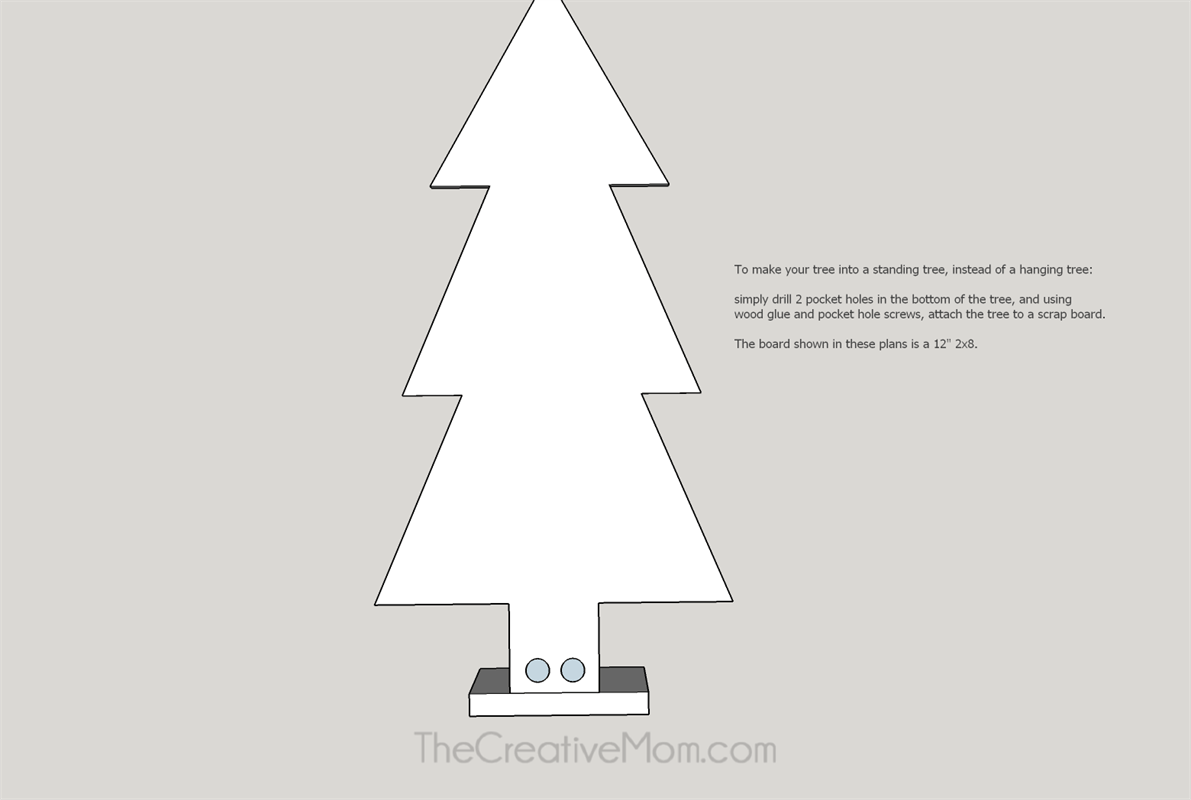
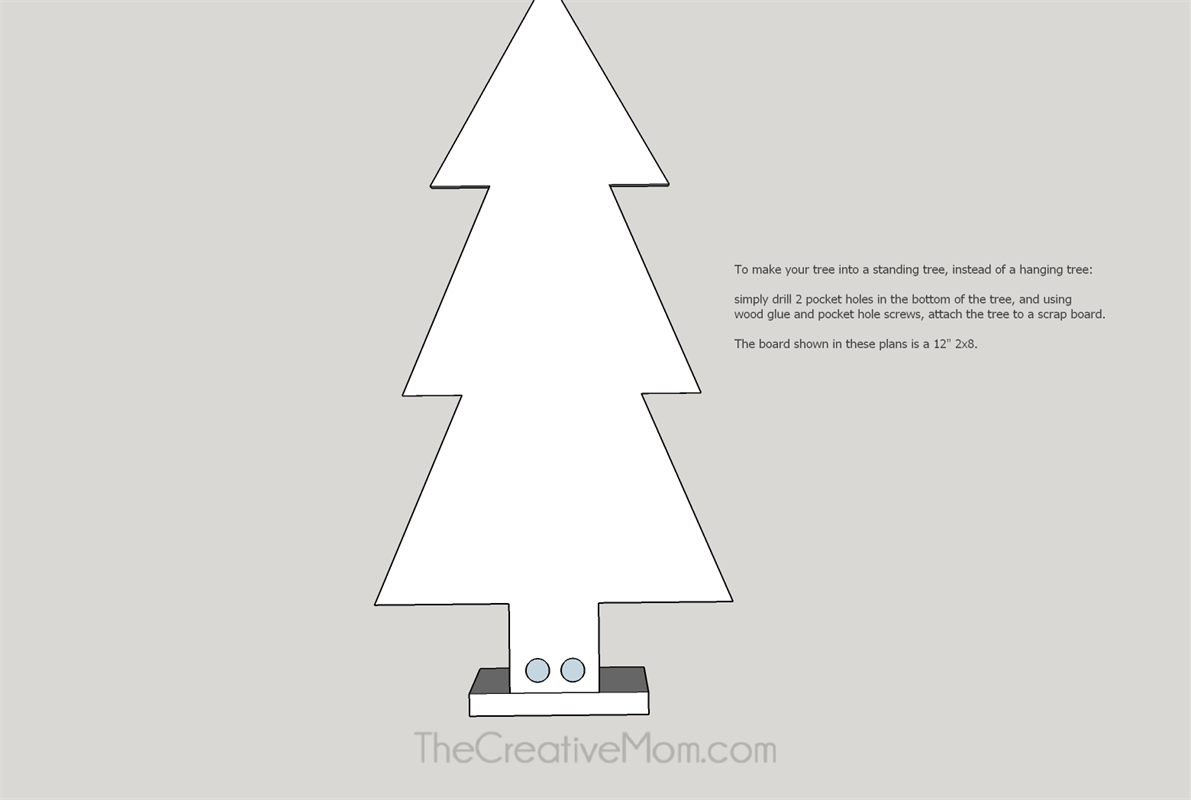
You can either hang your tree on the wall, like my photos show, or attach a stand to the tree for a standing tree.
Drill two pocket holes in the trunk of your tree. Then, using wood glue and pocket hole screws, attach the tree to any scrap piece of wood. -
Drill Pocket Holes
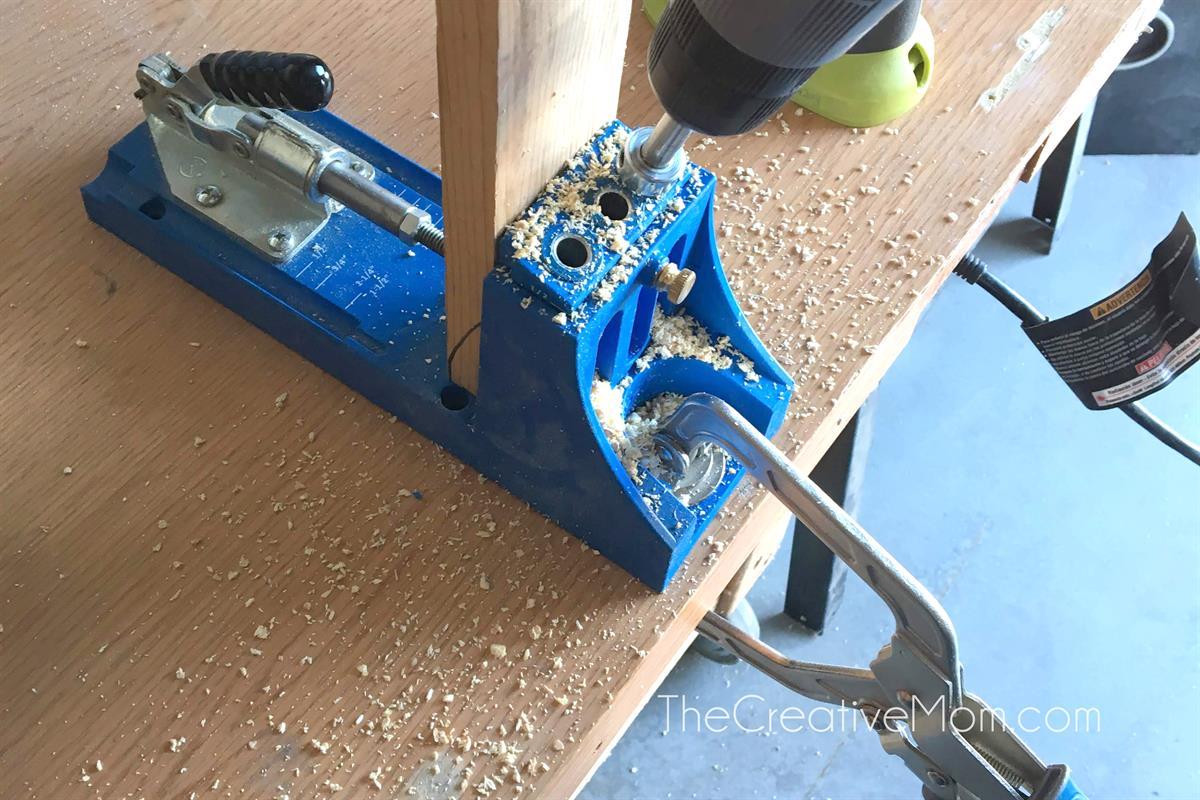
You can either hang your tree on the wall, like my photos show, or attach a stand to the tree for a standing tree.
Drill two pocket holes in the trunk of your tree. Then, using wood glue and pocket hole screws, attach the tree to any scrap piece of wood. -
Add Hooks
Drill pilot holes in the inside-top of the holes. Then screw your cup hooks into the pilot holes. This is where you will hang your ornaments


