Washer & Dryer Pedestals with Drawer
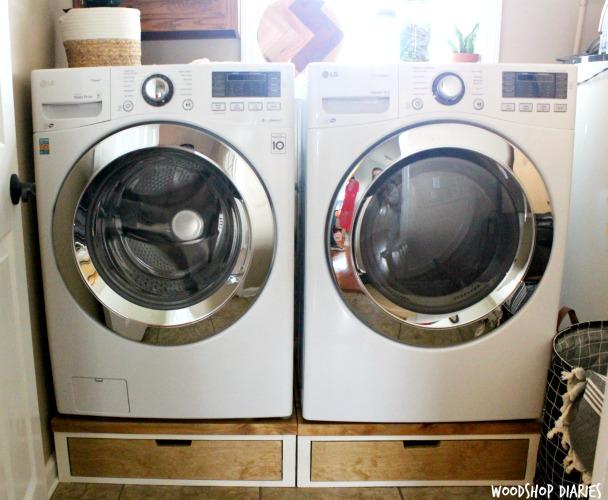
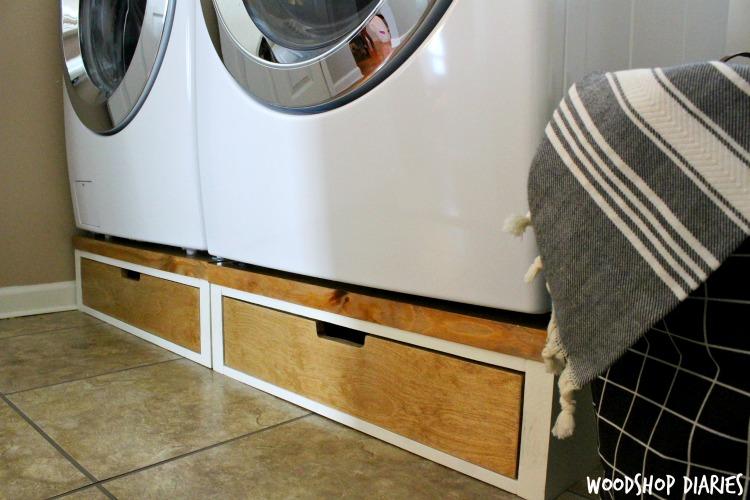
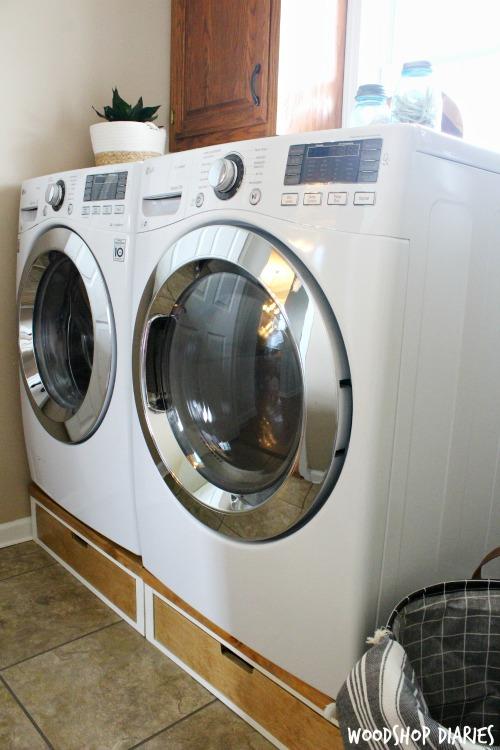
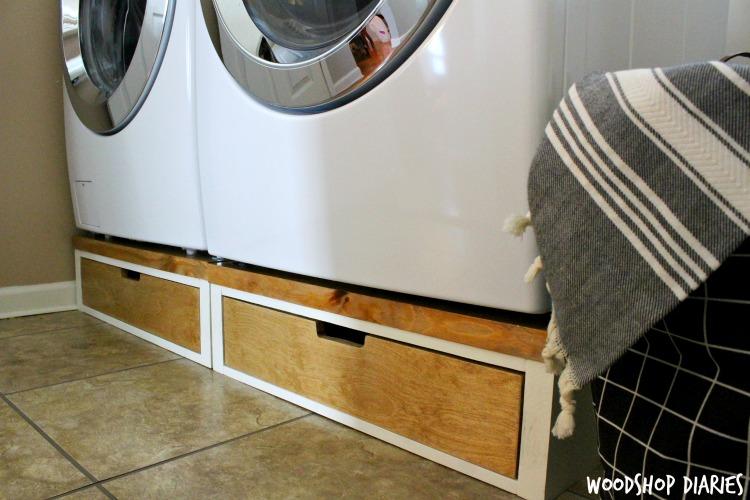
By Woodshop DiariesNeed an alternative to those expensive, plastic washer & dryer stands for your front load washer & dryer? Why not make some wooden ones for a fraction of the price and with even more style? These pedestals are easy to build and provide some much needed storage for your laundry room!
Directions
-
Determine the Size Pedestal Needed
Since washer and dryers, unfortunately, don't all come the same size, your pedestal may differ from mine in terms of overall measurements. For mine, the washer and dryer were both 28" wide and 29" deep. So I made my pedestals 28" x 29" overall. Measure your own washer and dryer to make sure this size will fit, and if not, modifications to this plan are quite simple. Also note: for height, I made mine 8 3/4" tall overall. You can also modify this for taller stand if you wish.
-
Cut Side and Back Pieces
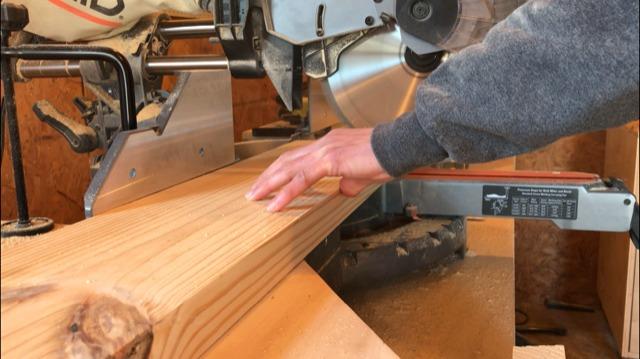
Cut the side and back pieces for the stands according to the cut list. These will be cut from a 2x8. If a taller stand is desired, you can use 2x10 or 2x12 boards for these pieces as well.
-
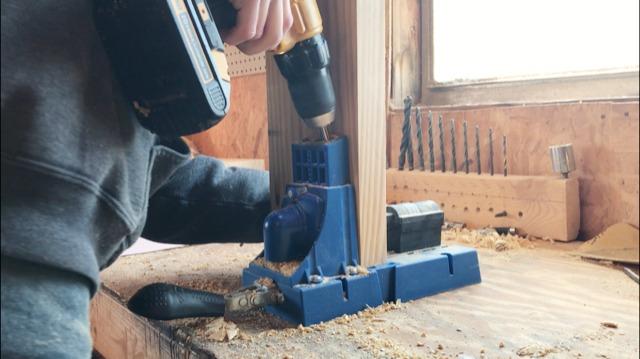
Drill Pocket Holes in Back Piece
Drill 1 1/2" pocket holes into both ends of the back piece.
-
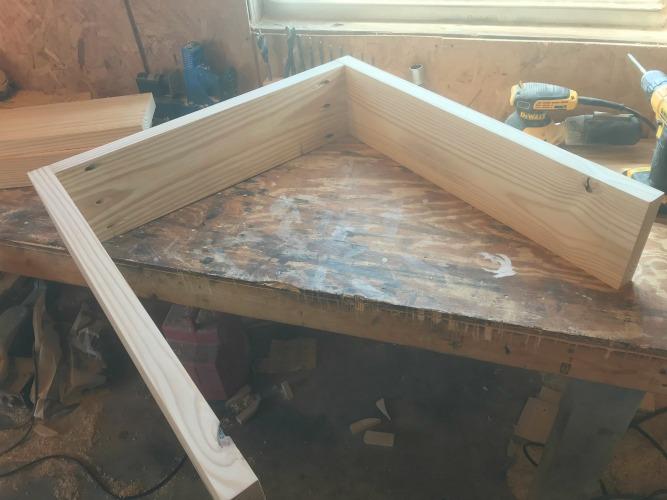
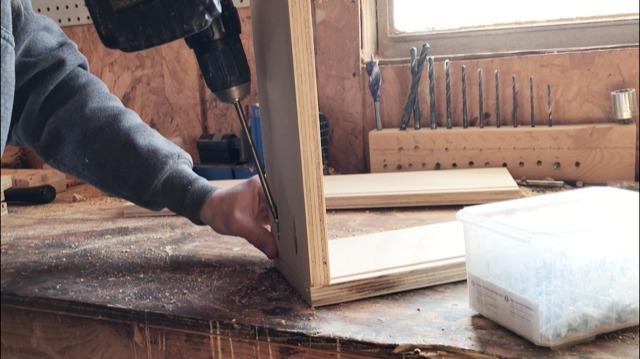
Assemble Pedestal Frame
Using 2 1/2" pocket hole screws, attach the back piece between the side pieces like shown through the pocket holes in step 2.
-
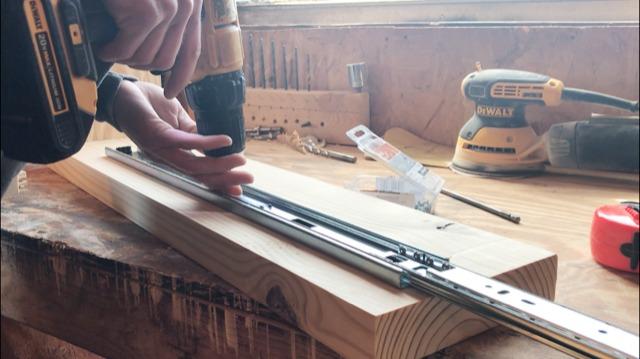
Attach Drawer Slides
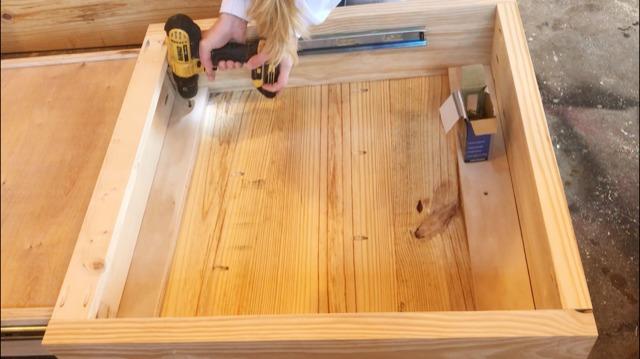
It’s easier to attach the drawer slides now than it will be later, so go ahead and attach the drawer slides to the insides of the stand like shown. Attach so that the front of the slide is ¾” in from the front to accommodate an inset drawer front.
-
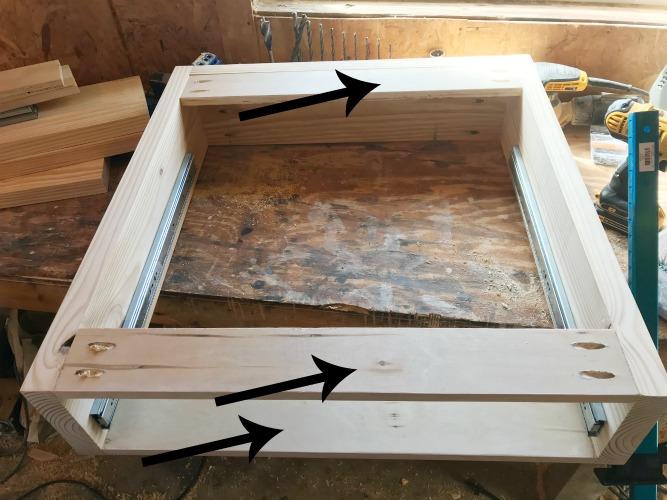
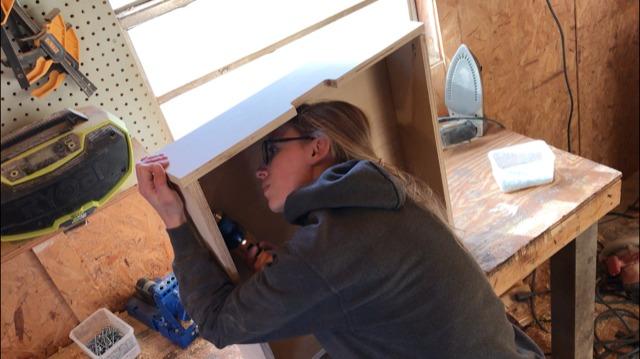
Attach Top and Bottom Supports
Using scrap plywood strips, or 1x3 material, cut three pieces according to the cut list above and drill ¾” pocket holes into each end. Then attach using 1 ¼” pocket hole screws. One piece should be at the top in the back, one at the top in the front and one at the bottom in the front.
-
Assemble Drawers
Cut drawer pieces according to the cut list and cut dadoes for the drawer bottom to slide in along the bottom side of the pieces. OR, you could staple 1/4" plywood onto the bottom if you don't want to cut dadoes. Assemble drawer boxes using ¾” pocket holes and 1 ¼” pocket hole screws so that you have a drawer box 25 1/2” wide x 22” long. Drill 3/4" pocket holes on the sides of the drawer boxes facing toward the front to attach drawer front in next step.
-
Add Drawer Front
Cut drawer front according to the cut list and attach onto front of drawer boxes using the pocket holes from the end of step 7.
-
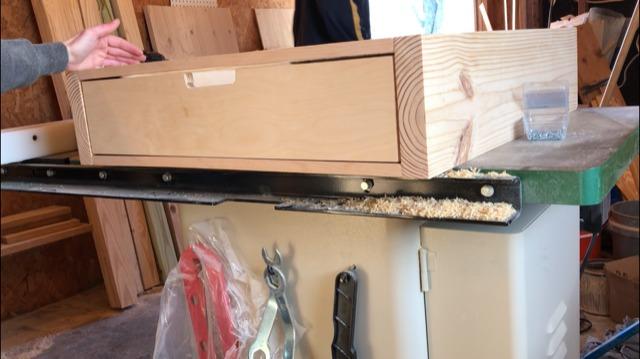
Add Drawer to Pedestal Frame
Attach drawer to drawer slides and insert into pedestal frame.
-
Cut and Drill Holes for Top
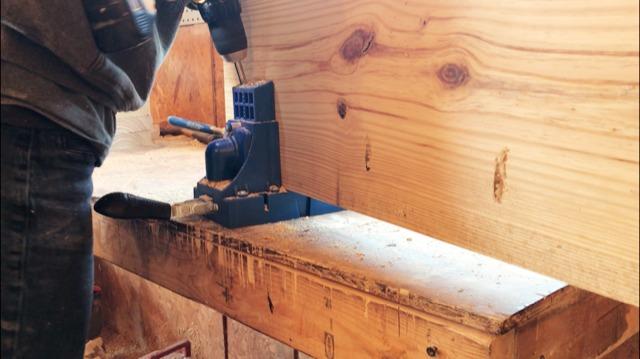
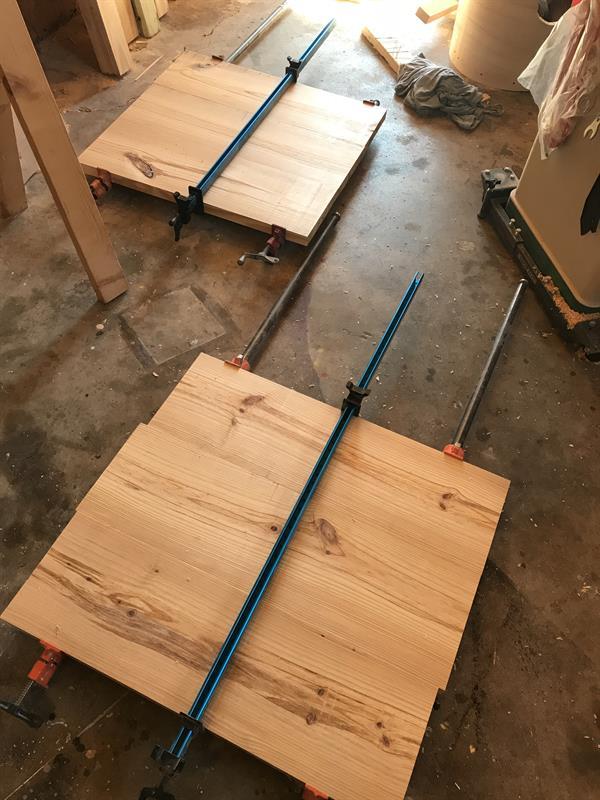
Cut three pieces of 2x12 board to 32" long and drill 1 1/2" pocket holes along the edges of two of them like shown.
-
Glue Top Together
Glue and clamp these pieces together making sure the pocket holes on the bottom side are all where they can be screwed together.
-
Trim Top
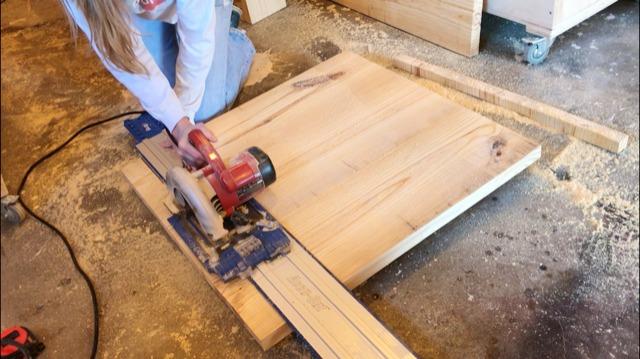
Using a Kreg AccuCut, trim down the top to the desired size. In my case, it was 28" x 29".
-
Screw Tops Together
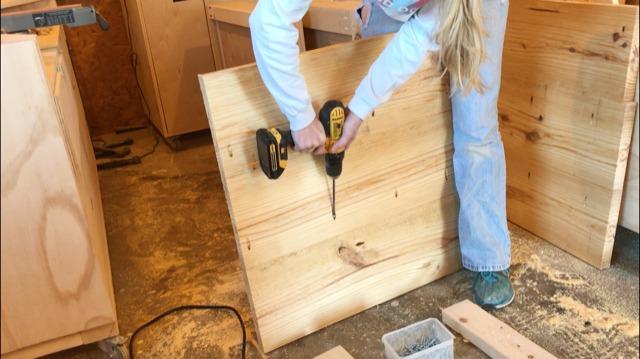
Using 2 1/2" pocket hole screws, screw the top together like shown. This in addition to the glue will help keep the top from coming apart over time at the seams.
-
Attach Top
Flip the top upside down and place the pedestal frame and drawer upside down on top of it. Screw the pedestal to the top through the supports at the top using 1 1/4" wood screws.
-
Build Another and Finish
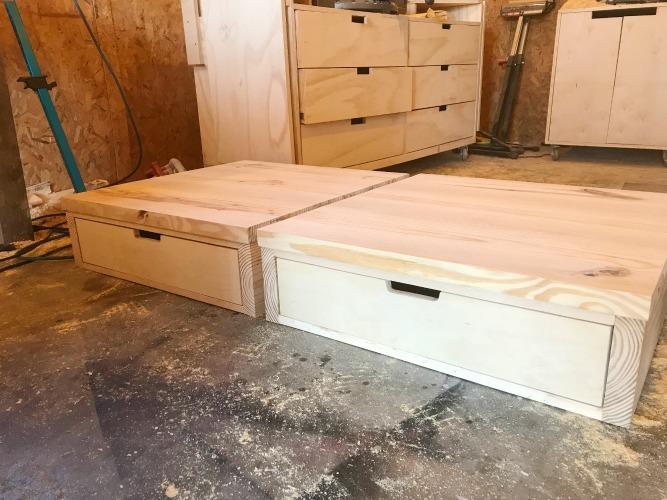
Now, one down, one to go. Build another stand exactly the same way and finish as desired. Add drawer pulls or knobs OR cut a slot at the top like I did to open the drawers.
-
Drill "Foot Holes"
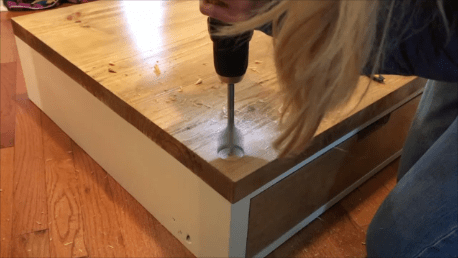
Finally, as an optional step, just before installing the pedestals, use a large spade bit (larger than the foot on the washer and dryer) and drill shallow holes for them to sit in. This will help prevent them from "walking" off the pedestals as they vibrate during use.
-
Add Washer and Dryer
Now, just set the washer and dryer in place in the foot holes and get washing :)


