Rustic Industrial Shelf
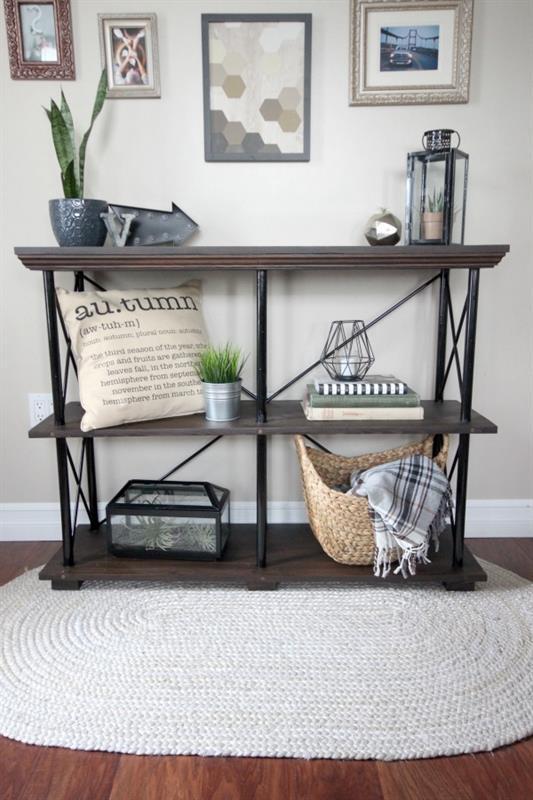
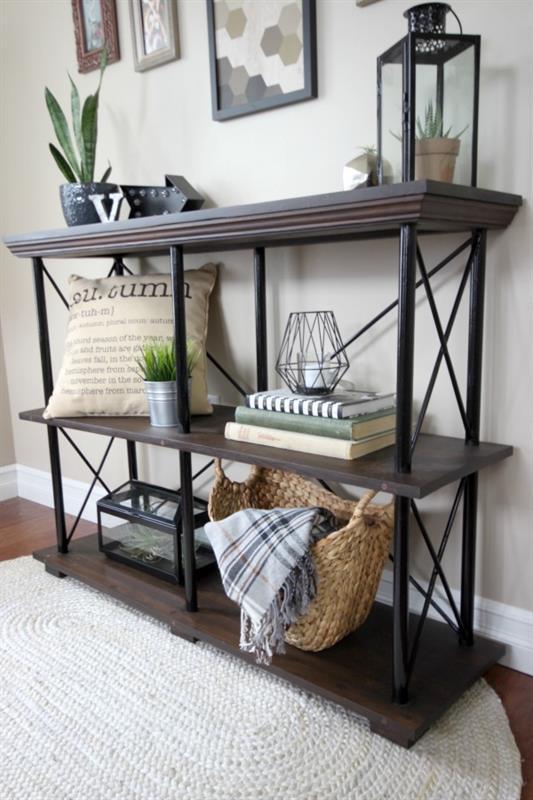
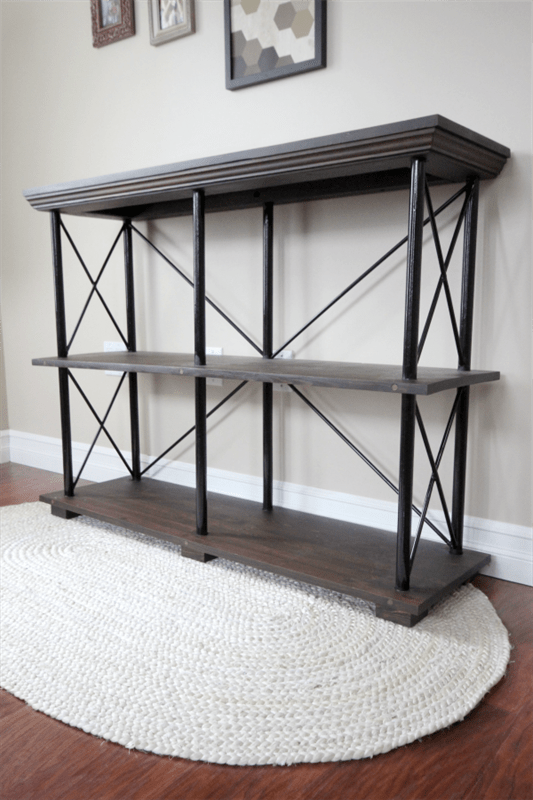
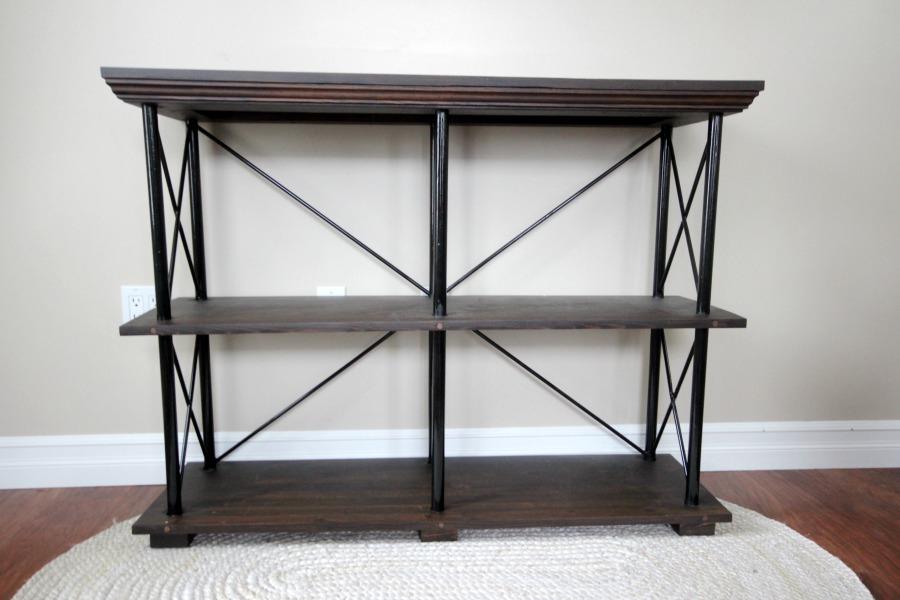
By Love Create CelebrateThe perfect rustic industrial shelf or side board for any room in your home.
There are numerous steps, tools, and evenings involved in this build, but the end result is worth it! We are in LOVE with our new shelf - for a fraction of what it would cost in stores!
Directions
-
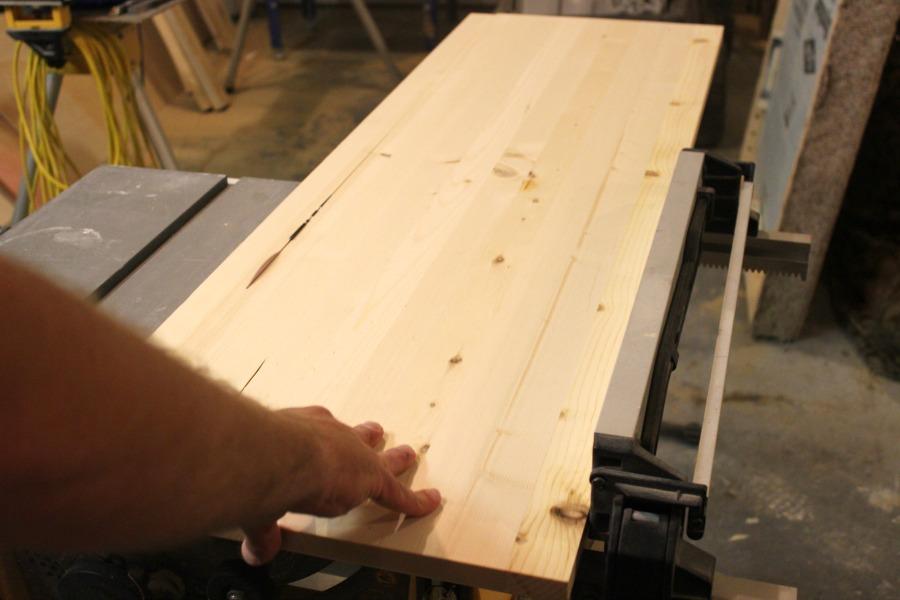
Cut Wood Materials
Cut wood materials as per attached plans (T1-T6, M1, B1 and B2x6).
-
Assemble Top Frame
Assemble T1-4 into a frame using pocket joints. Attach to T5 (top board).
-
Layout and Drill Holes for M1 & B1
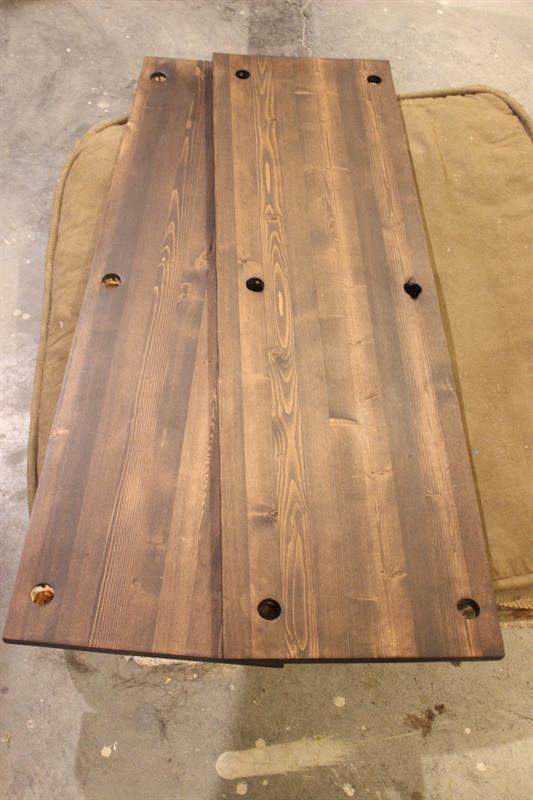
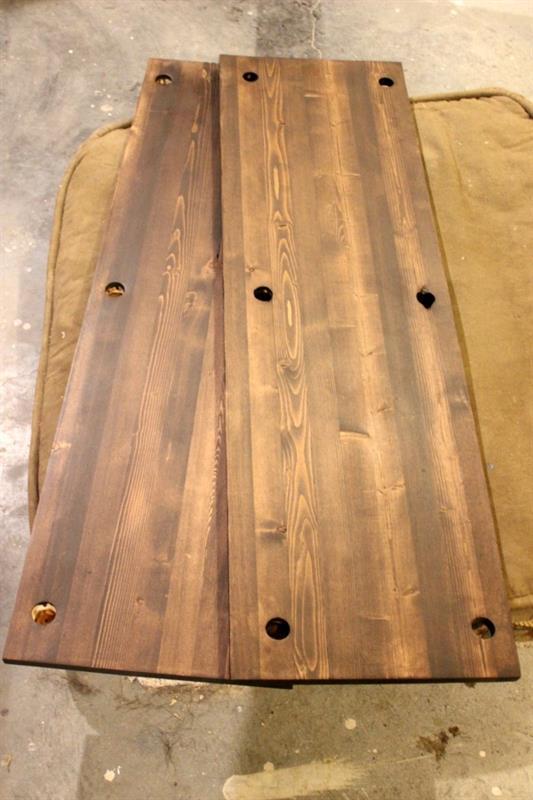
Layout and drill holes for the steel pipe legs as shown in plans. [Note: Photo shows M1 and B1 stained, but they would not be stained at this point]
-
Layout and Drill Holes for Top
Using M1 as a template, mark out holes and drill them onto the frame attached to T5 as per attached plans.
-
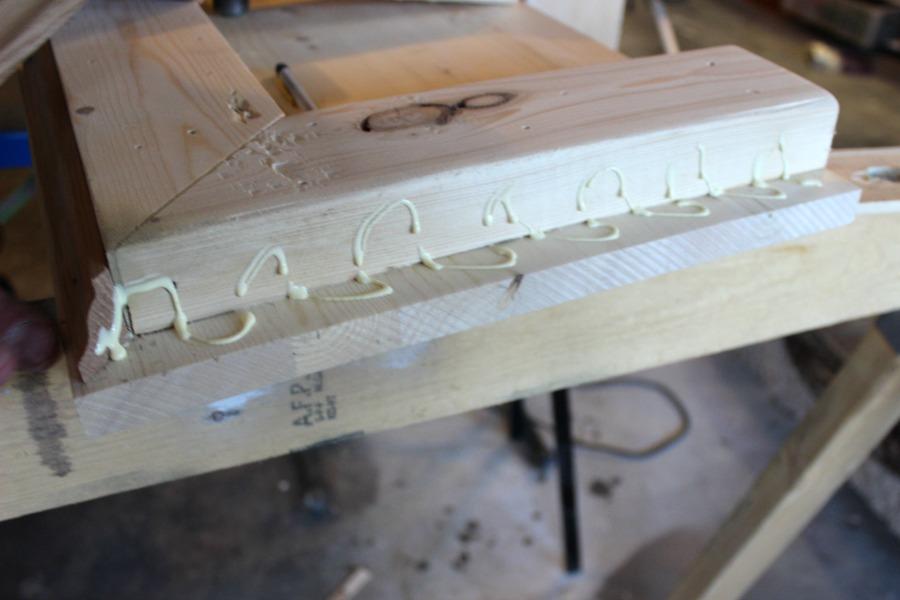
Attach Moulding to Top
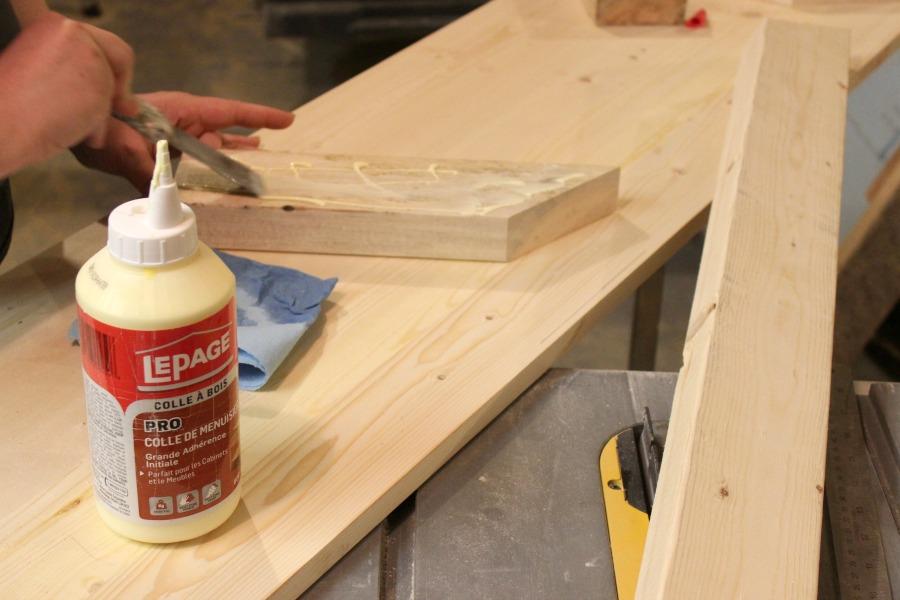
Glue and attach moulding in place along frame on T5.
-
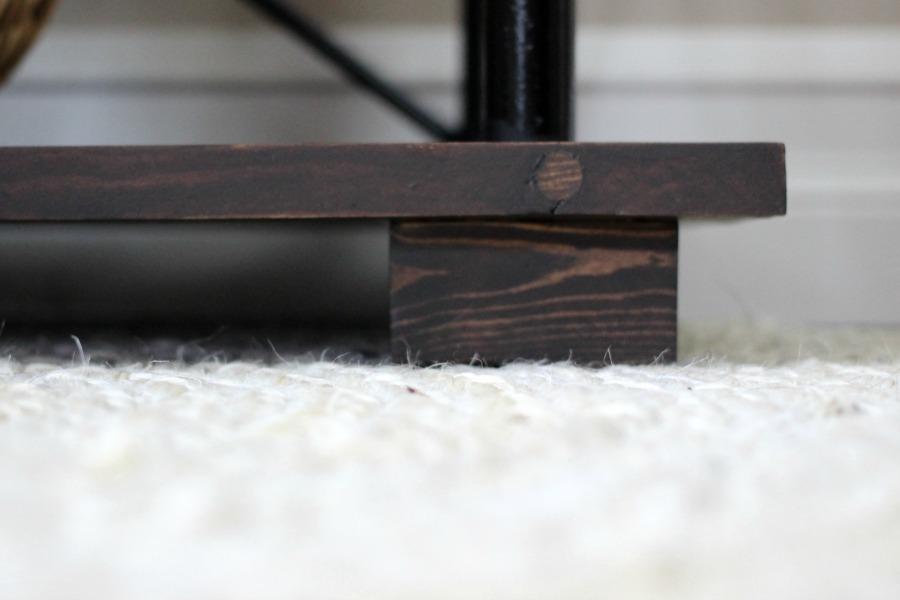
Attach Feet to Bottom
Attach B2 x 6 to B1 (bottom board) according to plans attached. Feet are centred over pipe holes.
-
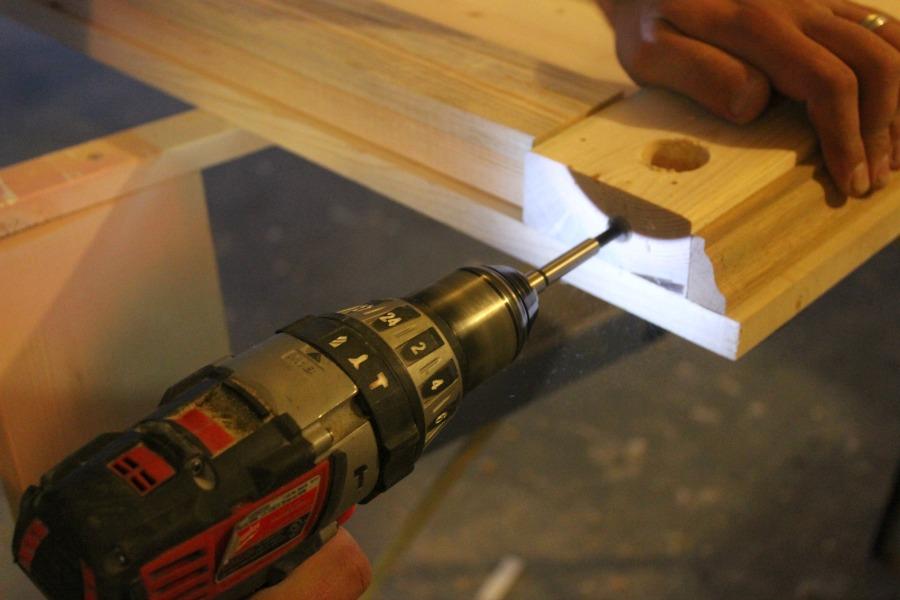
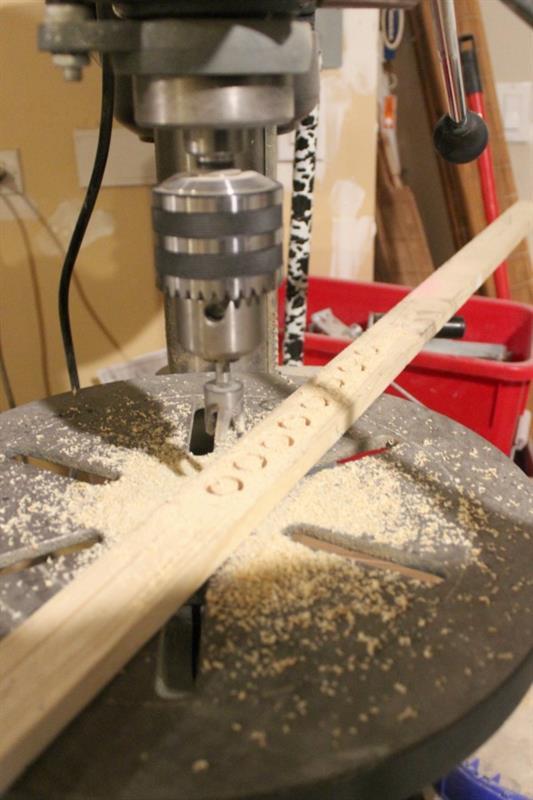
Drill Assembly Holes
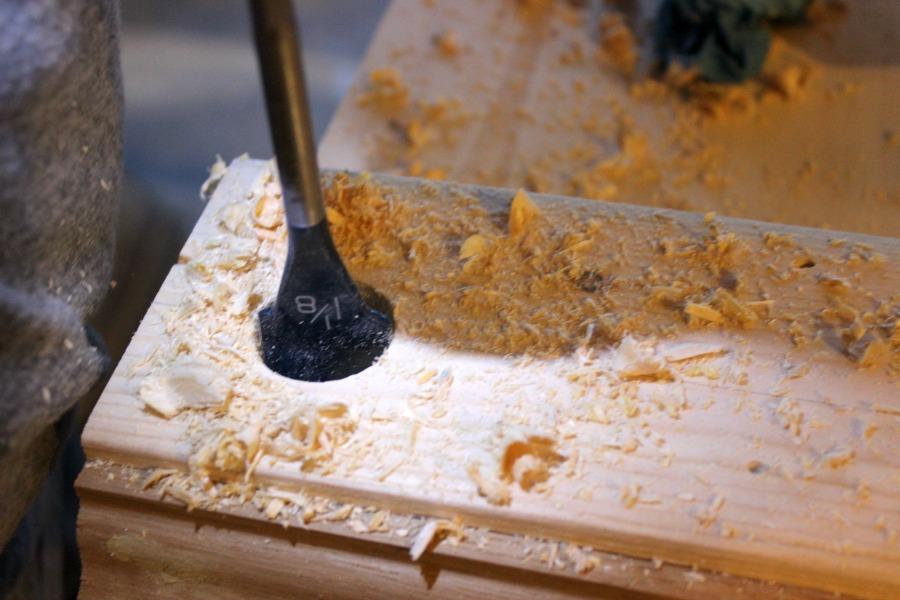
Drill holes in back face of T5 and the front and back face of M1 and B1. Start with an 1/8" diameter hole, followed by a 3/8" hole using a fostner hole 3/8" countersunk. This is to allow us to drill and attach the pipes later on.
-
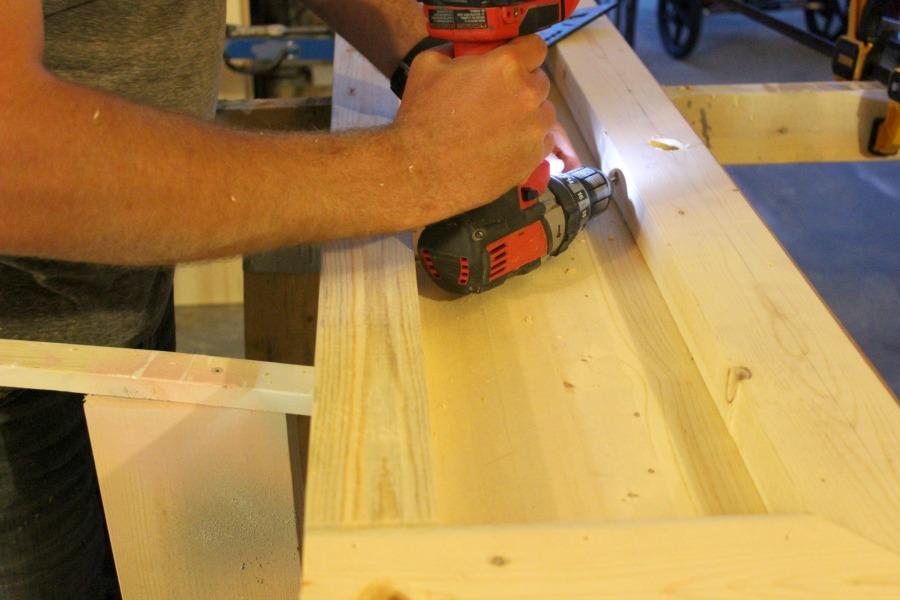
Drill Assembly Holes (T5)
Drill holes into the inside faces of the frame (T4 and T2). You will have to drill at an angle for access.
-
Cut Plugs
Cut 15 plugs (3/8" diameter) to fill the assembly holes.
-
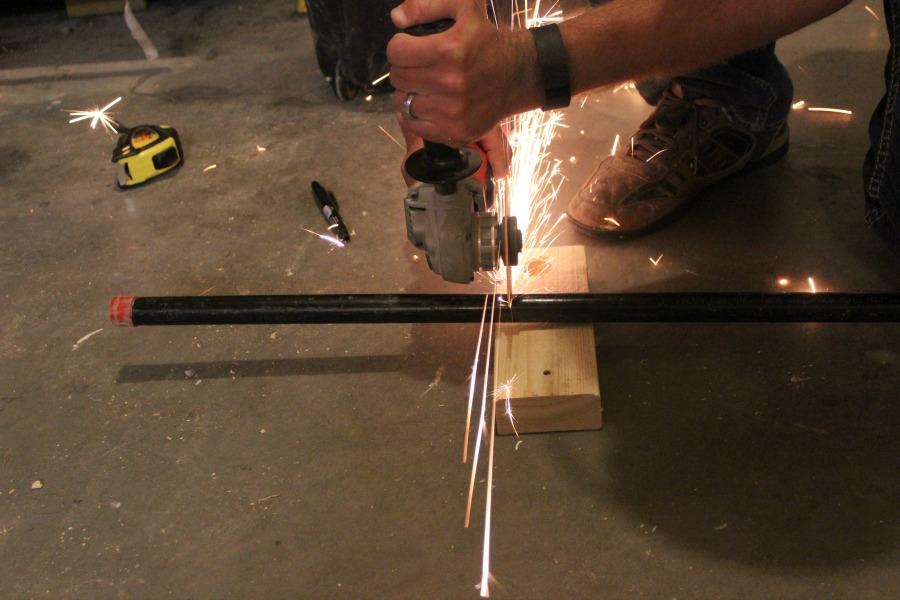
Cut Steel
Cut steel as detailed in the plans using a grinder and cutting disc.
-
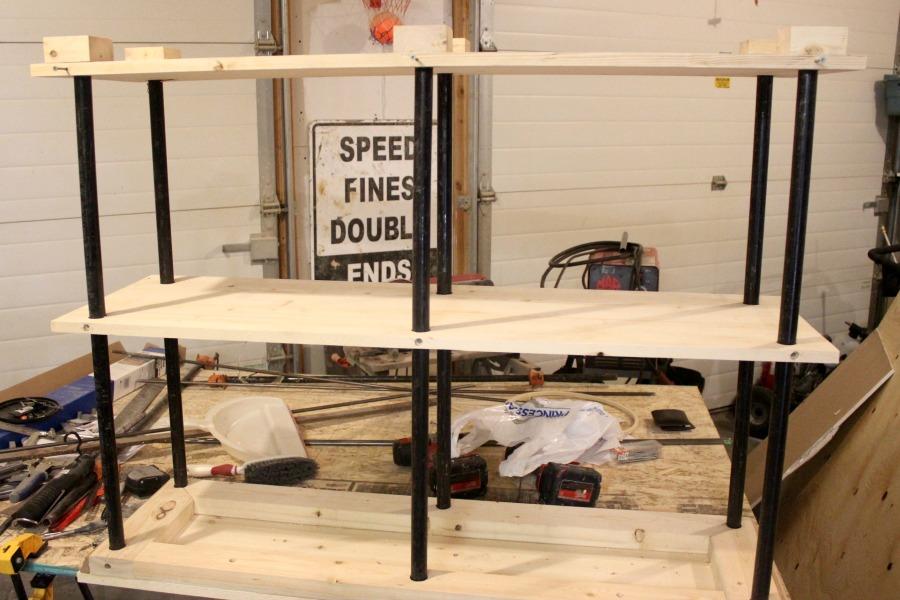
Mock Up Table
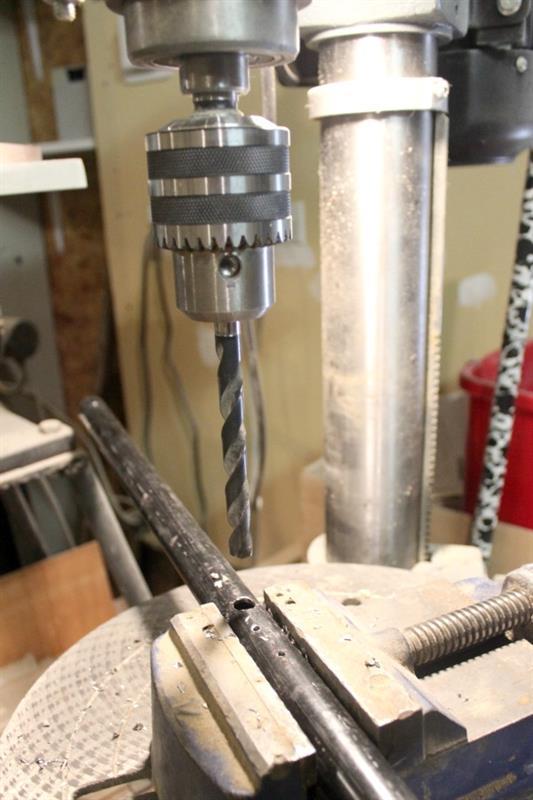
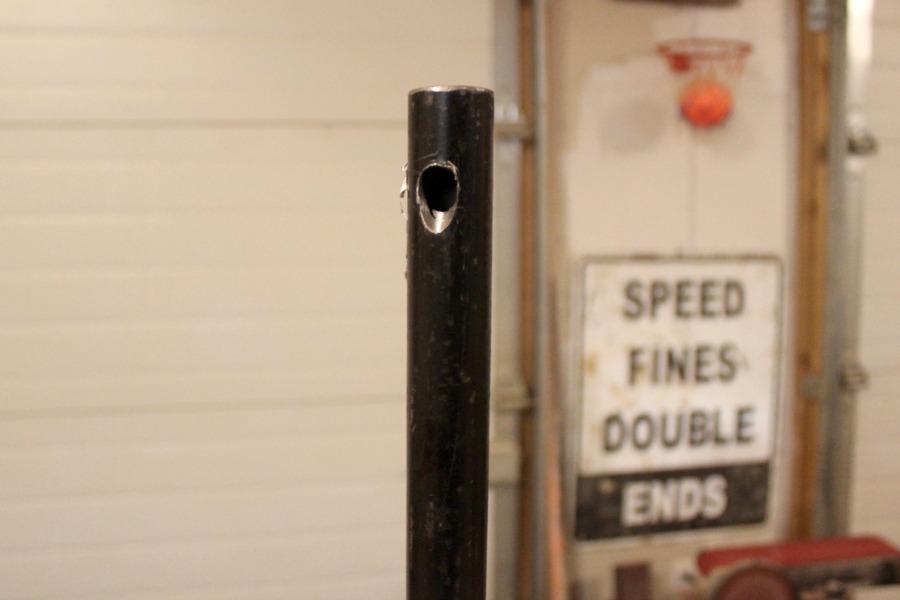
Place T5 assembly face down (so that you can access the holes). Put the six steel legs in place. Drill 1/8" diameter holes into pipe at the four locations specified in the plans (three back pipes, and front centre pipe). Once drilled use the #10 screws to attach the legs.
When drilling into pipe, go slow and take your time. It is very easy to break a drill bit on steel.
-
Mock Up Table (part 2)
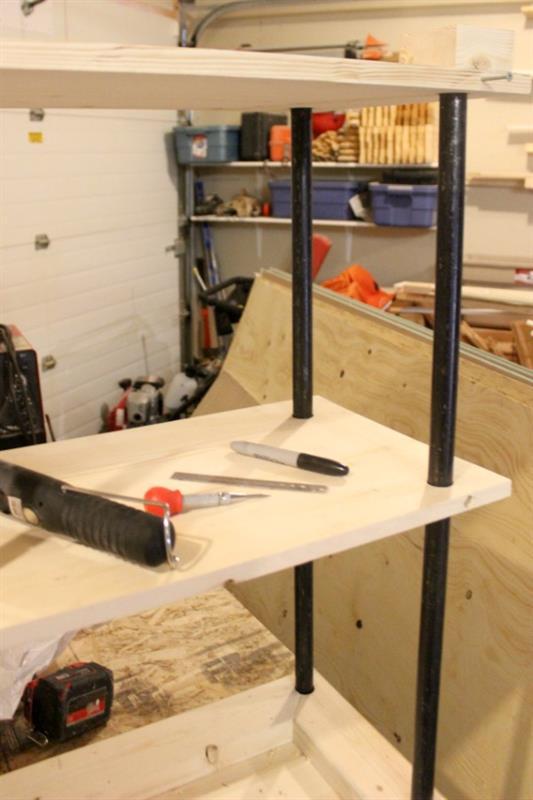
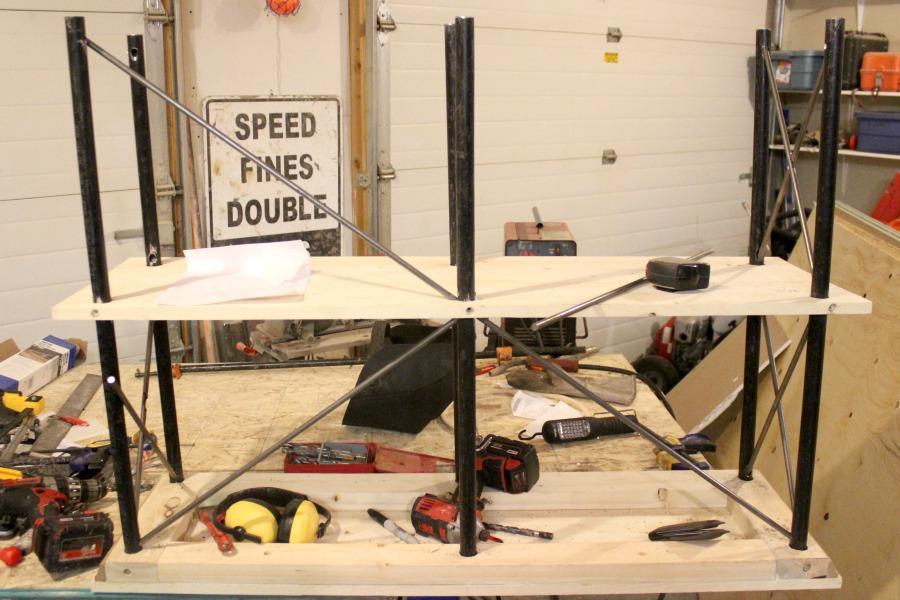
Place M1 as per the plans (you'll have to use clamps or temporary blocking to hold it in place. Ensure M1 is square to T5, and then drill 1/8" holes into pipe at the six locations specified in the plans, using your previously drilled holes as a guide. Once drilled use the #8 screws to attach the legs.
Place B1 as per the plans (you'll have to use clamps or temporary blocking to hold it in place. Ensure B1 is square to T5 and M1, and then drill 1/8" holes into pipe at the six locations specified in the plans, using your previously drilled holes as a guide. Once drilled use the #8 screws to attach the legs.
-
Drill Holes in Legs for "X" Pipe
Using your measuring tape, mark out the location of the holes for the "X"s (3/8" diameter rods), using a centre punch. They are roughly an 1/8" to 1/4" from the faces of the shelf boards.
For legs L1 and L2 you will have 4 holes for the "X"s on the side profile.
For L4 and L5 you will have 6 holes for the "X"s - 4 for the side profile, and 2 for the back profile.
For L6 you will have 4 holes near the centreline for the back profile.
To drill the holes, start with 1/8" and work your way up to a 7/16" diameter drill bit.
See plans for clarification.
-
Notch Holes
In order to install the rod at an angle, you need to open up the hole at an angle. To do this, take your drill and move it upwards and downwards (in the vertical). CAUTION: Take your time, as the drill bit can kick back.
-
Reassemble for "X" Fitting
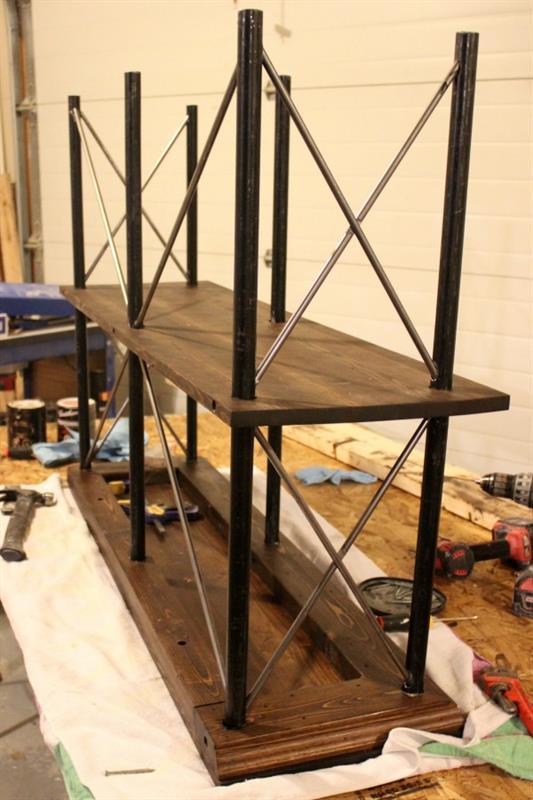
Reassemble the shelf. Put R4 and R5 in place - you may have to cut down some rods in order to make them fit. We started with T5 and M1 in place, and fit the top rods first, then added B1 and fit the bottom rods.
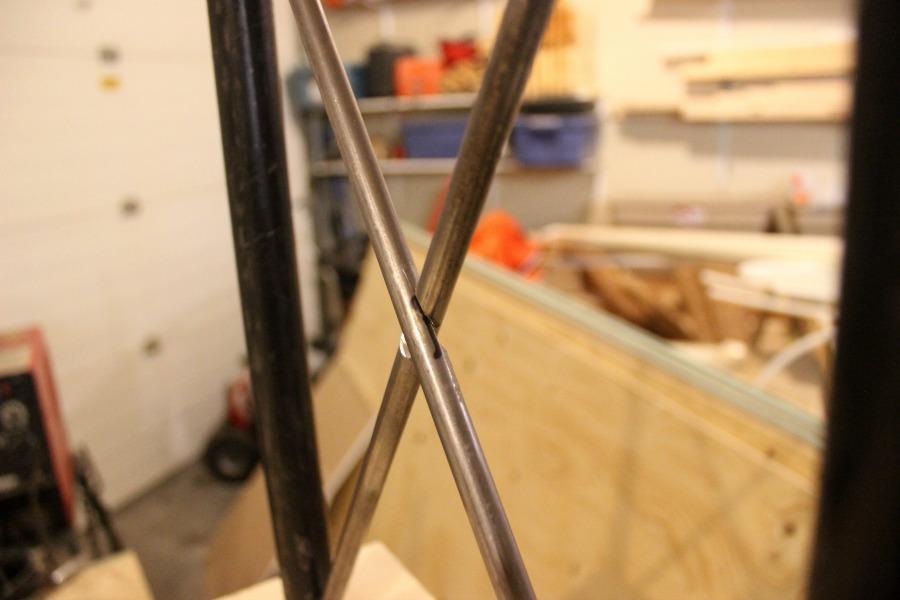
Once the rods are in place, use a permanent marker to mark the overlap on the pipe.
To complete the back "X", install R3 first, then pace R1, and R2. Again, some adjustments in length may be needed.
-
Notch Steel Rods
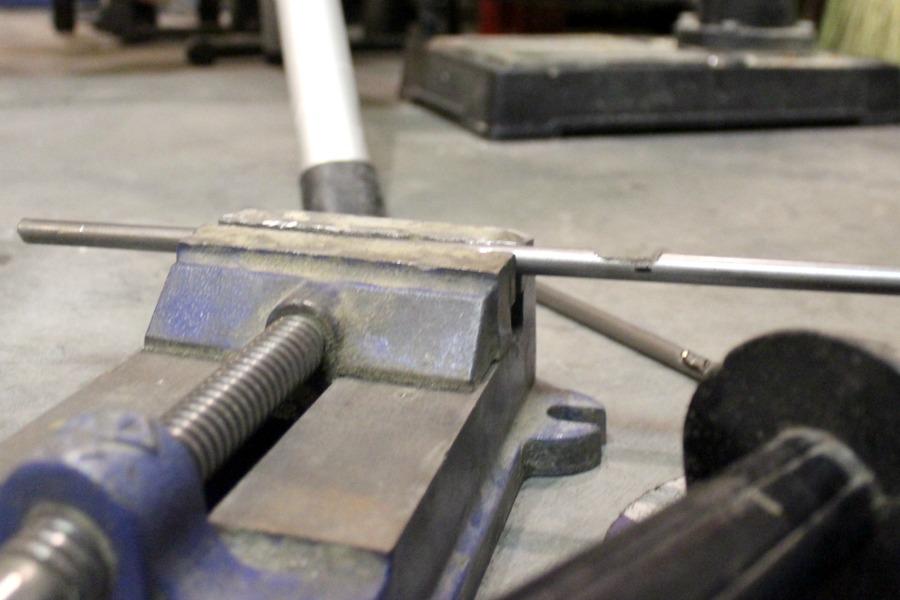
Remove R4 and R5s, making sure to mark the location of each piece for reassembly later. With a grinder, grind out the overlapping space that you previously marked (approximately 1/2 the diameter of the rod should be removed).
-
Reassemble "X"s
Reassemble "X"s and check that shelf is square (sides and back).
-
Stain and Varnish Wood
Stain wood in the colour of your choice and varnish. We took the shelf apart again to ensure because we thought it was easier to get a nice finish when it was disassembled. Don't forget to stain and varnish plugs as well.
Wipe all steel elements with Acetone.
-
Final Assembly
Start with T5. Place PL-300 in holes, place legs and screw and assemble.
Install R4 and R5 rods between T5 and M1. Place and screw M1 in place.
Install R4 and R5 rods between M1 and B1. Place PL-300 in holes, place and screw B1 in place.
Install R1, R2, and R3.
Place and glue wood plugs in place.
-
Weld
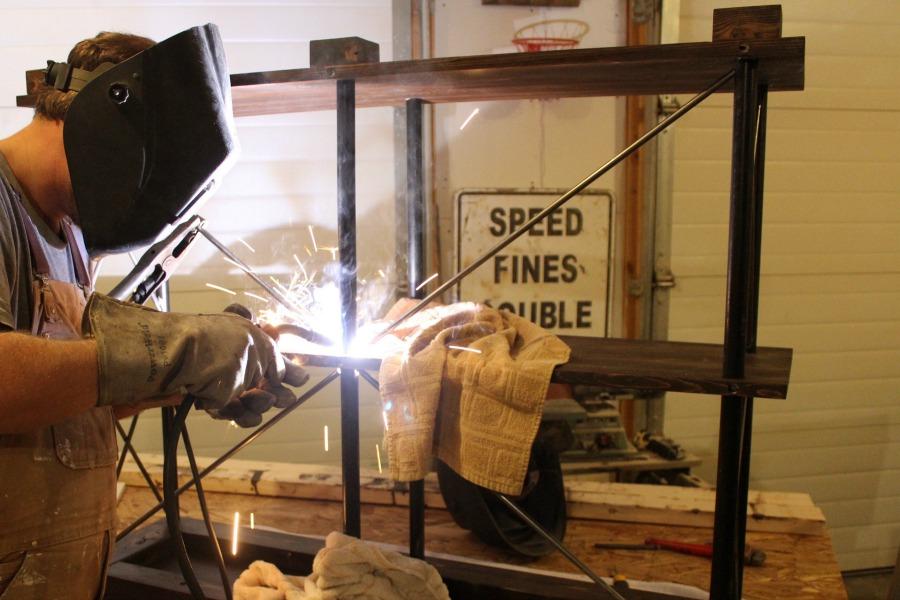
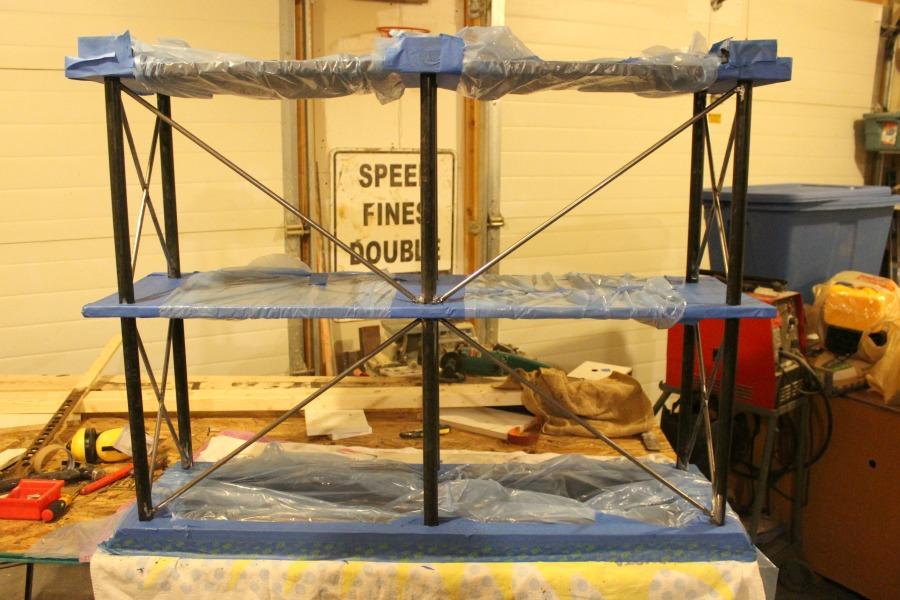
Check for square. Clamp as required. Weld steel bars together at all intersections.
Try to protect the wood as best you can with a welding blanket.
Note: if welding causes damage to wood finish, you can lightly sand and refinish as required if necessary.
-
Paint Steel
Prep steel by grinding down and cleaning welds. Wipe all steel with acetone again and tape of all wood faces. Spray paint all steel.


