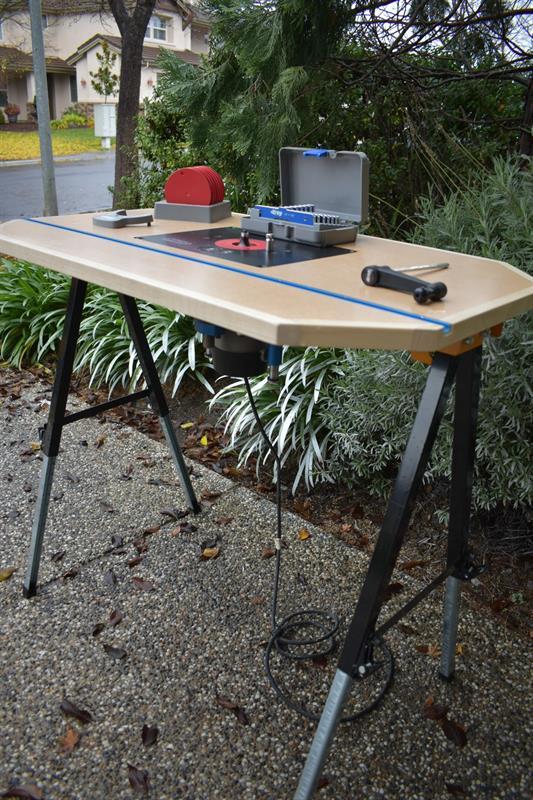
Portable Router Table
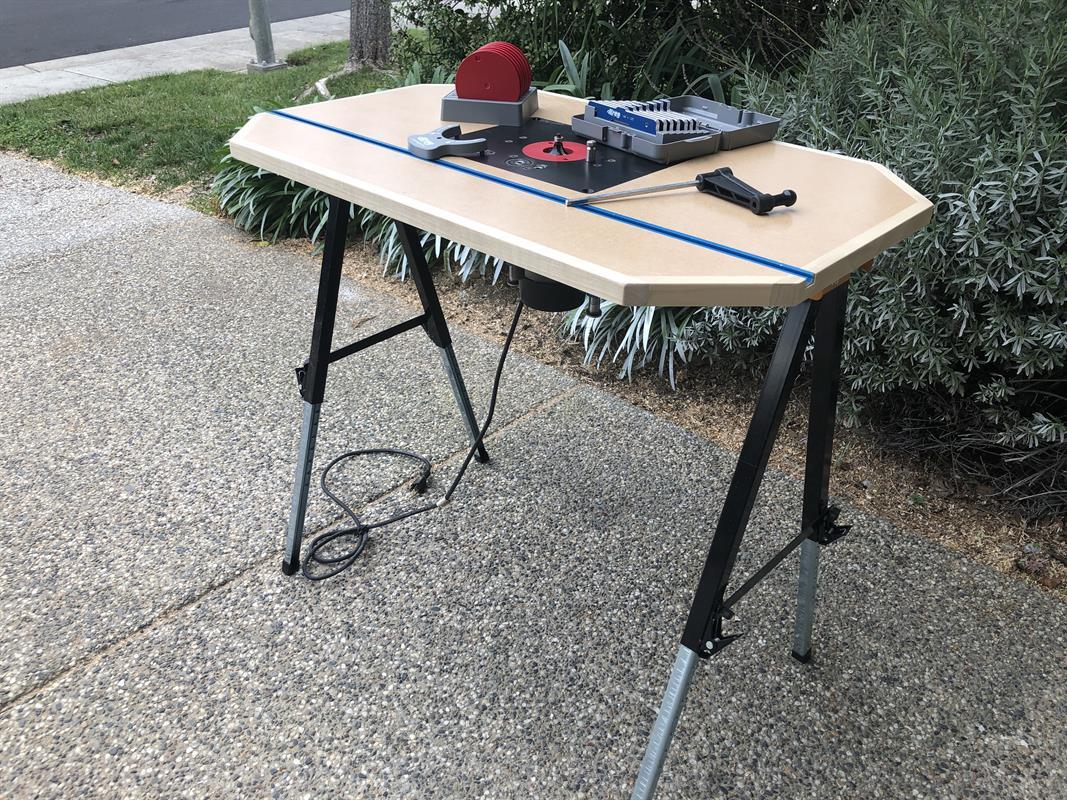
By Knotty Dog WoodshopWith limited space, we built this portable router table so we can take it outside on nice days. The best part of this project, it will fold up for easy storage when not in use! We have a build video on our Youtube channel if you are interested! **Link in Extras Tab**
Directions
-
Cutting The Top to Size
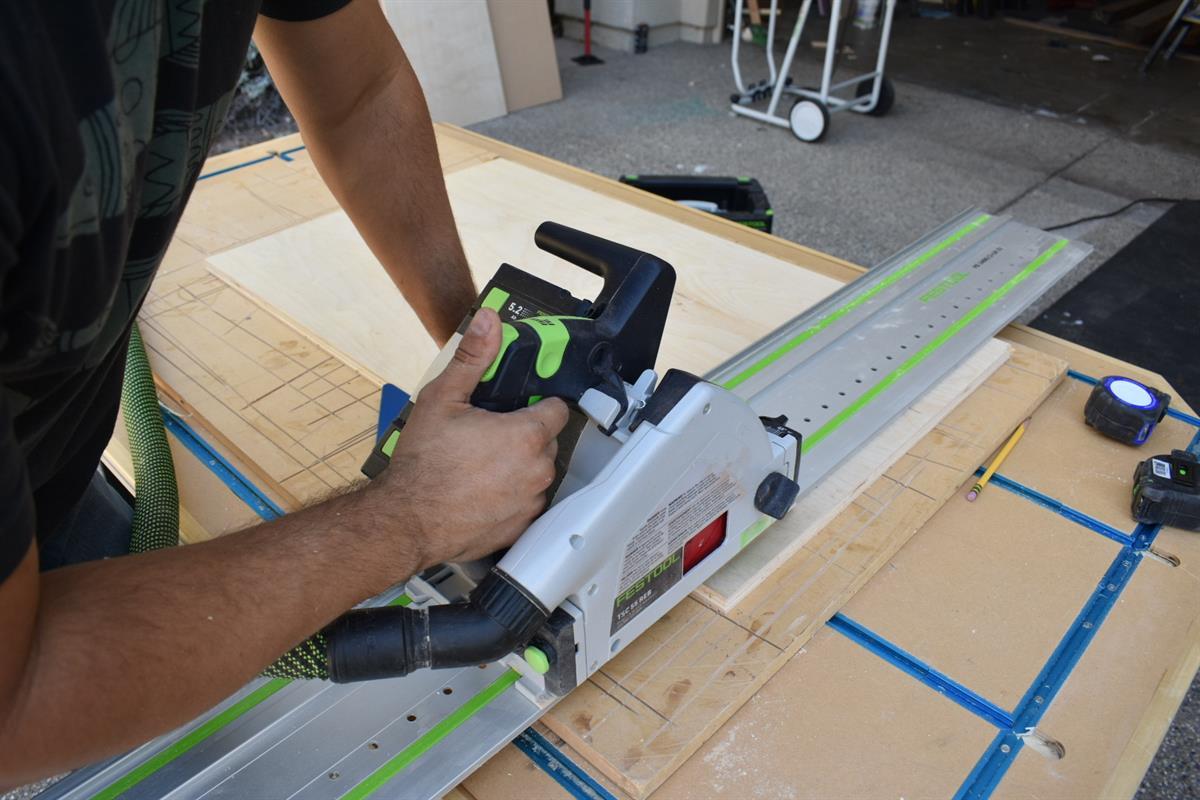
I had a 2'x4' sheet of 3/4" plywood that I cut to 20 1/2" by 34".
-
MDF Top
I cut a 1/4" MDF panel oversized to cover the plywood top. I cut it to, 20 3/4" by 34 1/2". I glued the MDF to the recently cut 3/4" plywood sheet. Once the glue dried, I used a router with a flush trim bit, to trim the MDF panel flush to the plywood sheet. The MDF will be the top of the router table.
-
Cutting Off The Corners
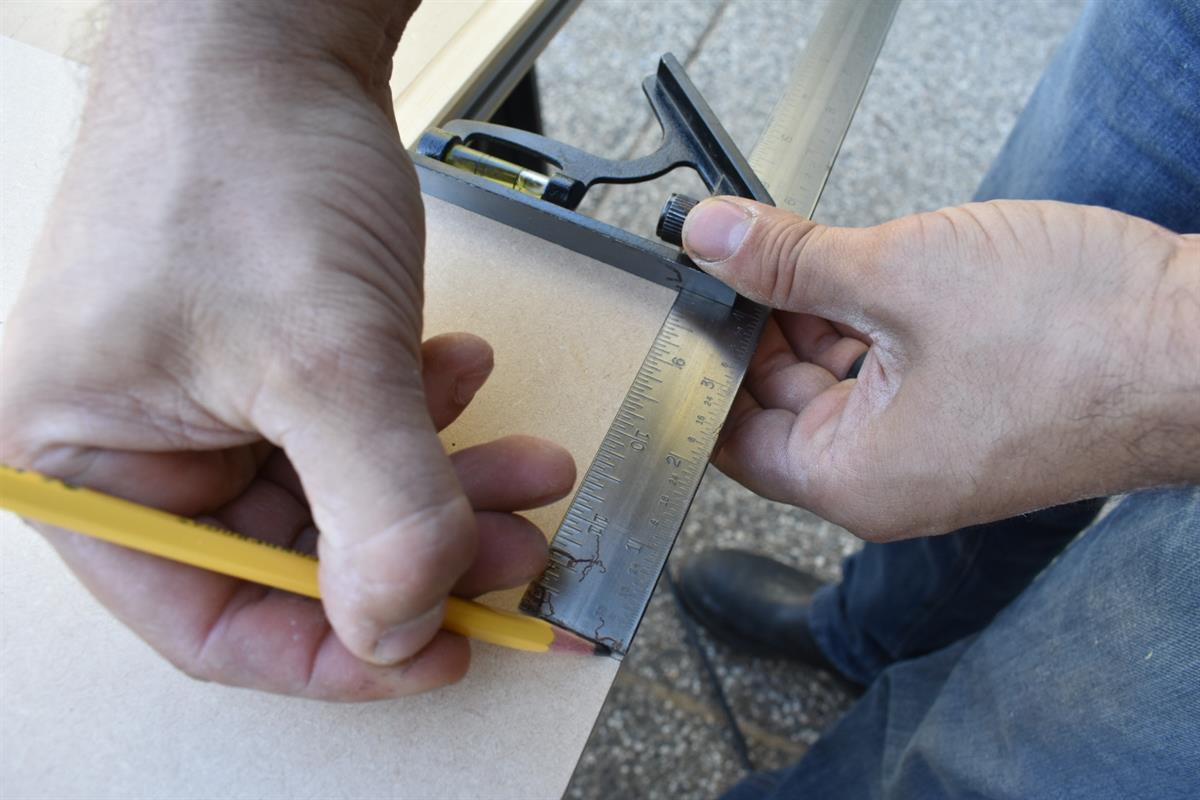
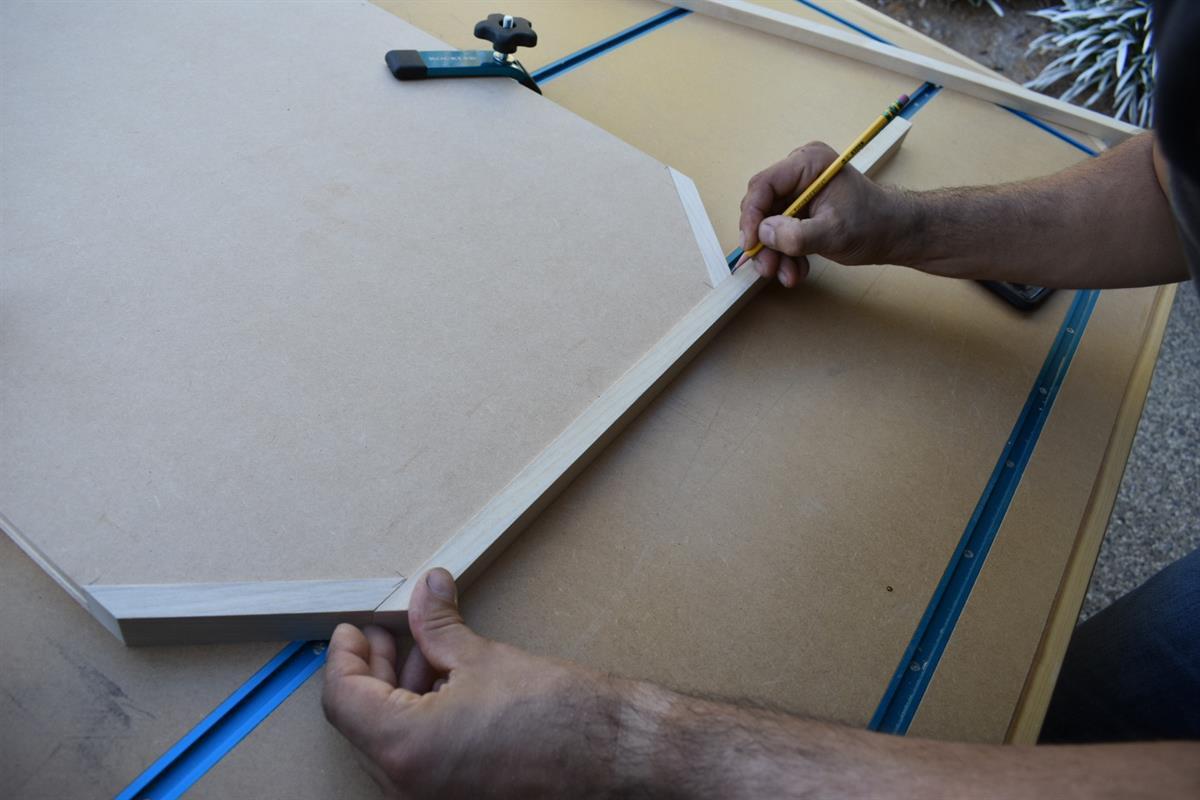
This is optional, I like to cut off the edges on my portable workbenches. I measured 4" by 4" and cut the corners off.
-
Adding Trim
I milled up some 3/4" hardwood to attach to the edges to give the router top some more durability. Glue and clamps. If you don't have clamps, brad nails or screws will work.
-
Cutting the Legs to Size
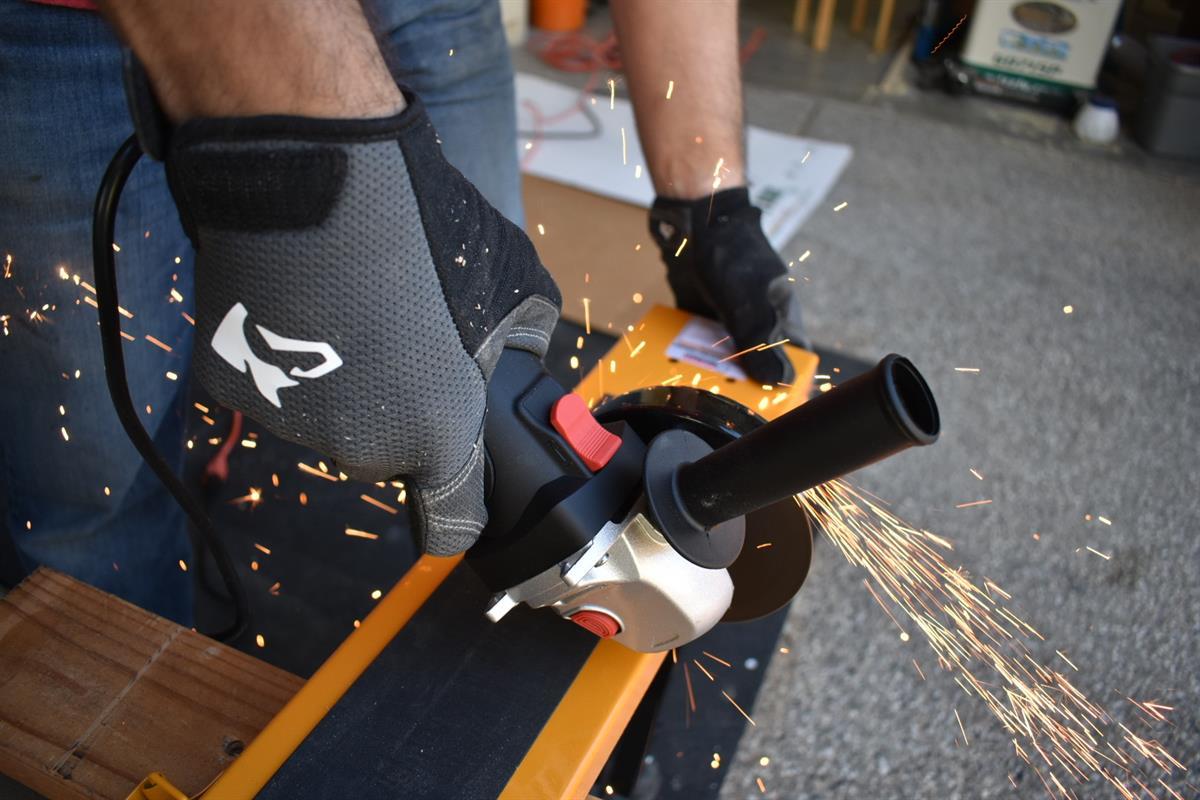
I bought a metal saw horse from Harbor Freight and cut the legs with a cut off wheel. I measured 10 1/2" from the ends and cut. These will be attached to the bottom side of the plywood.
-
Template for Router Plate
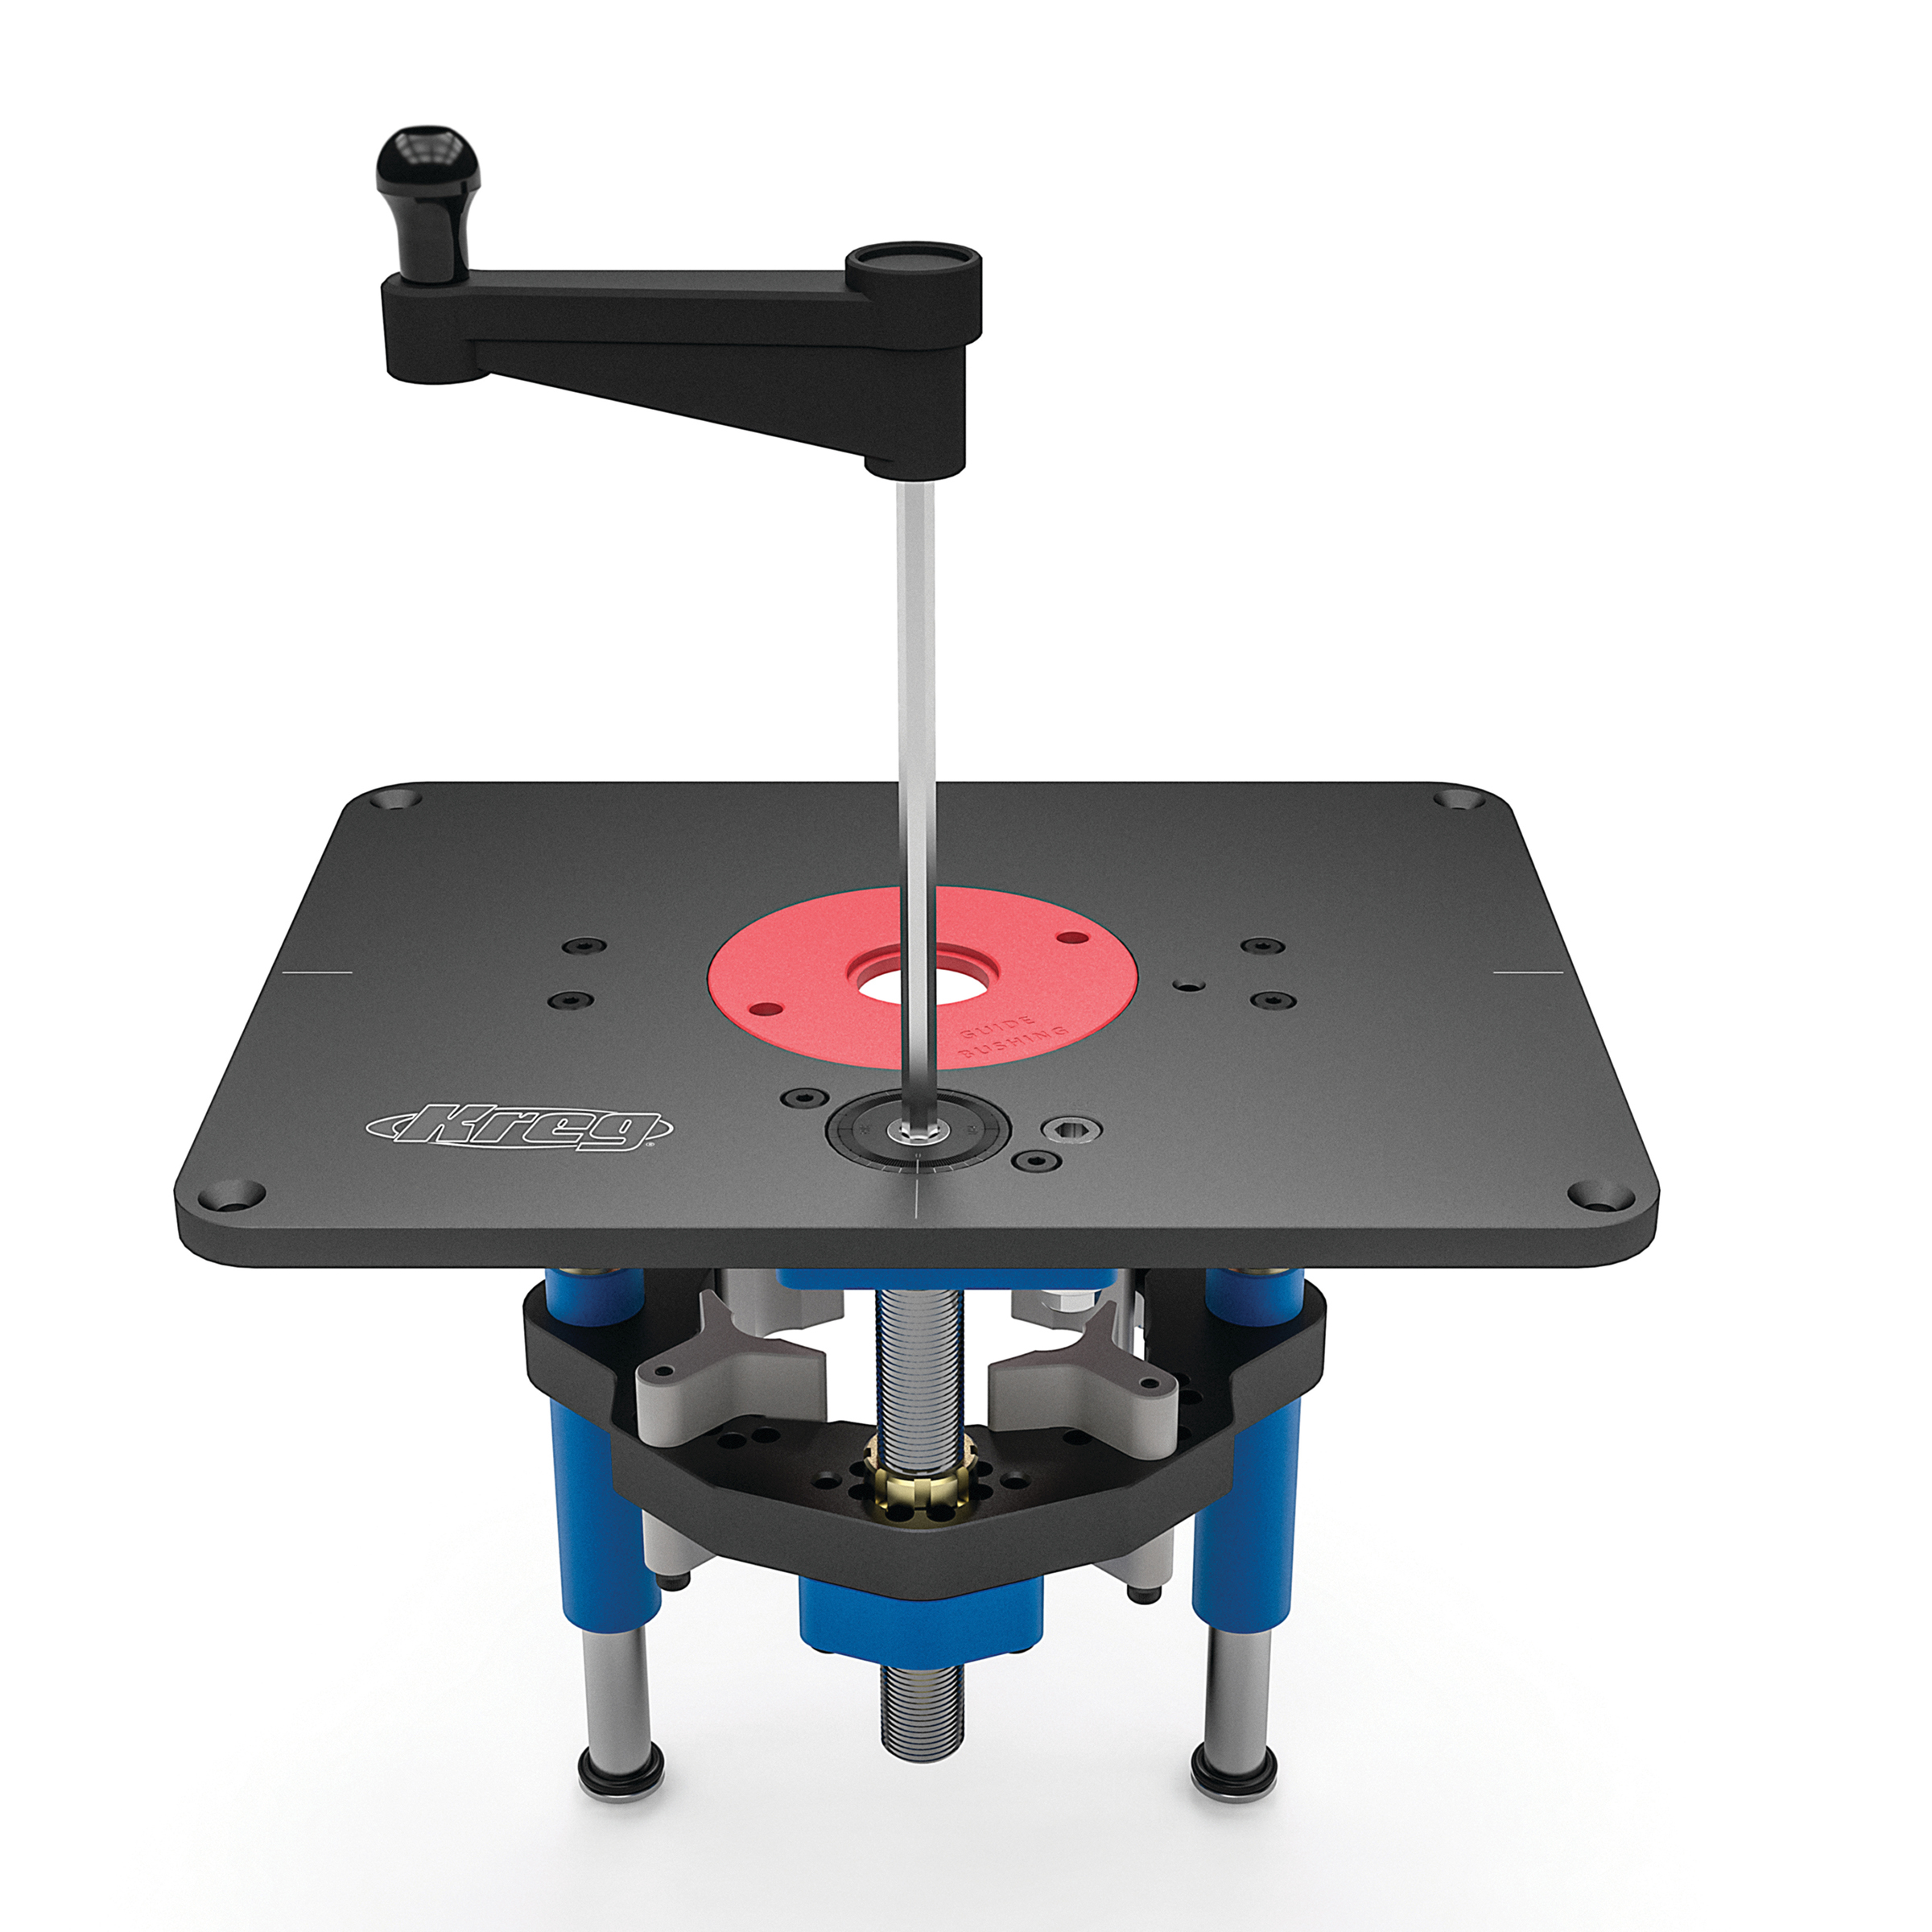
Next is to rip some scrap plywood pieces to make a router plate template. Rip the plywood scraps into 4"-5" wide. Cut two pieces to 11 3/4". Cut two separate pieces at 20 inches or so. The length isn't important for the last two pieces because the router plate will sit between the two 11 3/4". Sandwiching the 11 3/4" pieces will allow the router to reference the inside of the plywood edges with a flush trim bit in a router for a perfect fit.
-
Taking the Plunge
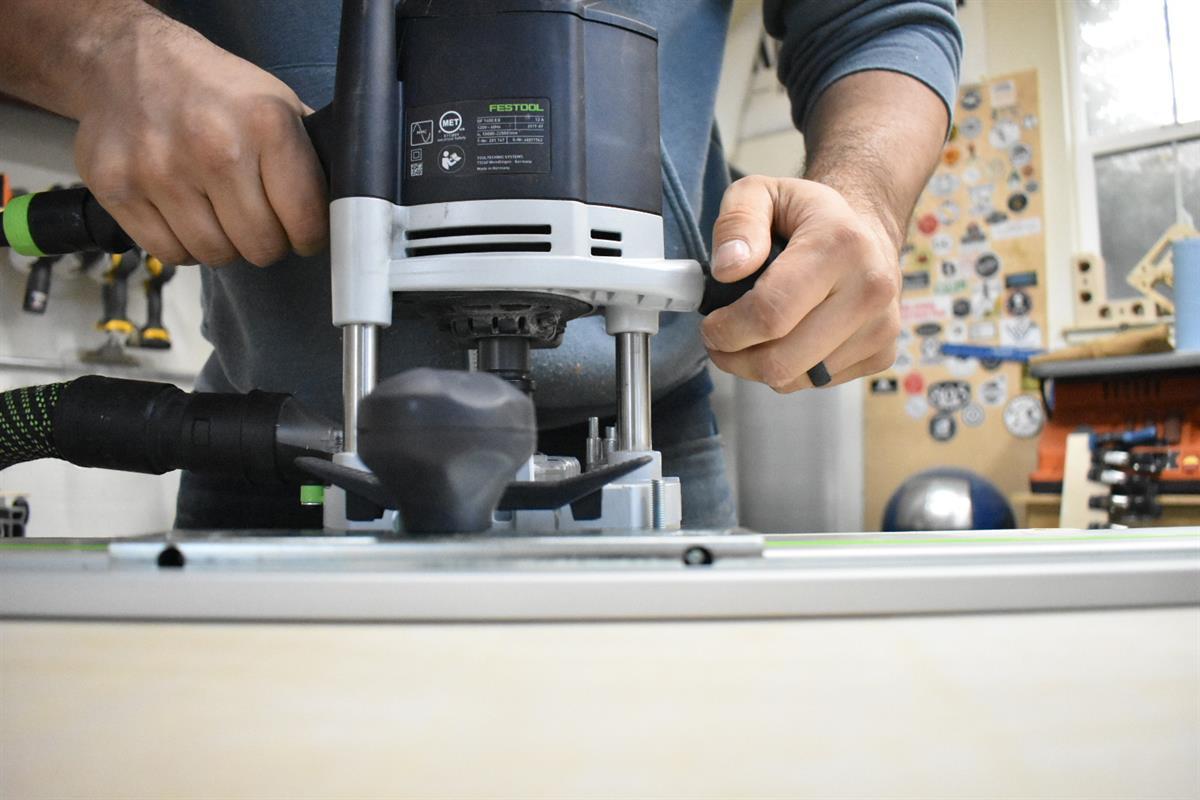
With a flush trim pattern bit, follow the template guide you just made in the previous step to cut the opening where the router plate will sit. Remember to plunge a little lower than the router plate, you can always raise the plate up to be flush with the MDF top. I recommend offsetting the template closer to the back of the table top. This will allow a T Track to be dadoed in the front.
-
Adjust the Plate
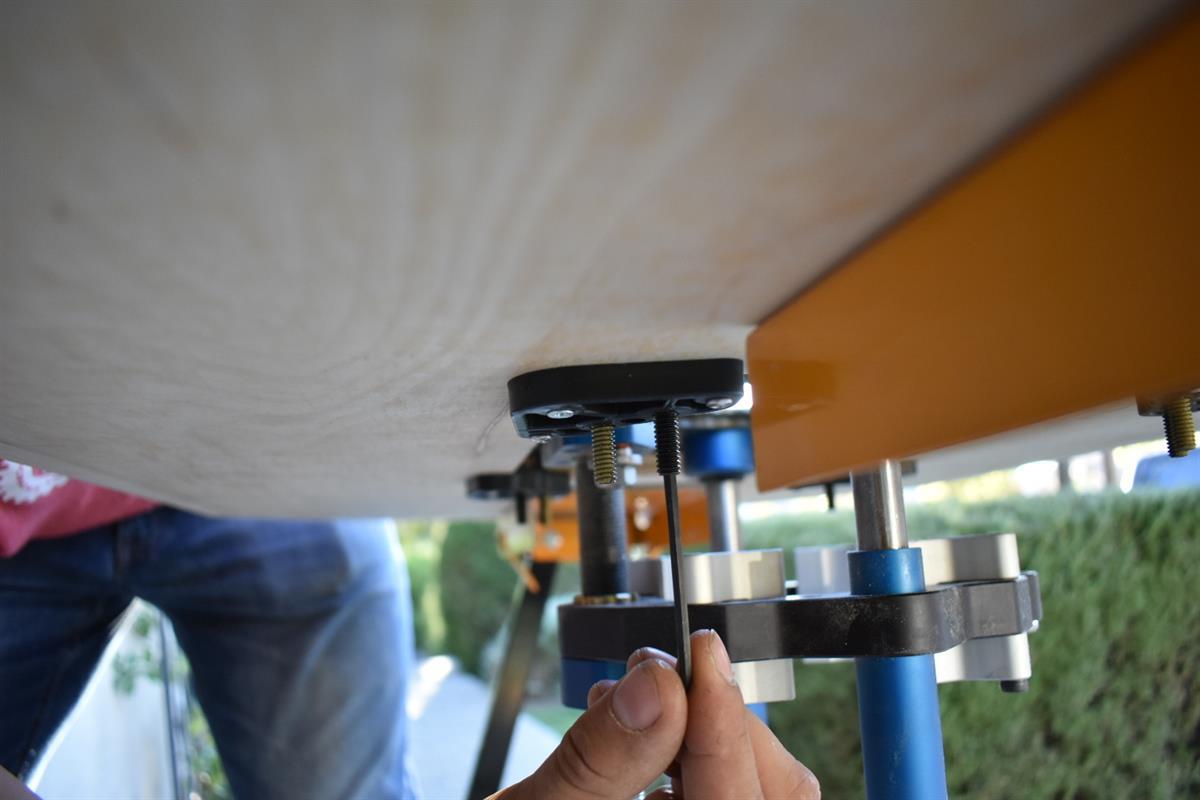
Now that router plate has been cut out, adjust the levelers to make the router plate even with the top surface.
-
T Track
Route a T track for more options on this small portable router table. I highly recommend it, depending on the T track you get, router a dado to fit. I put my track 5" from the front.


