Louvered Wood Planter Box
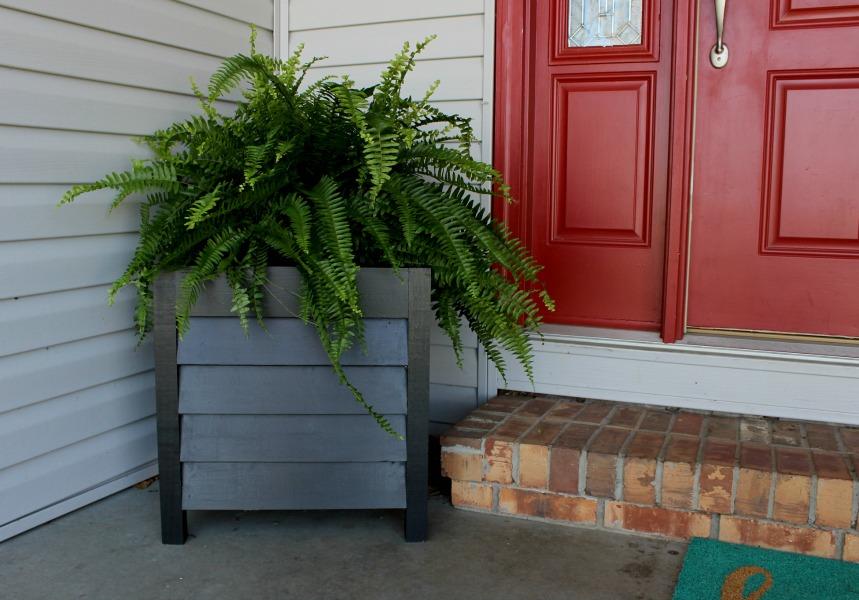
By Woodshop DiariesThese easy to build wooden planter boxes are perfect for a patio or beside your front door. The louvered side panels add interest and character and add a modern touch.
Directions
-
Cut side slats
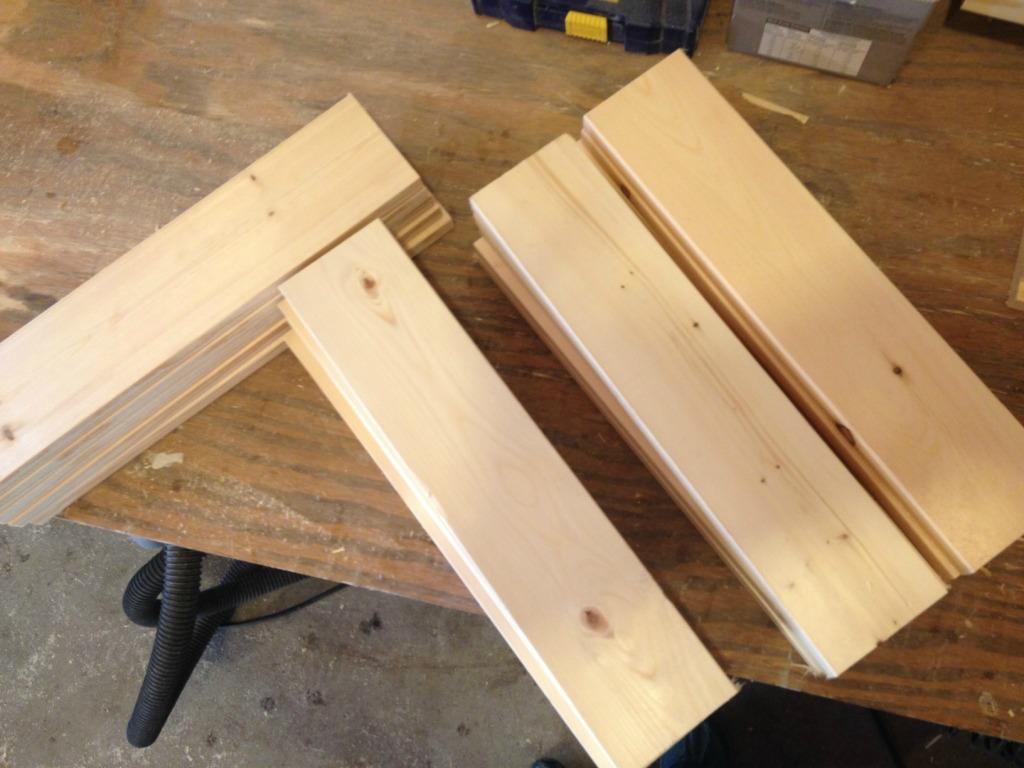
Cut 20 pieces (five for each side) of 1x4 to 15 1/2" long using a miter saw. To make sure they are all the same length, it is helpful to use a stop block screwed into the work surface beside your miter saw.
-
Drill pocket holes in slats
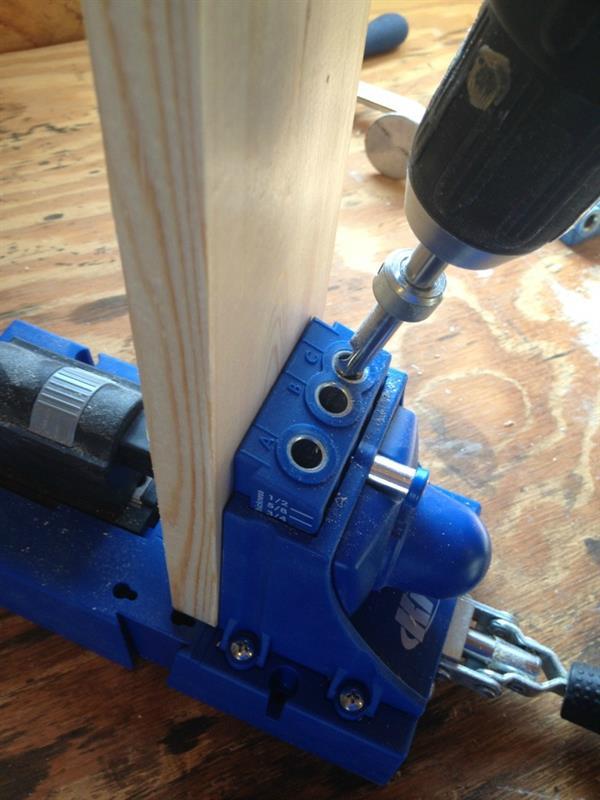
Using a Kreg Pocket Hole Jig, drill pocket holes in each end of all the slats.
-
Make two side panels
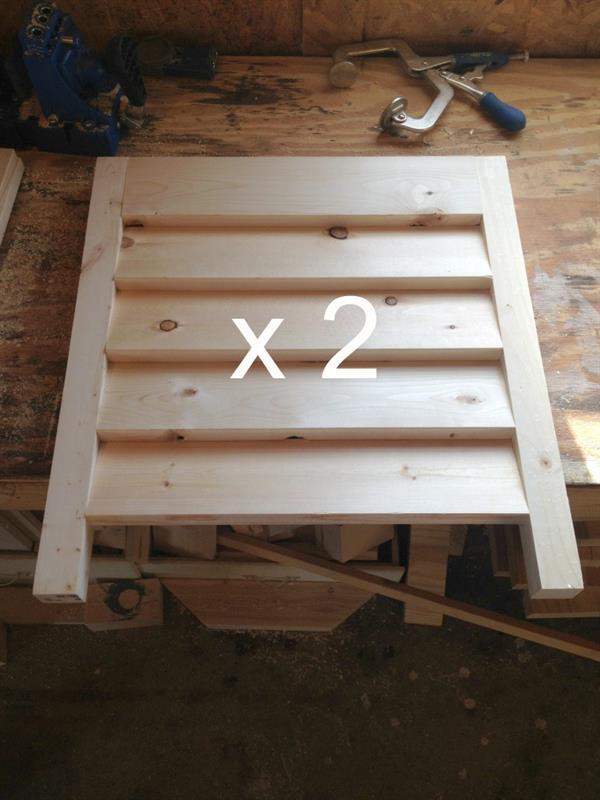
Cut 4 legs from a 2x2 at 20" long. Make two identical side panels by attaching slats between two legs using 1 1/4" pocket hole screws. Attach the top slat first so that it is flat and flush with the outside of the legs. Then angle the next slat so that the top rests on the first slat and the bottom is flush with the outside of the legs. Work your way down angling your slats until you have attached five slats.
-
Add remaining slats
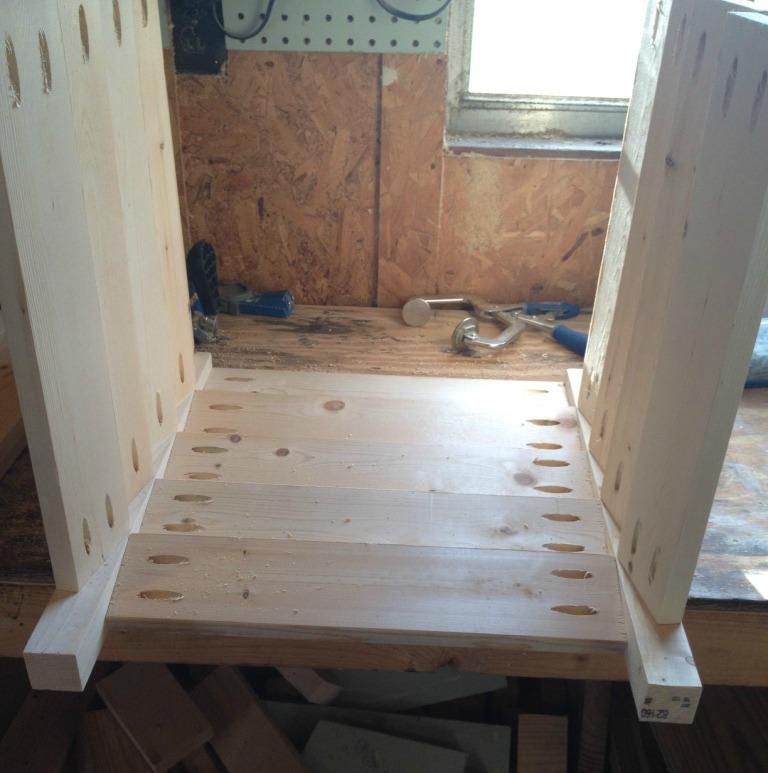
Follow the same steps as in step 3 to attach the two side panels together using the remaining slats. Attach using 1 1/4" pocket hole screws. Make sure the top board is flat and flush to the outside of the legs, and angle the others as you work your way down.
-
Add bottom rungs
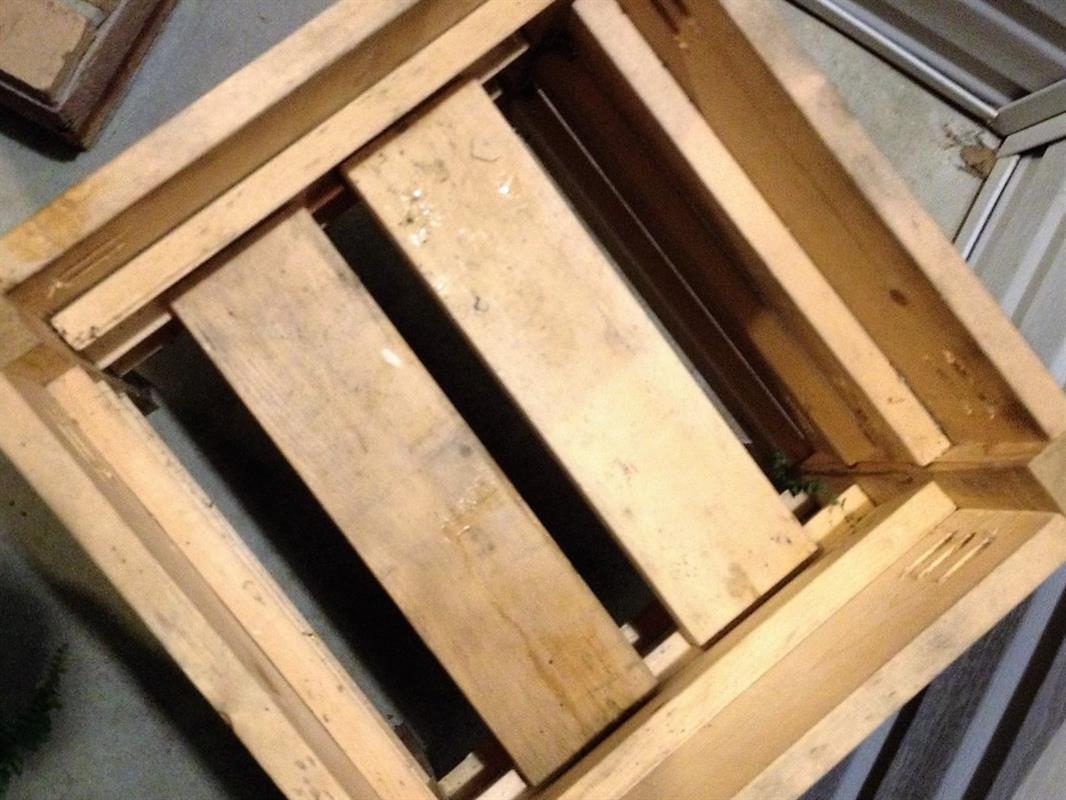
Now that you have the box for your planter, now it's time to add the bottom. I was putting potted ferns in my planters, so I just added two removable rungs at the bottom to hold the ferns, but allow water to easily pass through when needed. I cut two pieces of 1x4 at 16" and slid onto the tops of one row of the angled slats. You could screw in place if you want, but I just set mine in place. If you wanted more rungs along the bottom, you could add more.
-
Finish with an outdoor sealant
Seal the wood with an outdoor stain, sealant or paint. I painted mine with an exterior latex paint. Now add your fern or other plants and enjoy! :)
-
Enjoy :)
Enjoy your awesome new planter and check out more DIY woodworking projects at www.woodshopdiaries.com!


