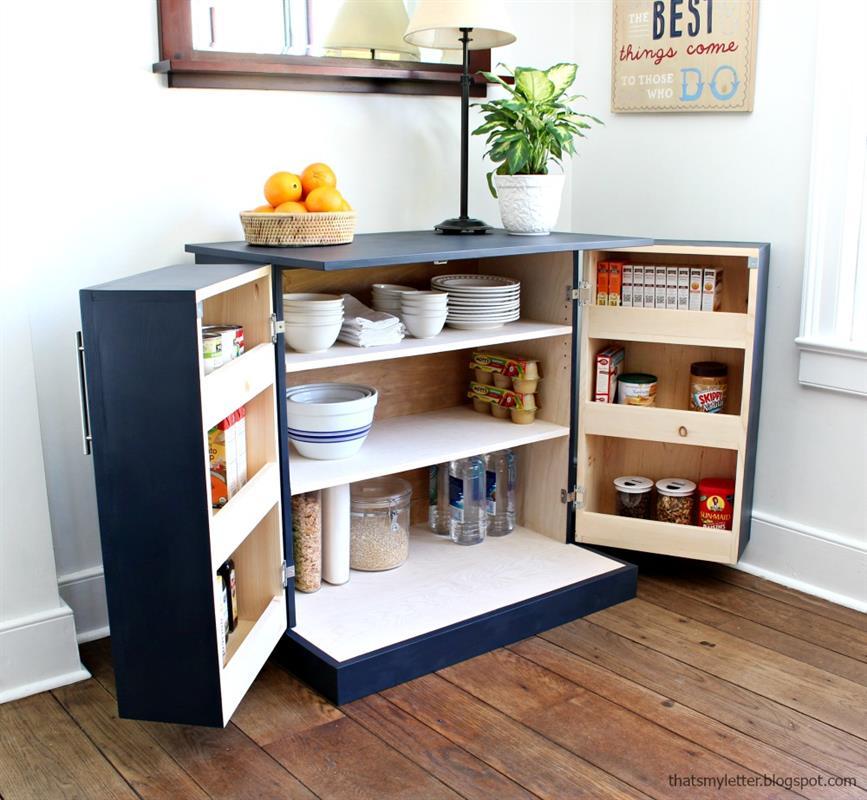
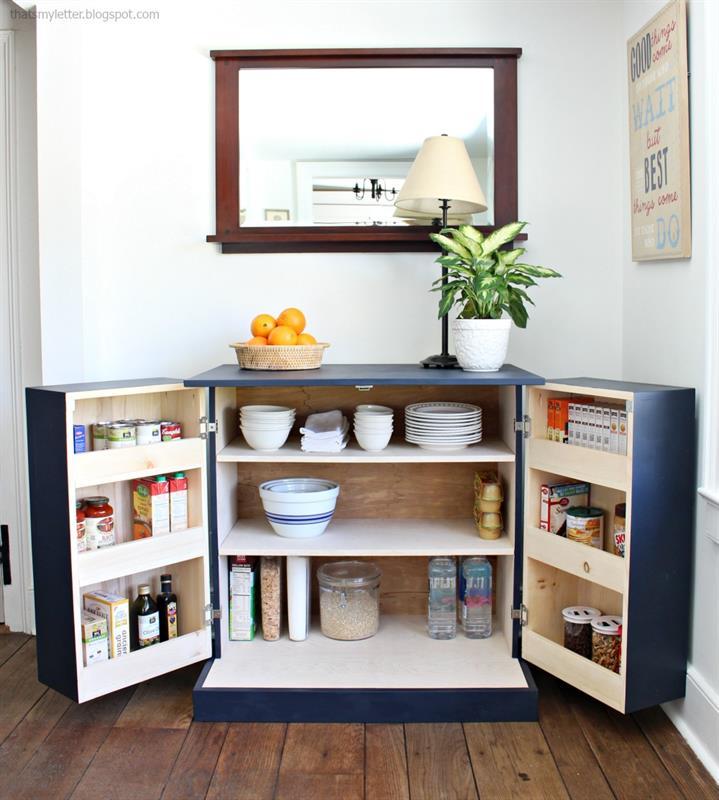
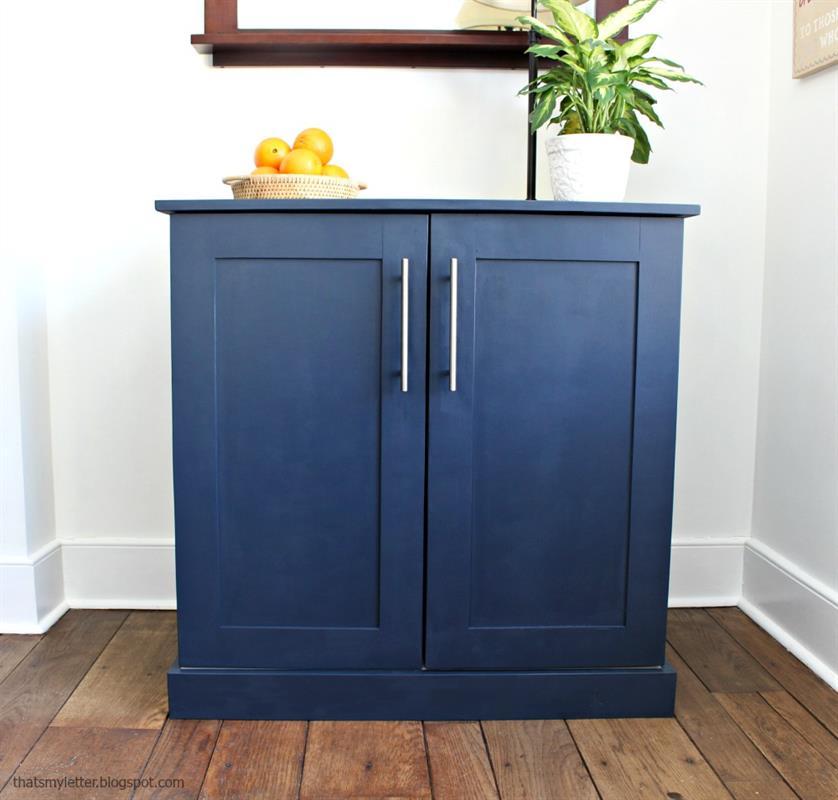
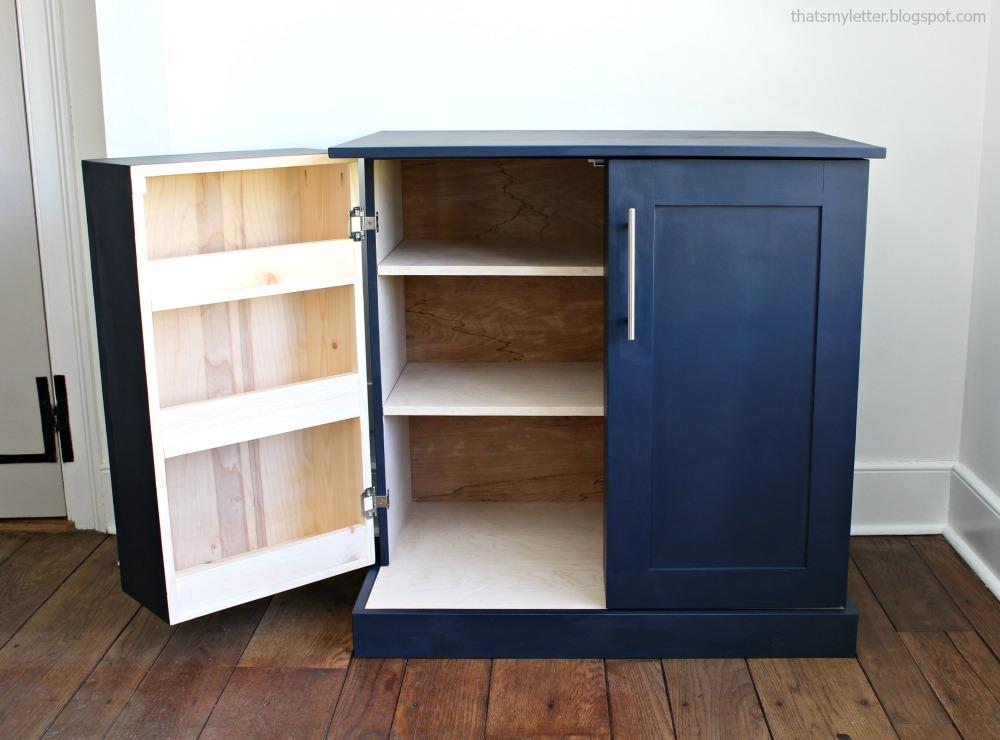
Kitchen Pantry Cabinet
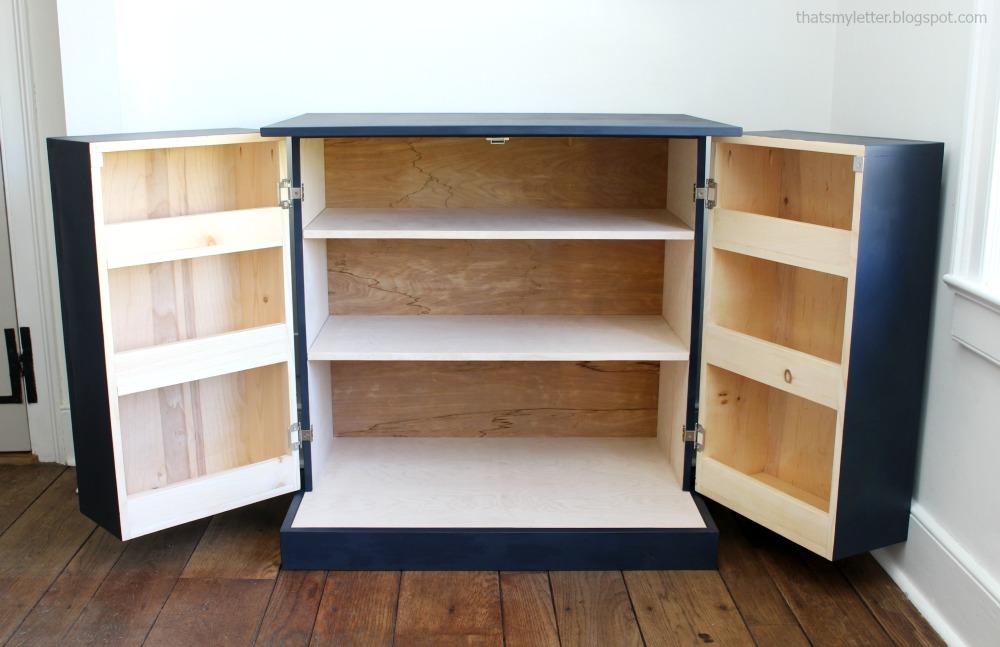
By Jaime CostiglioA freestanding pantry cabinet perfect for storage and additional counterspace. Makes a great addition for small home with no pantry or apartment living and adds counterspace for serving or bar set up. Alternatively provides great storage for your office space, craft room or work room.
Directions
-
Dimensions
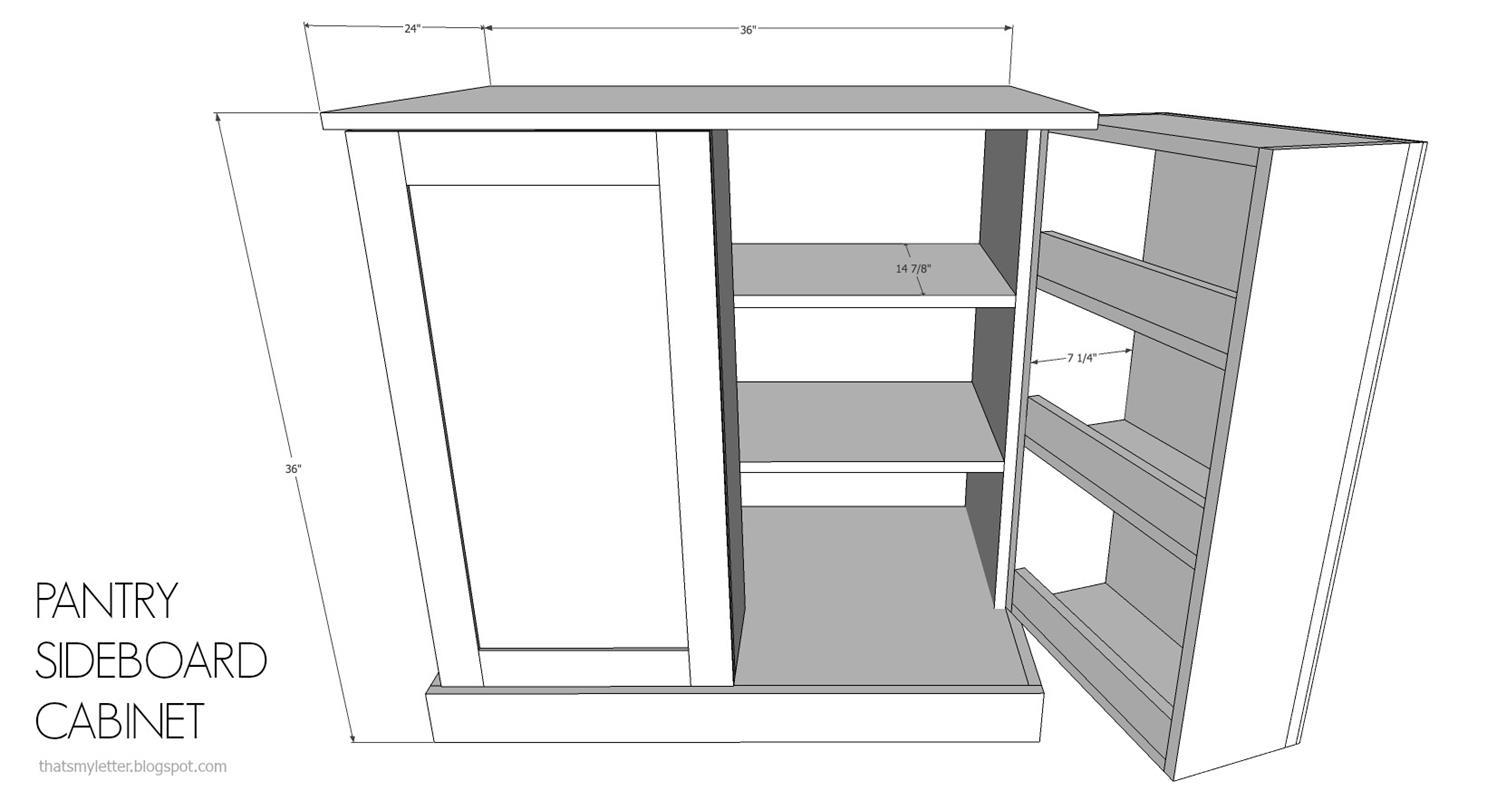
Overall dimensions: 36"w x 24"d x 36"h
-
Step 1
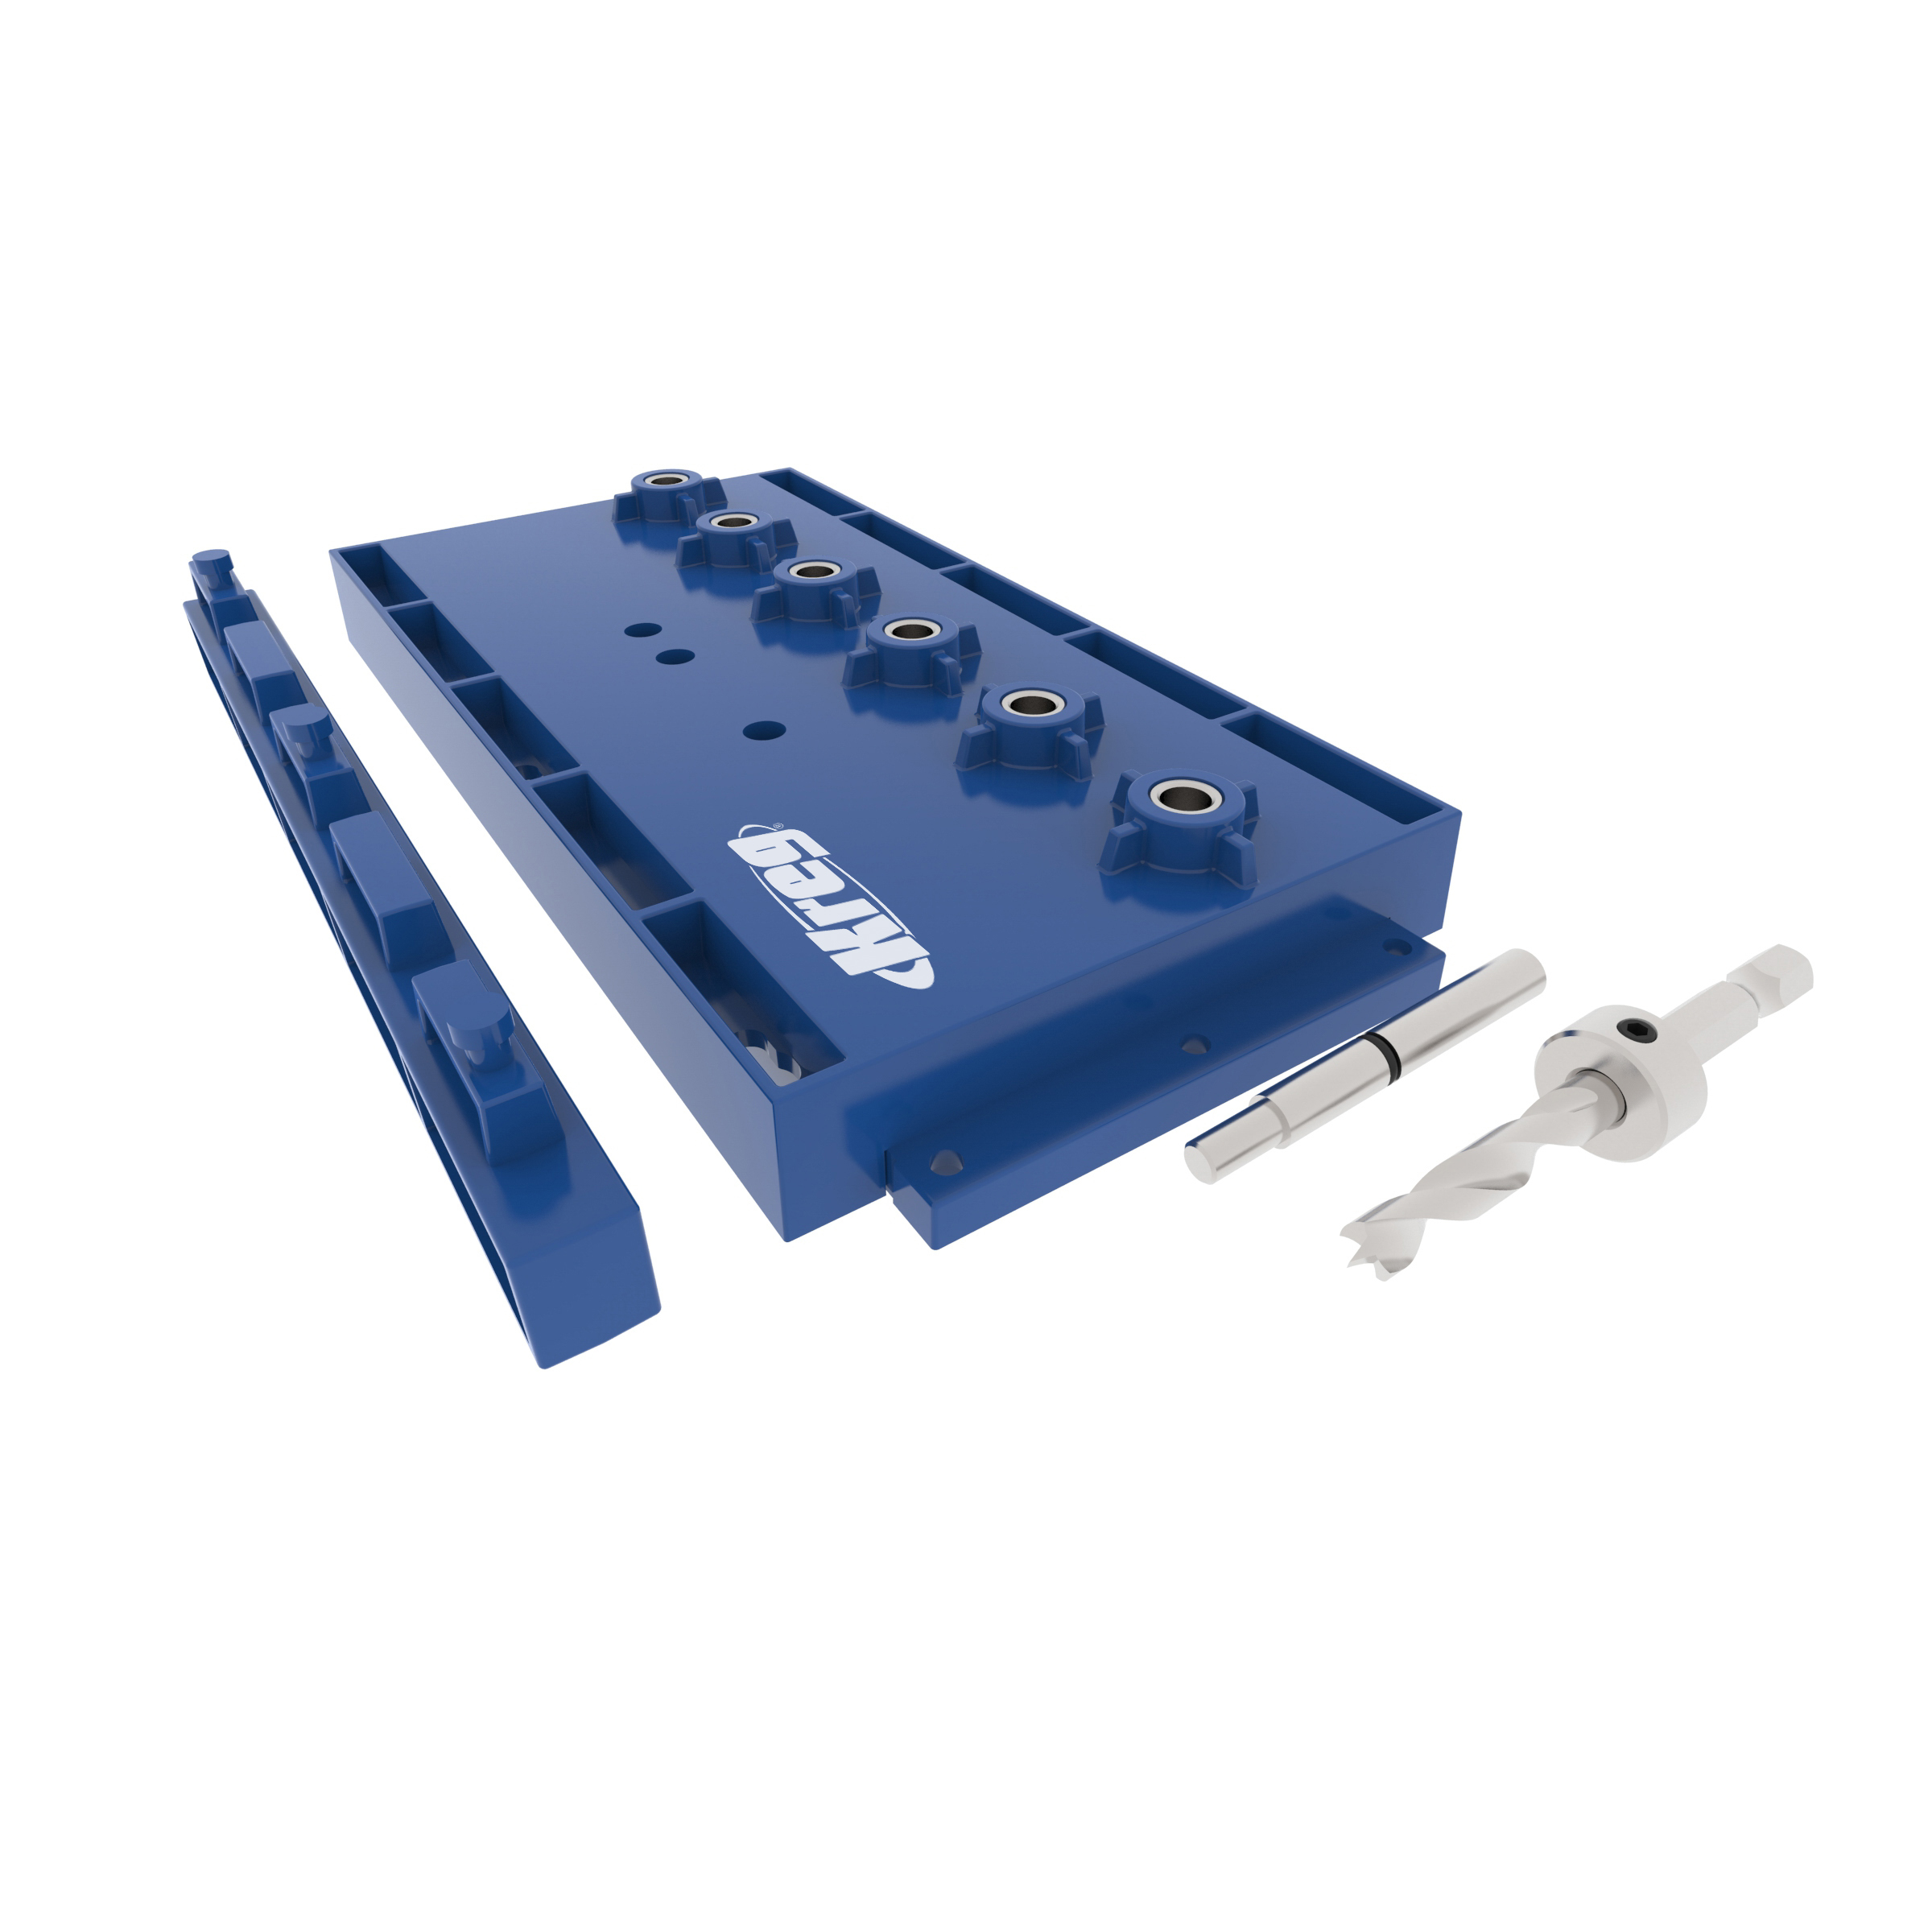
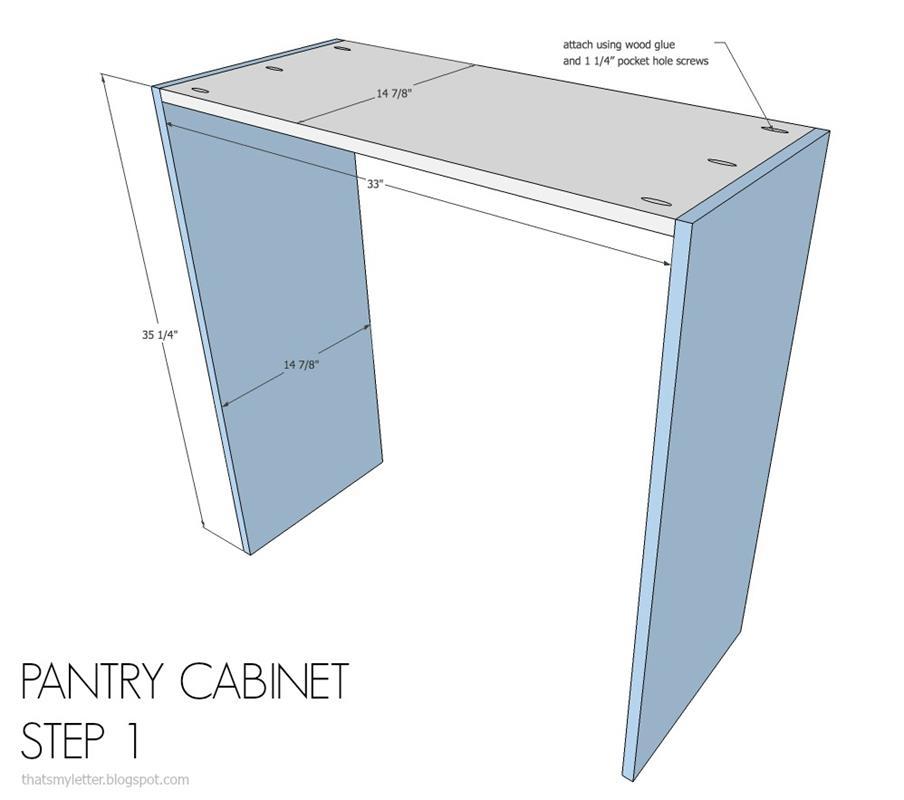
Attach sides to undertop using wood glue and 1 ¼” pocket hole screws.
-
Prep for Step 2
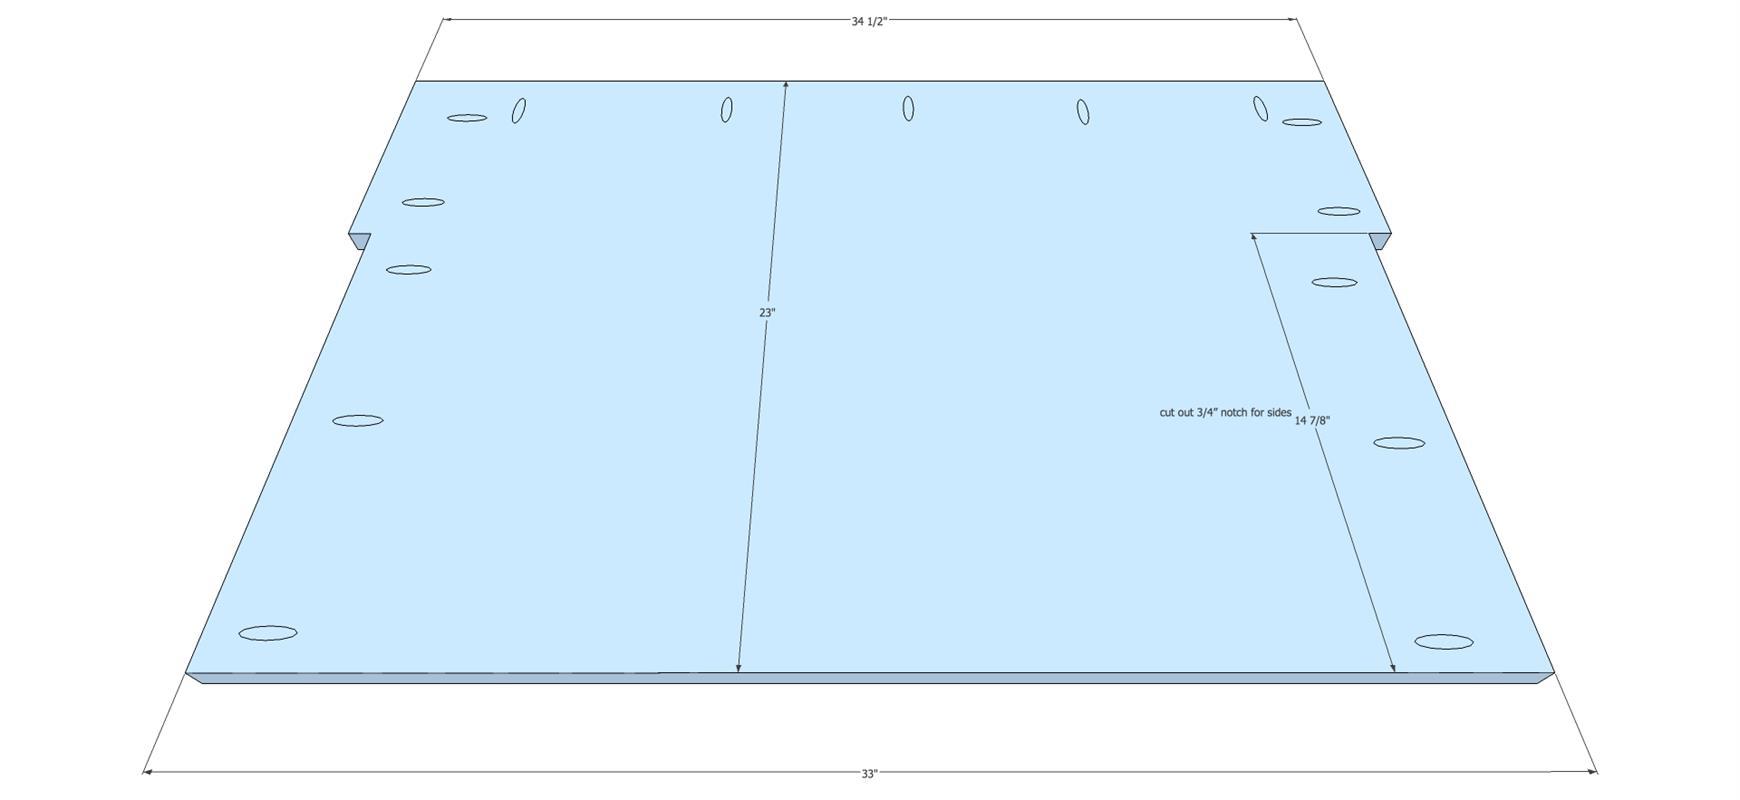
Using a jig saw notch out bottom piece at sides as per sketch above.
-
Step 2
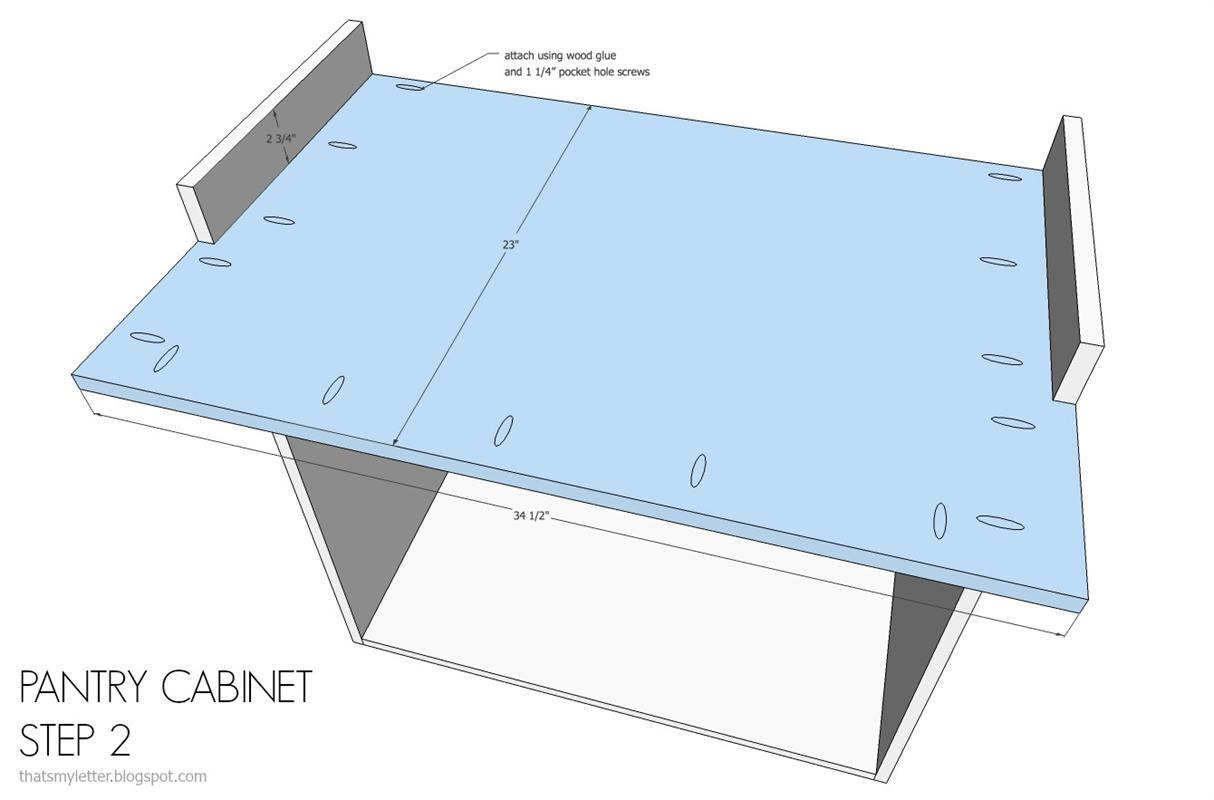
Attach bottom to sides using wood glue and 1 ¼” pocket hole screws.
-
Step 3
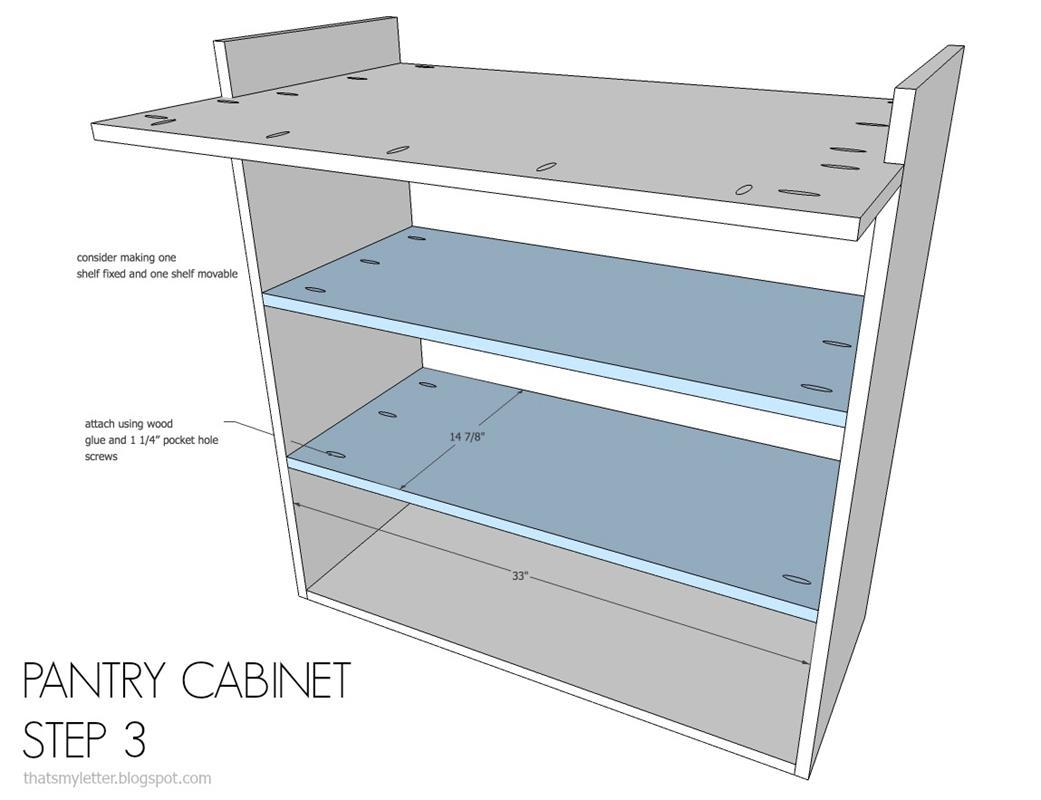
Attach shelves as desired. I suggest making one fixed shelf and one movable shelf. For the fixed shelf attach using wood glue and 1 ¼” pocket hole screws.
-
Step 4
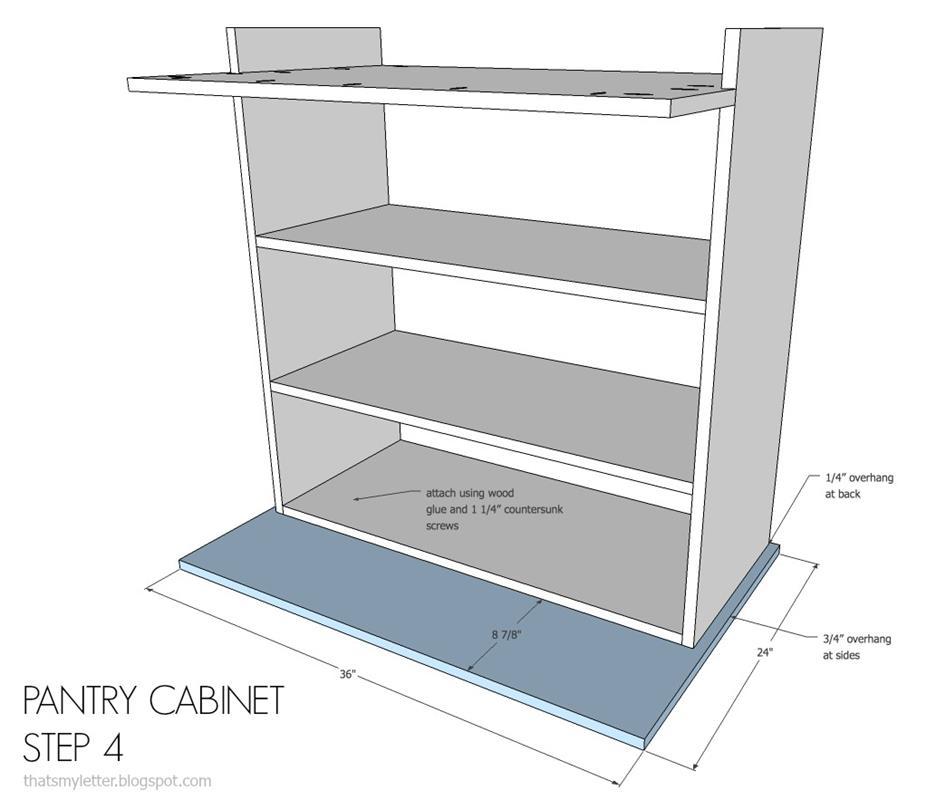
Attach top to undertop using wood glue and countersunk 1 ¼” wood screws. Leave ¼” overhang at back and ¾” overhang on both sides.
-
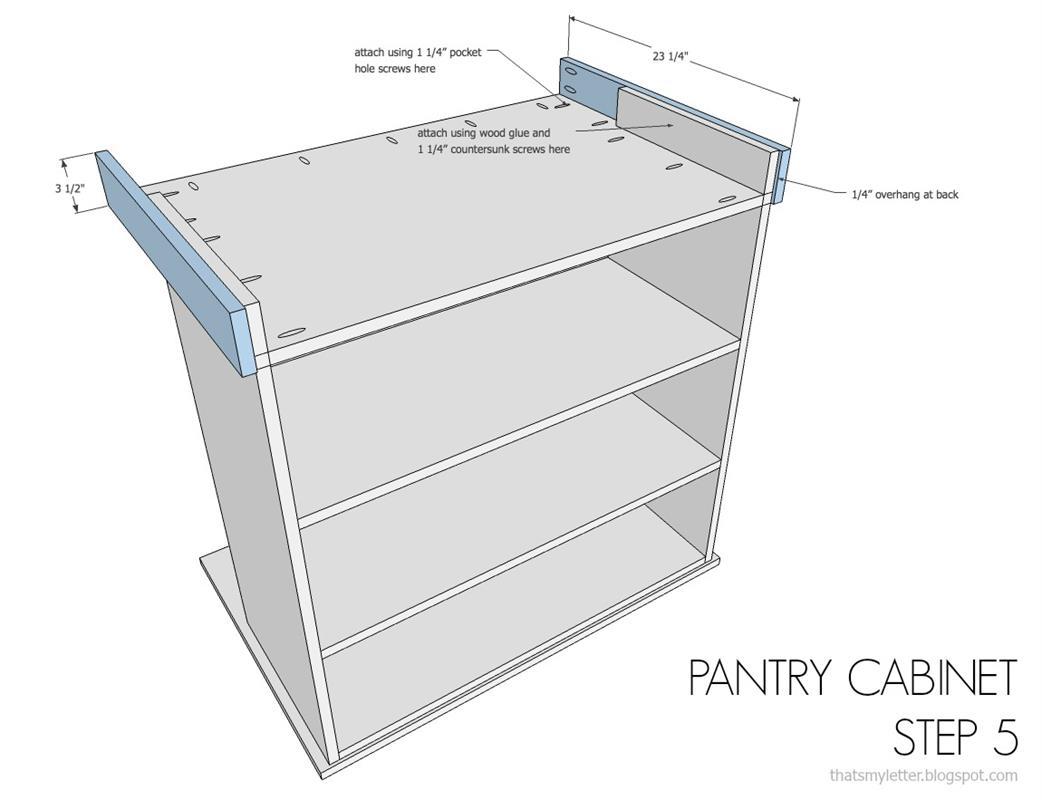
Step 5
Attach base trim sides to carcass sides using wood glue and countersunk 1 ¼” wood screws. Attach front portion to bottom piece using 1 ¼” pocket hole screws.
-
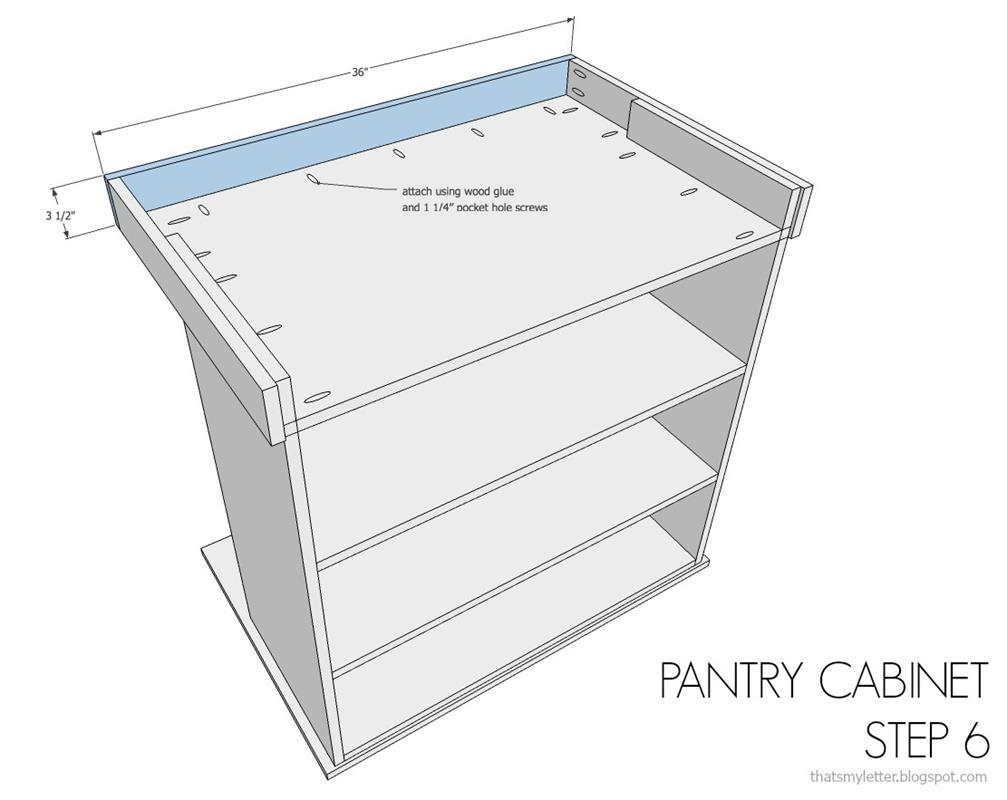
Step 6
Attach front base trim to bottom piece using wood glue 1 ¼” pocket hole screws. Also attach to base trim side pieces using 1 ¼” pocket hole screws.
-
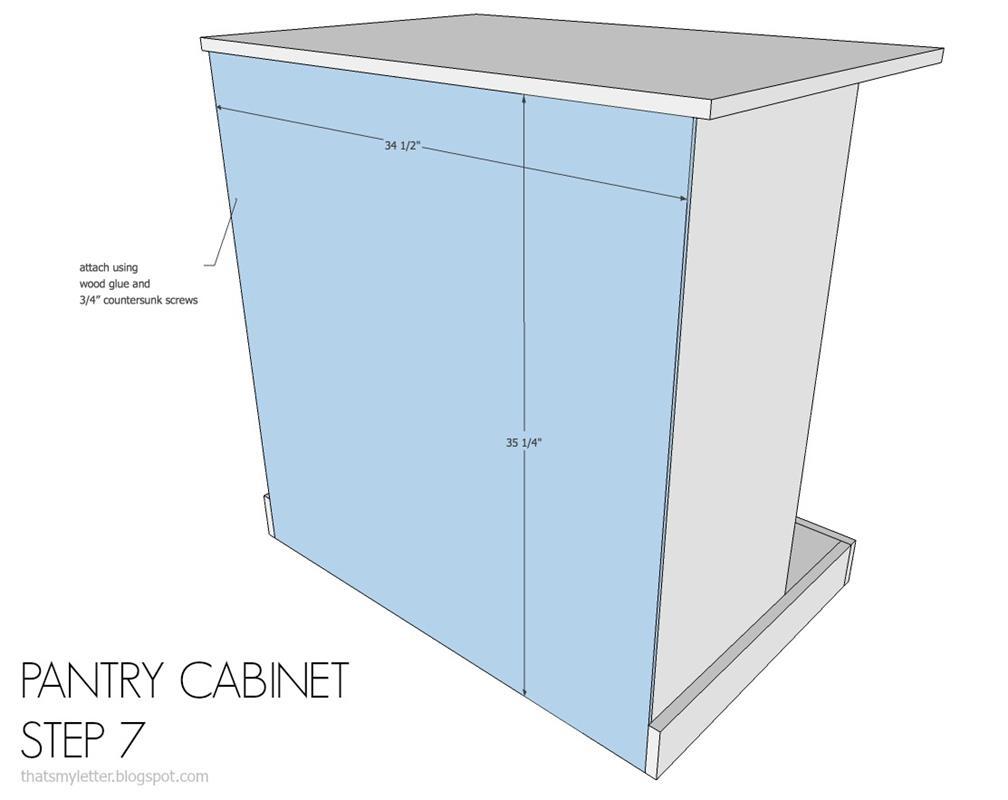
Step 7
Attach backing to carcass using wood glue and ¾” countersunk wood screws.
-
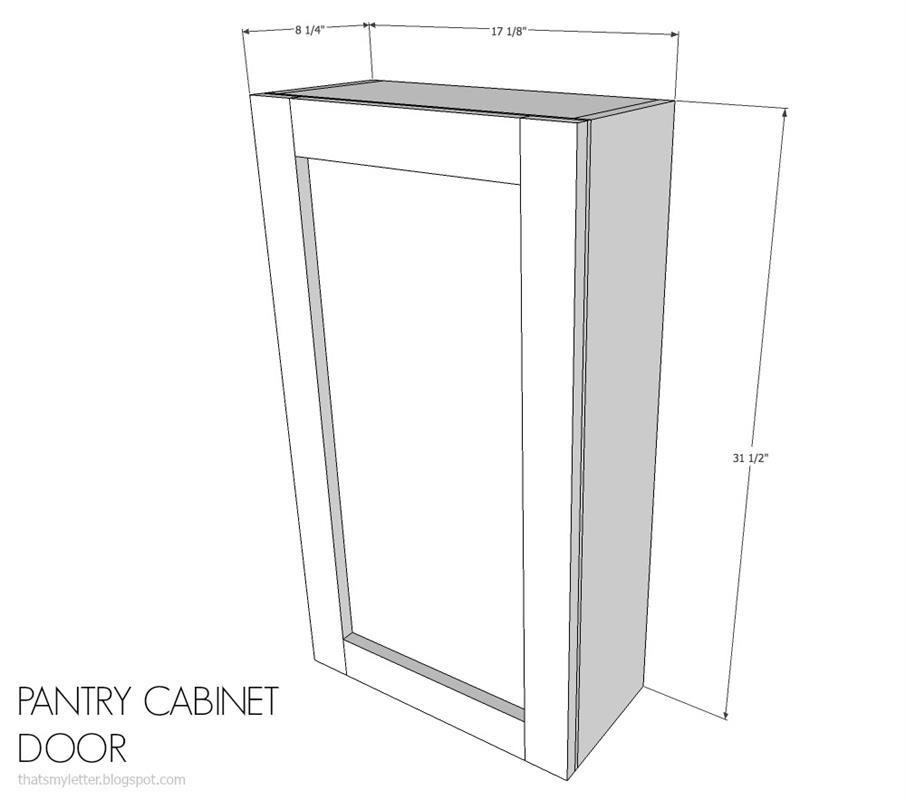
Door Dimensions
Overall door dimensions: 17 1/8"w x 31 1/2" h x 8 1/4"d
-
Door Step 1
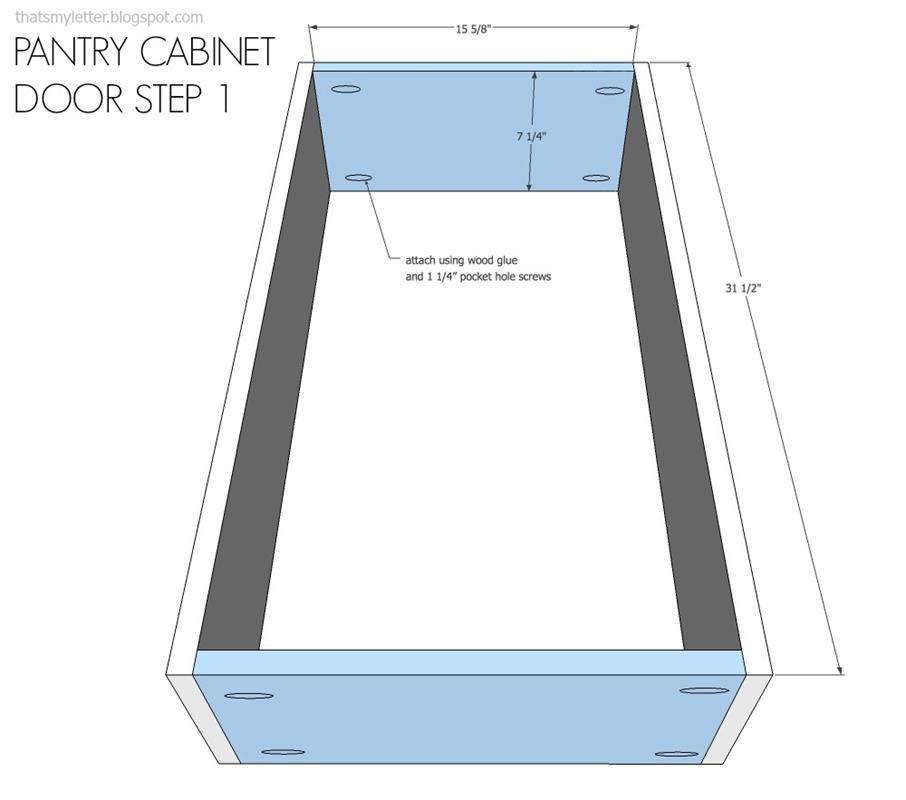
Make door frame by attaching top and bottom to sides using wood glue and 1 ¼” pocket hole screws.
-
Door Step 2
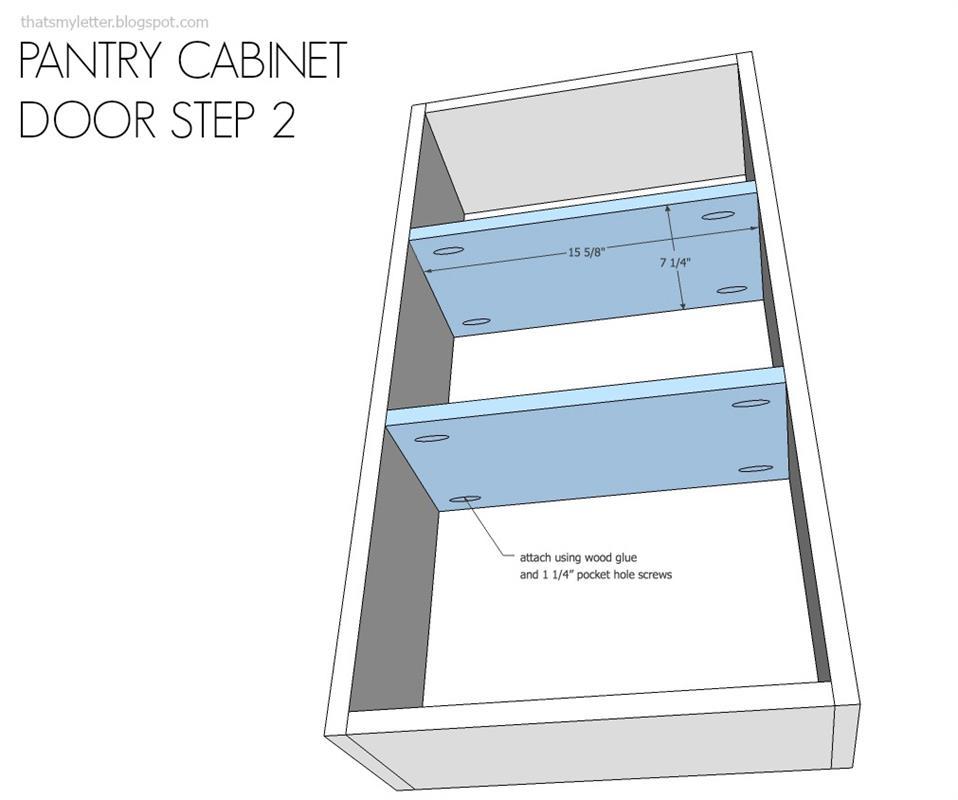
Insert shelves using wood glue and 1 ¼” pocket hole screws.
-
Door Step 3
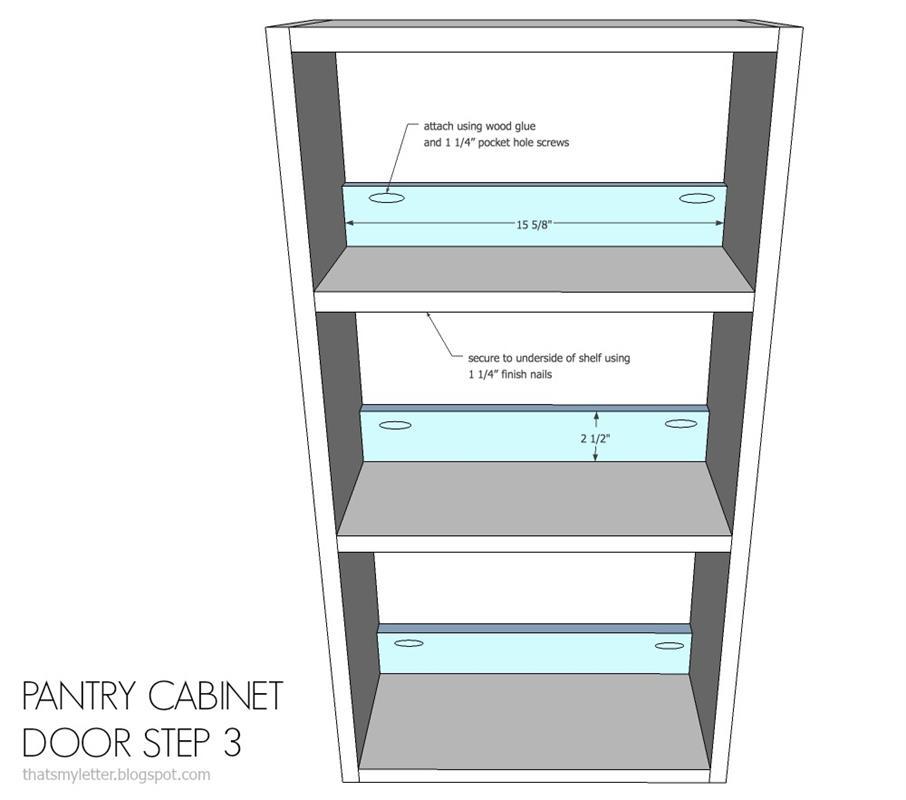
Attach shelf trim flush to front using wood glue and 1 ¼” pocket hole screws at sides and secure to shelf at underside using 1 ¼” finish nails.
-
Door Step 4
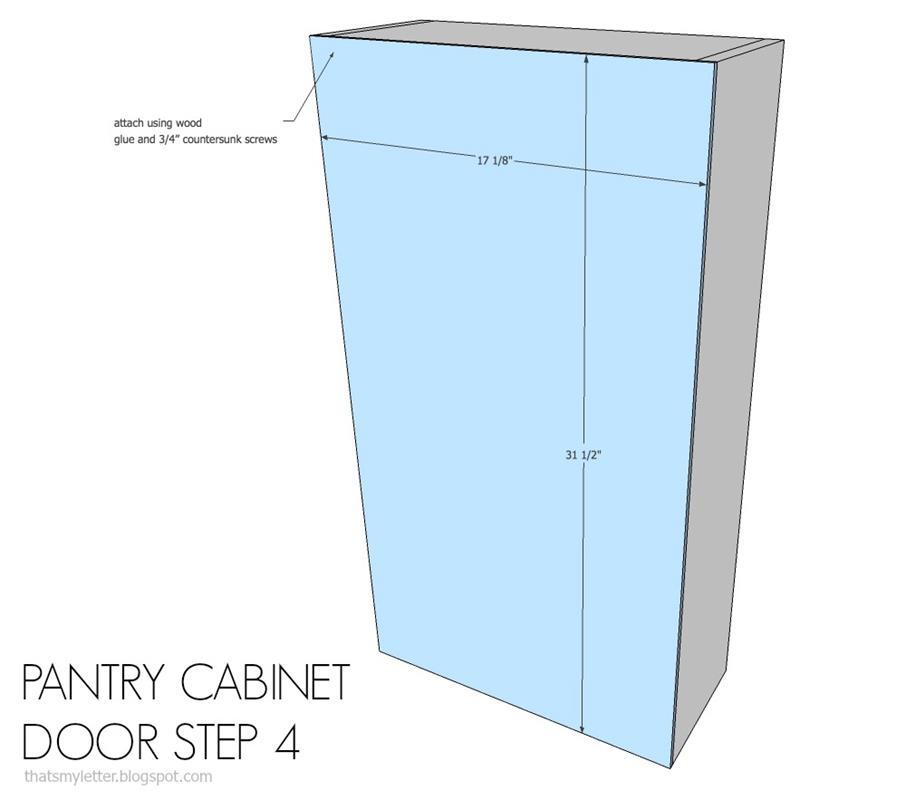
Attach backing to door frame using wood glue and countersunk 3/4” wood screws.
-
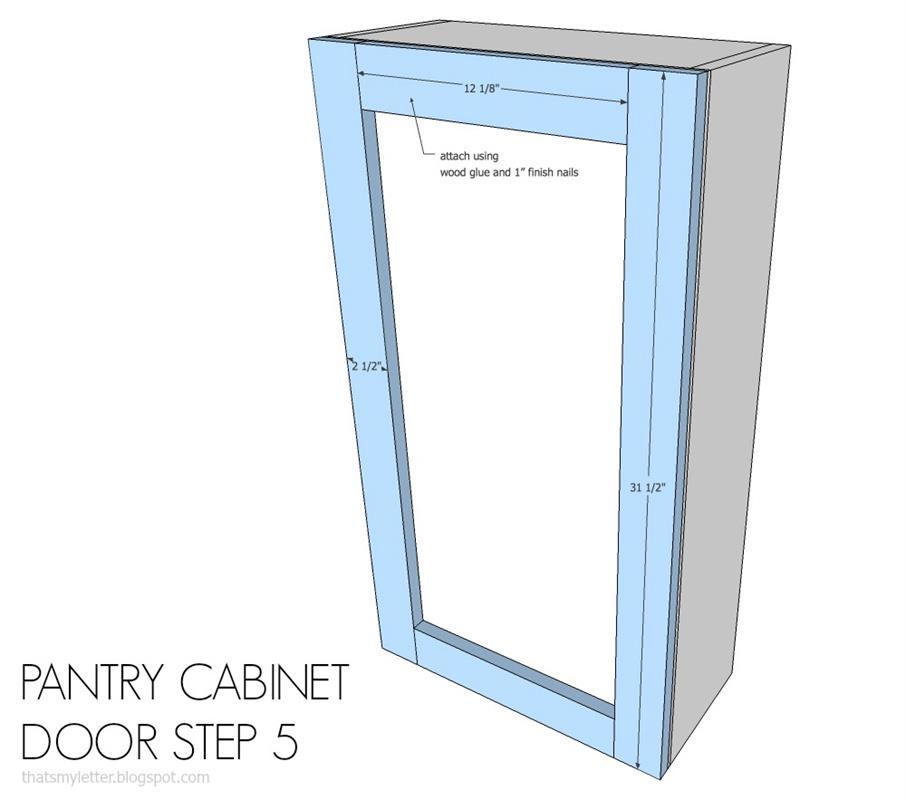
Door Step 5
Attach trim pieces using wood glue and 1” finish nails.


