Hidden Mudroom Drying Rack
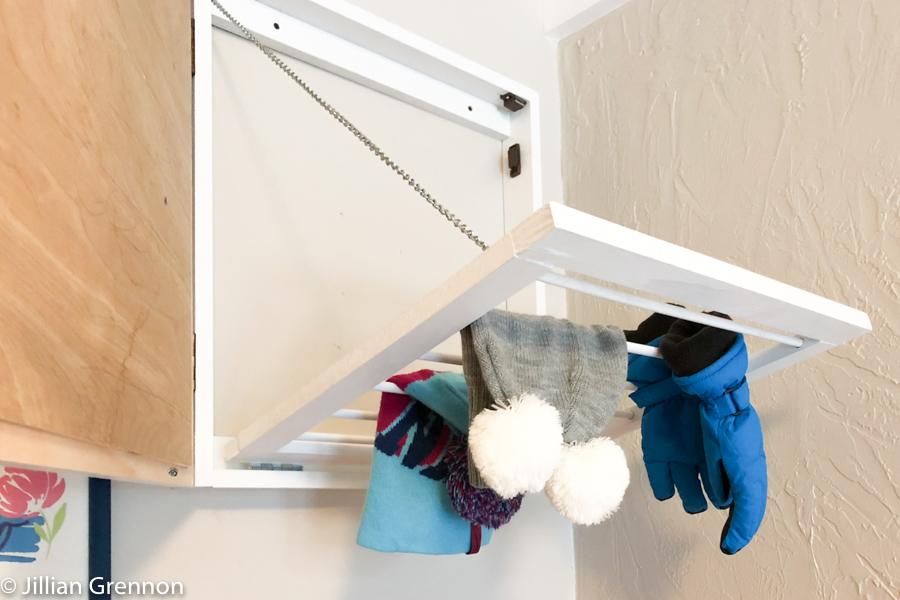
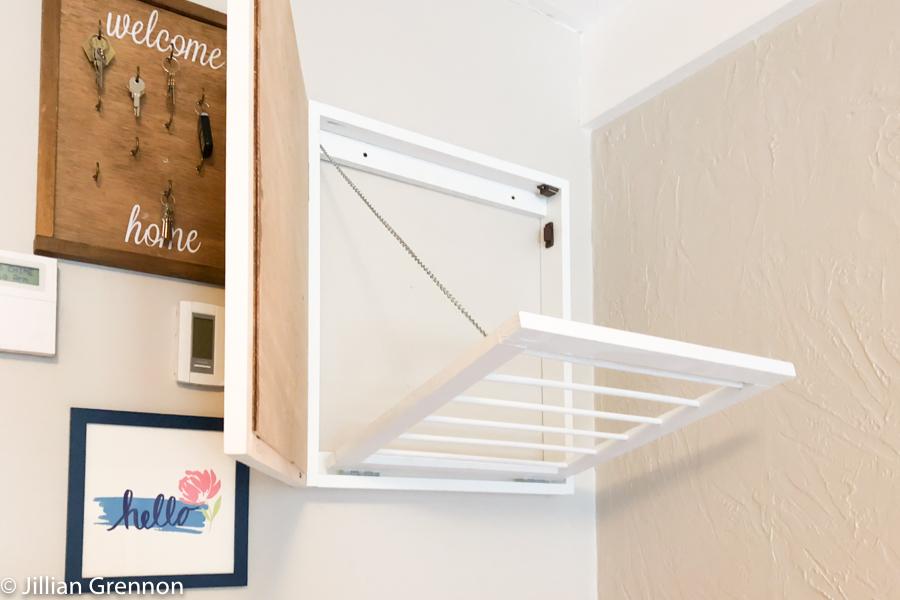
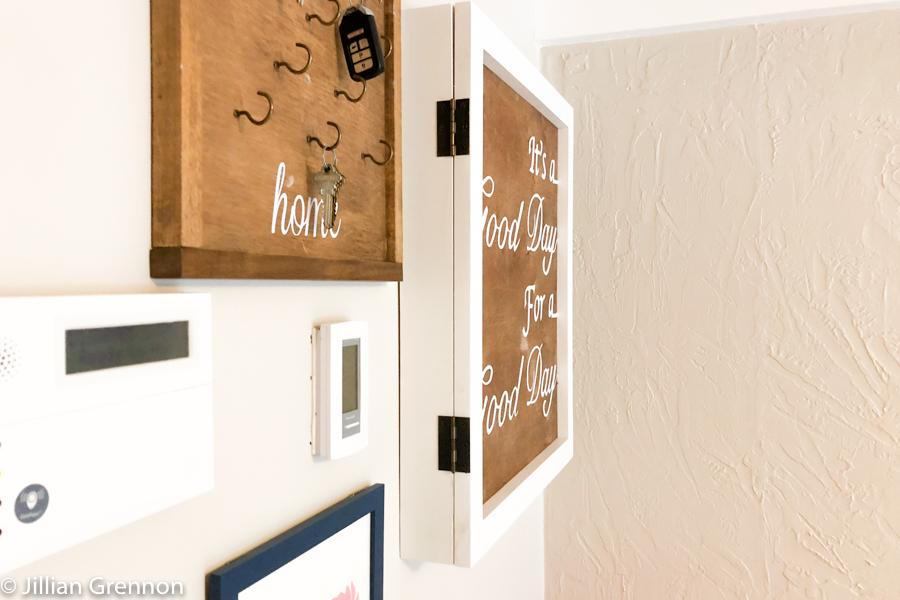
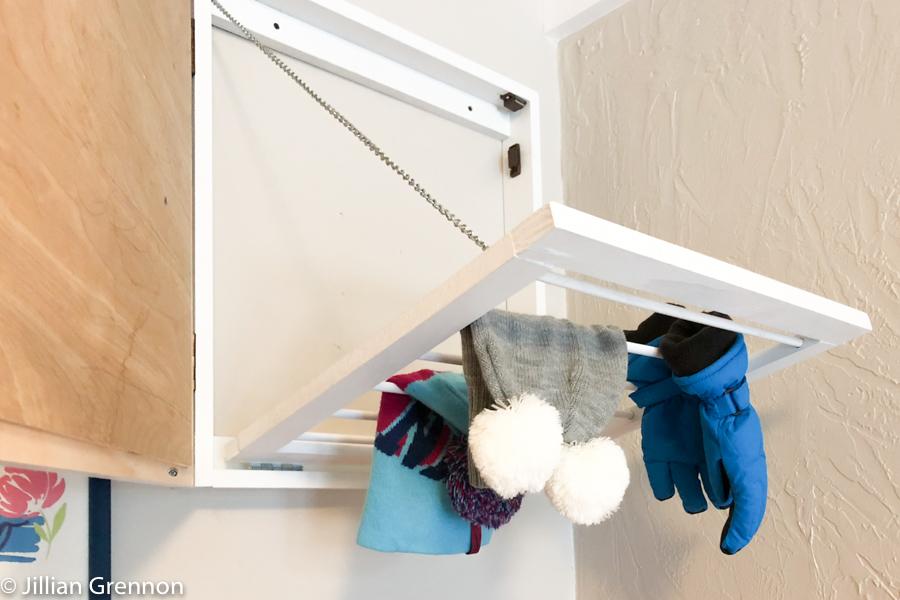
By Jill ApprovedWinter is coming and that means wet gloves, snow covered hats and soggy scarves! I was in desperate need of a spot for the kids to hang their things to dry so, before the first flakes fly, I tackled a hidden drying rack for my mudroom. I can close it up and you would never know what it was!
Directions
-
Base
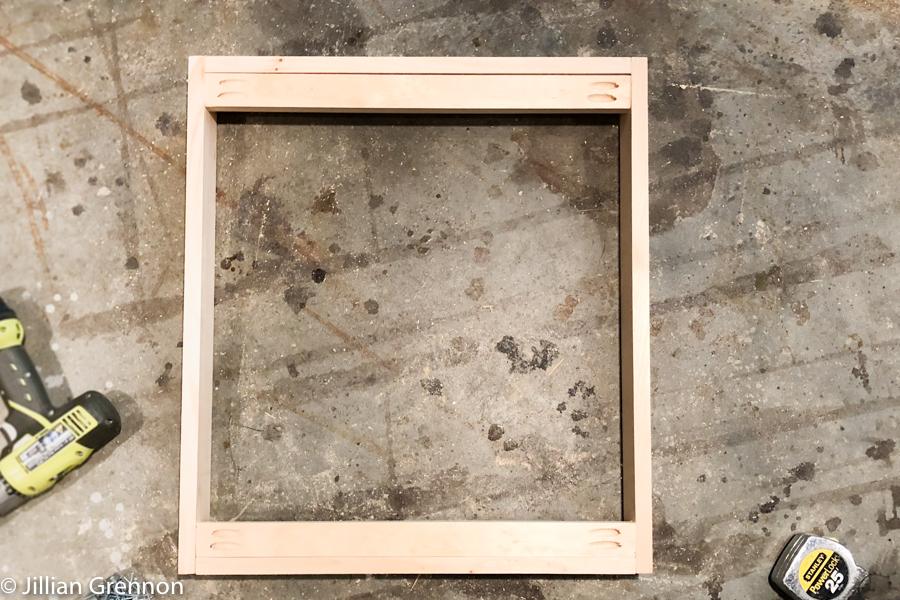
Attach the 1x3 top and bottom of the base to the sides using pocket hole screws and wood glue. Check for square, then attach the 1x2 braces with pocket hole screws and wood glue. I chose to paint/stain each step as I went along to make things easier.
-
Door part 1
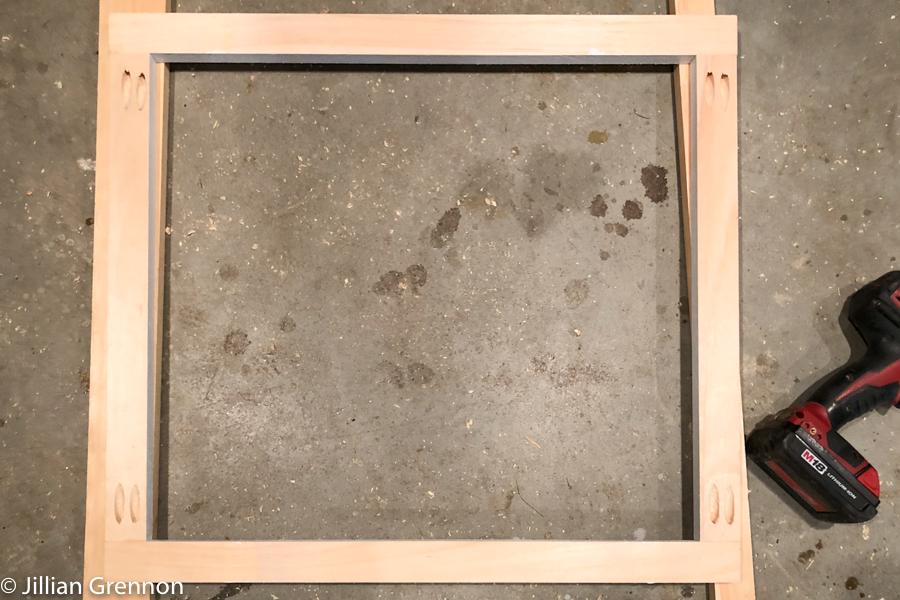
Build the face of the door by attaching the door stiles to the door rails using pocket screws and wood glue.
-
Door part 2
Glue and nail your 1/4” plywood to the back of the door frame using a nail gun and brad nails. You can decorate the door however you like to match your decor. Attach to the base using 2 hinges.
-
Rack
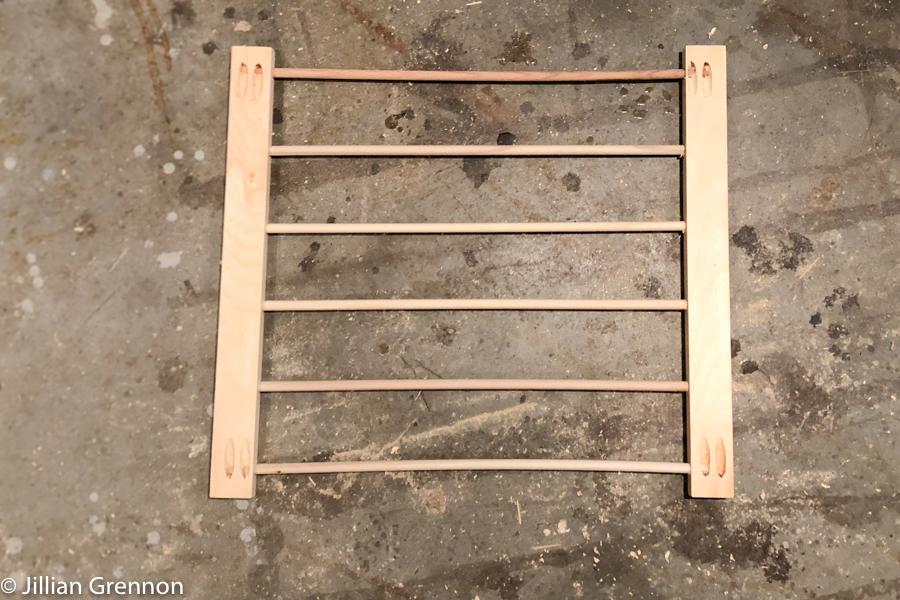
Create your laundry rack by drilling 6 holes on the 3/4” side of each rack side board using a 3/8 drill bit. Be sure the holes are evenly lined up on both boards. You can wrap electrical tape around the drill bit, 1” up from the tip to mark where you would like to stop drilling. I began my holes 1" in from the end and made a new hole at every 3" mark.
-
Add Dowels
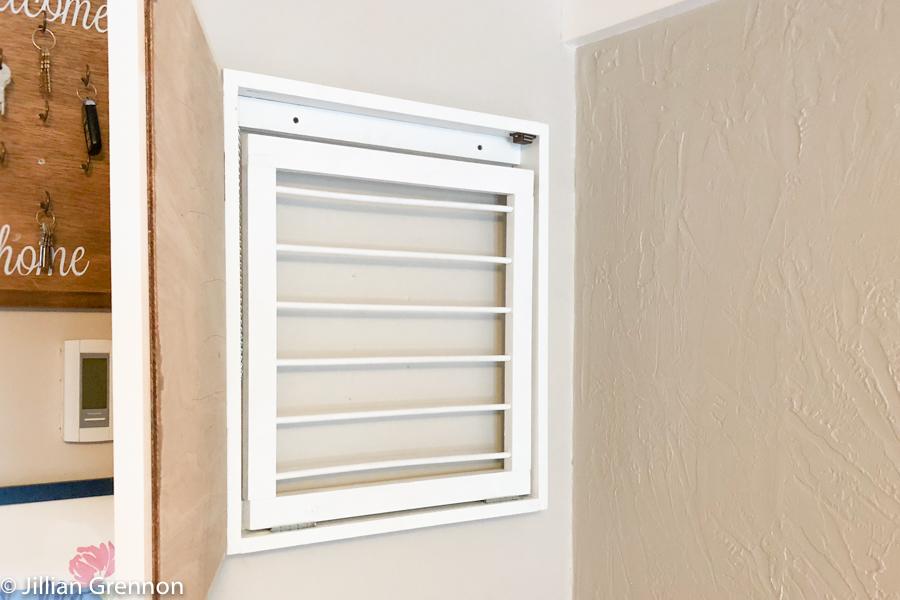
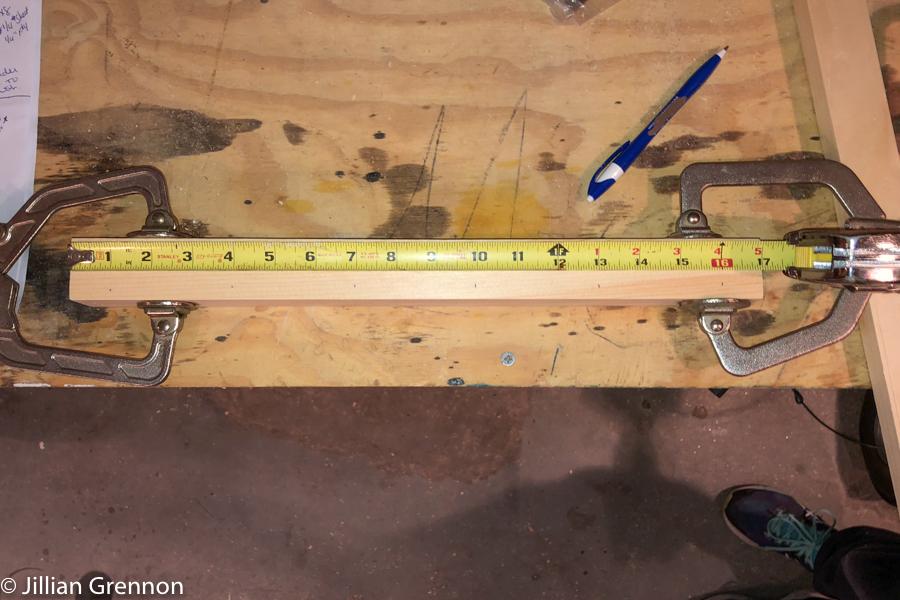
Insert wood glue into each hole and then add the dowels. Use a rubber mallet to be sure everything is snug then add the 1x2x19" rack top and bottom.
-
Attach rack
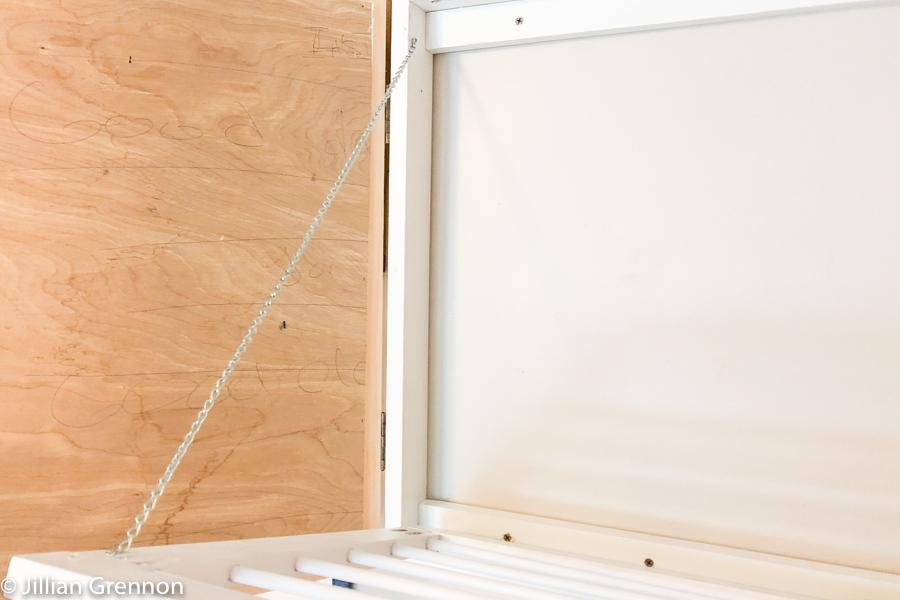
Attach the rack to the base using 2 hinges at the bottom of the rack. Be sure the hinges allow the rack to open out. You will also want to attach a lid support or chain to support the weight of clothing on the rack.
-
Add Magnets
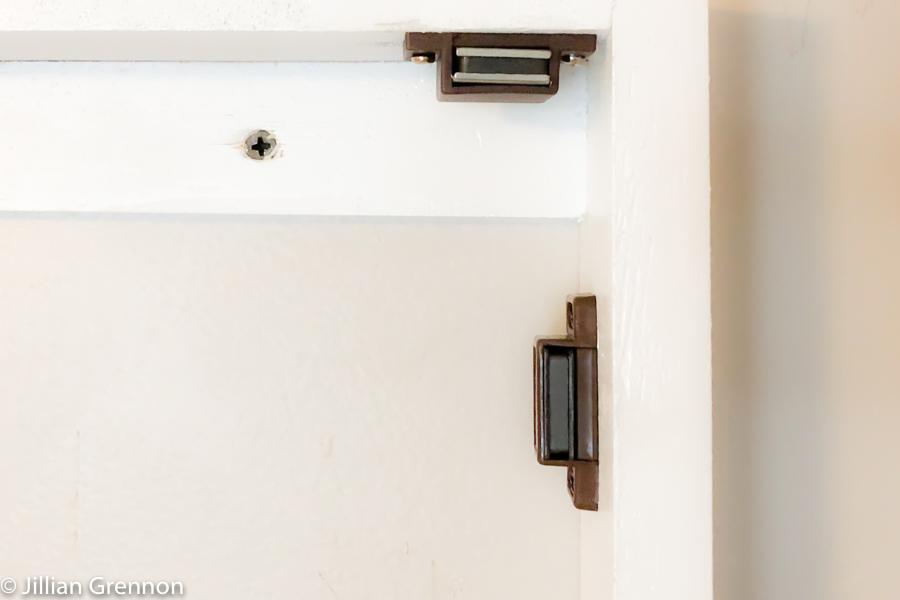
Add a magnet to secure the door as well as one to hold the rack up when it is not in use.
-
Hang and Enjoy!
Hang by driving screws through the 1x2 base braces. You will want to find studs to screw them into, or use wall anchors. All that's left to do is enjoy your new hidden drying rack!


