DIY Toy Cart
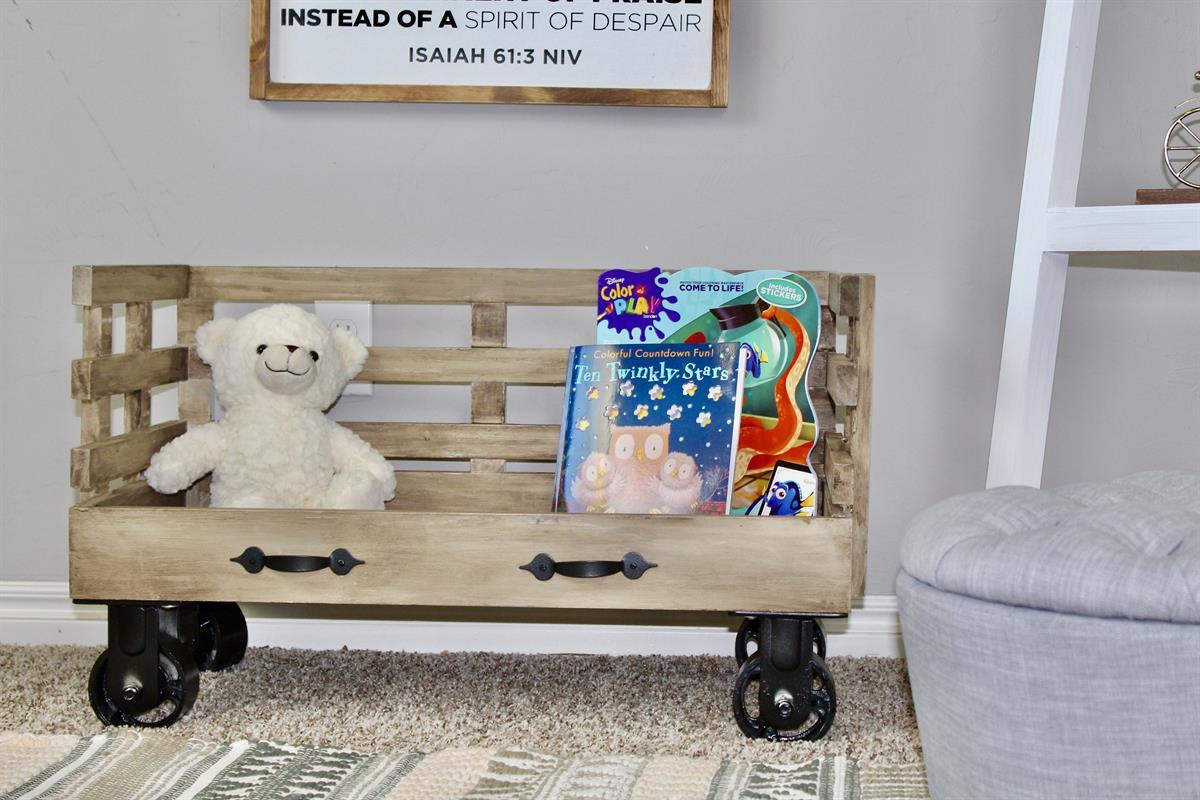
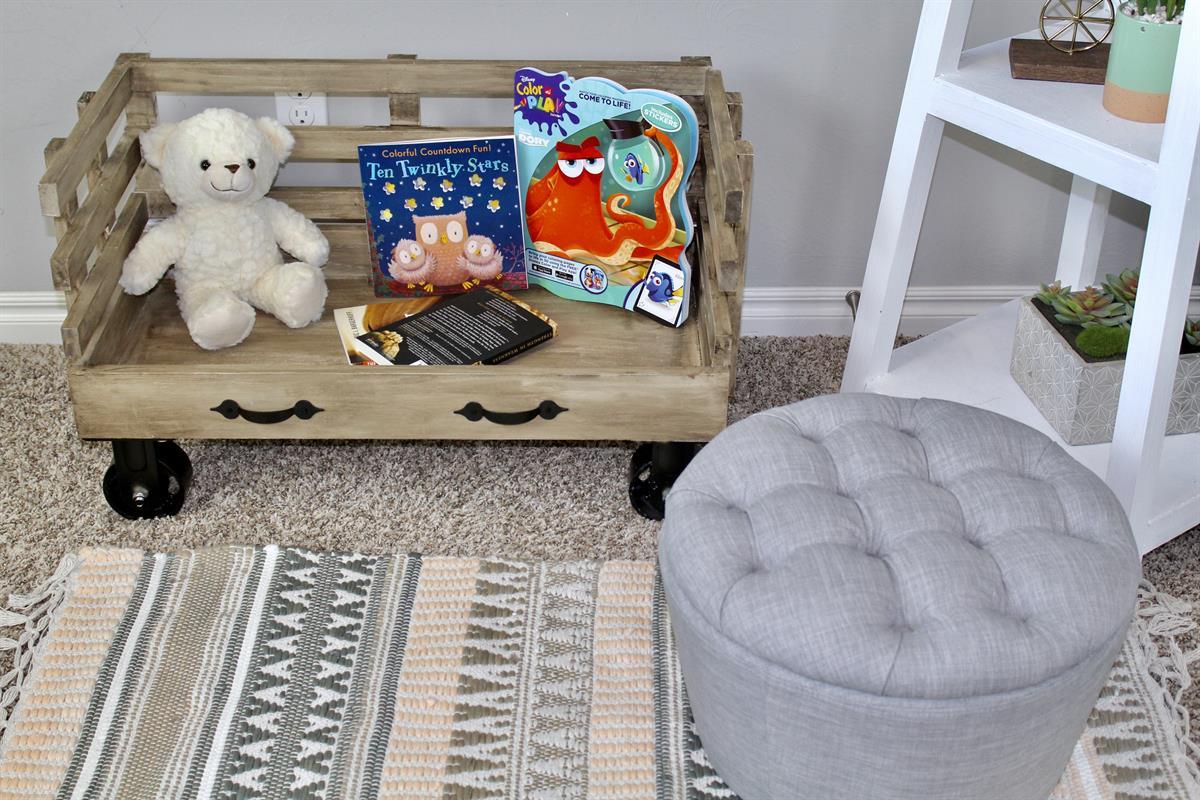
By Smashing DIYLet the kiddos showcase their toys in style with this industrial restoration hardware like DIY rolling toy cart. Bringing style to the playroom with this fun build.
Directions
-
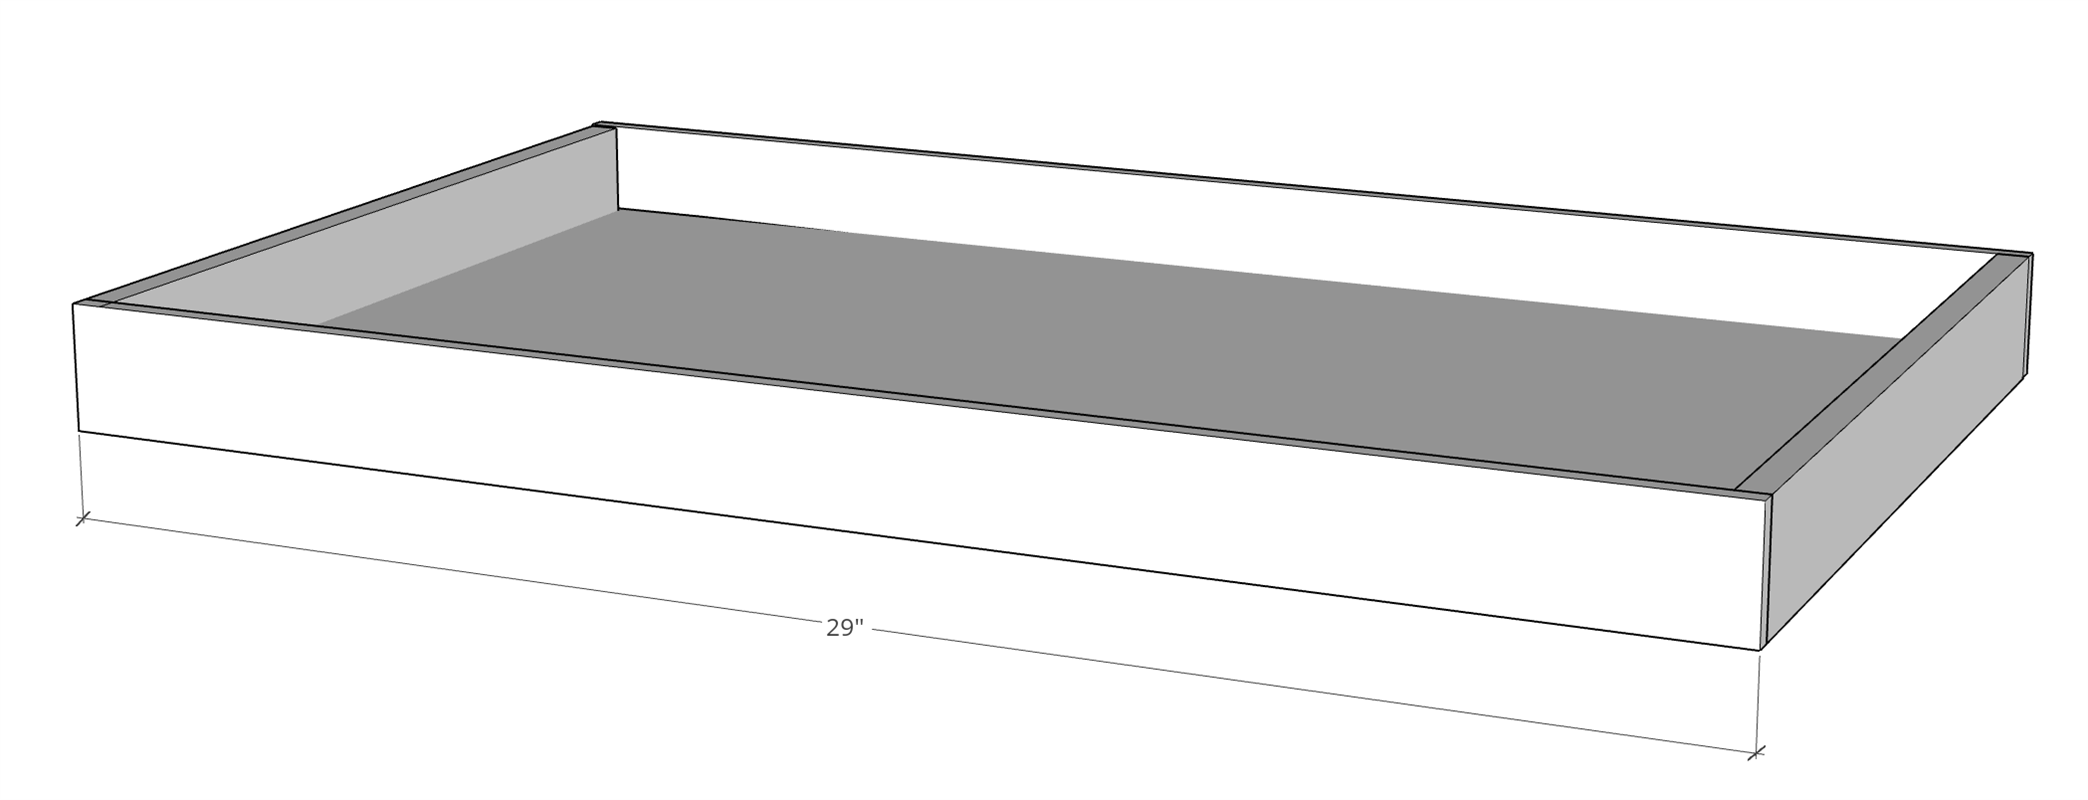
Assemble Toy Cart Bottom
Begin assembling the bottom of the toy cart by attaching the two side 1x4s to the bottom plywood piece using a kreg jig on a 3/4" setting and 1 1/4" pocket hole screws and wood glue.
-
Finish Toy Cart Bottom Assembly
Attach the front and end 1x4 trim pieces to the asembled toy cart bottom using a kreg jig on a 3/4" using 1 1/4" pocket hole screws and wood glue.
-
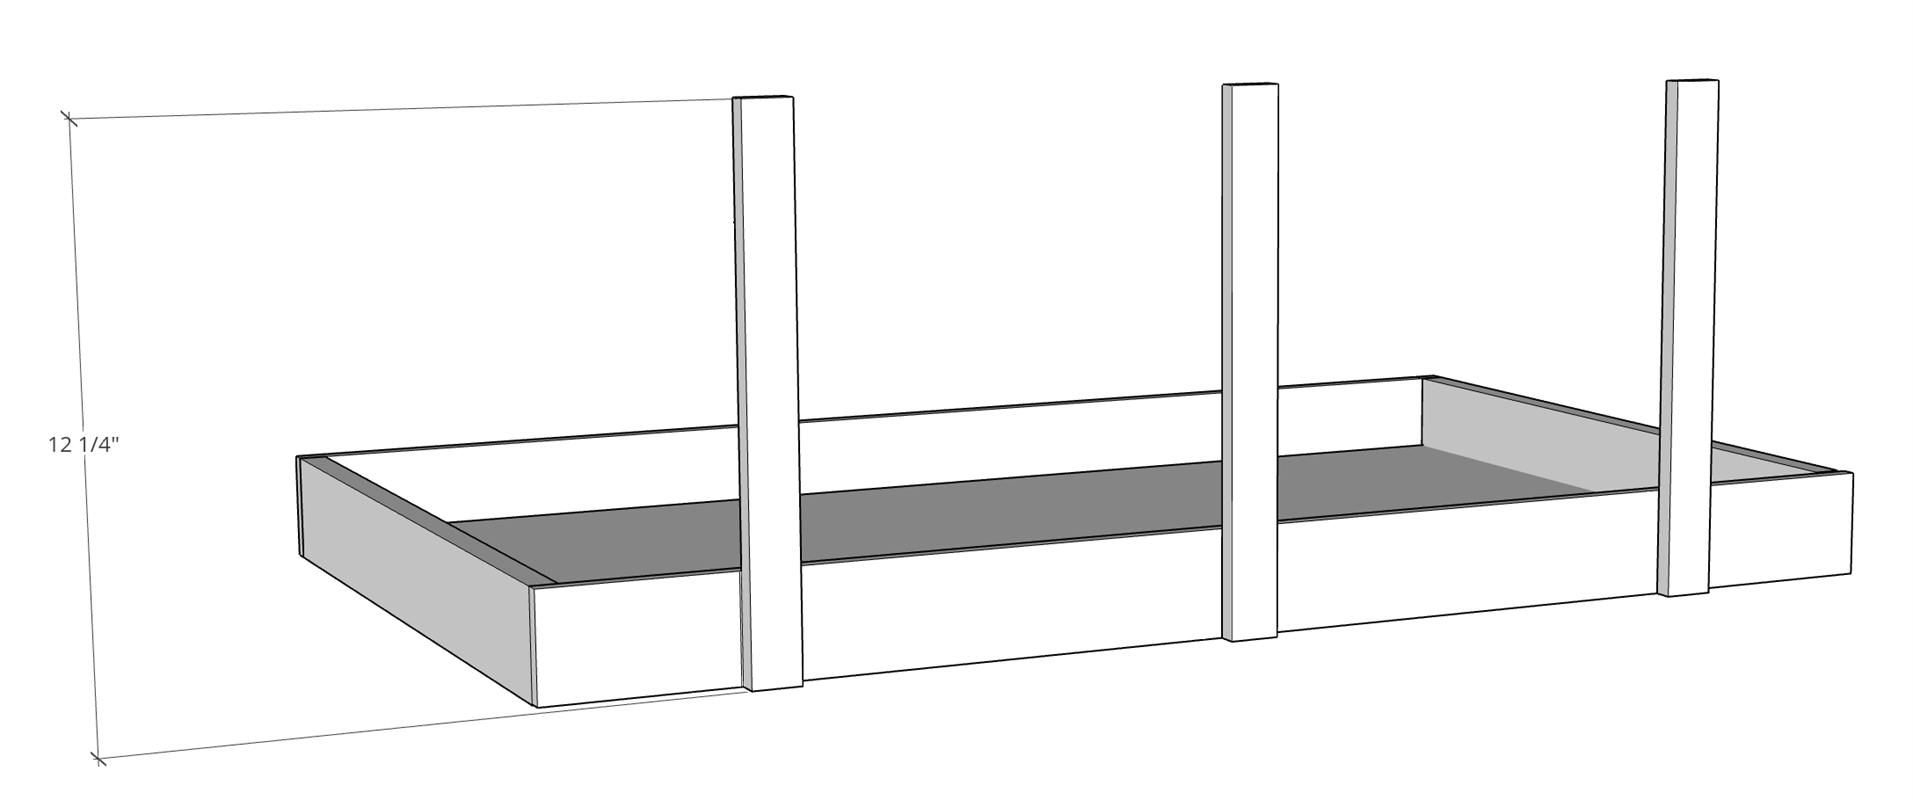
Attach Back Slats
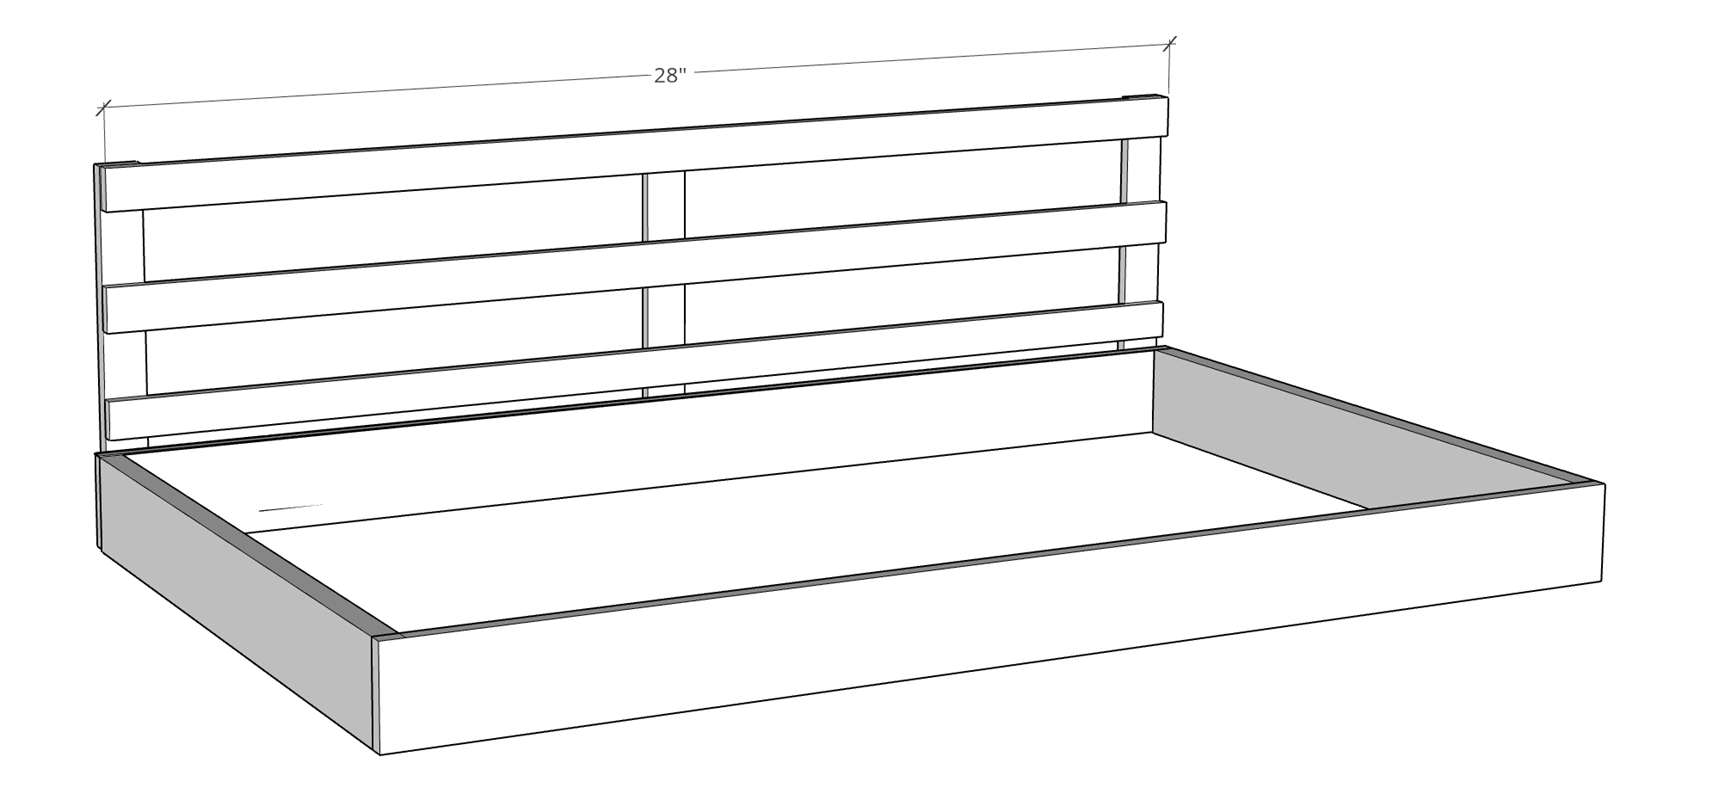
Using a brad nailer and wood glue, attach three slates to the back of the assembled toy cart bottom. Outside slates should be inset by a 1/2"
-
Attach Horizontal Slates
Attach the back horizontal slates to the back vertical slates using a brad nailer and wood glue
-
Attach Side Slates
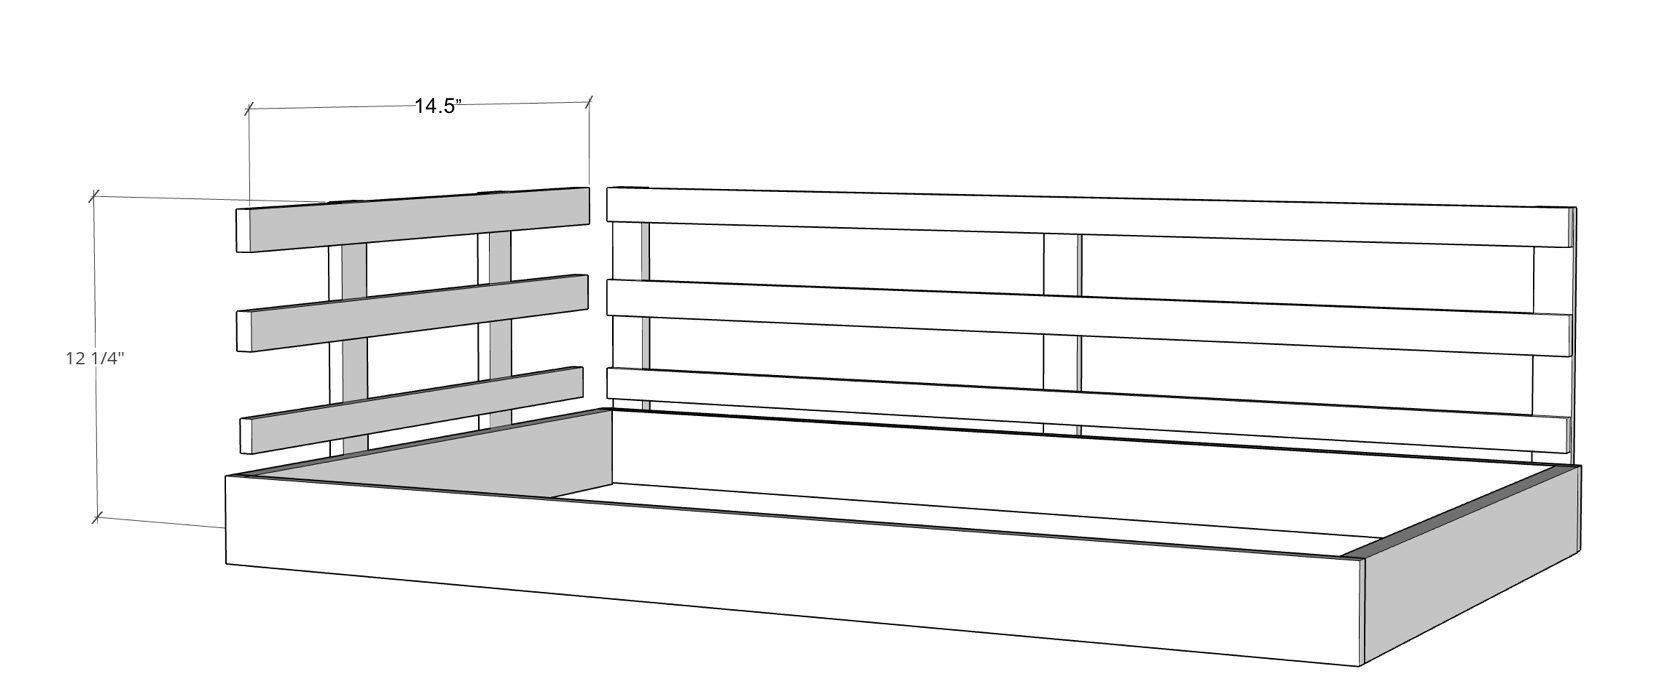
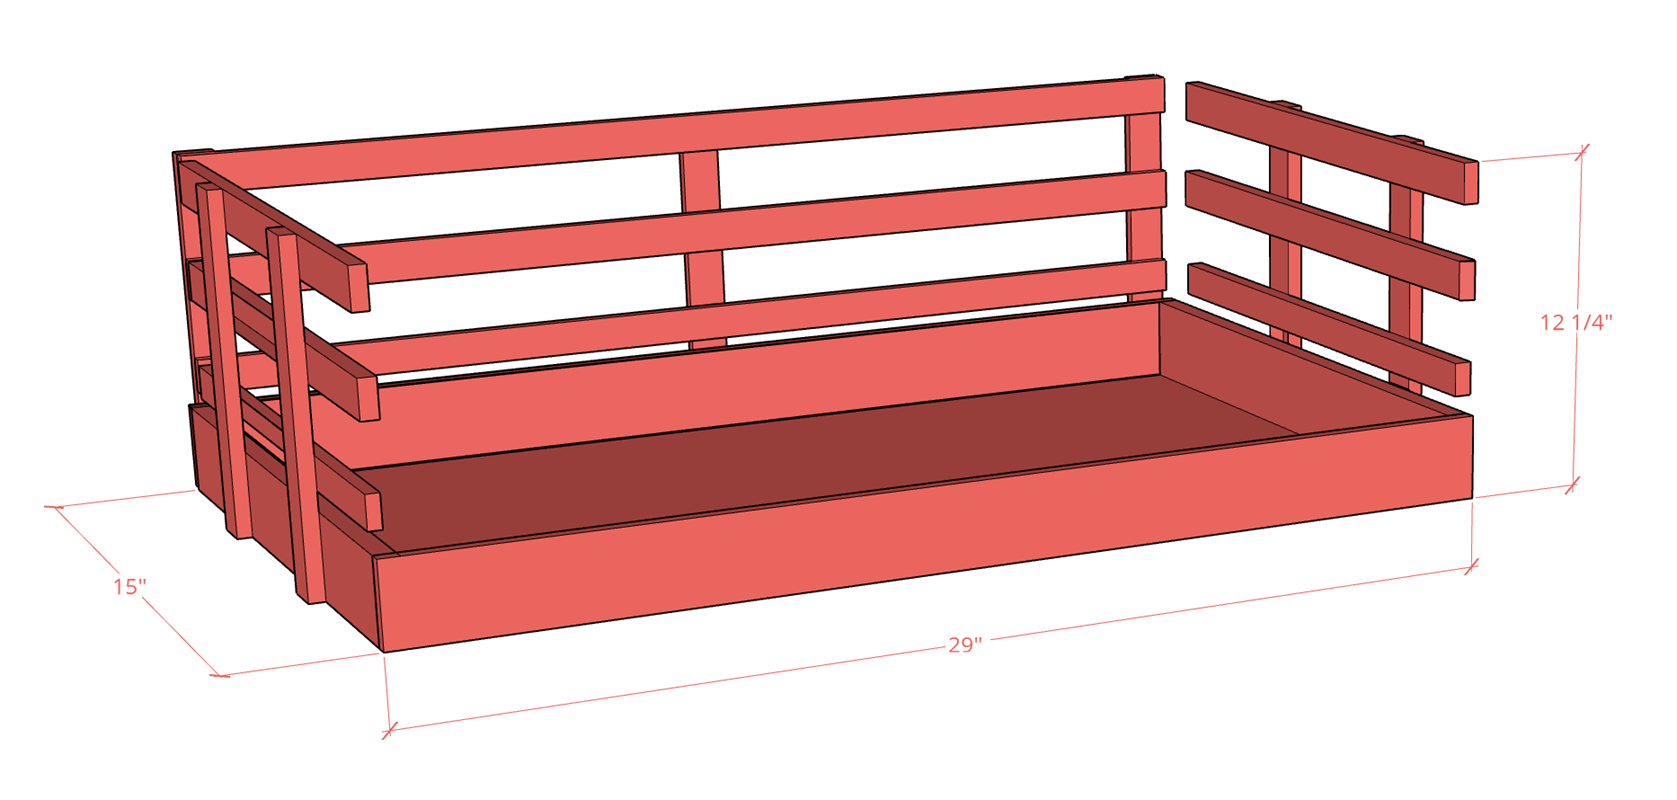
Attach the two vertical slates to boths side of the assembled toy cart bottom using brad nailers and wood glue and then add on the horizontal slates. The two vertical slates should be inset 2"
-
Attach Casters/Hardware
Attach casters to toy cart and add hardware as needed.
-
Visit Handmade-Haven.com
Visit https://www.handmade-haven.com/blogs/news/diy-toy-cart for finish details.


