DIY Tilt Out Laundry Hamper Cabinet
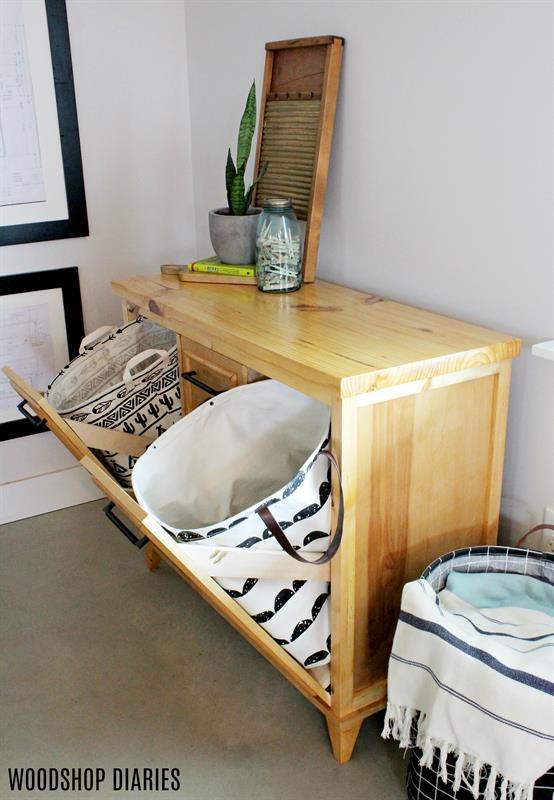
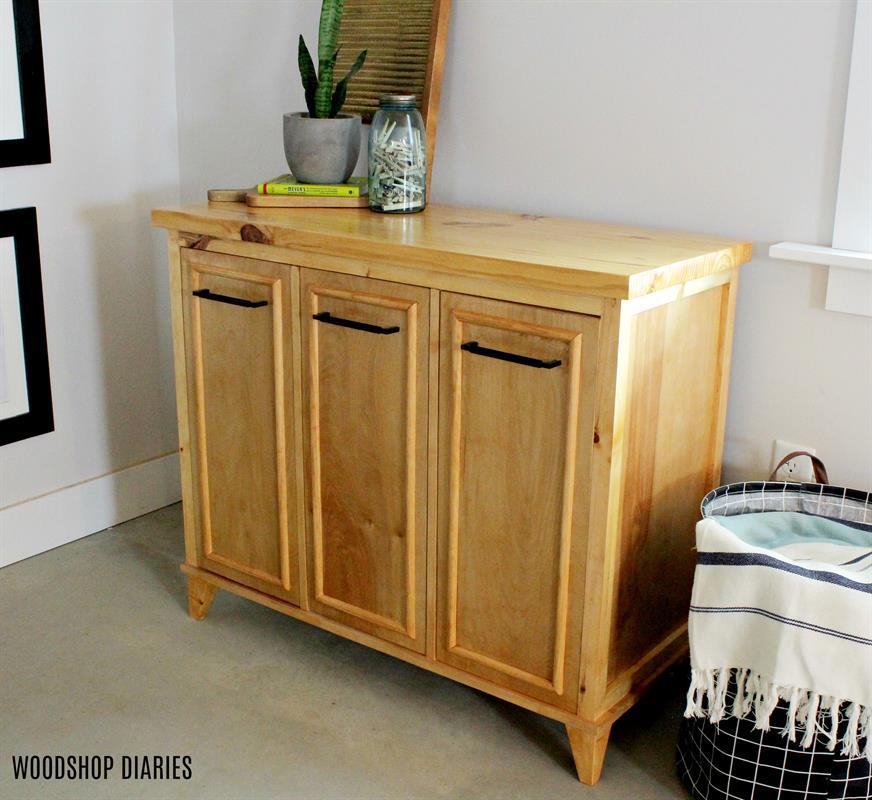
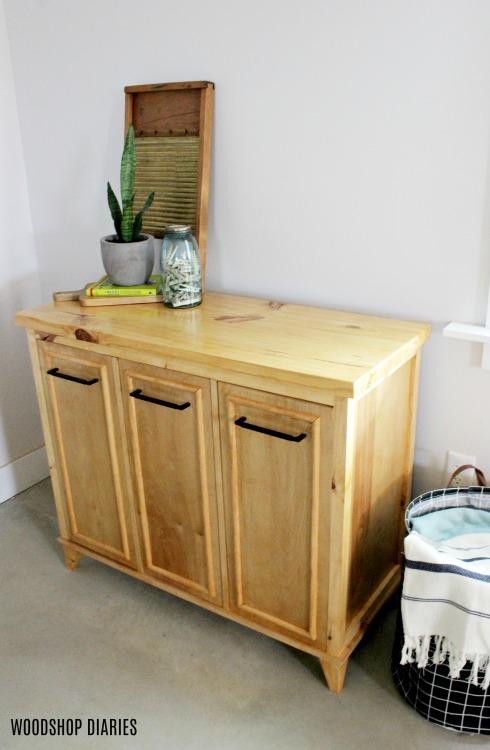
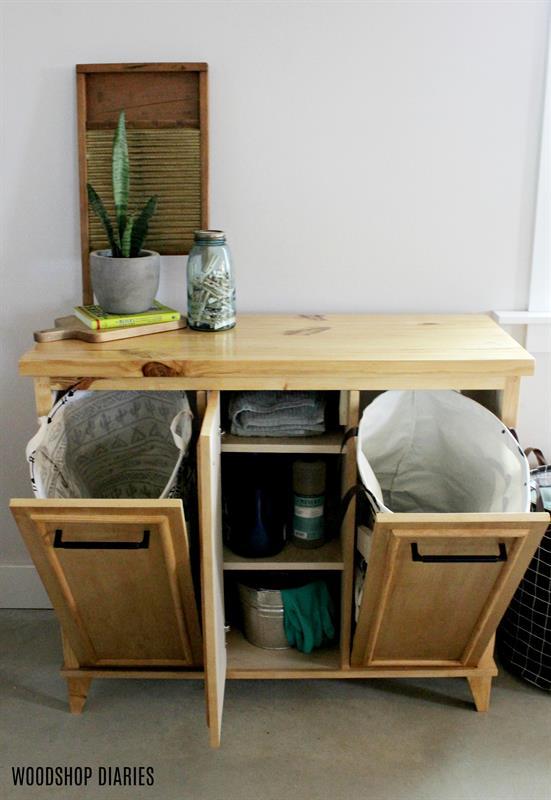
By Woodshop DiariesThis laundry cabinet provides storage, a place to hide your dirty clothes, and a surface to fold towels on when they come out of the dryer. It's the perfect addition to any laundry room, but skip the tilt out doors, and it also makes a great console cabinet for a dining or living room, or entryway.
Directions
-
Trace Out Feet
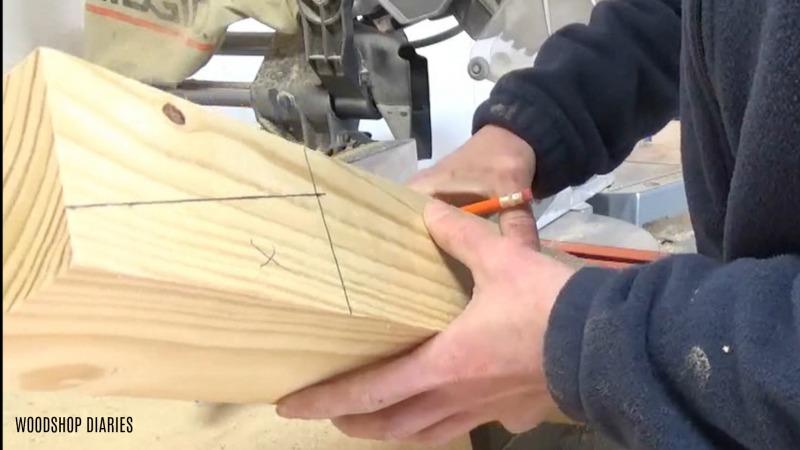
You could easily purchase feet for this project if you wish, but I had a scrap 4x4 post that I used to cut my own feet. If you want to make your own feet (which is much cheaper than buying them), you can simply trace out a taper on a 4x4 post and cut out with a band saw. I drew a line to make a 4" foot, then traced out a taper on two sides that went from 2 3/4" wide to 1 1/2" wide and marked an X on the pieces I needed to remove to make my foot. I really liked this size proportionally, but you can make your taper wider or narrower as you wish.
-
Cut Out Tapered Feet
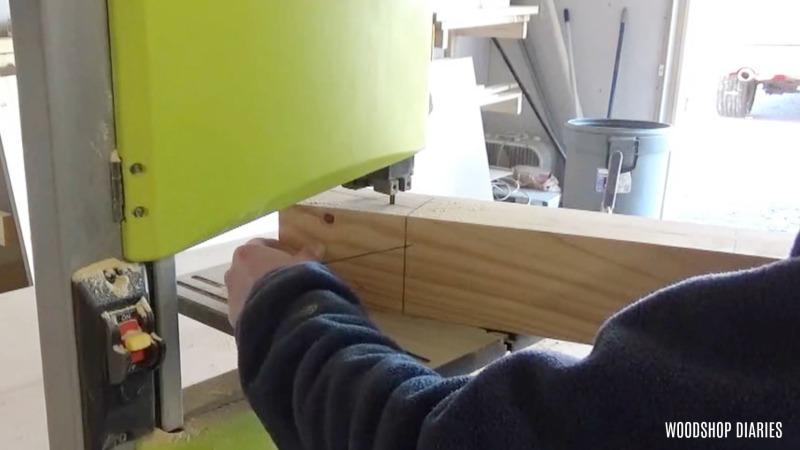
Once your foot is drawn out, cut it out on a bandsaw. Make any adjustments you wish to your shape and size, then once you like it, cut three more from the remaining 4x4 and sand smooth.
-
Cut Bottom of Cabinet
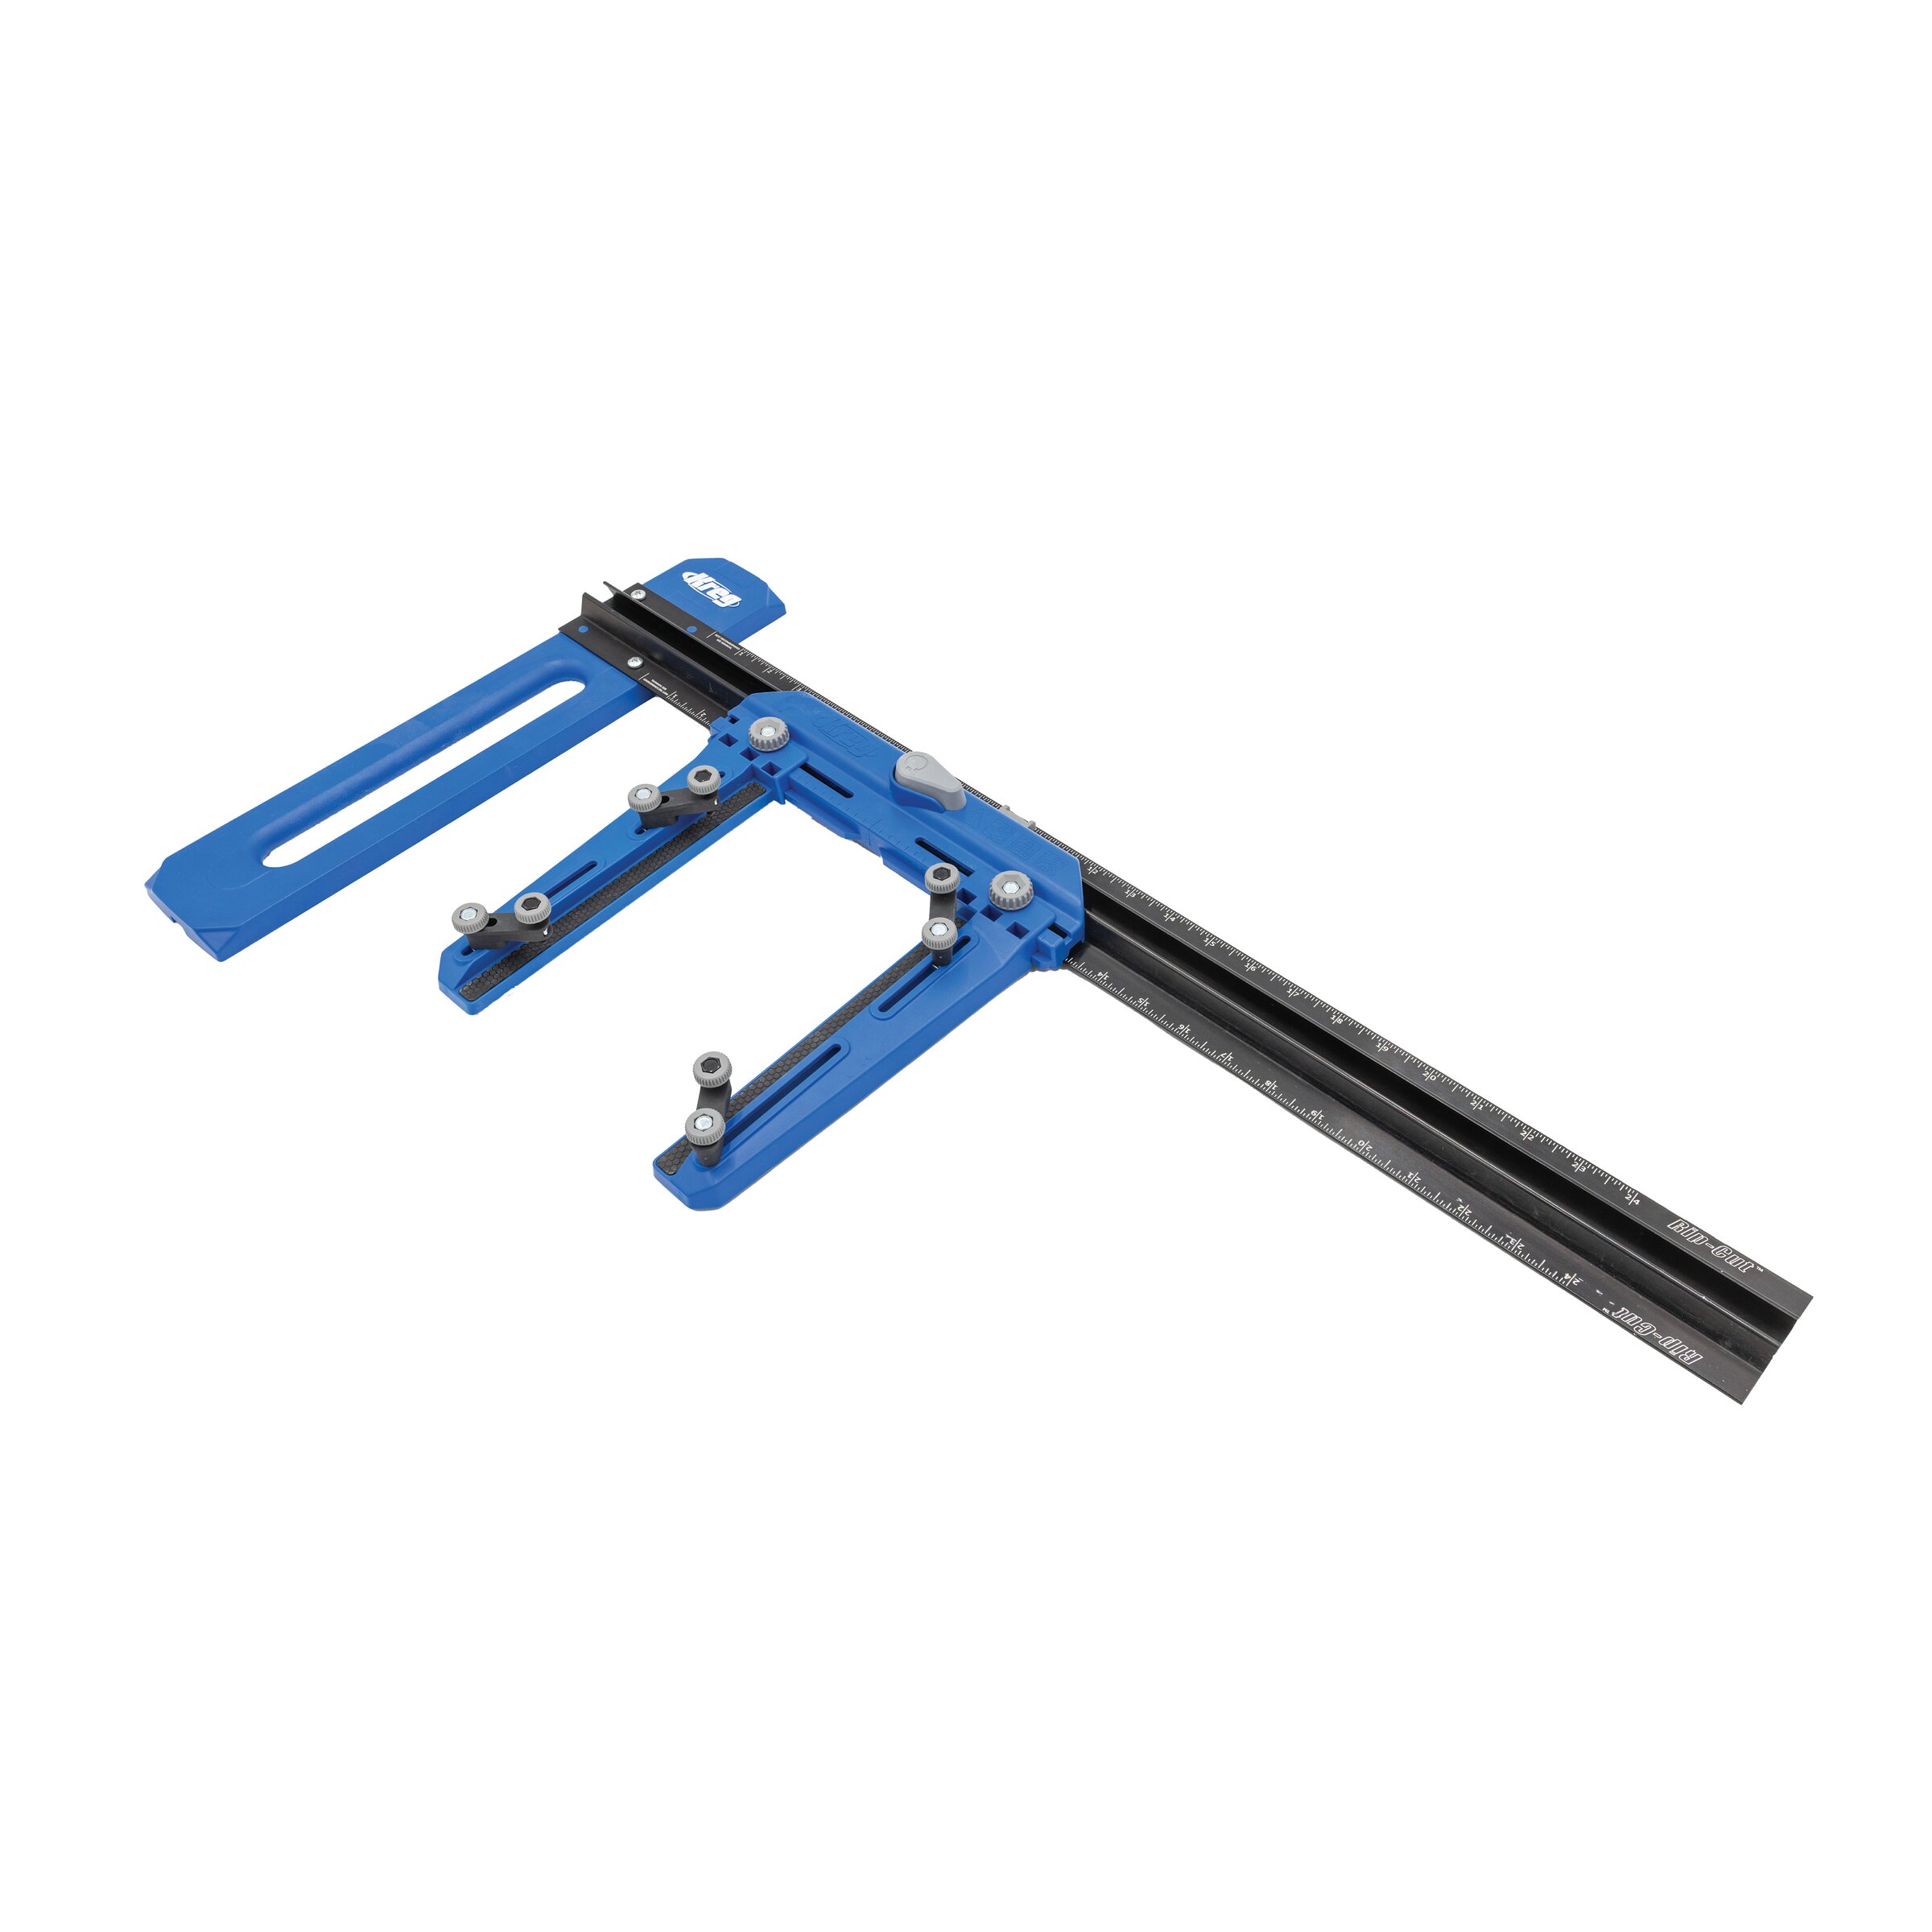
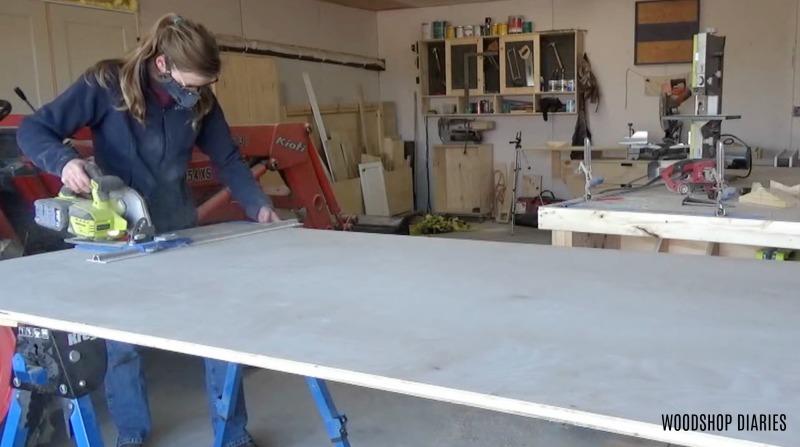
Cut the cabinet bottom piece according to the cut list above. I like to lay my plywood sheet out on my Kreg Track Horses and use my Kreg Rip Cut and circular saw to break down my plywood into more manageable pieces when I'll be using a lot of plywood in a project. Once the bottom piece was cut out, I applied edge banding along the front and sides since these will be exposed when it's finished.
-
Attach Feet to Base
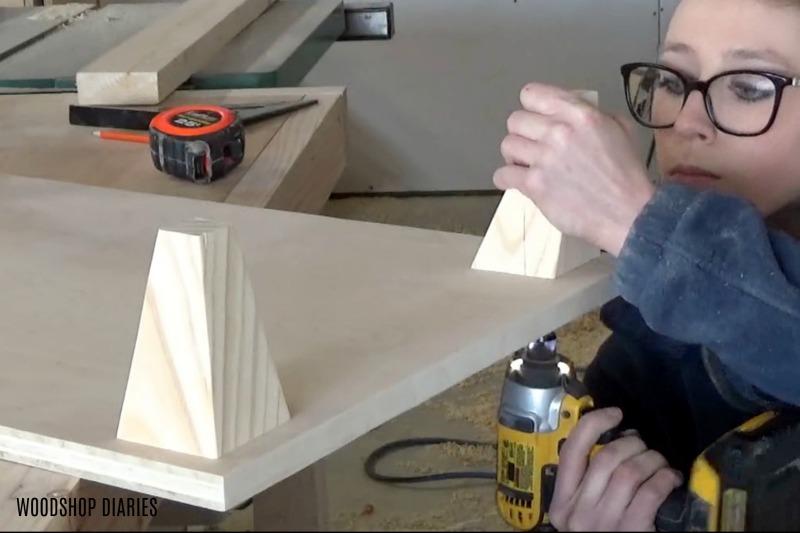
Next, to finish off the cabinet base, I glued and screwed the feet in place on the piece from step 3. I drew out and marked 3/8" from each edge and placed my foot corners at these marks. I applied some wood glue under the feet and used 2 1/2" wood screws to screw the feet in place like shown.
-
Assemble Frame
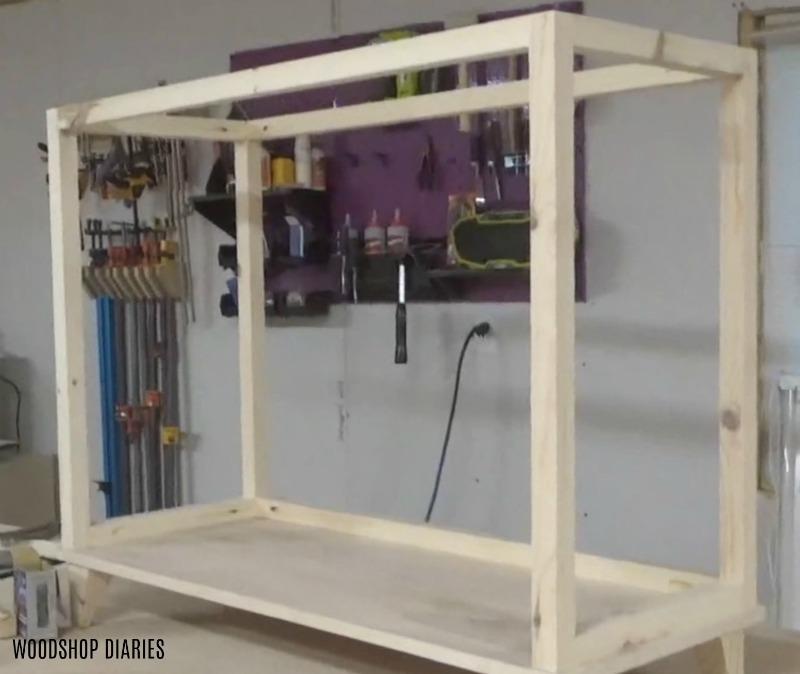
The frame of the cabinet is made from 2x2s. I cut all the frame pieces according to the cut list above and drilled 1 1/2" pocket holes into the ends of the short side frame pieces and the front and back frame pieces using my Kreg Pocket Hole Jig. Then, I assembled the frame like shown using wood glue and 2 1/2" pocket hole screws. Notice that the sides and back have both a top and a bottom frame piece, but the front only has a top piece.
-
Add Side Panels
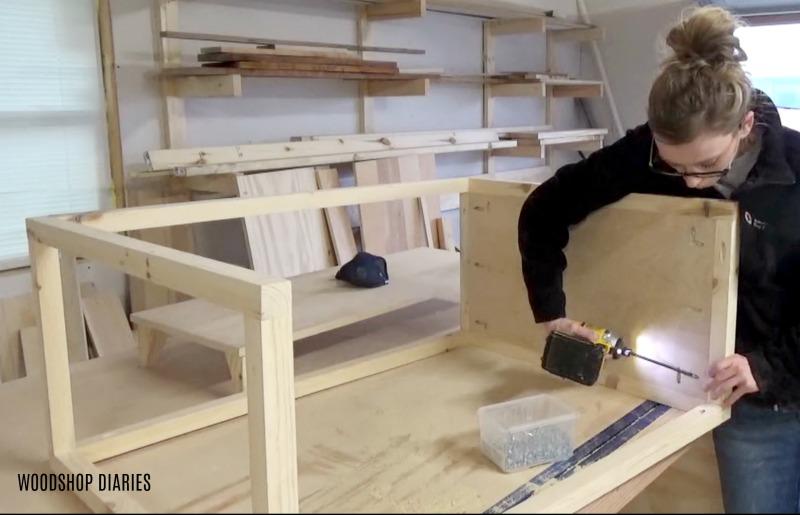
Cut two plywood side panels to go into the sides of the frame according to the cut list. Drill 3/4" pocket holes along all sides and install into the frame like shown using 1 1/4" pocket hole screws. Note that the panels are installed so that the inside of the cabinet is flush.
-
Attach Frame to Base
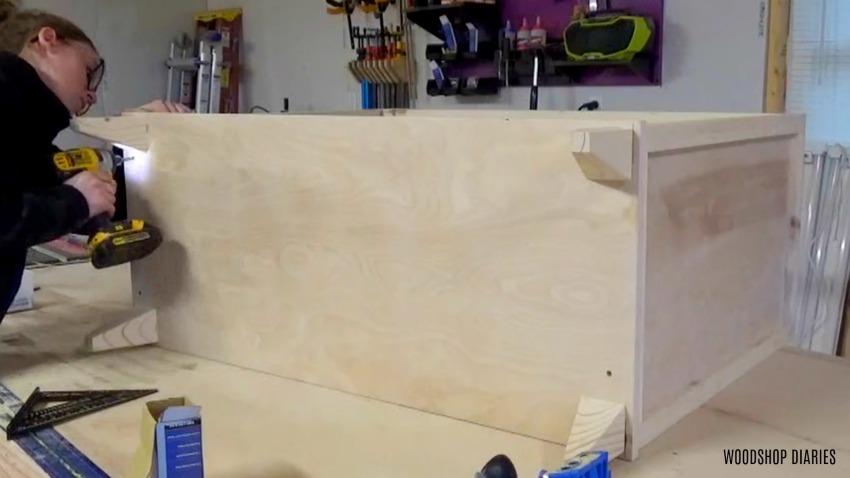
Next, lay the frame on its back and butt the base up to the bottom like shown. Make sure to keep the bottom centered side to side on the frame with a 3/8" overhang on both sides. The back should be flush and the front should also have a 3/8" overhang. Then screw the base to the frame using 2" wood screws along the back and the sides.
-
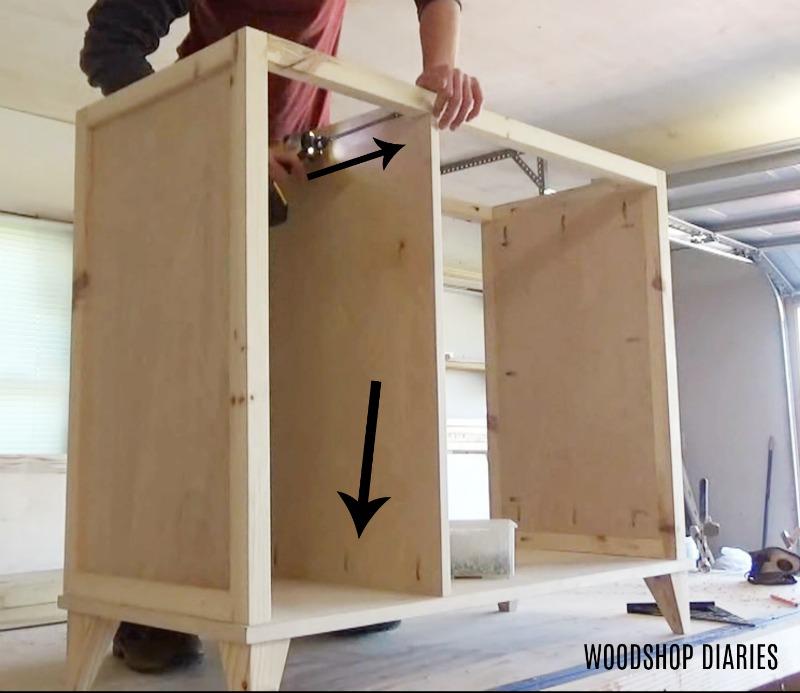
Cut Middle Dividers
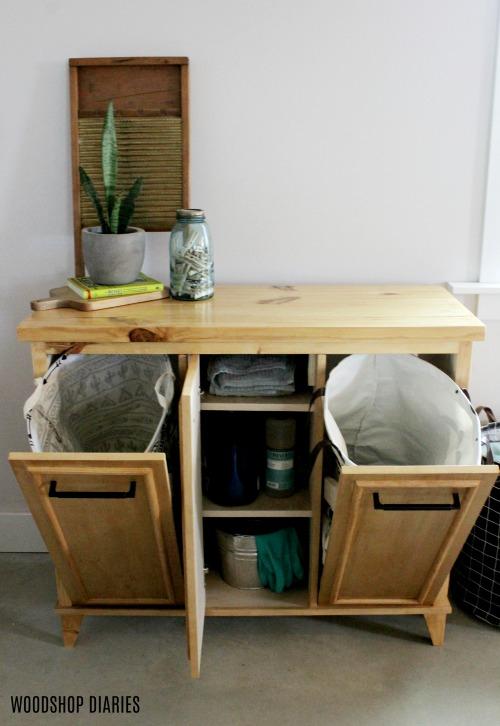
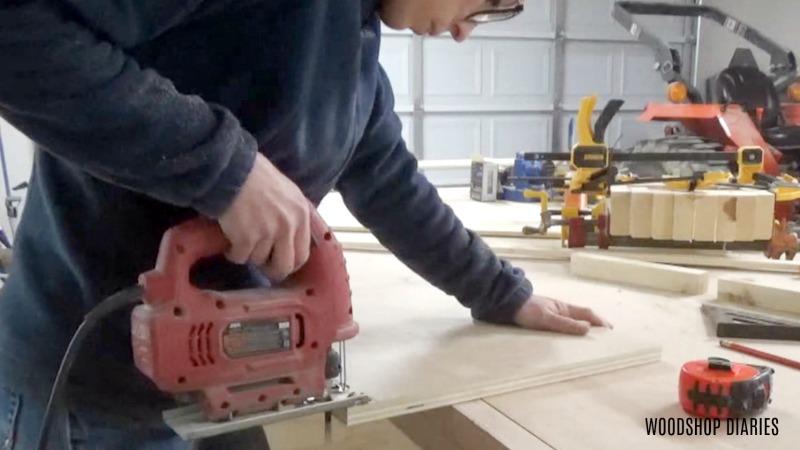
This cabinet is three sections--one for storage and shelving and two for tilt out doors for laundry hampers. So they'll need dividers to section them off. I cut two dividers according to the cut list, then used a scrap piece of 2x2 to trace out three of the four corners (you can see this in the video on the extras tab) to cut out with a jig saw. If you don't cut the corners, they won't fit in around the frame pieces.
-
Attach Dividers in Place
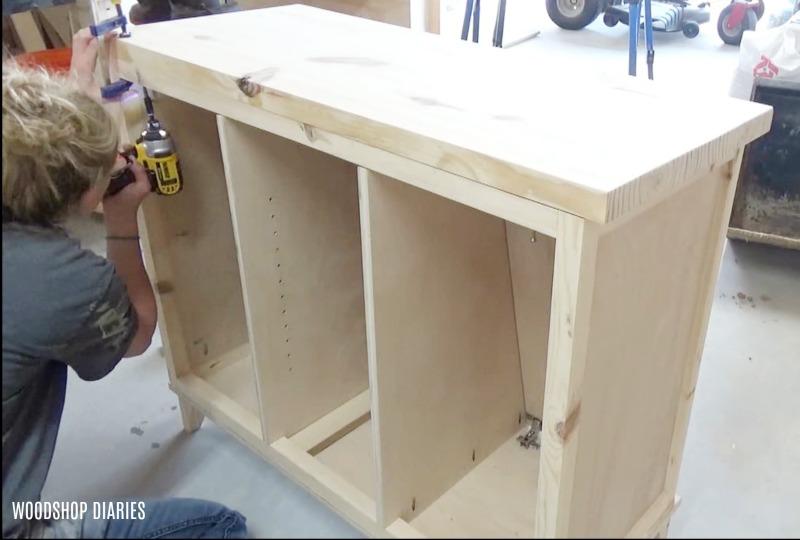
Install the divider panels like shown using 3/4" pocket holes and screws. Drill pocket holes along the bottom edge of the panels and drill one hole going towards the front and one towards the back in the cut out corner of the panel. This is easier to see in the video in the extras tab. Then attach into the cabinet using 1 1/4" pocket hole screws leaving each section about 12 1/4" wide.
-
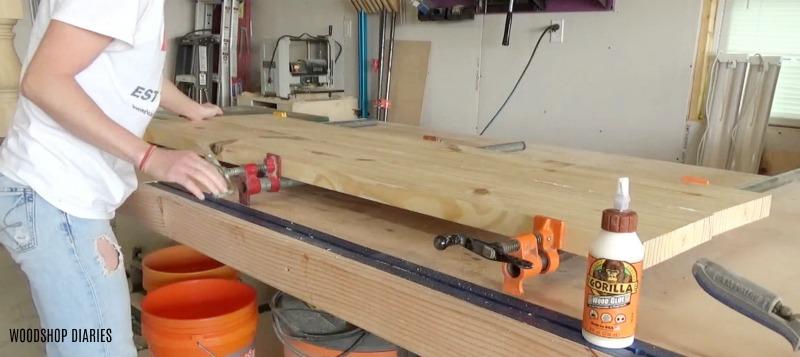
Glue up Top
Using a table saw or a circular saw, cut two pieces for the top according to the cut list. You can cut these from a 2x10 board. They'll need to be 8" wide, OR, you can glue them up and cut it down to 16" wide after gluing. Either way works fine. But glue up a top that will be 42" wide and 16" deep. If you wanted to use plywood instead of 2x material for this, that would also work well.
-
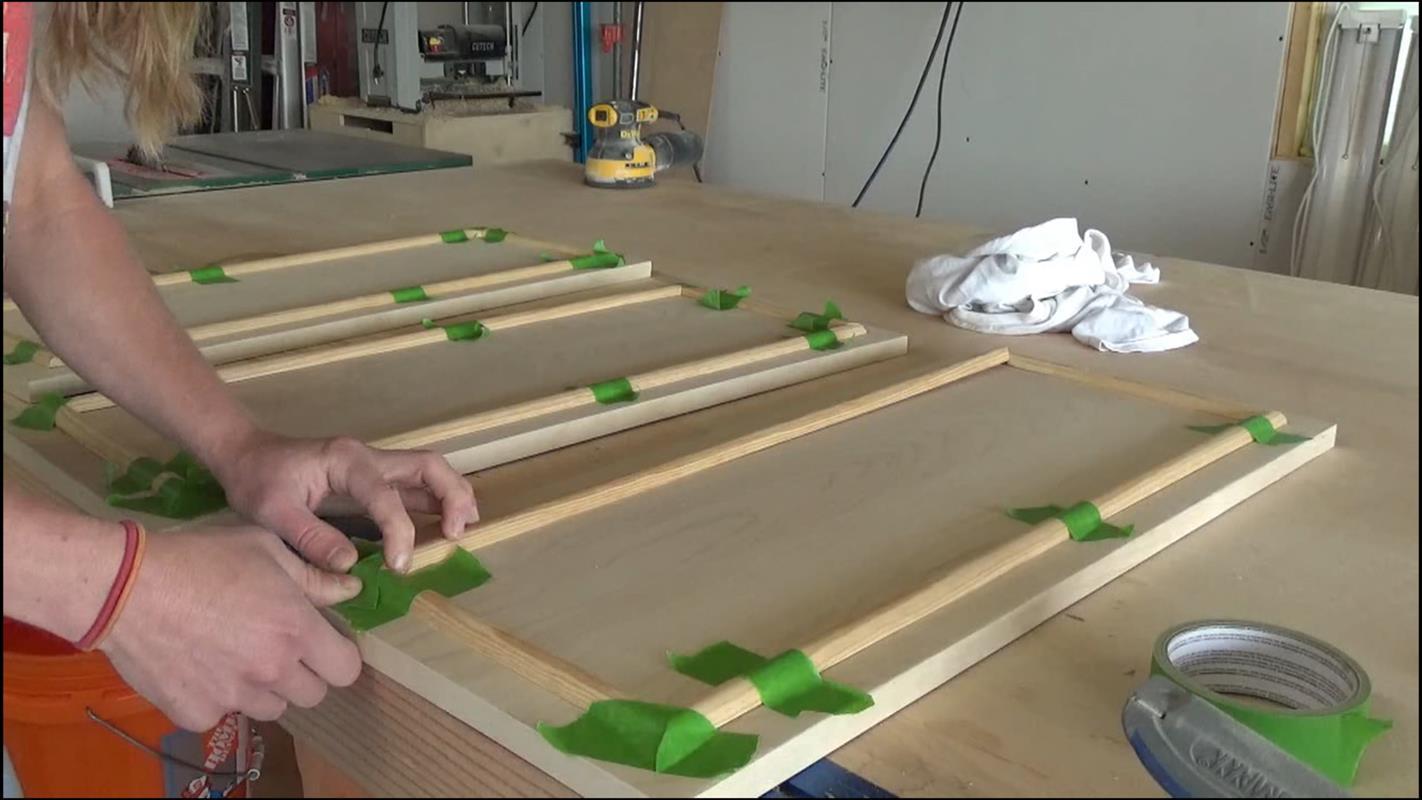
Cut Doors and Install Molding
While the glue is drying on the top, cut three doors to size according to the cut list and apply edge banding for a cleaner look. I used half round molding to dress up the doors a little, but you could use no molding or any other type of molding you wanted. I cut mine to fit, placing the molding about 1 1/4" from all edges. I glued and taped the molding in place.
-
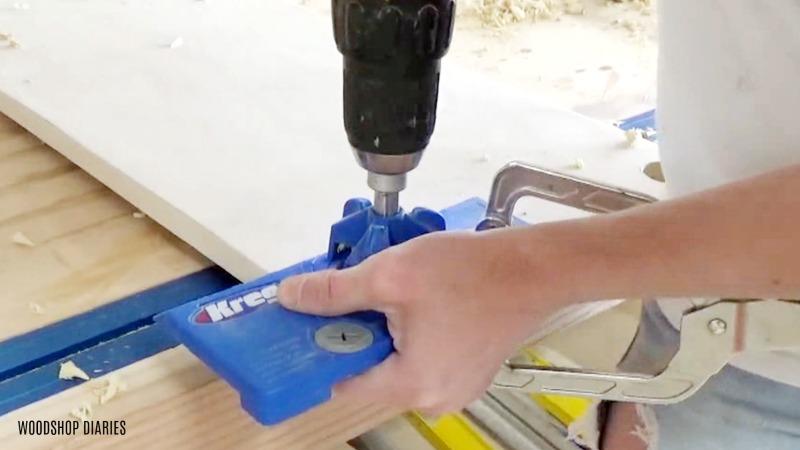
Install Concealed Hinges
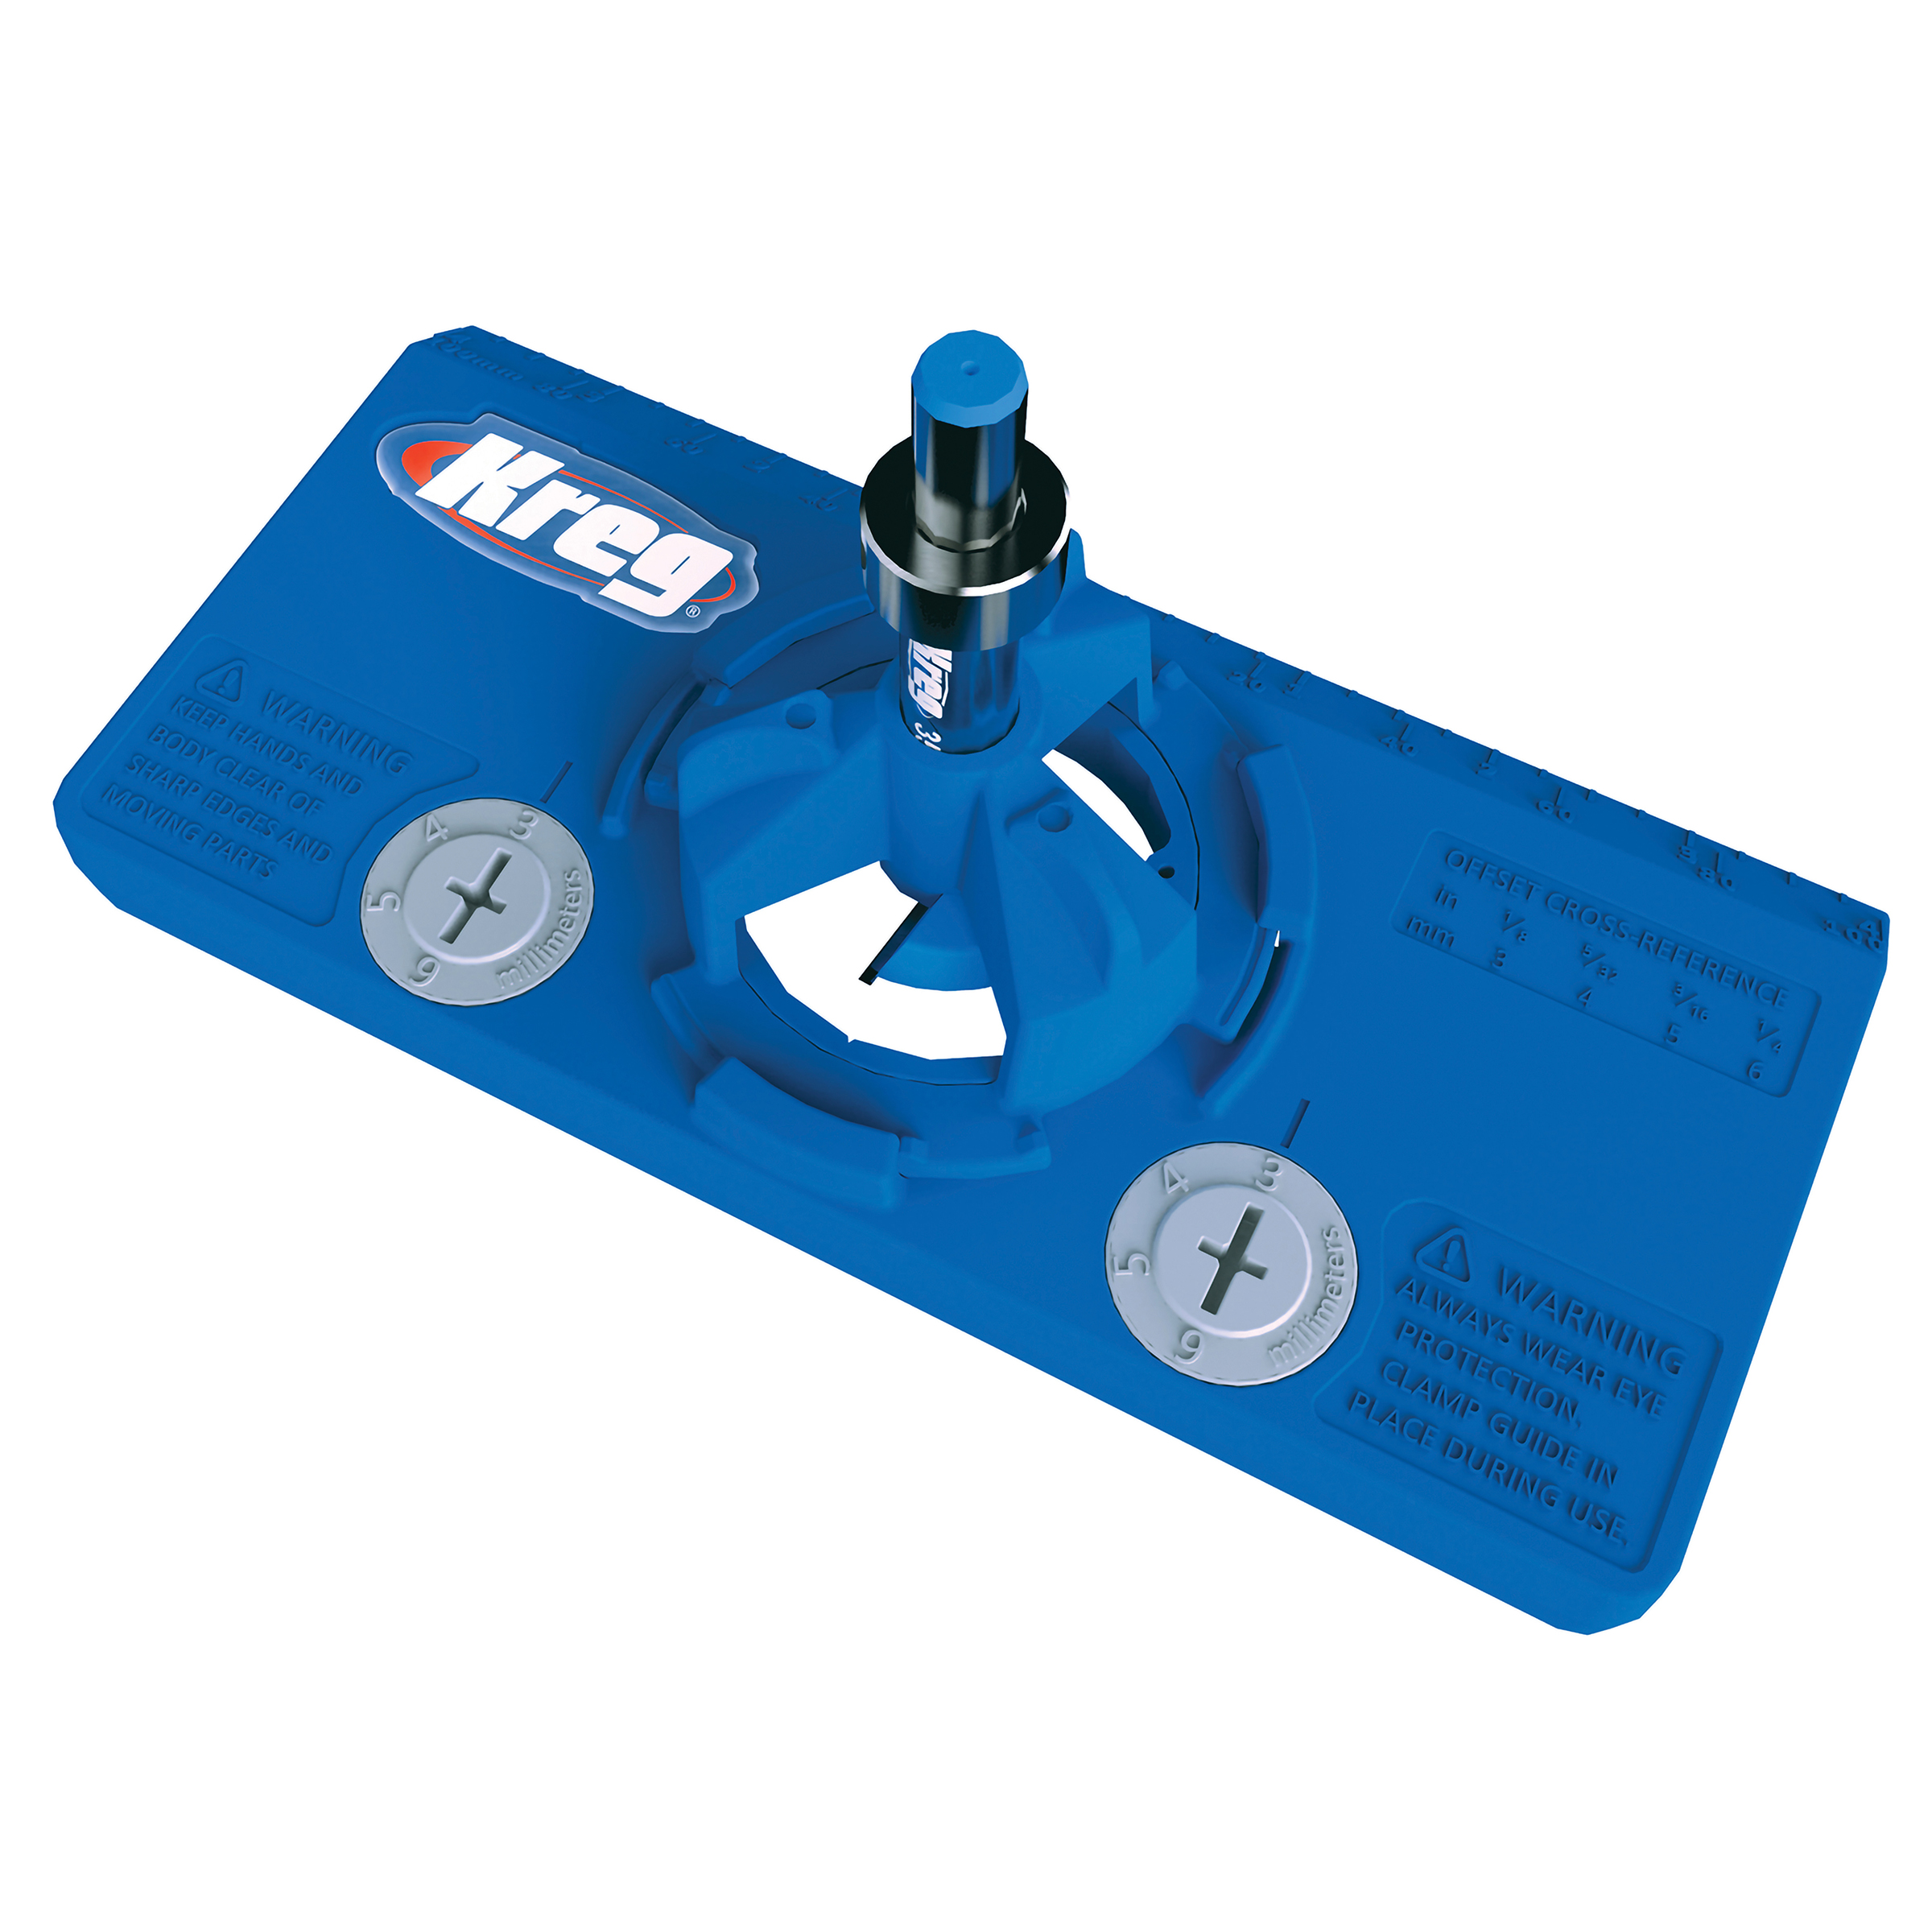
Once the molding is dry on the doors, install inset concealed hinges onto the doors. The two tilt out doors will have hinges on the BOTTOM, but the door that will go in the middle storage section will have hinges on the sides (like a normal door). This is shown more clearly in the video. Drill the cups for the hinges using a Kreg Concealed Hinge Jig, then install these doors in place on the cabinet.
-
Attach Top
At this point, the glue should be dry on the top from step 10. Trim down as needed to get a top 42" wide and 16" deep, then center side to side on the cabinet and flush at the back and attach using 2 1/2" wood screws through the top frame pieces along the front and back.
-
Build Tilt Outs
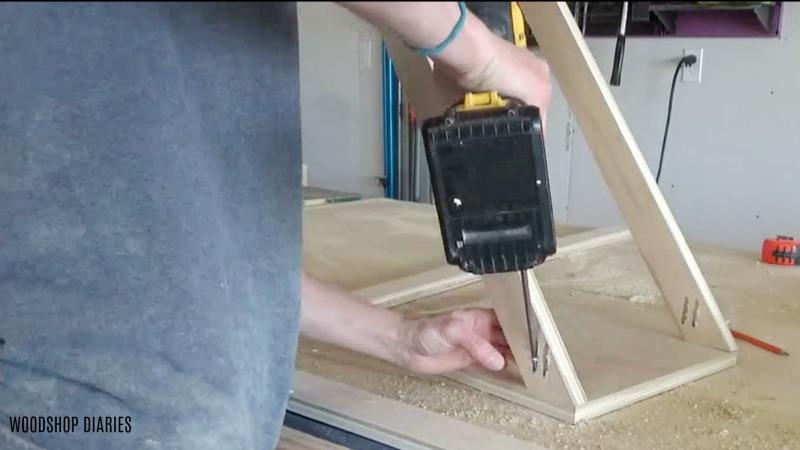
Now the cabinet is almost finished, but you still need to add a tilt out bottom to place your hamper onto the door. Cut the tilt out bottom and support pieces according to the cut list. Trim one end of the support pieces at 55 degrees and the other end at 35 degrees NOT parallel to each other. Drill 3/4" pocket holes along the FRONT edge (one of the 11" wide sides) of the bottom piece and in both ends of the supports. Attach the supports onto the bottom using 1 1/4" pocket holes like shown. The 35 degree end should be on the bottom.
-
Attach Tilt Outs to Doors
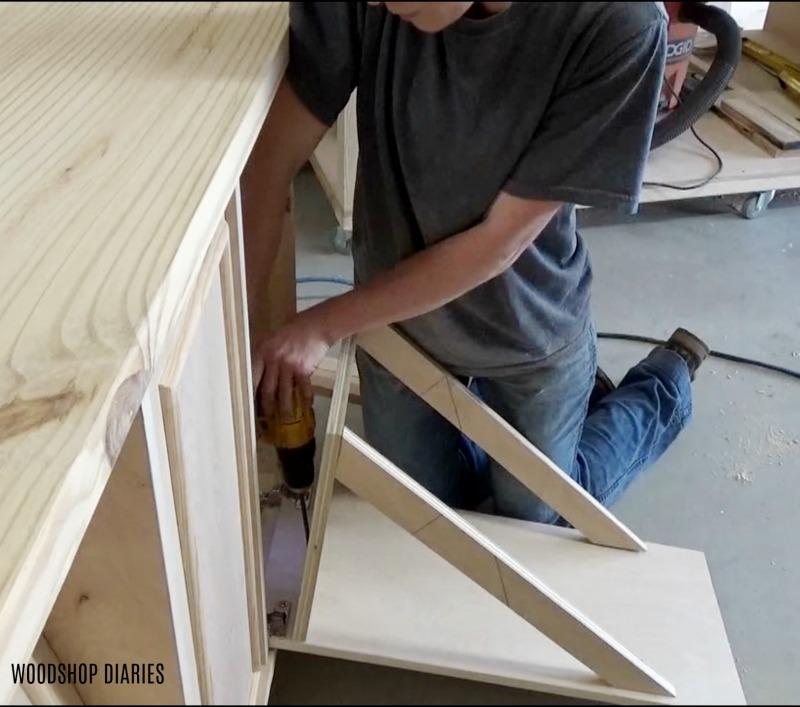
Install these tilt outs to the two tilt out doors like shown using 1 1/4" pocket hole screws. Install so that the bottom will clear the hinge and keep the bottom as square as possible to the sides.
-
Install Adjustment Blocks
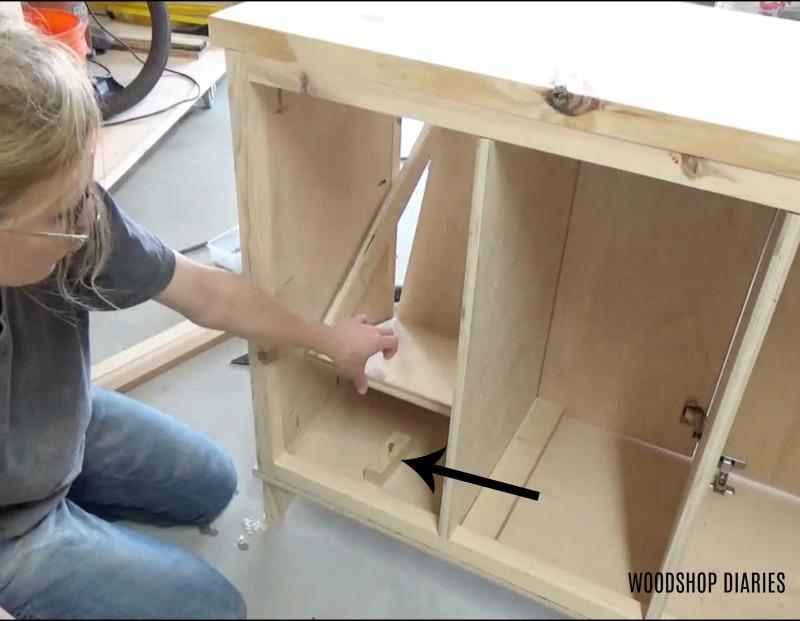
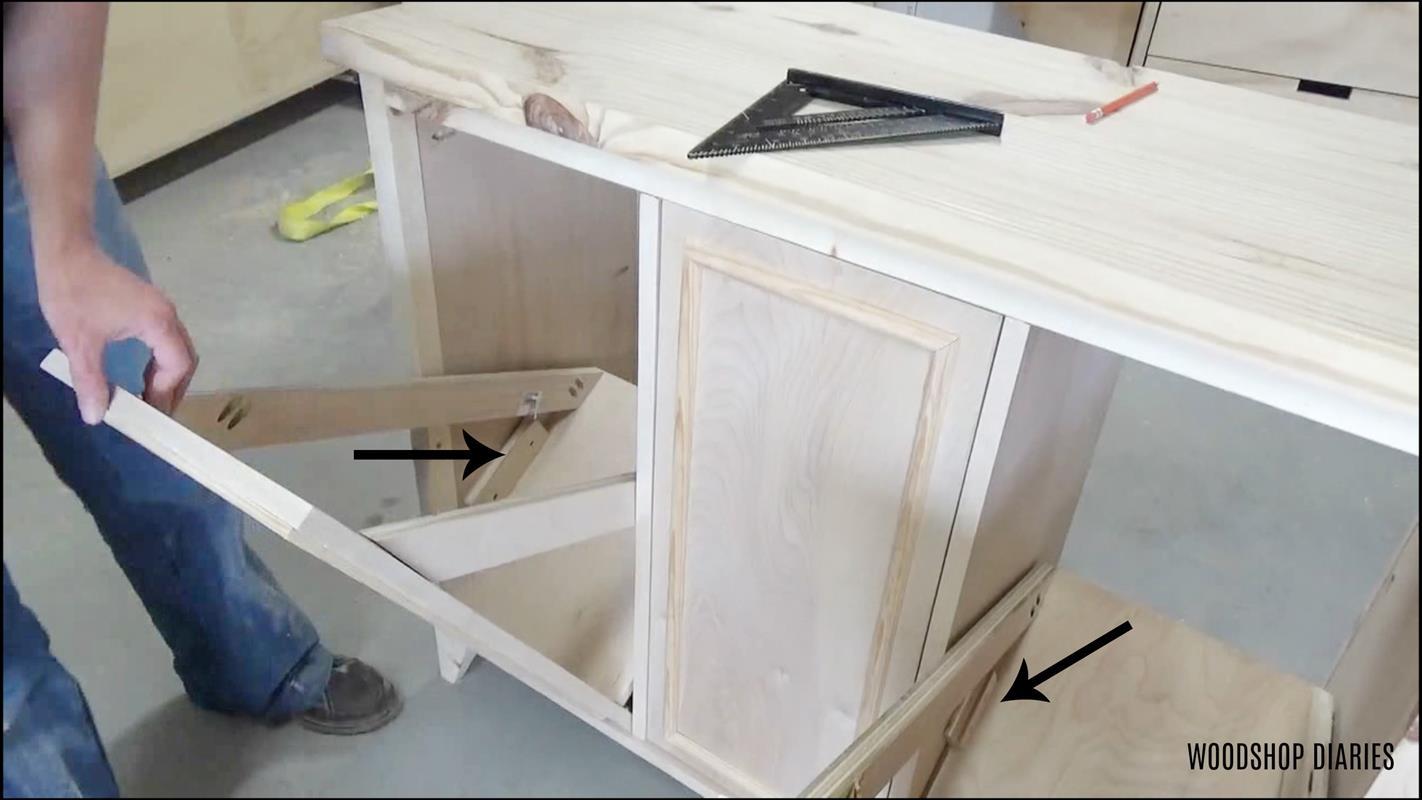
Because inset concealed hinges tend to cause doors to turn in further than you'd like, to keep the tilt out doors from tilting in too much, I installed a adjustment block to the bottom of the cabinet on each tilt out section. It's just a scrap piece of 2x2 that I screwed into the bottom of the cabinet, then screwed another screw into the block to allow for adjustments. The tilt out bottom will rest on this screw to keep the door in place, so screw the screw in further to allow the door to tilt in more and screw the screw out to push the door out further.
-
Add Positive Stops
Because I didn't want these tilt out doors to open all the way and let the laundry spill all over the floor, I added a positive stop on the sides of the cabinet to allow the door to only open so far. To do this, open the door as far as you want it to open and place a small piece of scrap plywood against the bottom of the tilt out like shown and screw the block in place using 1 1/4" wood screws. This will catch the door as it opens and prevent it from opening all the way.
-
Install Shelves, Back and Finish
If desired, cut shelves according to the cut list and install using adjustable shelf pins into the middle section. One last optional step here is adding a 1/4" backing to the middle section. Simply cut a piece according to the cut list and staple onto the back of the middle section. Then finish as desired and you've got a laundry hamper storage cabinet! For details on the hampers used in this project, visit the link in the extras tab.


