DIY Rolling Shoe Bin
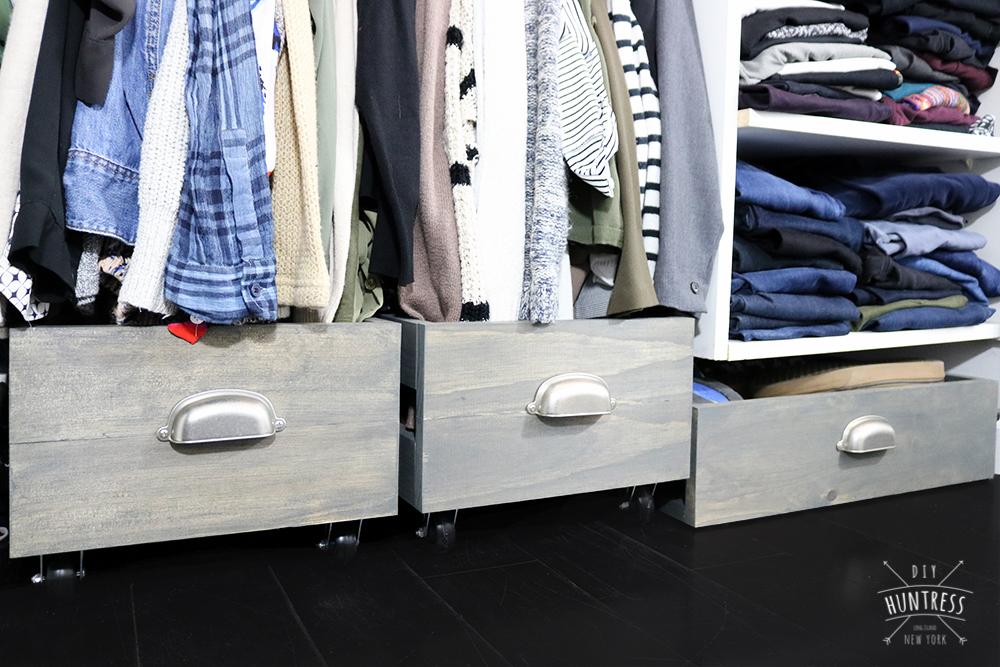
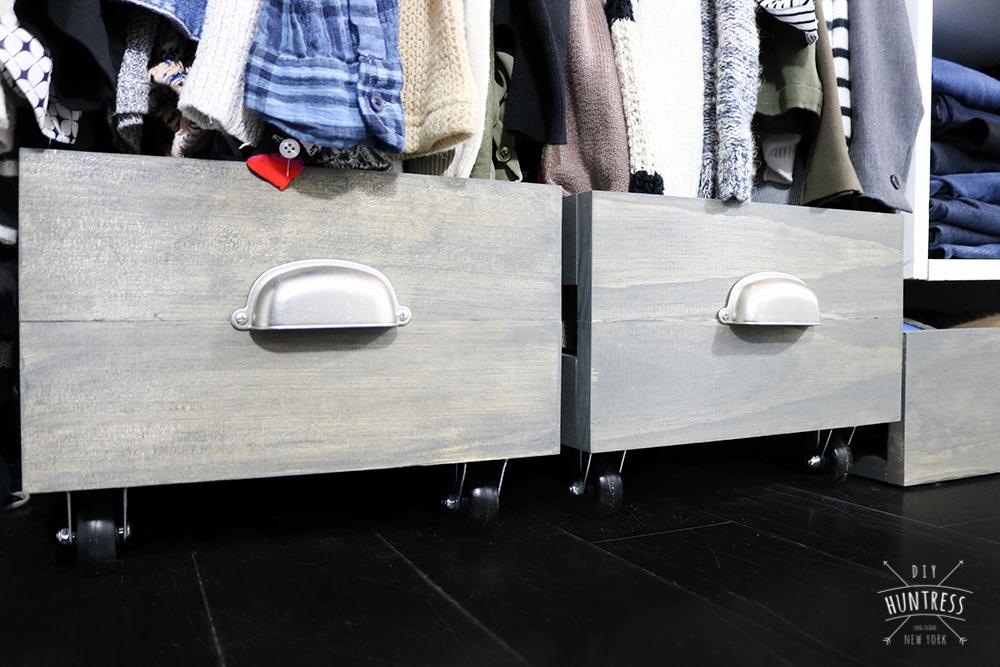
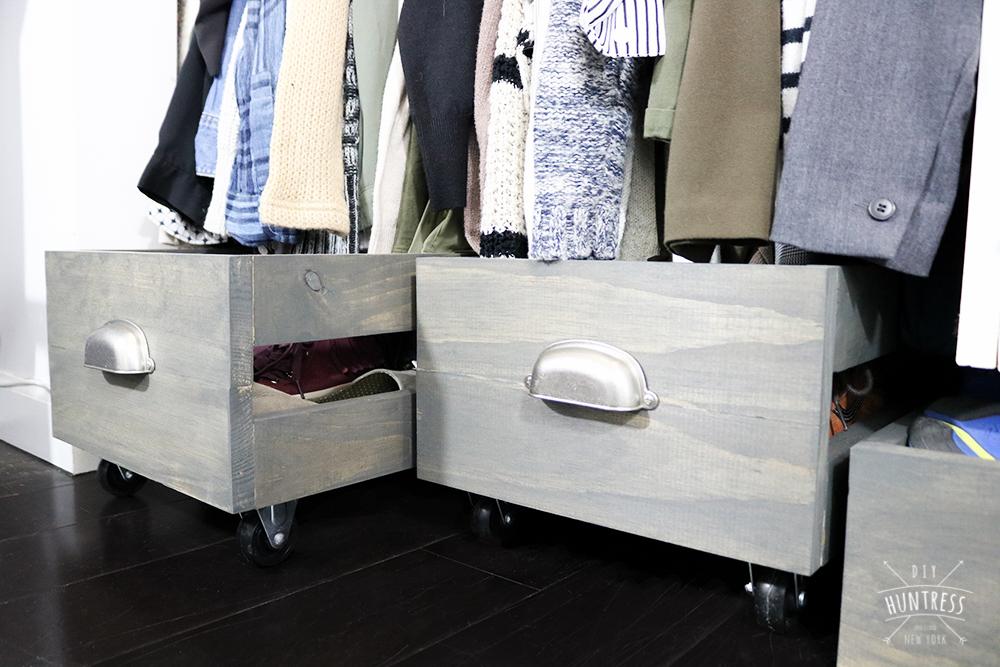
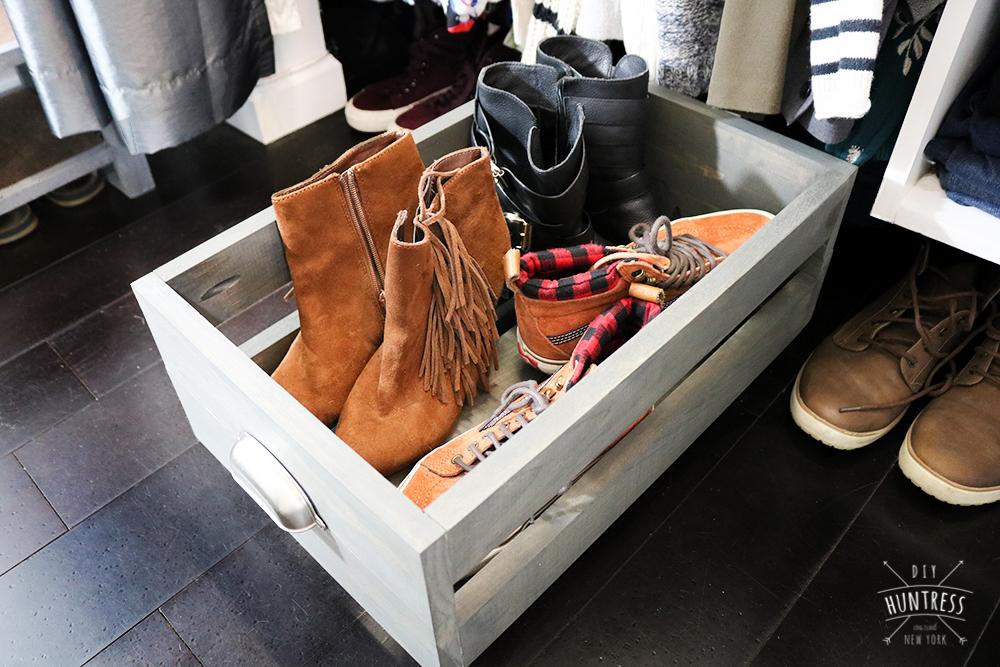
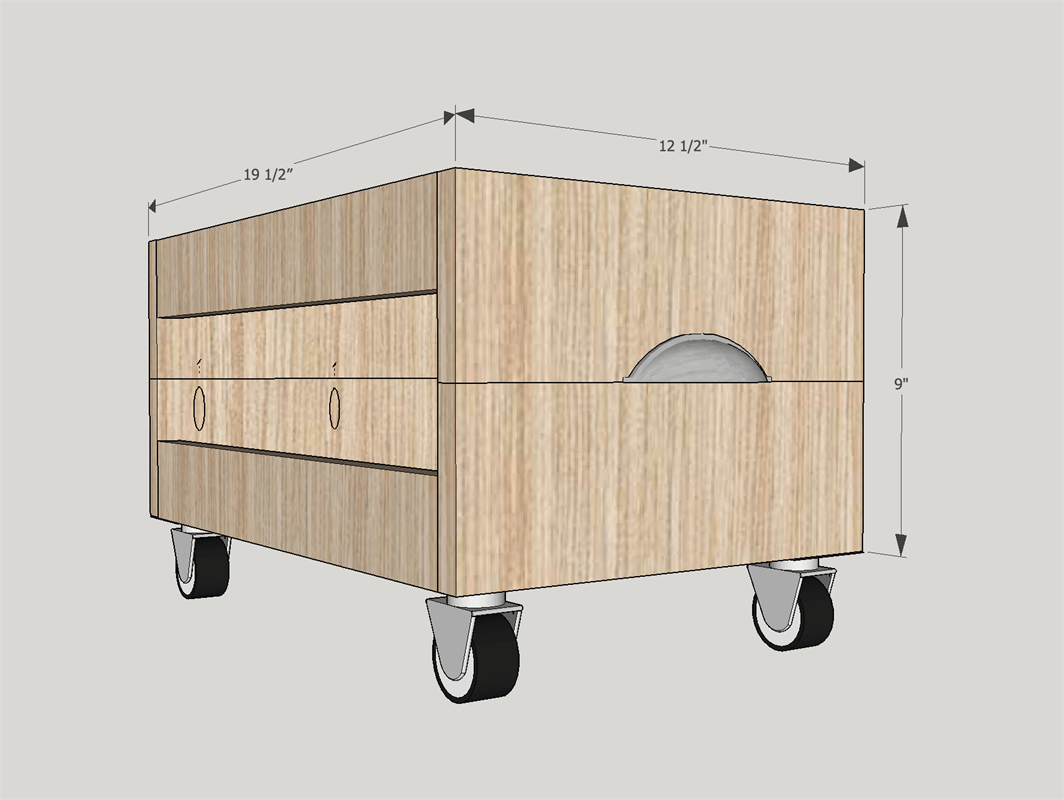
By DIY HuntressSpring is here, which means it's time to organize your home! Take advantage of unused floor space in your closet with rolling storage bins for simple organization and easy accessibility! These plans are for one bin at a standard crate size. Easily customizable for any closet!
Directions
-
Check Dimensions
Before starting this build, make sure to measure your closet space. You can customize this build to your own dimensions and still follow the steps listed to create fully customizable storage for your needs!
-
Build Front & Back Panels
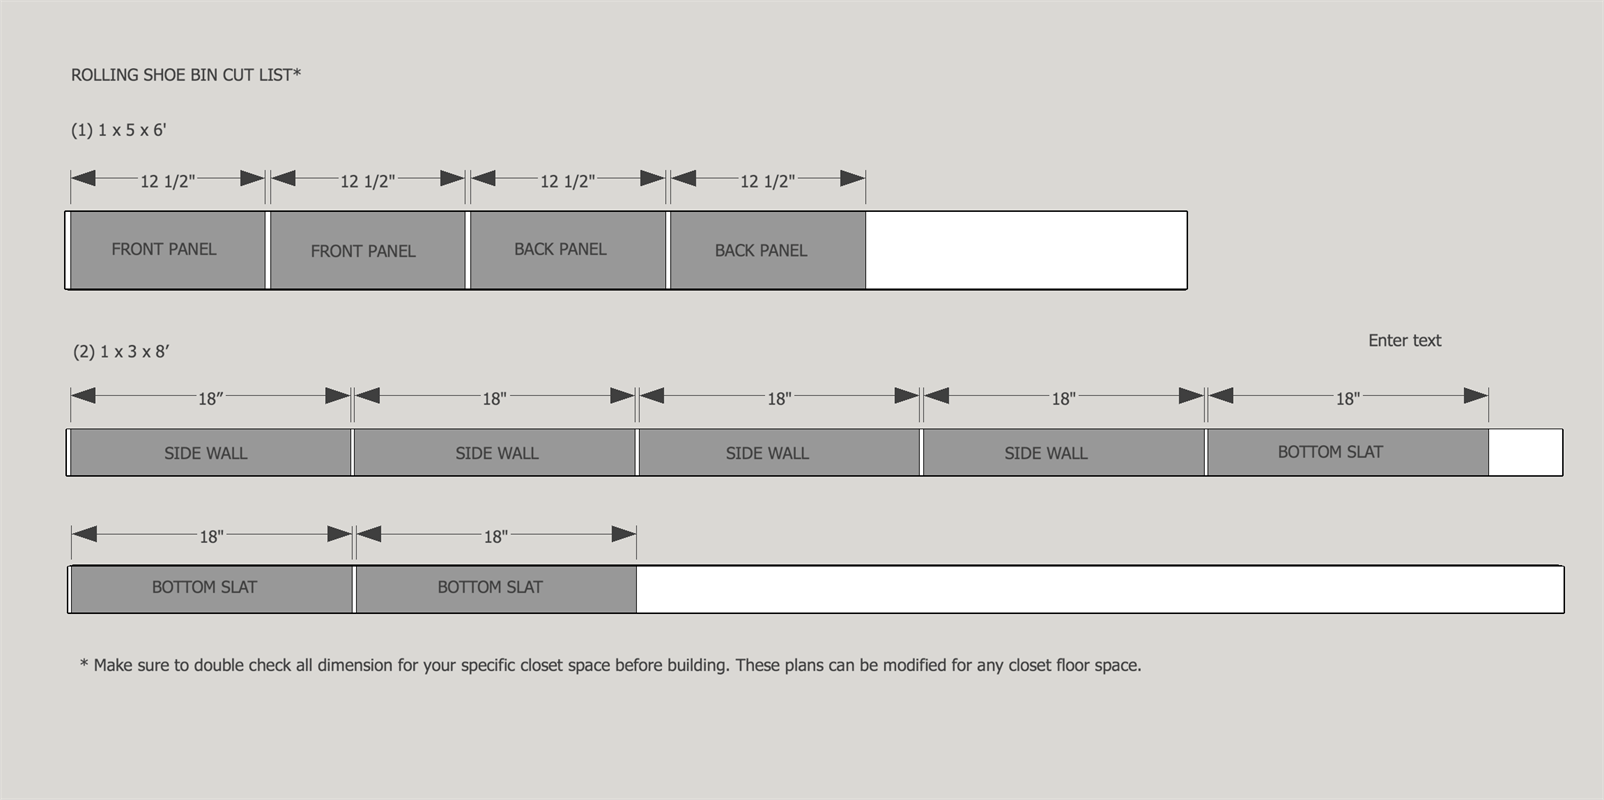
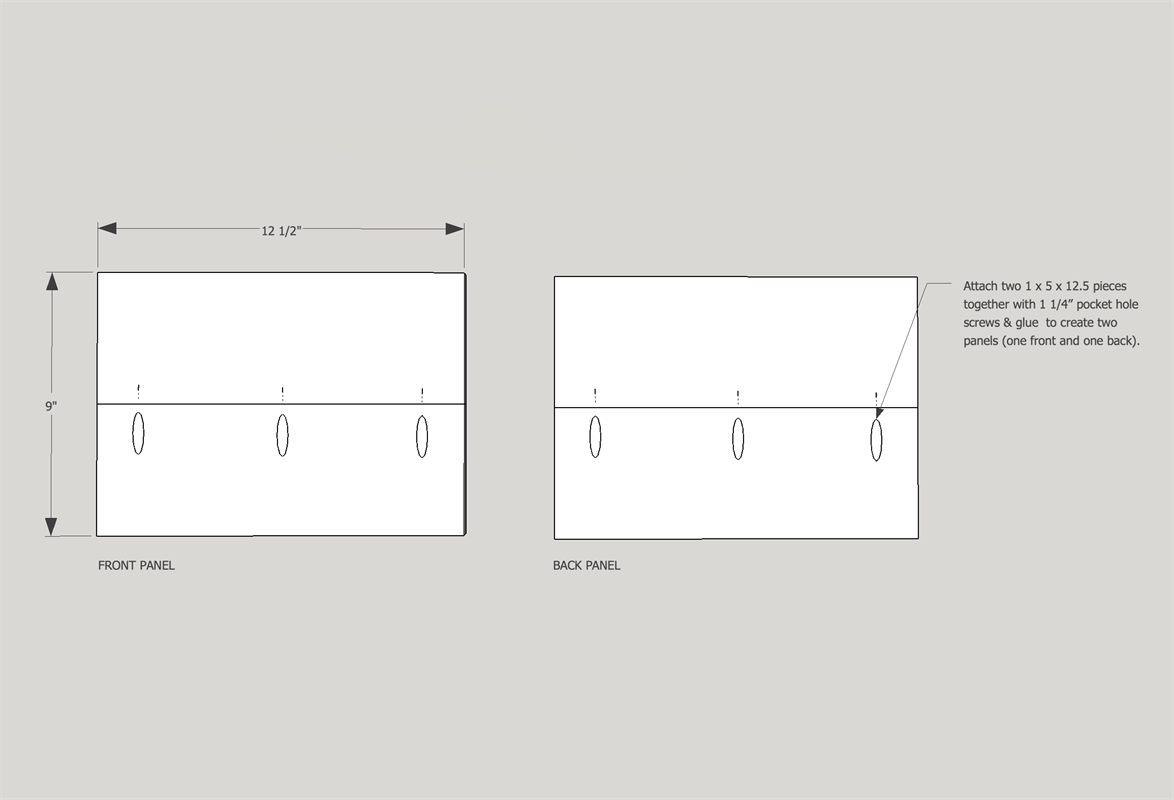
Create front and back panels by attaching your 1x5 pieces with 1 1/4" pocket hole screws and glue.
-
Attach Sides
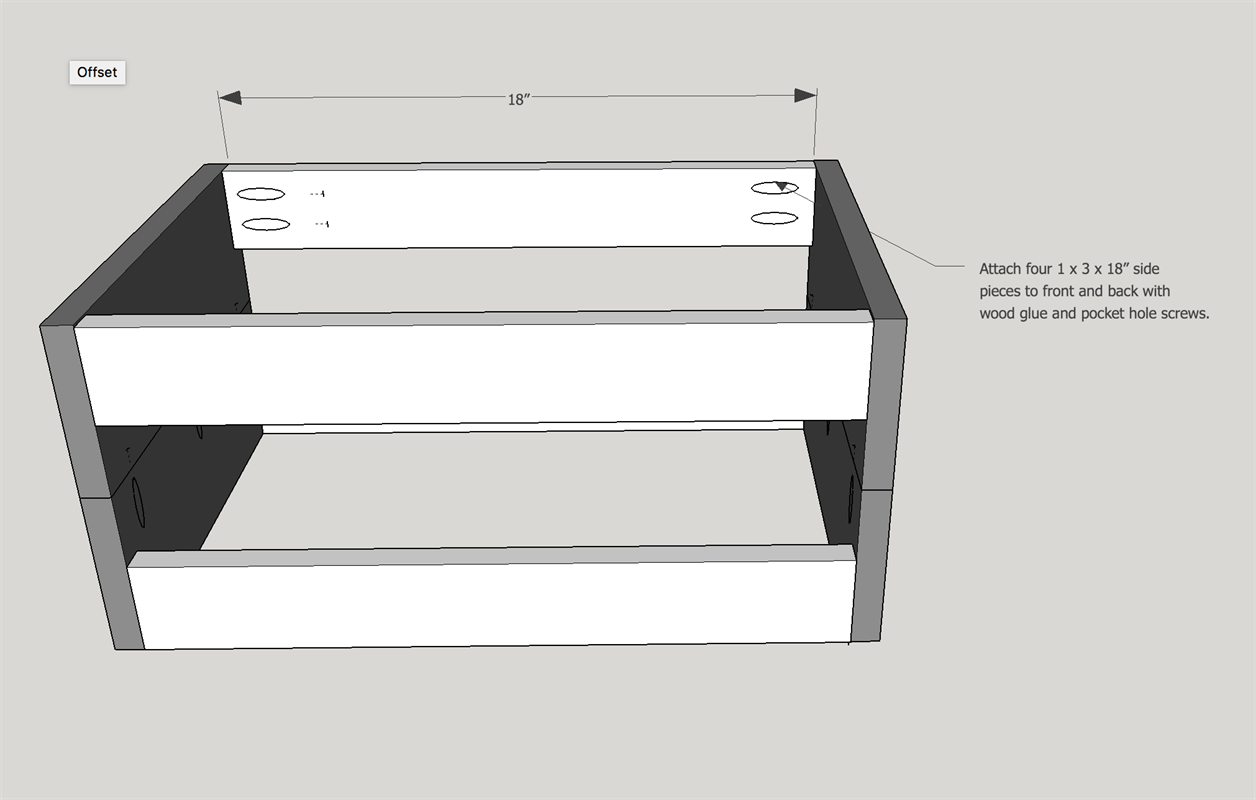
Attach your 1x3 side pieces with 1 1/4" pocket hole screws and wood glue.
-
Attach Bottom Slats
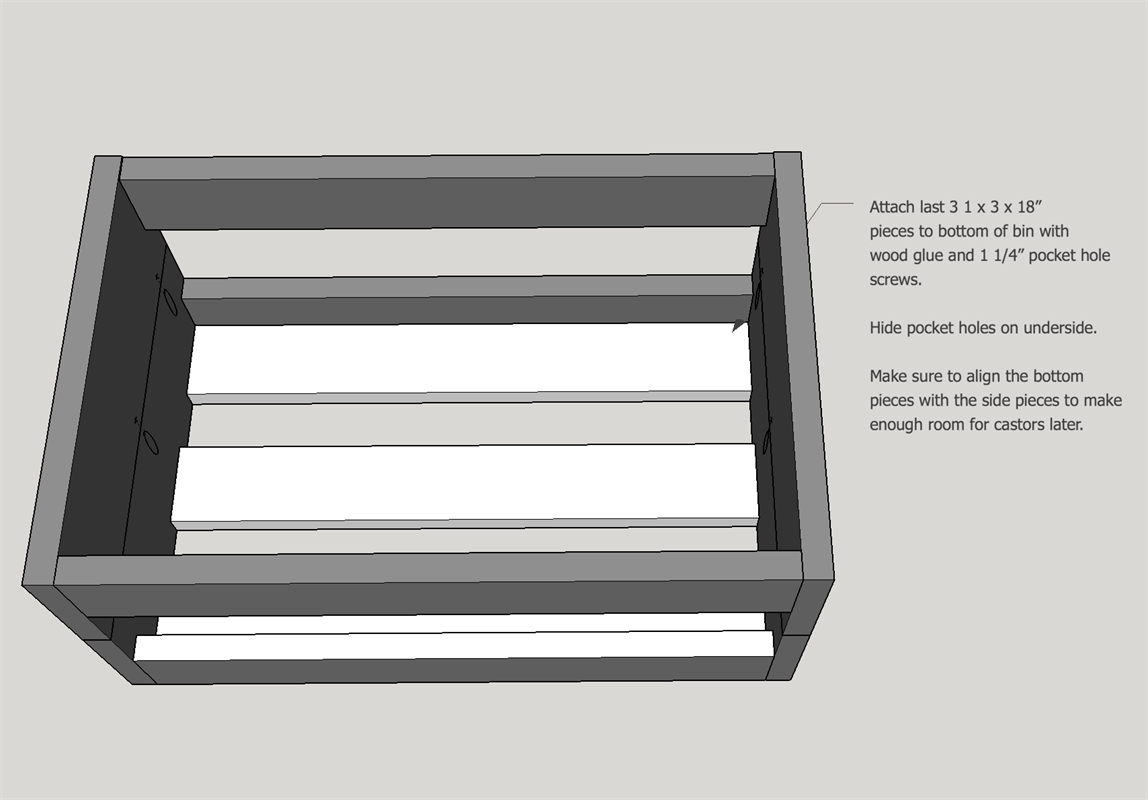
Attach 1x3 bottom slat pieces with 1 1/4" pocket hole screws and wood glue. Make sure to align end pieces with side slats to create surface area for castors later.
-
Sand & Stain
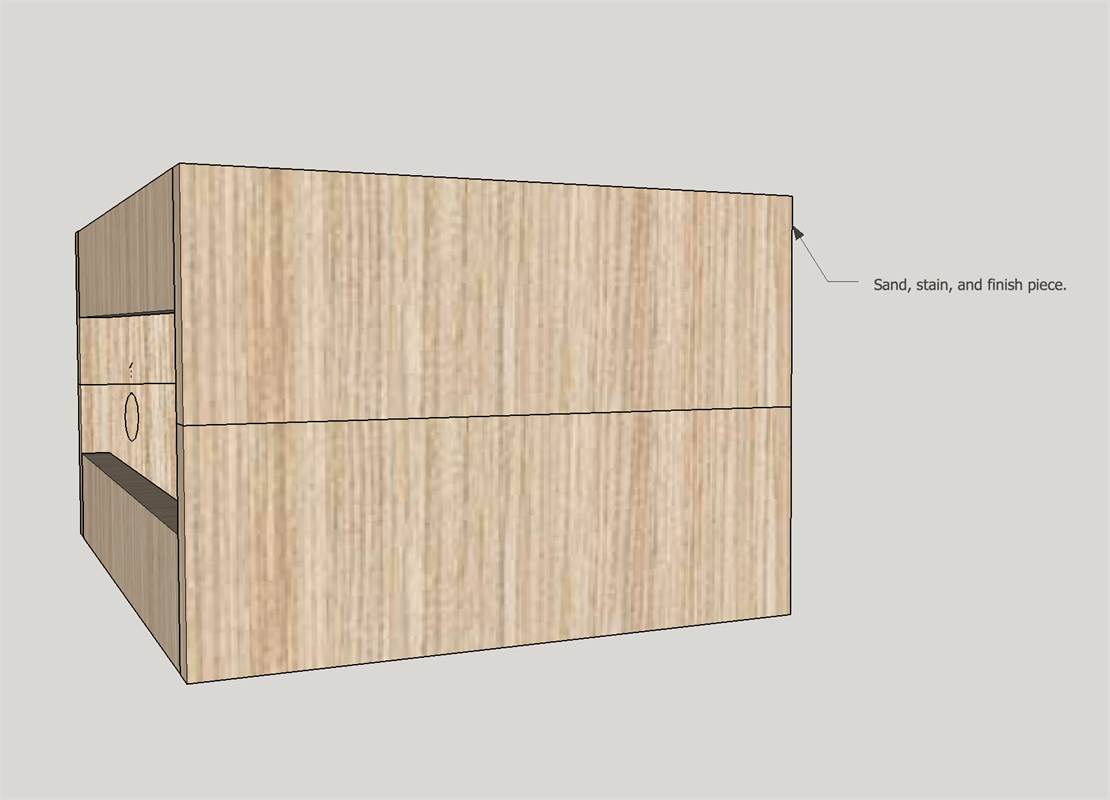
Sand & stain your bin(s). For full details on stain color used on the bins pictured, please visit diyhuntress.com and search for "Shoe Bin".
-
Add Hardware
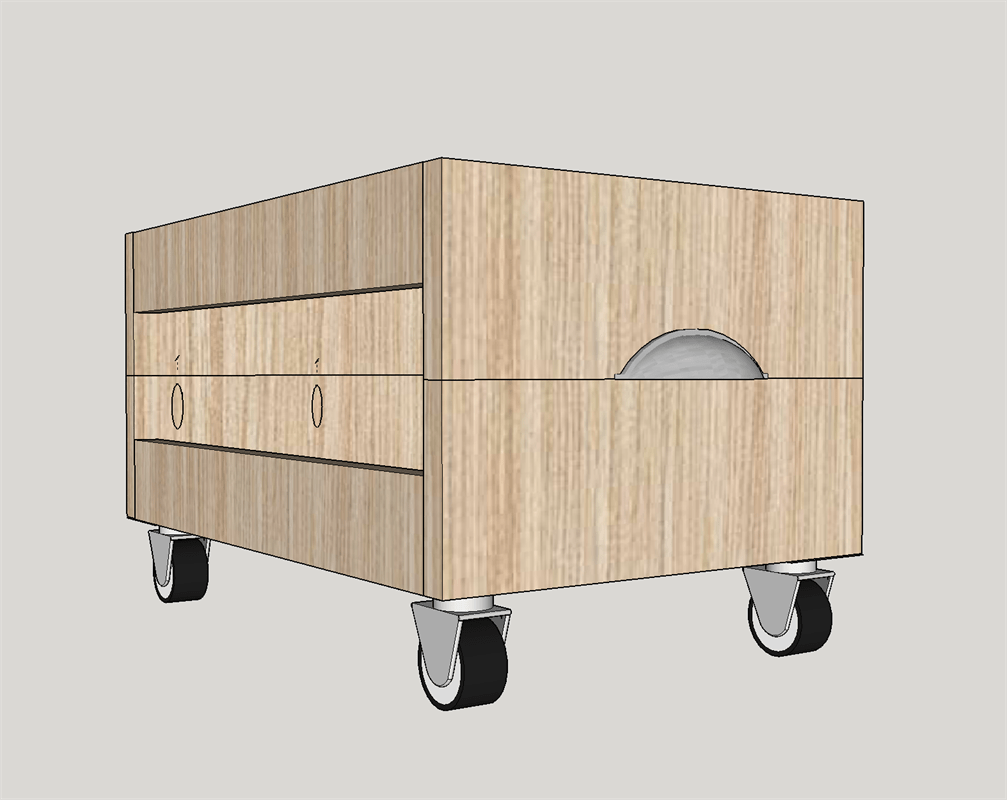
Add pull(s) and castors to the bin(s). For full details on the hardware used in this project, visit diyhuntress.com and search for "Shoe Bin".


