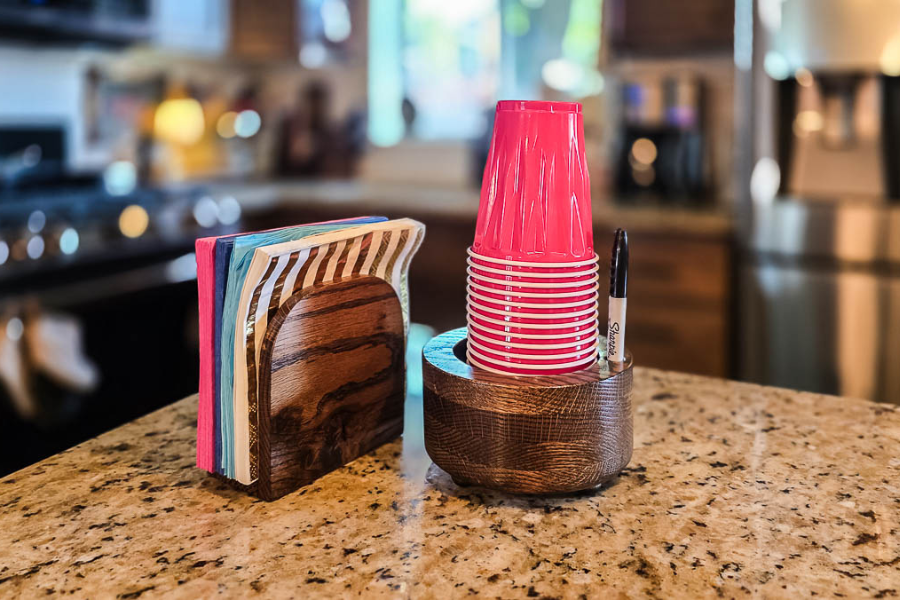
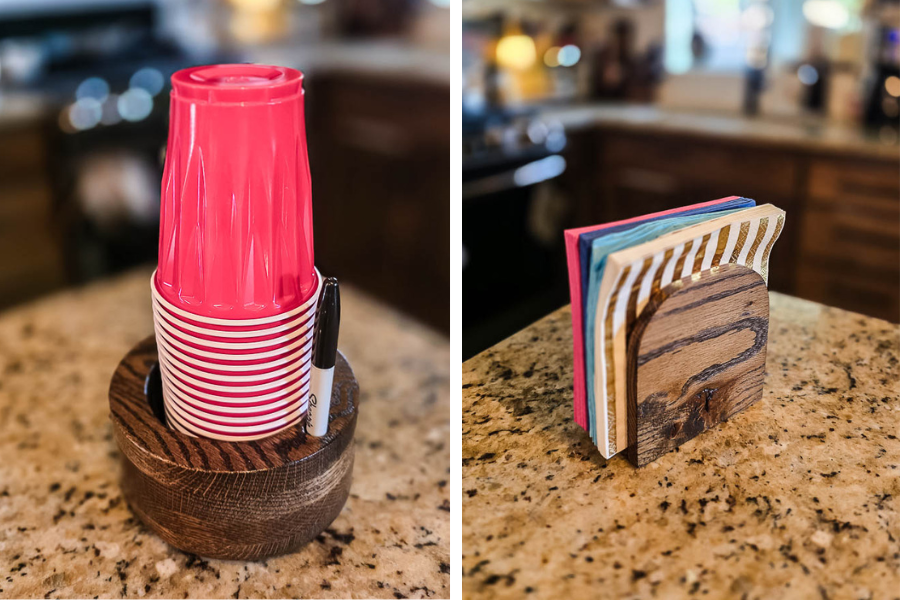
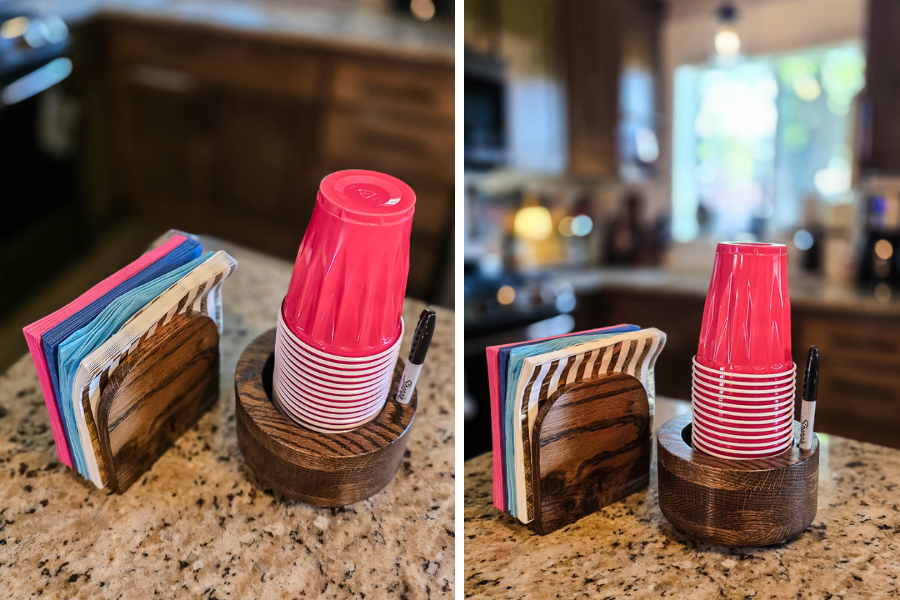
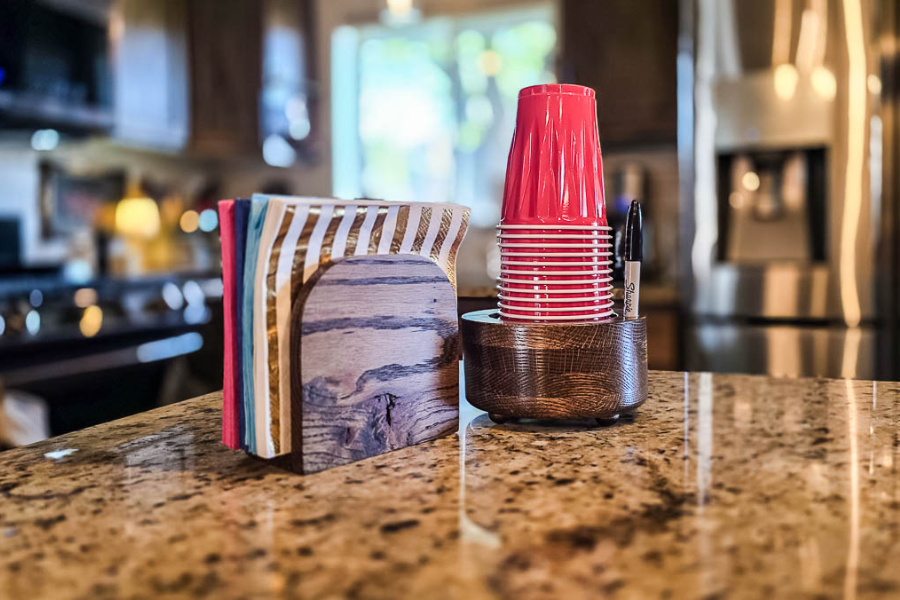
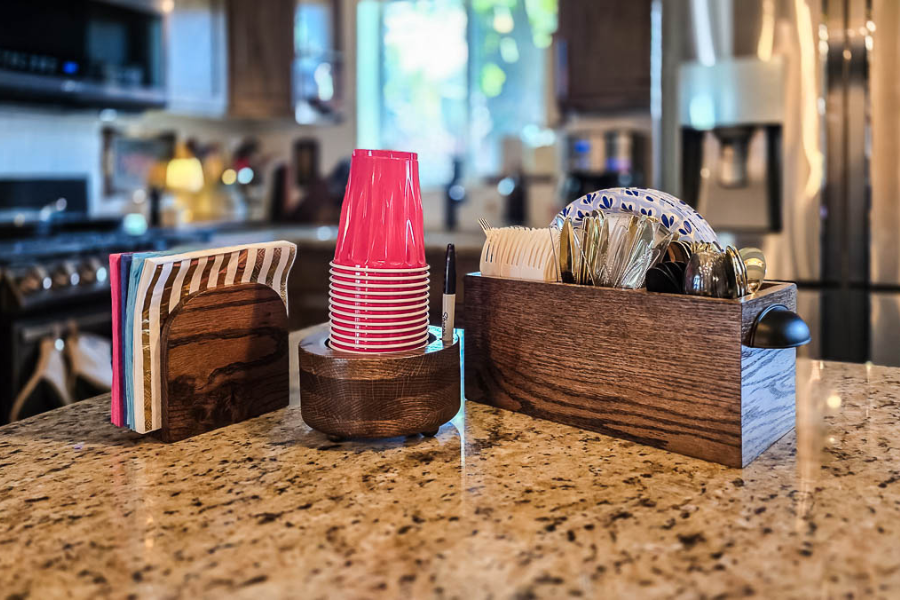


Build this functional wooden hosting set with a disposable cup caddy featuring a permanent marker label spot and a matching napkin holder that keeps everything organized and within reach. An easy woodworking project to make hosting easier!
Tools
Kreg Tools
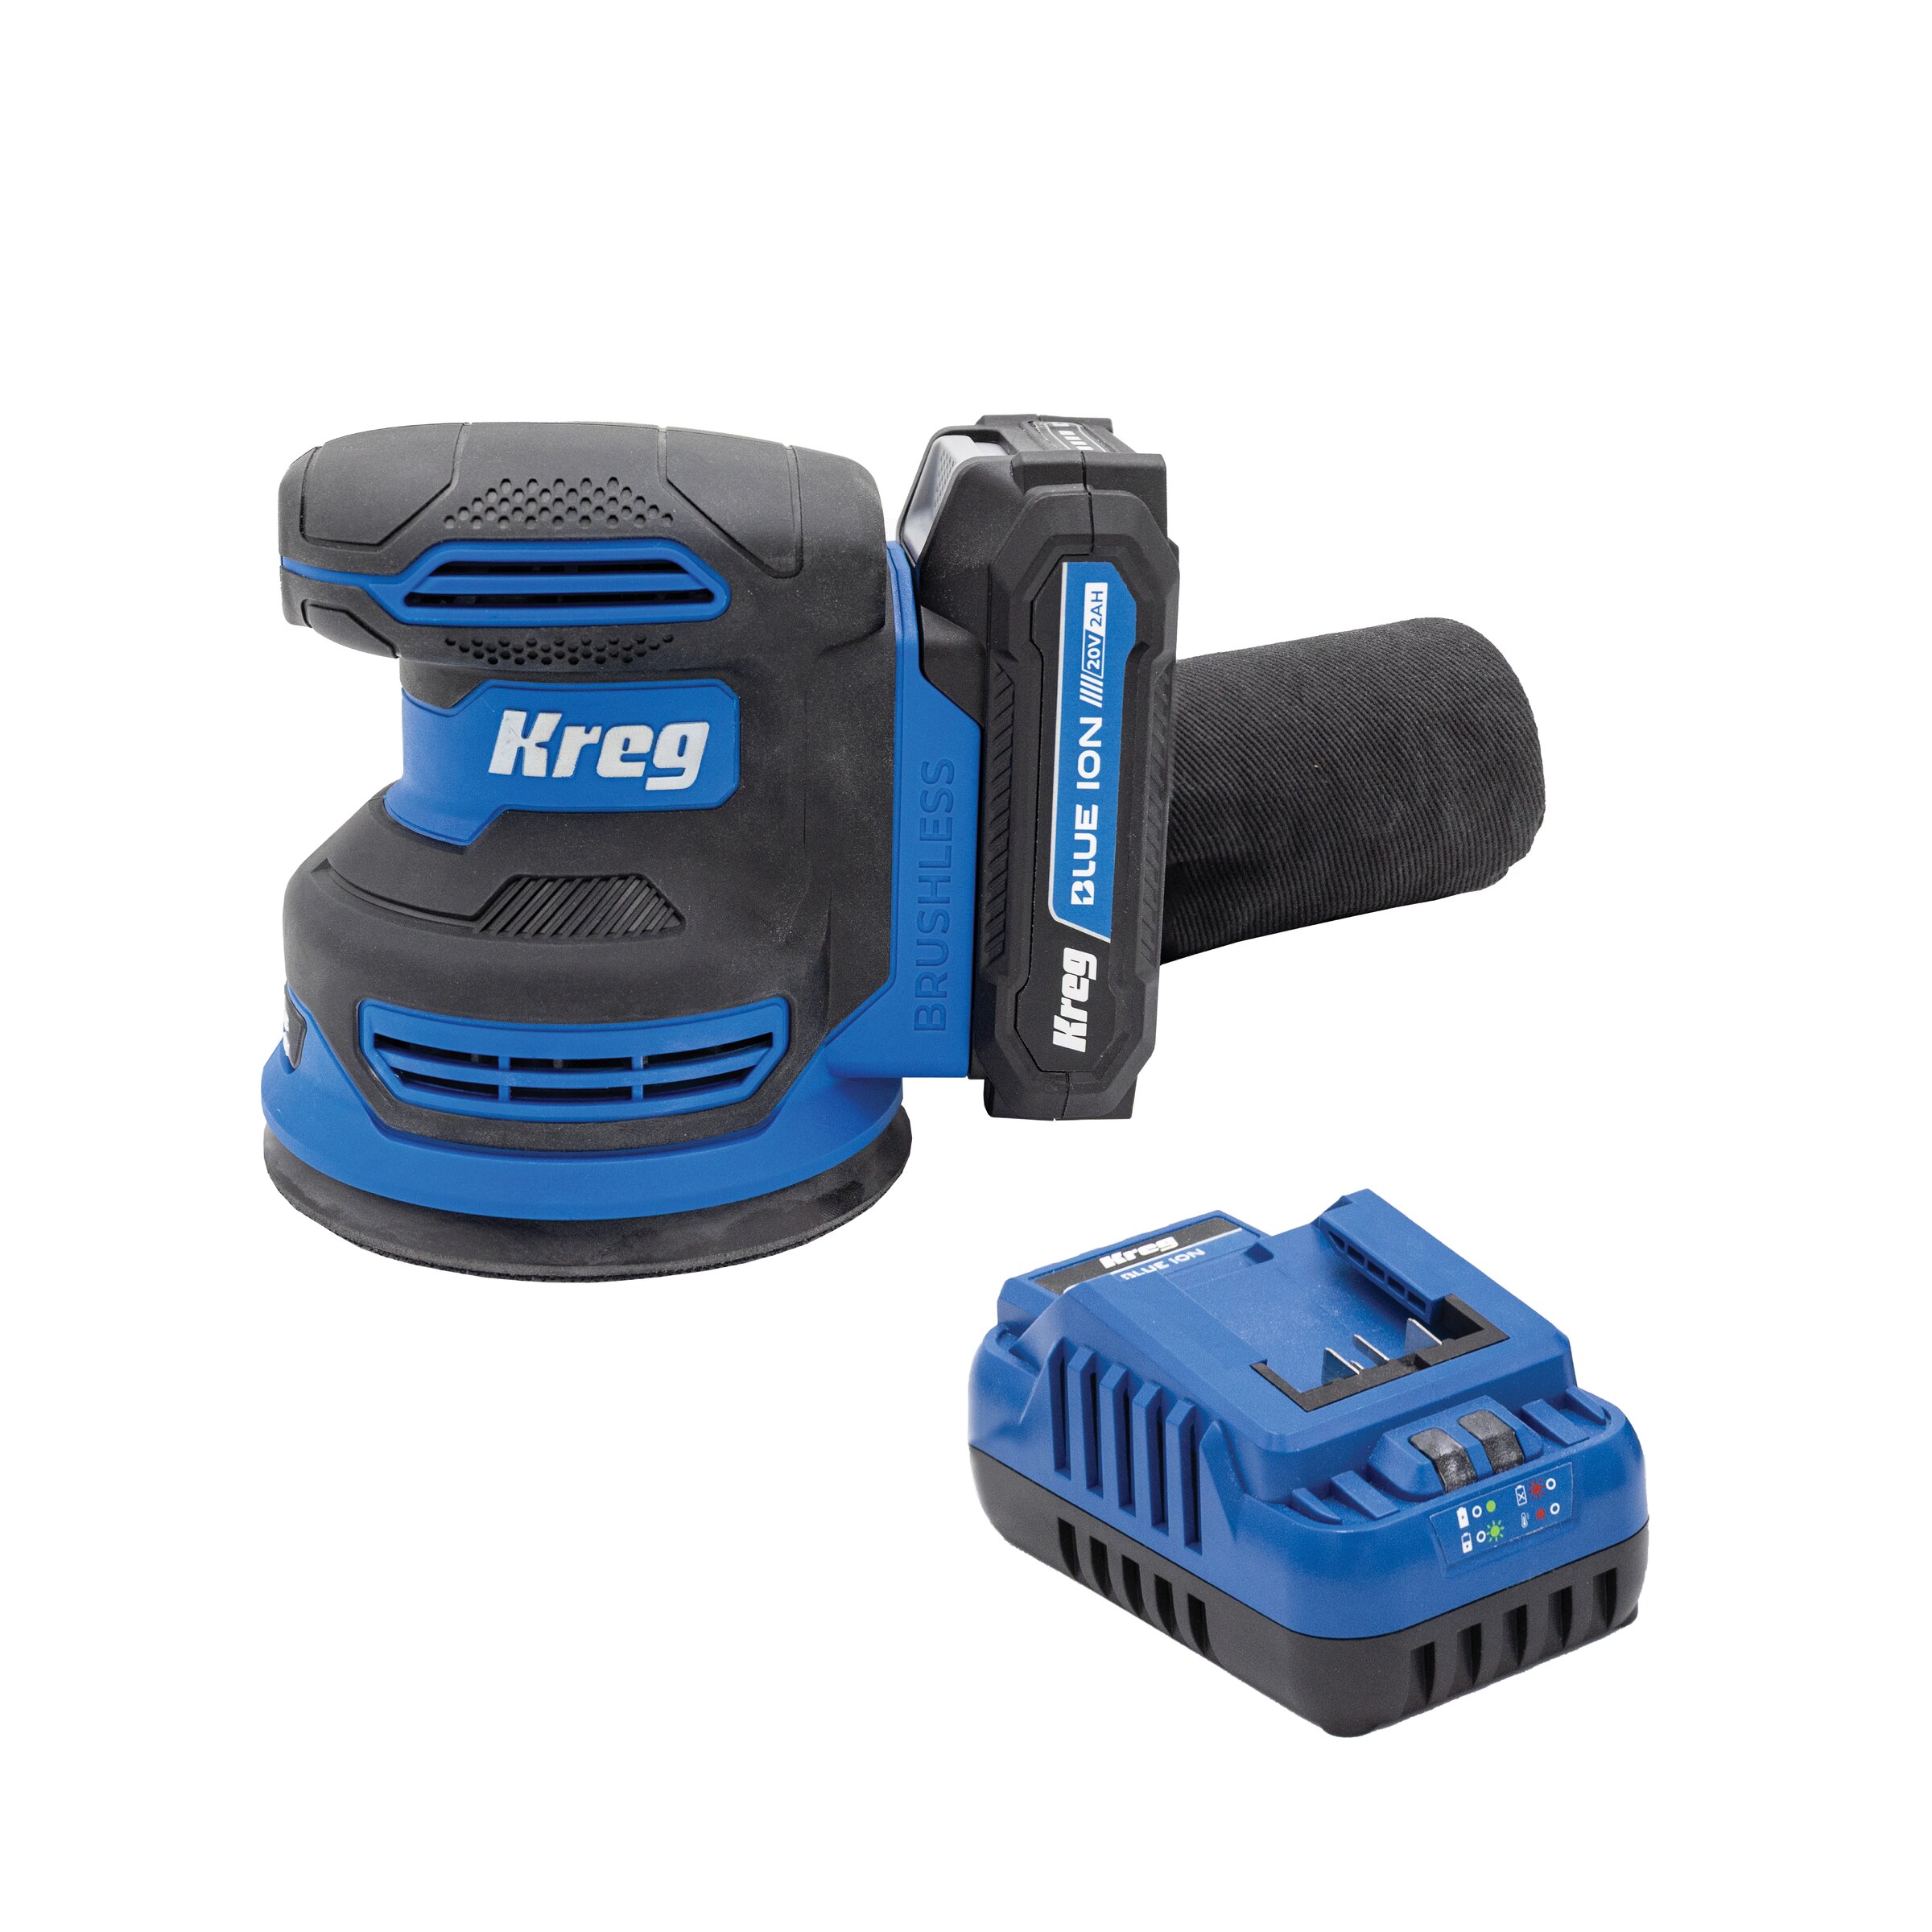
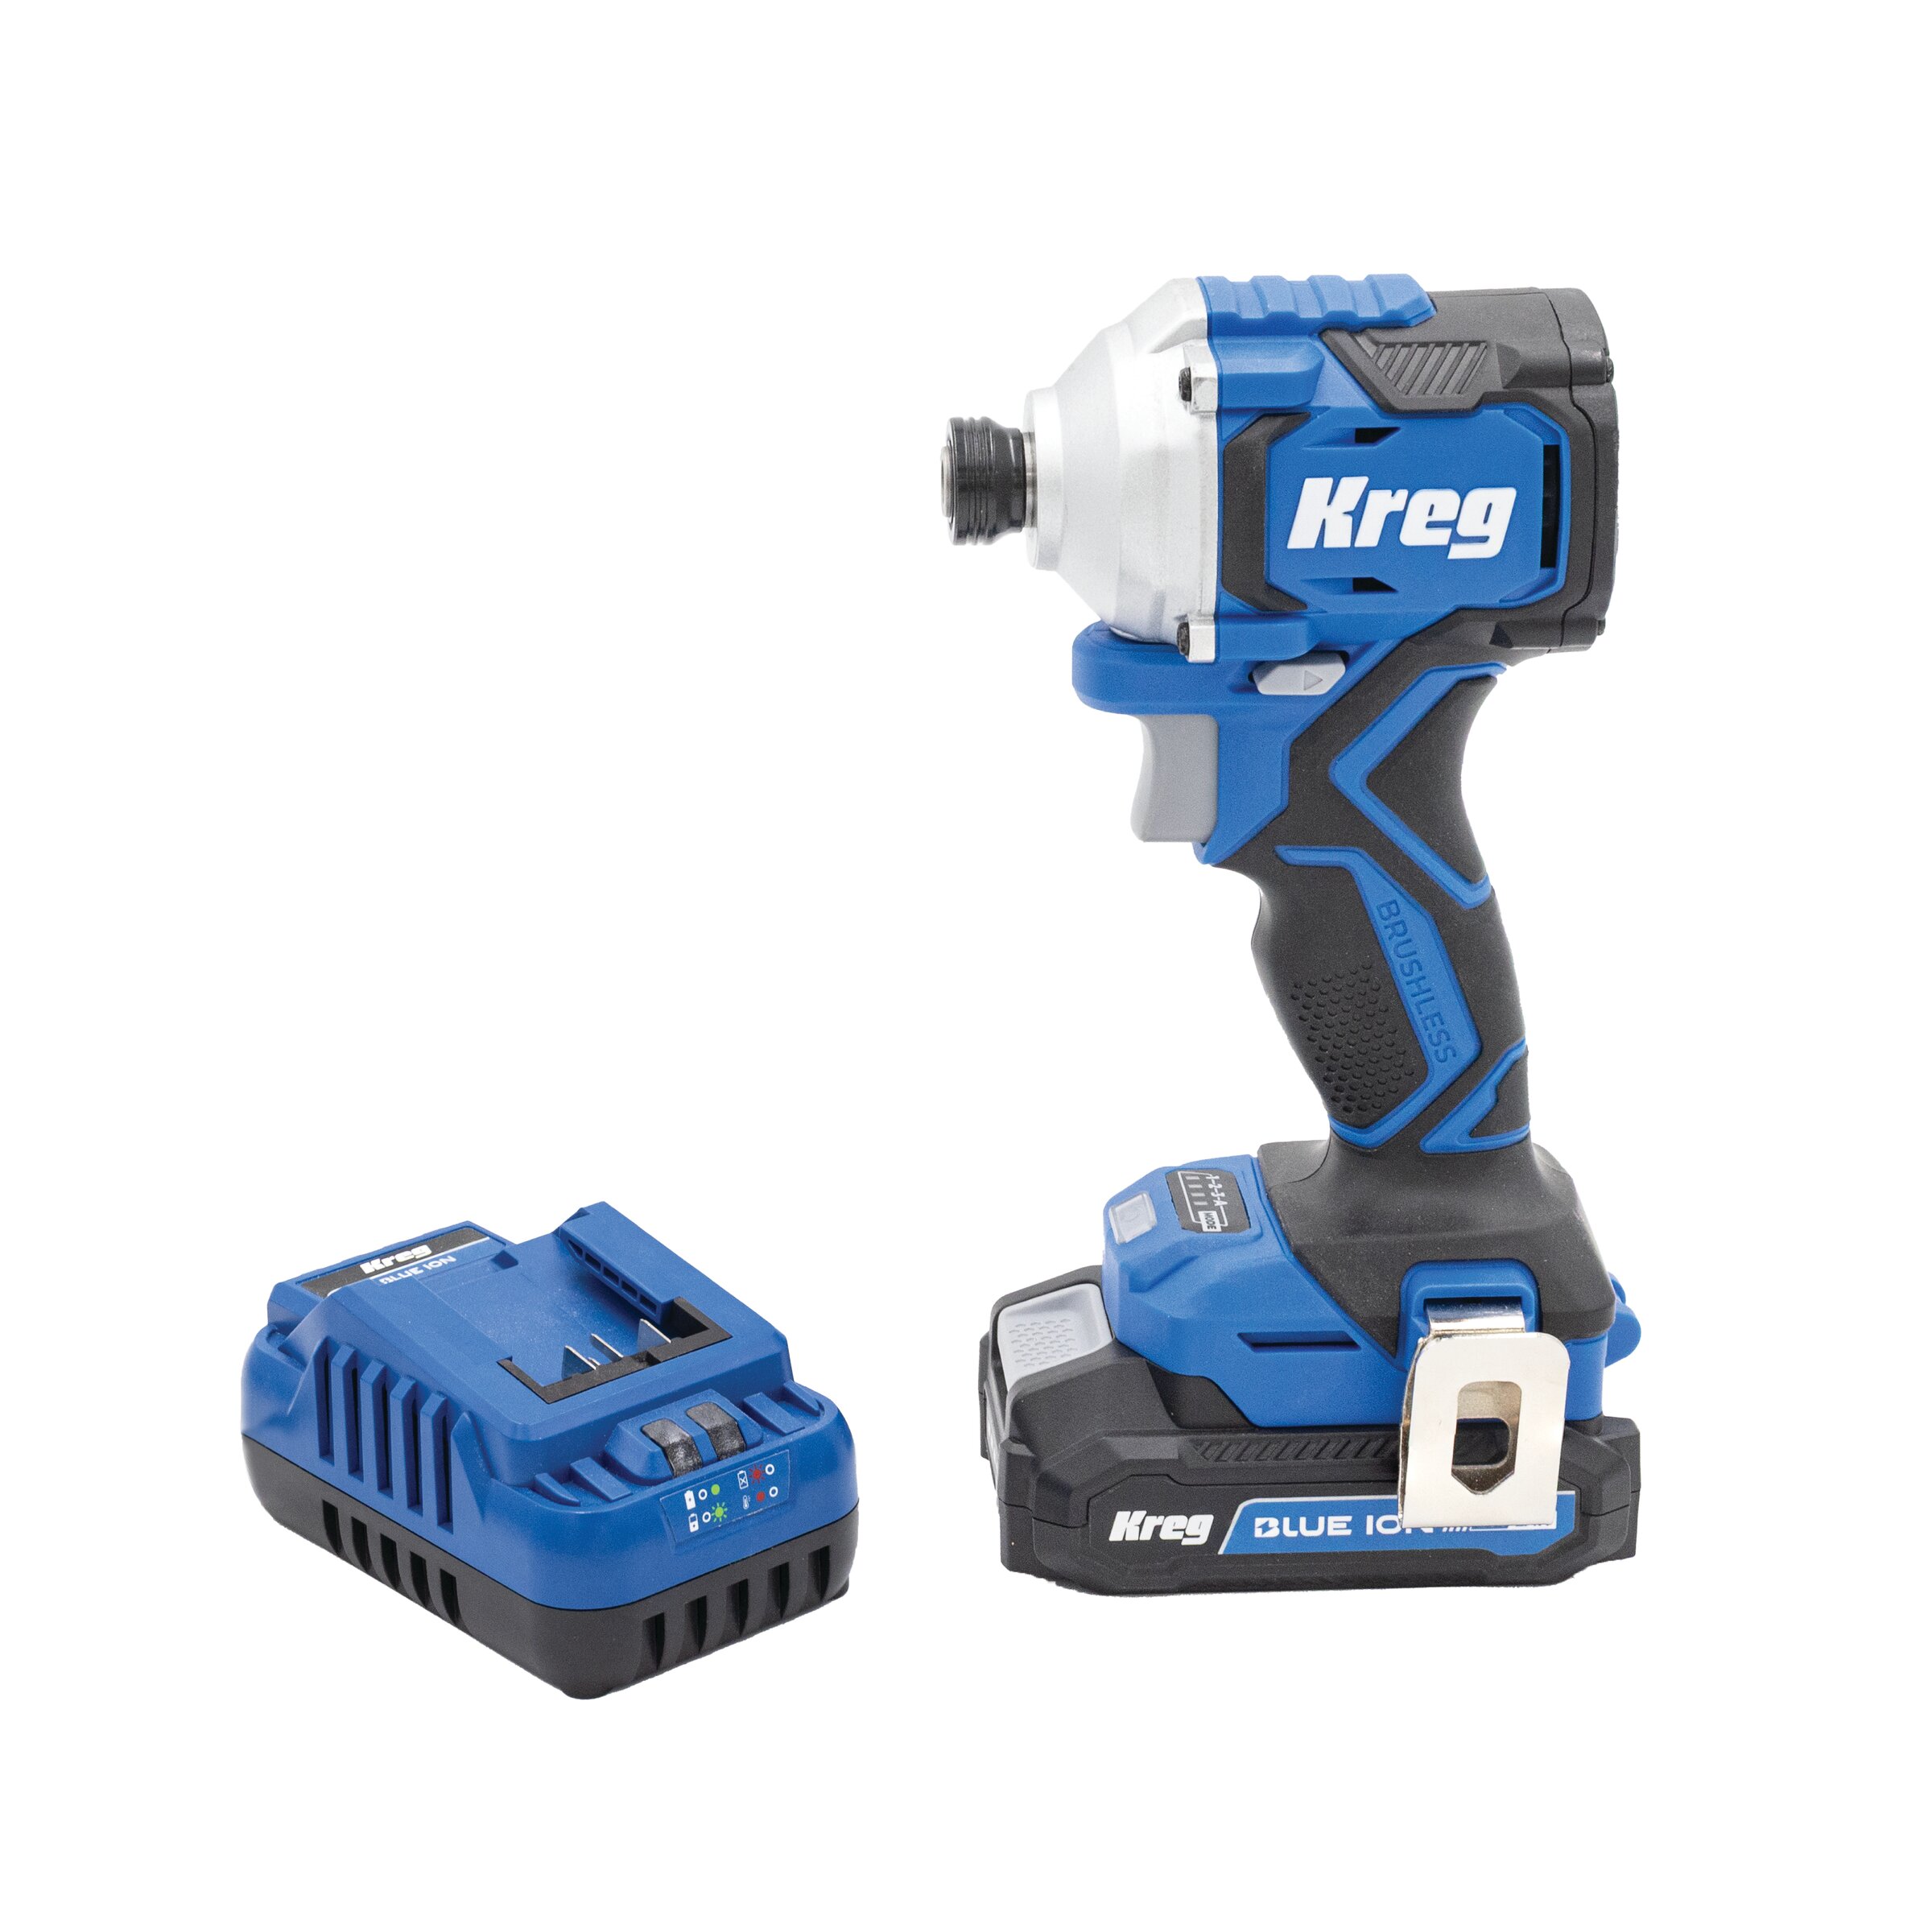
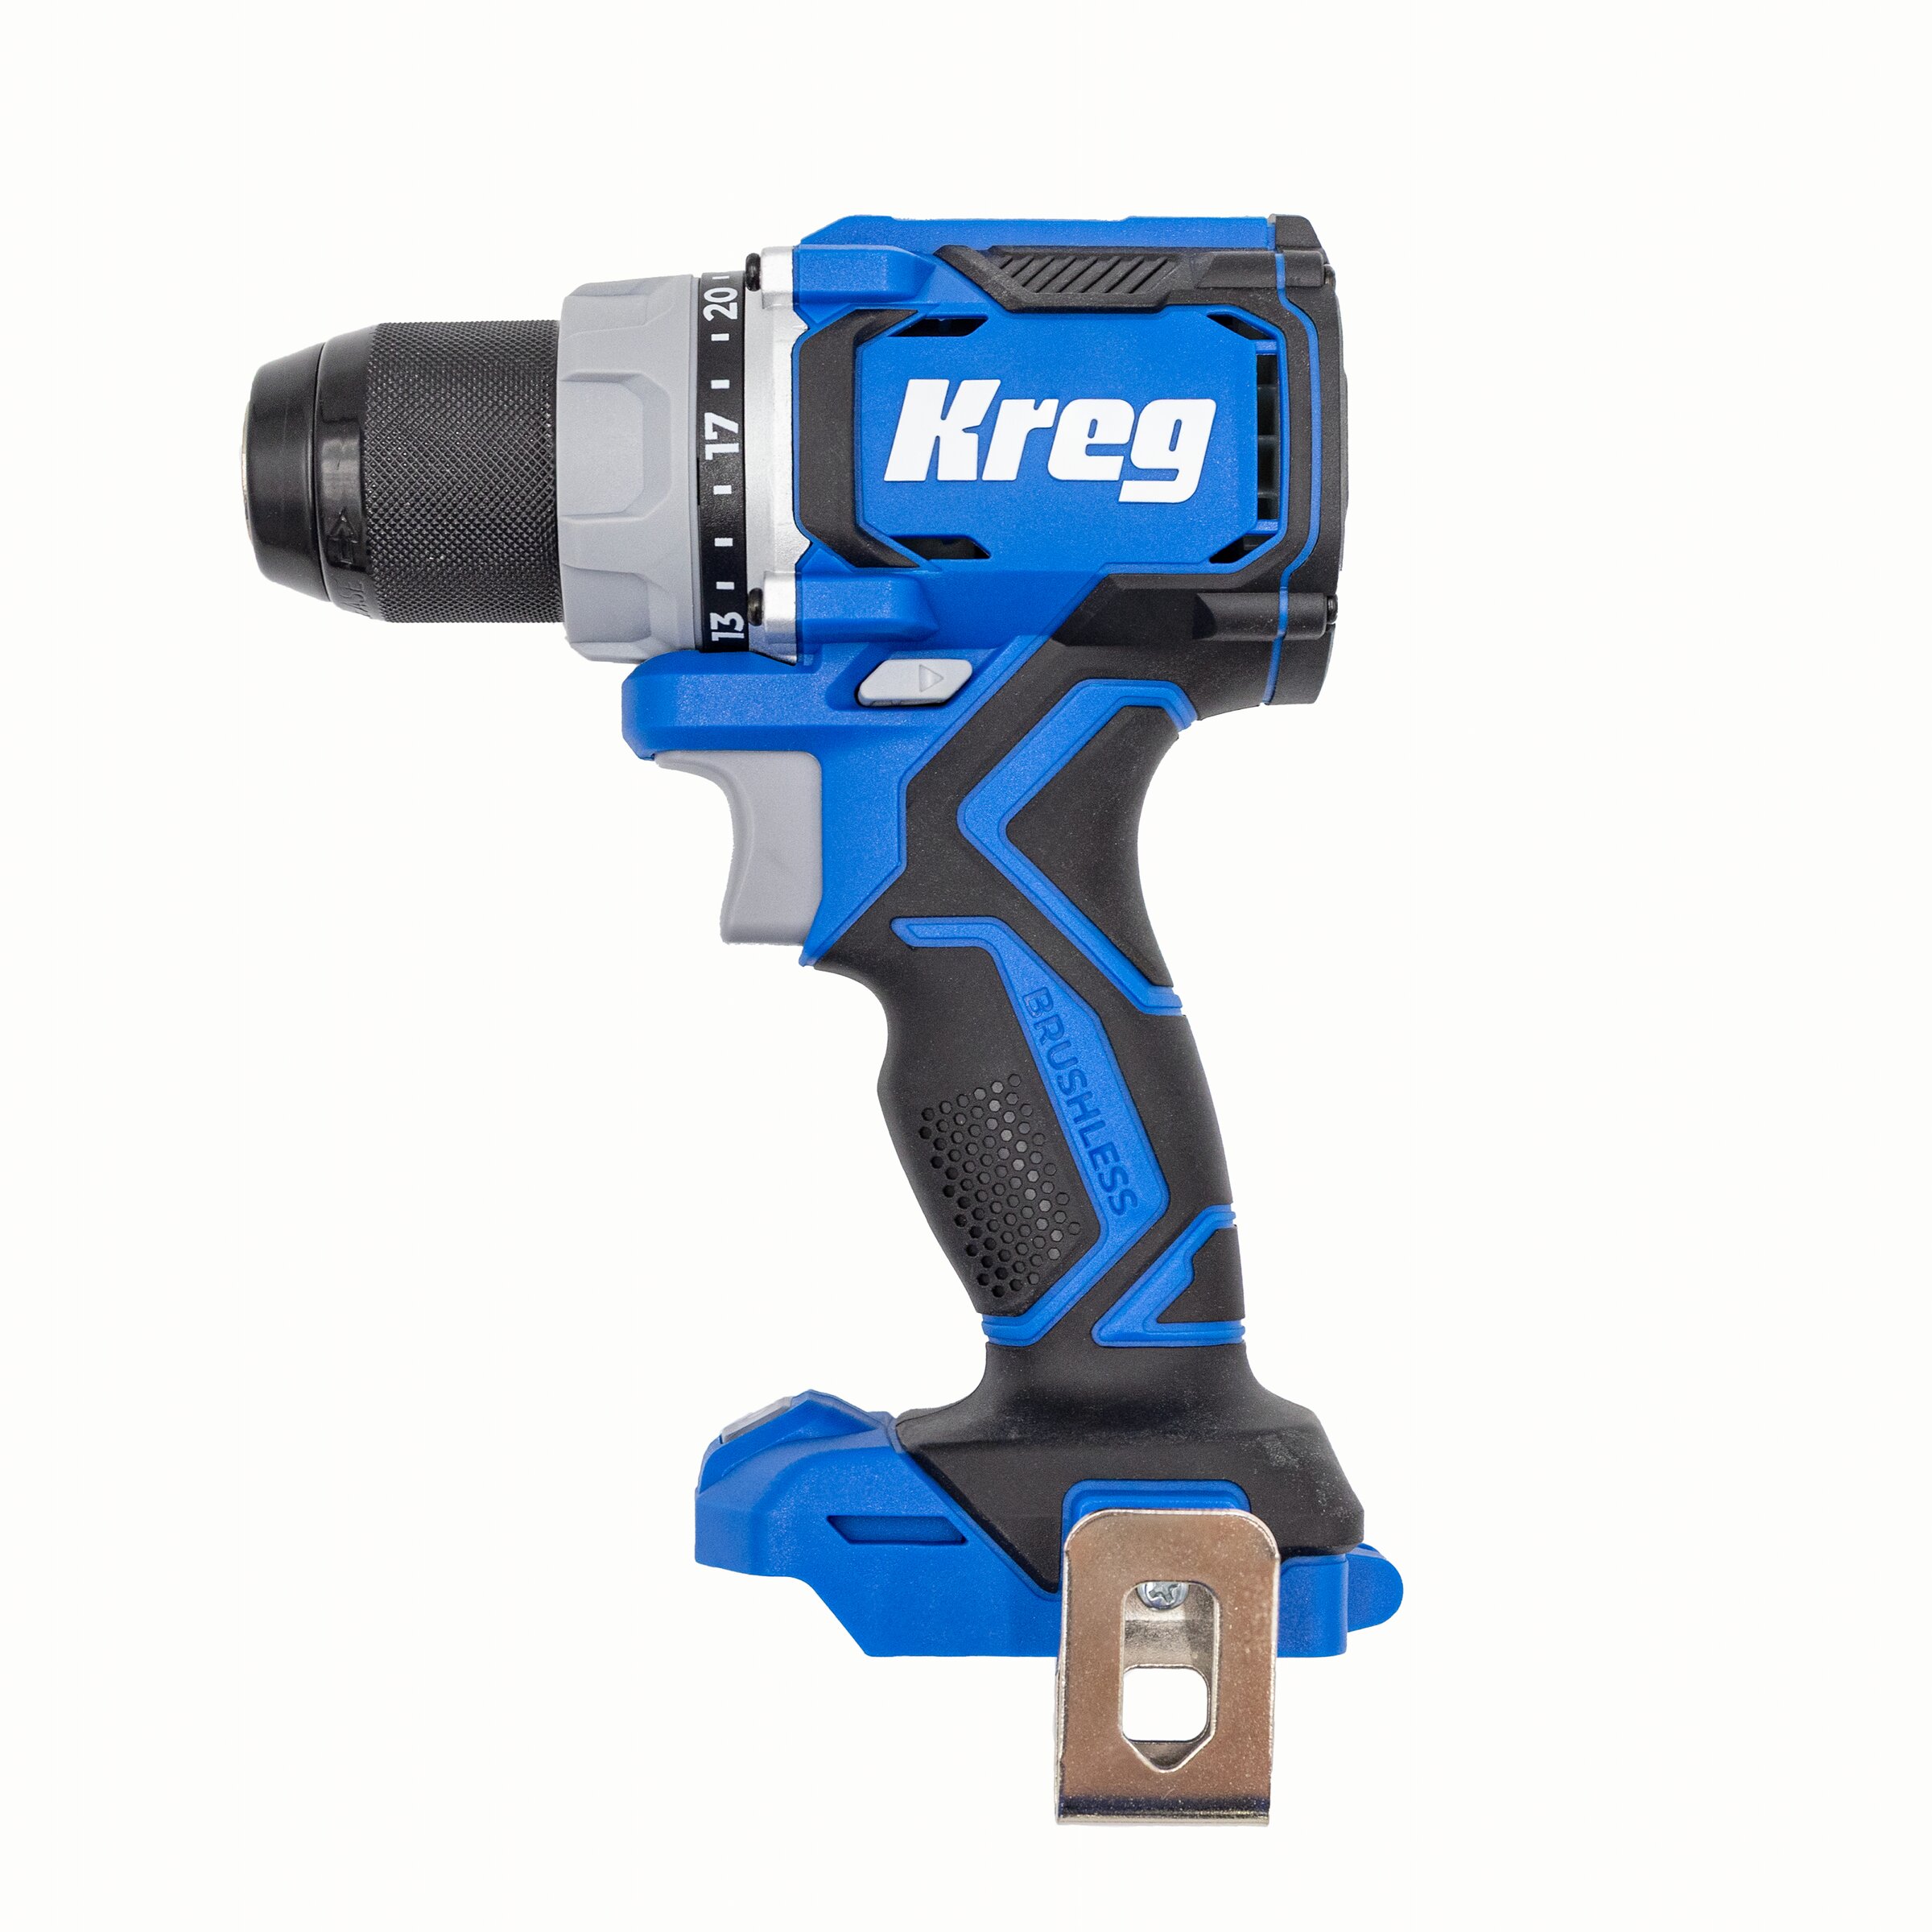
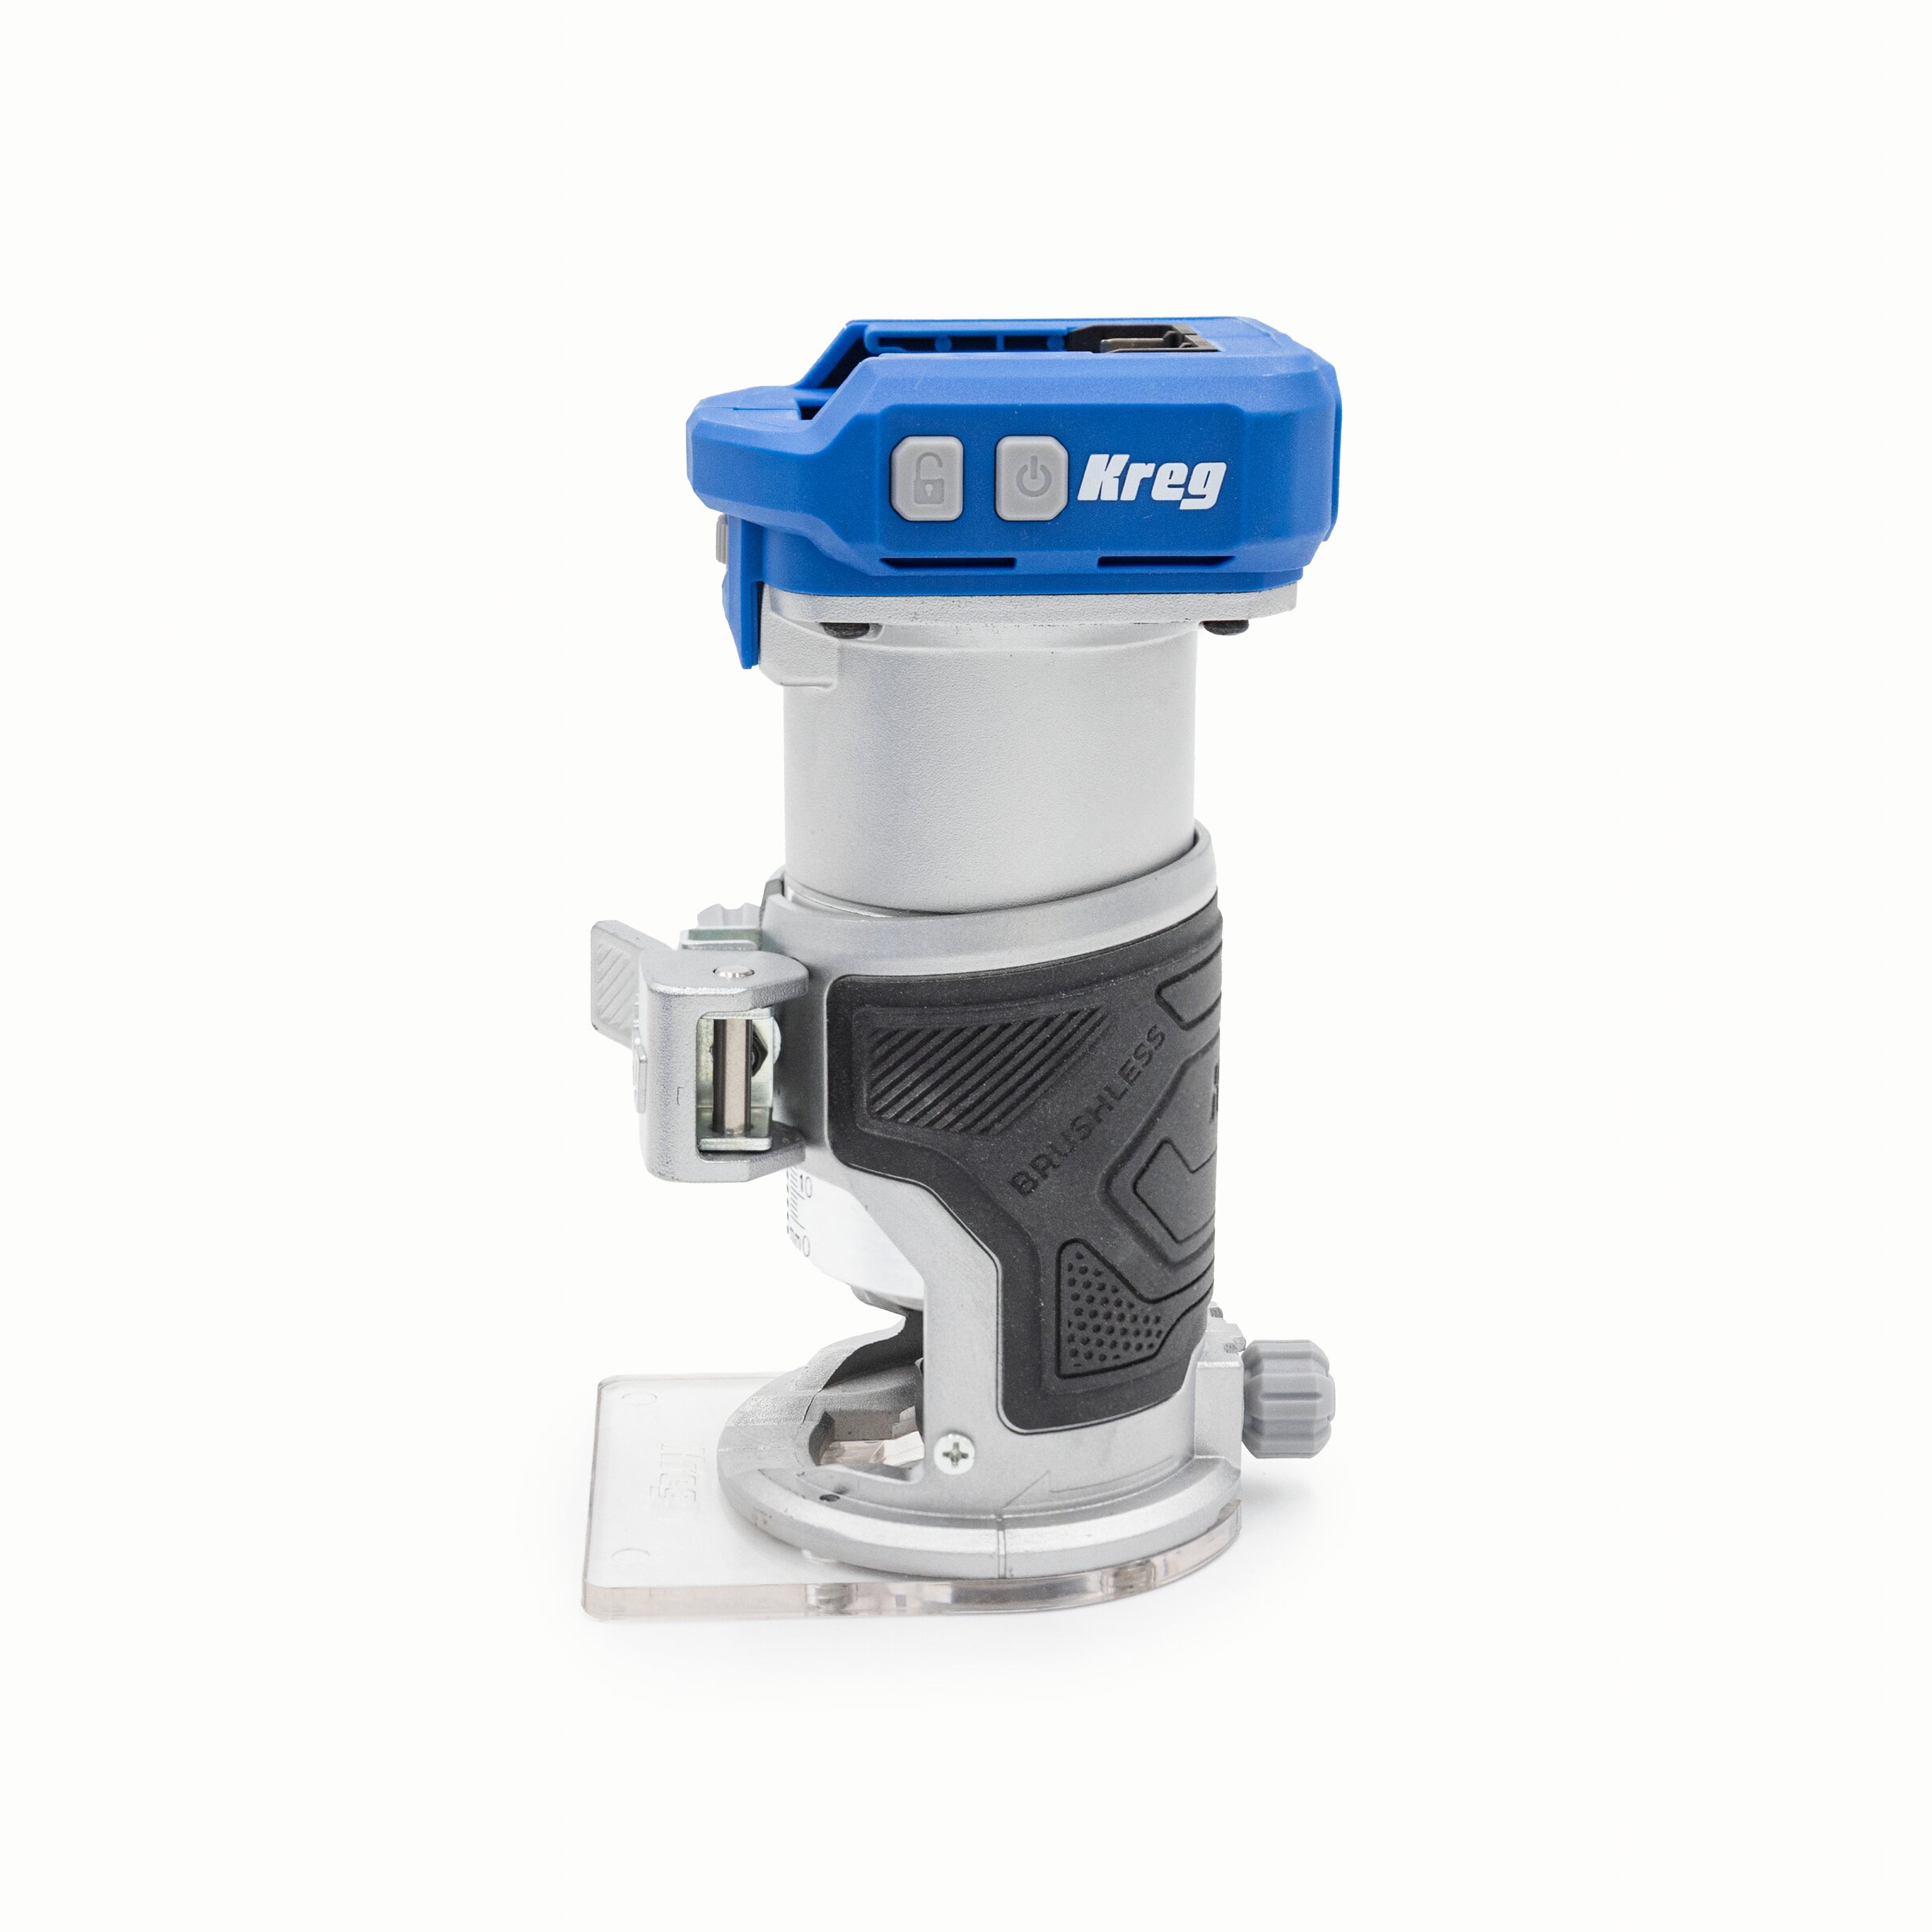
Other Tools
-
Miter saw

-
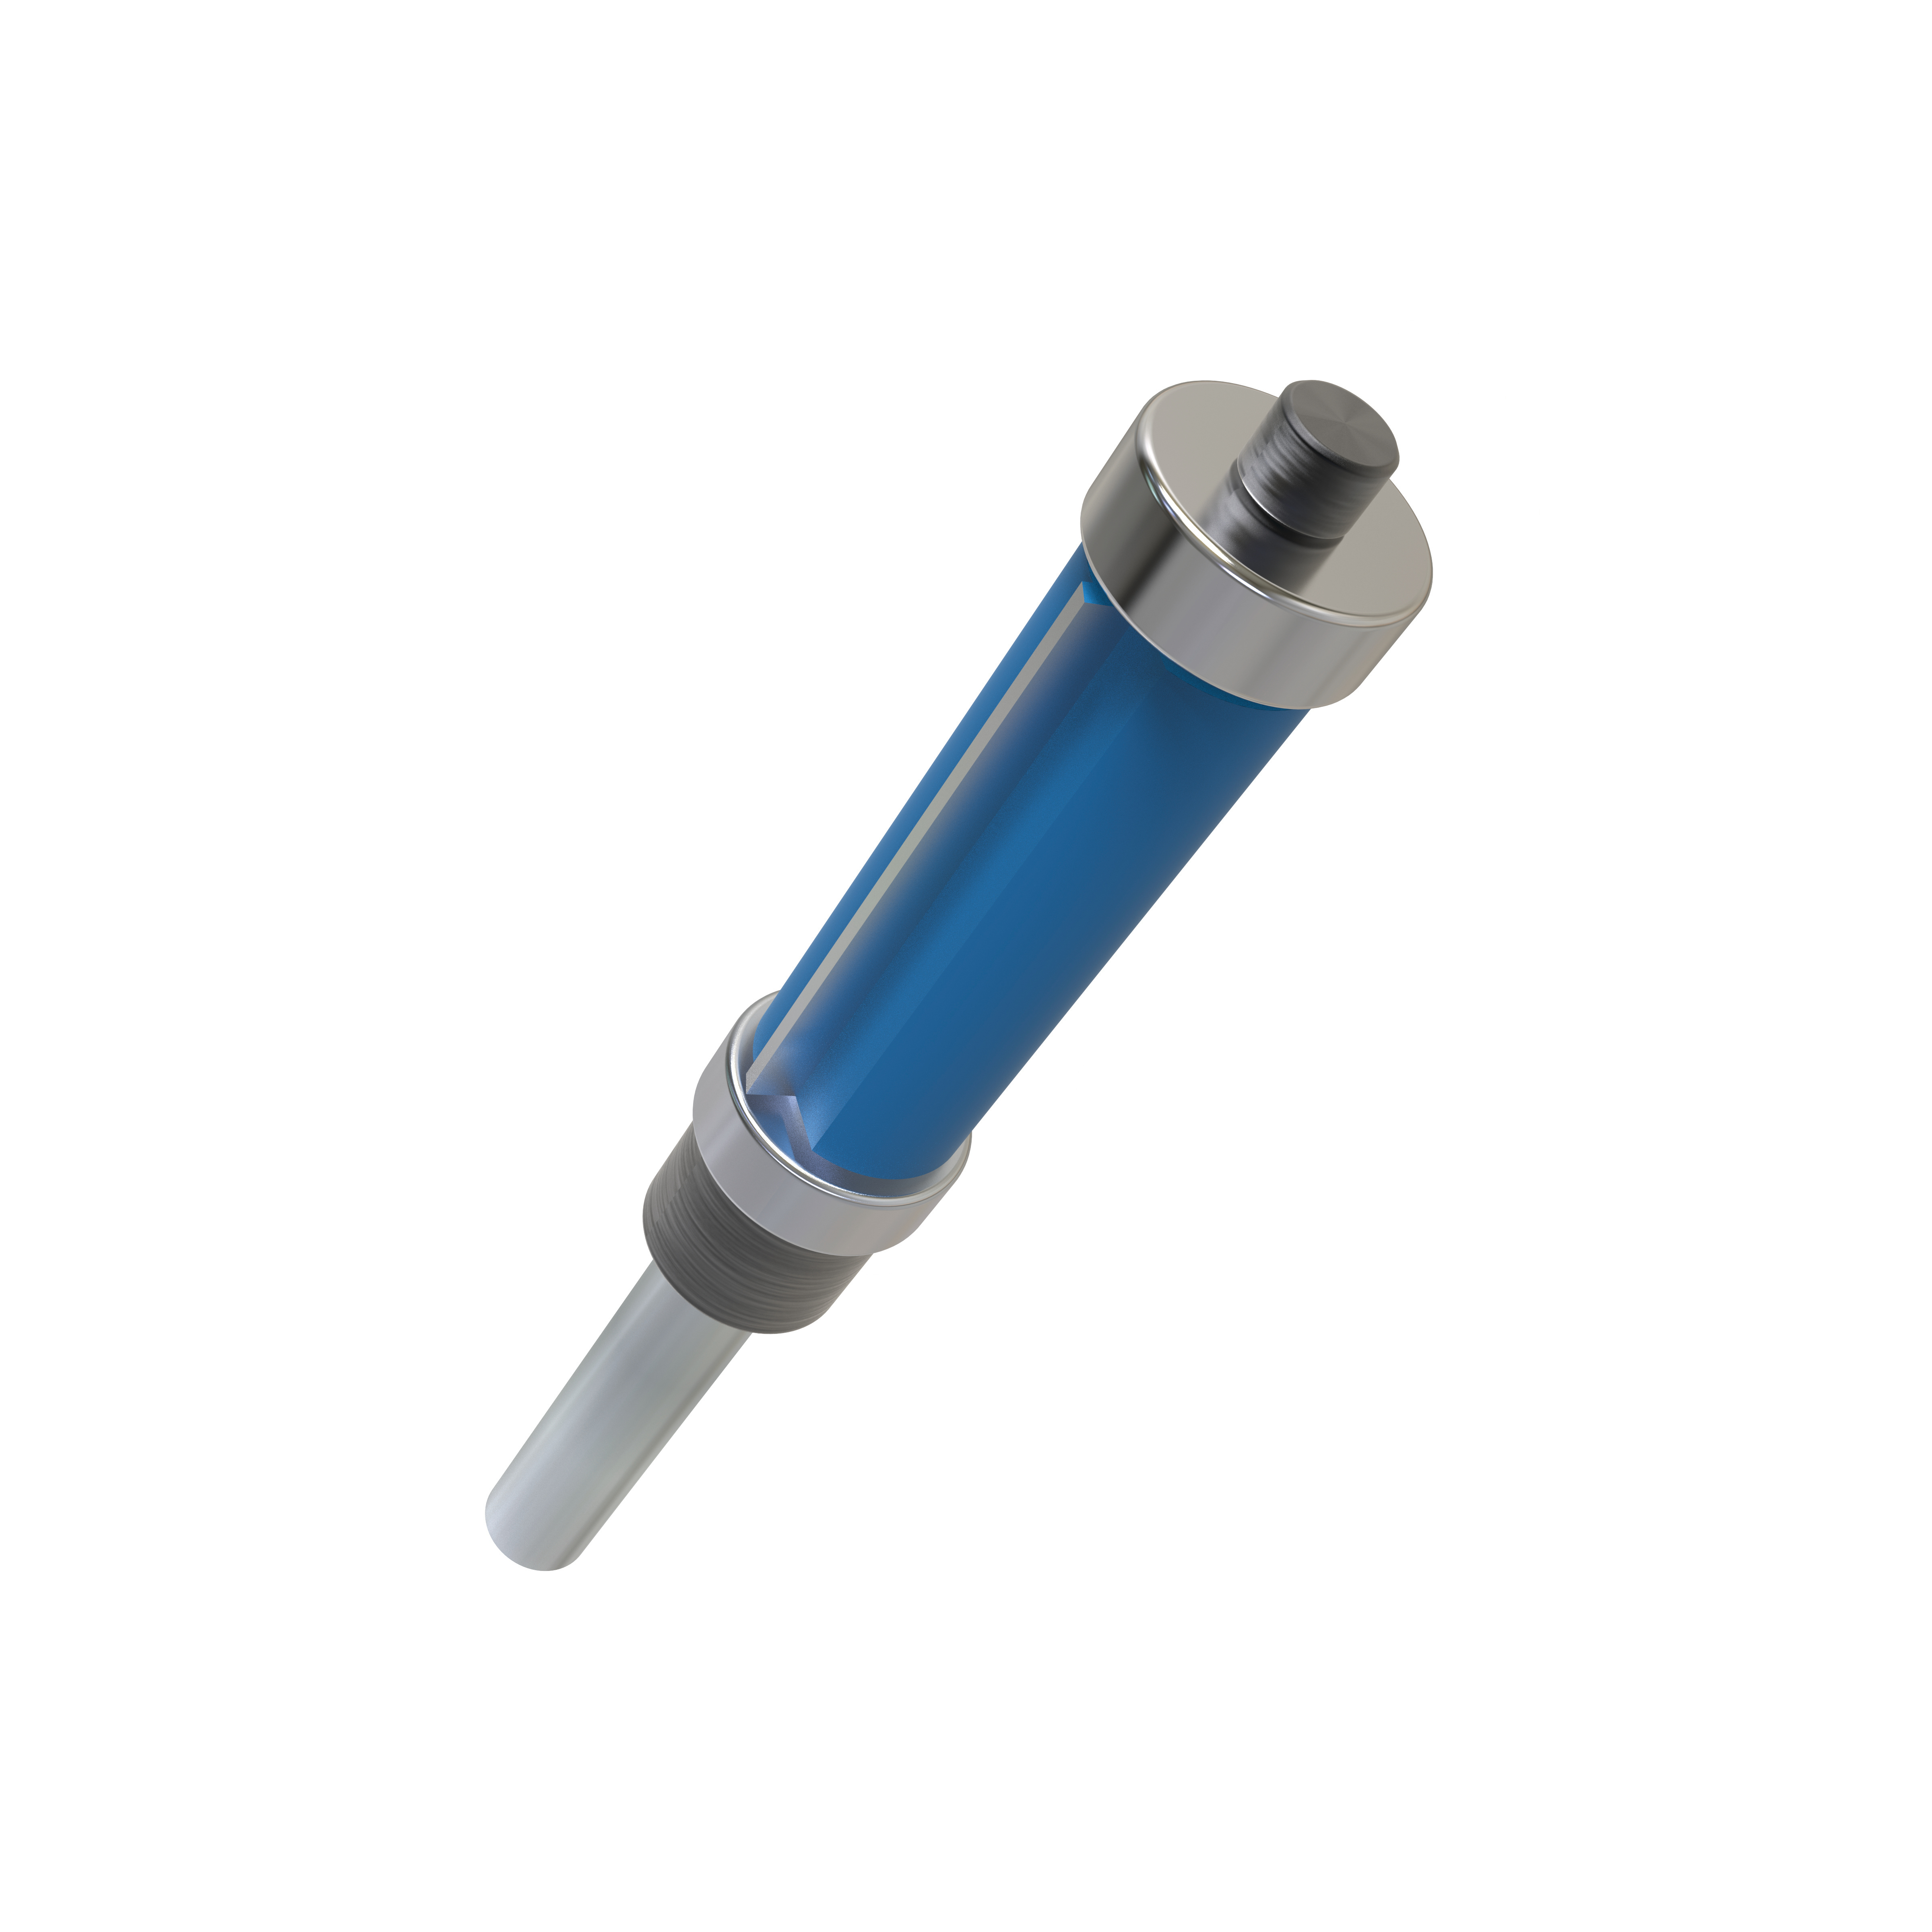
1/4" roundover bit
-
Tape measure
Materials
Wood Products
- 1 Oak , 1/2" x 6" x 2'
- 1 Oak , 3/4" x 8" x 4'
Hardware & Supplies
- -- Sandpaper (60, 80, 120, and 220 grit)
- -- Wood filler
- -- Stain
- -- Wood glue
- -- Spray lacquer
- -- Half round wood beads
- -- Instant wood adhesive
Directions
-
Cut wood
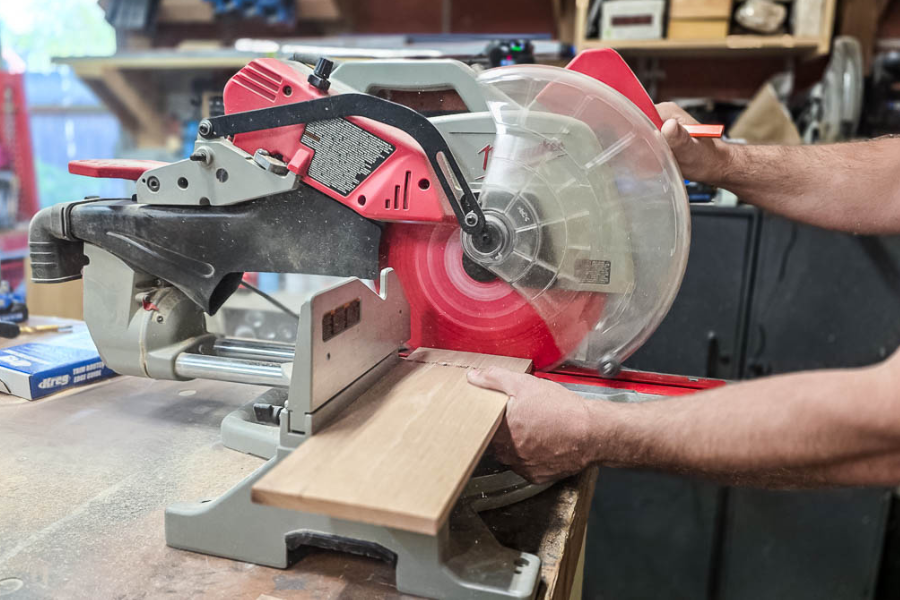
Start by cutting the napkin bottom and napkin side pieces down to size with a miter saw.
For the napkin holder...
No need to cut the pieces for the napkin holder, you can use the router to get them out of the larger 1x8 board.
-
Cut circles for cup holder
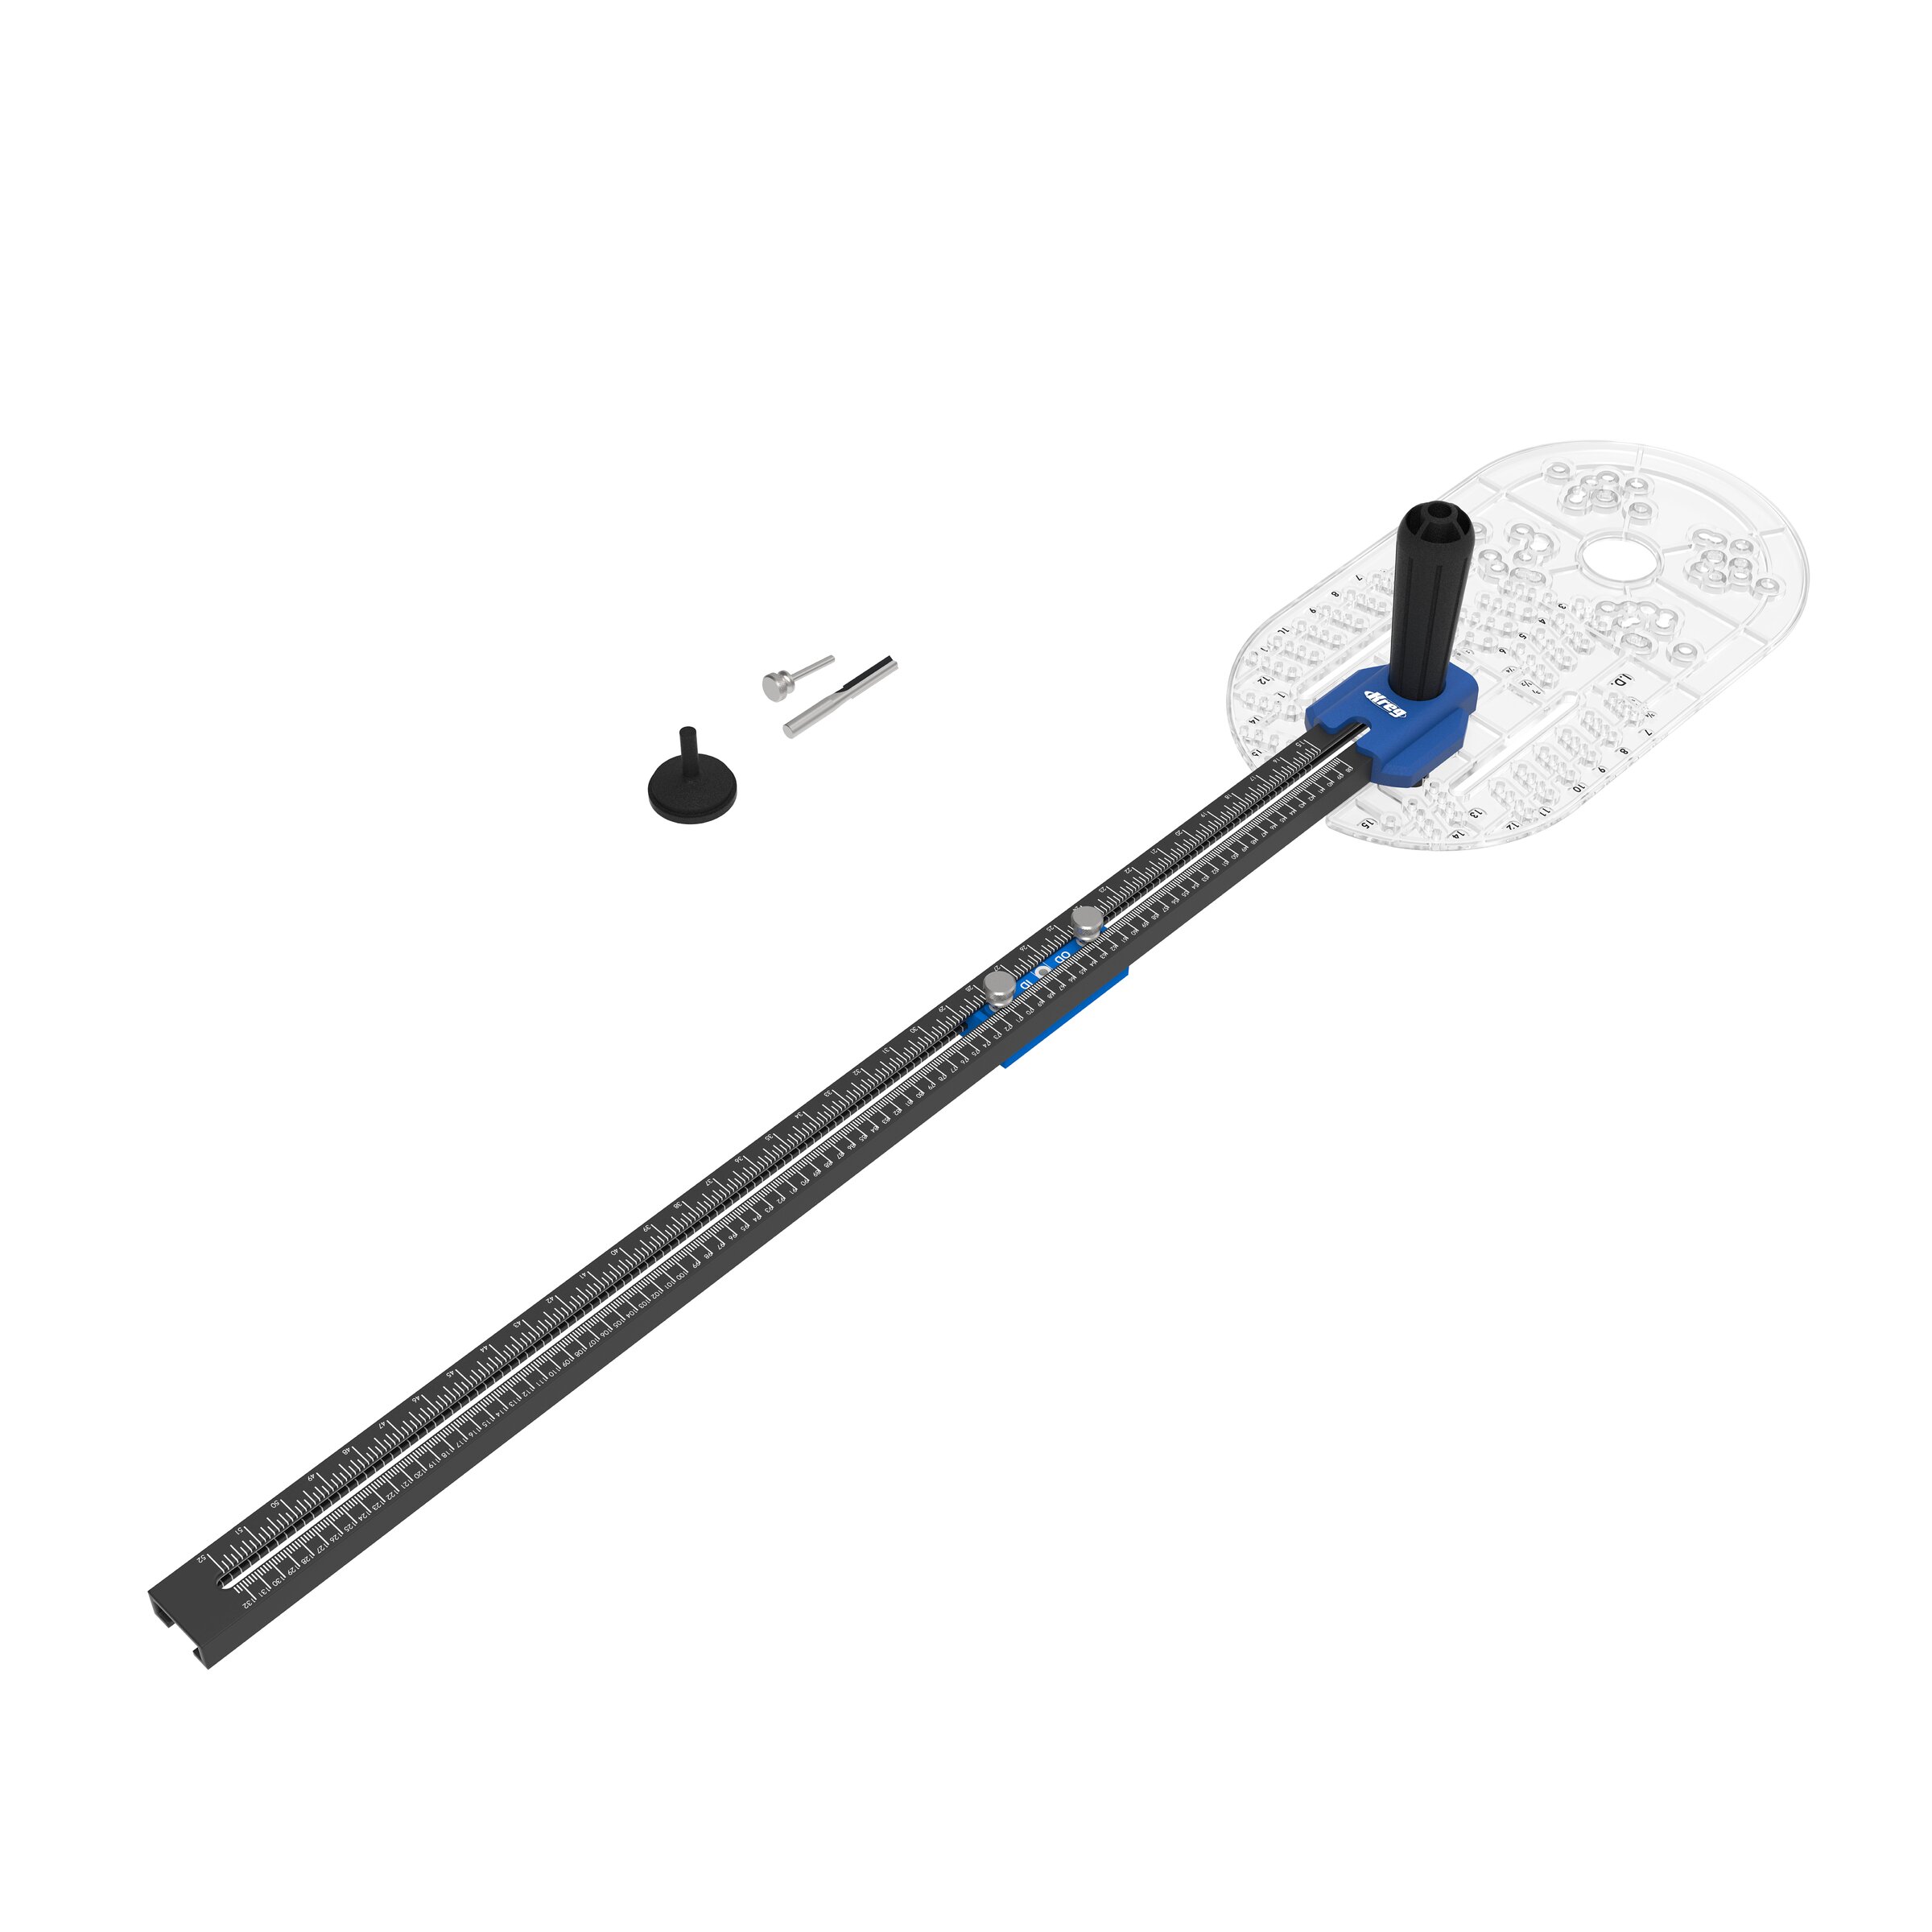
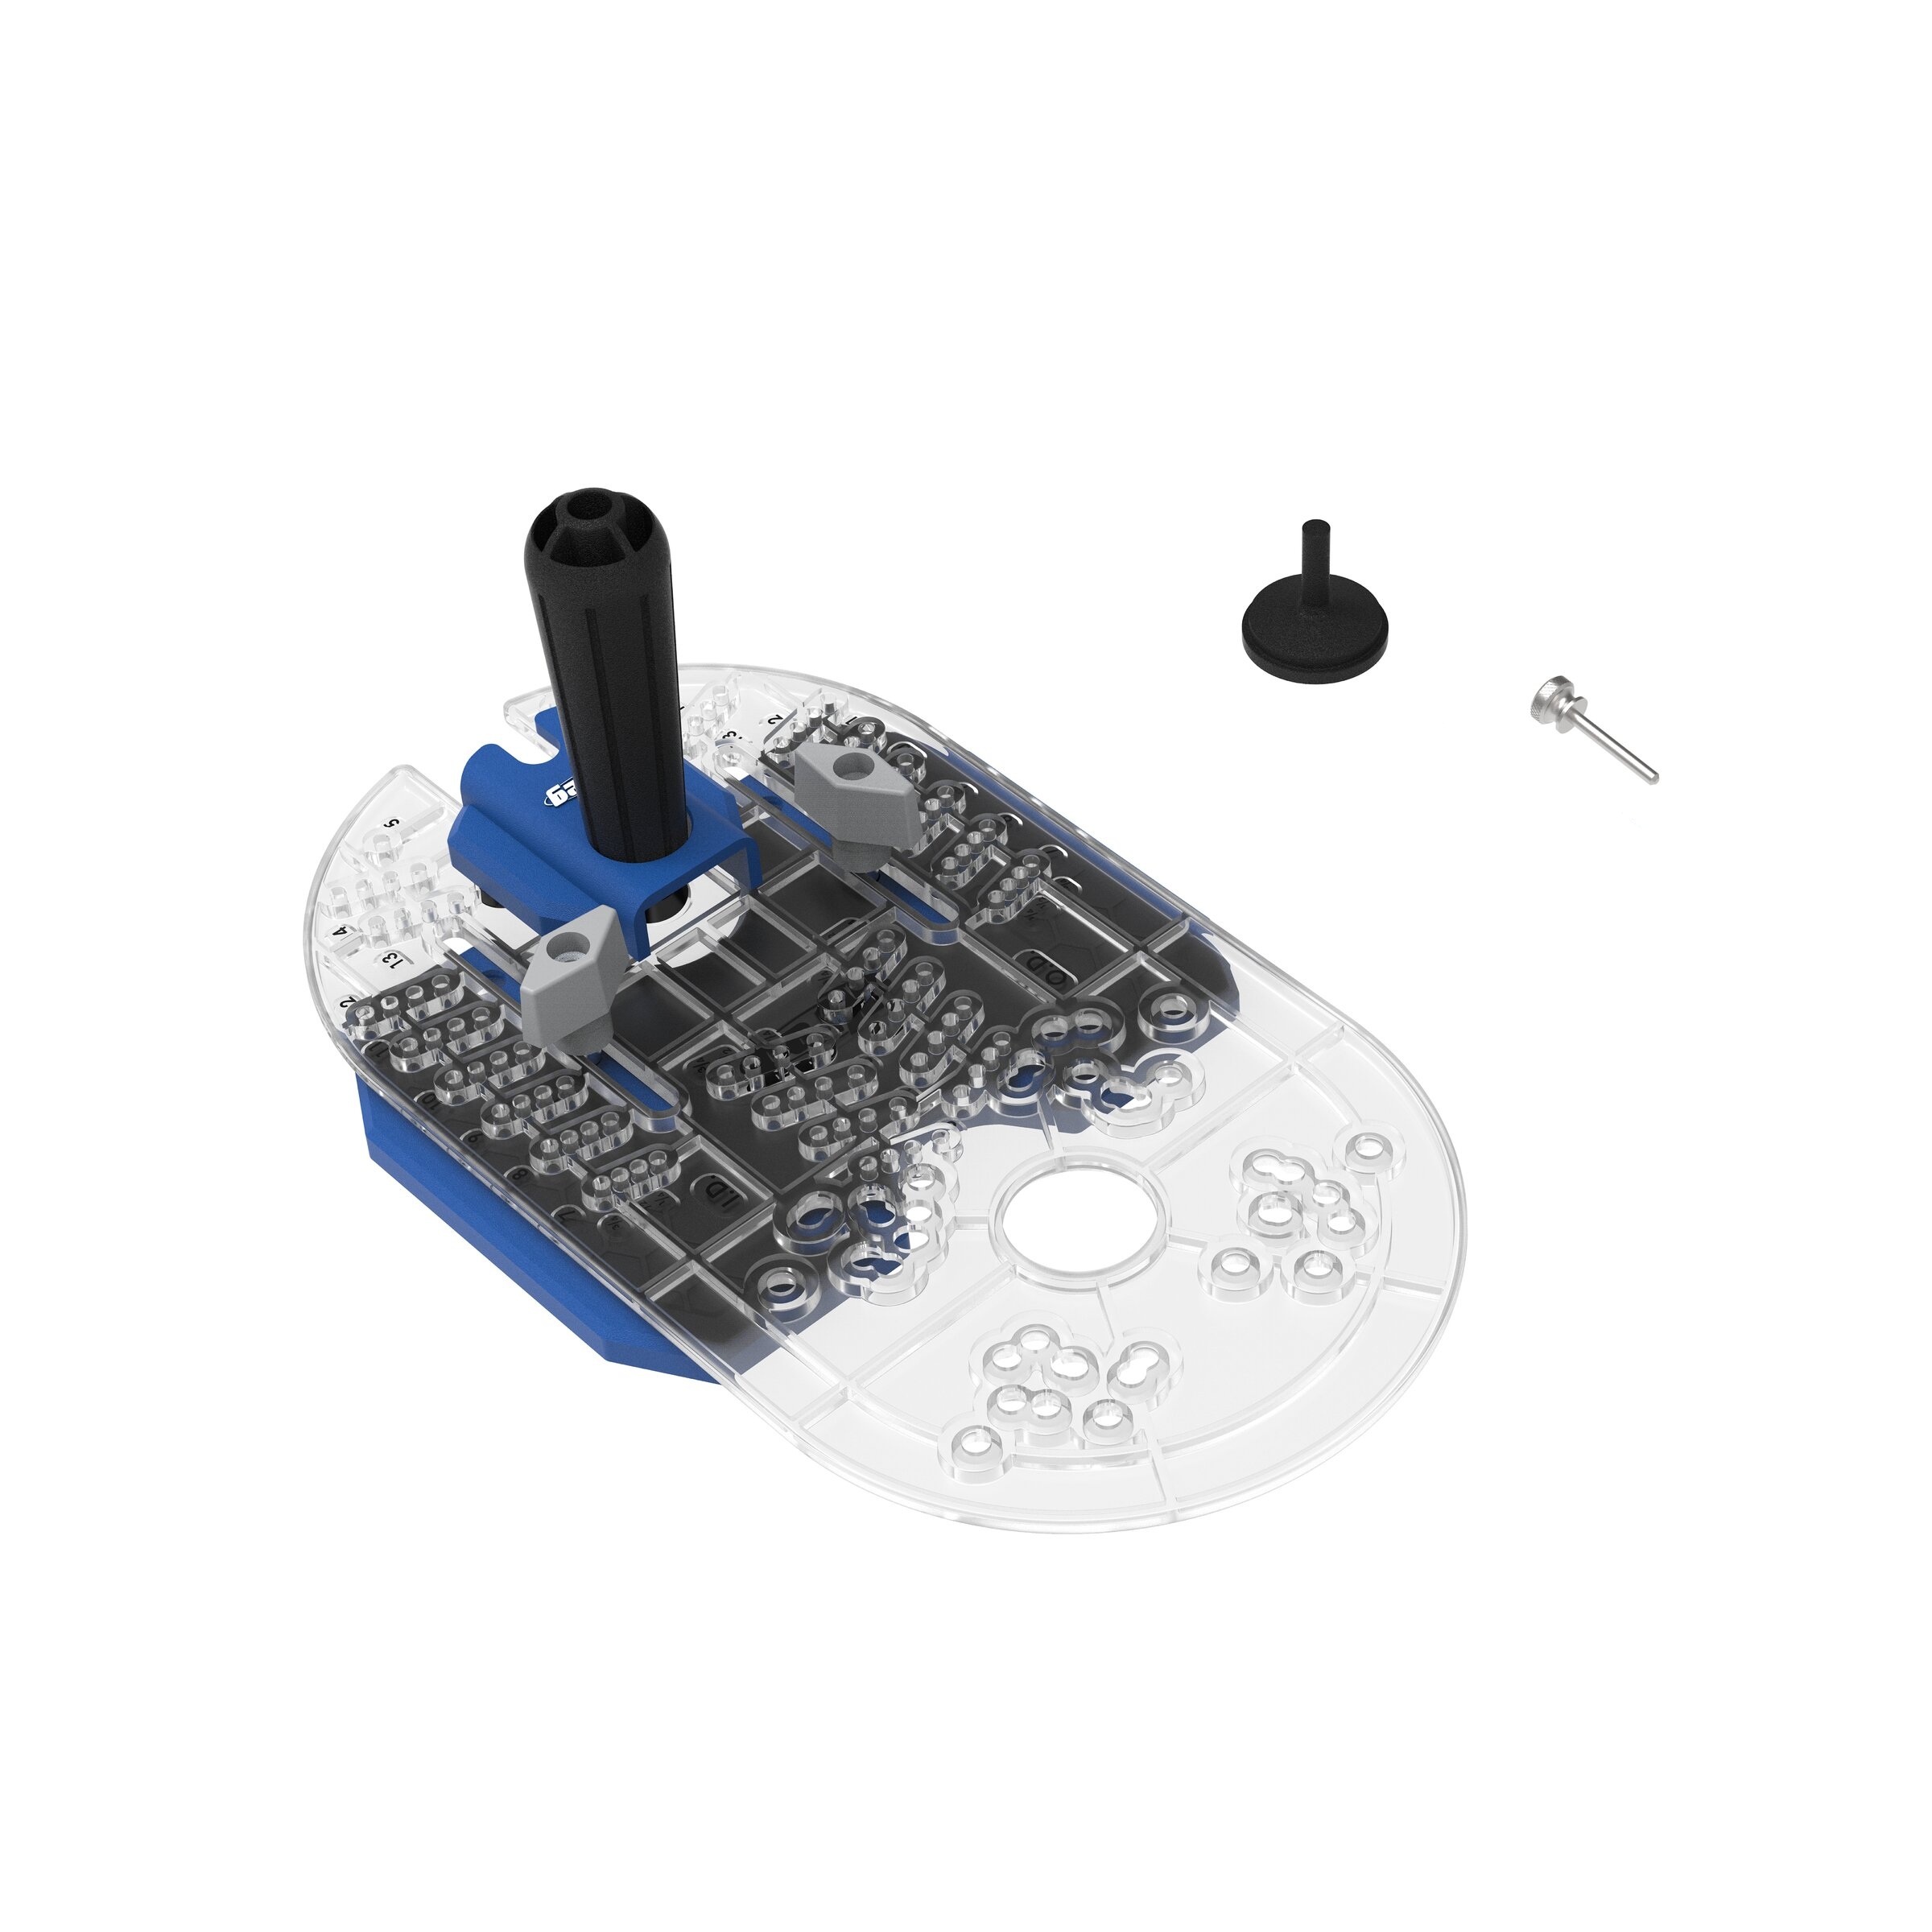
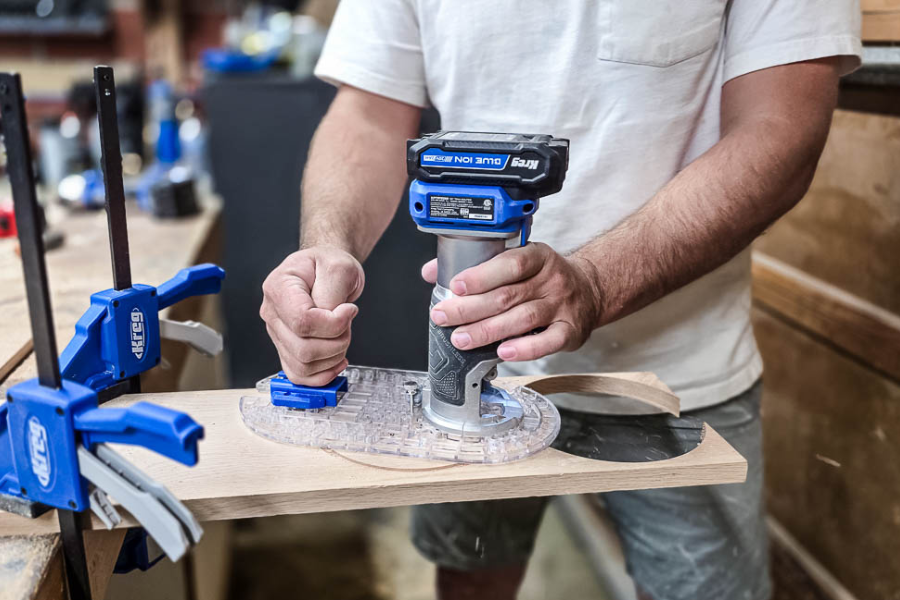
Using the Kreg trim router and circle guide, cut four circles from the 1x8 board. For three of the circles, you’ll also cut out the insides as shown in the visual cut list and woodworking plans.
-
Round corners for napkin holder.
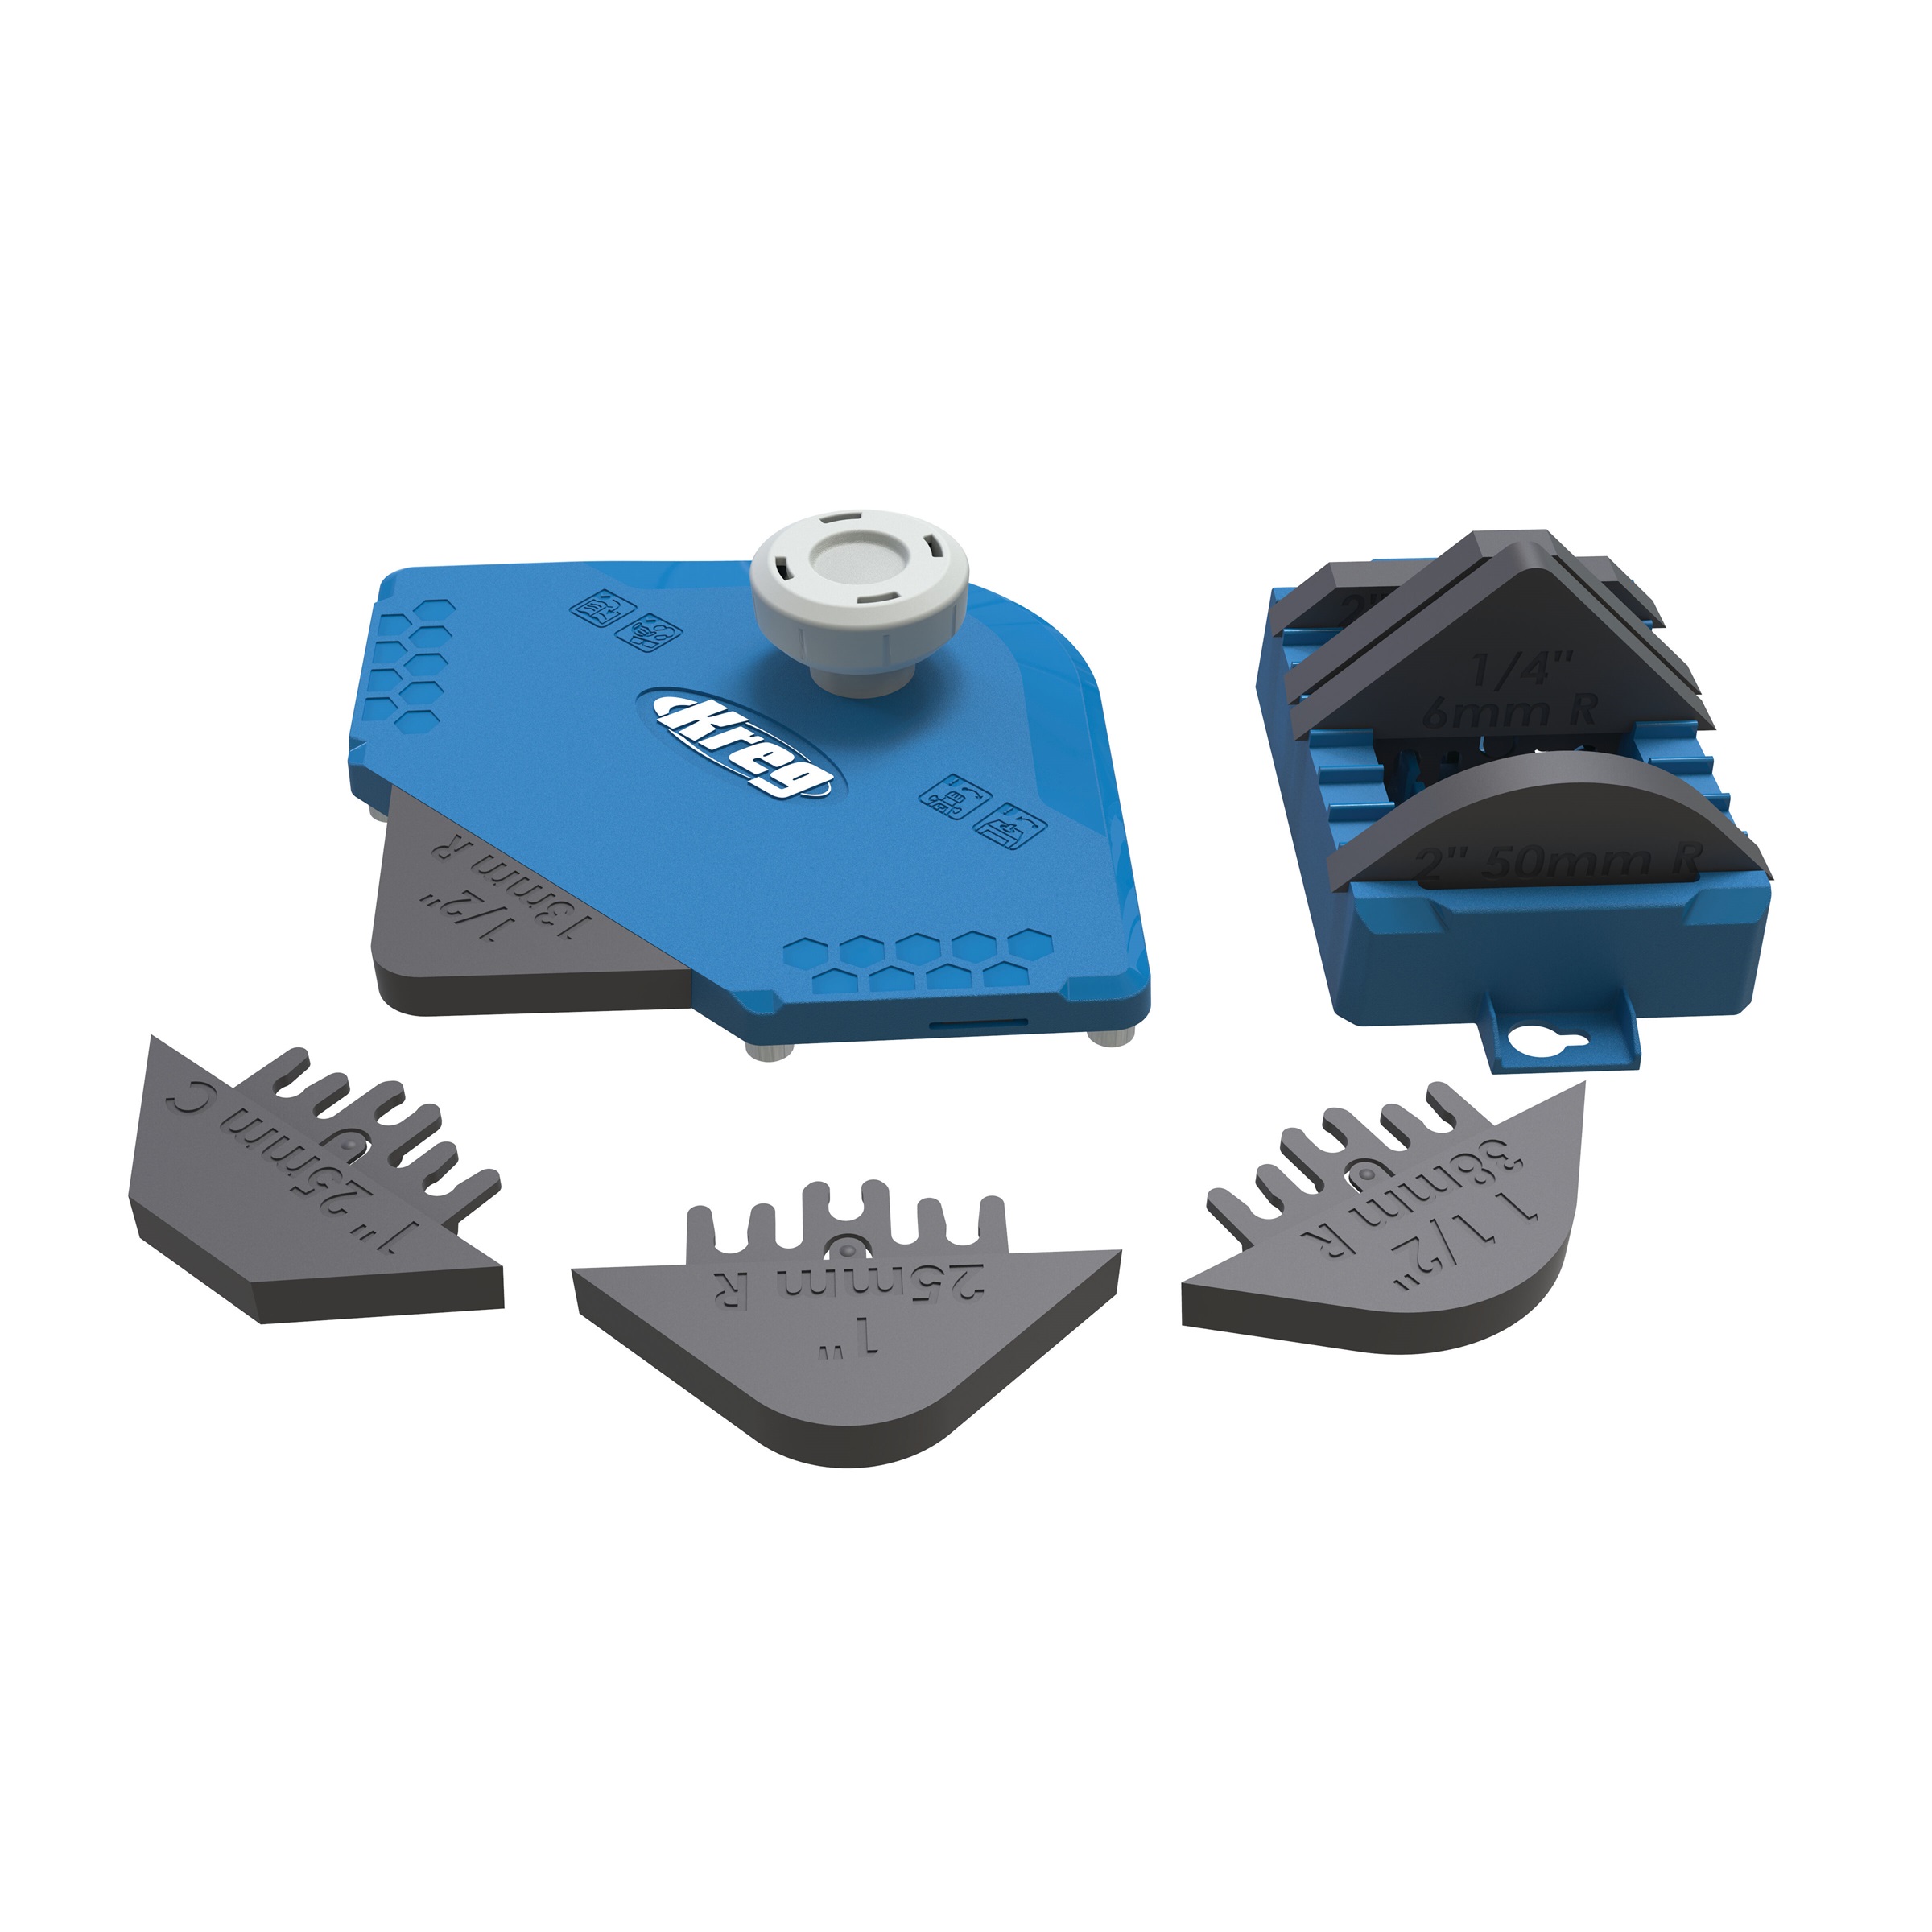
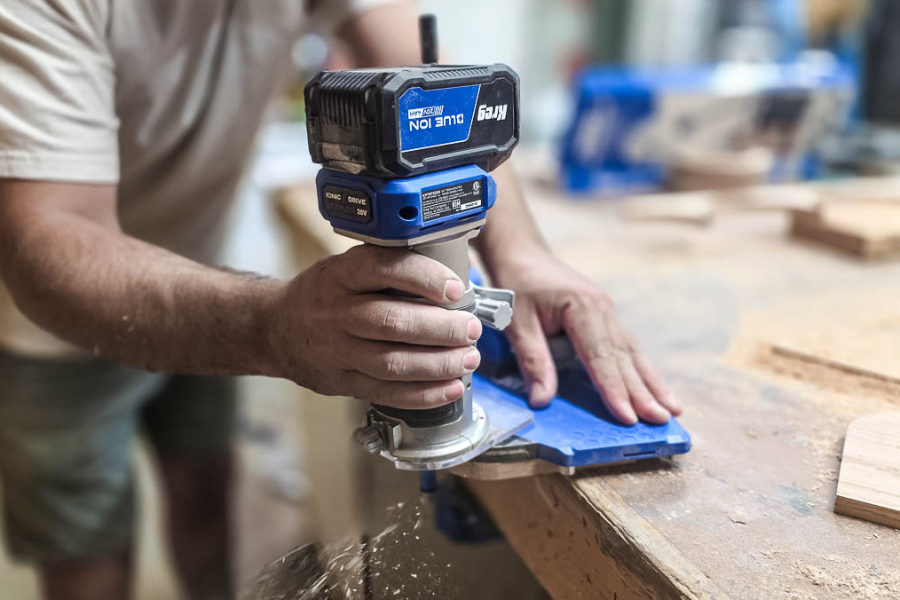
Next, using your Kreg trim router and the Kreg corner routing guide set, round both corners on the napkin side pieces. We used the 2” guide.
-
Drill pocket holes.
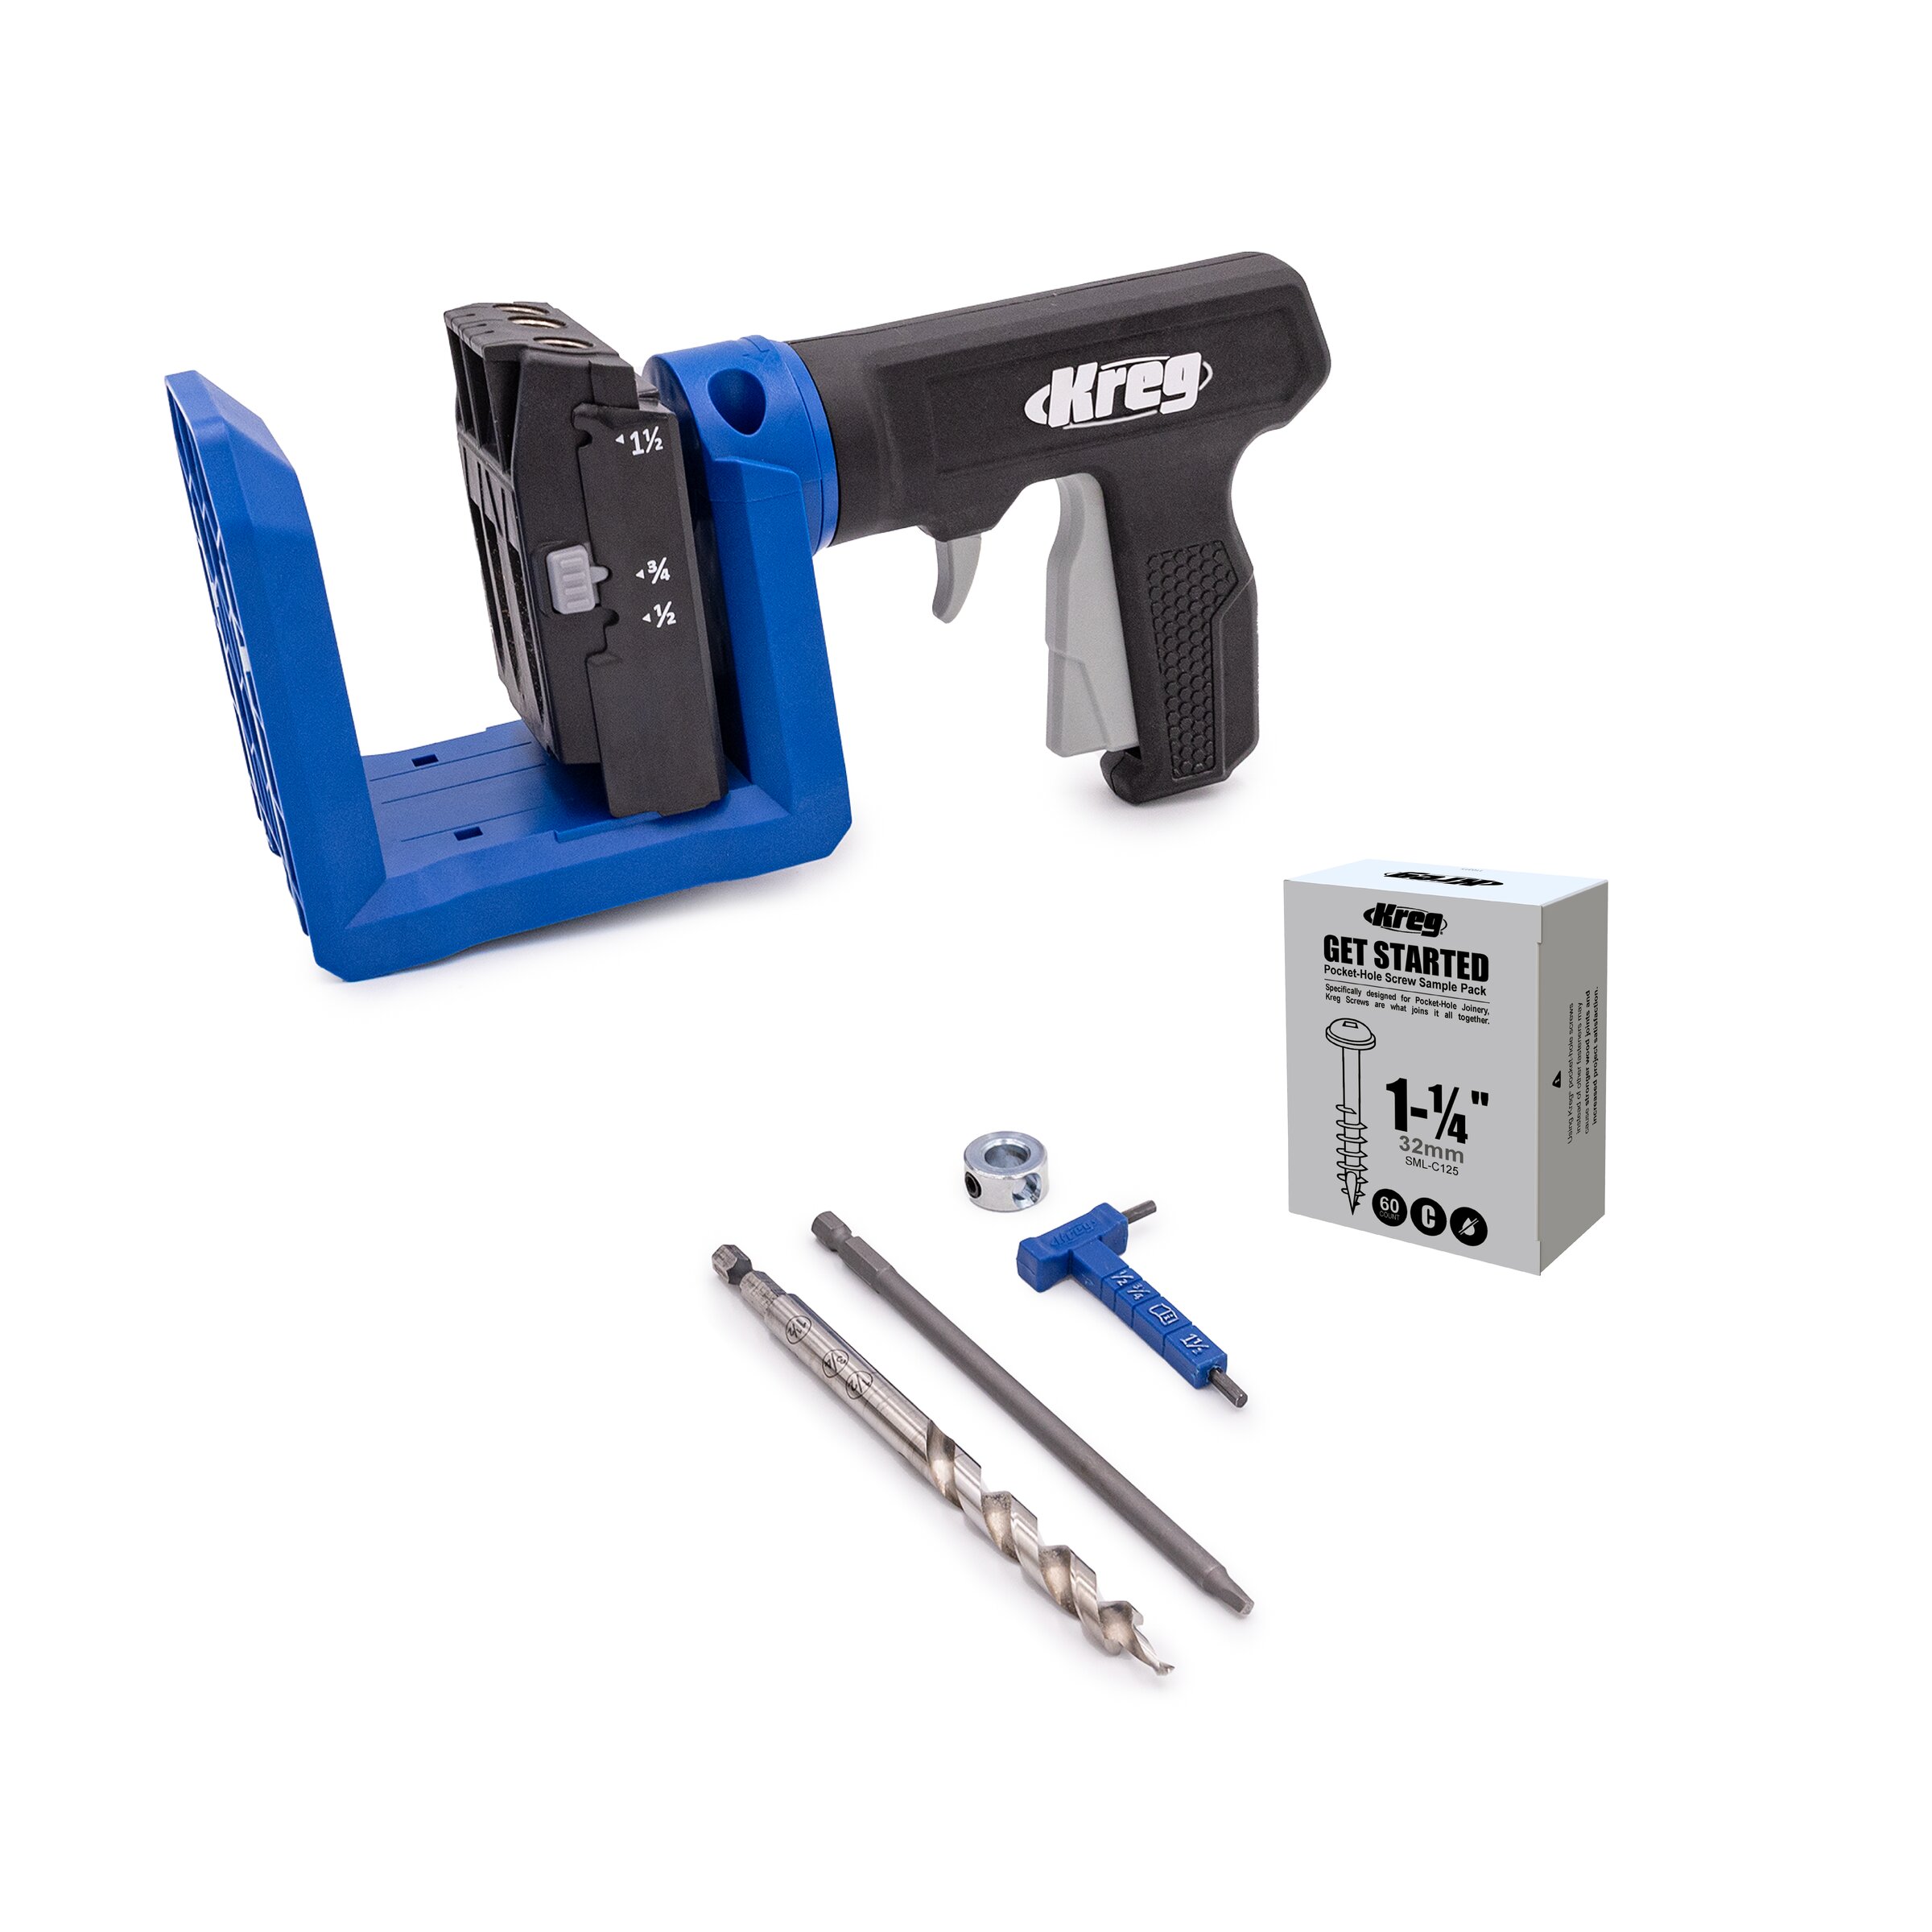
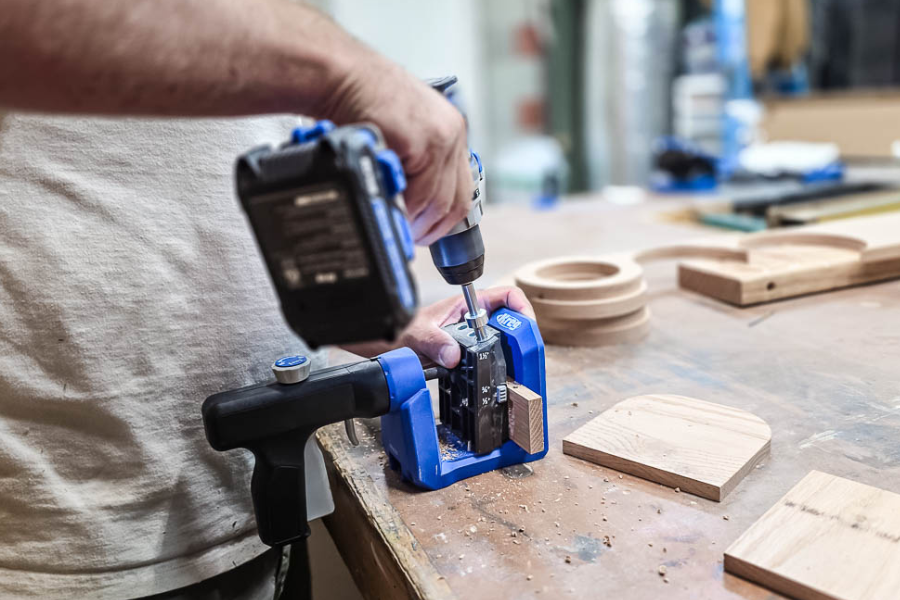
Drill pocket holes in the wood where shown in the woodworking plans. You only need them on the napkin holder bottom. We used the Kreg 520.
-
Assemble napkin holder.
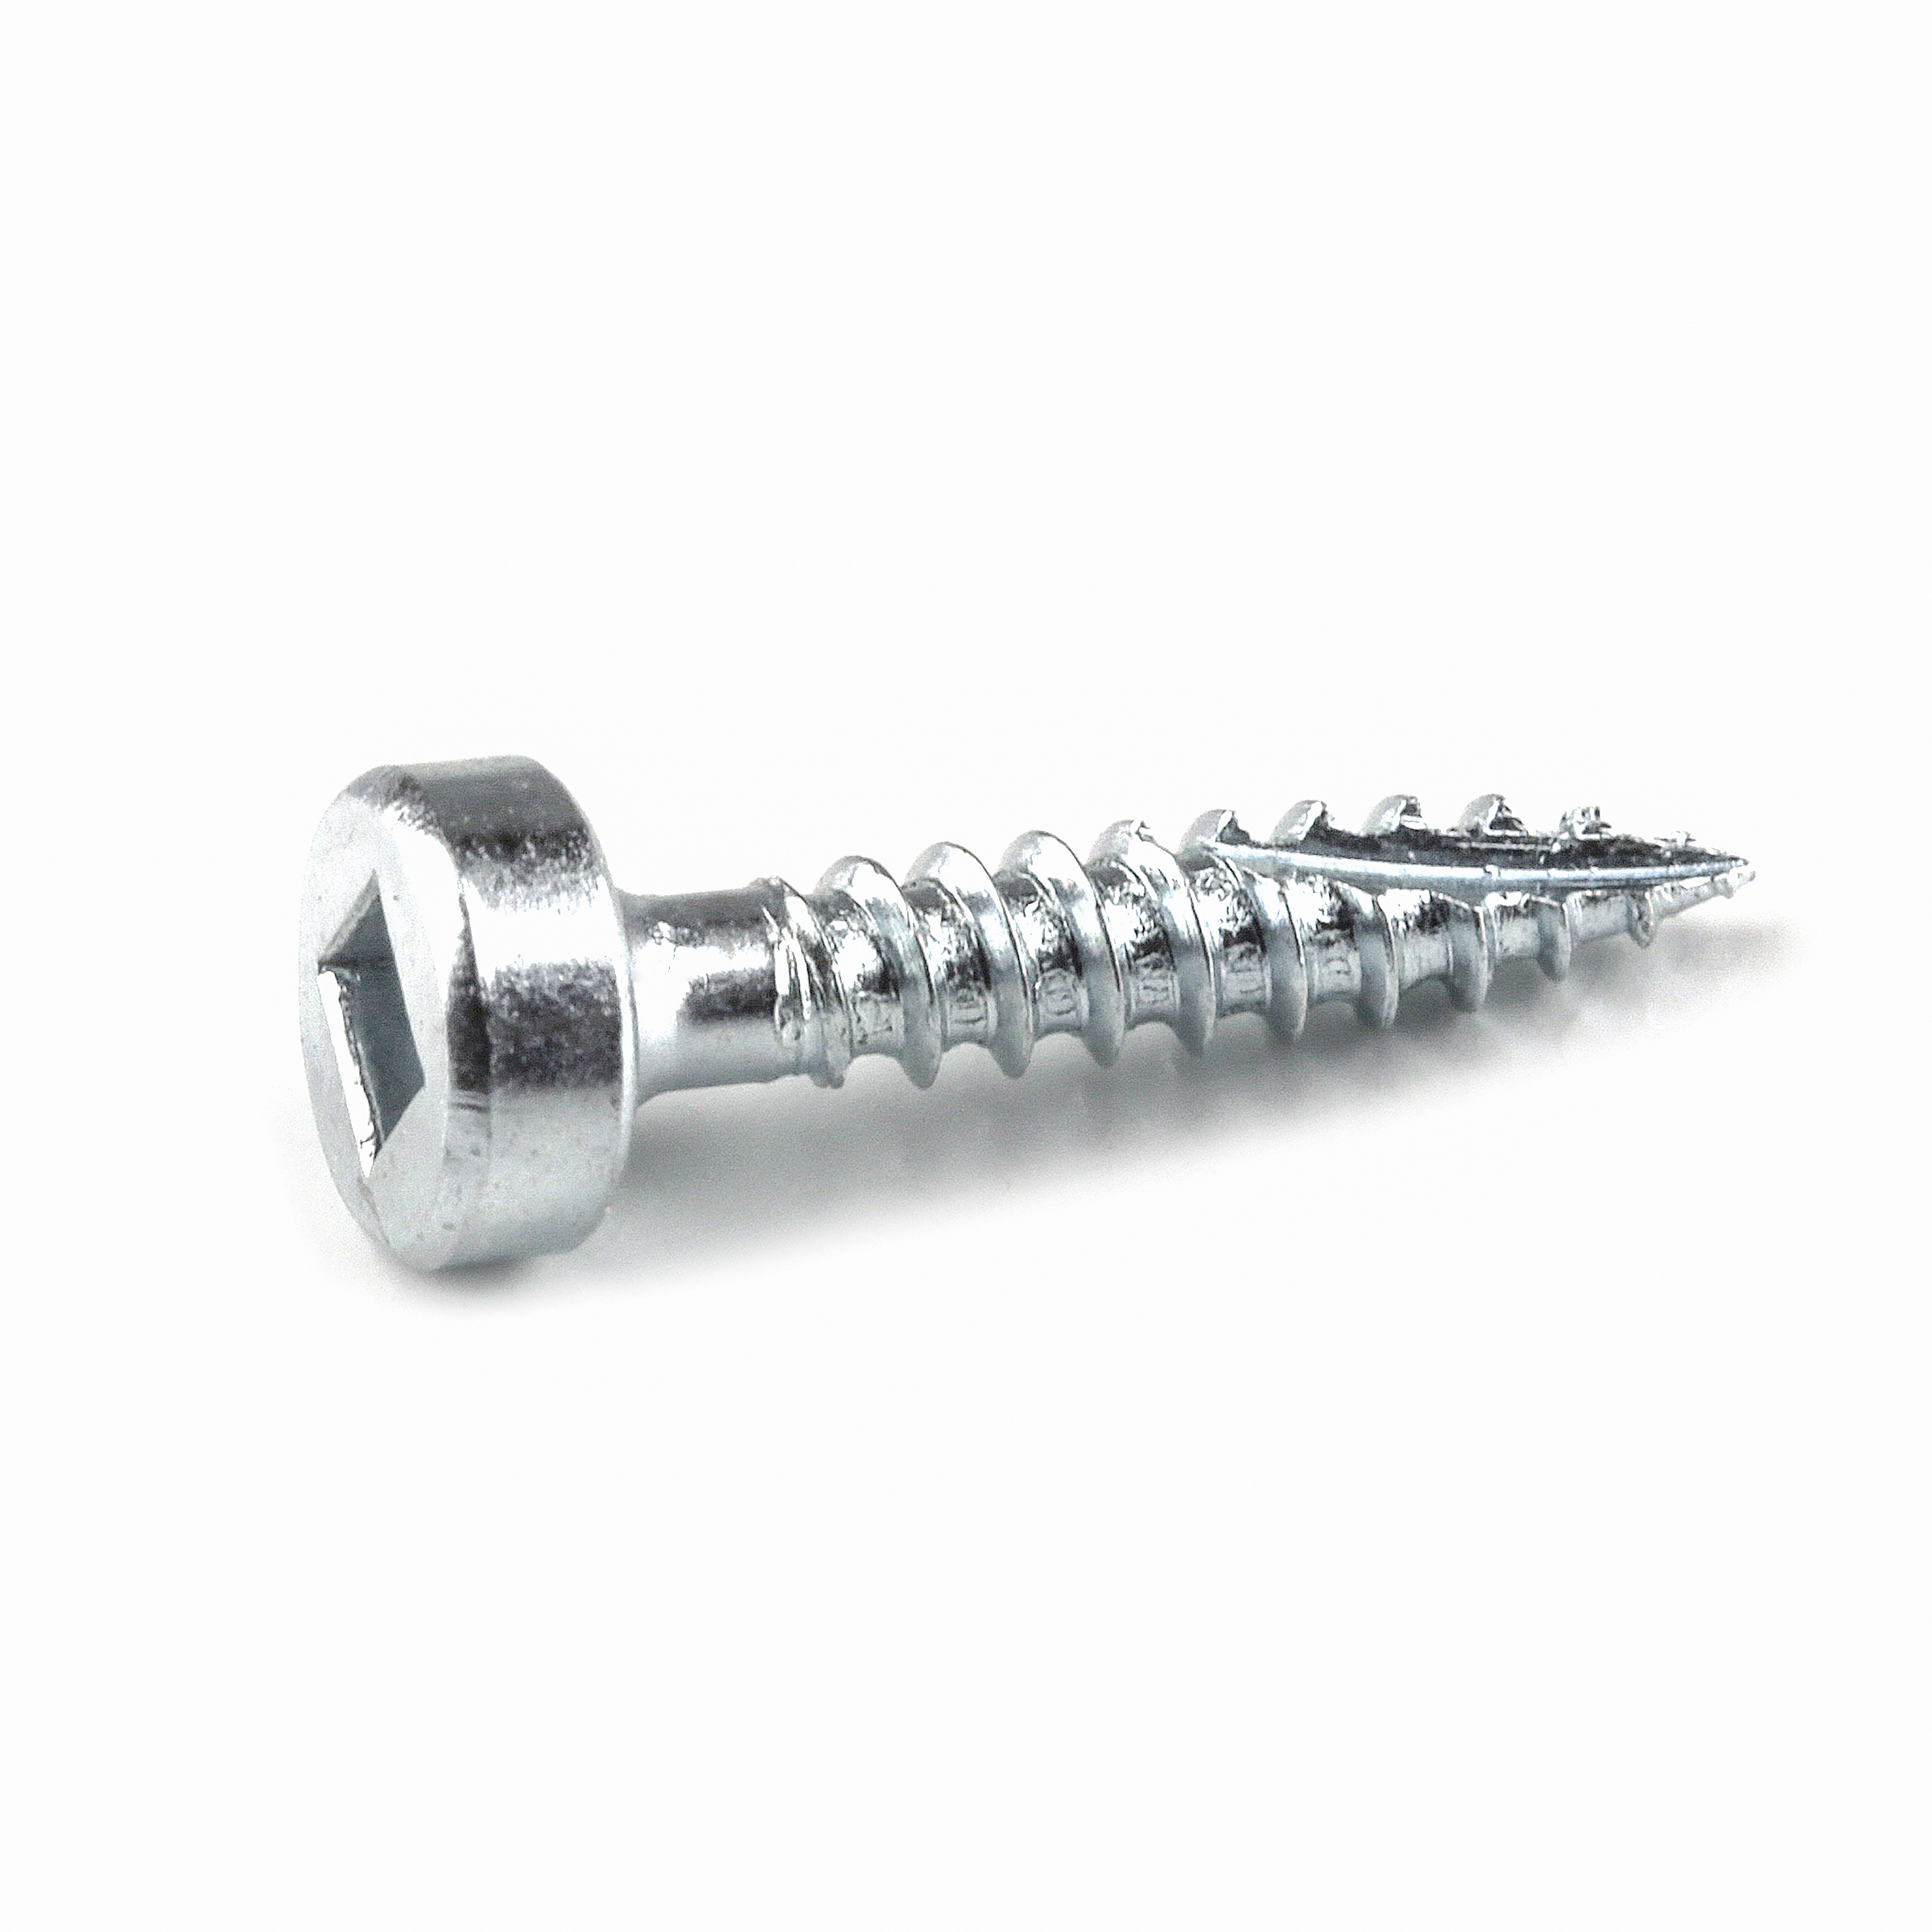
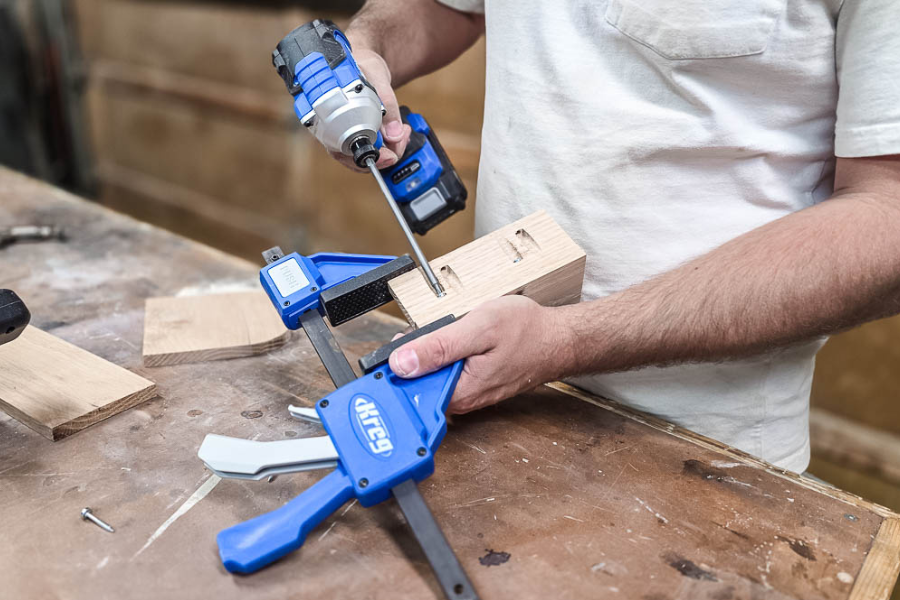
Attach the side pieces of the napkin holder to the bottom using the pre-drilled pocket holes and 1” pocket hole screws. Since we’re only working with ½” stock, it is important not to overtighten the pocket hole screws because you’ll go right through.
Pre-drill holes...
We would recommend drilling pilot holes to avoid the wood from splitting if you’re also using oak.
-
Glue cup holder pieces.
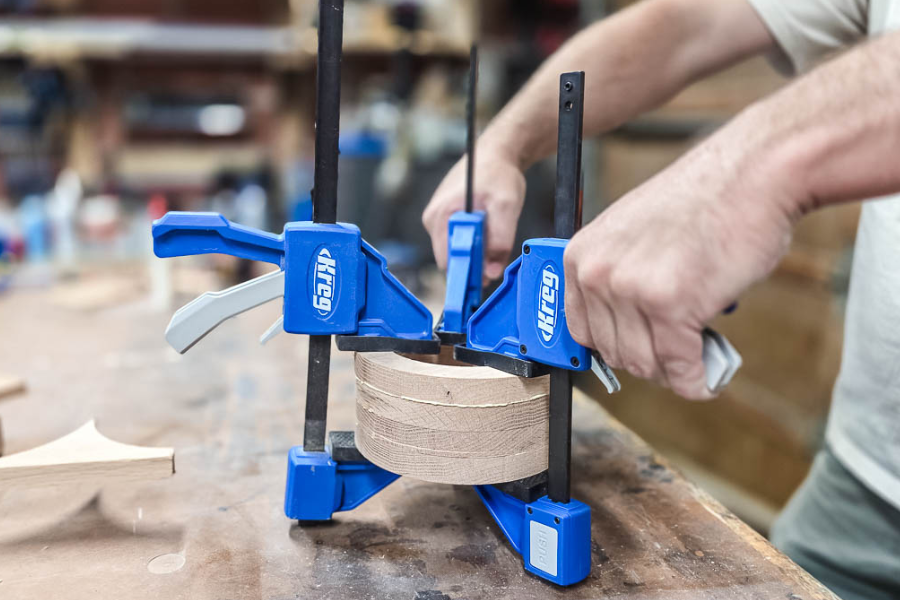
Using wood glue and clamps, assemble the circular pieces for the cup holder and let them dry.
-
Sand and fill.
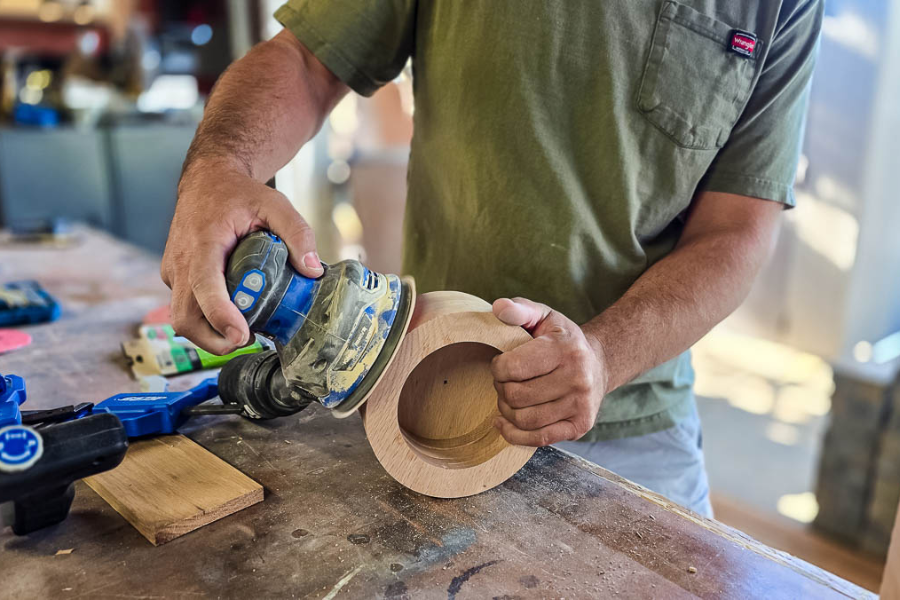
Sand everything smooth, starting with 60-grit sandpaper and working your way up to 150-grit sandpaper with an orbital sander. If you have a Dremel with sanding bits, that can also be helpful to get on the inside of the cup holder to sand better. Fill any imperfections with wood filler and let it dry. Then sand smooth from 150-grit sandpaper to 220-grit.
-
Round the bottom of the cup holder (optional)
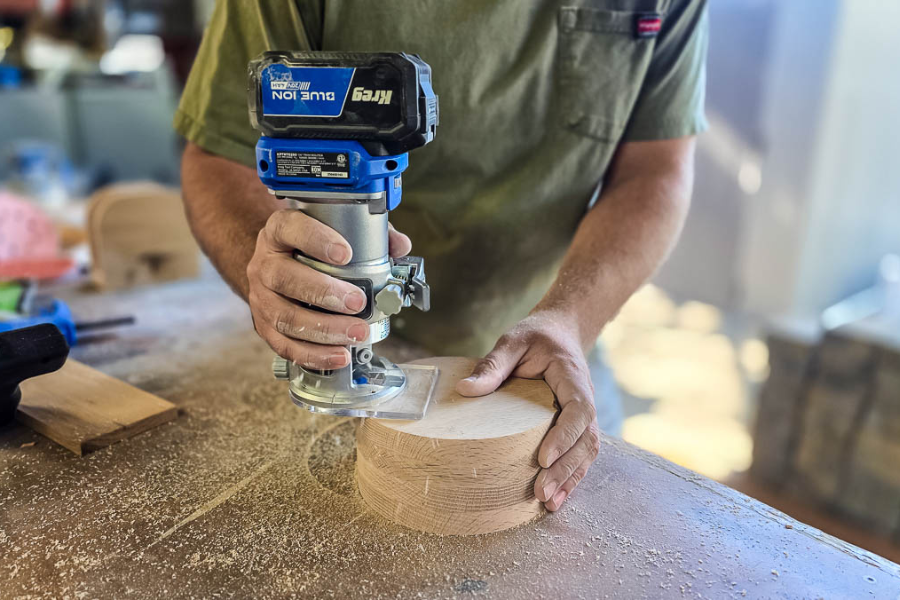
Using a ¼” roundover bit and the trim router, round the edge of the cup holder.
-
Drill a hole in the top of the cup holder.
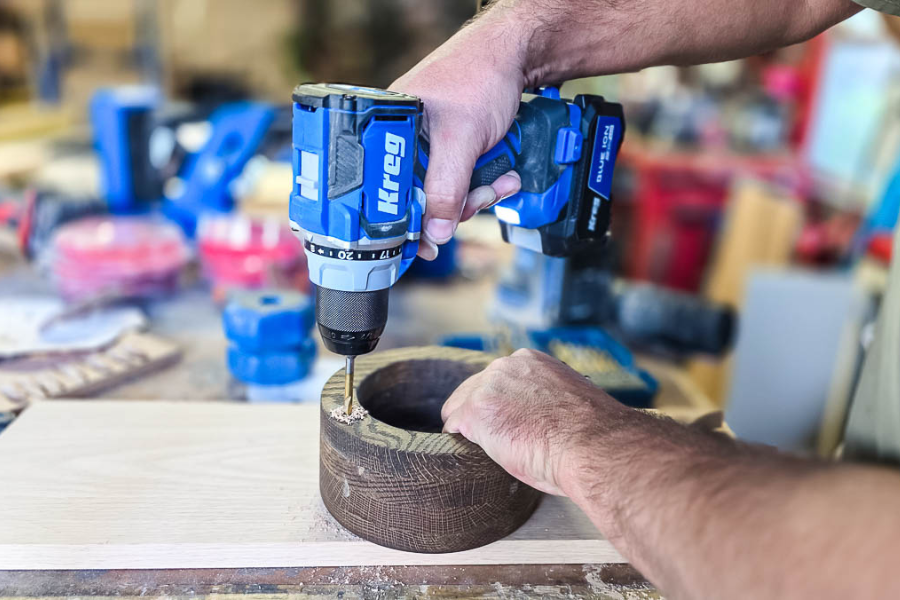
Using a drill press, clamp down a sacrificial piece of scrap wood on top of the cup holder where you’ll be drilling the ½” hole for the marker. Slowly working your way up to ½”, start with a 1/16” drill bit and go up 1/16” at a time.
Photo note...
As you can see from the photos, we did not use a drill press or a sacrificial piece of scrap, and we had some chipping that needed to be repaired, so we learned our lesson there. The photos also show this step occurring after we had stained, but if we were to do this again, we would do this before staining, so that repairs, if necessary, would be easier.
-
Stain and seal.
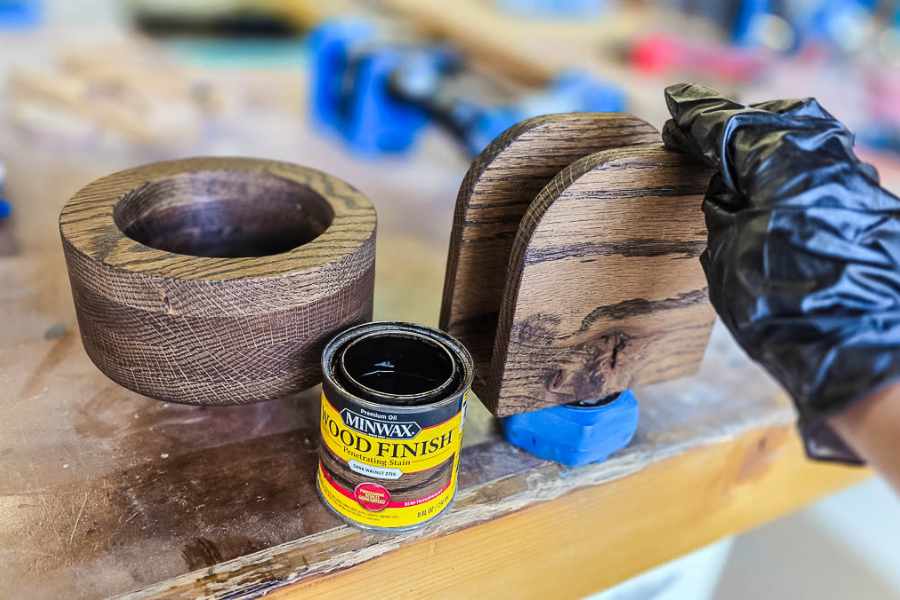
Stain pieces with the wood stain color of your choice. We used Dark Walnut. Once the stain is dry, spray them with lacquer and let it dry.
-
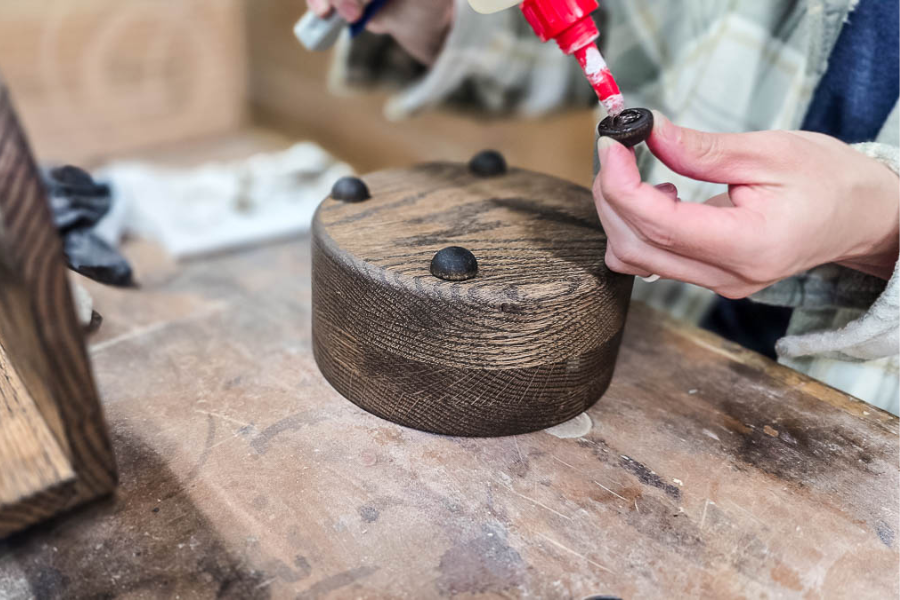
Add wood bead feet (optional).
This part is totally optional, but we added some half-round wood beads to the bottom for mini feet. We attached them with instant wood adhesive right before sealing.