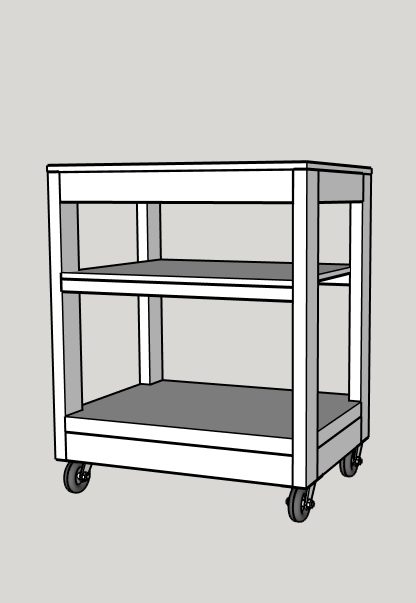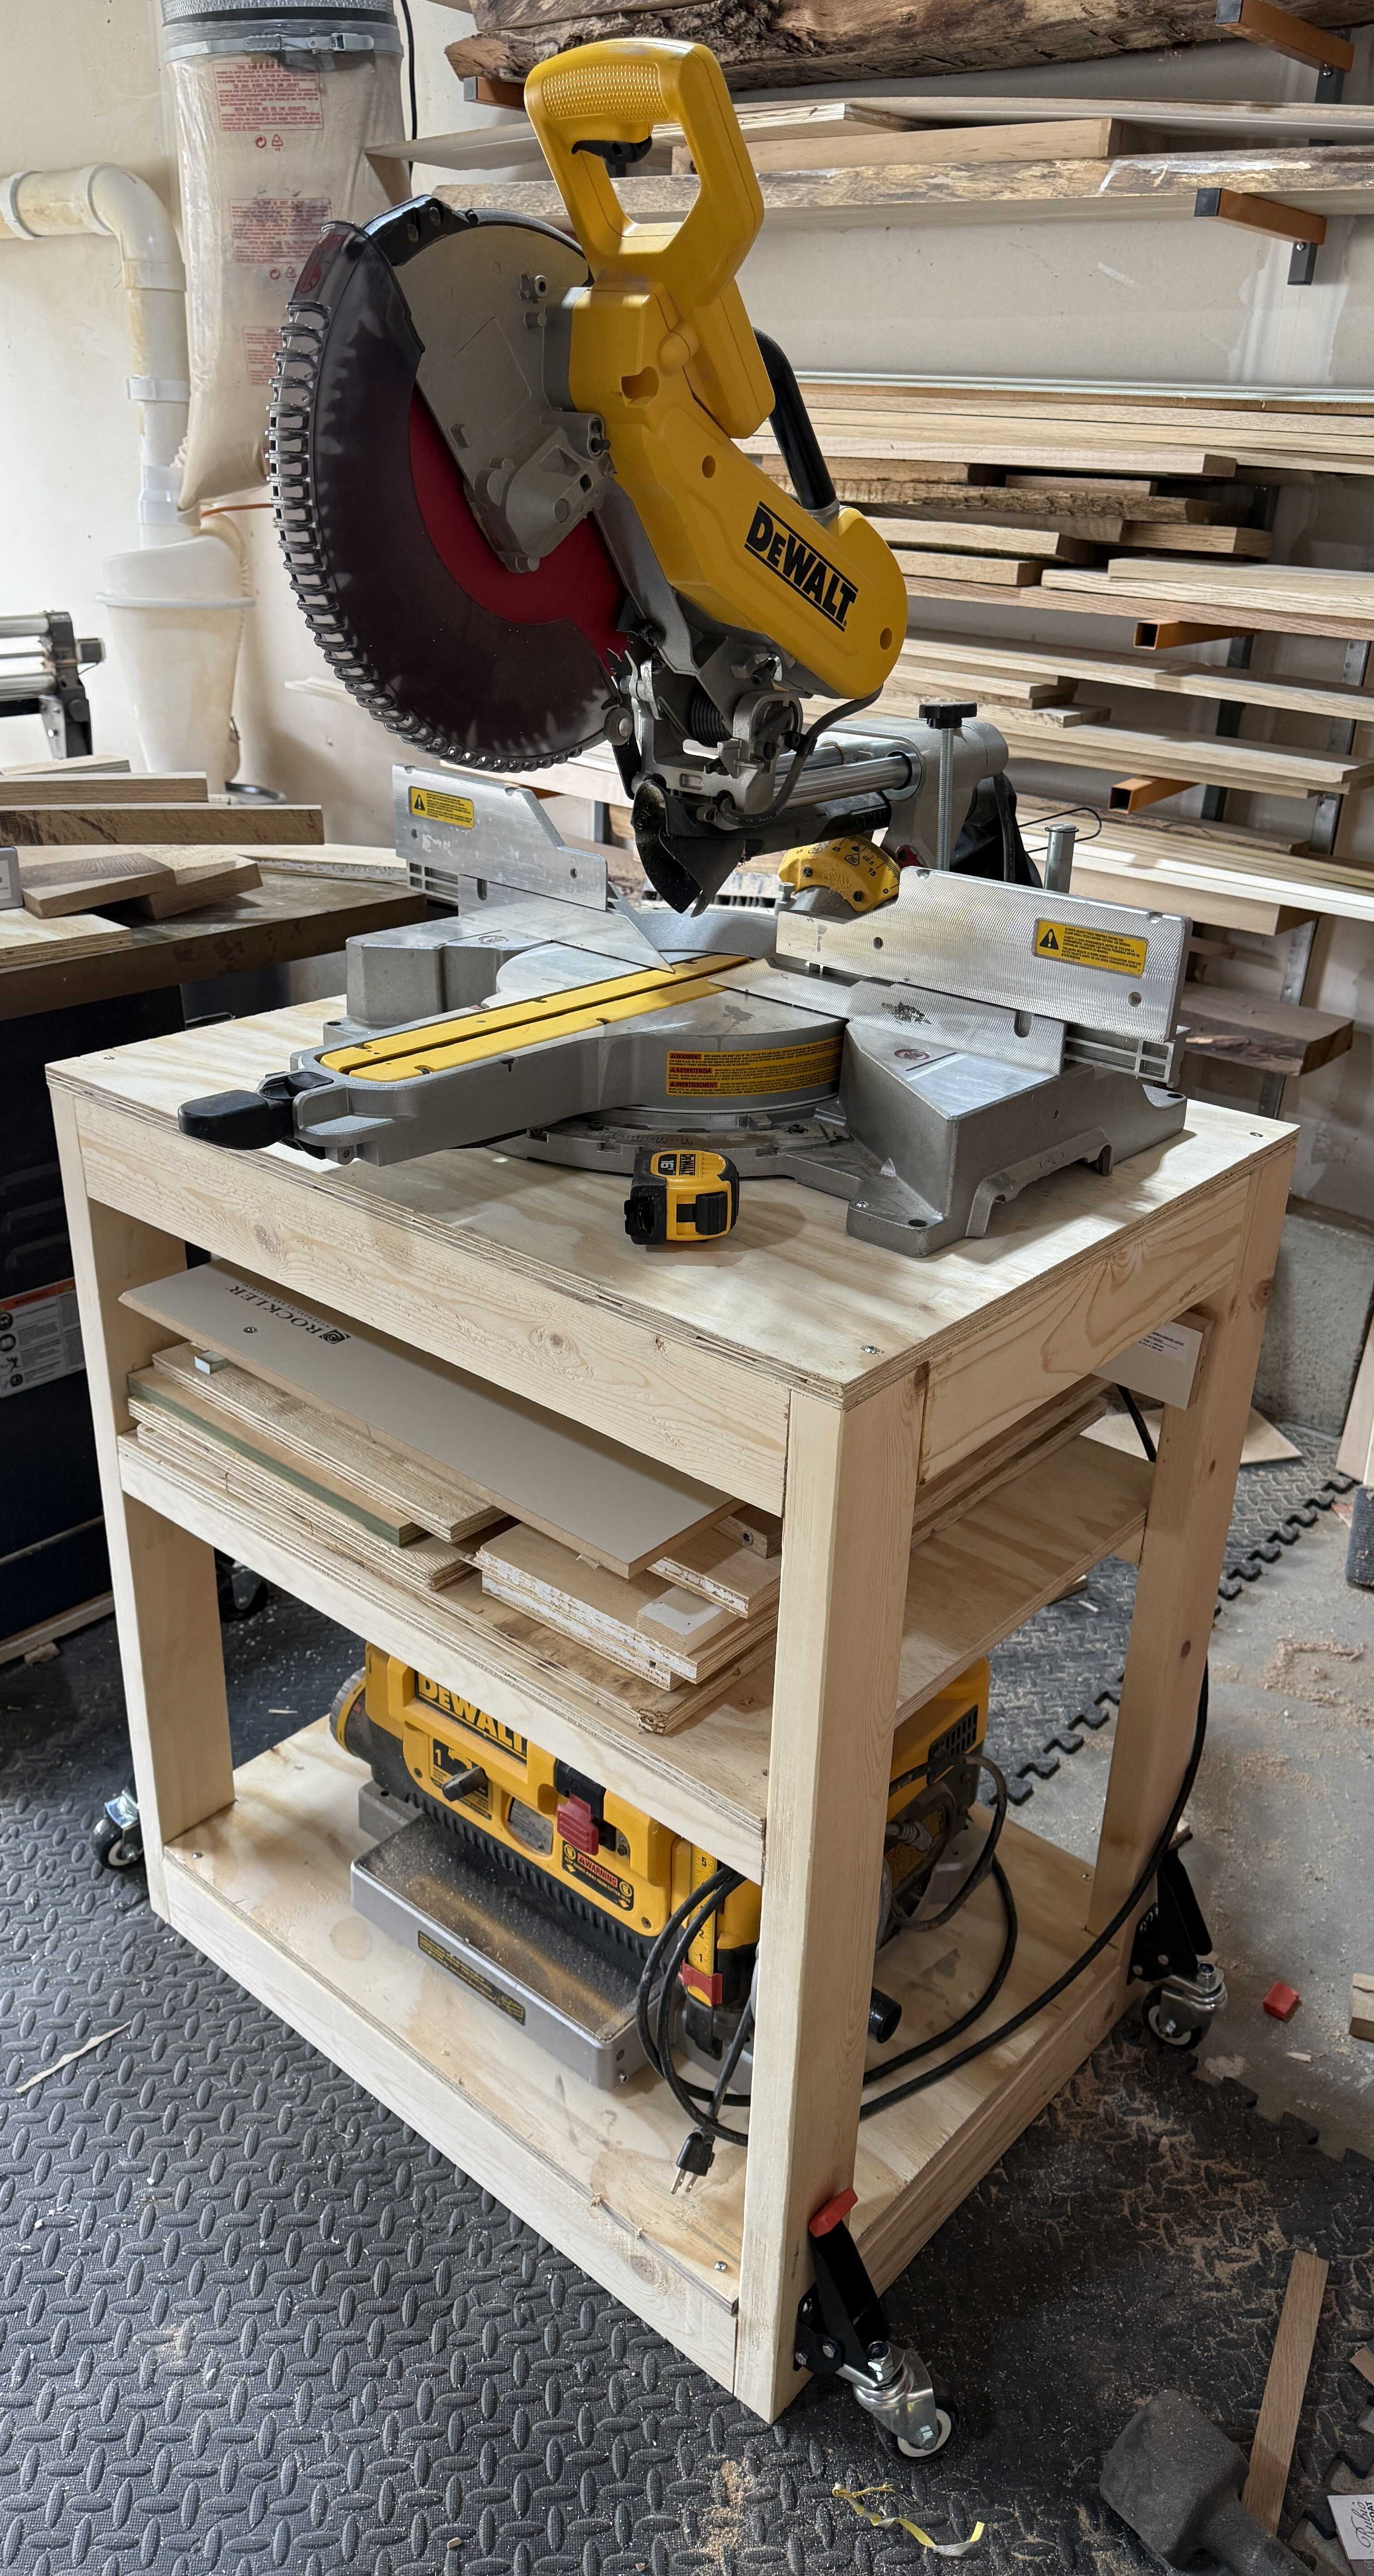
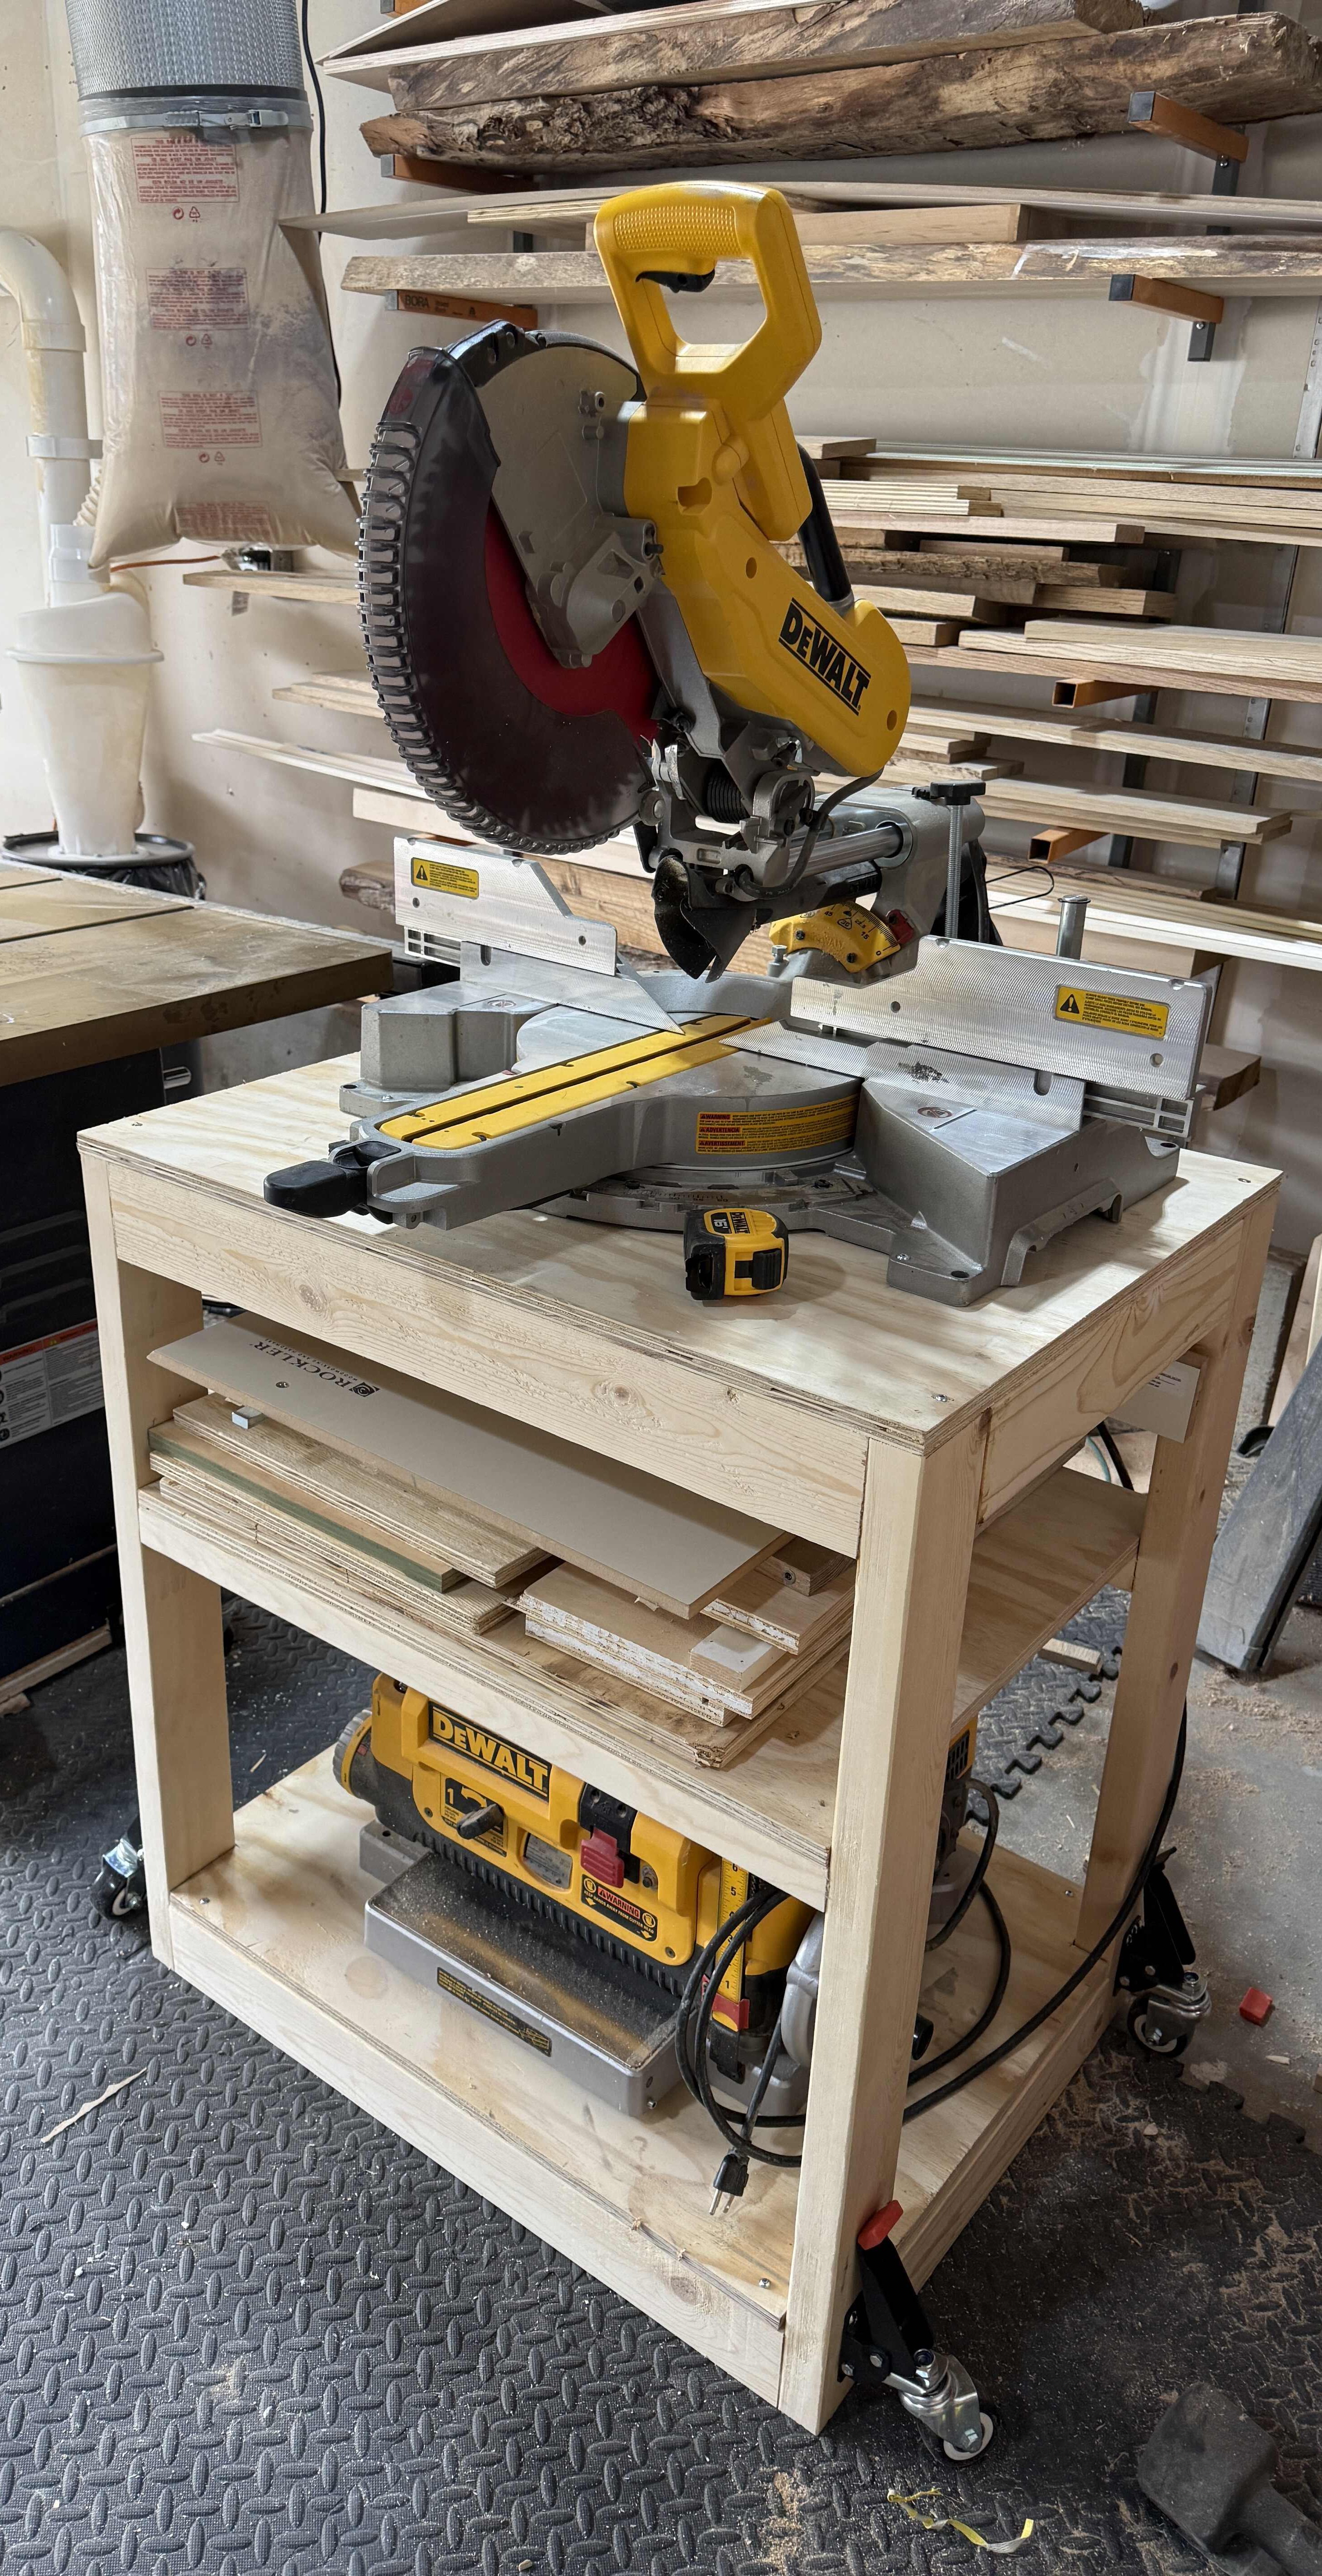
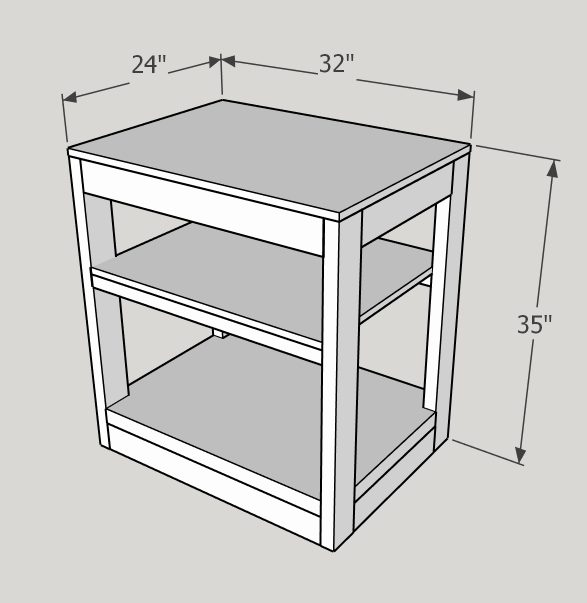


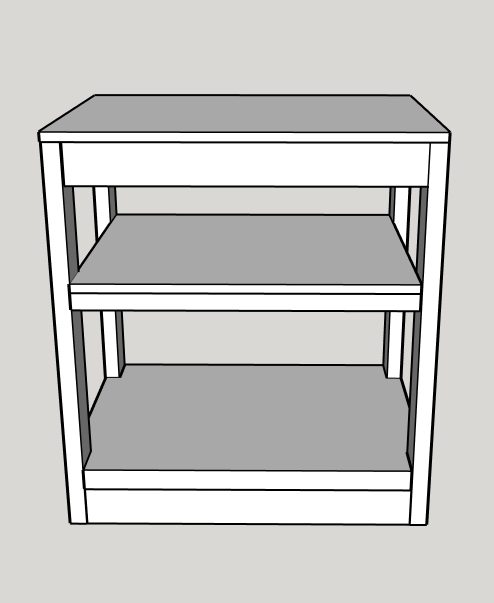
This beginner friendly miter saw and planer stand is a sturdy, compact solution for organizing your workspace. It features a flat top to support both tools and a fixed center shelf below for convenient storage. Built with basic materials and simple joinery, it’s ideal for new woodworkers looking for a practical, easy to build shop project.
Tools
Kreg Tools


Materials
Wood Products
- 5 2 x 4 x 8 pine , 1.5" x 3.5" x 96"
- 3 4' x 2' x 3/4" plywood , 48" x 24" x 3/4"
Hardware & Supplies
- 50 2 1/2" pocket screws
- 1 Wood glue
- 1 Sandpaper
Directions
-
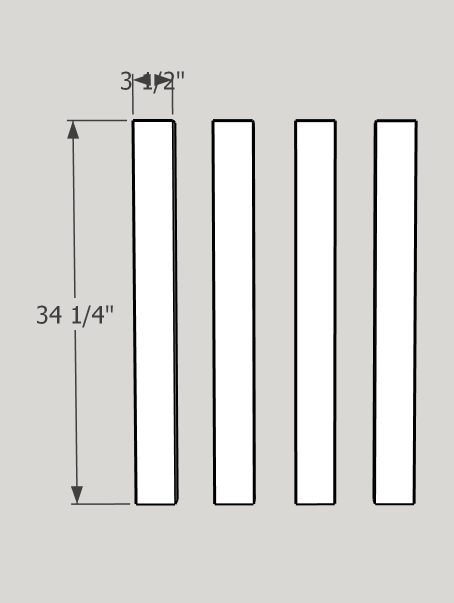
1
Cut the legs to size using a miter saw/circular saw.
-
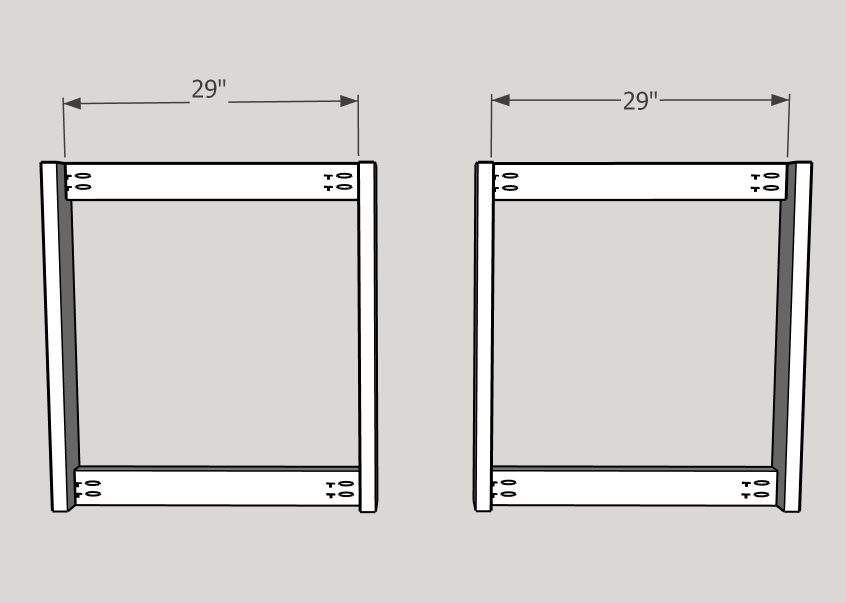
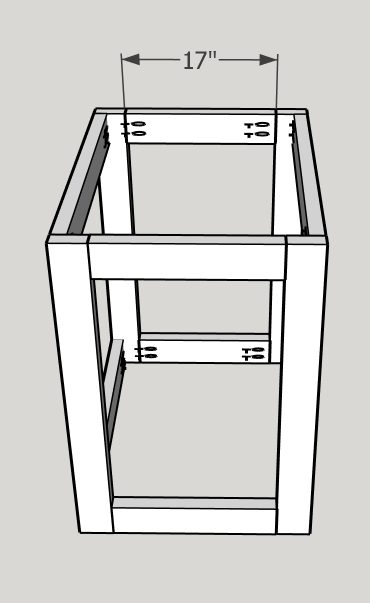
2
Attach the side supports to the legs using wood glue and 2 1/2" pocket screws.
Make sure the supports are flush with the top and bottom of the legs.
-
3
Attach the side supports to the legs using wood glue and 2 1/2" pocket screws.
-
4
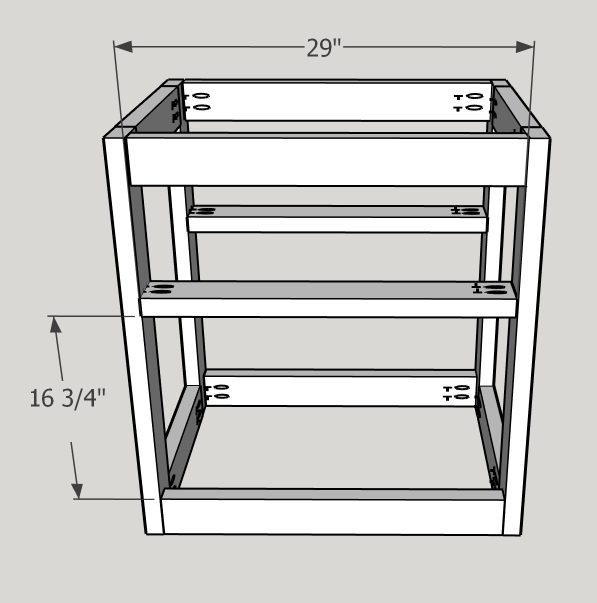
Attach the shelf supports 16 3/4" up from the bottom of the opening on the stand as shown in the picture.
It is easier to keep them level if you use a scrap piece of wood cut to 16 3/4" and set the shelf supports on top before you screw them in.
Use wood glue and 2 1/2" pocket screws to attach them to the front and back as shown in the picture.
-
5
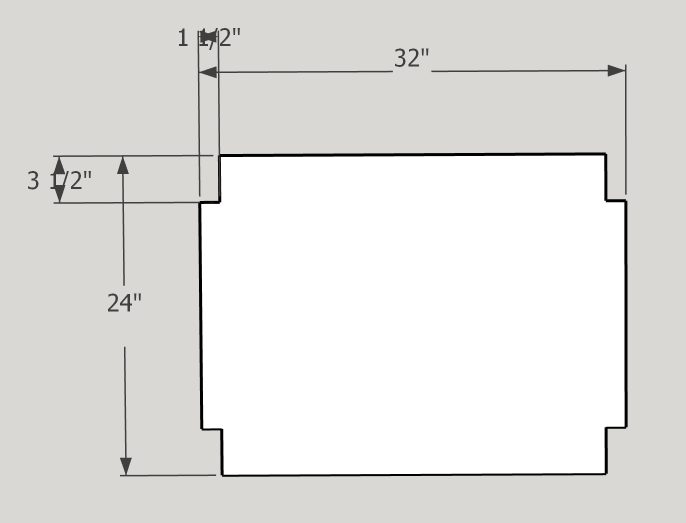
Cut the notches for the bottom shelf using an oscillating tool and a blade.
I suggest marking where you need to cut with a square.
You can also use a hand saw!
-
6
Attach the bottom shelf to the bottom of the stand using screws in from the top into the base.
Do the same with the top.
-
7
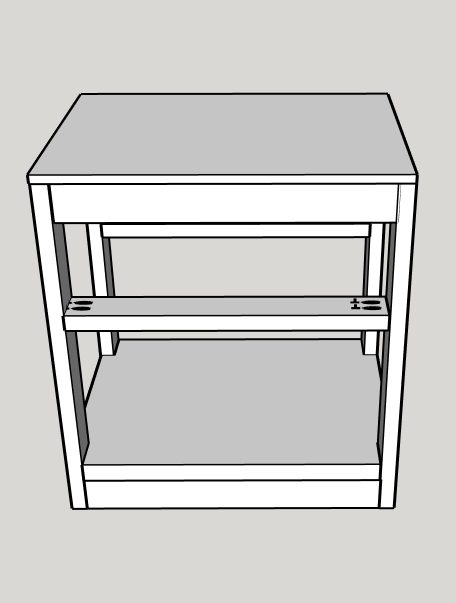
Add the middle shelf the same way you attached the top and bottom shelves.
-
8
Optional: Add casters to make it easier to move around the shop!
You can just leave as is or you can sand, stain/paint and you made an easy stand perfect for your workshop.