

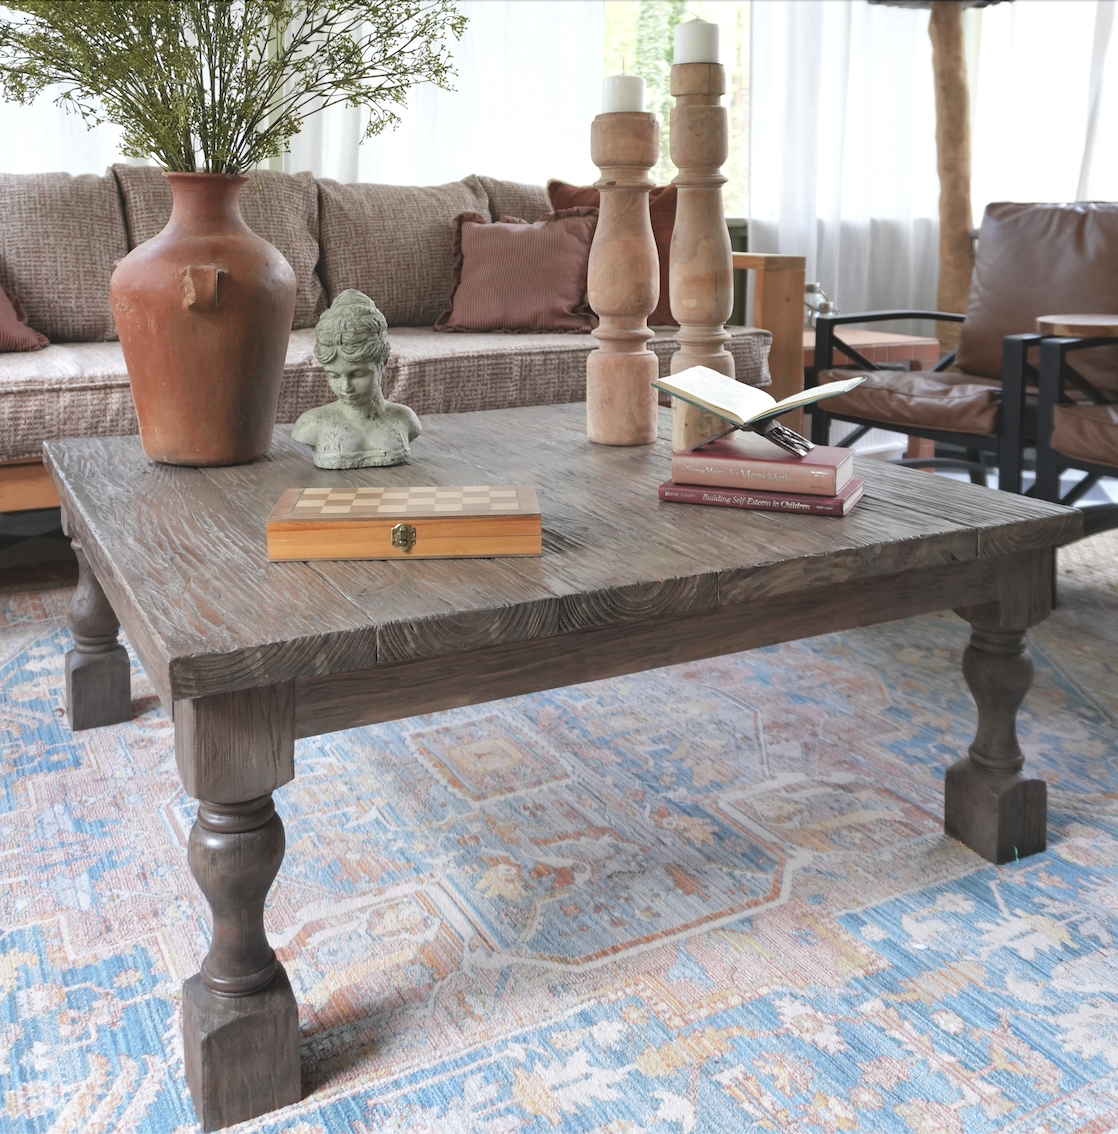
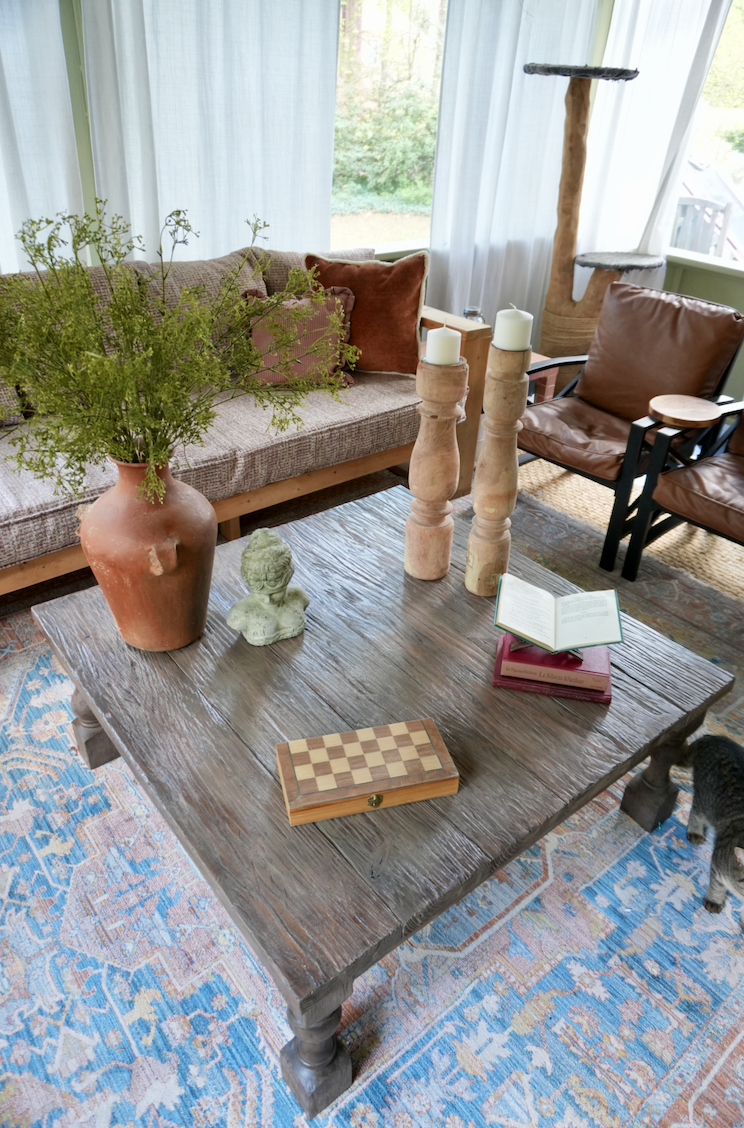
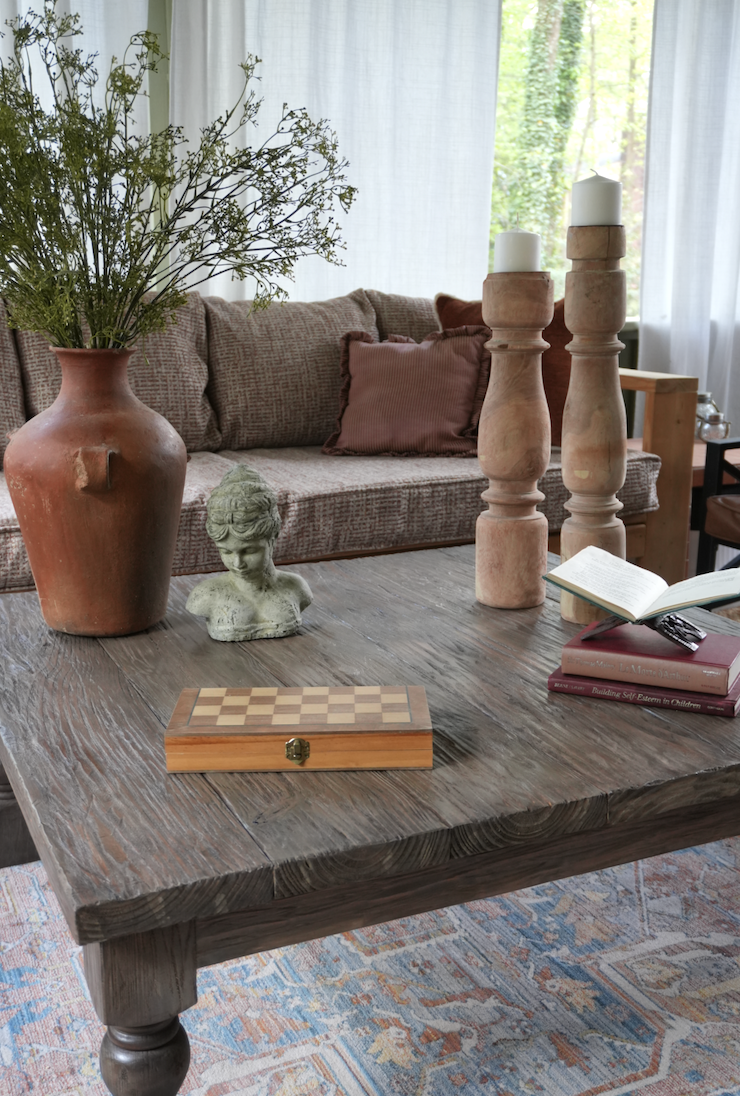


This stunning coffee table was made from brand-new 2x8s and distressed to create an authentic, timeworn look. Designed and built from scratch, it blends clean craftsmanship with rustic charm—capturing the feel of an antique heirloom without sacrificing the strength and stability of new wood. With its solid build and rich texture, this piece looks like it’s been passed down through generations—not built just yesterday.
Tools
Kreg Tools


Other Tools
-
Miter Saw

-
Angle Grinder (optional)
-
Measuring Tape
Materials
Wood Products
- 4 Lumber , 2x8 , 8 Foot
- 2 Lumber , 1x3 , 8 Foot
- 4 Legs , 3.5' x 3.5' x 16'
Hardware & Supplies
- -- 2 1/2 inch pocket hol screws
- -- 1 1/4 pocket hole screws
- -- Wood glue
- -- 2' Wood Screws
- -- Stain
- -- Top Coat
- -- Water & Tan Paint (Optional)
Directions
-
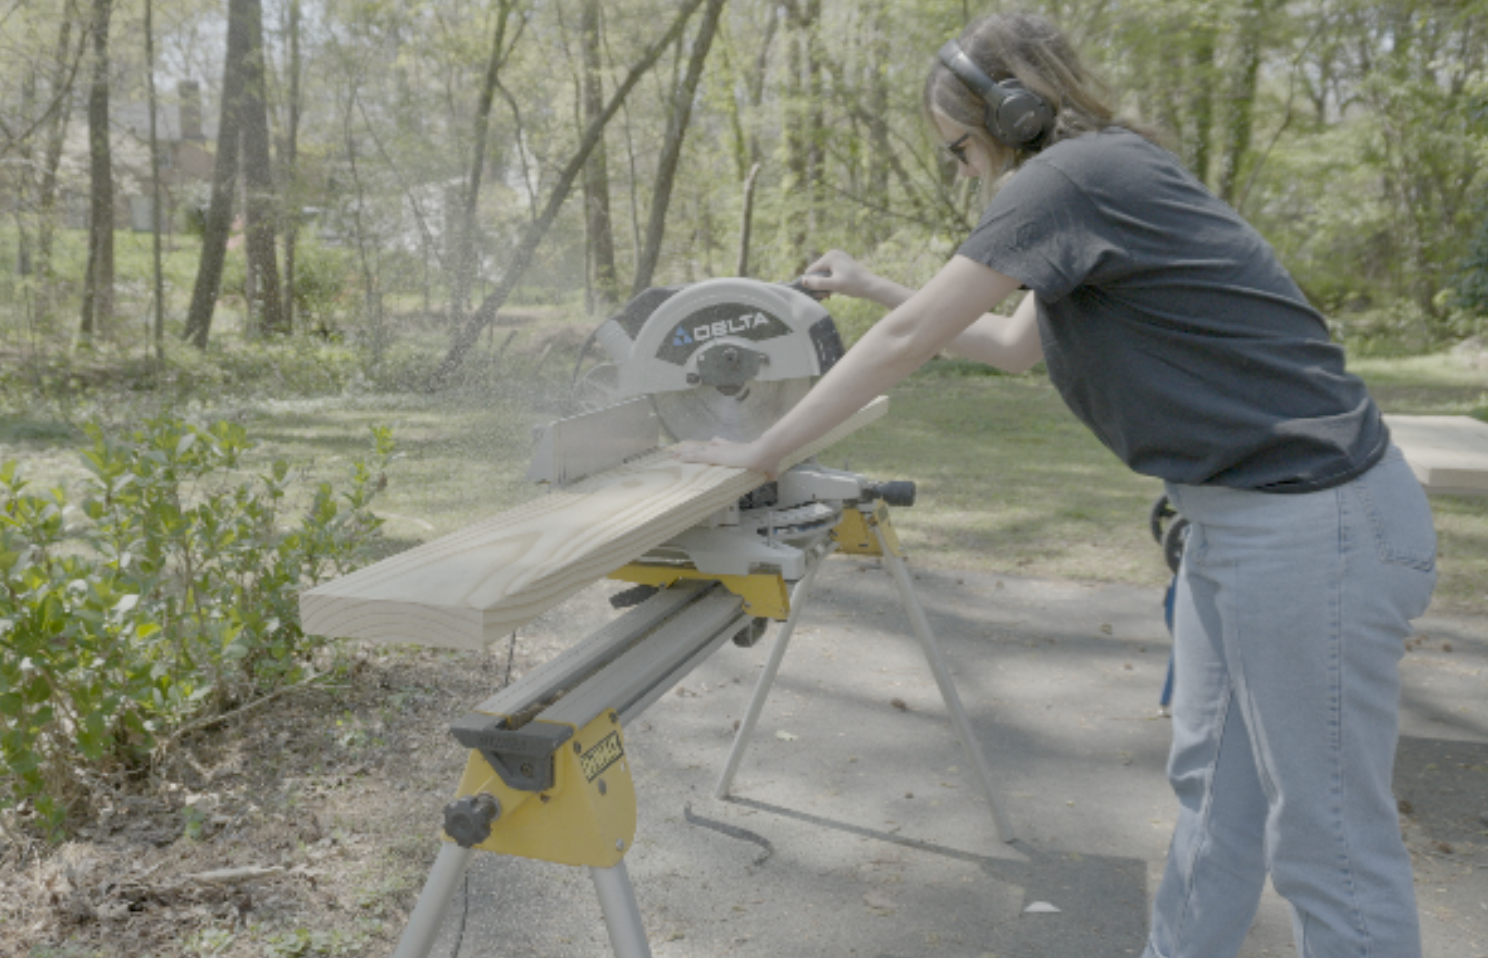
Pick Out Your 2x8 Boards
Take your time selecting high-quality 2x8s. Look for straight boards with minimal knots. The better the boards, the better your table will look.
-
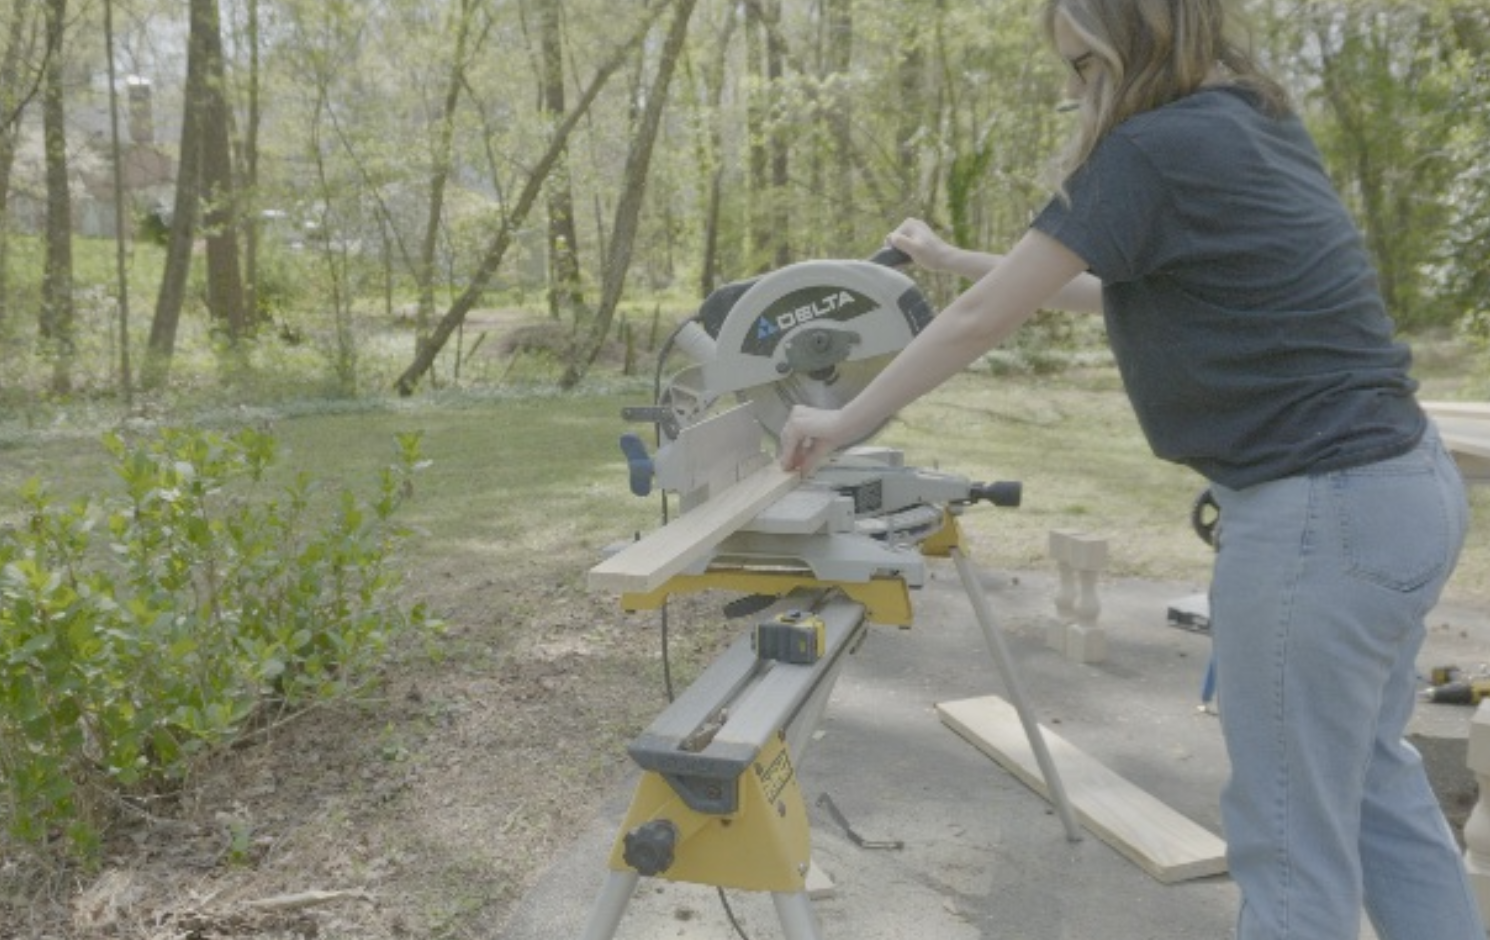
Cutting Boards for Table Top
Cut six 2x8 boards to 43.5" each.
-
Assemble the Tabletop
-Take five of the 2x8 pieces and drill pocket holes along the long (43.5") edges.
-Apply wood glue between each board.
-Use pocket hole screws to attach all six boards side-by-side to form the tabletop.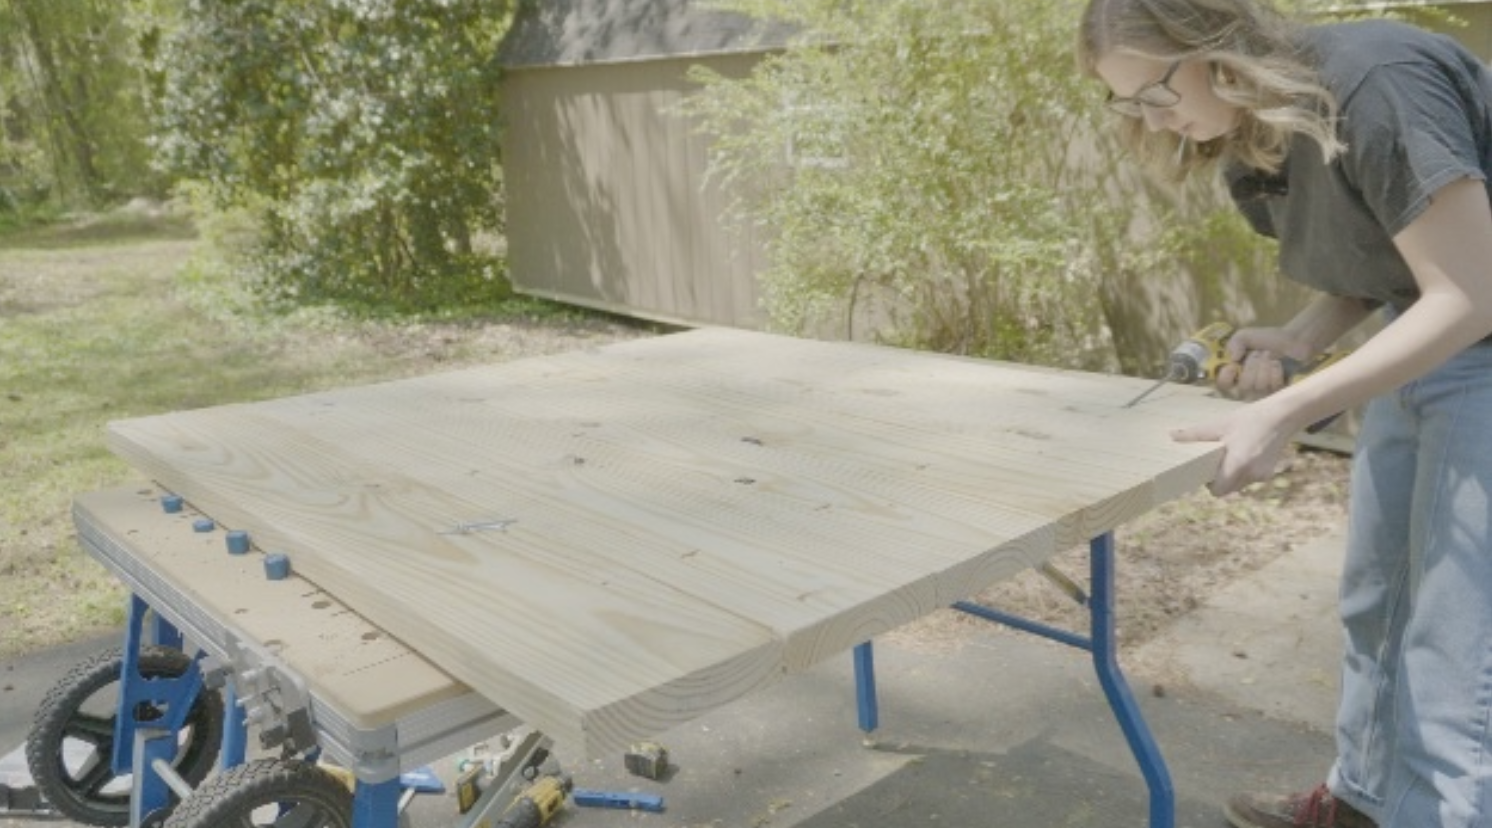
-
Cut the Base Boards
Cut your 1x3s into four pieces at 34.5".
-
Prep the Base Components
-Take each of your four premade legs and drill two pocket holes at the top inside corners. These will be used later to attach the base to the tabletop.
-Drill two pocket holes at each end of your 1x3 boards.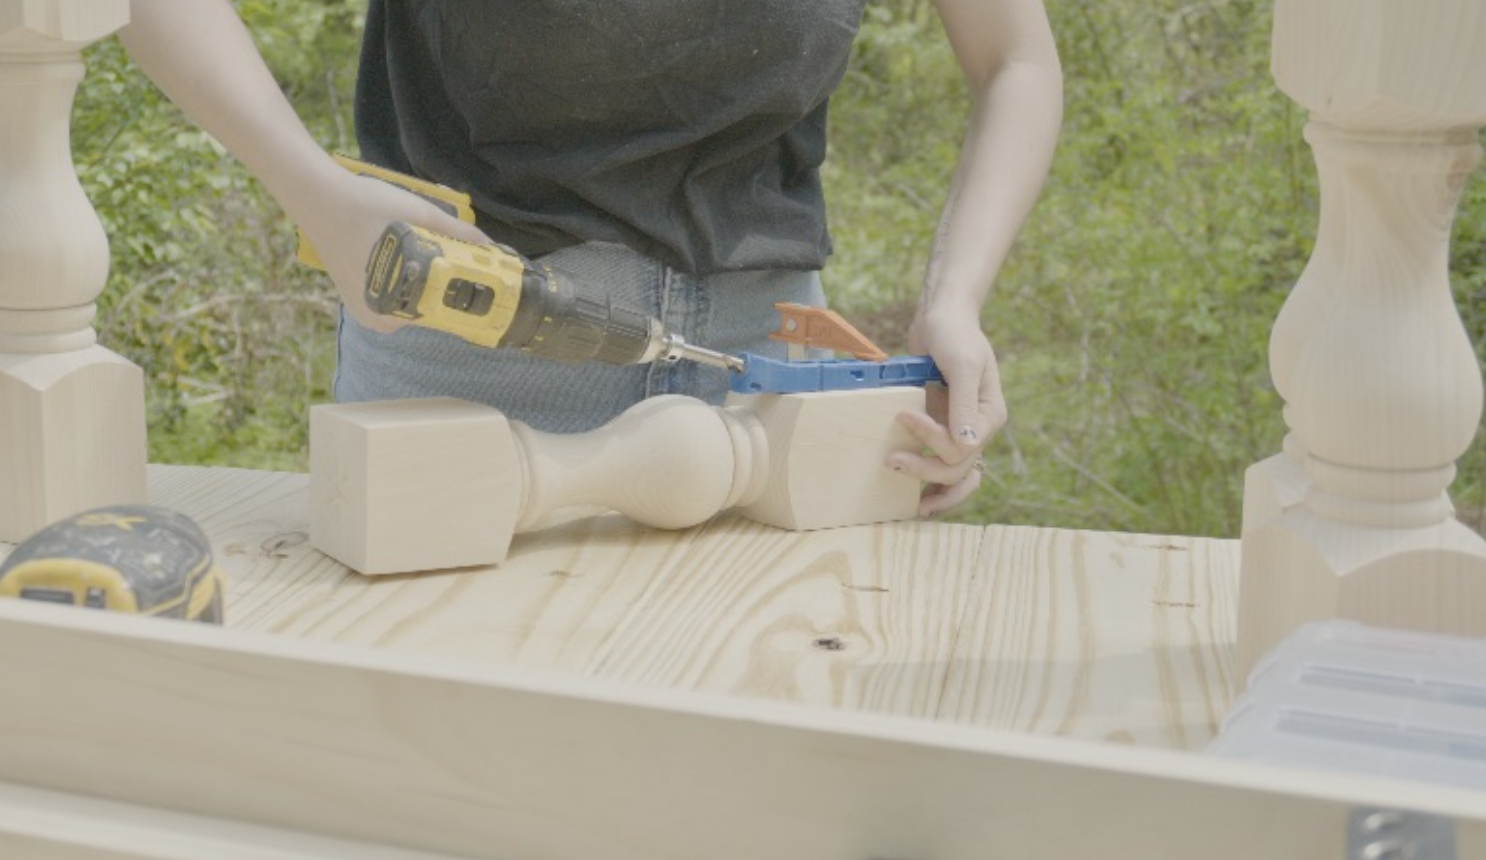
-
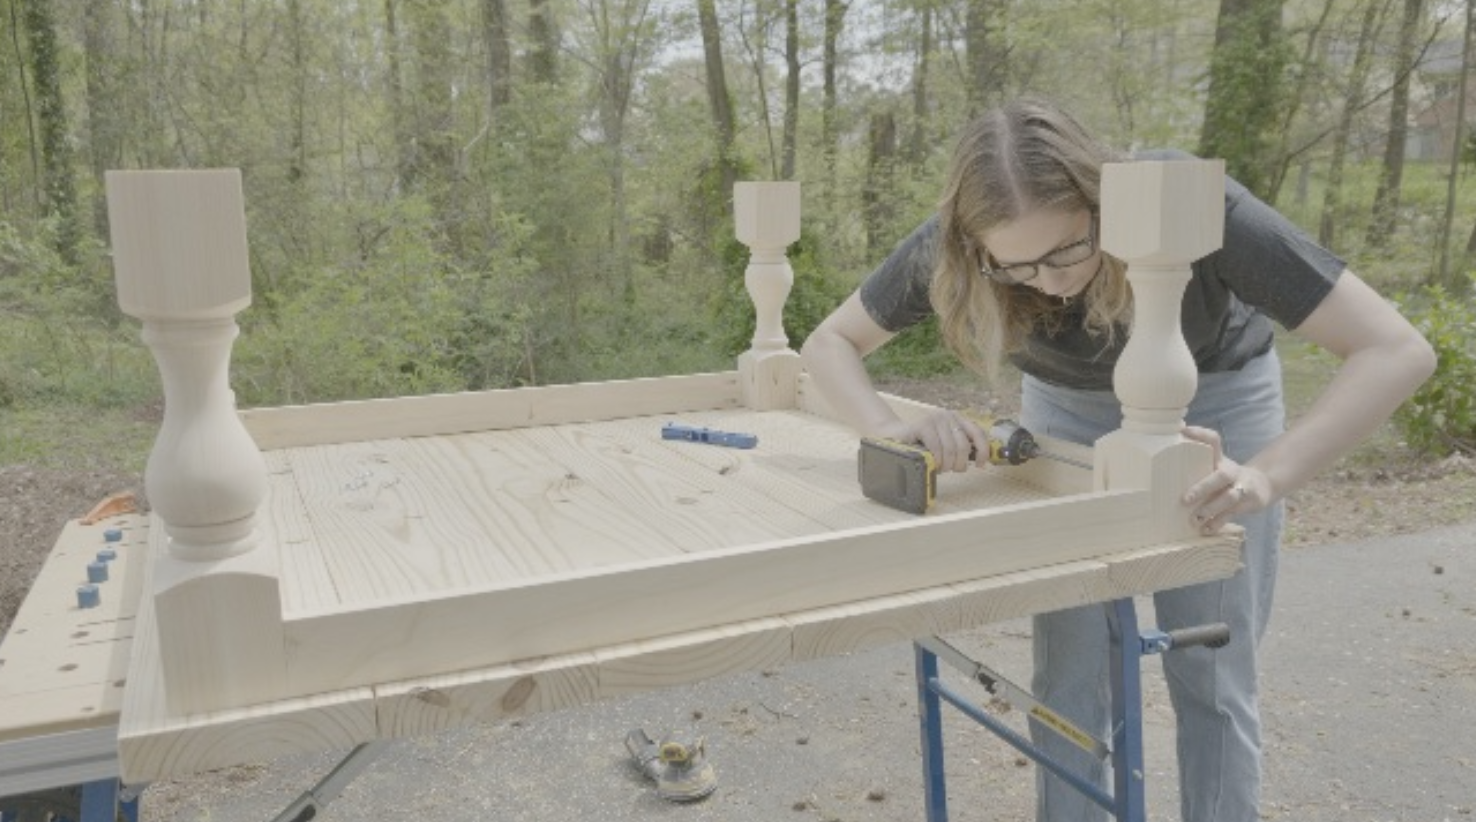
Assembling the Base
Using wood glue and pocket hole screws, attach the 1x3 boards to the legs to form a square base.
Orientation of Pocket Holes
Make sure the pocket holes on the legs are facing inward, toward the center of the table. This keeps them hidden once the table is assembled.
-
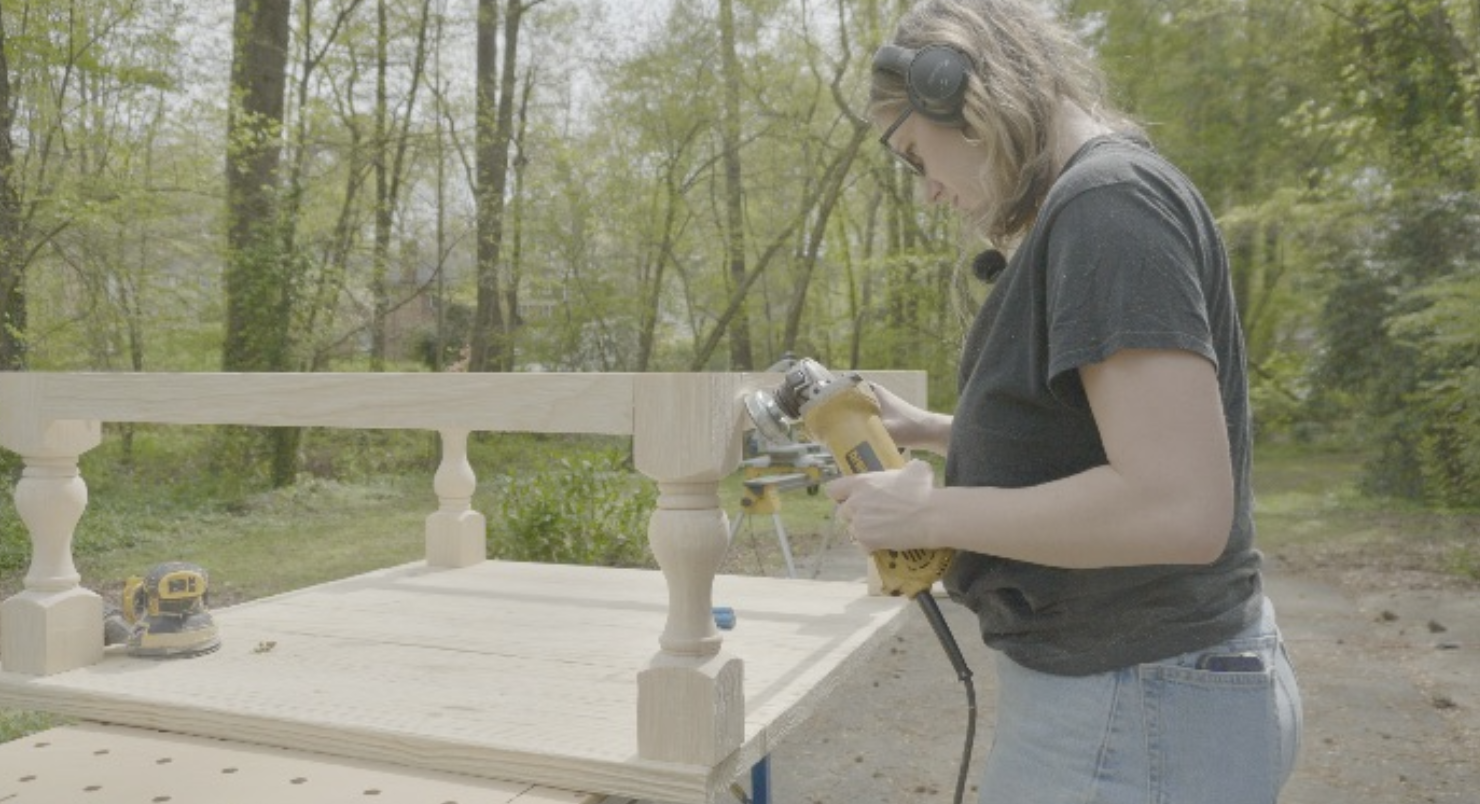
Distressing (Optional)
Now that the table top and base are built, it's time to distress the wood. For this step I used a wire brush on my angle grinder to make deep grooves in the board and on the edges of the board. If you don't have an angle grinder you could use a hammer, sander, or screw driver to make marks on your boards. There are many techniques—have fun and make it your own!
-
Attaching Top to Base
-Measure 1 inch in from each corner and place the base.
-Use the pre-drilled pocket holes in the legs to attach the base to the tabletop using pocket hole screws.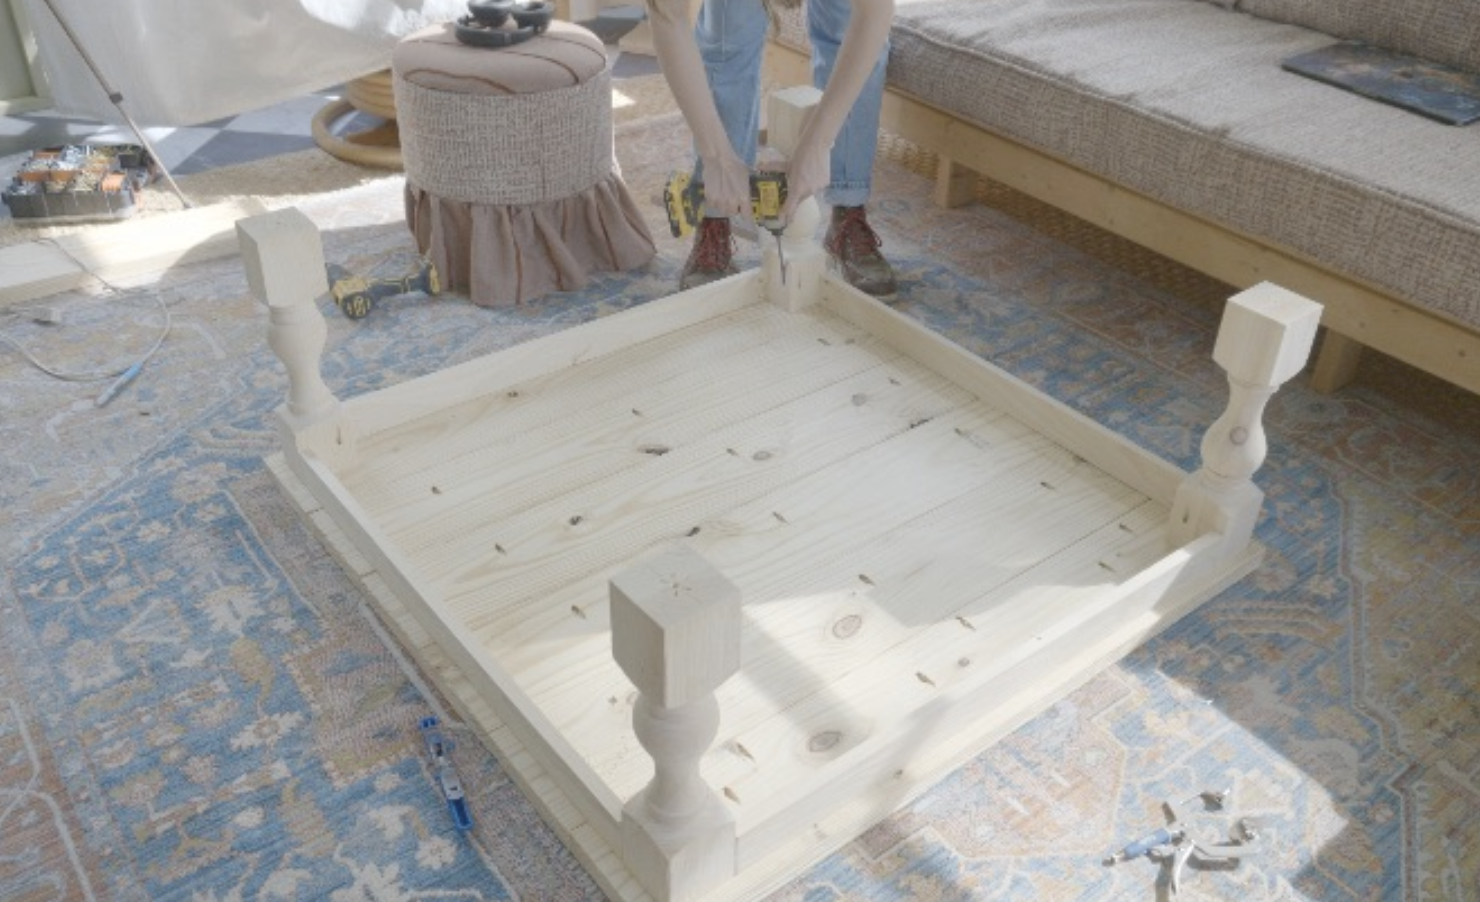
-
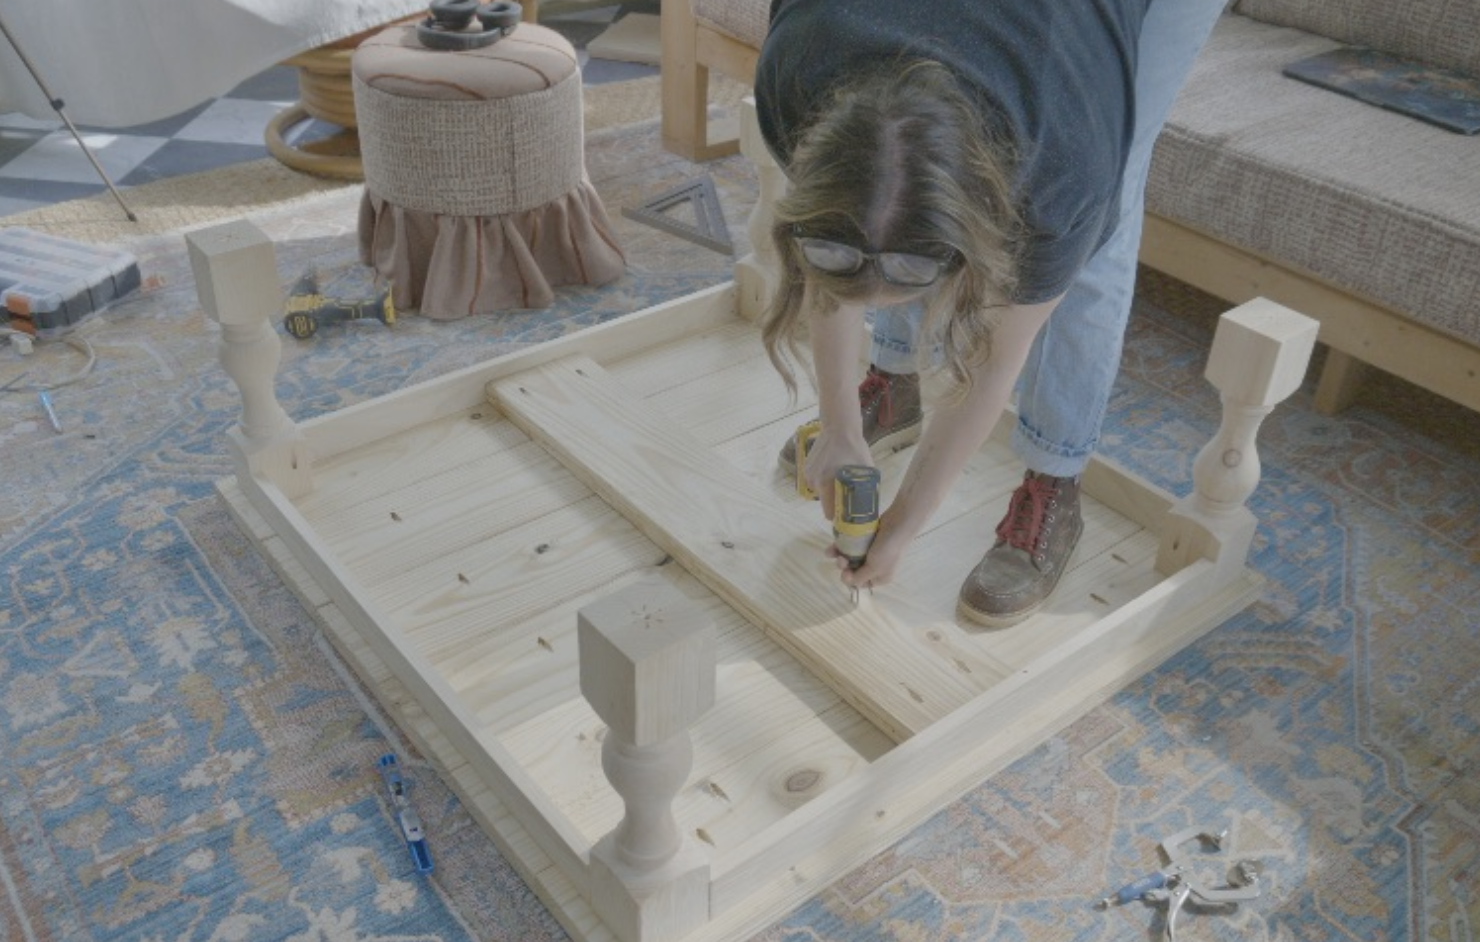
Adding Brace Piece
-Cut a 2x8 board to 40".
-Drill two pocket holes at each end.
-Center the brace between the long 1x3 sides of the base frame and attach it using pocket hole screws.Making Middle Pieces More Secure
For extra strength, use 2" wood screws to secure the four center 2x8 boards of the tabletop to the brace from underneath.
-
Stain and Top Coat
Now the table is built and ready for a stain of your choice. If you want the same distressed look I have here's what I did.
-Apply a coat of Minwax Honey stain and let it dry completely.
-Mix equal parts tan paint and water to create a wash. Apply it over the stain to highlight the distressed grooves.
-Once dry, apply another light coat of the Honey stain to blend it.
-Finish with a glossy polycrylic top coat for protection.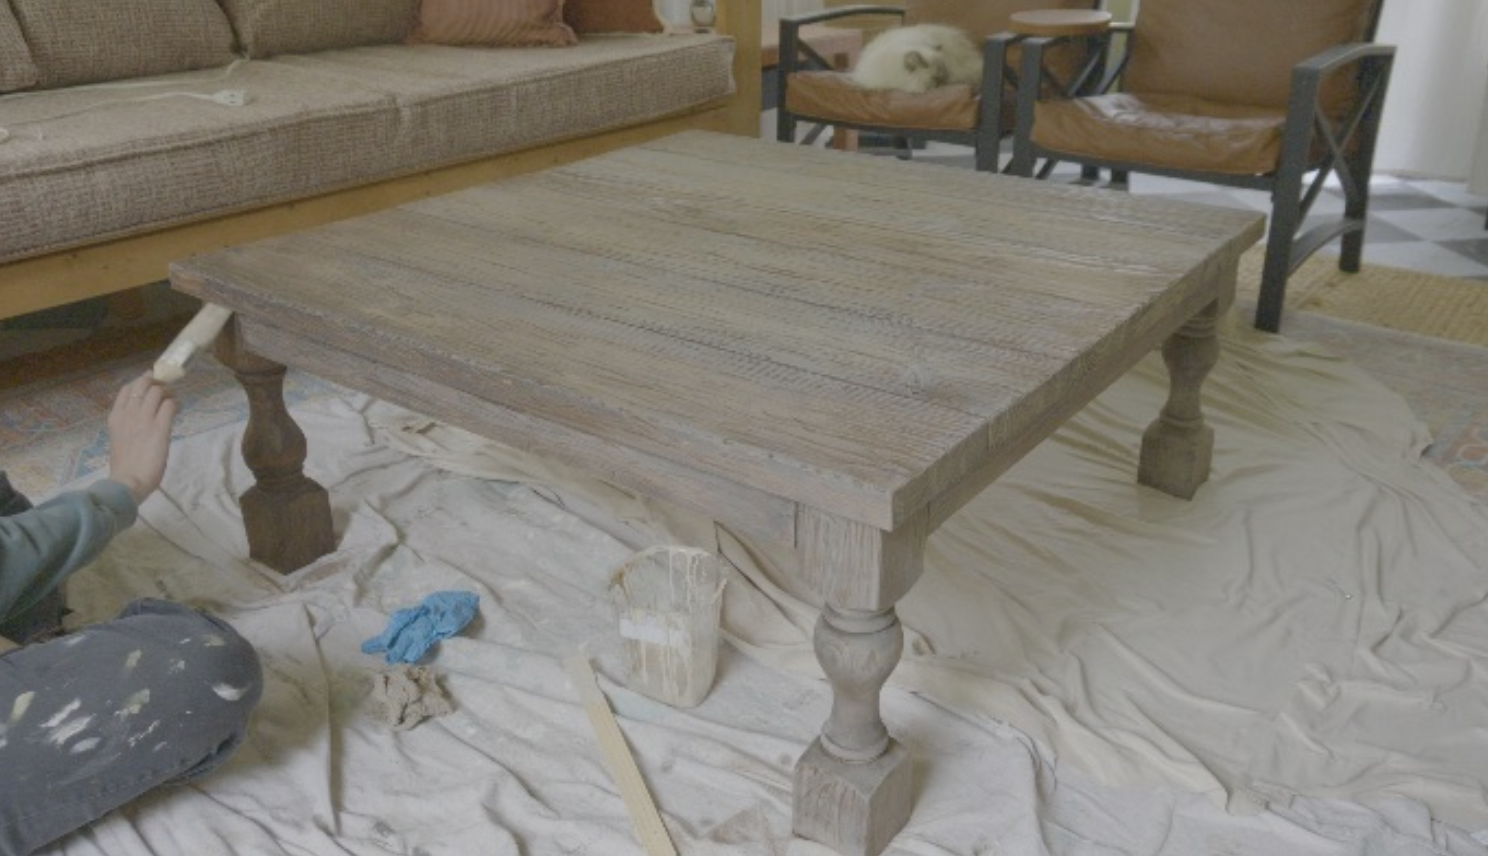
-
All Done
Your custom-built, distressed coffee table is complete! Kick back and enjoy your handiwork!