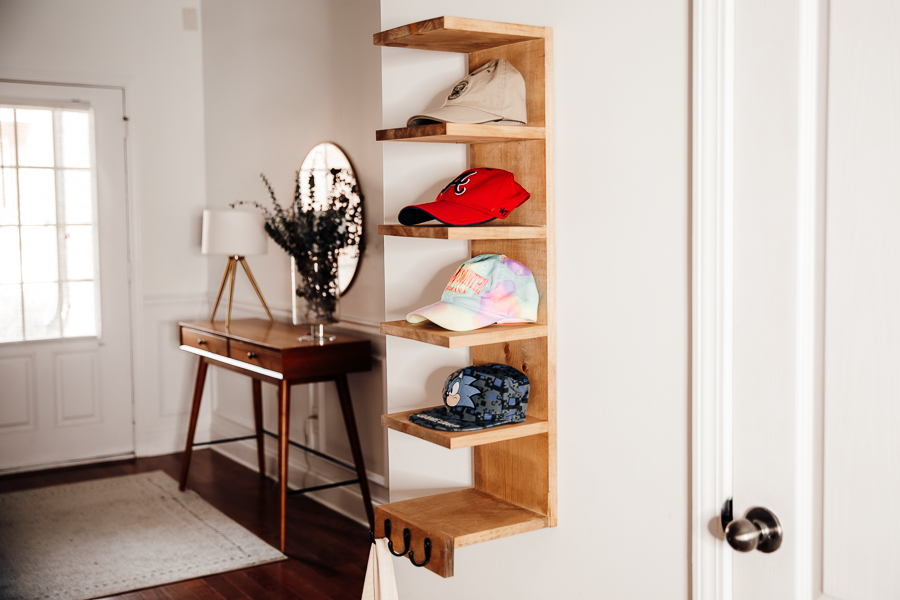
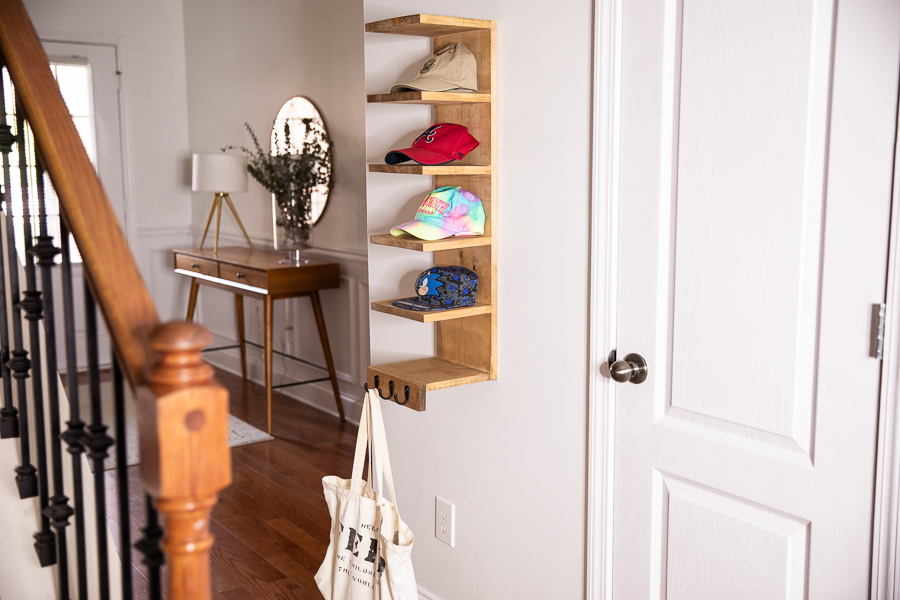


This DIY wall-mounted hat rack is a great beginner woodworking project and will help organize any entryway, mudroom, or closet! Feel free to modify the dimensions depending on your storage needs.
Tools
Kreg Tools


Other Tools
-
Saw

Materials
Wood Products
- 2 1x10 board , 1x10x8
- 1 1x3 board , 1x3x6
Hardware & Supplies
- 21 1 1/4" Pocket Hole Screws
- 3 Robe Hooks
- 1 Stain
- 1 Screwdriver
- 1 Keyhole Bracket
Directions
-
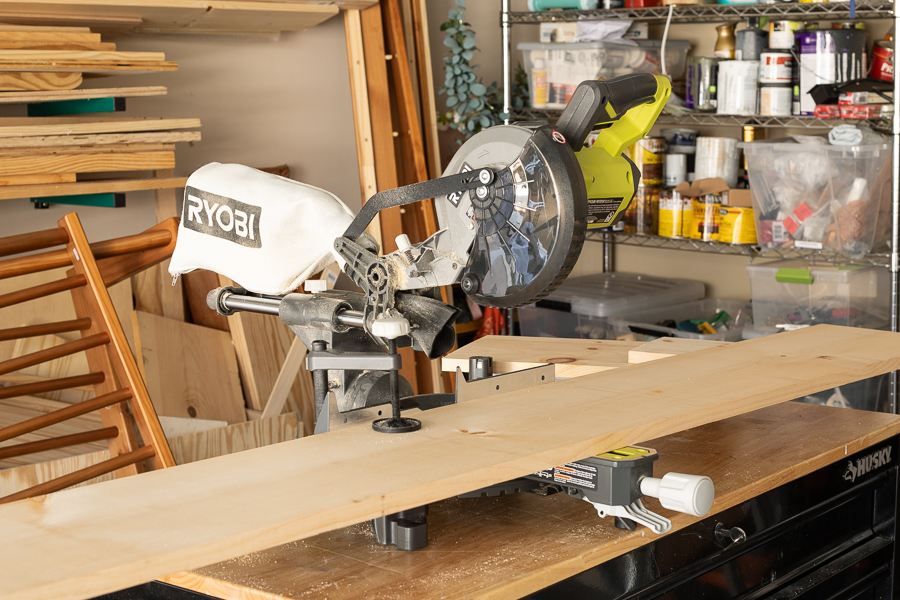
Cut Your Wood
Cut your wood to the specified dimensions.
-
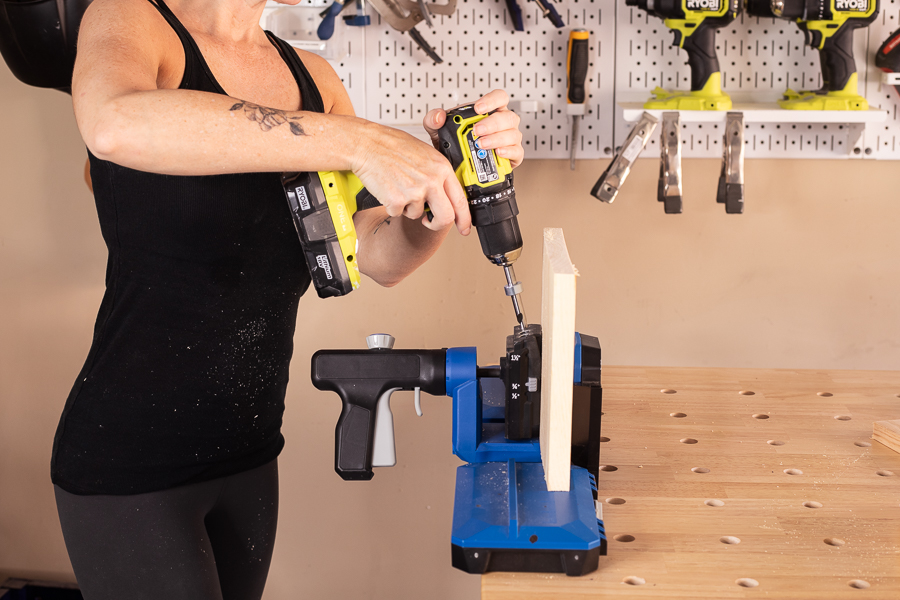
Drill Pocket Holes
Drill 3 pocket holes along one end of your 8 inch long 1x10 pieces. If you want to add the optional hooks at the bottom of your hat rack, then also add 3 pocket holes along the parallel end of one of those 8 inch long boards.
-
Sand
Sand everything smooth.
-
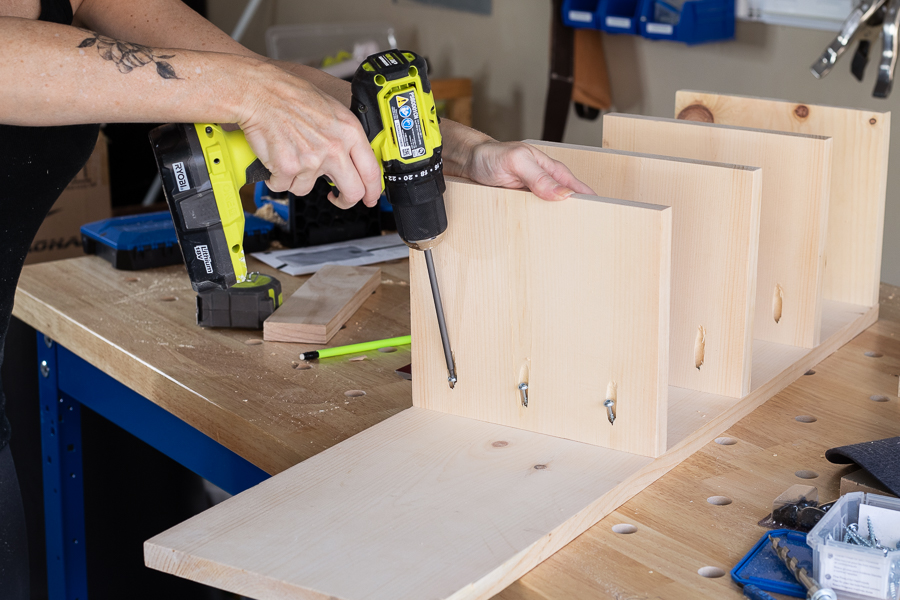
Attach Shelves
Use 1 1/4" long pocket hole screws, attach your shelves. Start by attaching one of your 8" long boards flush to the top edge of your long 1x10 board, then measure and mark 6" below that to add your next shelf. Repeat until each shelf has been attached, each of them 6" apart.
-
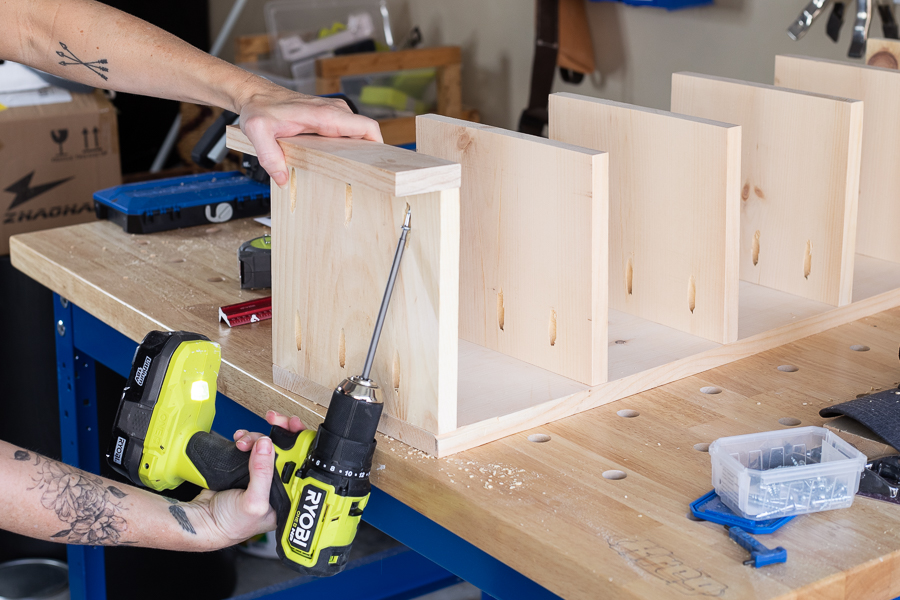
Add Bottom Piece
Use 1 3/4" pocket hole screws to attach your 1x3 board to the front of the bottom shelf. (Optional.) This will allow you to add hooks for additional storage for things like tote bags, umbrellas, keys, etc.
-
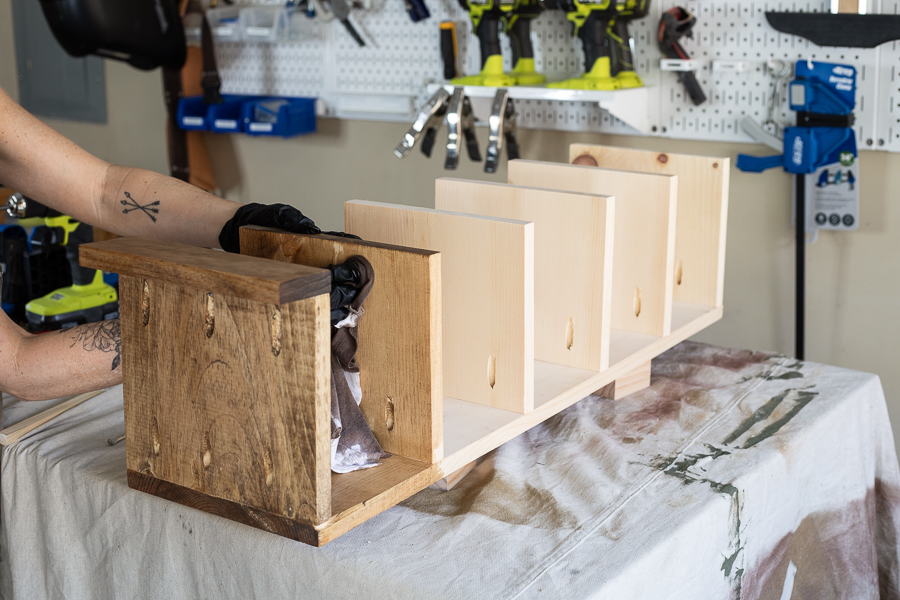
Stain or Paint
Once your hat rack has been assembled, paint or stain it in the color of your choice. I used an Early American stain for this one.
-
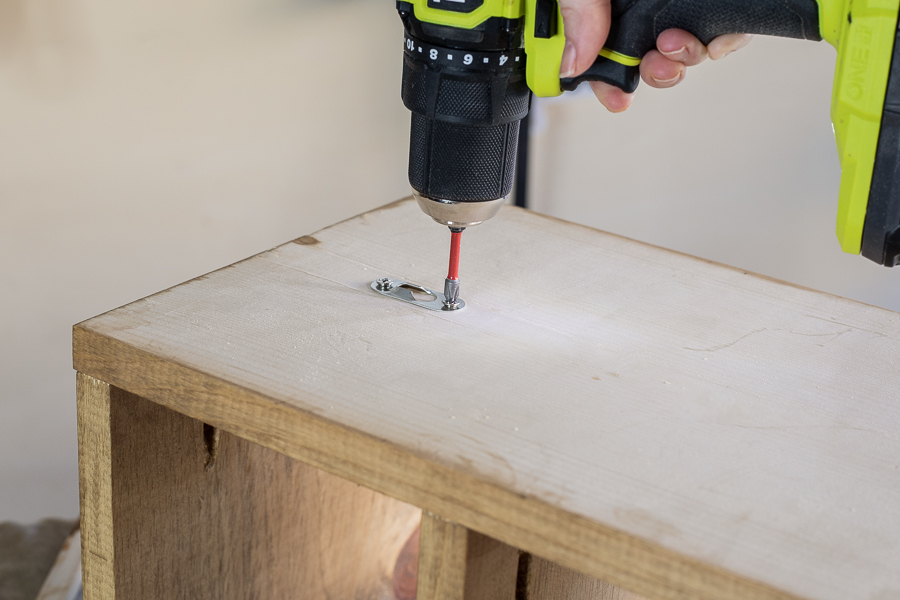
Add Hanging Hardware
Attach a keyhole bracket to the back, then hang it on the wall using a wall anchor and screw.