

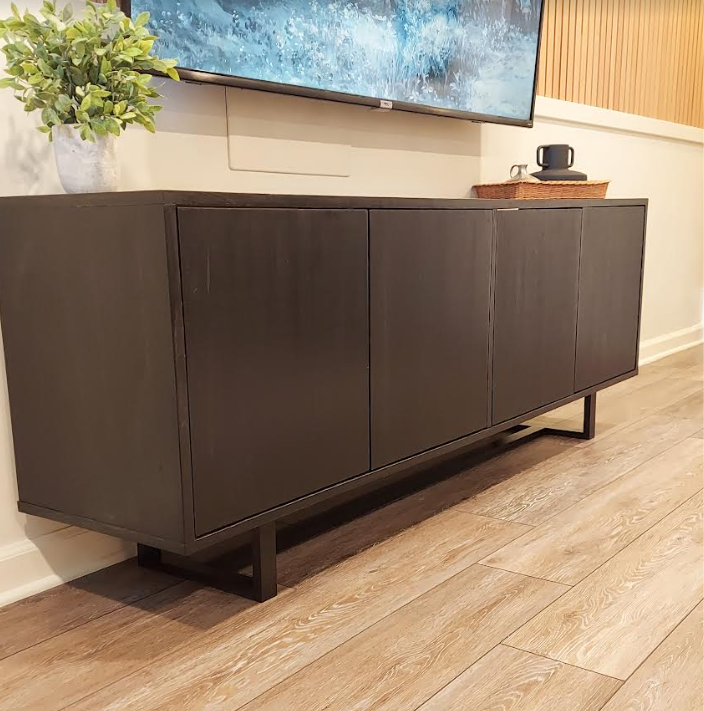
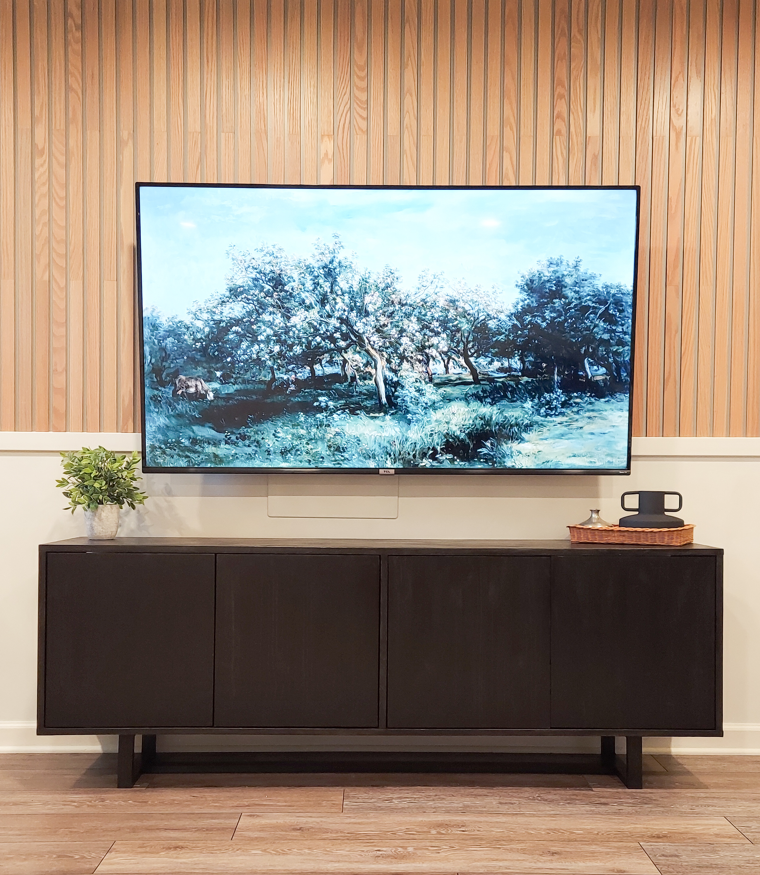


Build this beautiful tv console table that has lots of storage and magnetic door closures for a clean and modern look.
Tools
Kreg Tools


Other Tools
-
Miter Saw

-
Brad Nailer
-
Iron
-
Tape Measure
Materials
Wood Products
- 1 3/4" Hardwood Plywood , 4'x8'
- 2 Pine , 1"x2"x8' , 3/4"x1 1/2"x8'
- 1 Edge Glued Panel, Pine , 3/4"x20"x8'
- 1 1/8" Hardboard , 4'x8'
- 1 Edge Banding
Hardware & Supplies
- 8 Inset Concealed Cabinet Hinges
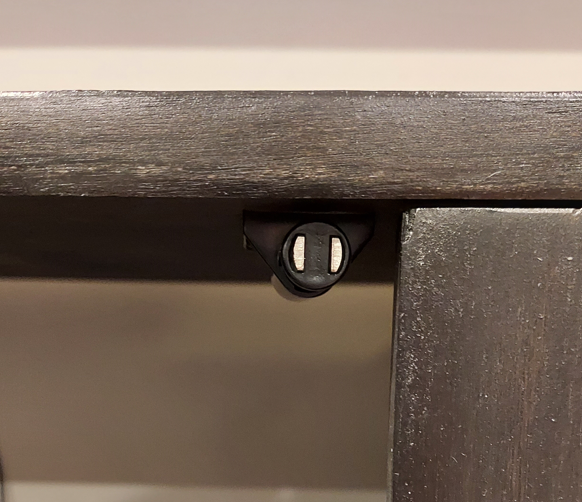
- 4 Magnetic Push Open Latch
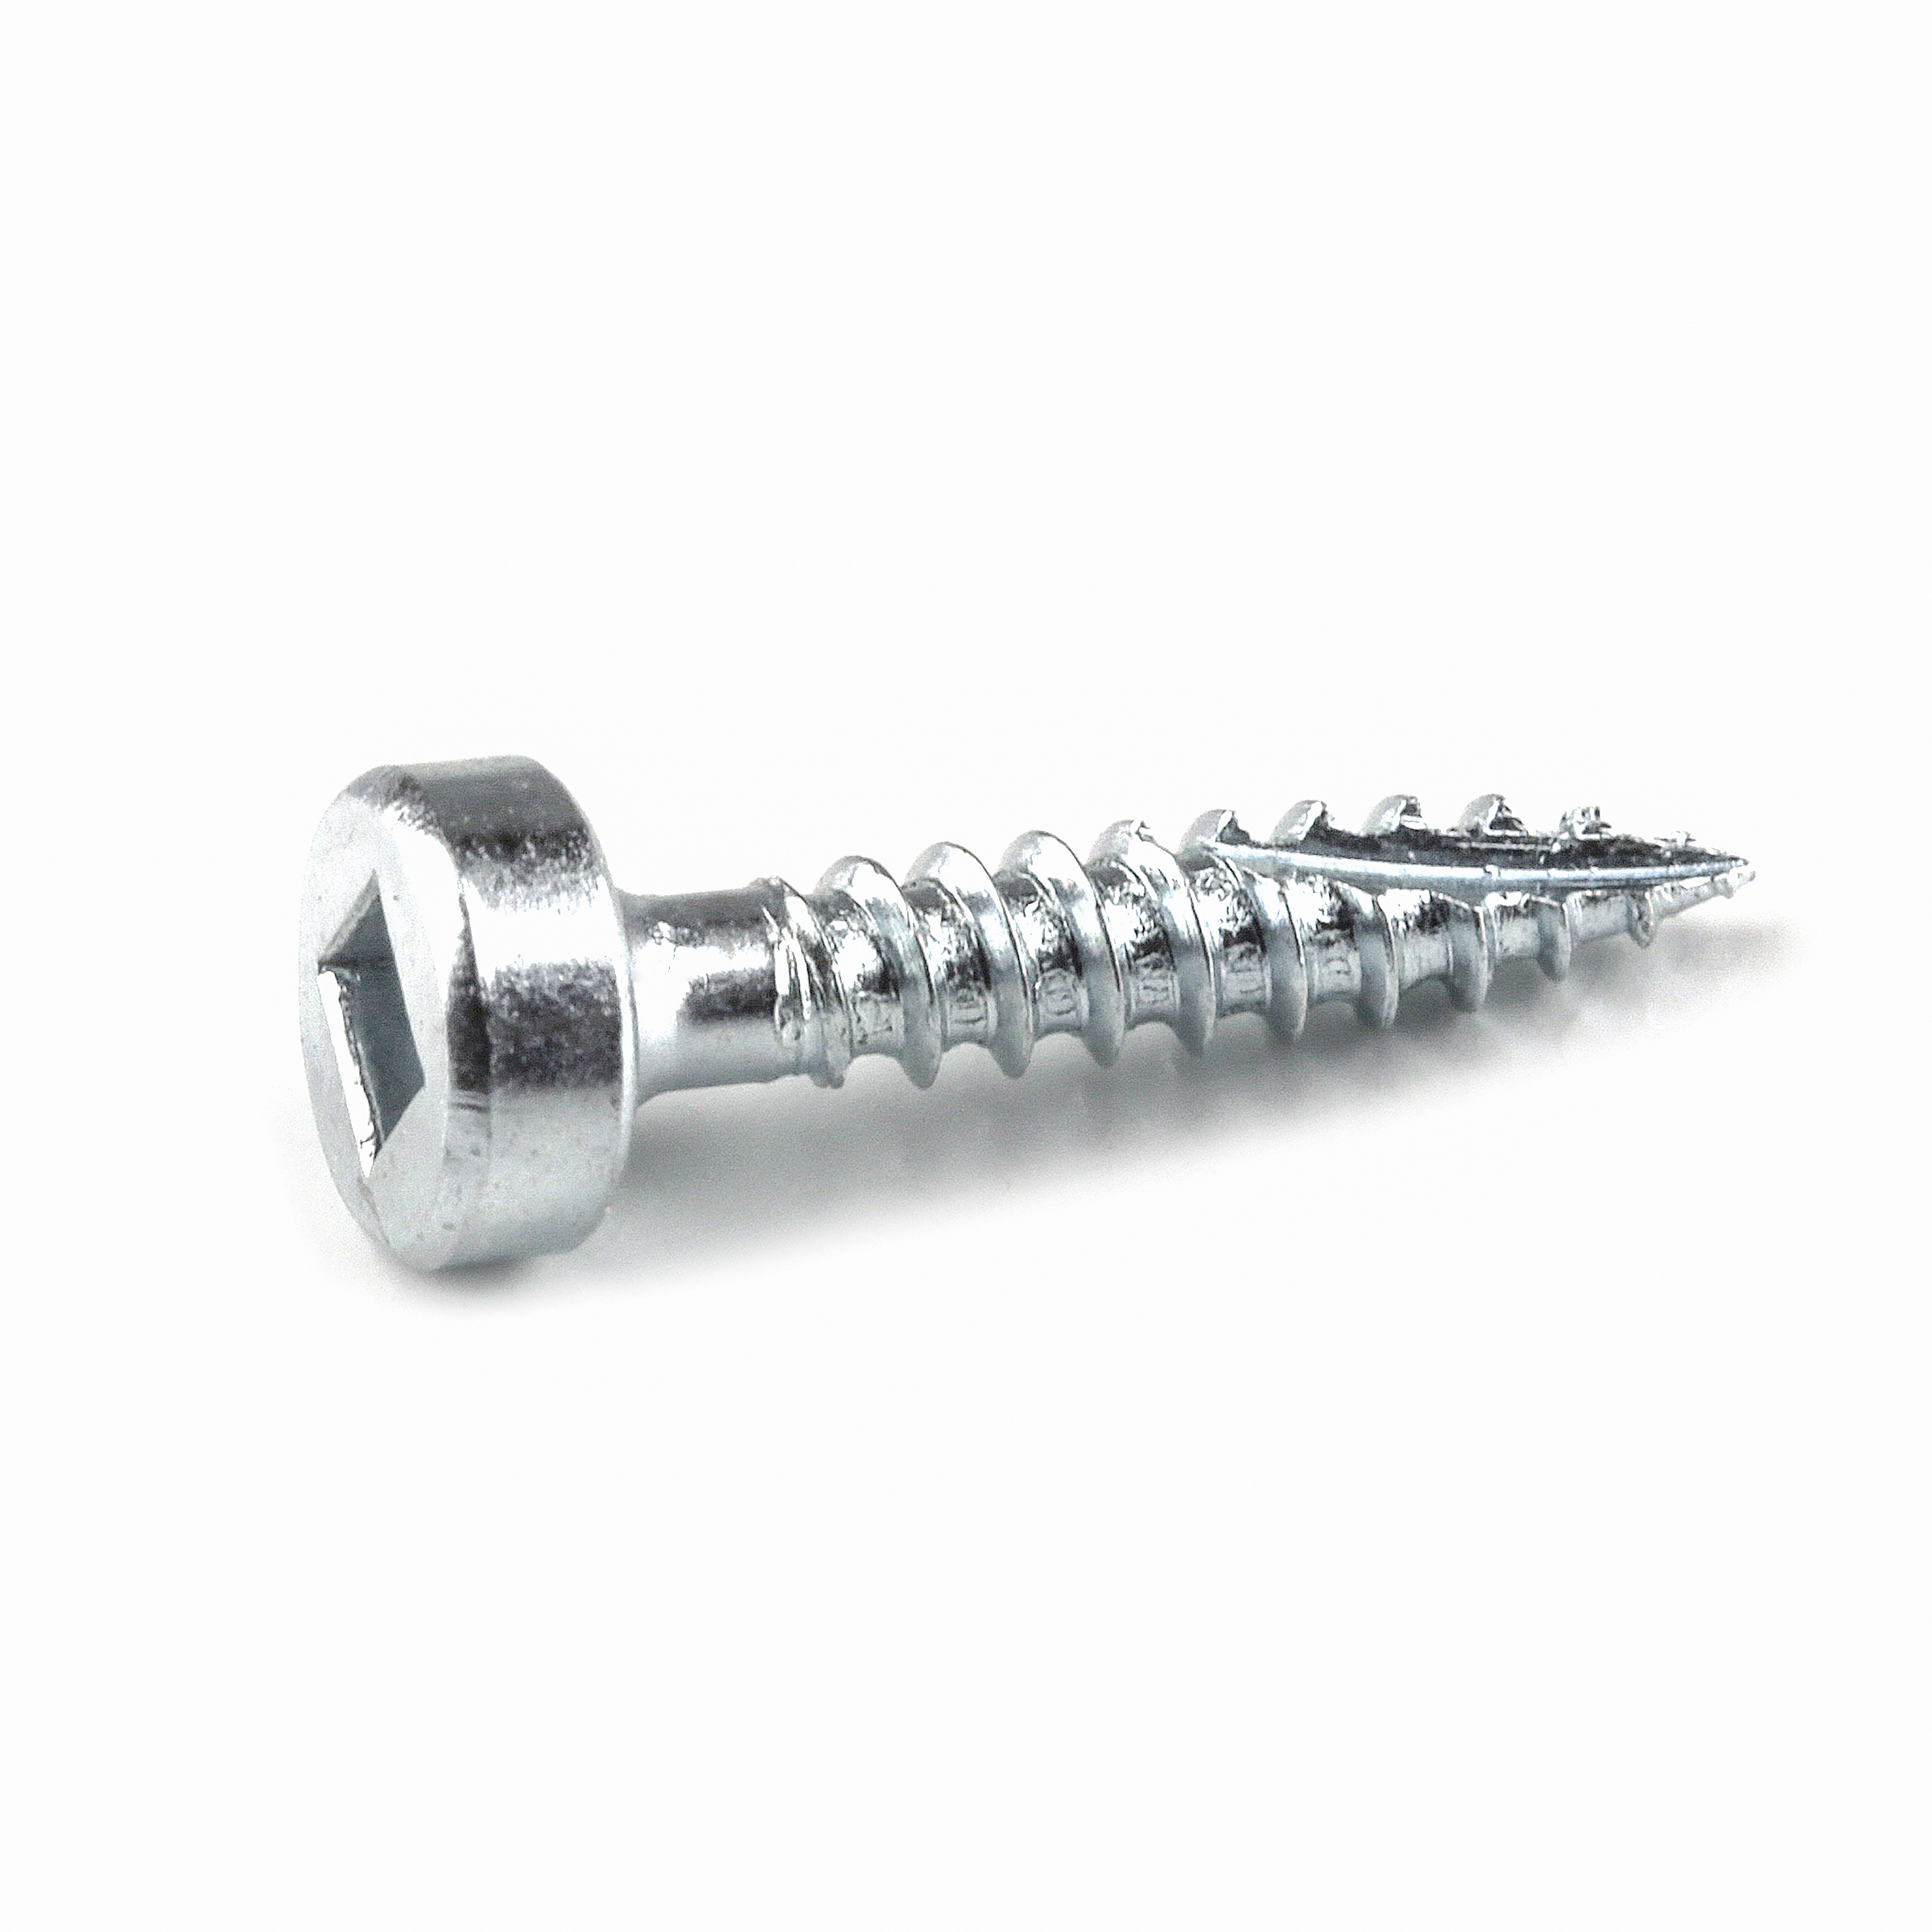
- 48 1 1/4" Pocket Hole Screws
- 1 Wood Glue
- 4 1 1/4" Wood Screws
- 40 5/8" Brad Nails
- -- Sand Paper
- -- Stain or Paint
- -- Polycrylic Topcoat
Cut List & Parts
- 2 Top and Bottom, 3/4" plywood , 72"x15 1/2"
- 2 Sides, 3/4" plywood , 18 1/2"x15 1/2"
- 1 Middle Support, 3/4" plywood , 18 1/2"x15 3/8"
- 4 Doors, 3/4" Pine Panel , 18 1/4"x17 1/4"
- 4 Base , 3/4"x1 1/2"x6"
- 4 Base , 3/4"x1 1/2"x10 1/2"
- 1 Base , 3/4"x1 1/2"x53"
- 1 Backing, Hardboard , 71"x19"
Directions
-
Cut Materials
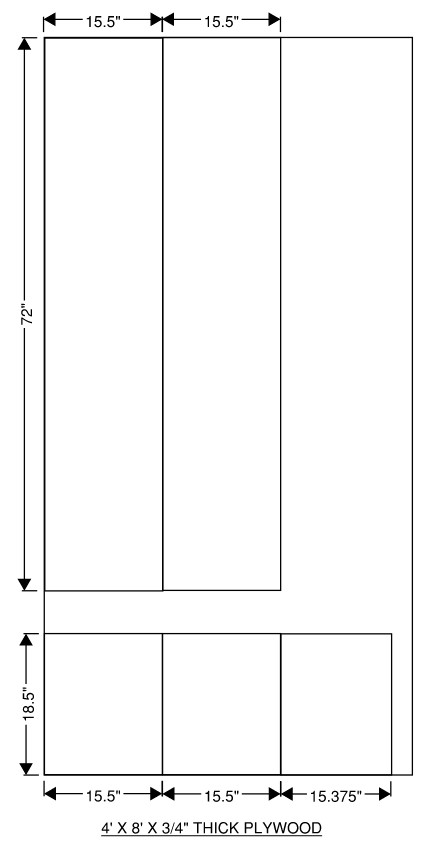
Use the Kreg Rip Cut and a circular saw to cut all of the cabinet pieces from the sheet of 4'x8' plywood (see cut list images) and the doors from the edge glued pine panel.
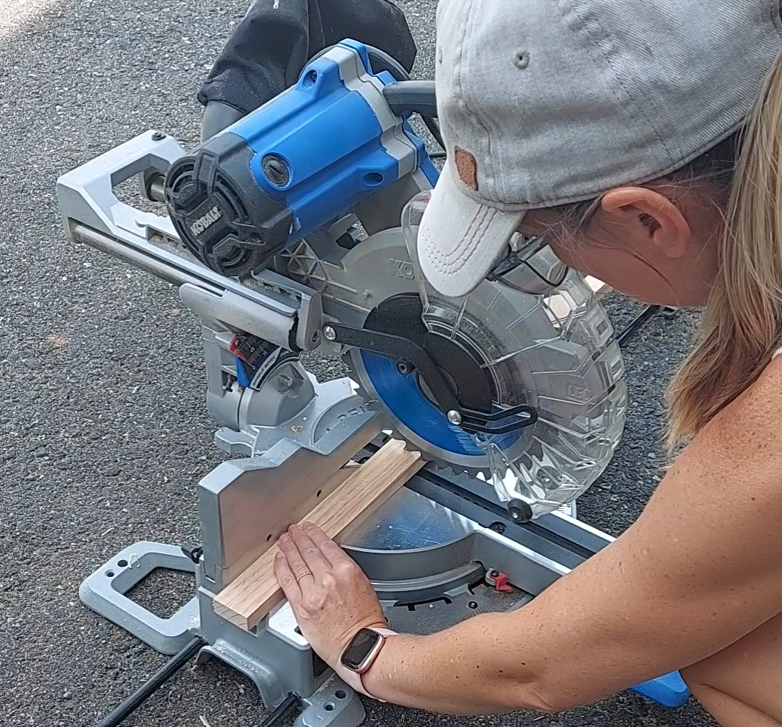
Cut the pieces for the base from the 1"x2"x8' boards using a miter saw.
*Some hardware stores can cut large sheets of plywood down for easier transportation. Use the diagram to plan out cuts ahead of time to maximize material use.
-
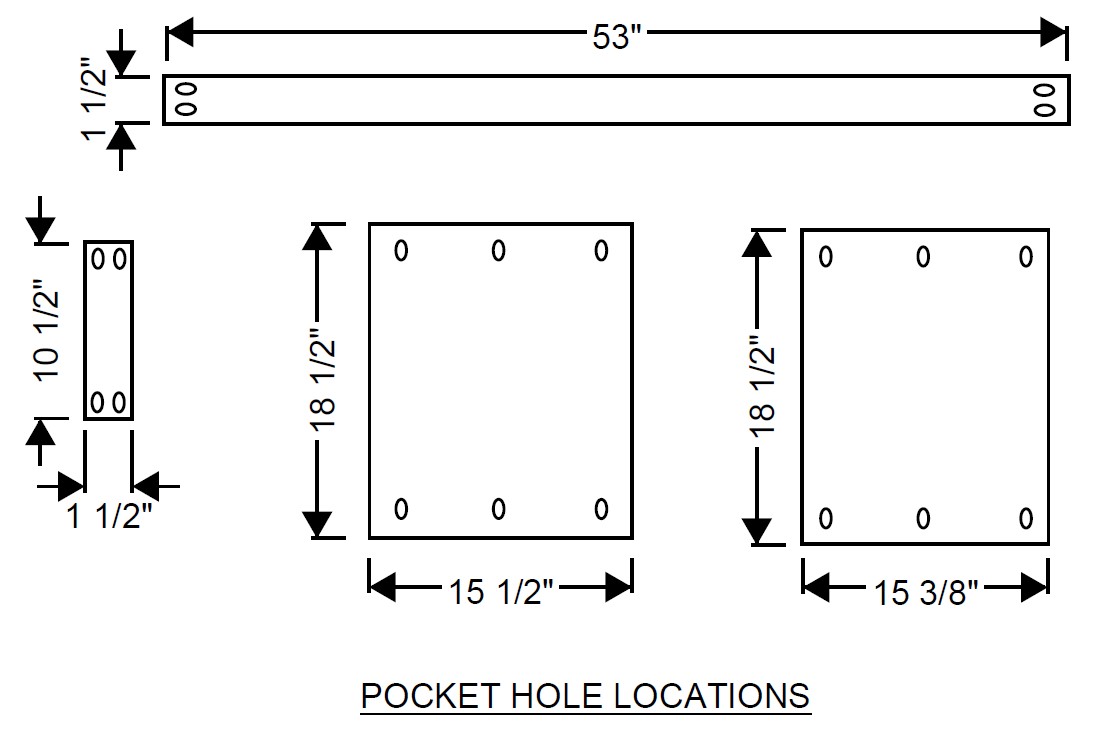
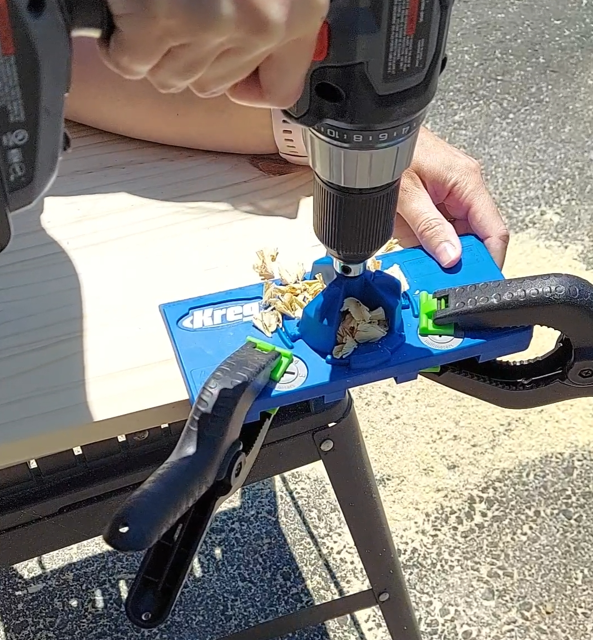
Add Pocket Holes
Use a Kreg Pocket-Hole Jig and a drill to make pocket holes on the side and middle support pieces for the cabinet, as well as the 10 1/2" and 53" base pieces.
*I like to sand all of the pieces before assembling.
-
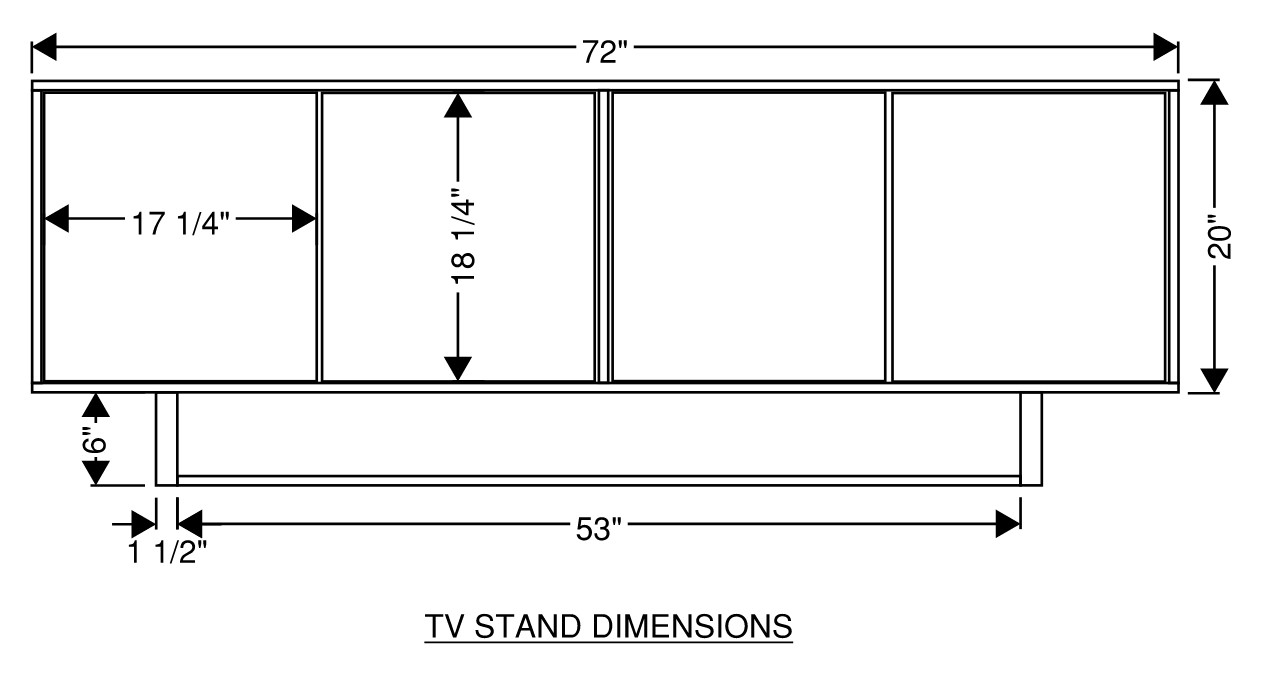
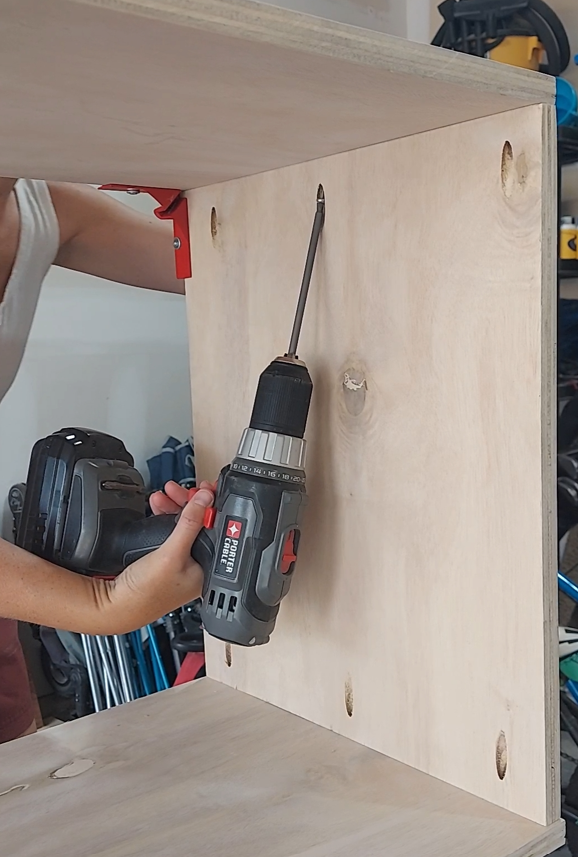
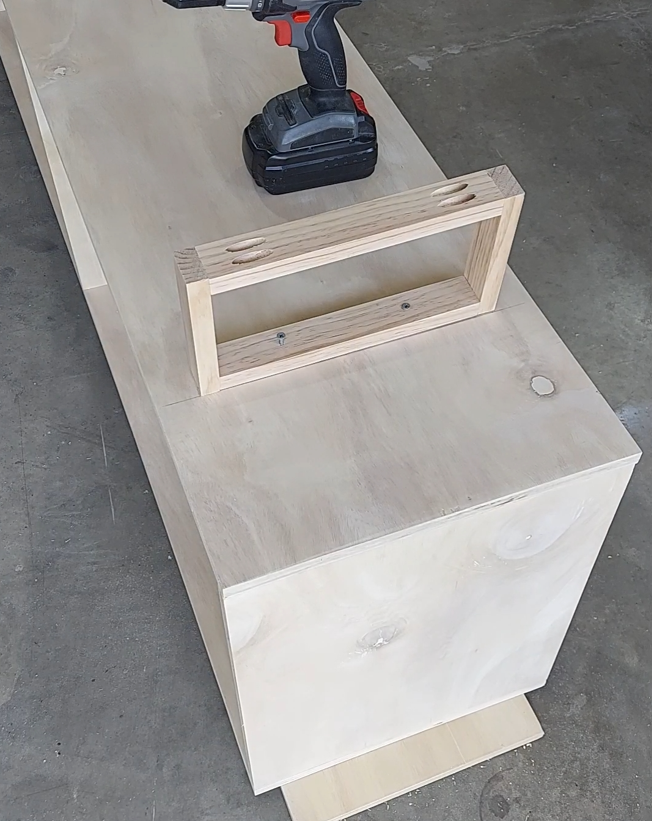
Assemble the Cabinet
Use the 1 1/4" pocket screws, clamps and wood glue to join the sides, top and bottom pieces. Make sure the pocket holes on the side pieces are facing the inside of the cabinet when assembling.
There is a 1/8" difference between the sides and the middle support to allow for the addition of the hard board back. Make sure that the middle support is flush with the front of the cabinet when installing. Measure and mark the middle of the cabinet (should be 35 1/4") and install the middle support using wood glue and pocket screws.
*optional: Use pocket hole plugs to fill the pocket holes on the inside of the cabinet.
-
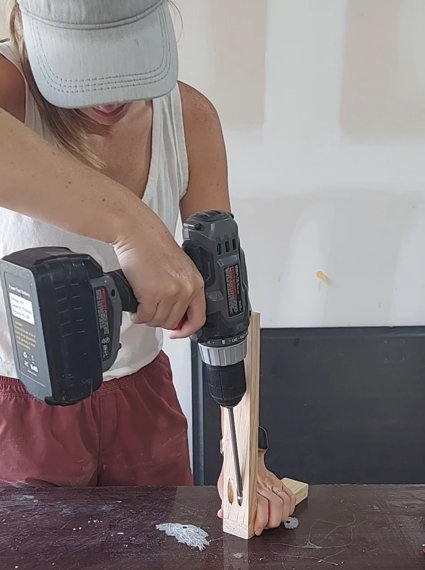
Assemble the Base Part 1
Use clamps, wood glue and pocket screws to join two 6" and one 10 1/2" piece with the pocket holes facing out. Repeat for the base on the other side.
-
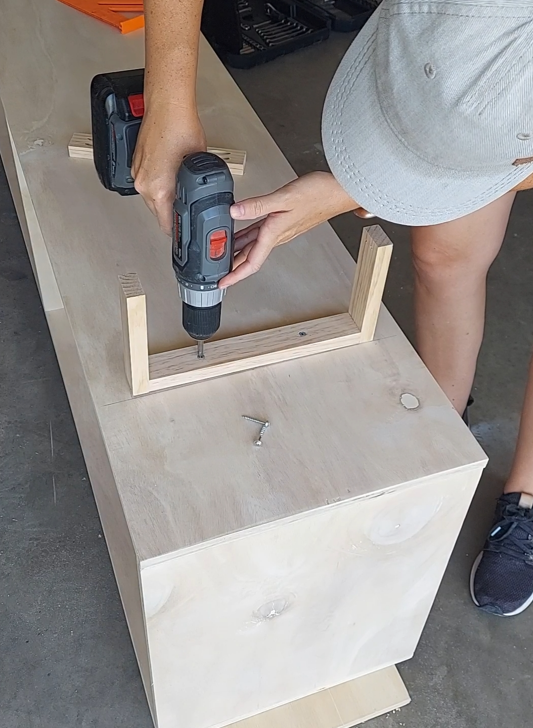
Install Base
Measure and mark where the base will go:
-8 inches in from the side
-1 3/4 inches from the front and backDrill pilot holes and install the base with wood glue and 1 1/4" wood screws (pocket holes facing the cabinet). Repeat on the other side.
-
Assemble the Base Part 2
Use wood glue and pocket screws to add the remaining 10 1/2" base pieces between the two 6" base pieces on each side.
Measure and mark the middle of the bottom surface of the base (at 5 1/4"). Add the 53" piece in the center, between the legs making sure that the pocket holes will be facing the floor when the TV stand is in it's final upright position.
-
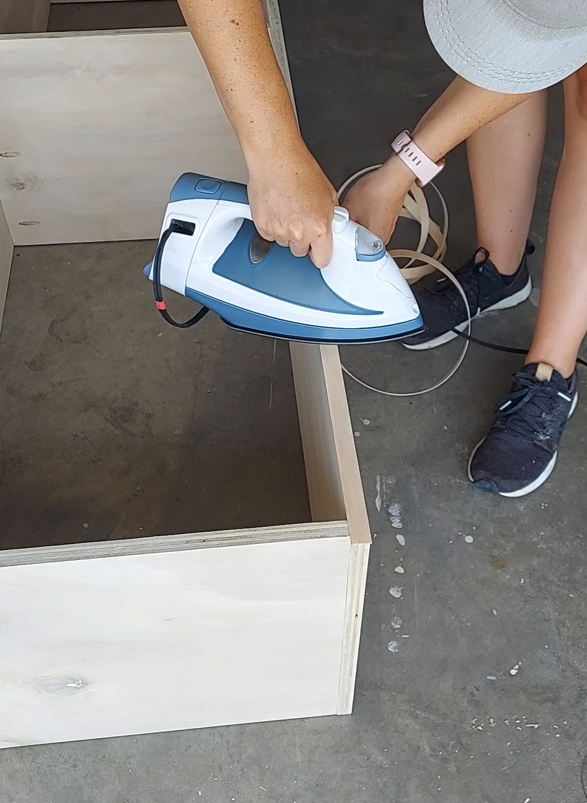
Add Edge Banding
Iron on the edge banding to the cabinet. Trim and lightly sand.
-
Use Concealed Hinge Jig
Use the Kreg Concealed Hinge Jig and drill to prepare the doors. (Settings will depend on the hinges). Each door will have 2 hinges.
-
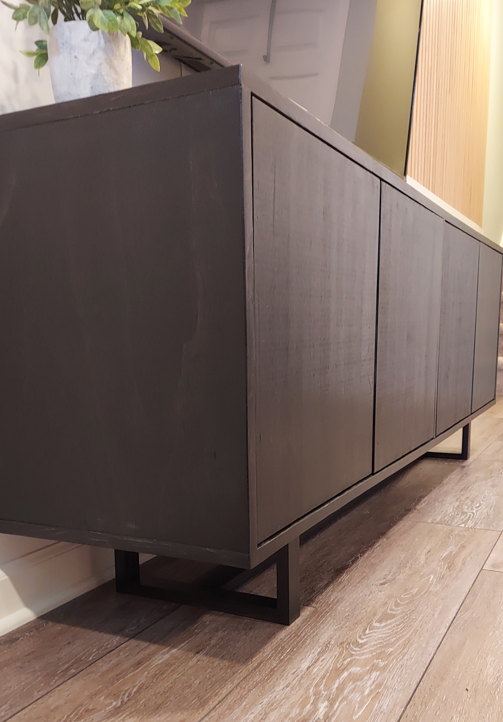
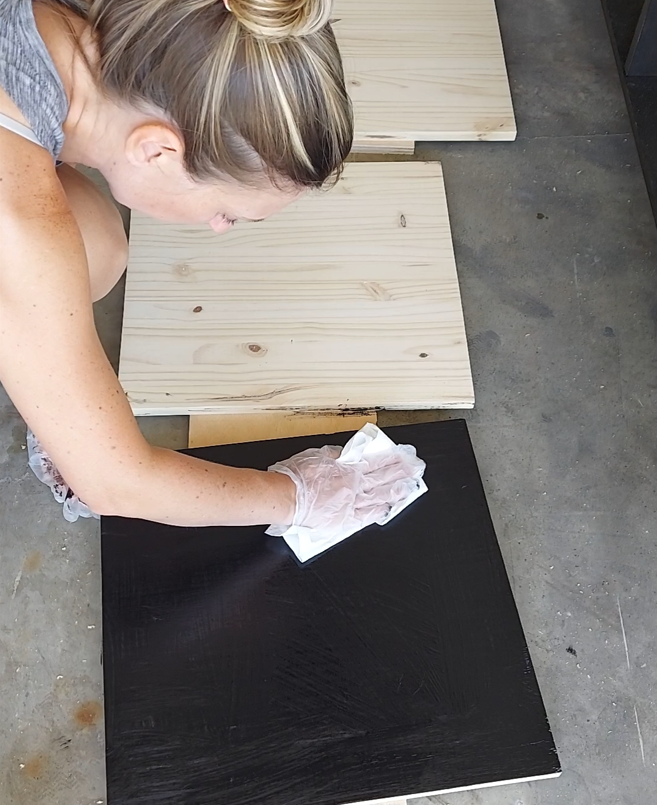
Stain or Paint
Add 2 coats of gel stain and then a polycrylic topcoat. Read product directions for information on wait time between coats.
*Using a dark gel stain is a great option when building with plywood if you still want a visible wood grain.
-
Install Doors
Install the hinges and adjust according to the hinge specifications. This cabinet has been planned with a 1/8" spacing around the doors.
Install the magnetic push latch on the top surface of the cabinet according to the product directions.
-
Install Cabinet Backing
Use a rabbeting router bit at a depth of 1/8" along the inside ledge of the back of the cabinet to create room for the hardboard backing (1/4" wide). Cut the hardboard to size and use wood glue and brad nails to secure it in place.
*I find it easier to install the doors without the hardboard backing but feel free to do this step earlier in the building process if desired.