DIY Vase Holder
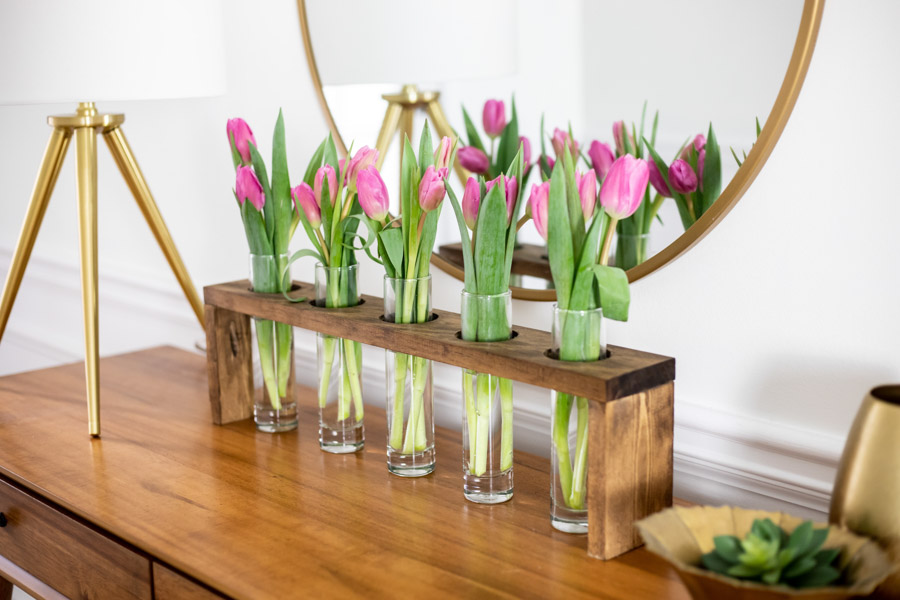
By Erin SpainThis wooden vase holder is a simple woodworking project (great for beginners!) and a fun decorative accent to any home.
Directions
-
Cut Your Wood
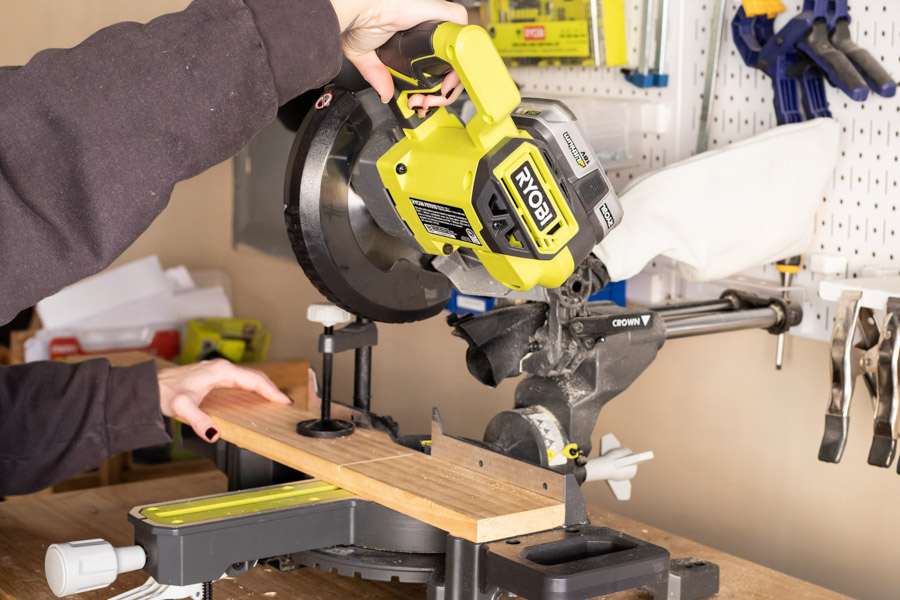
Cut your 1x4 board to the following dimensions
(1) at 22” long
(2) at 5” long -
Drill Pocket Holes
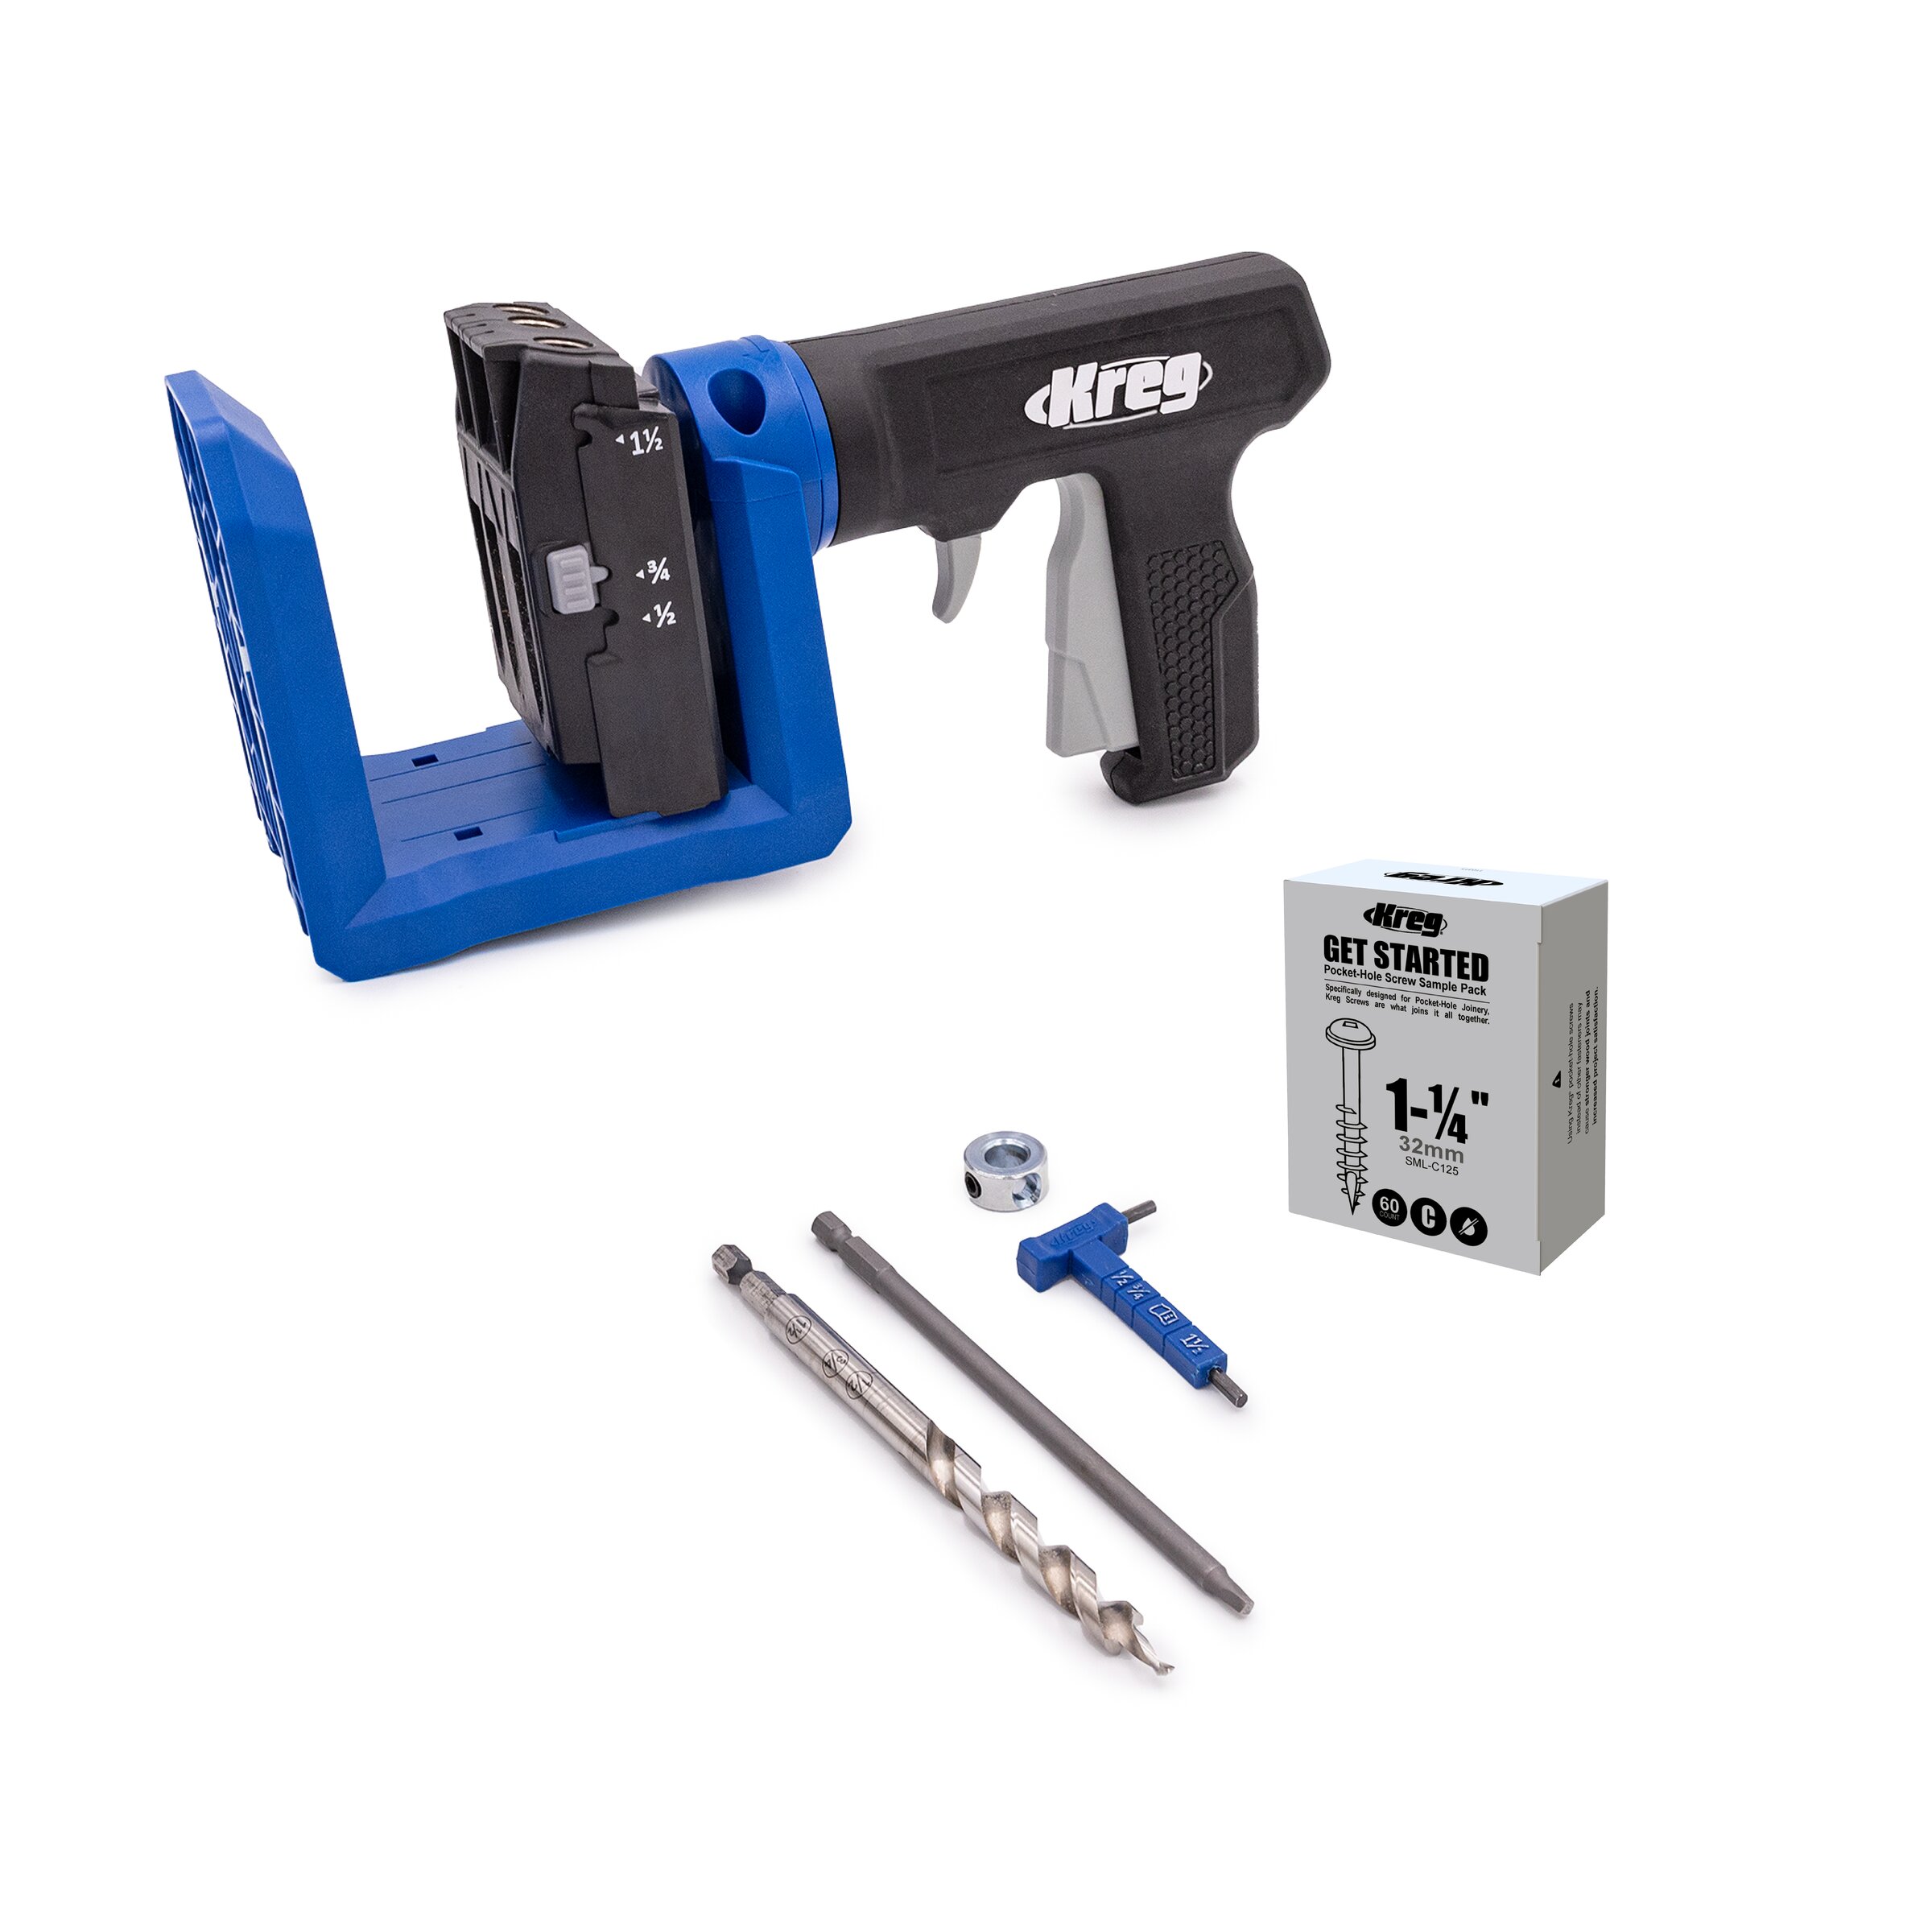
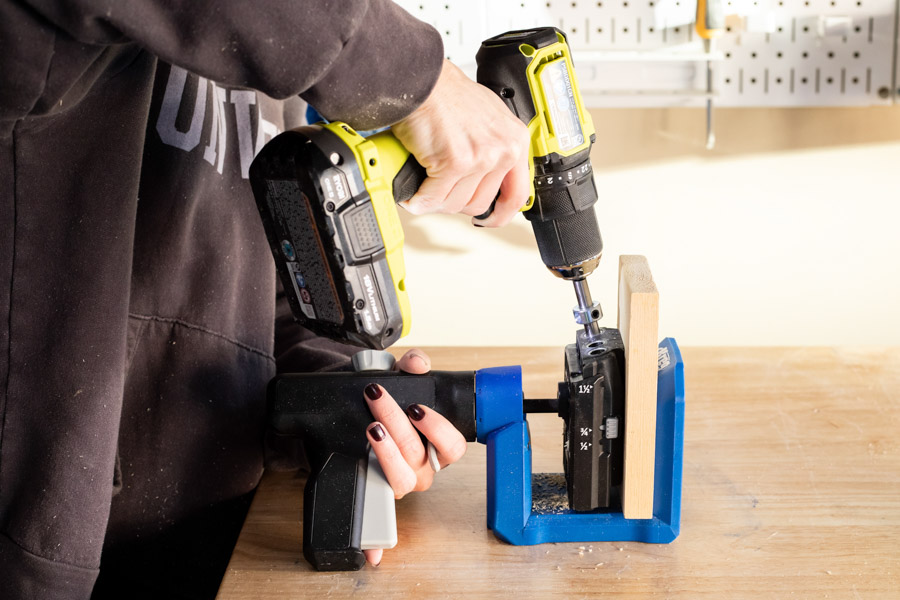
Use the Kreg Jig 520PRO to drill 2 pocket holes at one end of each of your 5” long boards.
-
Drill Holes for Vases
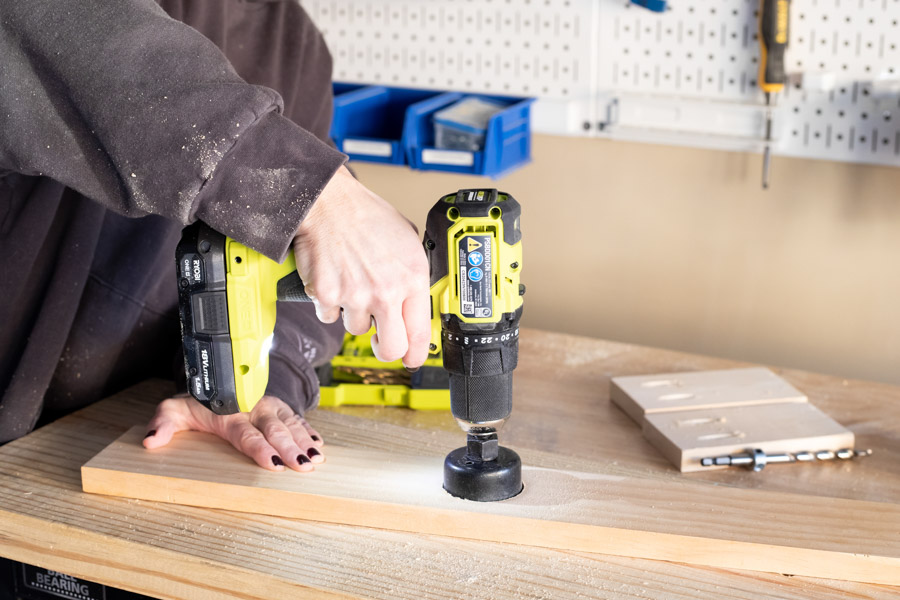
Use a 2” Hole Saw Bit to drill holes along your 22” long board. First, measure and mark your center point. Drill your hole. From there, measure and mark so that the center of each hole is 4” apart (the outer edge of each hole should be 2” apart).
-
Sand
Sand your boards and use a small sanding block or sheet of sandpaper to smooth out the edges and insides of each hole.
-
Attach End Pieces
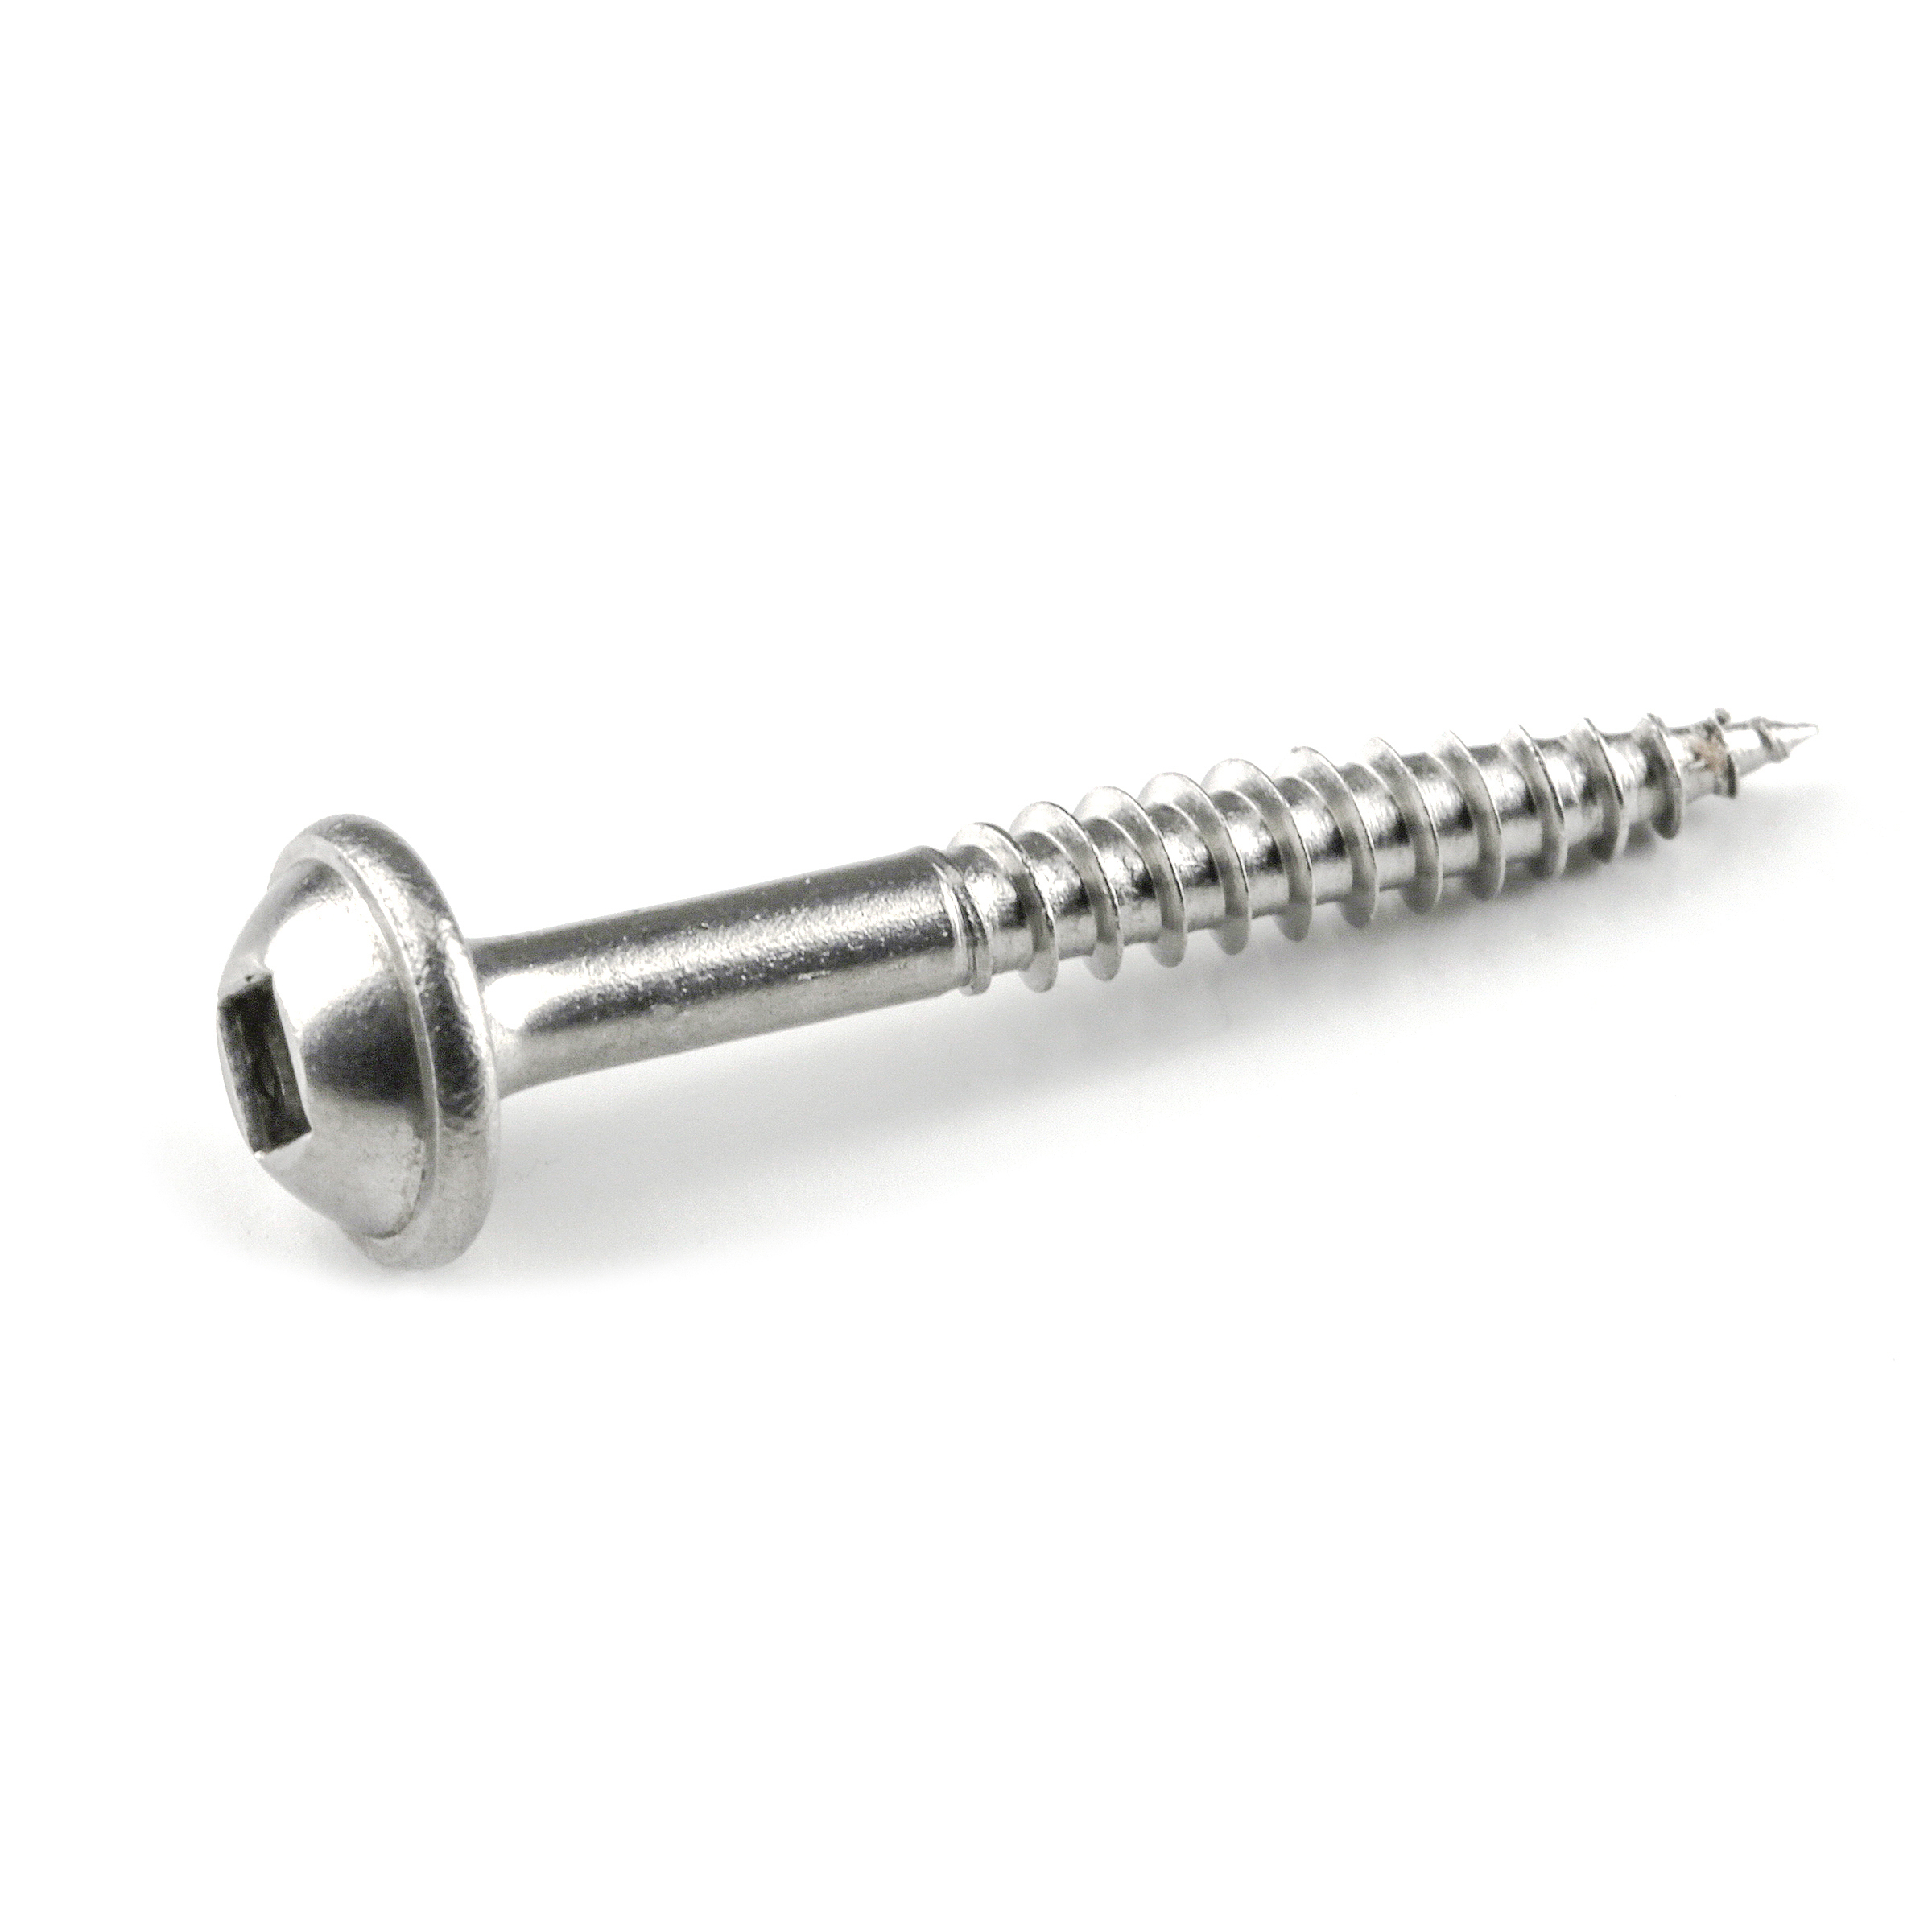
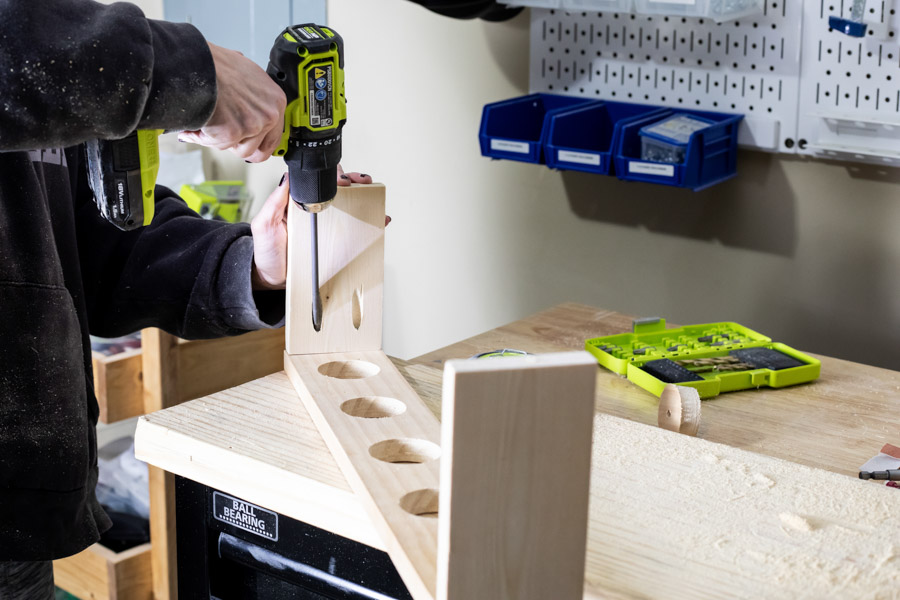
Use 1 ¼” pocket hole screws to attach the 5” long end pieces to your 22” long board.
-
Paint or Stain
Finish your vase holder however you choose. For this one, I used a Provincial stain.
-
Insert Vases and Add Flowers
Add whatever flowers or greenery you choose and enjoy your new decor piece!
More Project Ideas at ErinSpain.com


