What is a router table?
A router table is an essential tool for any woodworker. It transforms a handheld router into a stationary tool, allowing for greater precision, control, and versatility. The router is mounted upside down under a flat surface, with the bit protruding through an opening in the table. This setup helps you guide the workpiece over the spinning bit, rather than maneuvering the router around the workpiece.
What are the advantages of a router table?
Using a router table offers numerous benefits over a handheld router. First and foremost, it provides increased accuracy and repeatability. With the router secured in place, you can make consistent passes with far greater ease. Additionally, the table’s flat surface and fence system allow for better workpiece support and guidance for smoother, more precise cuts especially for tasks like edge profiling, groove cutting, and decorative corners that would be challenging or impossible with a handheld router alone.
Router tables also enhance safety by reducing the risk of kickback and providing a stable platform for routing operations.
What do I use a router table for?
A router table is an incredibly versatile tool that expands the capabilities of your handheld router – it allows you to perform a wide range of woodworking operations (such as edge profiling, groove cutting, mortising, pattern routing, joinery, edge banding and slot cutting) with increased precision, control, and safety.
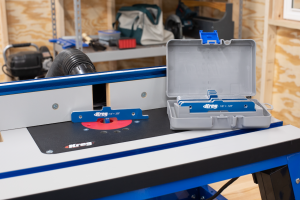
As you’re building your collection of project-building tools, one of the best ways to invest wisely is to buy versatile tools that can do many different things. That’s why, as your projects increase in complexity, one of the top step-up tools on your list should be a router table. It’s a tool that can open up new worlds for preparing, shaping, and joining your project parts. Plus, a router table like our Precision Benchtop Router Table offers some great advantages for workpiece control and safety.
So, let’s talk about a few of the many reasons you should have a router table.
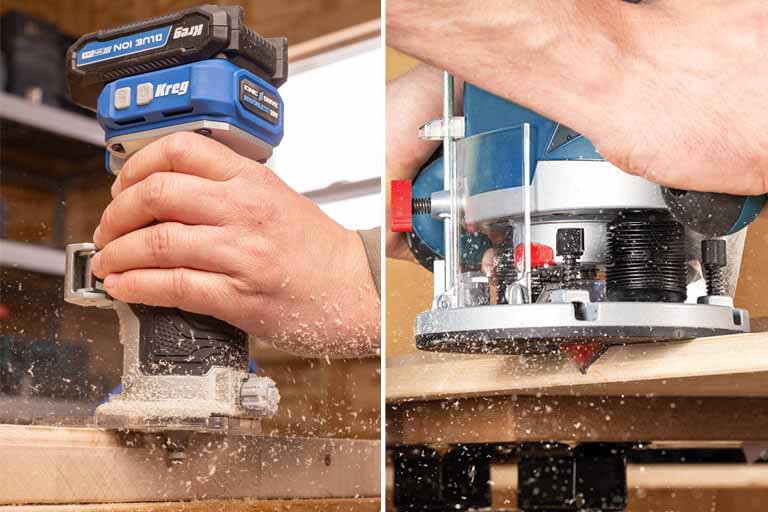
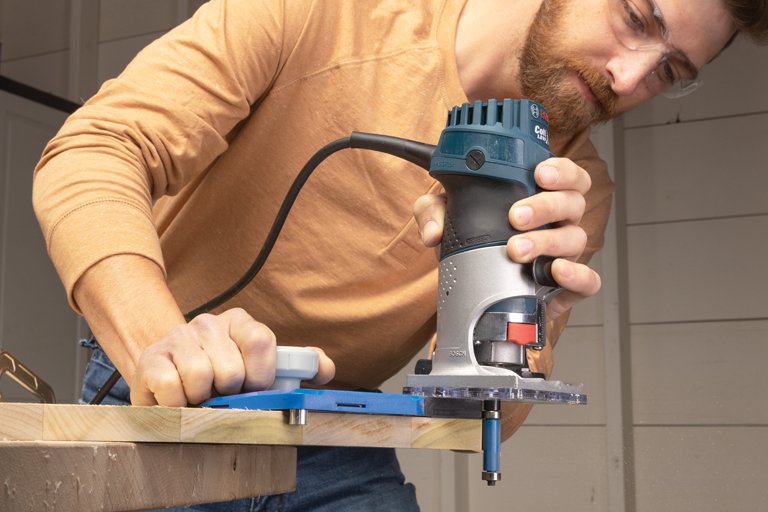
(By the way, we removed the bit guard in most of these photos and short videos to make things easier to see. Of course, we always advise having the guard in place.)
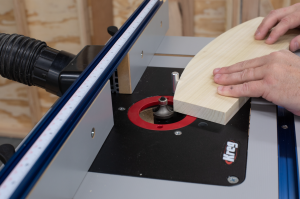
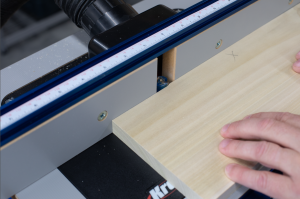
1. A router table provides workpiece control
Using a router handheld can be a challenge. You have to control a tool that can be heavy, that’s hanging partially off your workpiece, and that’s spinning an exposed bit at up to 24,000 rpm. Without a firm hand, the router or the workpiece can get away from you. Either one can ruin your work or do a lot worse. A router table changes the game by giving you better control. Remember, though, that you’ll still be working around an exposed cutting bit. So, keep your safety and your hand positions in mind.
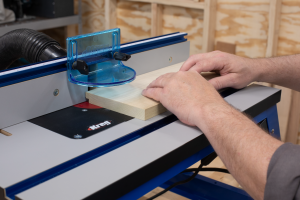
Two-handed control
When you mount a router in the table, it’s held securely in place, which means you have both hands available to control your workpiece. This instills a lot of confidence, and it allows you to concentrate on getting great results.
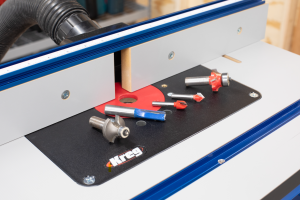
Extra holding power
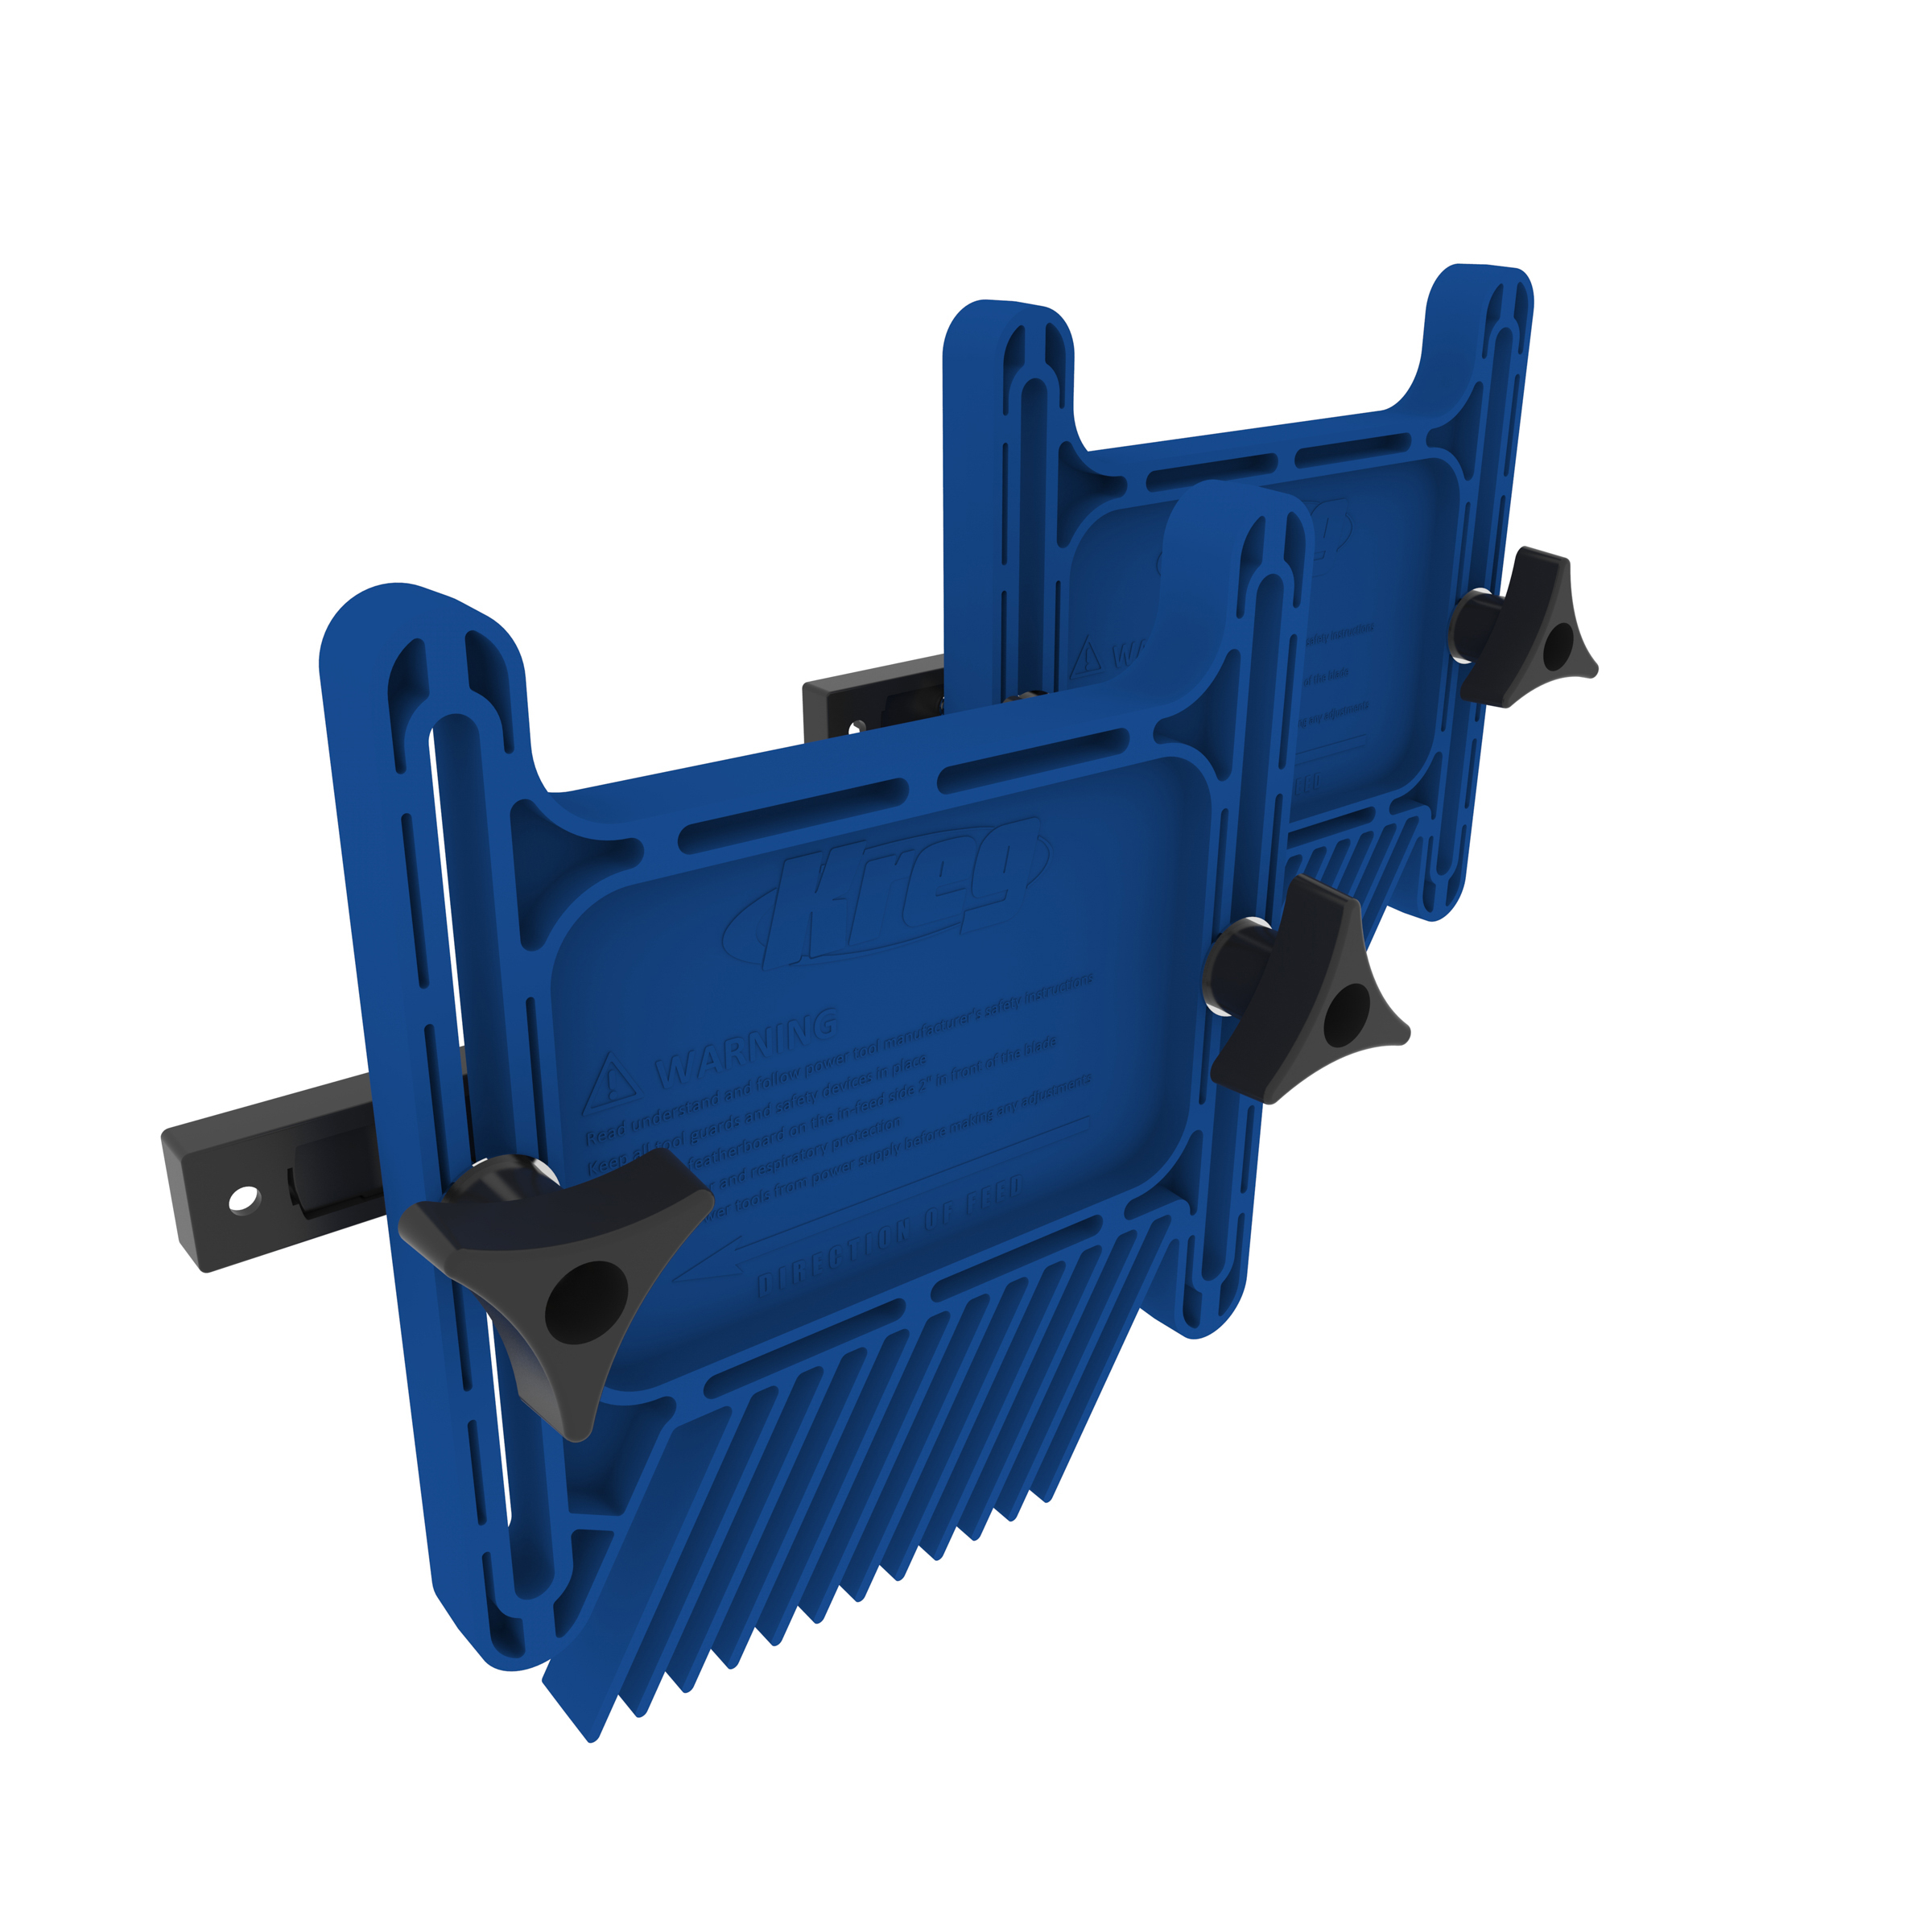
You can get even better control with a couple router-table accessories. Featherboards keep your workpiece pressed firmly against the fence and/or the table so all you have to do is push the workpiece past the bit. Featherboards also help prevent kickback if your hands should accidently come off the piece as you rout.
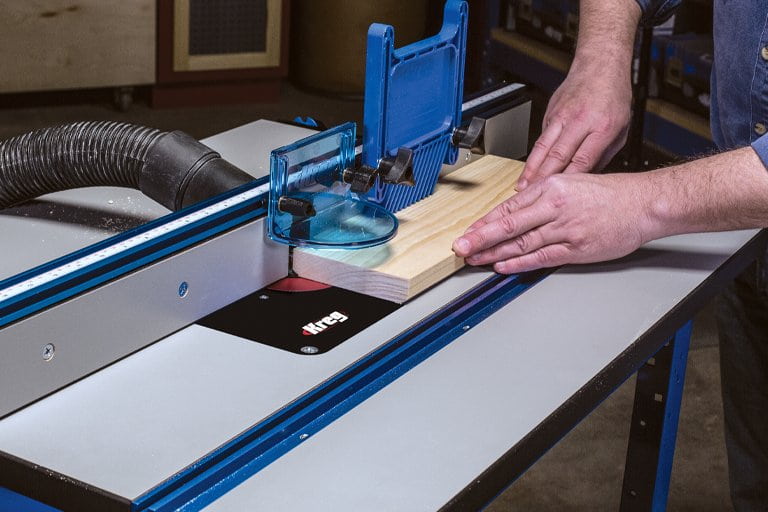
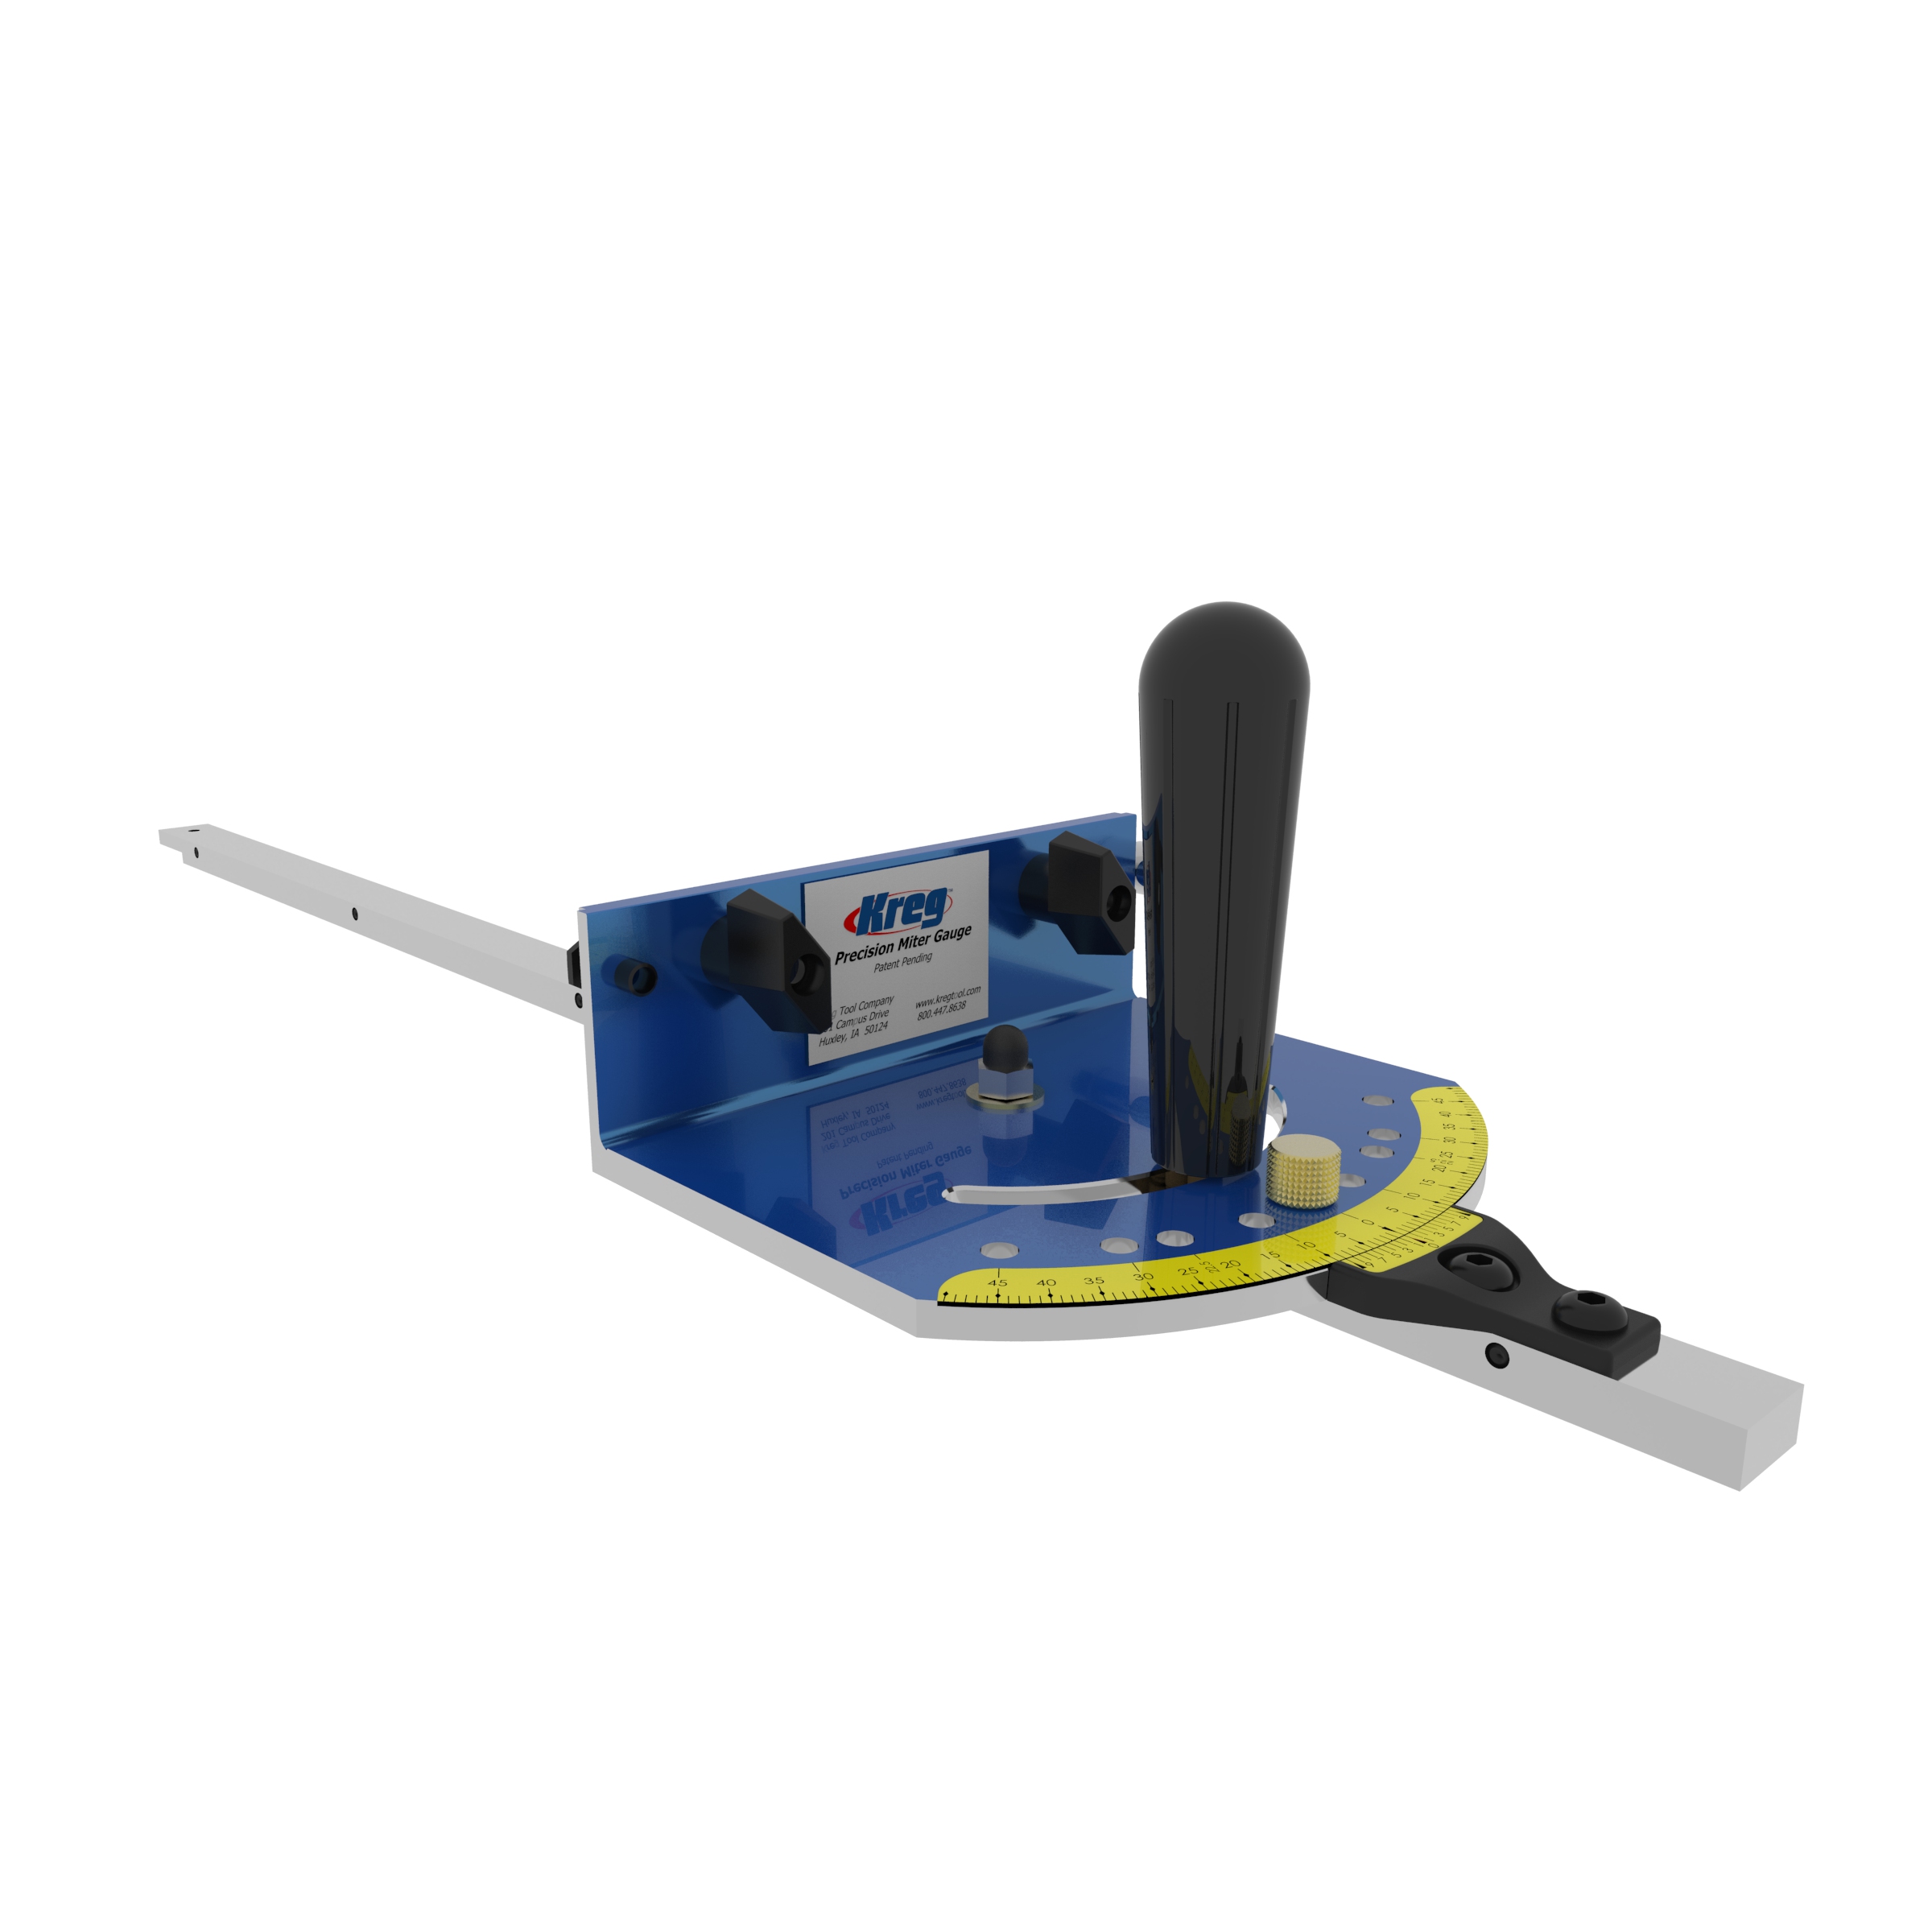
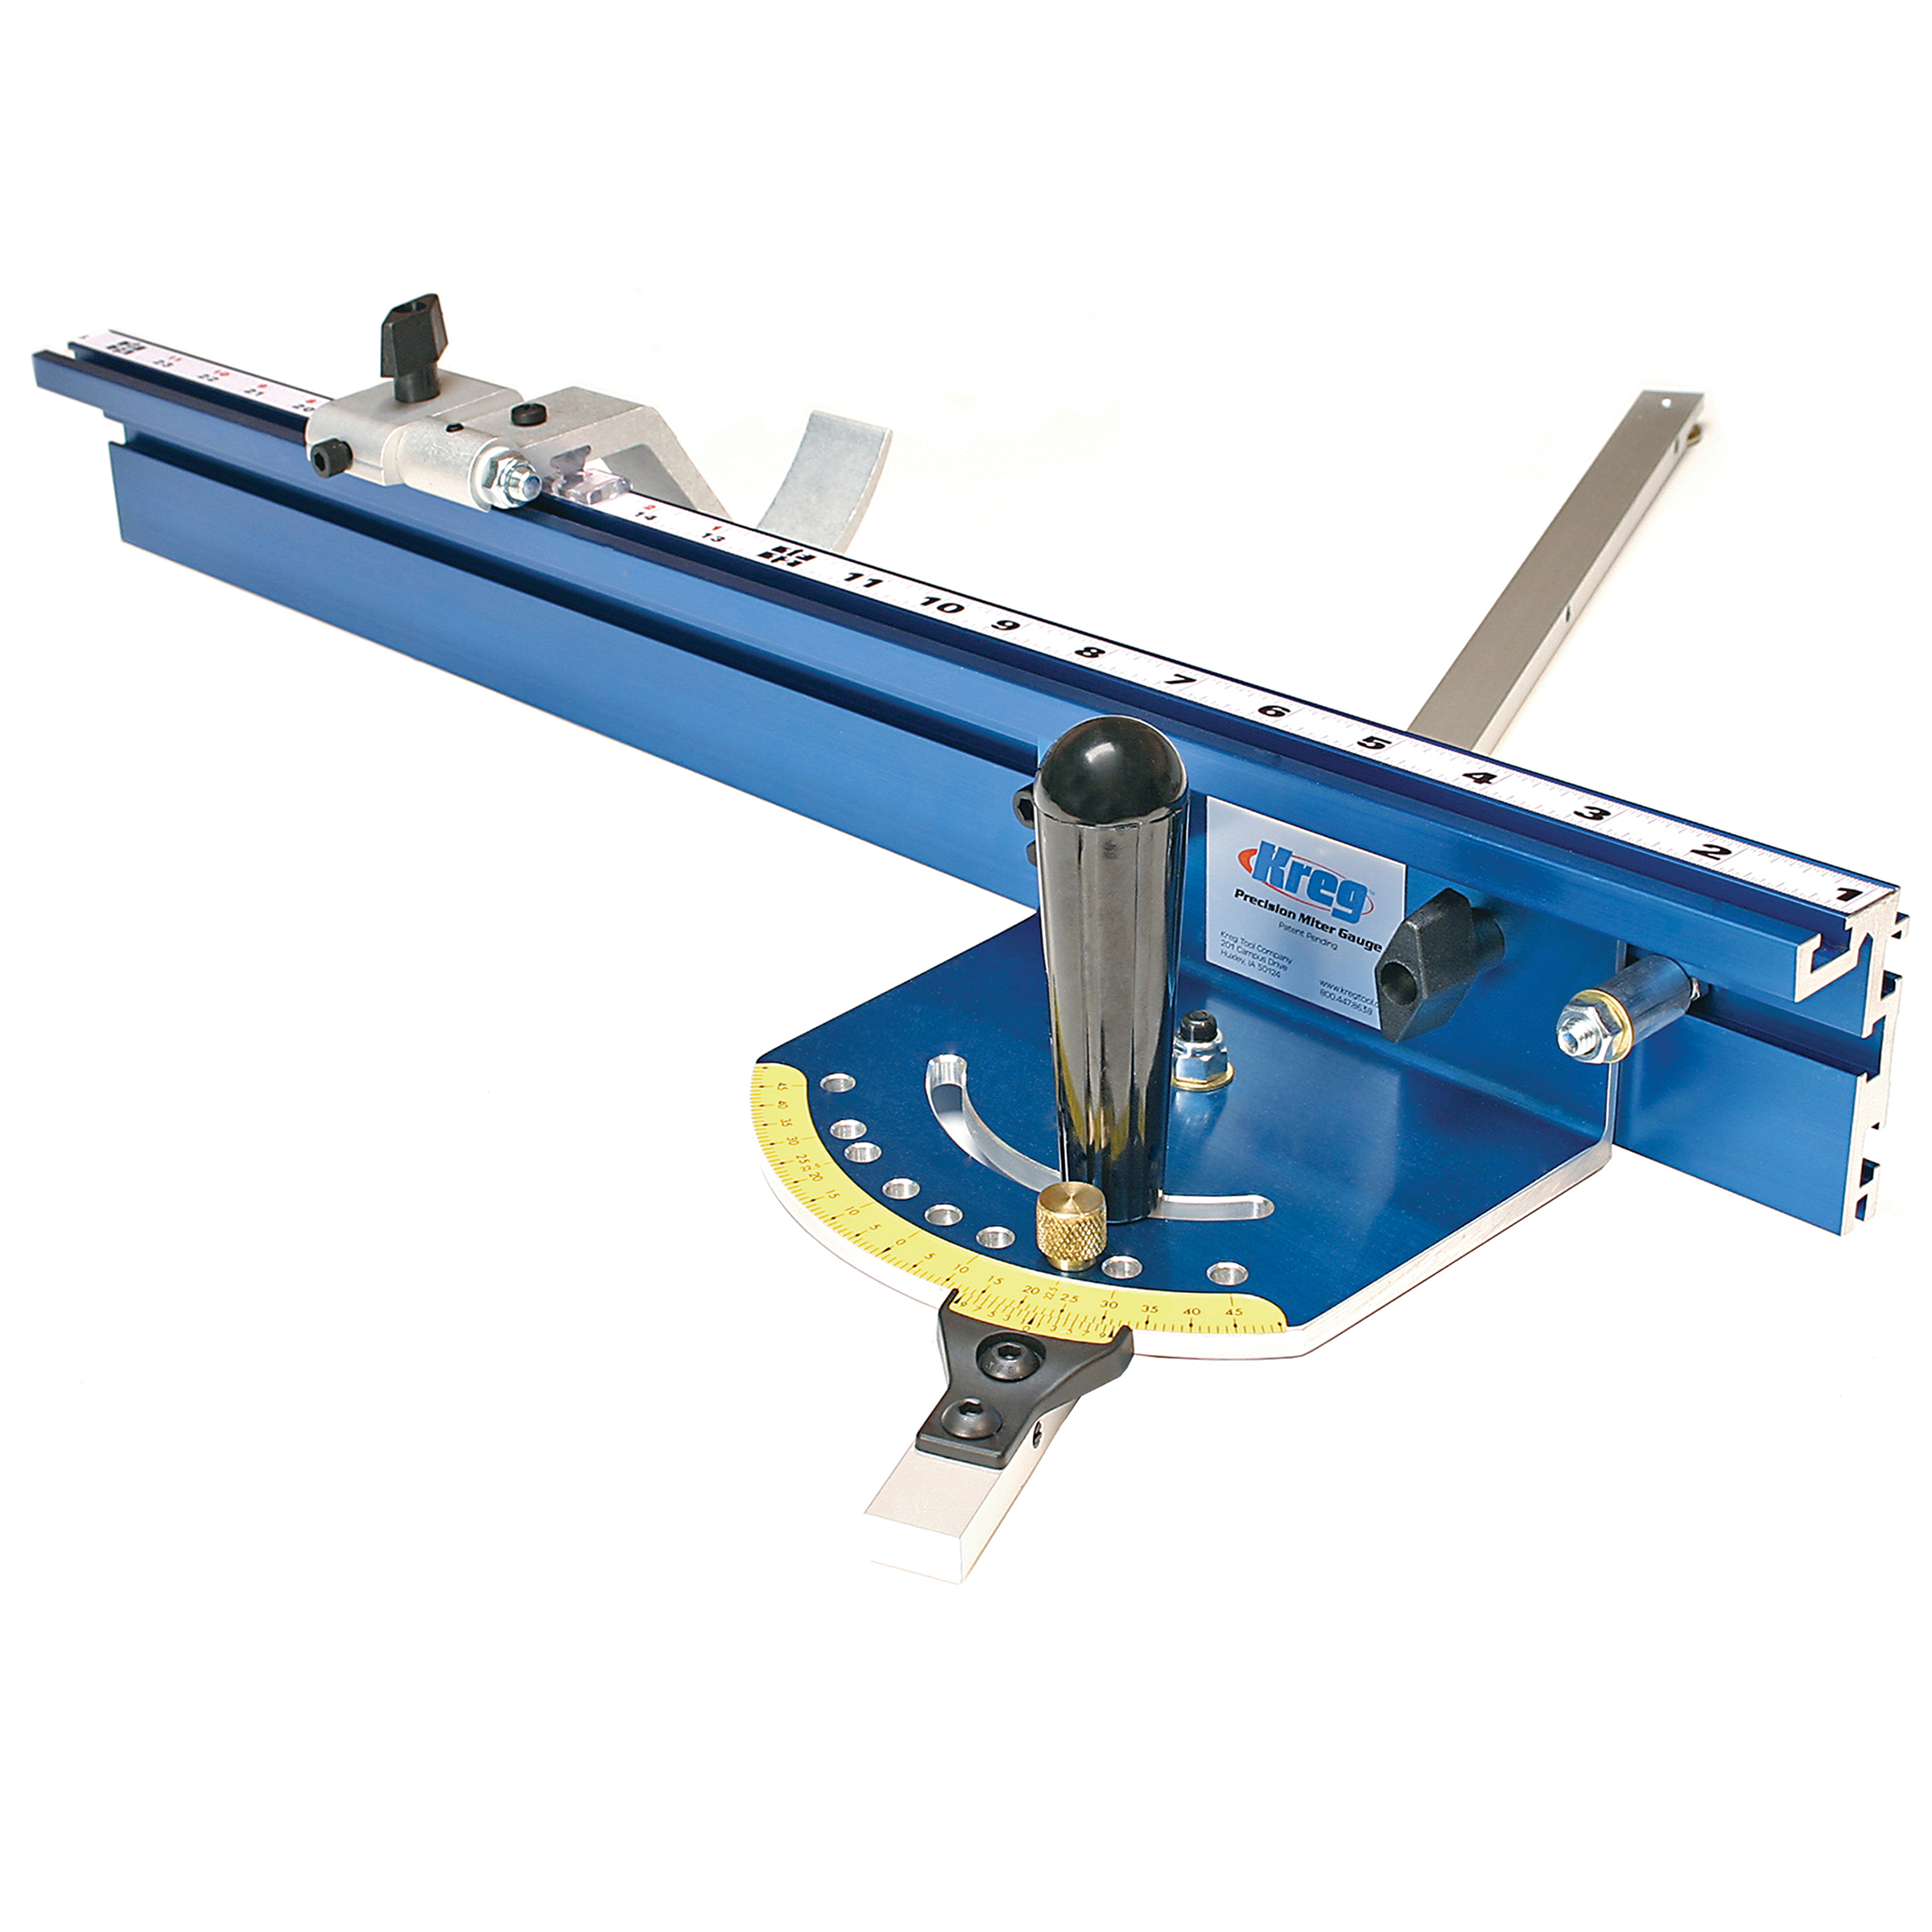
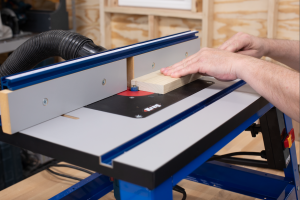
Miter gauge routing
Our router table also lets you use a miter gauge. That makes it possible to rout across narrow workpieces at precise angles, which is very challenging if not impossible using a router handheld.
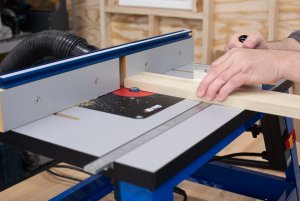
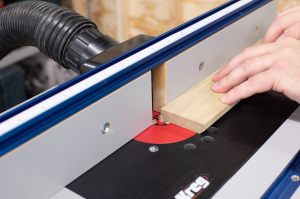
Control routing curves
Our benchtop router table also offers a starting pin, which is a must-have accessory for routing curved workpieces when you can’t use the fence. The starting pin lets you begin each routing pass with confidence
See it in action!
With a starting pin, you don’t have to worry about trying to push a workpiece into a spinning bit. Instead, rest your workpiece against the pin first. Then rotate your piece into the bit until it contacts the bit’s bearing to start your cut. This gives you a lot of leverage and increased workpiece control.
2. A router table lets you use more kinds of bits
Many people use a handheld router for creating edge profiles. That’s easy because the bits have bearings that follow the edge of the workpiece to guide the router. There are many more kinds of bits available, though, that don’t have guide bearings. A router table makes them easy to use—and to use in a variety of ways.
Use bits with and without bearings
With a router table, you can use the fence to control the position and depth of the bit’s cut. That means you don’t have to use bits with bearings or use some sort of router guide. Of course, you can use bearing-guided bits in the router table, too.
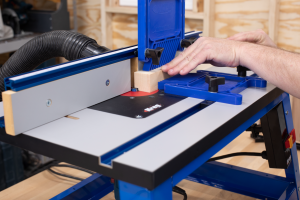
Rout rabbets of any size
You can easily create a rabbet on a workpiece using a router table and a straight bit. Just raise the bit above the table to set the depth of the rabbet, and then adjust the fence to expose only the amount of the bit’s diameter you need for your rabbet width. As you rout, the table and fence keep the workpiece in perfect position.
Rout grooves and dados
With the same bit you can easily rout a dado or groove. Just reposition the fence, and you’re ready to rout.
See it in action!
If you need to rout a rabbet, groove, or dado that’s wider than your bit, just make a few passes, moving the workpiece between each one.
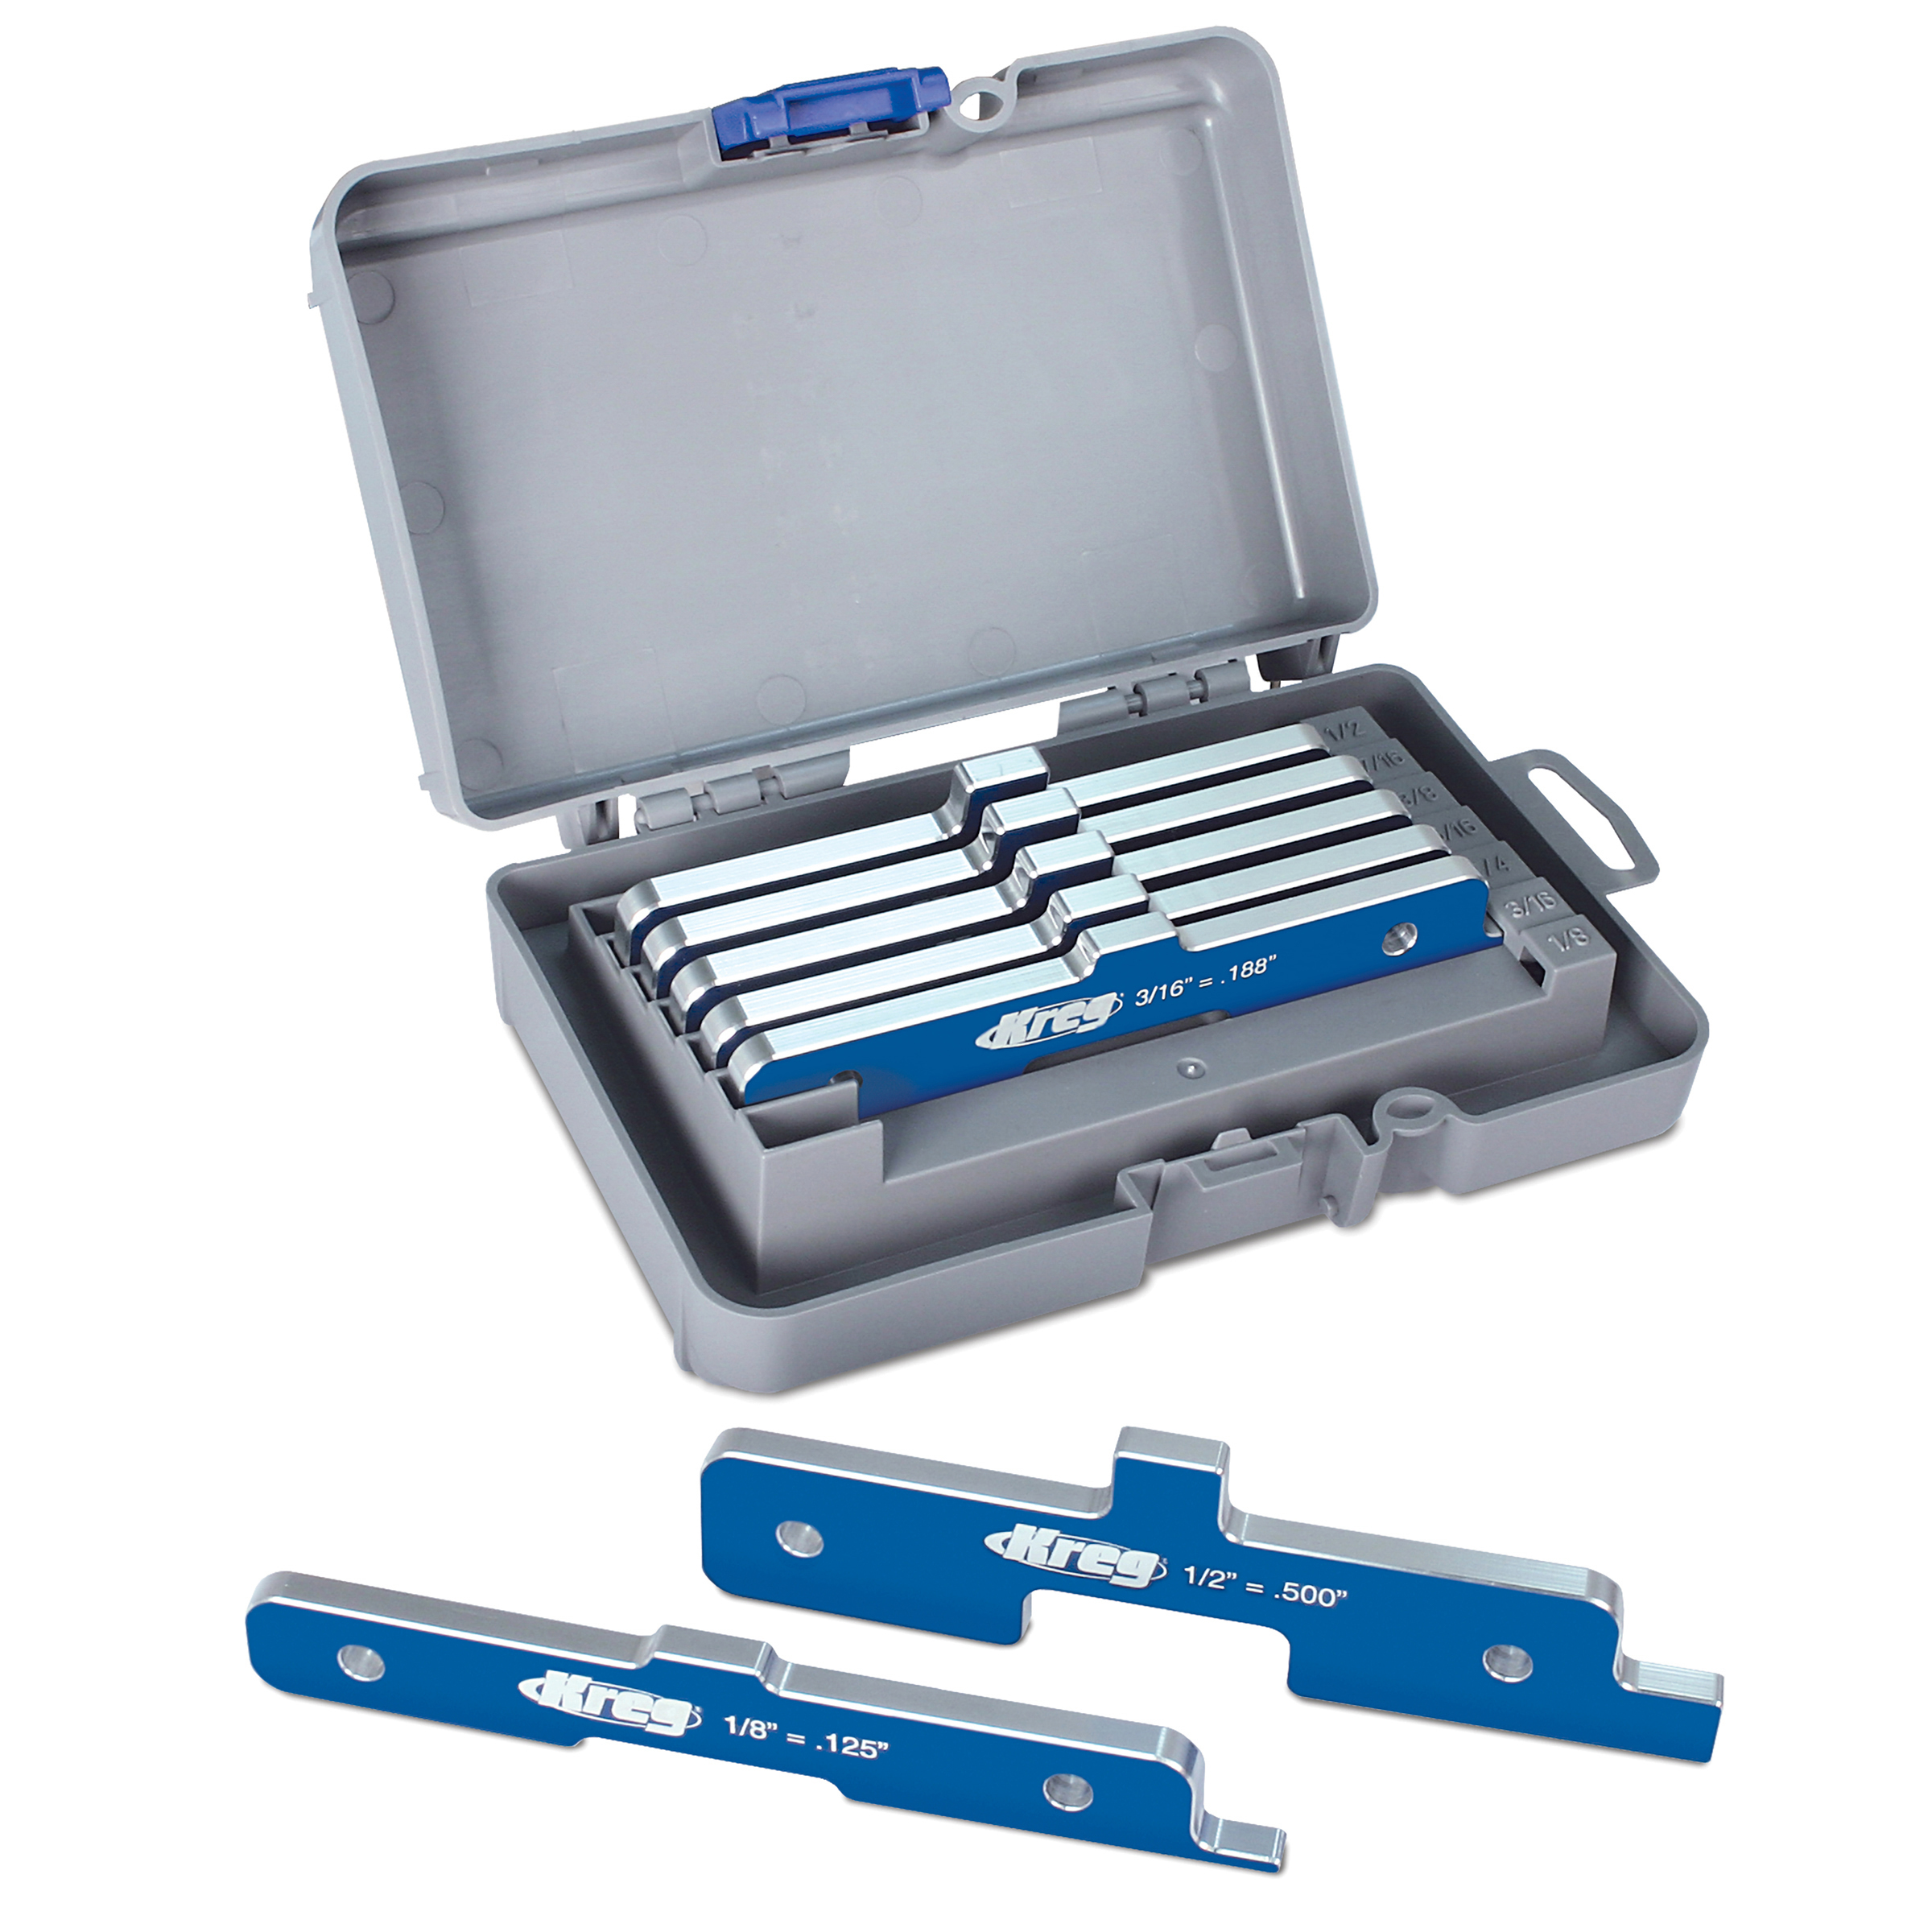
Quick Tip: Setup bars make it simple
Measuring bit heights and fence settings precisely is one challenging part of router setup. One way to make it easier is with a set of our Setup Bars. They help you with seven commonly-used settings, and they provide certainty without measuring. Plus, these setup bars work great with other kinds of tools, too.
Rout chamfers and flutes
Instead of buying a bearing-guided chamfer bit that can only rout decorative chamfers on edges, with a router table you can use a V-groove bit that that’s capable of that and more.
To rout a chamfer, just position the fence to expose only a portion of the bit.
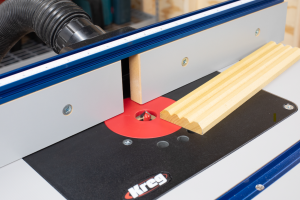
By repositioning the fence, you can use that same V-groove bit to create decorative flutes to dress up things like cabinet face frames.
See it in action!
If you’ve ever wanted to make your own moldings and trim, a router table is your go-to tool. A few passes and a couple fence-position changes are all it takes to create this fluted molding using only one V-groove bit.
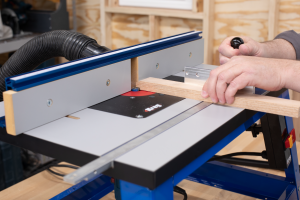
3. A router table creates jointed edges – without a jointer
A lot of hardcore woodworkers have a tool called a jointer that’s used primarily to create smooth, straight edges on boards. That’s usually done so they’ll fit together seamlessly in solid-wood panels, or to remove prominent saw marks. A jointer is a wonderful tool, but also one that is expensive and designed for a very specialized use. Our benchtop and full-size router tables both have a built-in jointing function that lets you perform the same function—and all you need is a straight bit. This ability to do multiple things instead of one specialized thing means our router tables give you a lot more bang for your tool-buying buck.
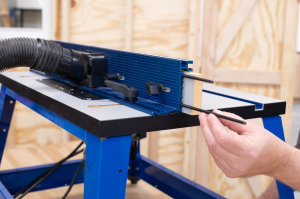
Offset the outfeed fence face
To set your Kreg router table up as a jointer, just insert the two jointing rods into a groove in the aluminum fence. This pushes the outfeed face (on the left side of the fence) forward by one of two settings.
Rout perfect jointed edges
With the fence set up for jointing, it’s easy to create perfect edges on boards. As you pass your board along the fence, the bit takes off only the amount that the fence offset creates. And the outfeed side of the fence supports the board for a smooth, consistent jointing cut.
See it in action!
Jointing on a router table is incredibly fast and easy. And with our Precision Benchtop Router Table you can do it anywhere. Just make a pass—or several if needed—along the mating edge on each board, and you’ll end up with a tight-fitting joint.
4. A router table reduces the mess
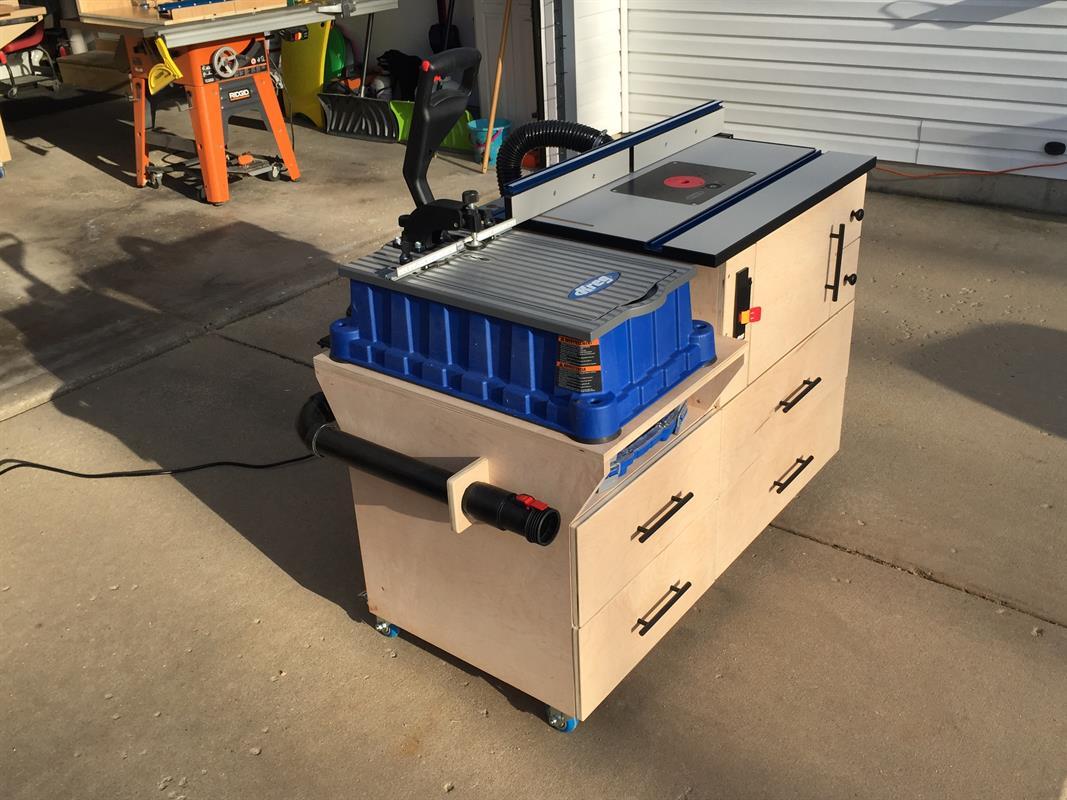
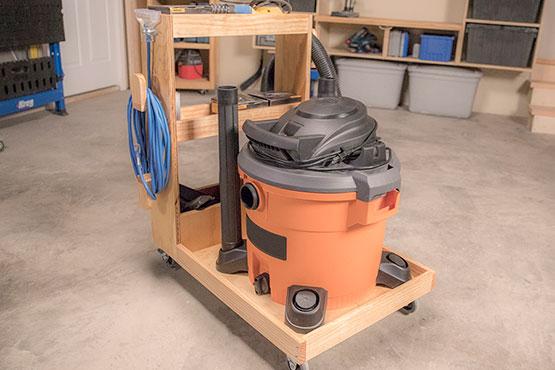
If you’ve used a router at all, you know they throw wood chips everywhere and make a huge mess. But a router table makes a whole lot less mess thanks to built-in dust collection.

Collect chips at the source
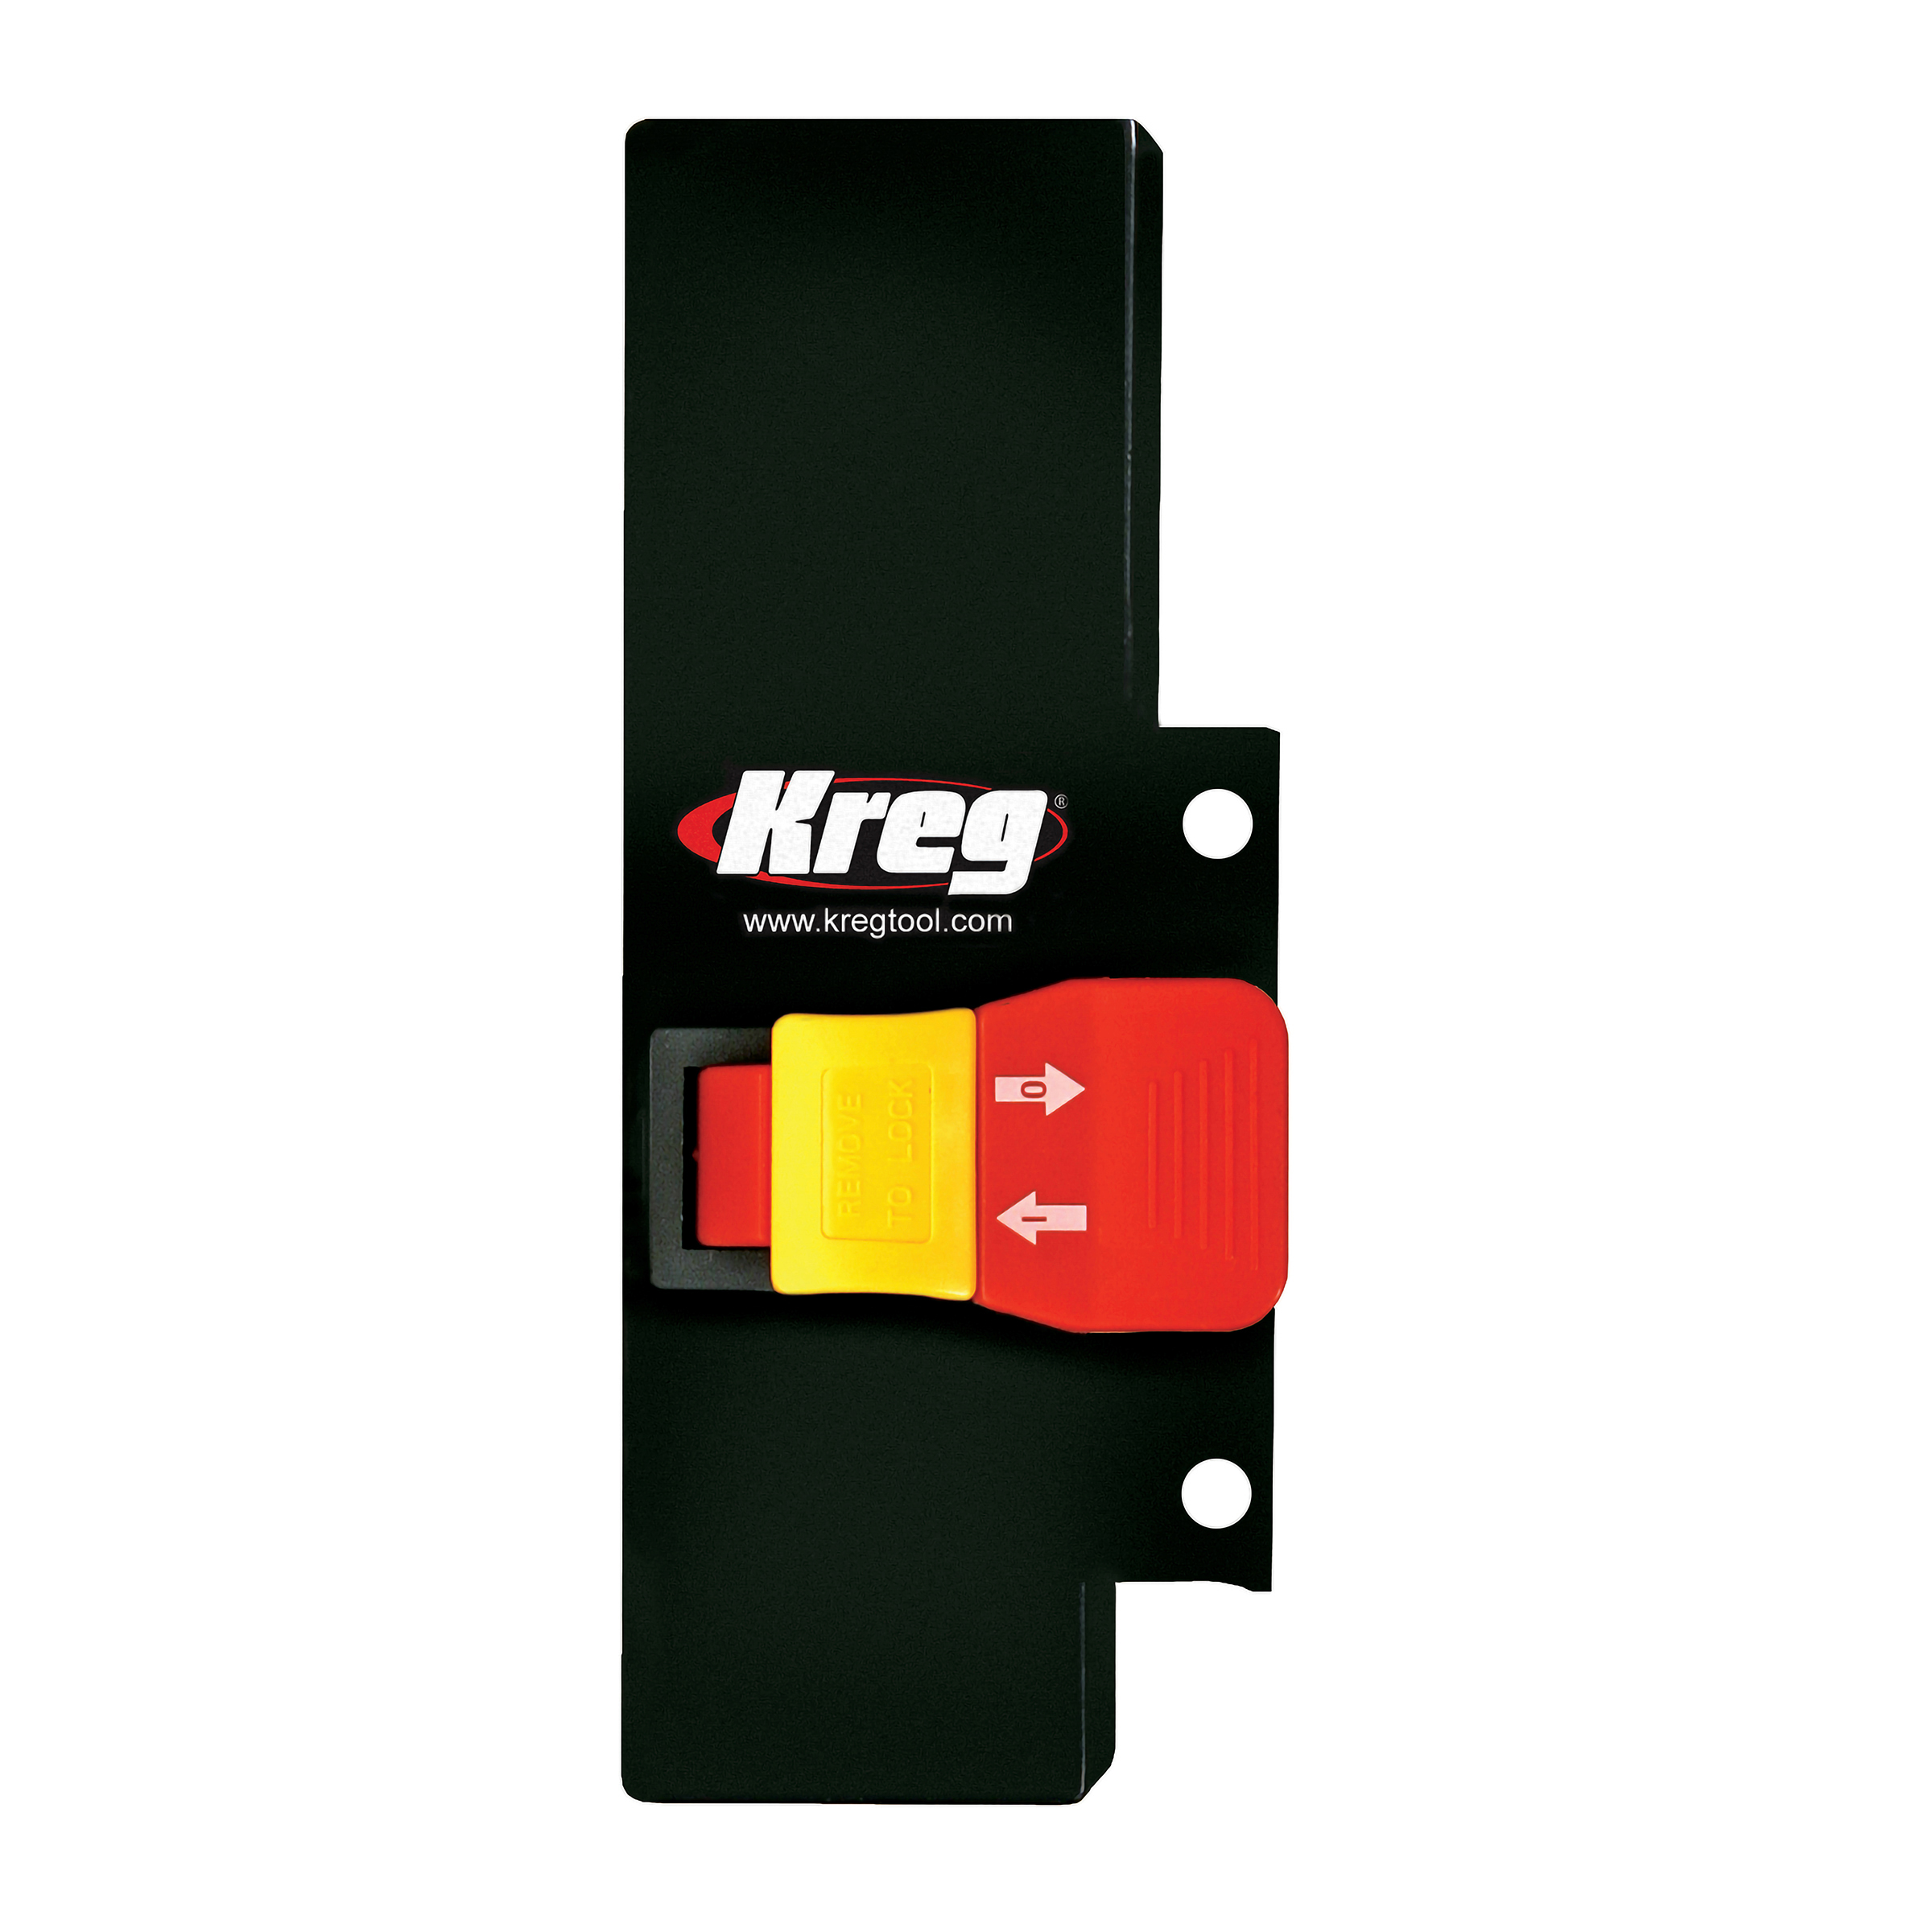
A hose connection on our router-table fences allows you to connect a vacuum or dust collector easily. If you’re using a vacuum, you can make it even easier with our Dual-Outlet Power Switch. It mounts to the router-table leg—even on our benchtop model. Just plug your vacuum into one outlet and your router into the other, and you can turn both on and off with a single switch. Plus, there’s a removeable lockout key that disables the switch for extra safety.

Quick Tip: Add versatility with a dual-use router
For many years, having a router table meant you needed a router to dedicate to it. While having more tools is always good, having redundant tools isn’t. These days, router manufacturers make it easier by offering routers in combo kits that come with a fixed base and a plunge base. That way, you can mount the fixed base to your router table and still have a super-functional plunge router. All you have to do is swap the router motor from one base to the other, which only takes a few seconds.
5. The right portable router table can do it all
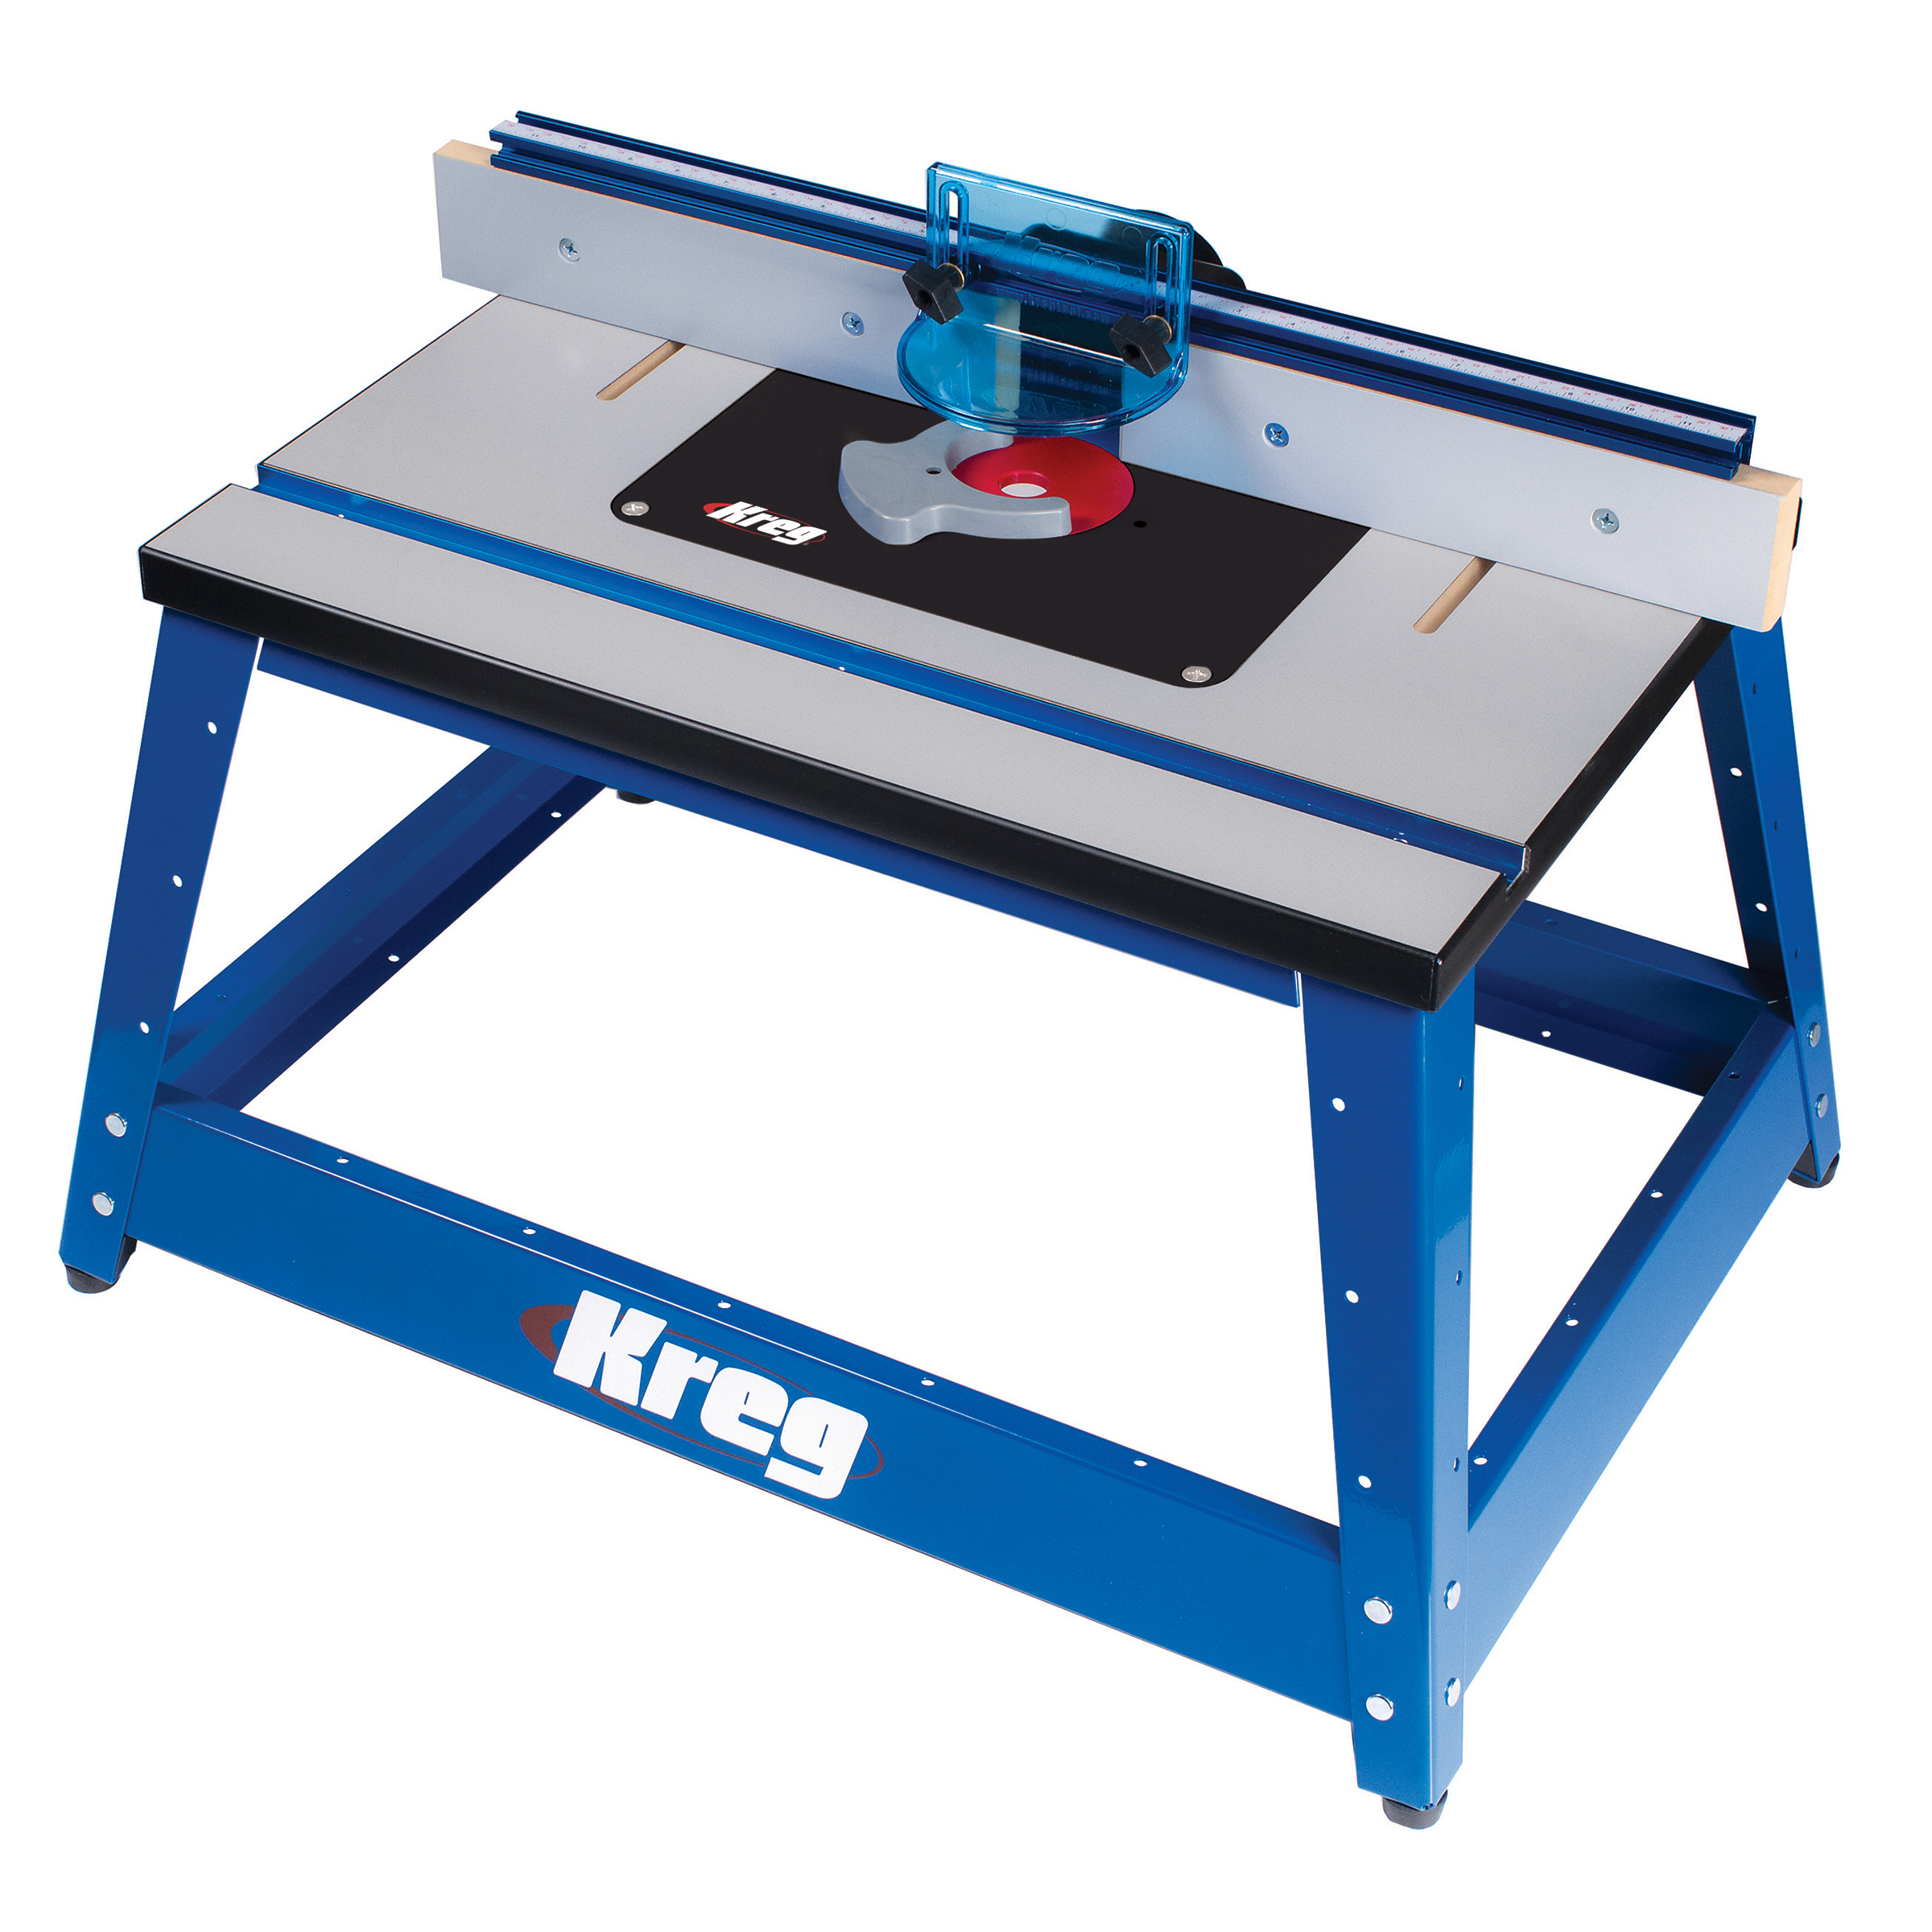
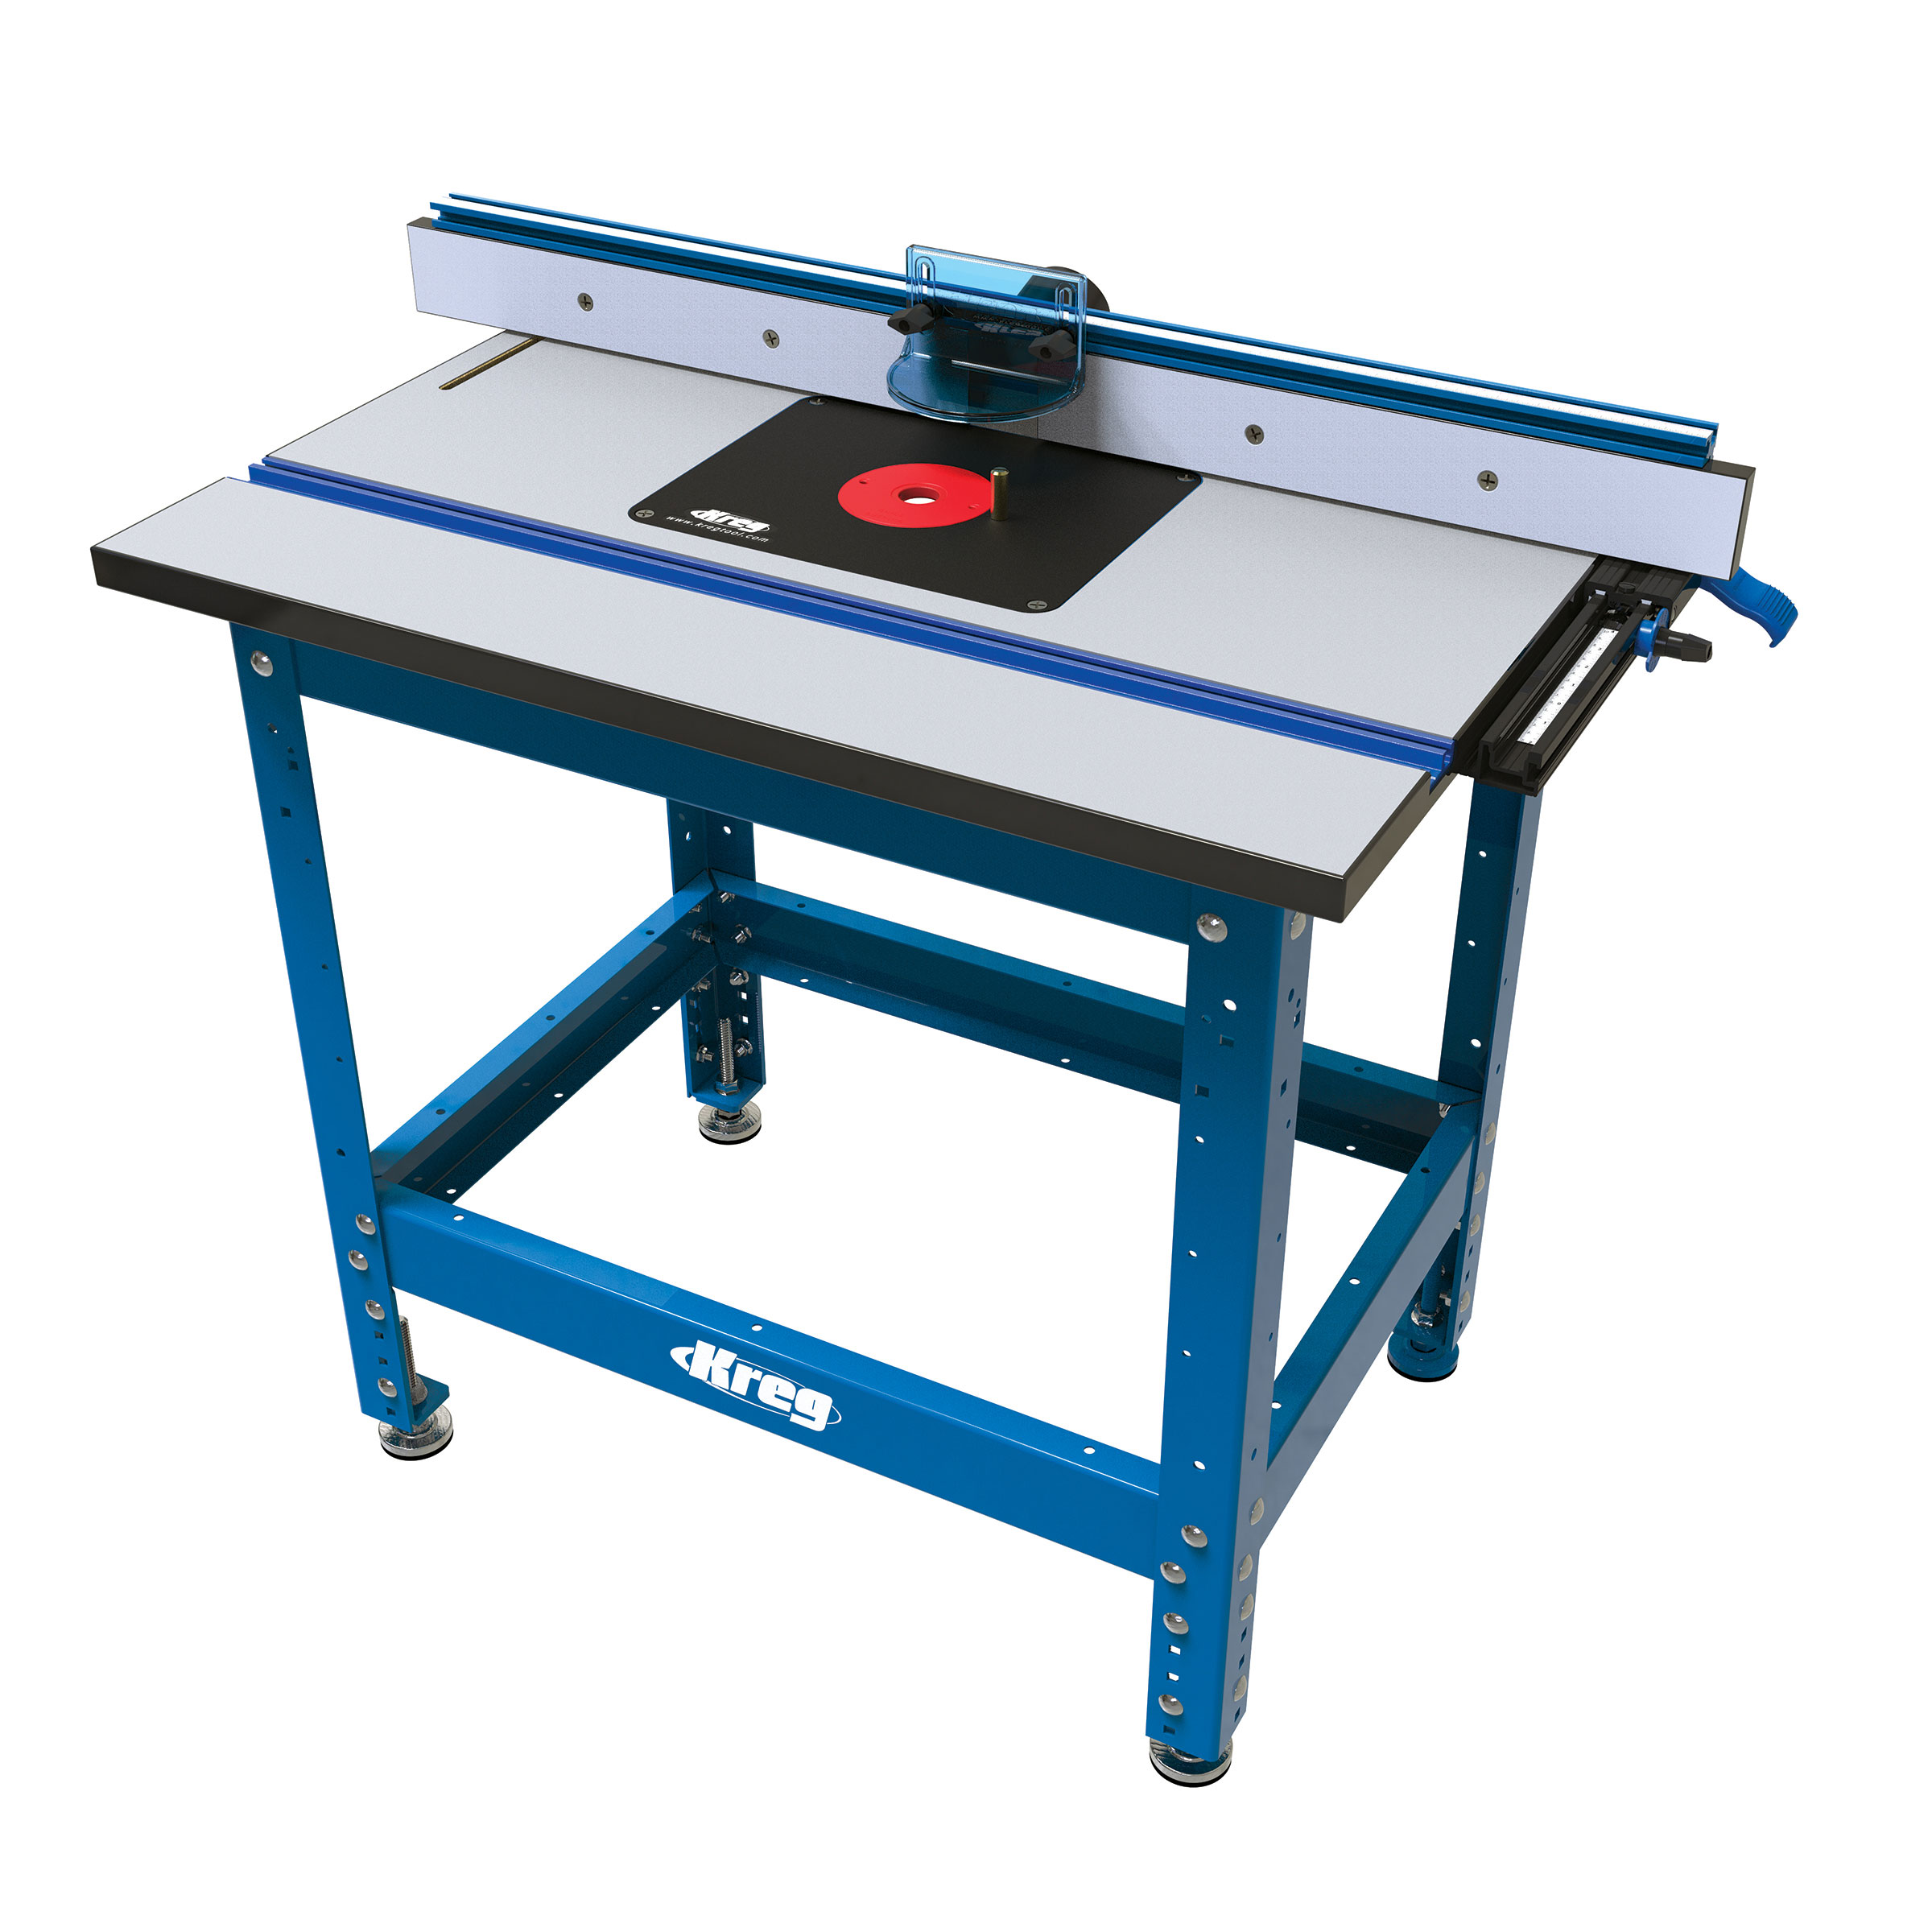
When choosing a router table, you’ll want to decide whether it should be a full-size model or a benchtop table. There’s often a tradeoff. If you want full features, you often have to choose a full-size table. If you want portability, then you’ll have to sacrifice features. We don’t think you should have to face those choices. That’s why we include full-size table features in our Precision Benchtop Router Table. You can learn more about them here.
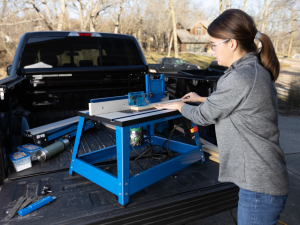
Take precision routing anywhere
We don’t think space limitations or the need for portability should man you can’t do everything you want to with a router table. That’s why we performed every function you’ve seen here on our benchtop table.
We’ve shown you a few great reasons you need a router table but, to be honest, we’ve only scratched the surface. It’s a tool that can do so much. Once you add a router table to your stable of tools, it will become one of those go-to project partners that you’ll wonder how you ever did without. You can check out our benchtop model here, and all of our routing accessories here.
What are the Three Types of Routing Tables?
Benchtop router tables
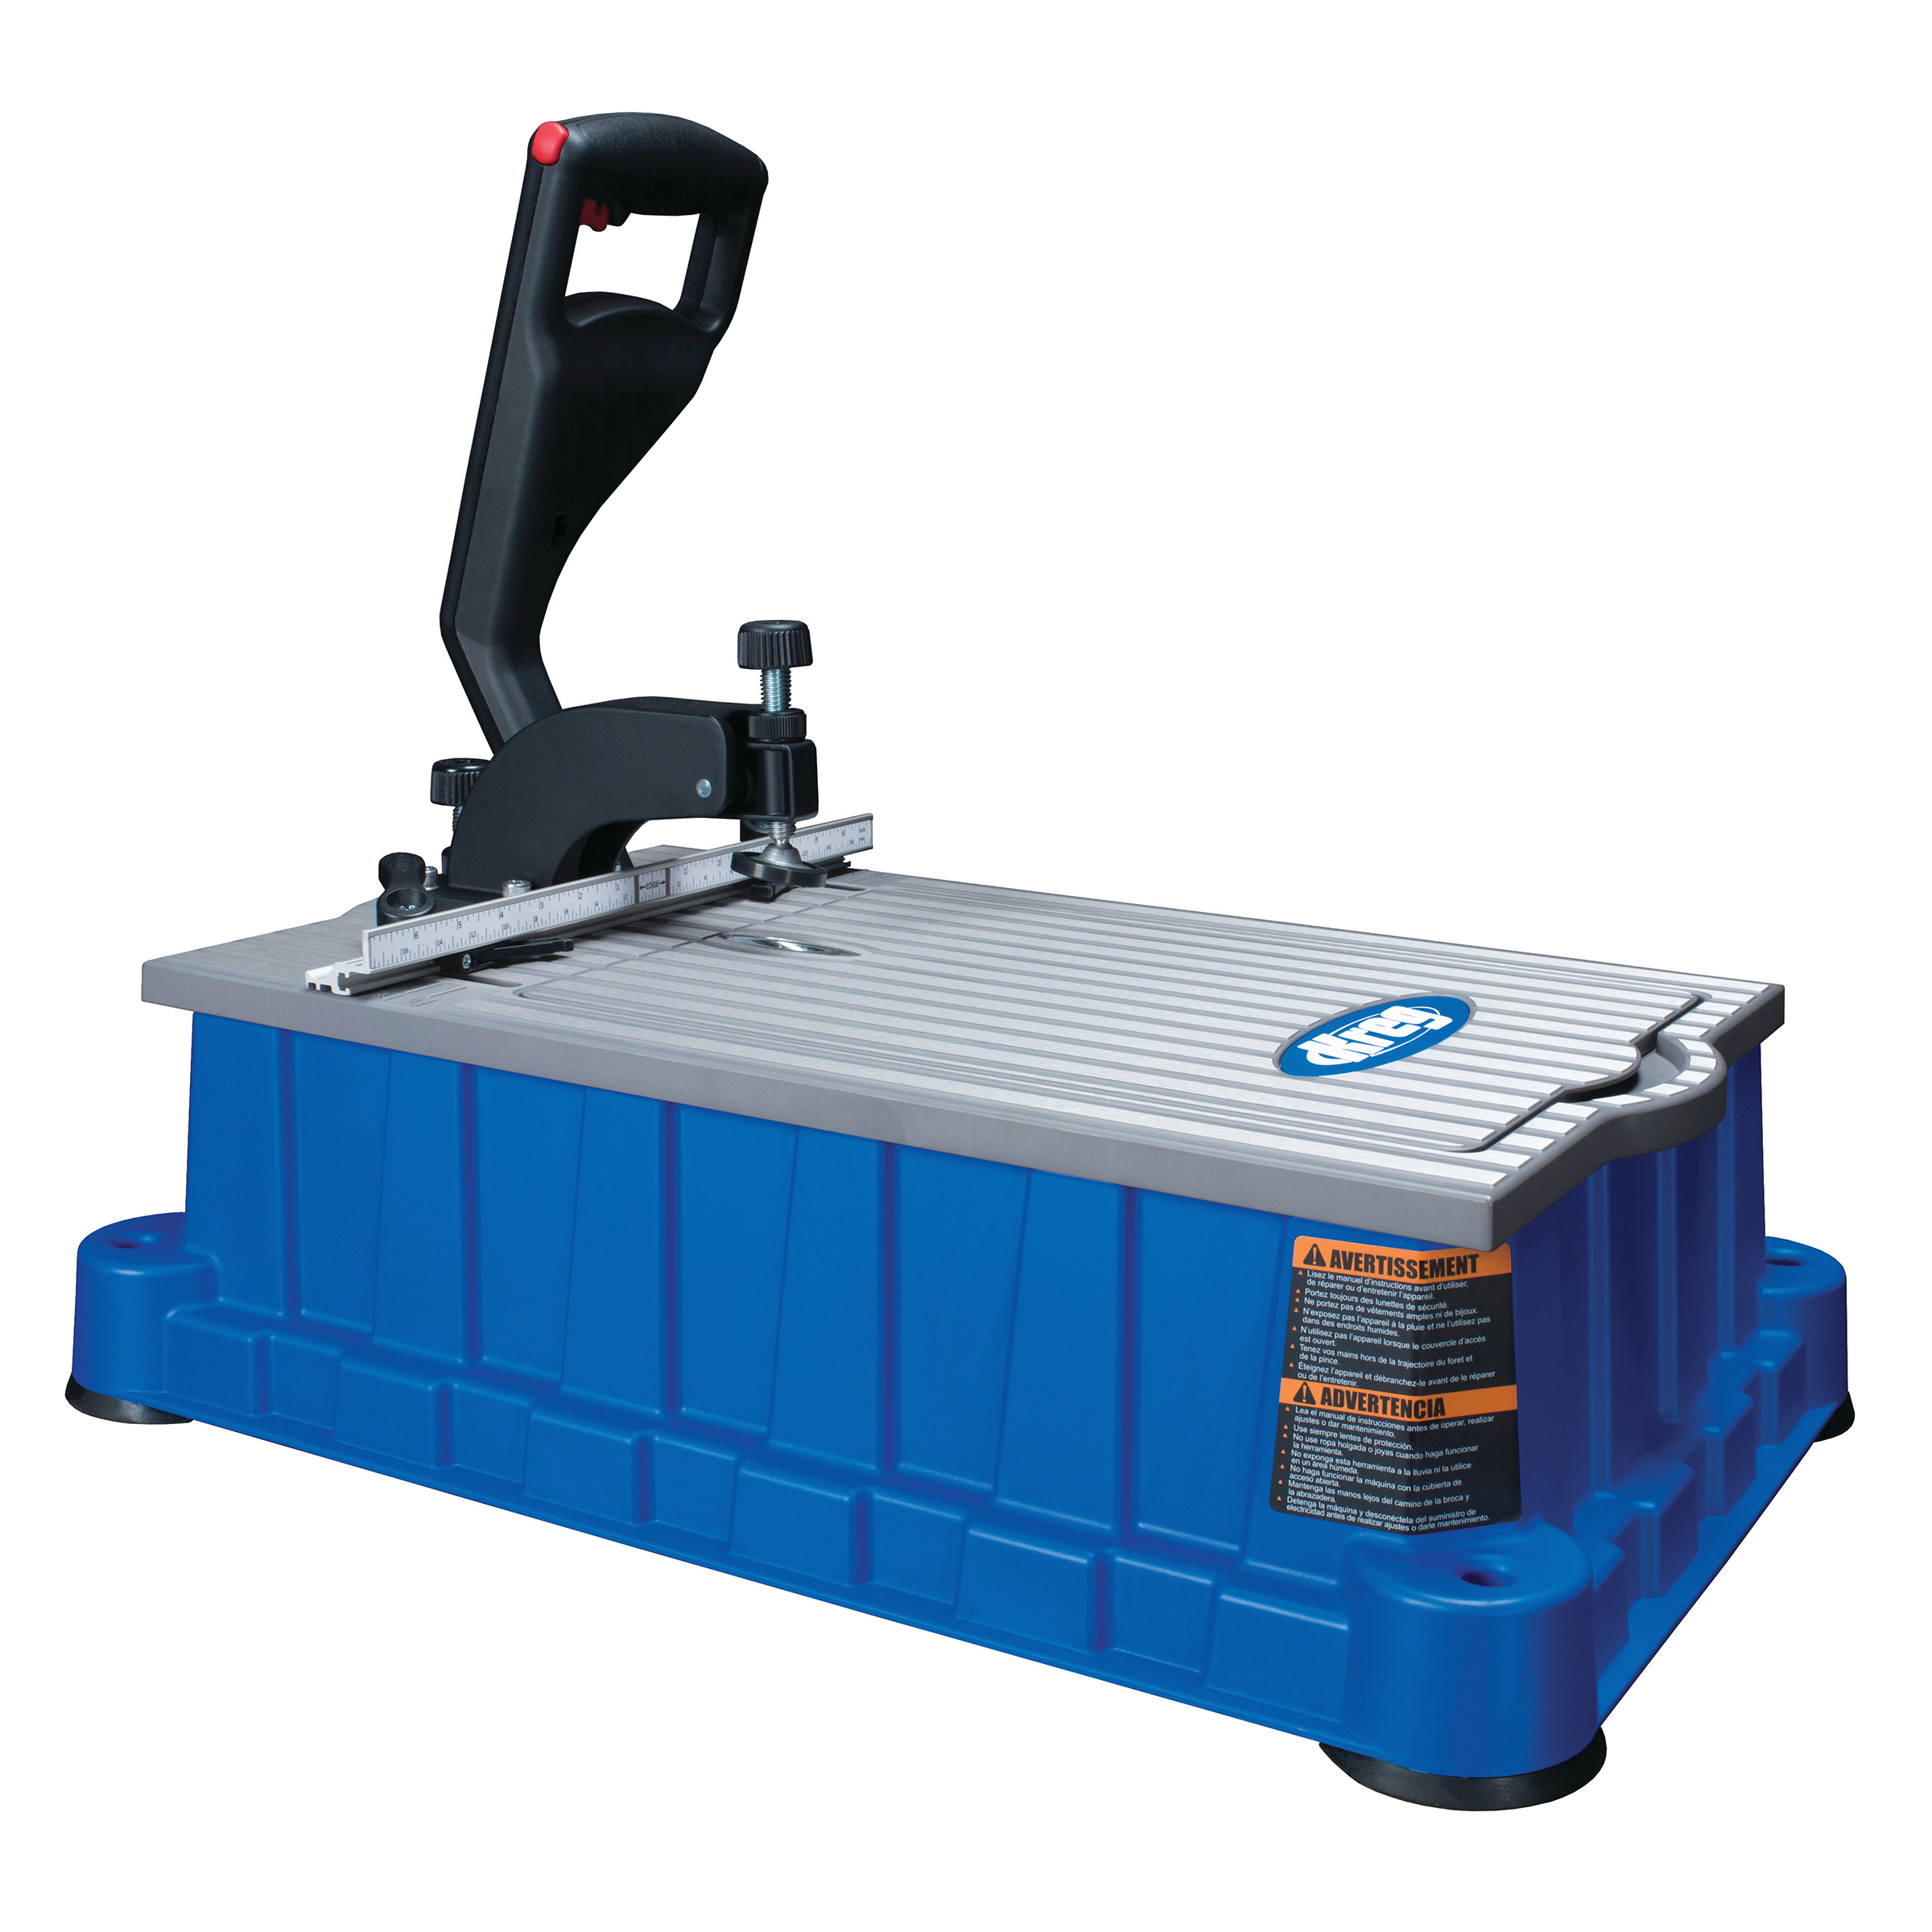
Benchtop router tables are compact and designed to be placed on a workbench or table. They are typically lightweight and portable, making them an excellent choice for small workshops or hobbyists with limited space. Benchtop models often have a smaller table surface but offer essential features like a fence system, miter gauge slots, and dust collection ports.
Floor standing router tables
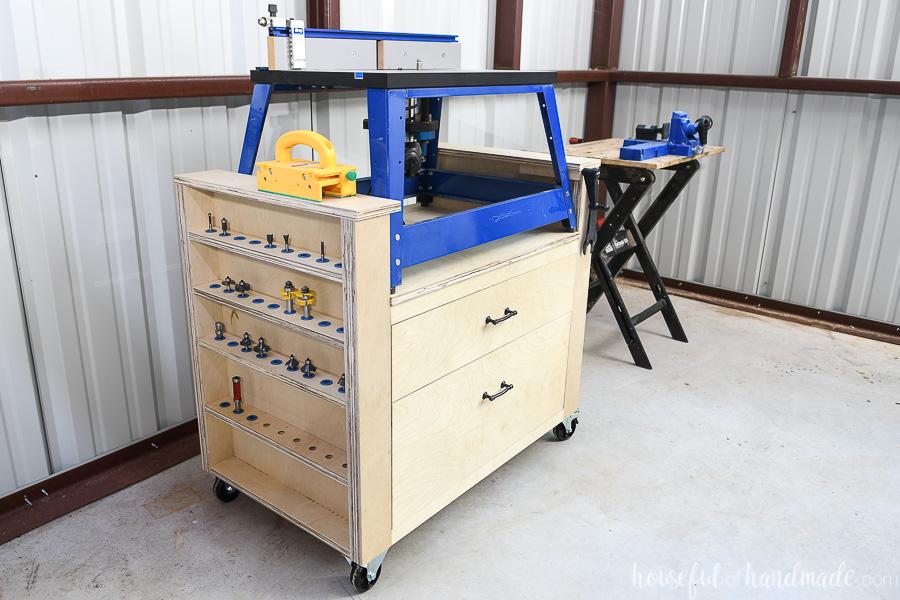
For more substantial routing tasks, floor standing router tables are an option to consider. These freestanding units are sturdy and stable, with a larger table surface that can accommodate bigger workpieces. Many floor standing models also include features like enclosed cabinets for storage, built-in dust collection systems, and adjustable fence systems for added versatility.
Extension wing router tables
Extension wing router tables are designed to be integrated into existing workbenches or table saws. They consist of a router table that can be attached to the side of your workbench, effectively extending the surface area. This setup allows you to take advantage of the table saw’s fence system and maximize workspace efficiency.
Read more about the different types of router tables and which router table you should choose.
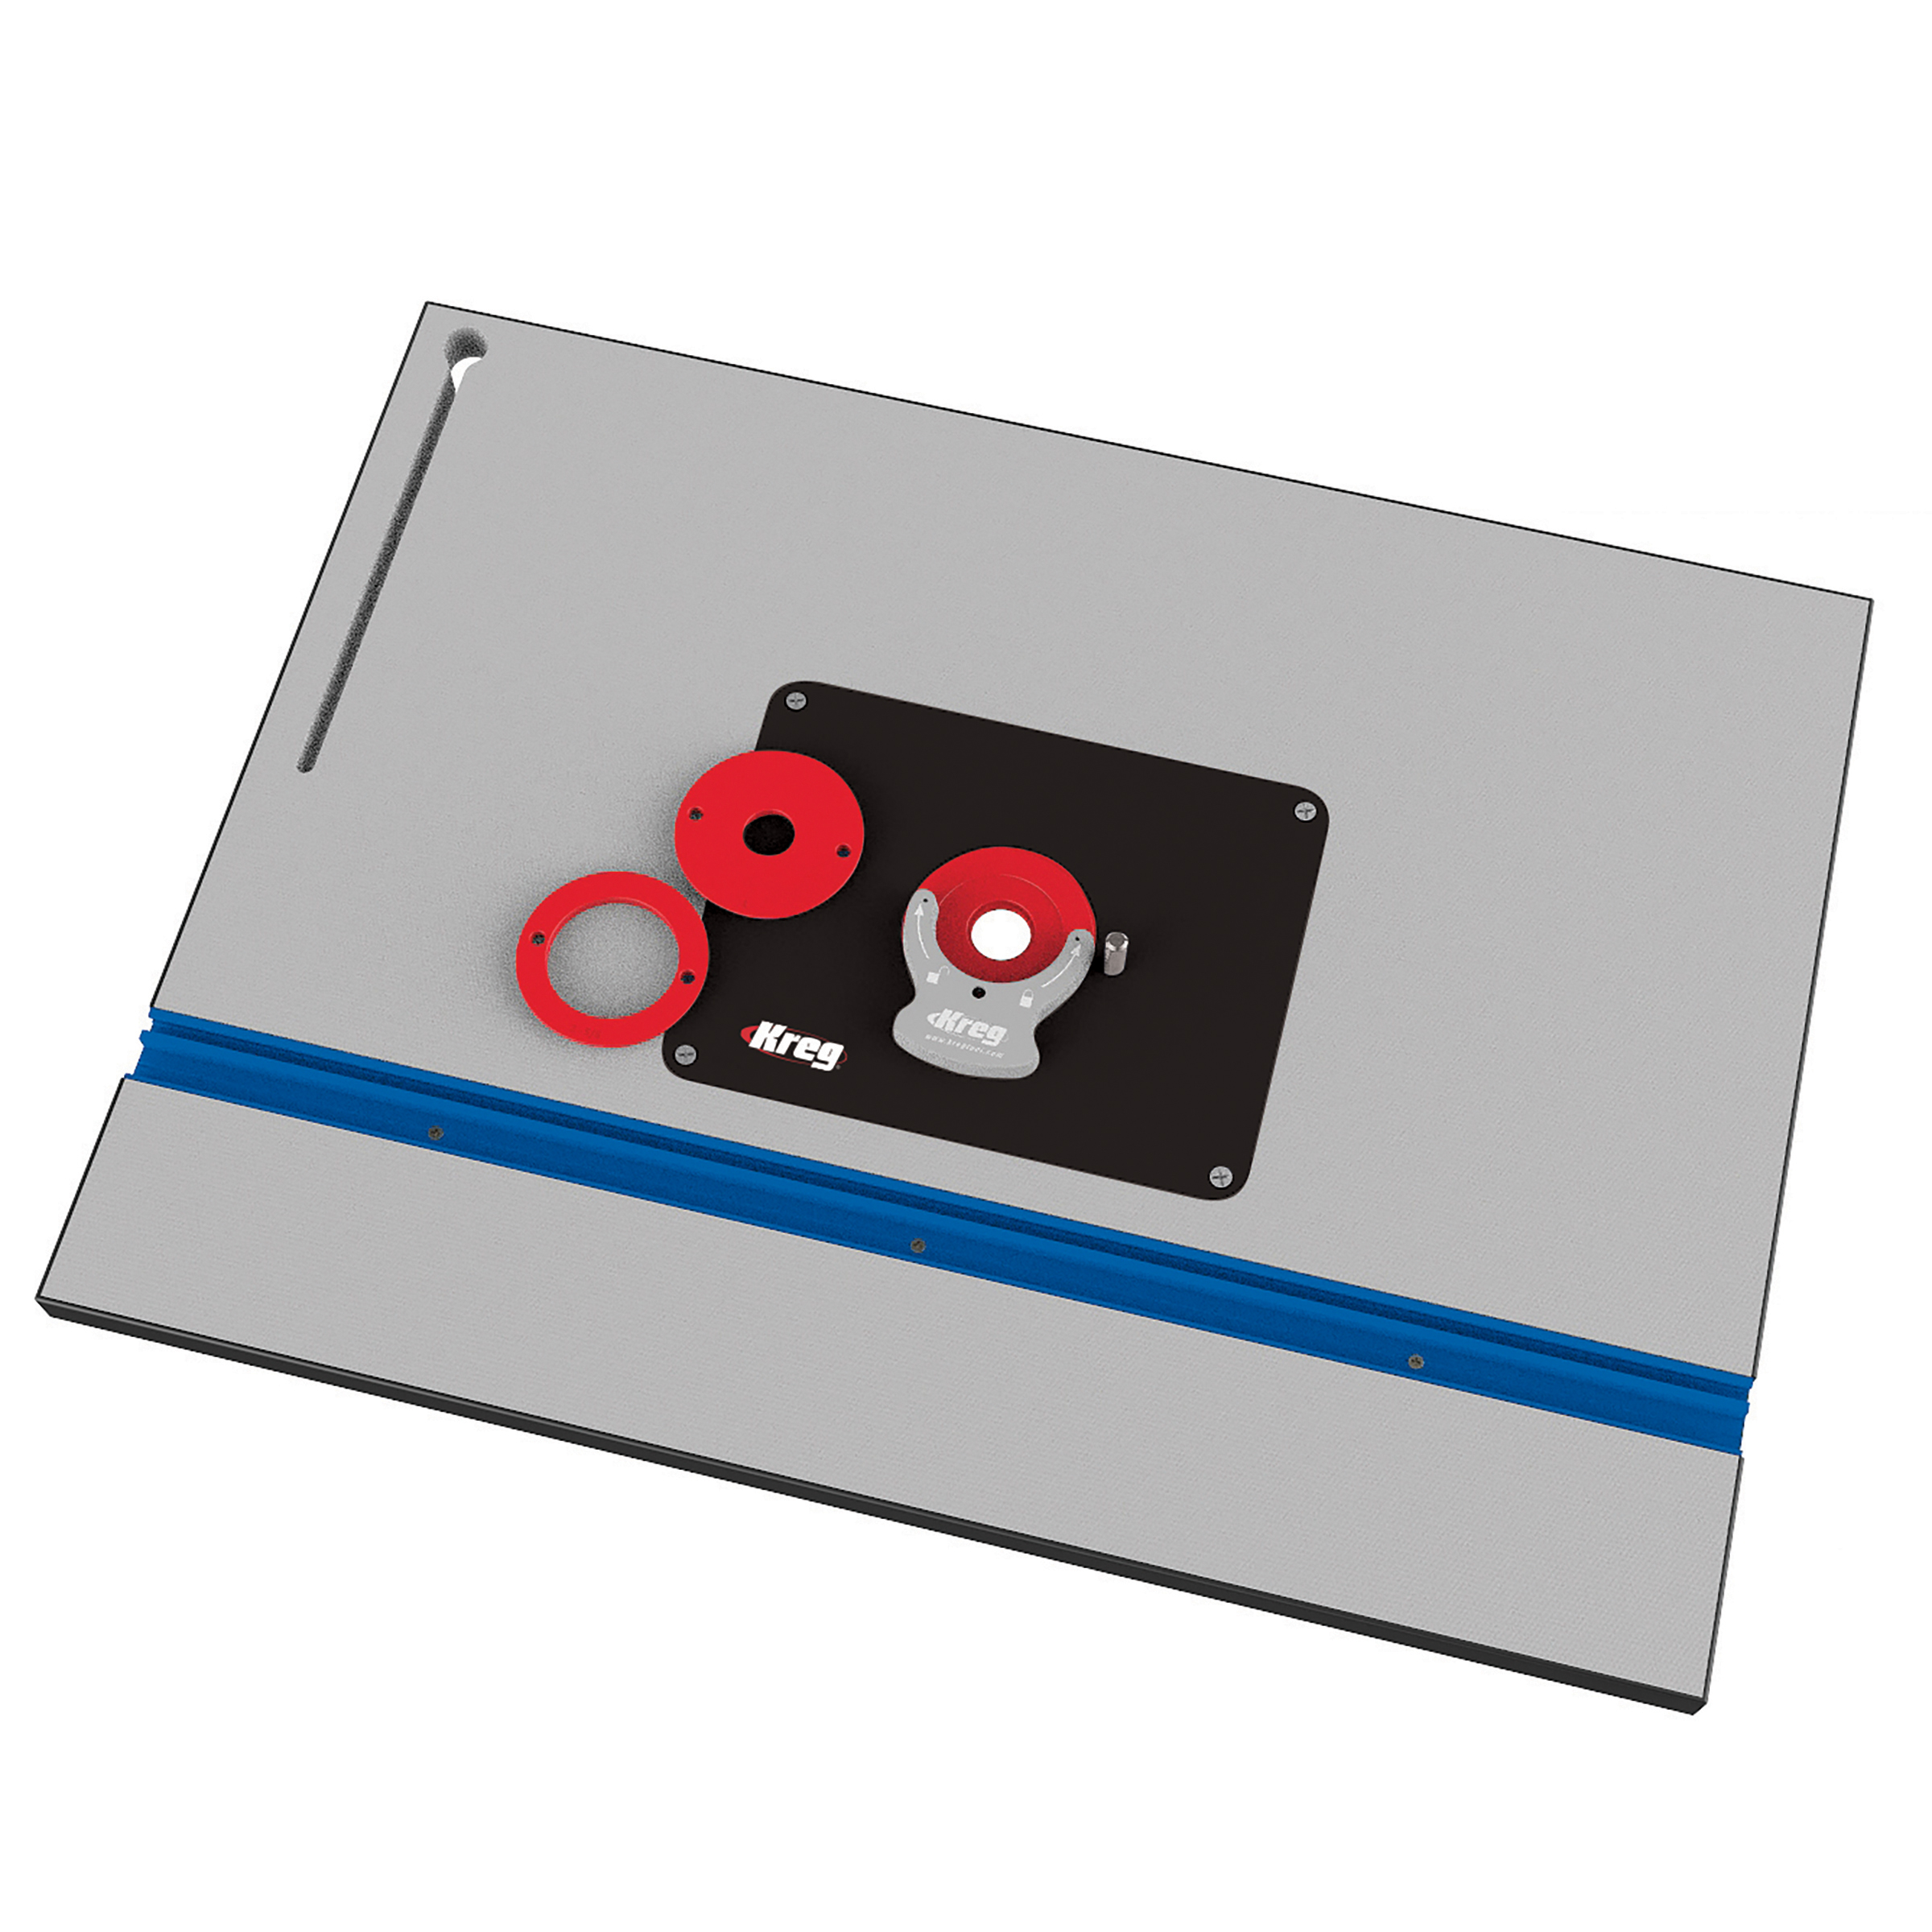
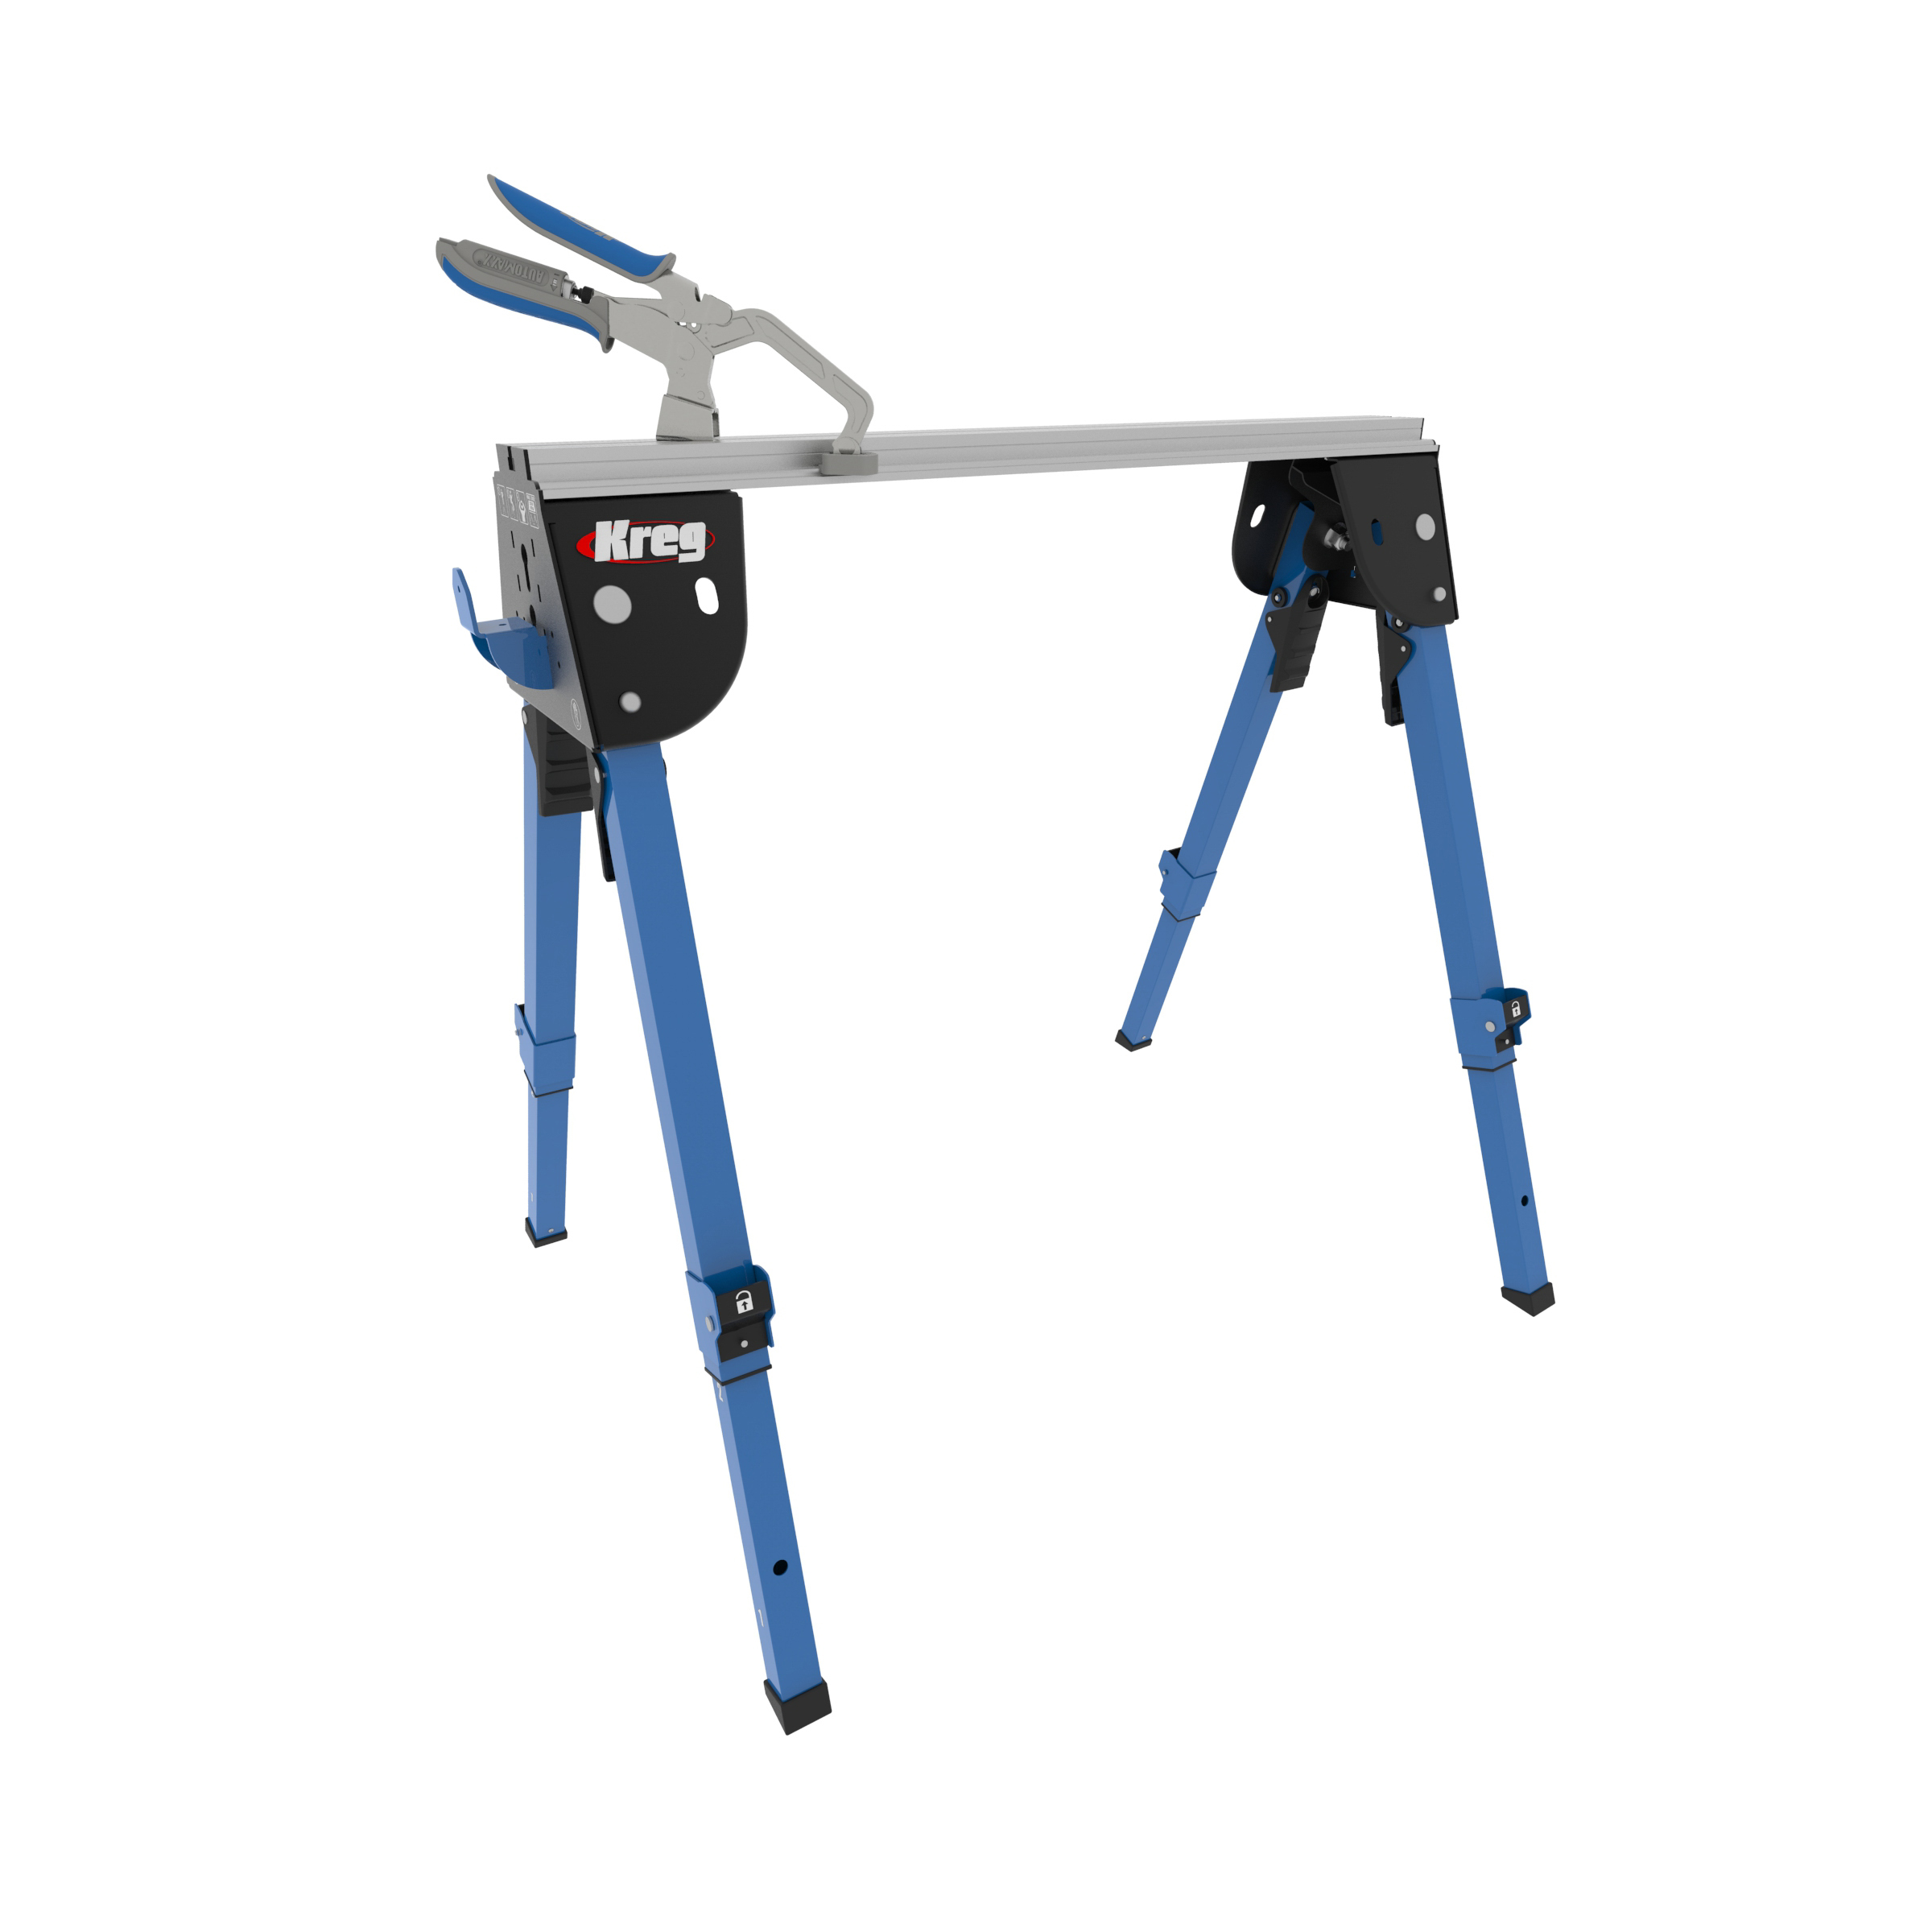
Essential Components of a Router Table
Table top
The table top is the flat surface on which you guide your workpieces. It should be smooth and level to ensure accurate cuts. Look for a table top made from durable materials like aluminum or phenolic resin, which can withstand the wear and tear of routing operations.
Base or legs
The base or legs provide a stable foundation for the router table. Benchtop models may have adjustable legs or rubber feet for leveling, while floor standing units typically have a sturdy cabinet-style base with built-in storage.
Base plate
The base plate, also known as the insert plate, is the removable section of the table top that allows access to the router bit. Many router tables feature adjustable base plates for easy leveling.
Fence
The fence is a crucial component that guides the workpiece along a straight path during routing operations. Look for a sturdy fence that can be adjusted for offset and angle, as well as a system for securing it in place.
T-track
T-tracks are grooved channels in the table top that allow you to attach various accessories, such as featherboards, hold-downs, or stop blocks.
Bit guard
The bit guard is a safety feature that covers the exposed portion of the router bit, helping to prevent accidental contact with the spinning blade.
Starter pin
A starter pin is a small, removable pin that protrudes through the insert plate. It allows you to safely start cuts by providing a fixed point to position the workpiece against before engaging the spinning bit.
Setting Up Your Router Table
Leveling the insert plate
Before you use your router table, level the insert plate with the table surface. An uneven plate can cause workpieces to catch or result in uneven cuts.
Adjust the plate until there is no gap between it and the straight edge, ensuring a perfectly flush surface.
Choosing router bits
Router bits come in a wide variety of shapes and sizes, each designed for specific applications. When choosing a bit, consider the type of cut you want to make, the material you’ll be routing, and the desired edge profile.
Setting the bit height
Properly setting the bit height is crucial for achieving the desired cutting depth and ensuring clean, accurate cuts. There are a few methods you can use:
- For through cuts (cutting all the way through the workpiece), adjust the bit height so that it protrudes through the insert plate by the thickness of your material, plus a small clearance.
- For non-through cuts (grooves, rabbets, etc.), set the bit height to the desired cutting depth using a ruler or depth gauge.
- For edge profiling or trimming, adjust the bit height so that it is slightly above or flush with the table surface, depending on the desired profile.
Adjusting the fence
To adjust the fence, unlock the fence clamps or locking mechanisms. Then, position the fence at the desired offset from the bit, ensuring that it is parallel to the bit and table edge.
You can use a ruler or combination square to measure the distance from the fence to the bit, or take advantage of any built-in micro-adjusters or scales on your fence system.
Using Your Router Table
Feed direction and rate
The feed direction is the path along which you guide the workpiece across the router bit. For most work, you should feed the workpiece from right to left, with the fence on the right side of the bit. This ensures that the rotation of the bit pushes the workpiece against the fence, providing better control and reducing the risk of kickback.
The feed rate, or the speed at which you move the workpiece, is also crucial. Feeding too quickly can result in rough cuts or kickback, while feeding too slowly can cause burning or excessive tear-out. The optimal feed rate depends on factors such as the bit size, material, and cutting depth. As a general rule, use a slower feed rate for larger bits or harder materials, and increase the speed for smaller bits or softer materials.
Depth of cut per pass
When making non-through cuts, it’s often necessary to take multiple passes to reach the desired depth gradually. This technique helps prevent excessive strain on the router and ensures cleaner, more precise cuts.
The depth of cut per pass depends on the material, bit size, and routing operation. For most applications, a maximum depth of 1/4 inch per pass is recommended. However, for harder materials or larger bits, you may need to reduce the depth to 1/8 inch or less per pass.
Workpiece guidance and safety
Proper workpiece guidance and safety precautions are essential when using a router table. Always use featherboards, hold-downs, or other clamping devices to keep the workpiece firmly against the table and fence. This prevents the workpiece from lifting or shifting during the cut, reducing the risk of kickback.
Use push sticks or push blocks to keep your hands a safe distance from the spinning bit. These accessories allow you to apply consistent pressure and maintain control over the workpiece without exposing your fingers to the cutting area.
Finally, always wear appropriate personal protective equipment, such as safety glasses, hearing protection, and a dust mask or respirator. Routing operations can generate a significant amount of noise and airborne debris, so it’s important to prioritize safety.
Is it Worth Buying a Router Table?
Whether or not a router table is a worthwhile investment should be based on your specific woodworking needs, the types of projects you like to do, and your desire for increased precision, versatility, and safety in your routing operations.
Here are a few factors to consider:
1. Project complexity
If you frequently work on projects that require precise joinery, edge profiling, or intricate pattern routing, a router table can significantly enhance your capabilities and the quality of your work.
2. Batch work
For repetitive tasks or projects with multiple identical pieces, a router table can save you time and ensure consistent results.
3. Safety
Router tables offer improved safety compared to handheld routing, as the workpiece is guided over a stationary bit, reducing the risk of kickback or loss of control.
4. Space and budget
While router tables can be a significant investment, they come in various sizes and price points to suit different spaces and budgets.