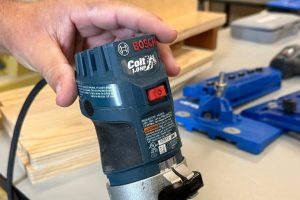
Wood routers are like the magic wands of woodworking, turning plain pieces of wood into beautiful creations. Whether you’re a newbie or just need a refresher, let’s dive into the world of routers.
How Does a Router Work?
A router can shape, edge, and cut wood with precision. It does this by spinning a special router bit really fast.
Here’s how it works:
Motor Power and Rotation
Inside the router is an electric motor that spins at a high RPM. This high speed allows for a more finished cut with your router bit.
Bit Selection
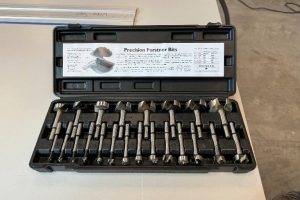
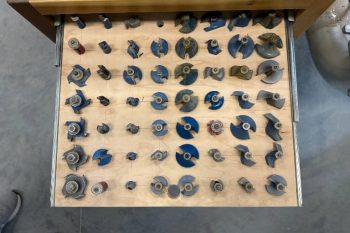
You choose the router bit that matches what you want to do. Whether it’s making straight lines, cool edges, or carving grooves, there’s a bit for everything.
Depth Adjustment
You can also adjust how deep the router bit goes into the wood. It’s important for getting things just right.

Guiding and Movement
You move the router over the wood – the router has handles to help you steer it and knobs to adjust things as you go.
Router’s Rotation Direction
Depending on the router, the bit can spin in different directions. You move the router against the bit’s spin to stay in control and avoid messing up your wood.
Applications
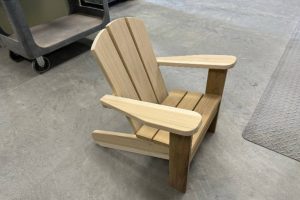
Routers can create all sorts of designs, cut grooves, shape edges, and more. With the right bit, you can make almost anything.
Safety Measures
Don’t forget your safety gear! You need eye protection and ear protection to keep safe. Also, hold the router right, don’t push too hard, and let the bit do its job without forcing it.

How Do You Use a Router Tool?
No matter if you’re a newbie or a pro, these steps will help you get started:
-
Pick the right router bit
It all starts with choosing the right bit for your project. Each bit does something different, so pick the one that matches your vision.
-
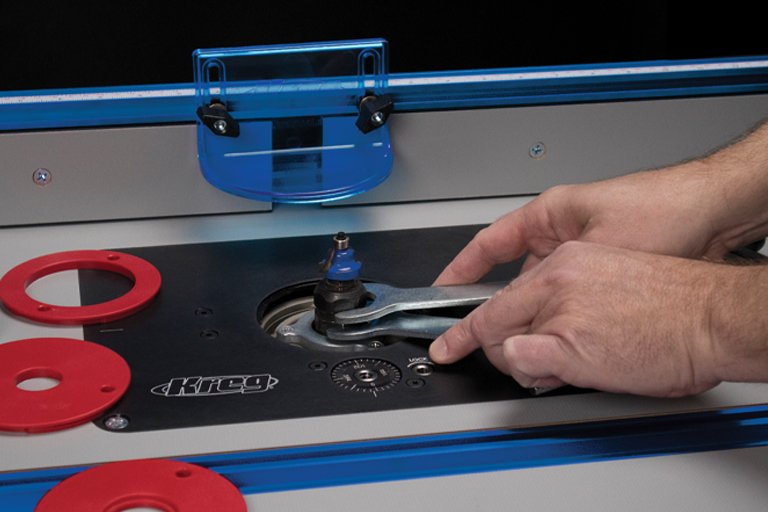
Put the bit in securely
Before you start, make sure the router is turned off. Then, put the bit in and tighten it using a wrench. It should be snug but not overly tight.
-
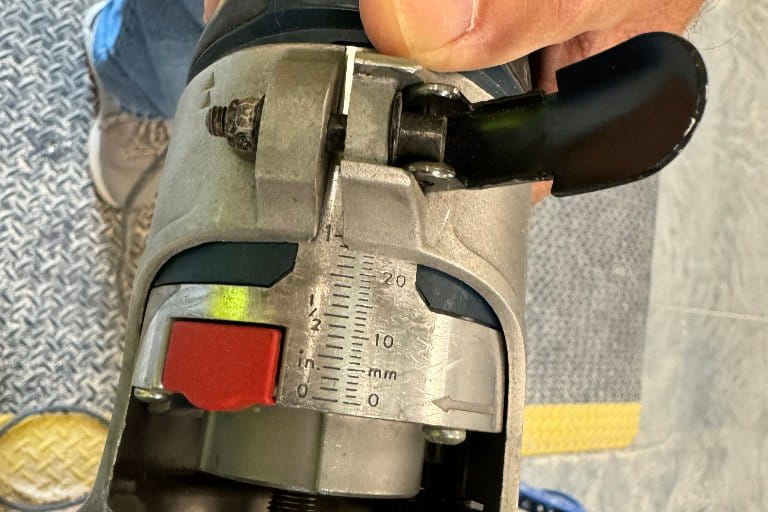
Set the depth of cut
Precision is the name of the game. Set how deep you want to cut by adjusting the router's depth control. Most routers have a fine-tuning feature for getting it just right.
-
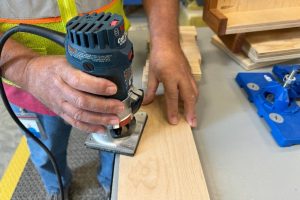
Secure your wood
Don't let your wood wiggle! Use clamps or other tools to keep your wood steady. This way, you can be sure your design stays on track.

-
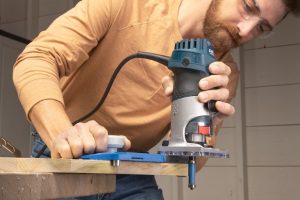
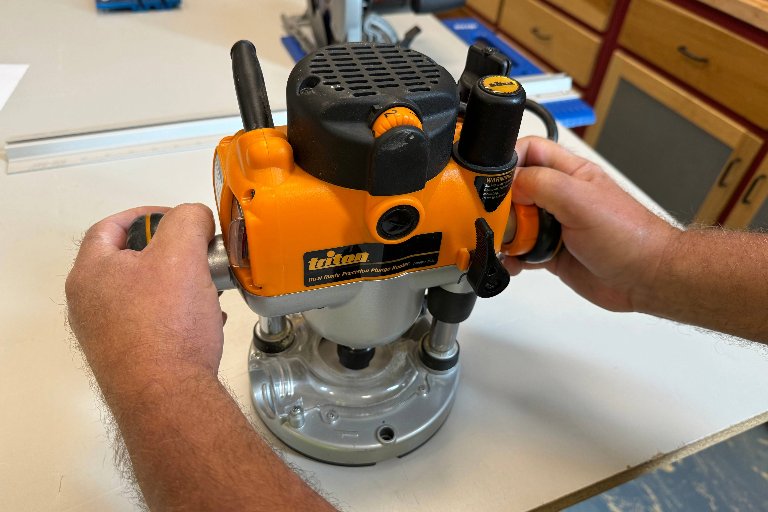
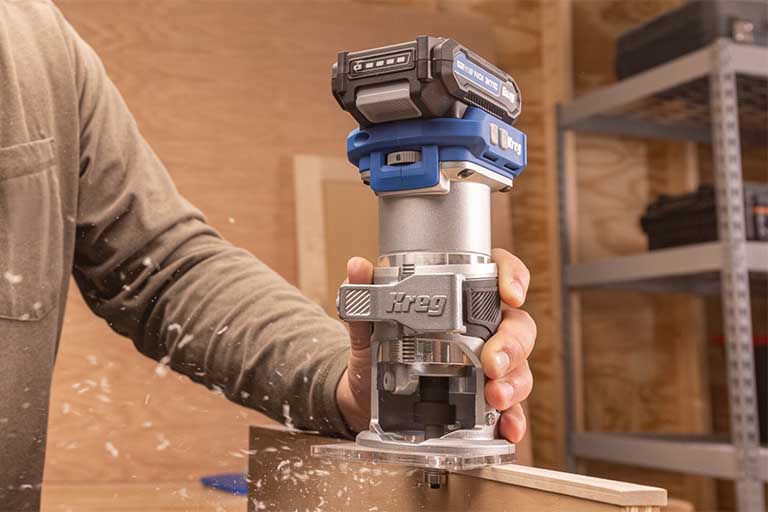
Hold the router correctly
Your grip matters. Hold the router with both hands, one on the handle and the other on the knob. Keep your body steady, and don't forget to bend your elbows a bit for balance.
-
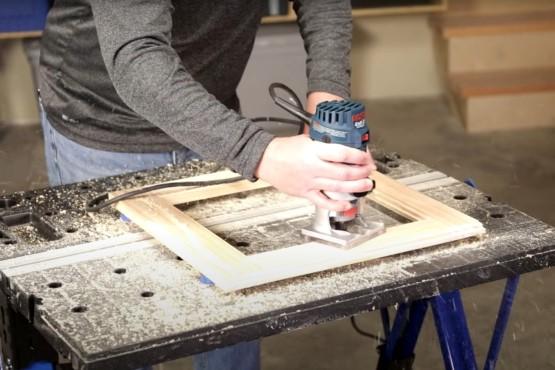
Make the cut
Turn on the router and let the bit spin up to speed. Move the router smoothly along your design. Remember, go against the spin of the bit for the best results. With these steps, you're ready to create woodworking magic! Start with simple projects and work your way up to more complex ones. Practice makes perfect, so don't be shy — give it a go.

Do You Push or Pull a Router?
When you’re using a router, move it in the opposite direction of the bit’s rotation. For example, if the bit is spinning clockwise, push the router; if it’s spinning counterclockwise, pull it.
This technique gives you better control and makes sure your wood stays in good shape.
What Not to Do with a Router Tool?
While you’re exploring the world of routers, watch out for these common mistakes:
Skipping safety gear
Protect your eyes and ears with safety gear. Flying debris can be nasty, and the router can get loud.
Forcing the router
Don’t push or pull too hard. Let the router bit do the work; you’re just there to guide it.
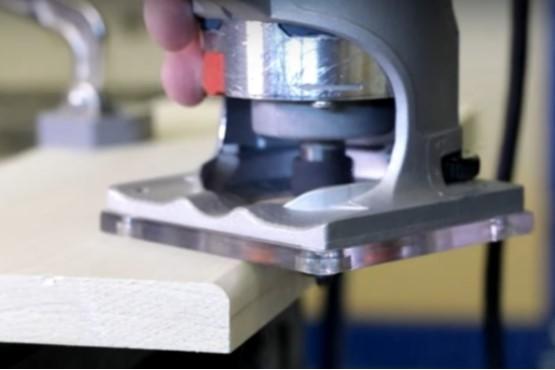
Starting or stopping on wood
Always start the router away from your wood, then move it onto the wood, and be sure to lift it off the wood before turning it off.
Ignoring the Router’s Rotation Direction
Pay attention to which way the bit is spinning and move the router against that. It’s all about staying in control.
Not securing your wood
Shaky wood leads to messy cuts. Clamp it down or use fixtures to keep it steady.
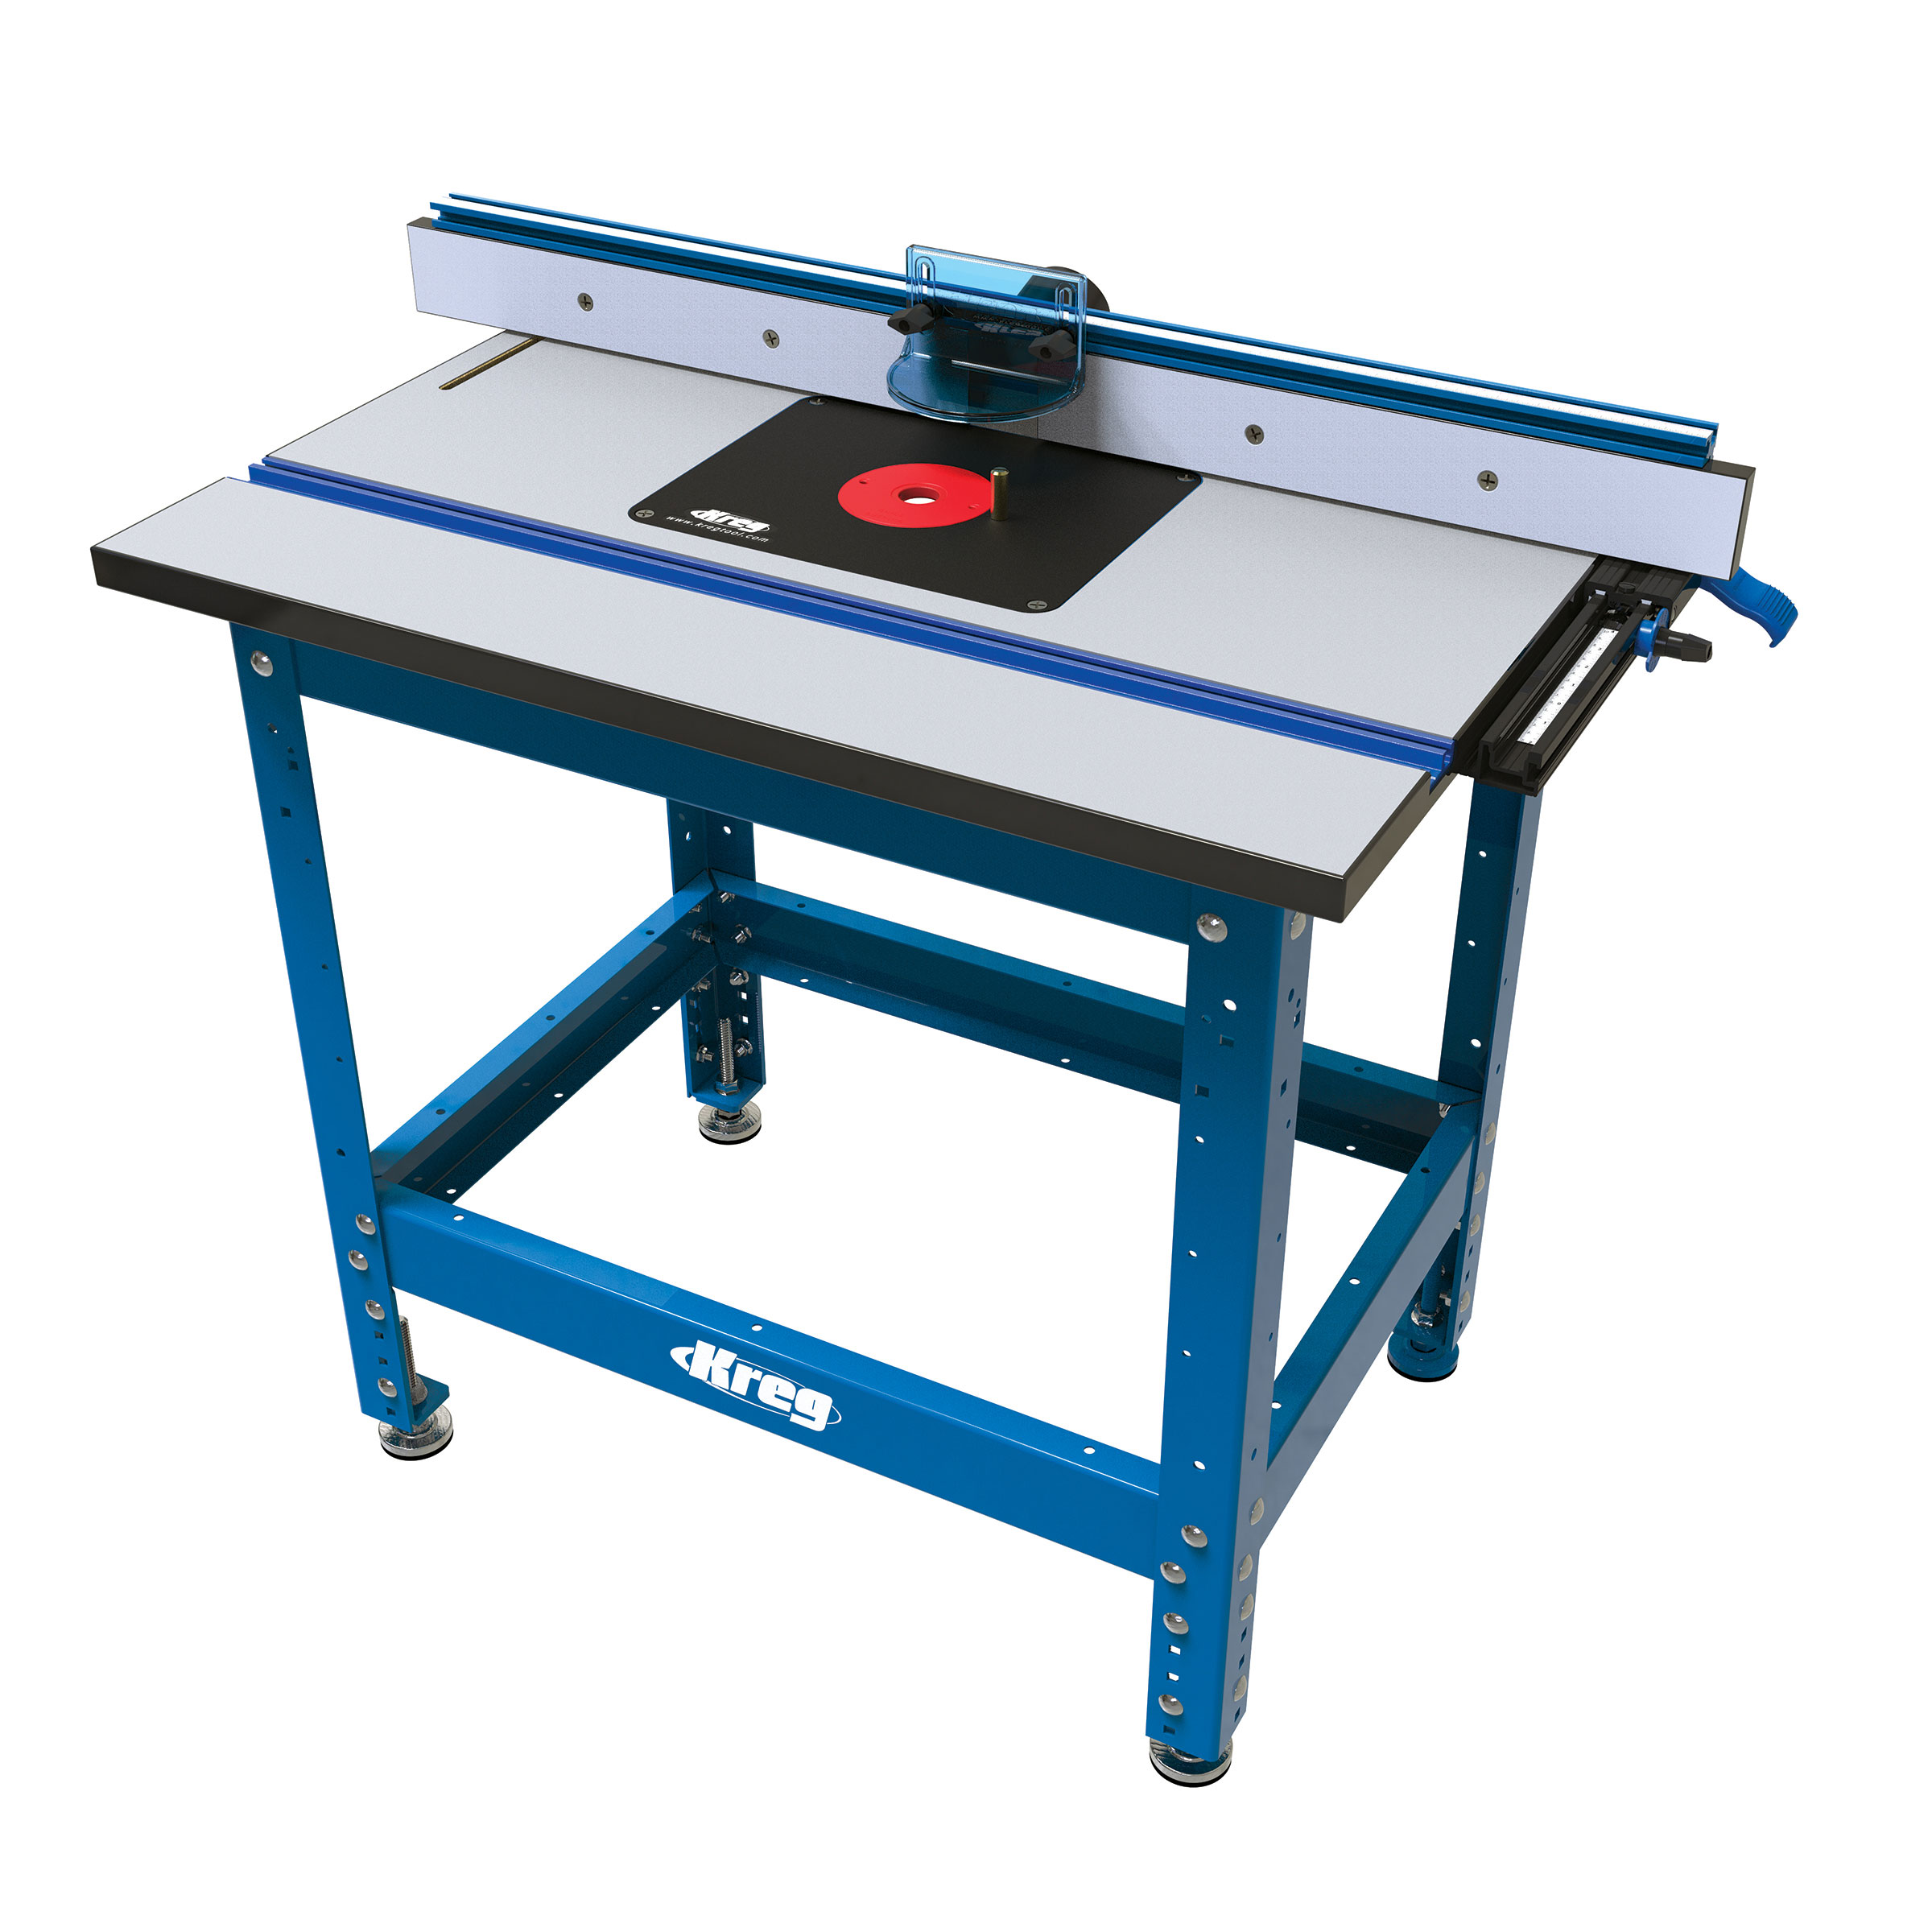
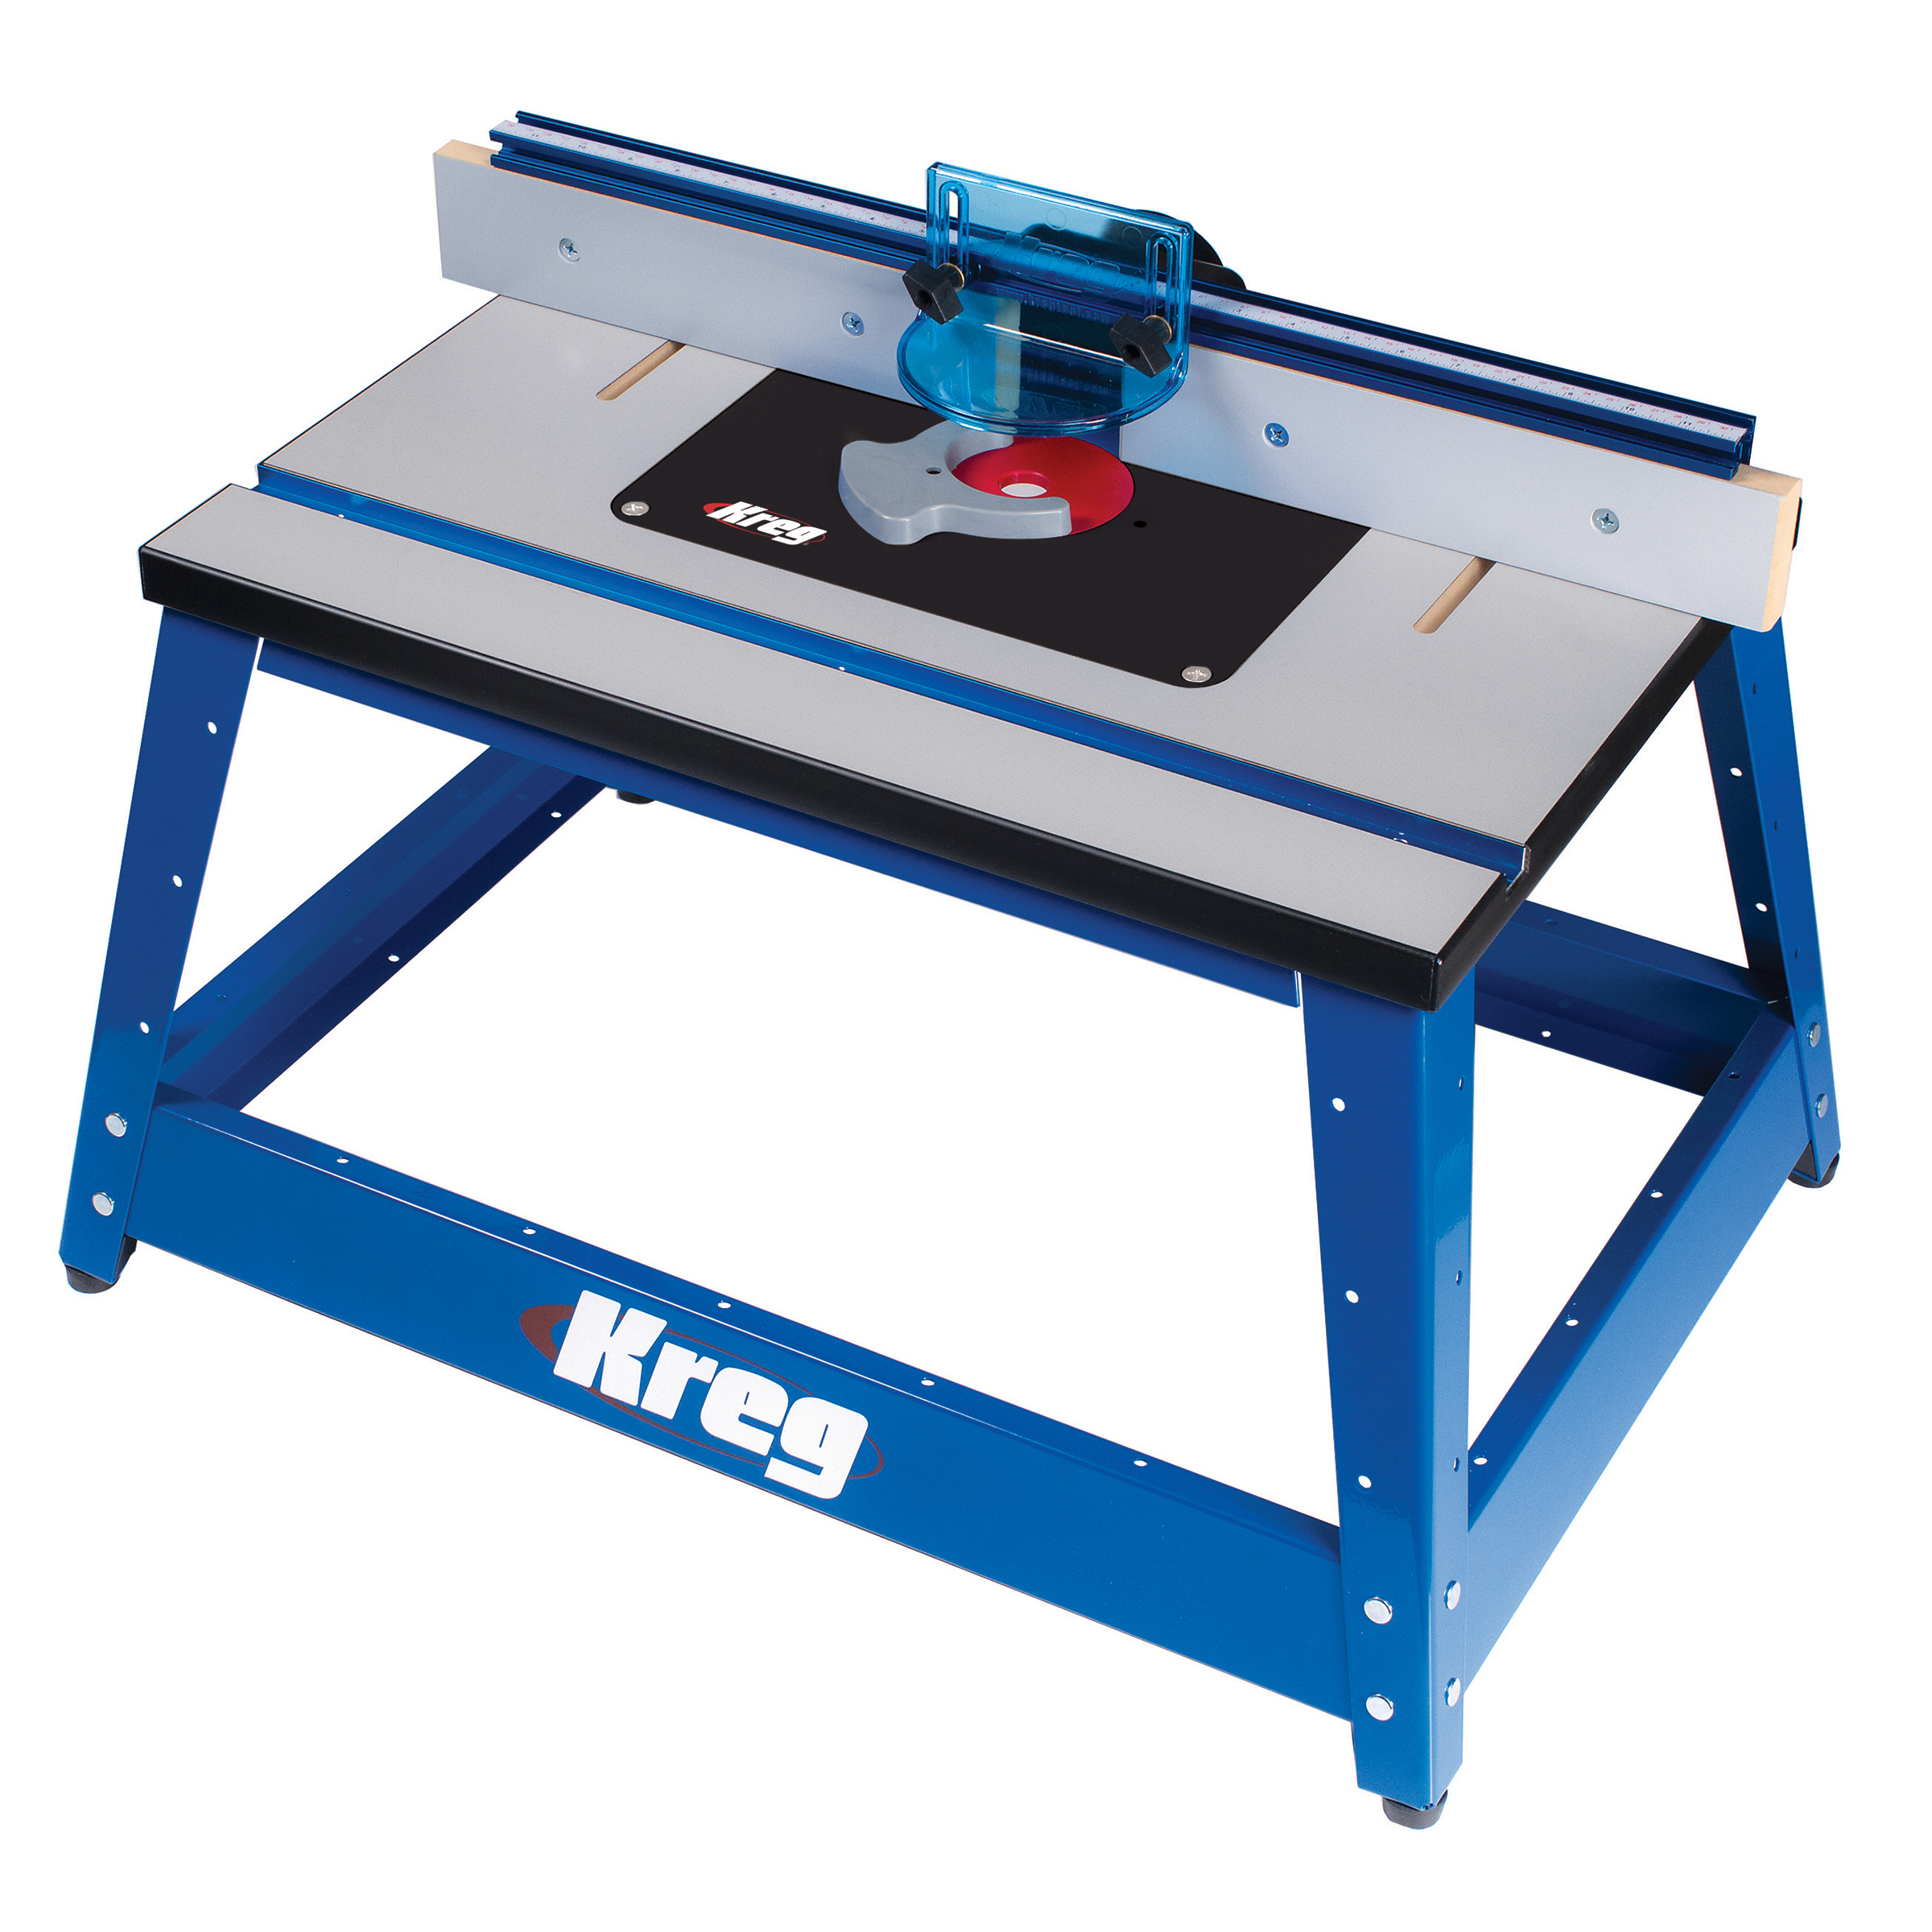
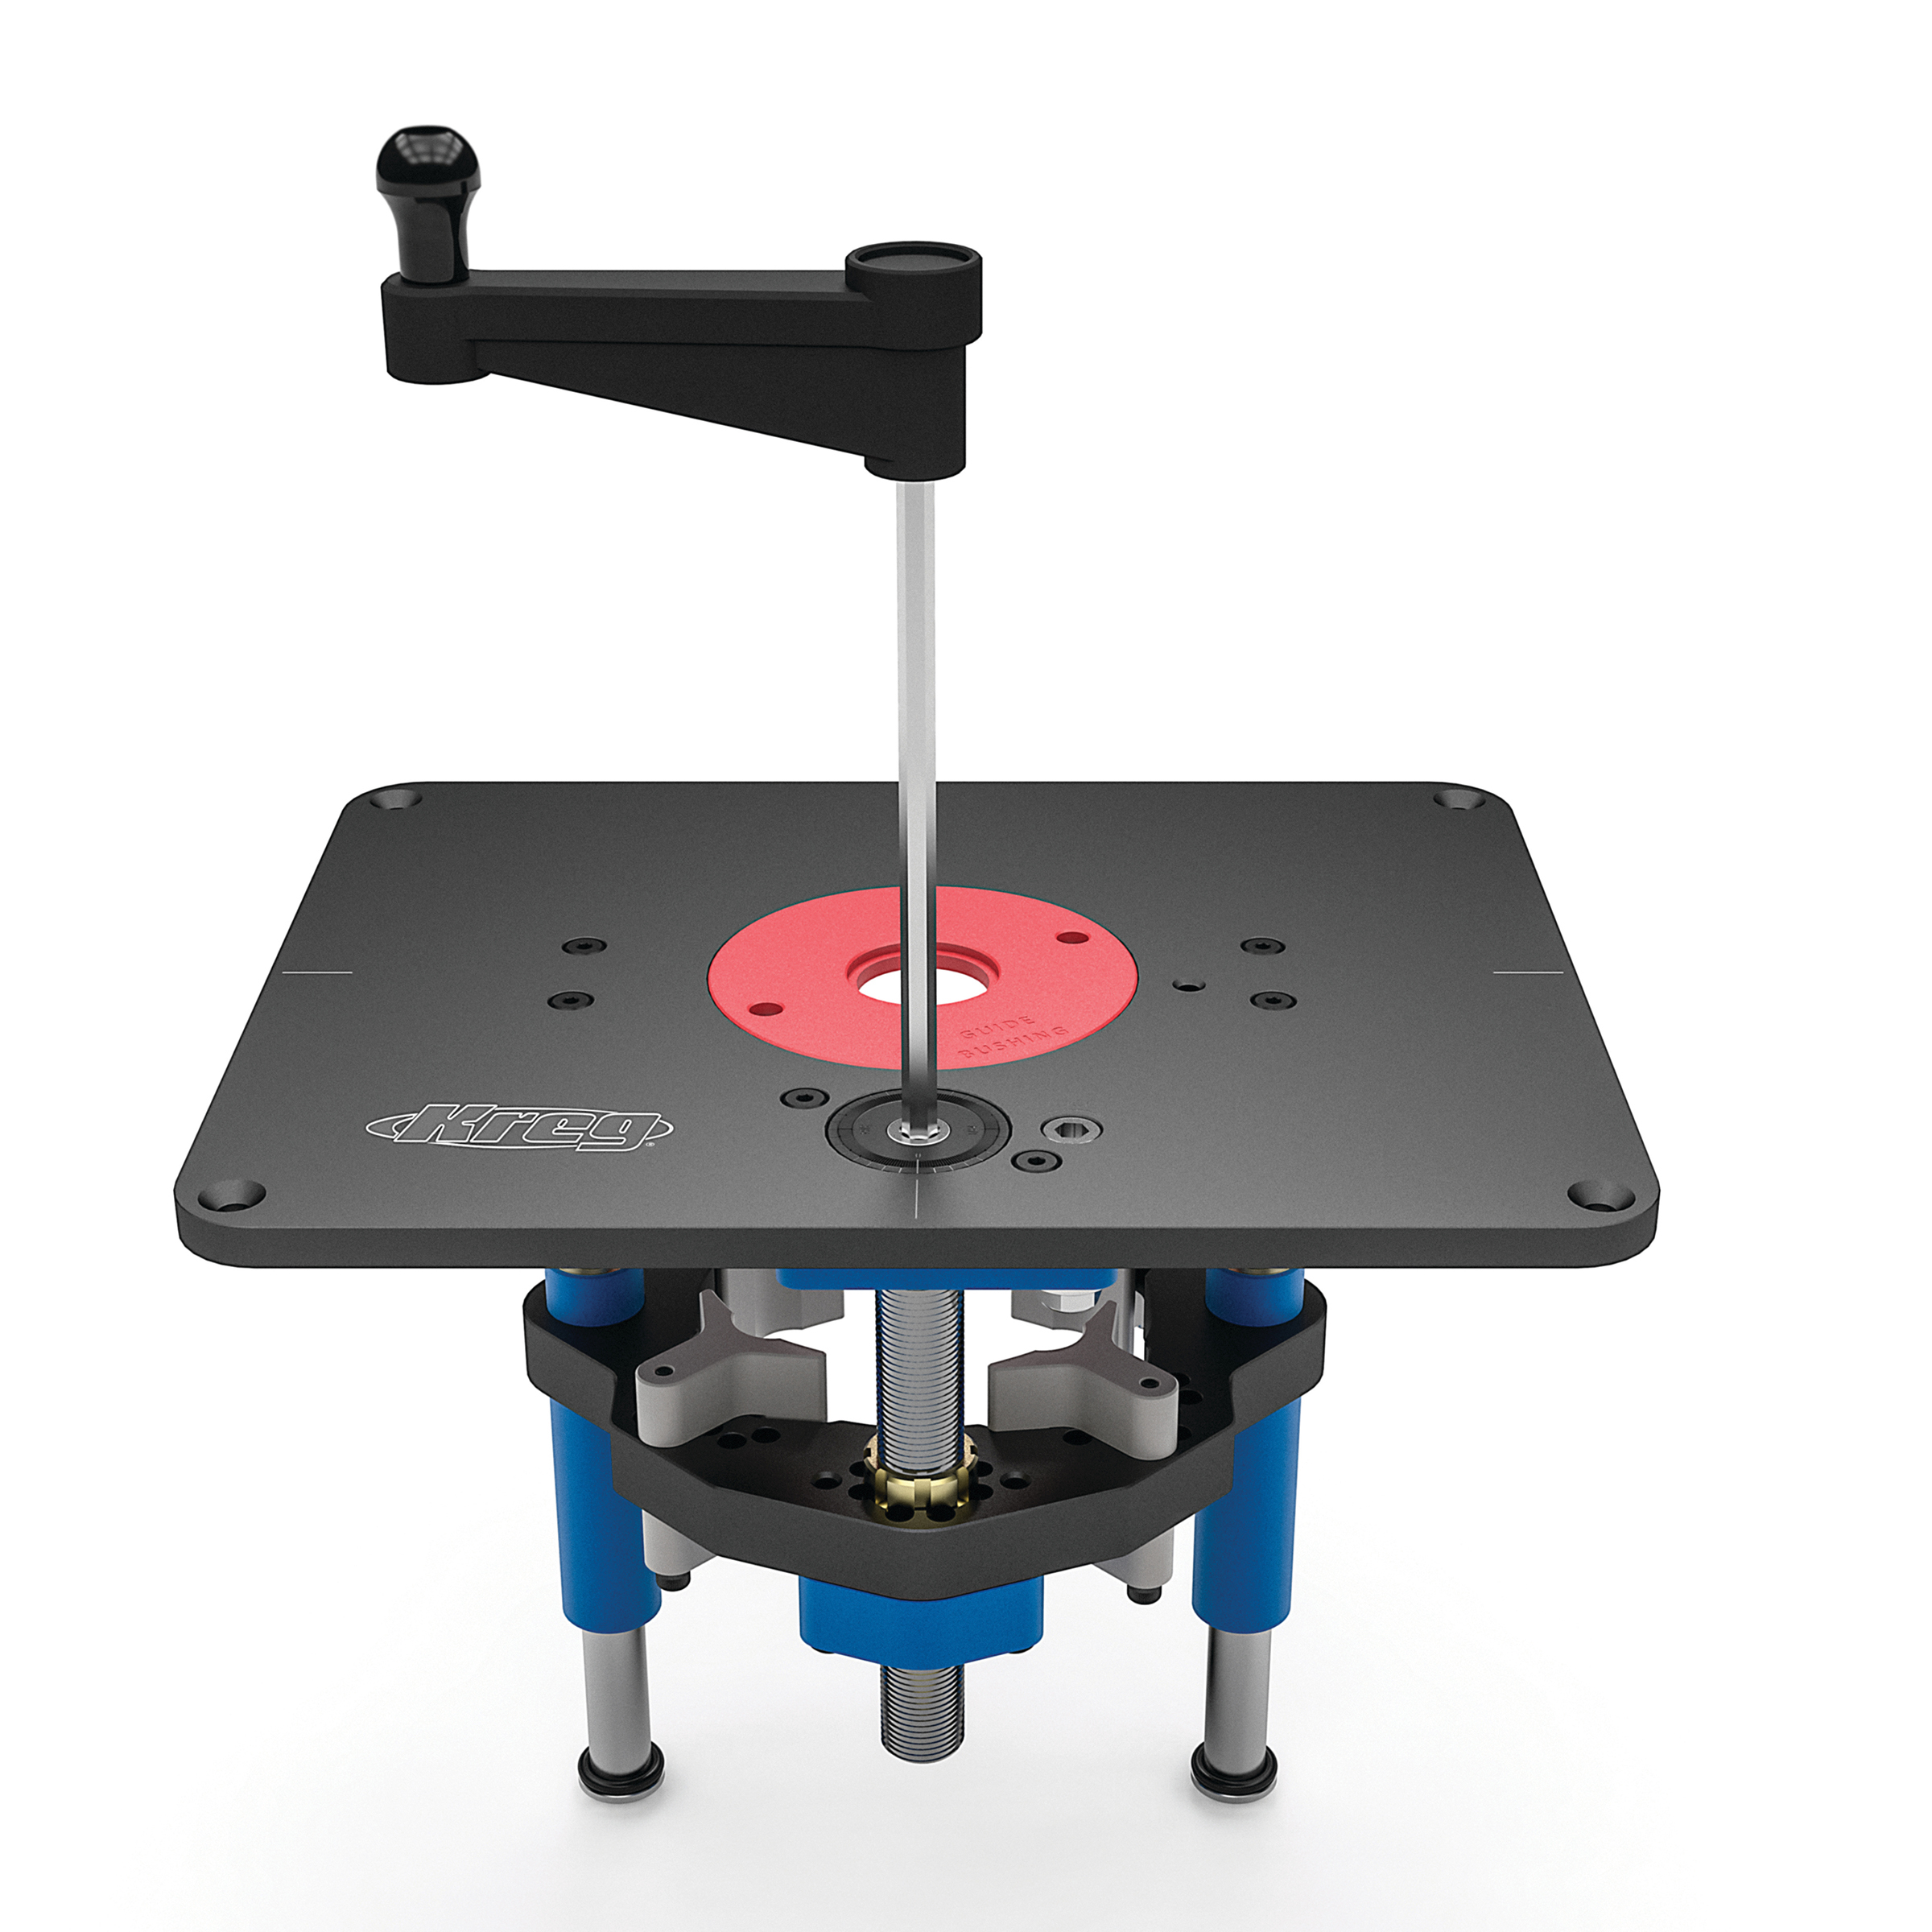
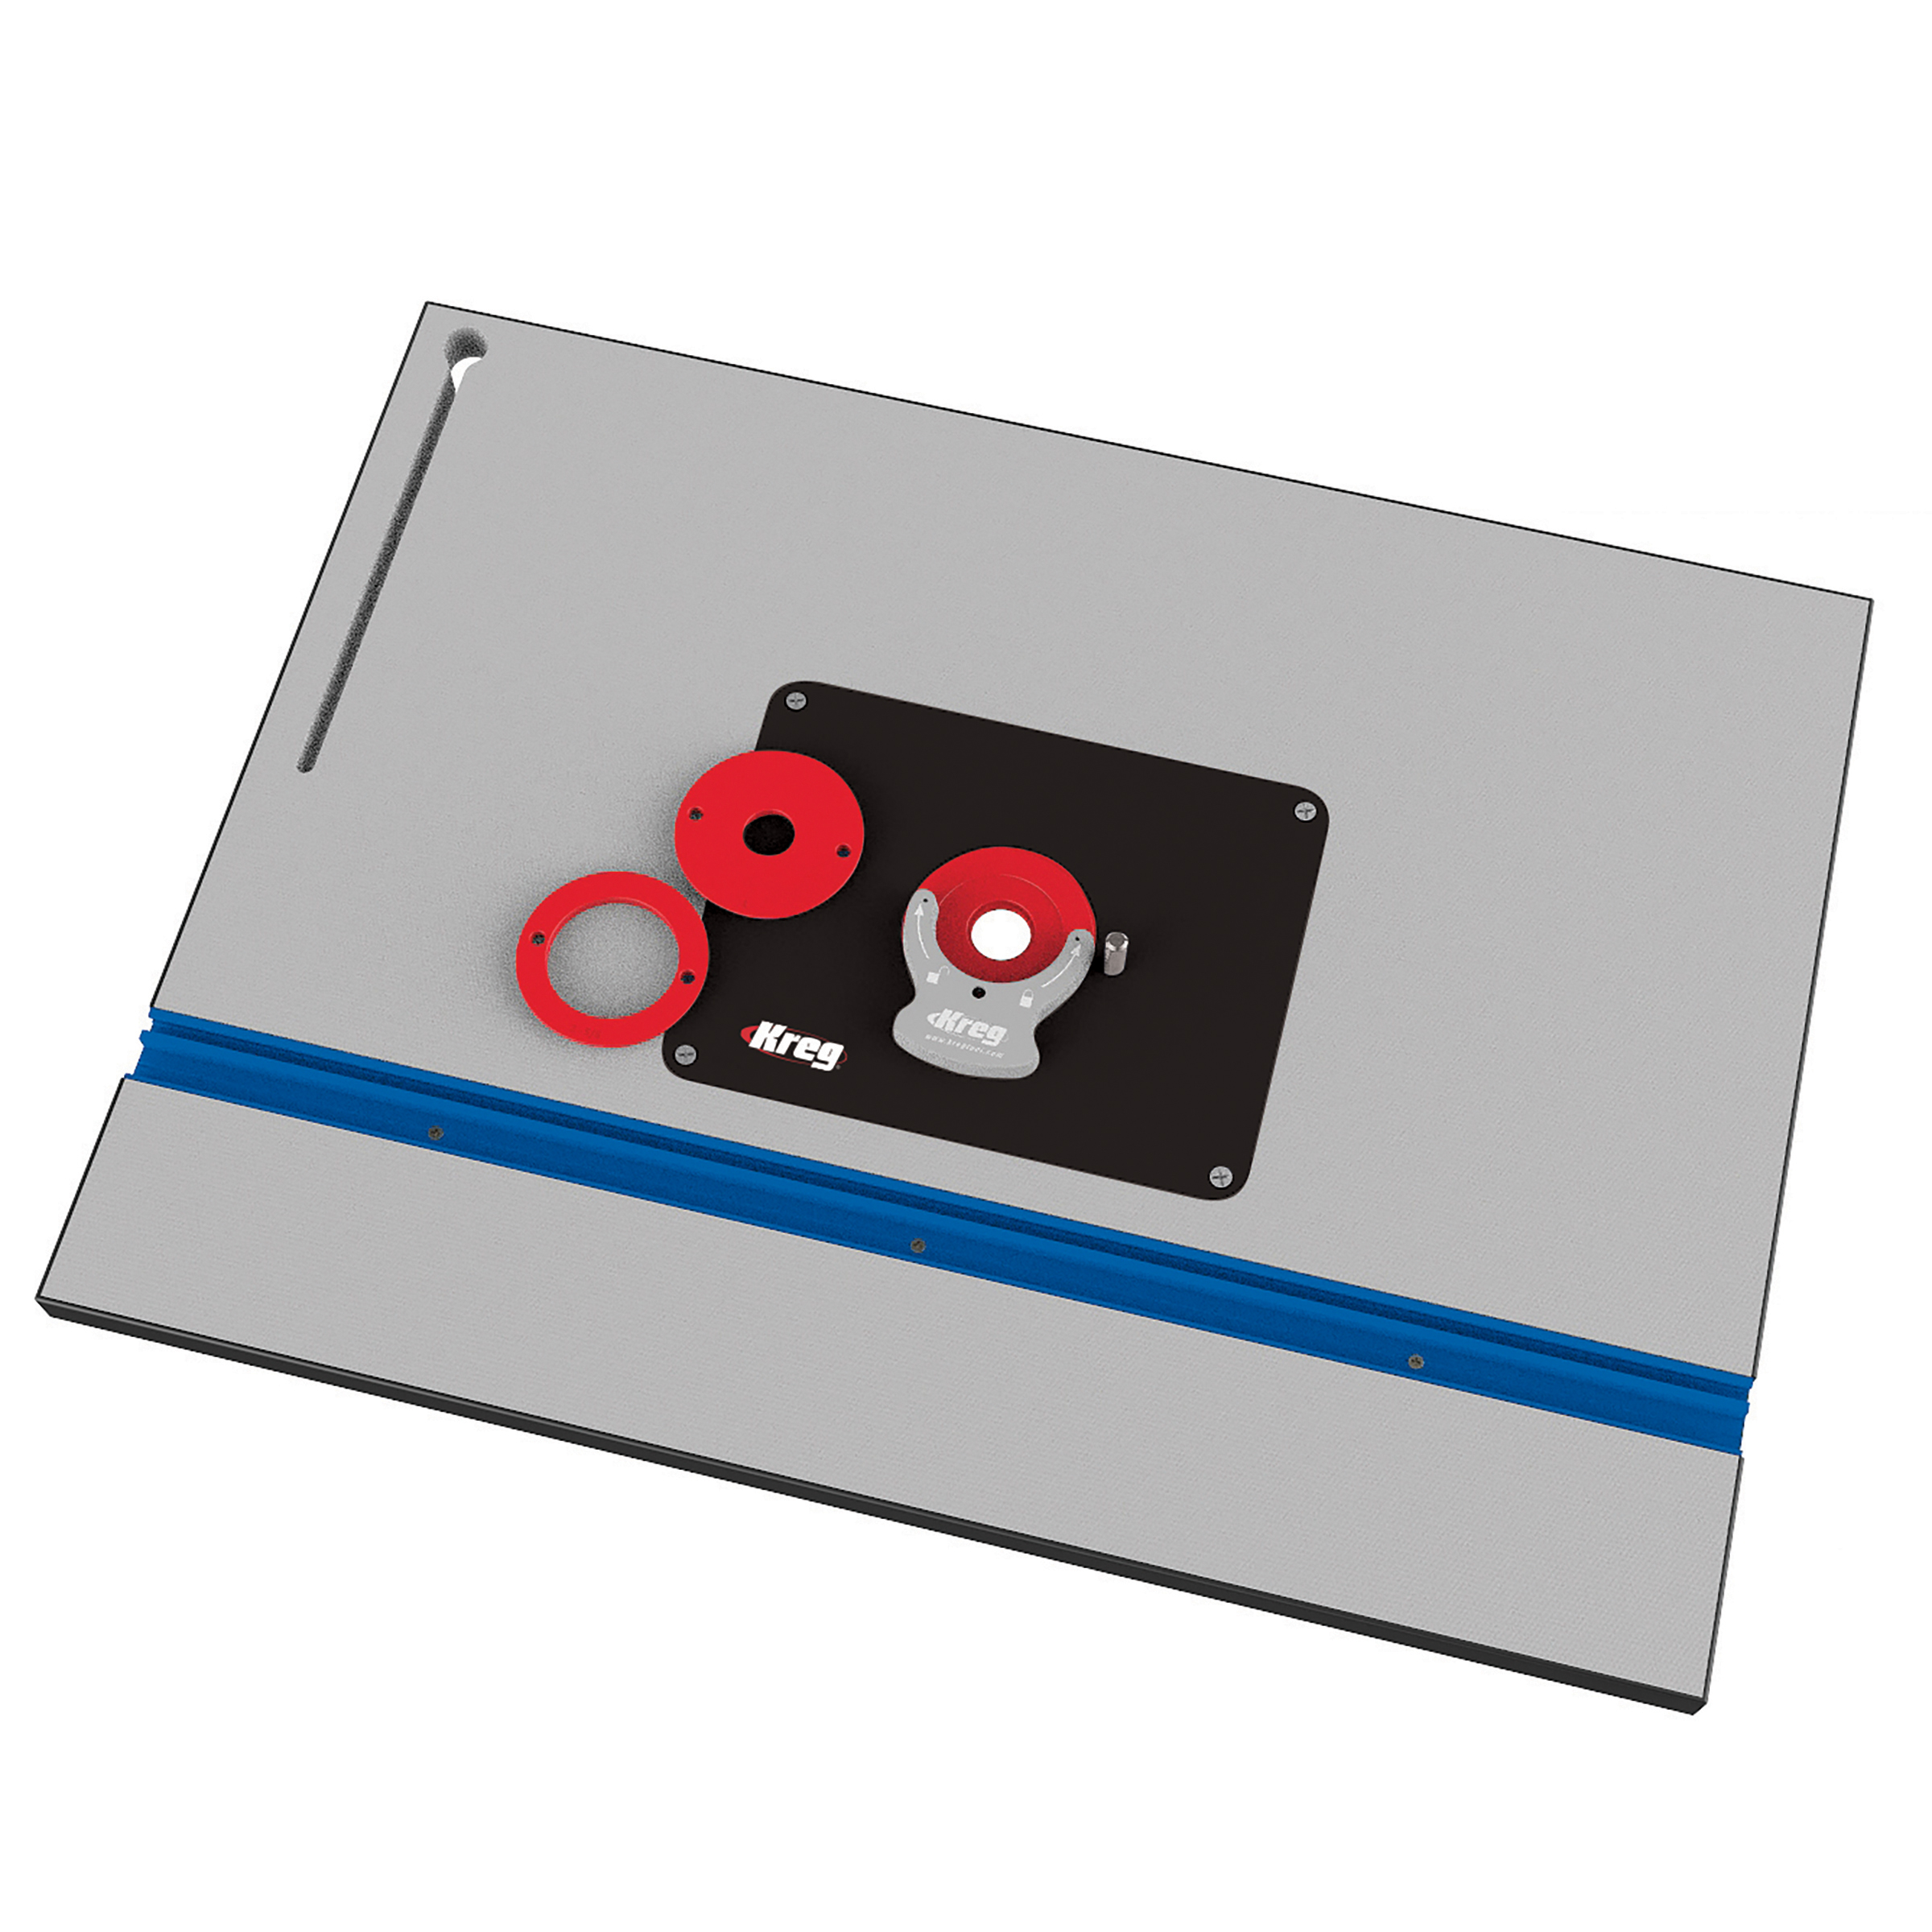
Associated Products