Book Holder
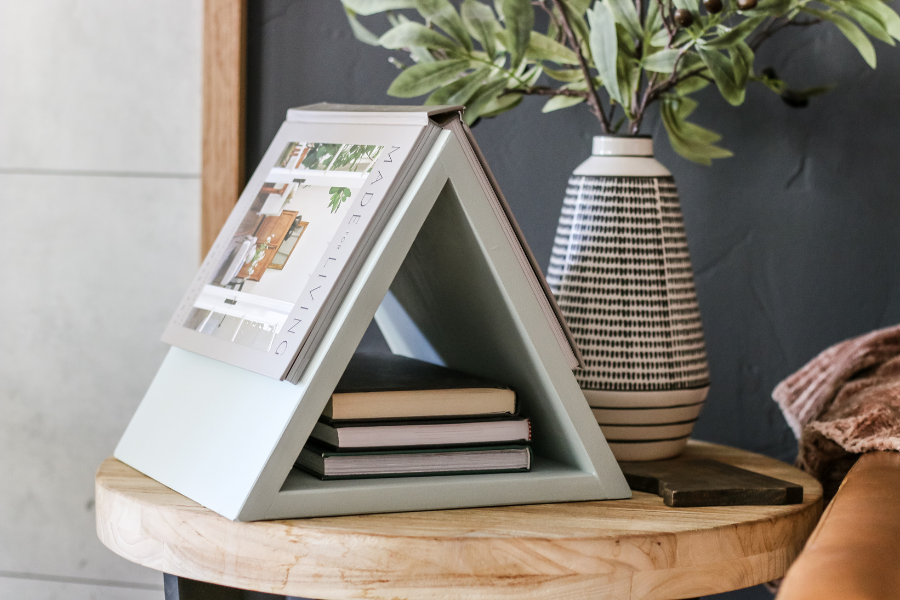
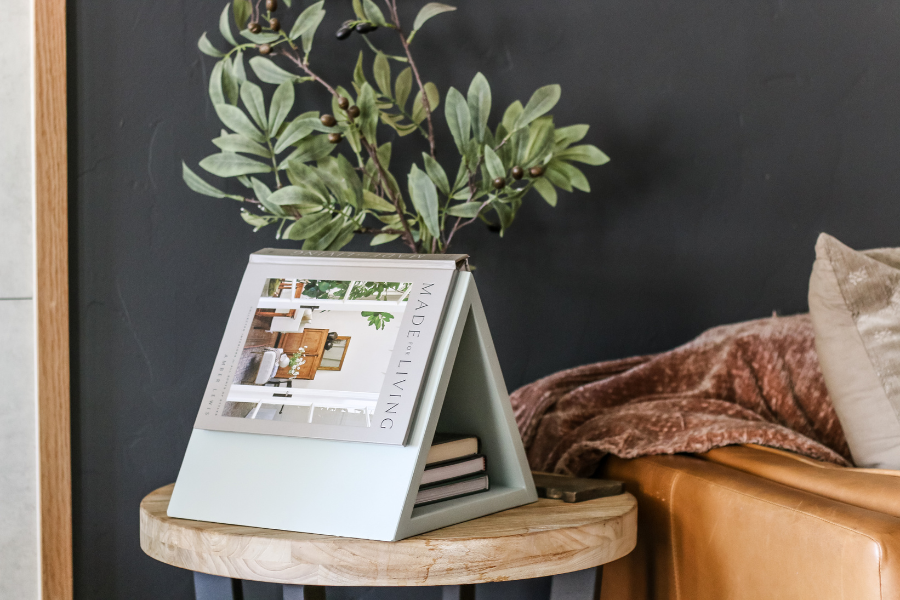
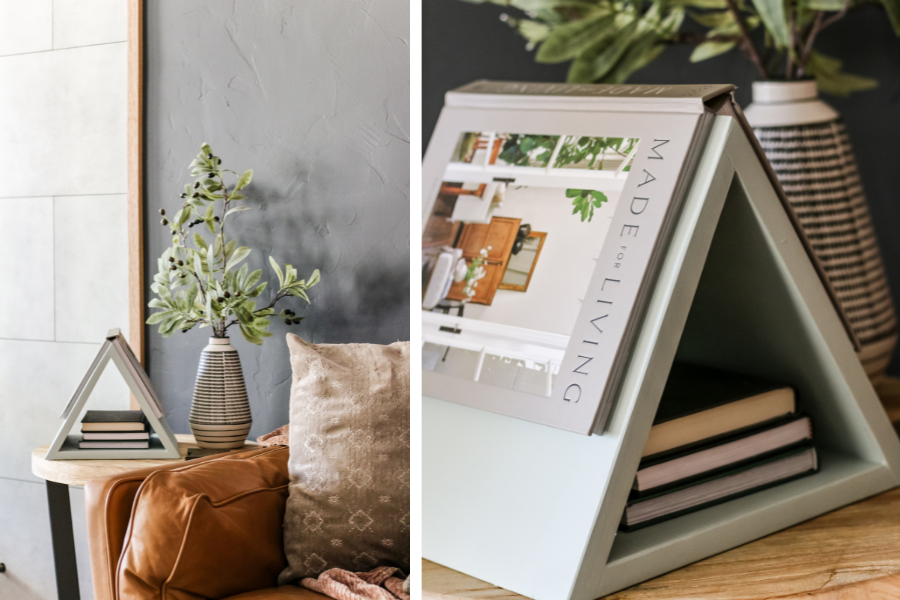
By Making ManzanitaHave trouble storing books and keeping your spot in a book you are reading? This book holder not only keeps track of your place in your current book, but it has storage for future books and reading materials!
Directions
-
Cut wood
Cut wood according to the visual cut list in the woodworking plans with a miter saw for the lengths. You’ll need to use a table saw or a sliding miter saw and cut each piece at a 30-degree angle.
-
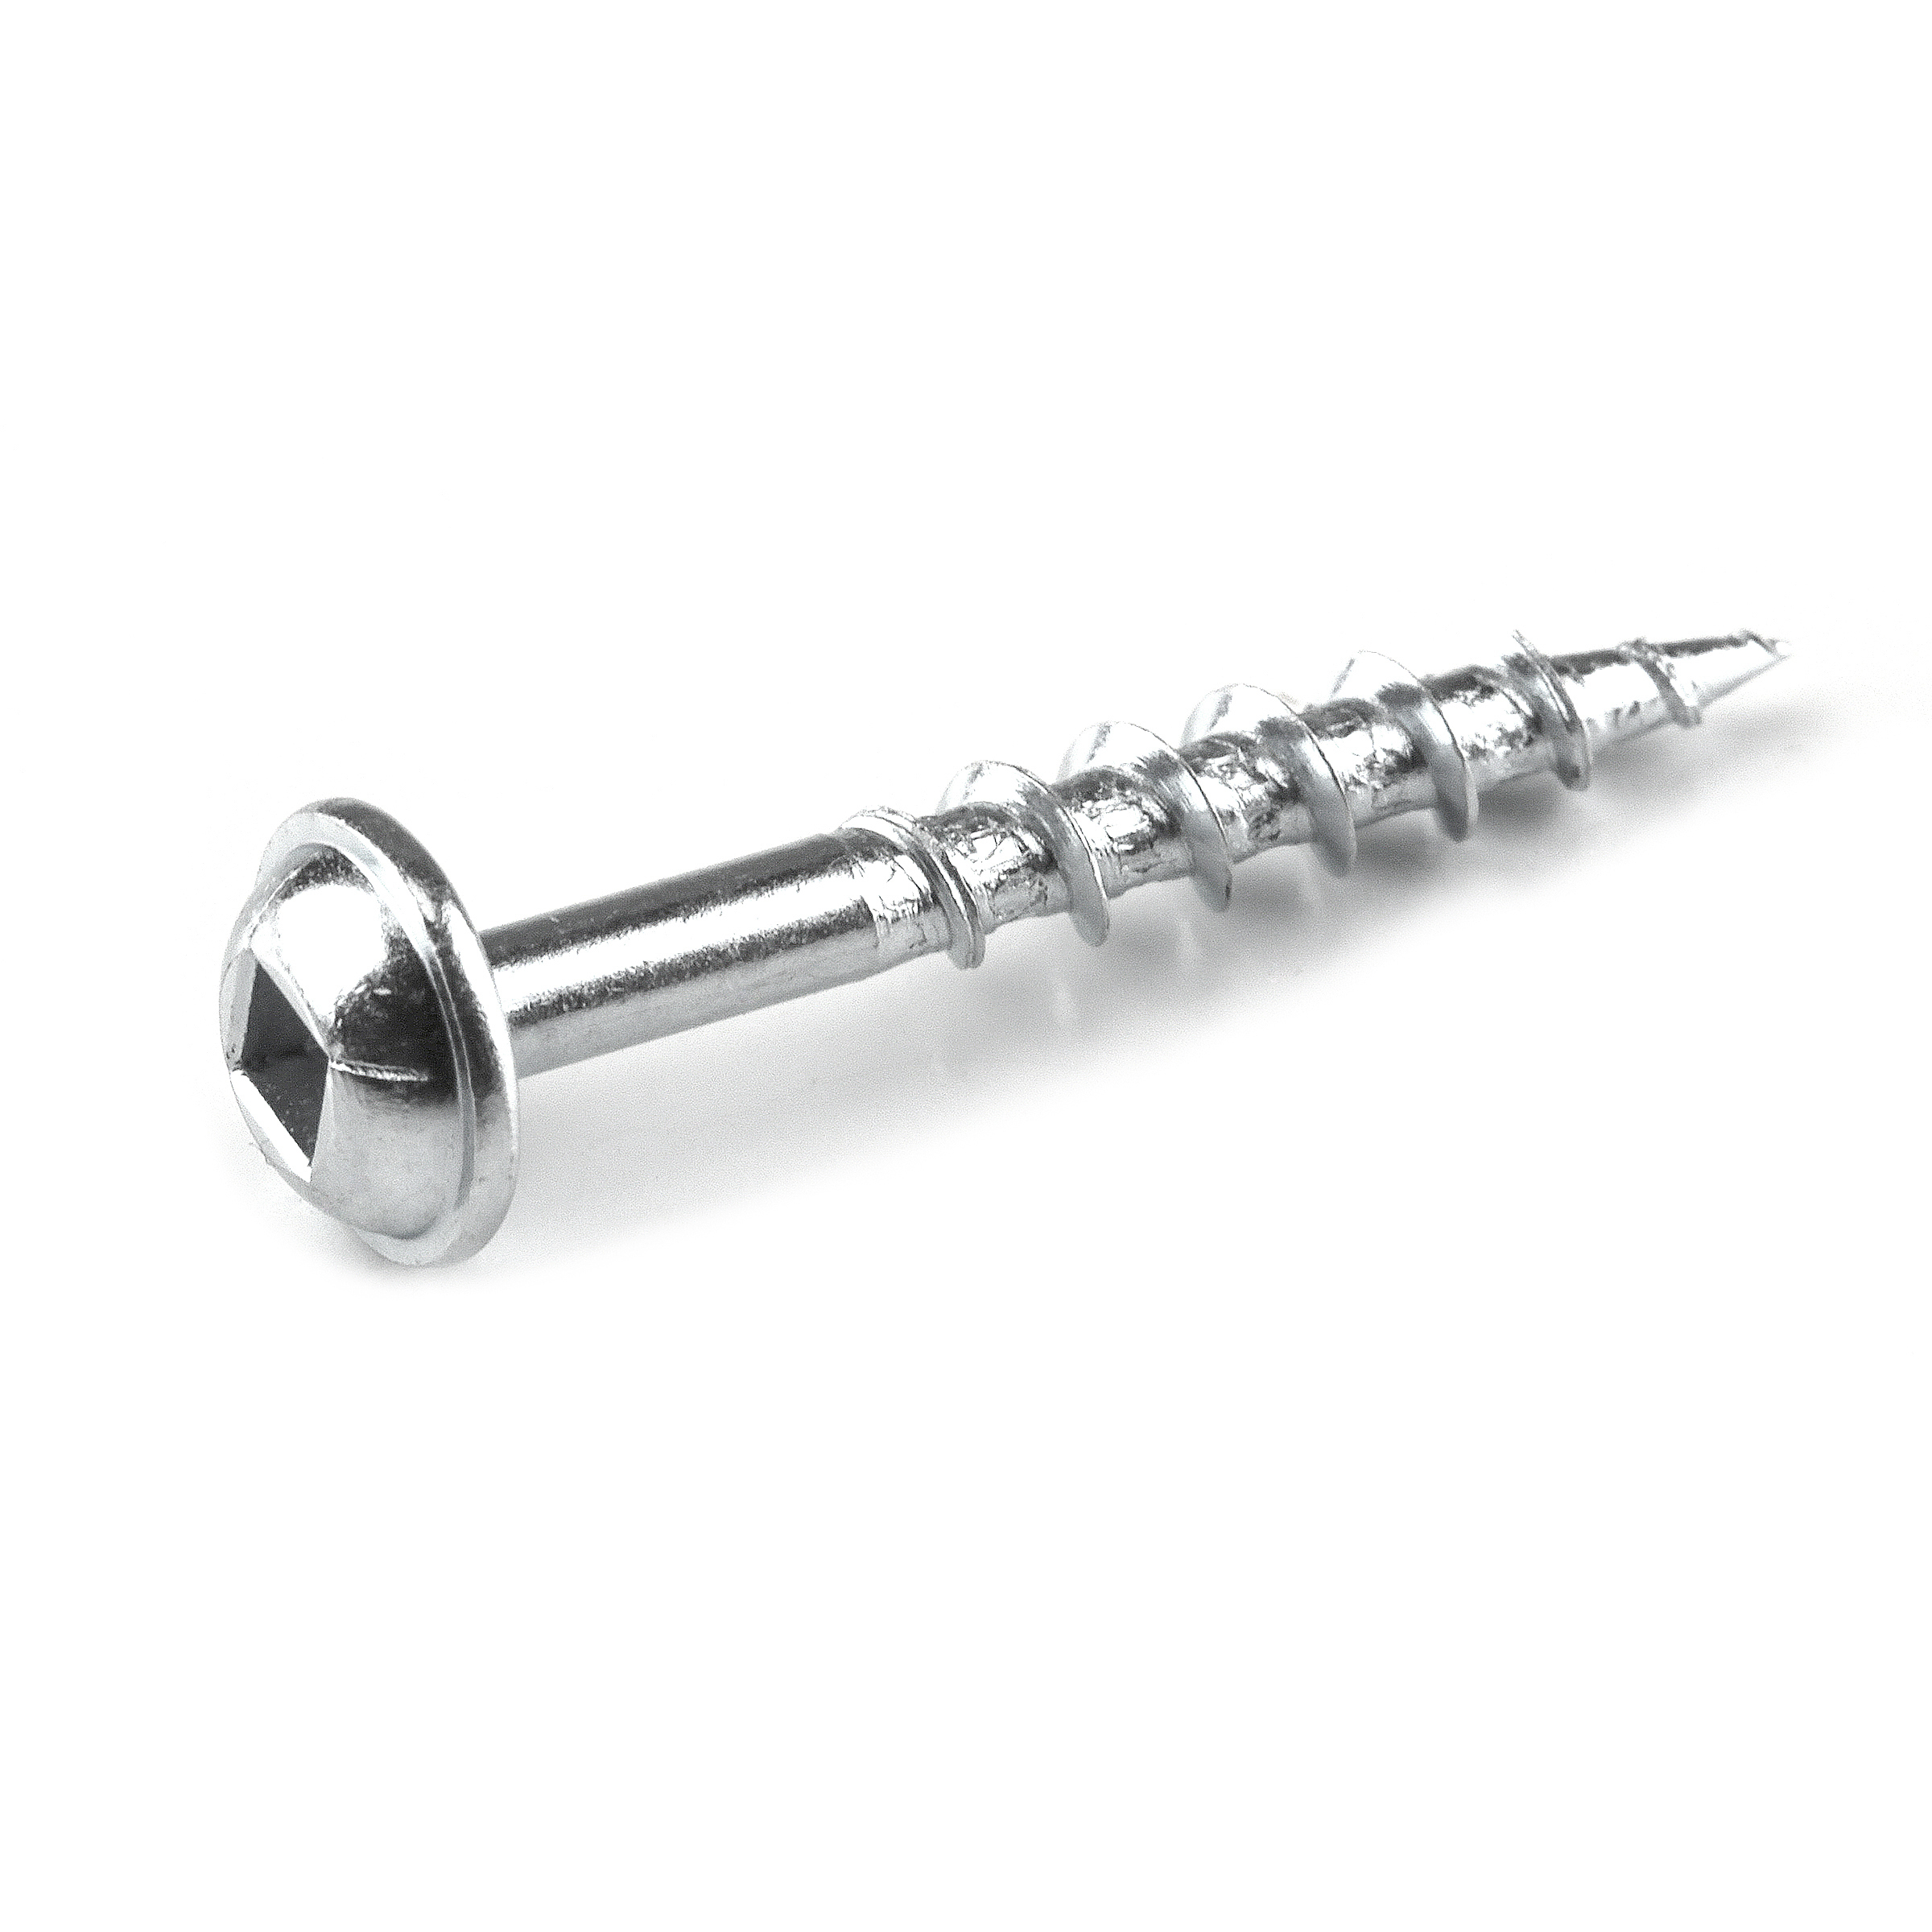
Drill pocket holes.
Drill pocket holes as shown in the woodworking plans. We used the Kreg 720 Pro.
Pocket holes on angled edges
Because the wood is on angles you will want to be careful not to plunge your drill too deep and make adjustments to the pocket hole depth. We did this by testing it out on scrap wood cut at the same angle to determine where to put the stop collar on the drill bit.
-
Lightly sand.
Lightly sand all pieces with an orbital sander, 80-grit sandpaper, and then 150-grit sandpaper.
-
Assemble book holder.
Because these pieces are all angled clamping is difficult. You might want to grab a friend if you are not able to clamp the large pieces together at the right angles. Attach the pocket holes at the top of the triangle first, followed by the bottom piece last.
-
Fill with wood filler and pocket hole plugs.
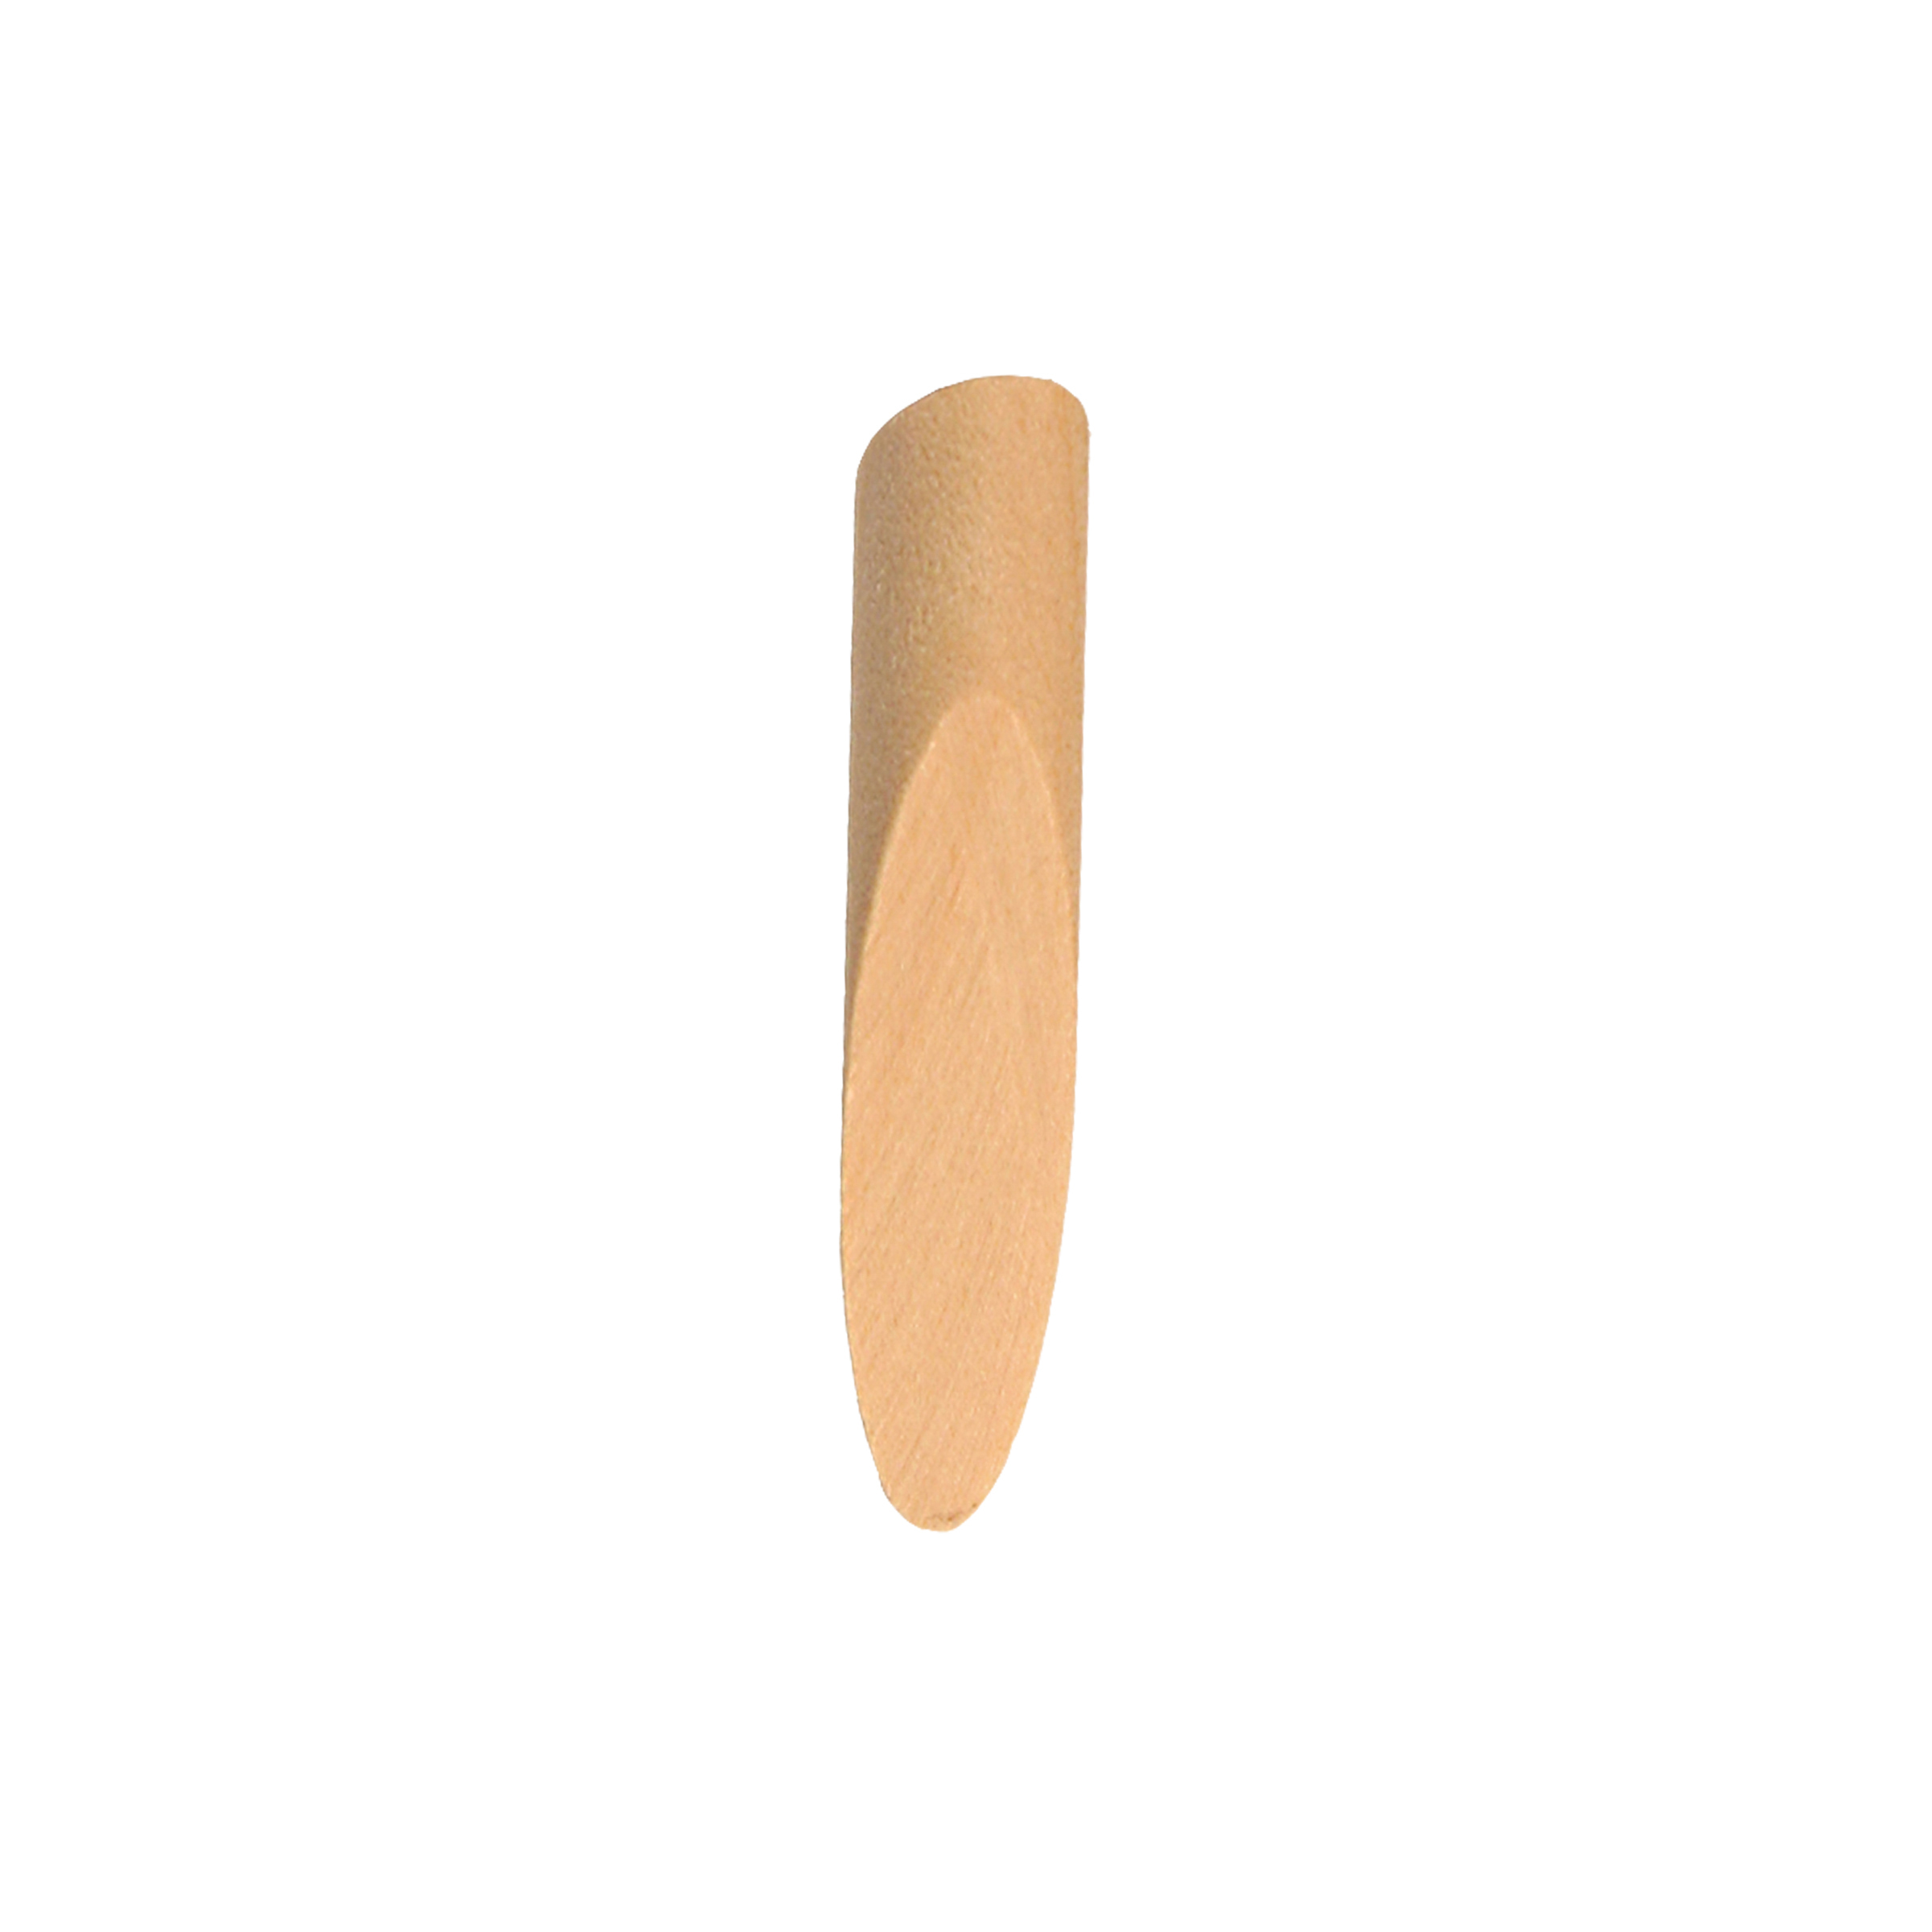
Take a wood filler that can be sanded and painted and fill in any gaps at the joints and blemishes on the wood from the assembly. Then glue in the pocket hole plugs with wood glue and wait for the filler and glue to dry.
-
Sand.
Once the glue and filler is dry, take 150 grit sandpaper making sure all joints are flush and smooth. Sand smooth the pocket hole plugs, and any excess wood filler, and make sure each joint is flush. For the inside of the structure, use a multi-tool with a wood cutter attachment to cut down the plugs and then sand the remaining inside by hand with a sheet of sandpaper because the orbital sander won’t fit inside.
-
Prime and paint the book holder.
Apply 2-3 coats of aerosol paint primer and follow up with a paint color of your choice. We used Behr Riverdale.


