


Custom storage for your workshop or garage doesn't need to be complicated! In fact, it's as easy as making a couple of boxes and adding some flair! Here's how you can create custom storage for your home in just a few easy steps!
Tools
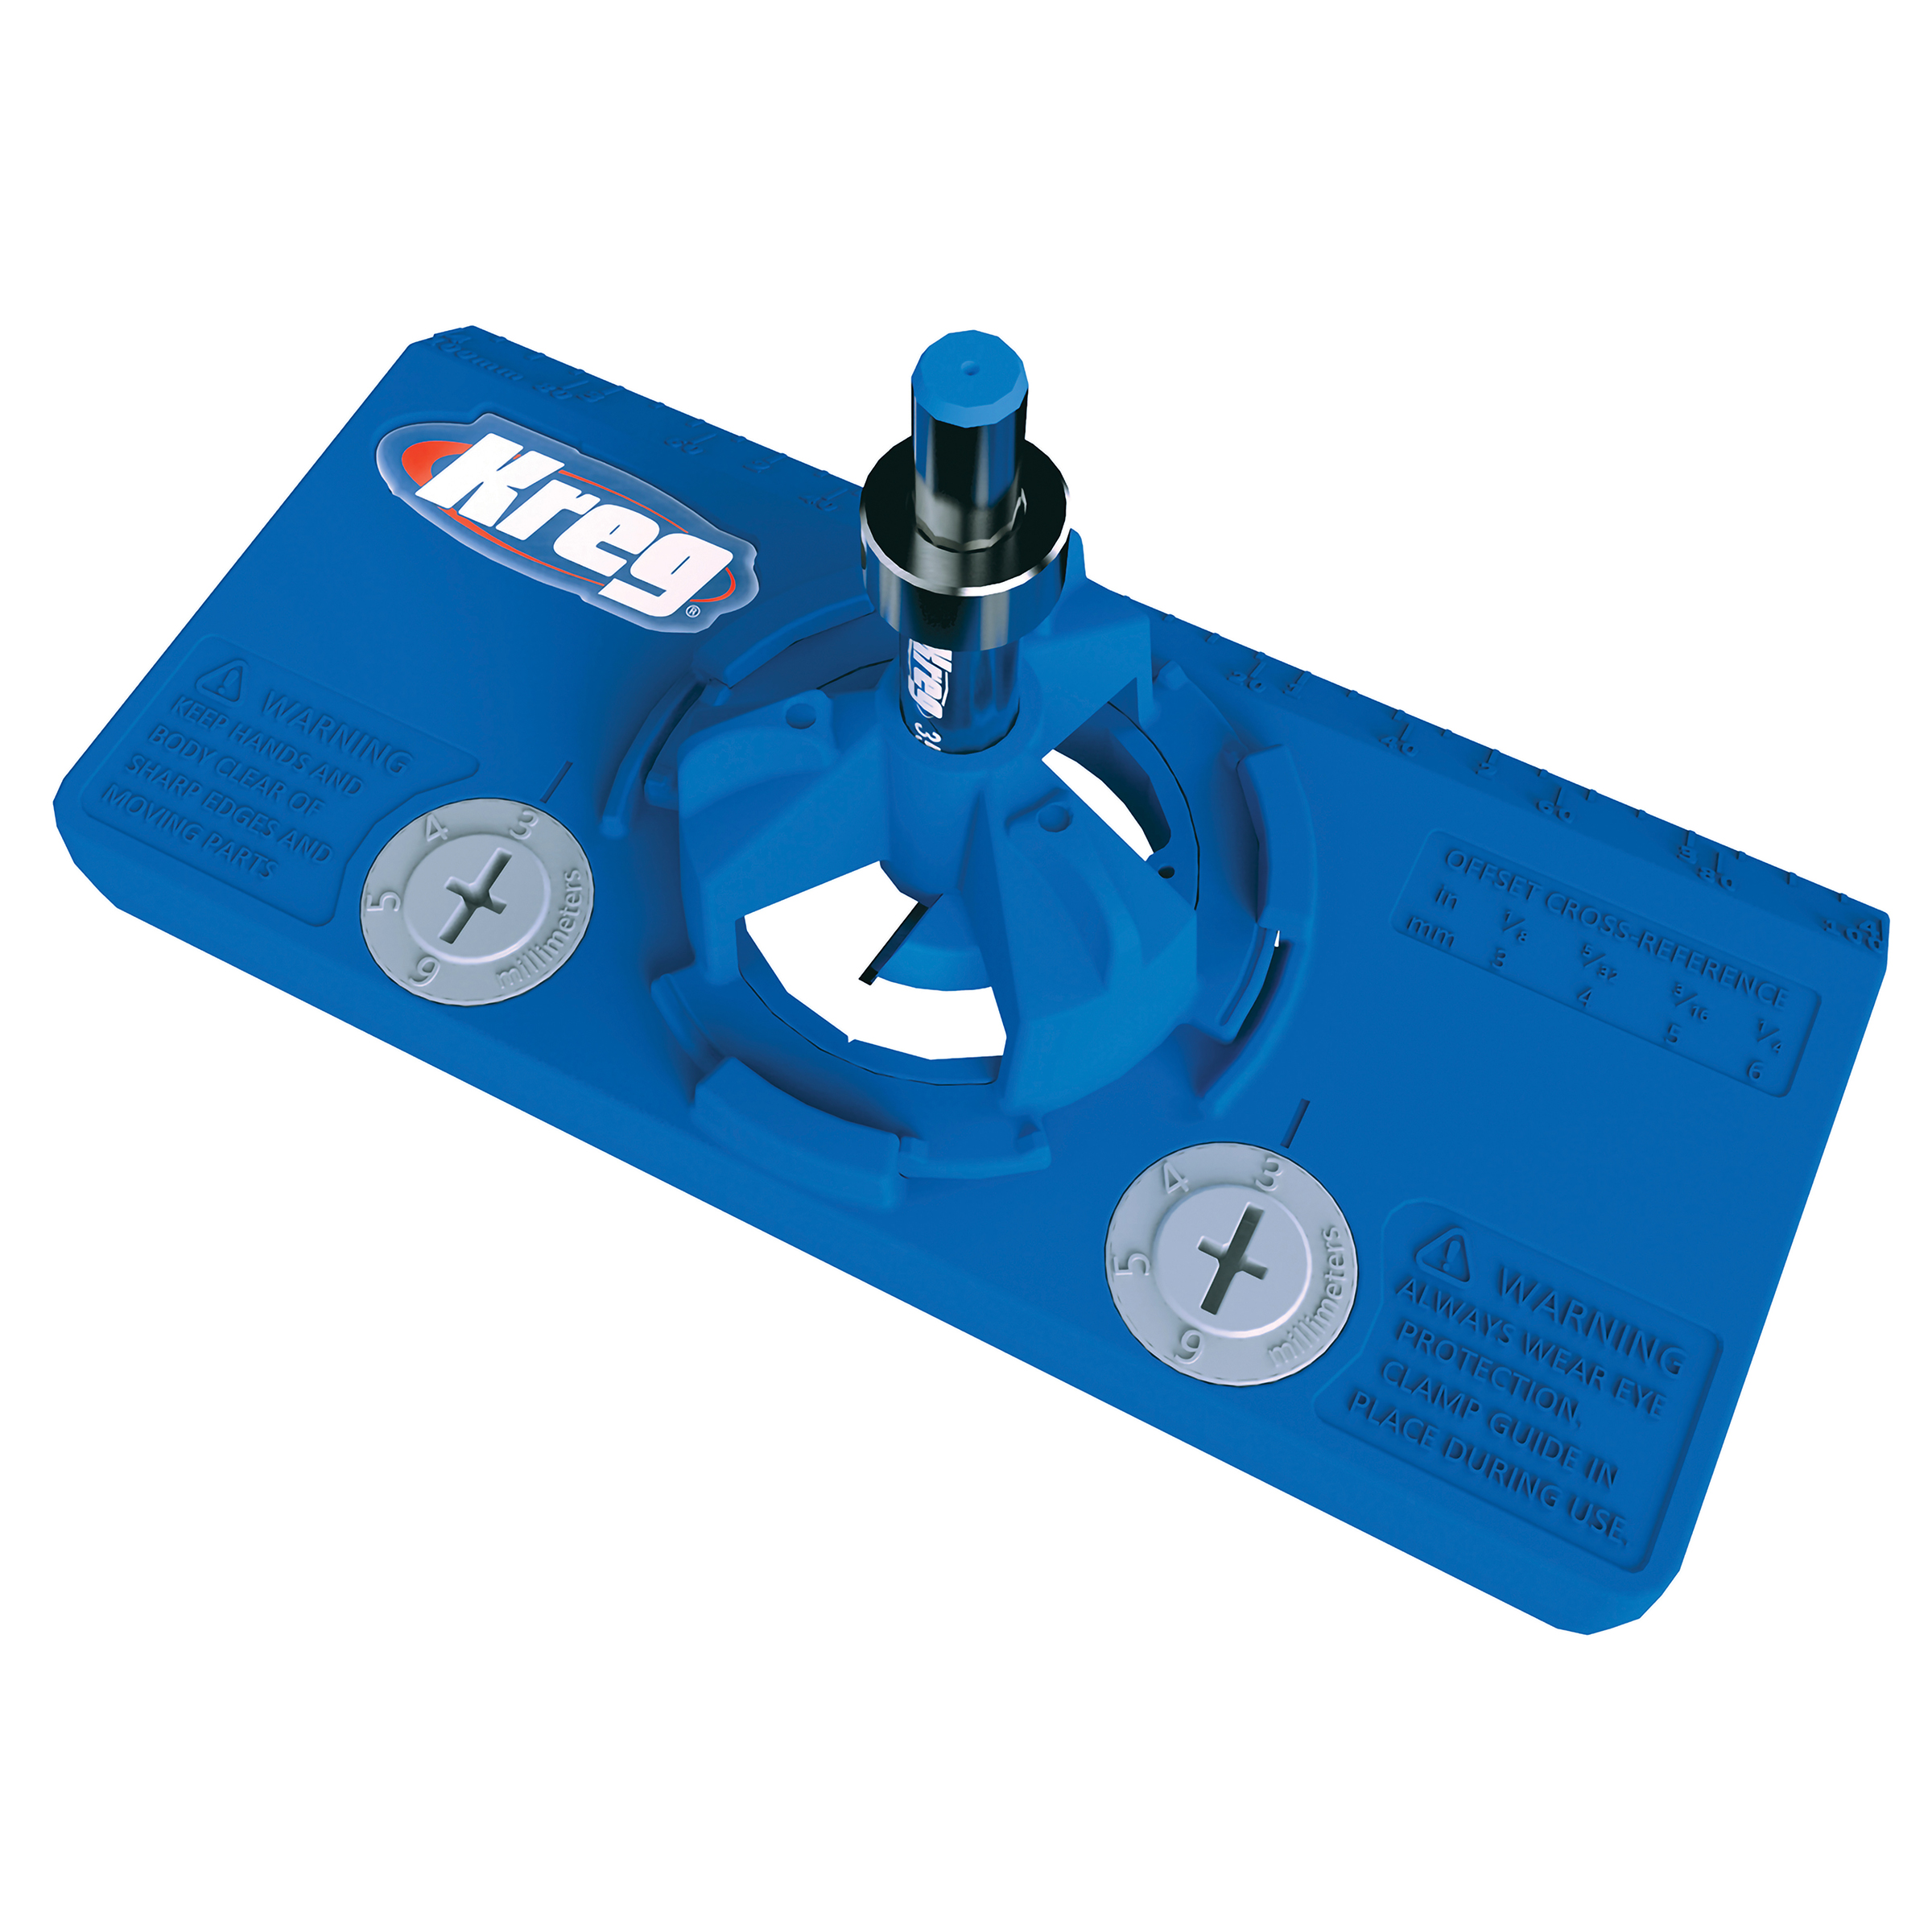
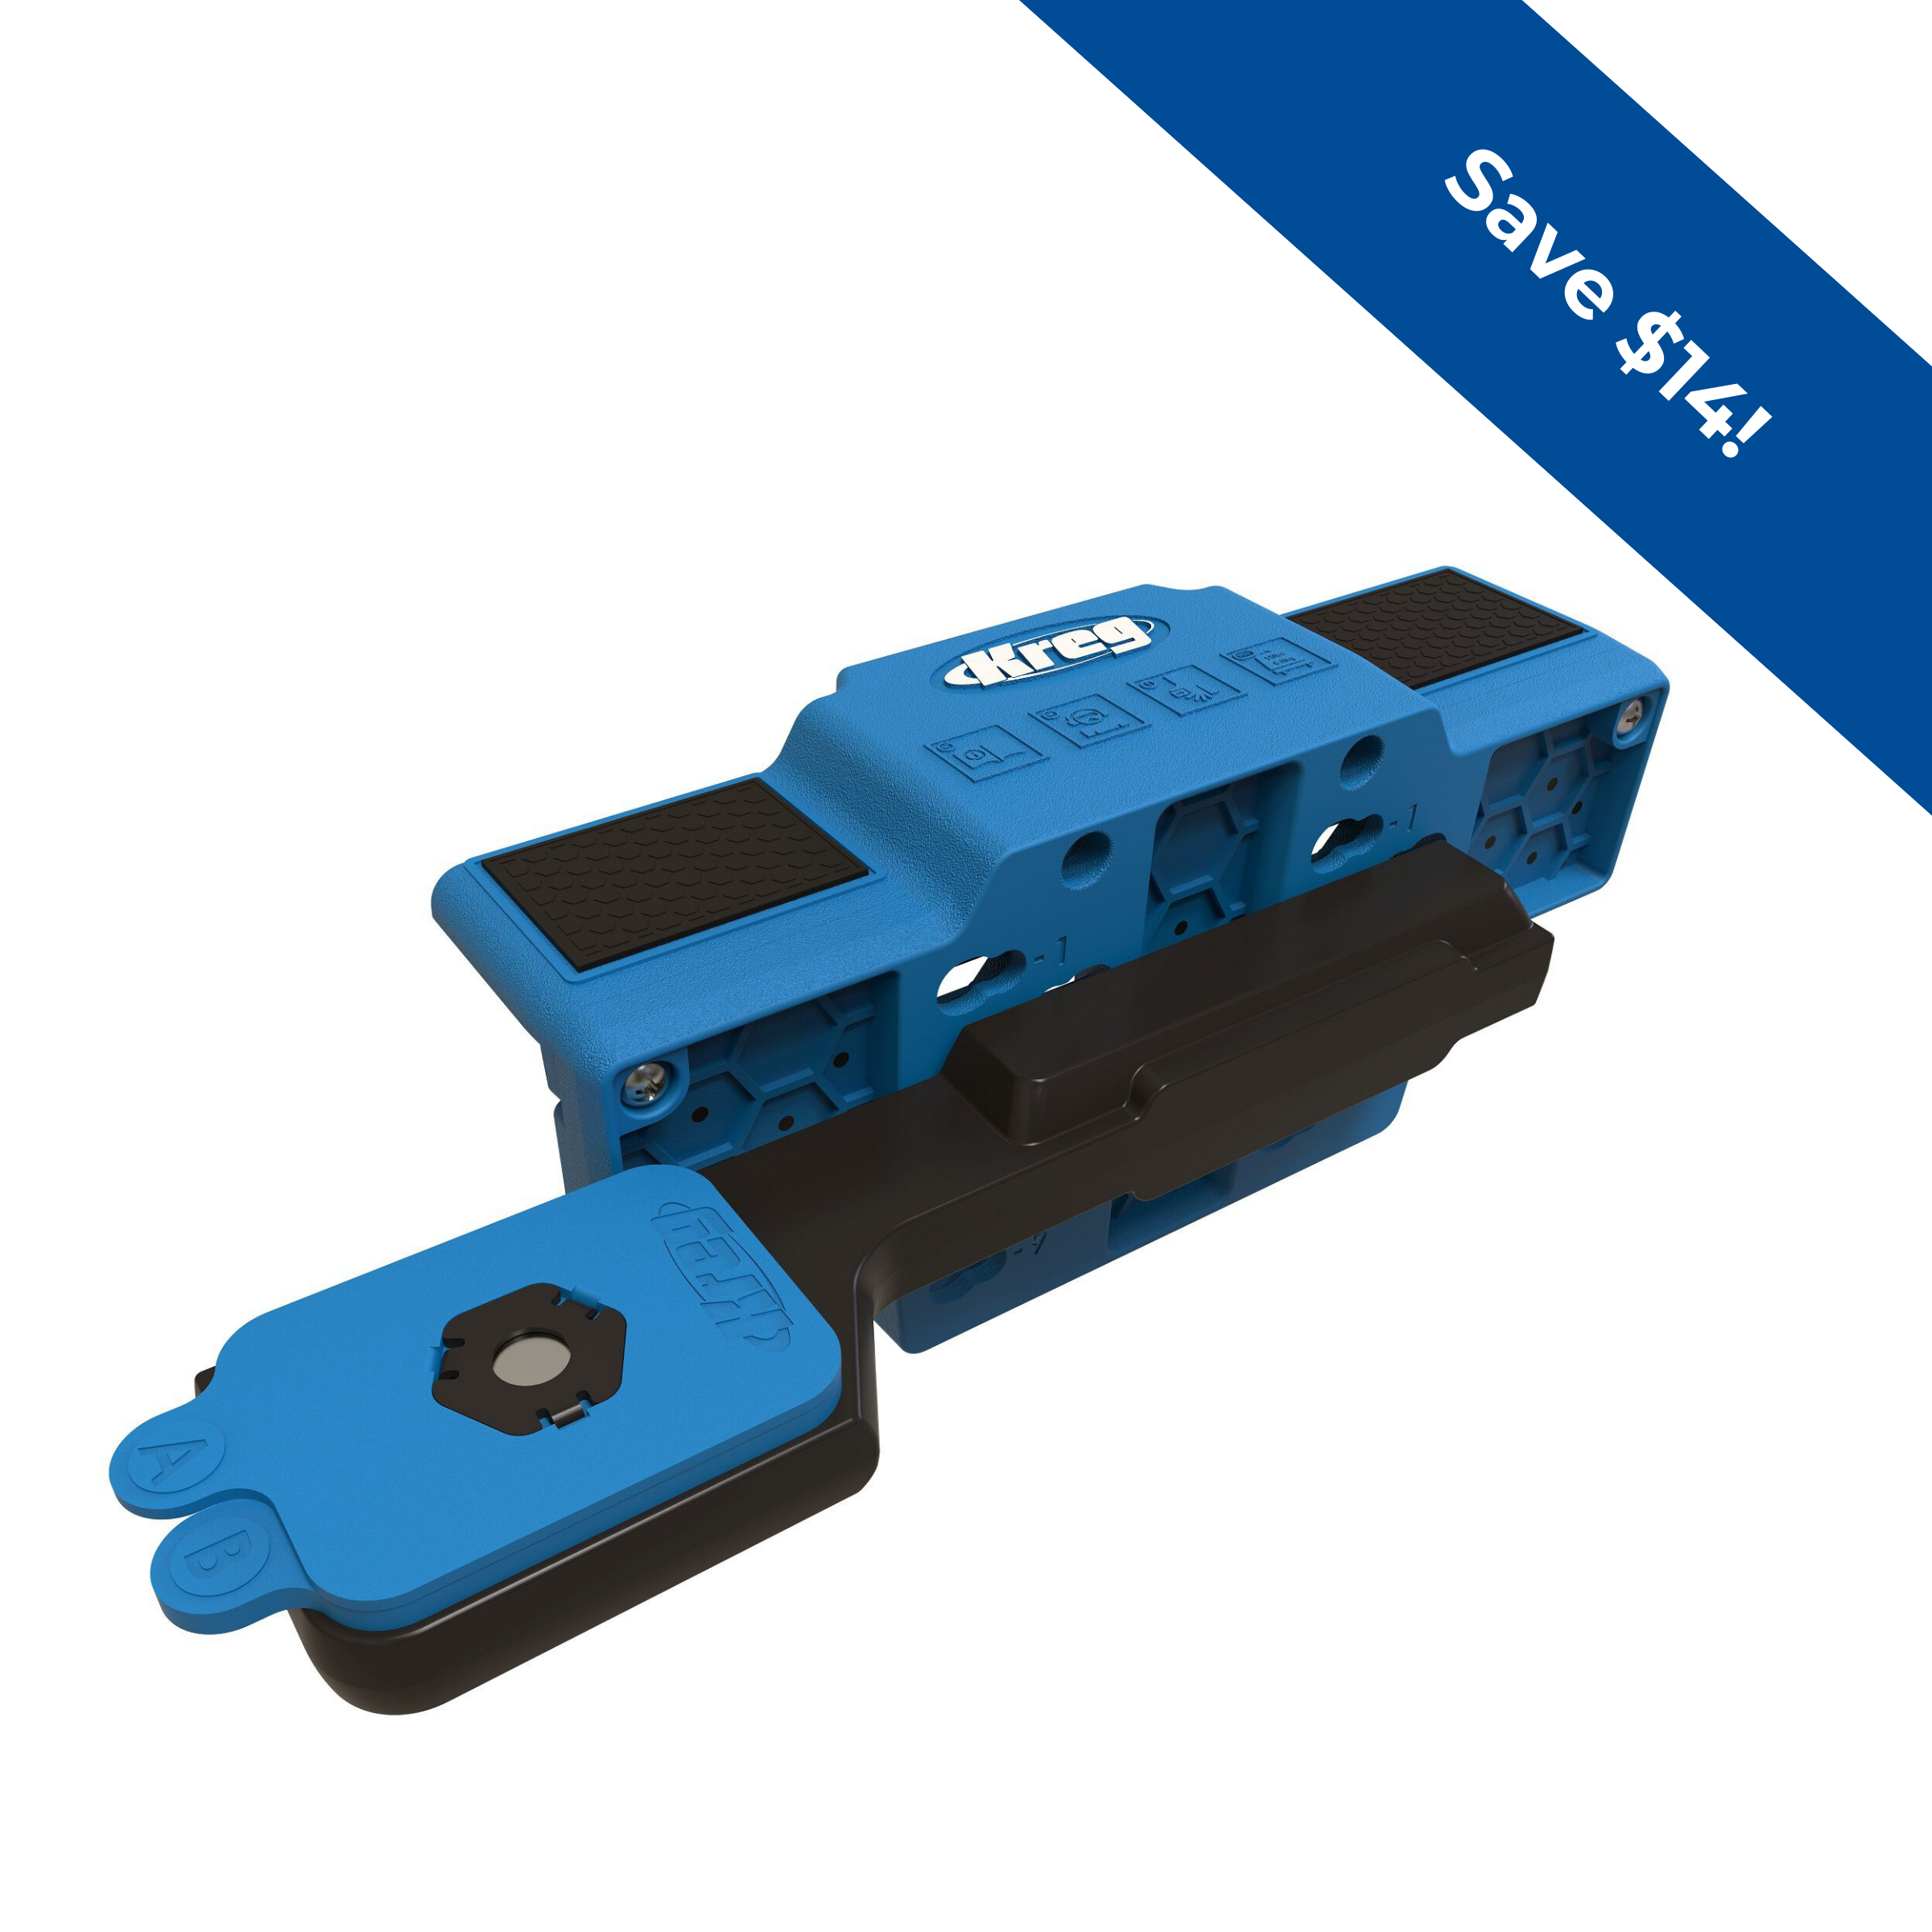
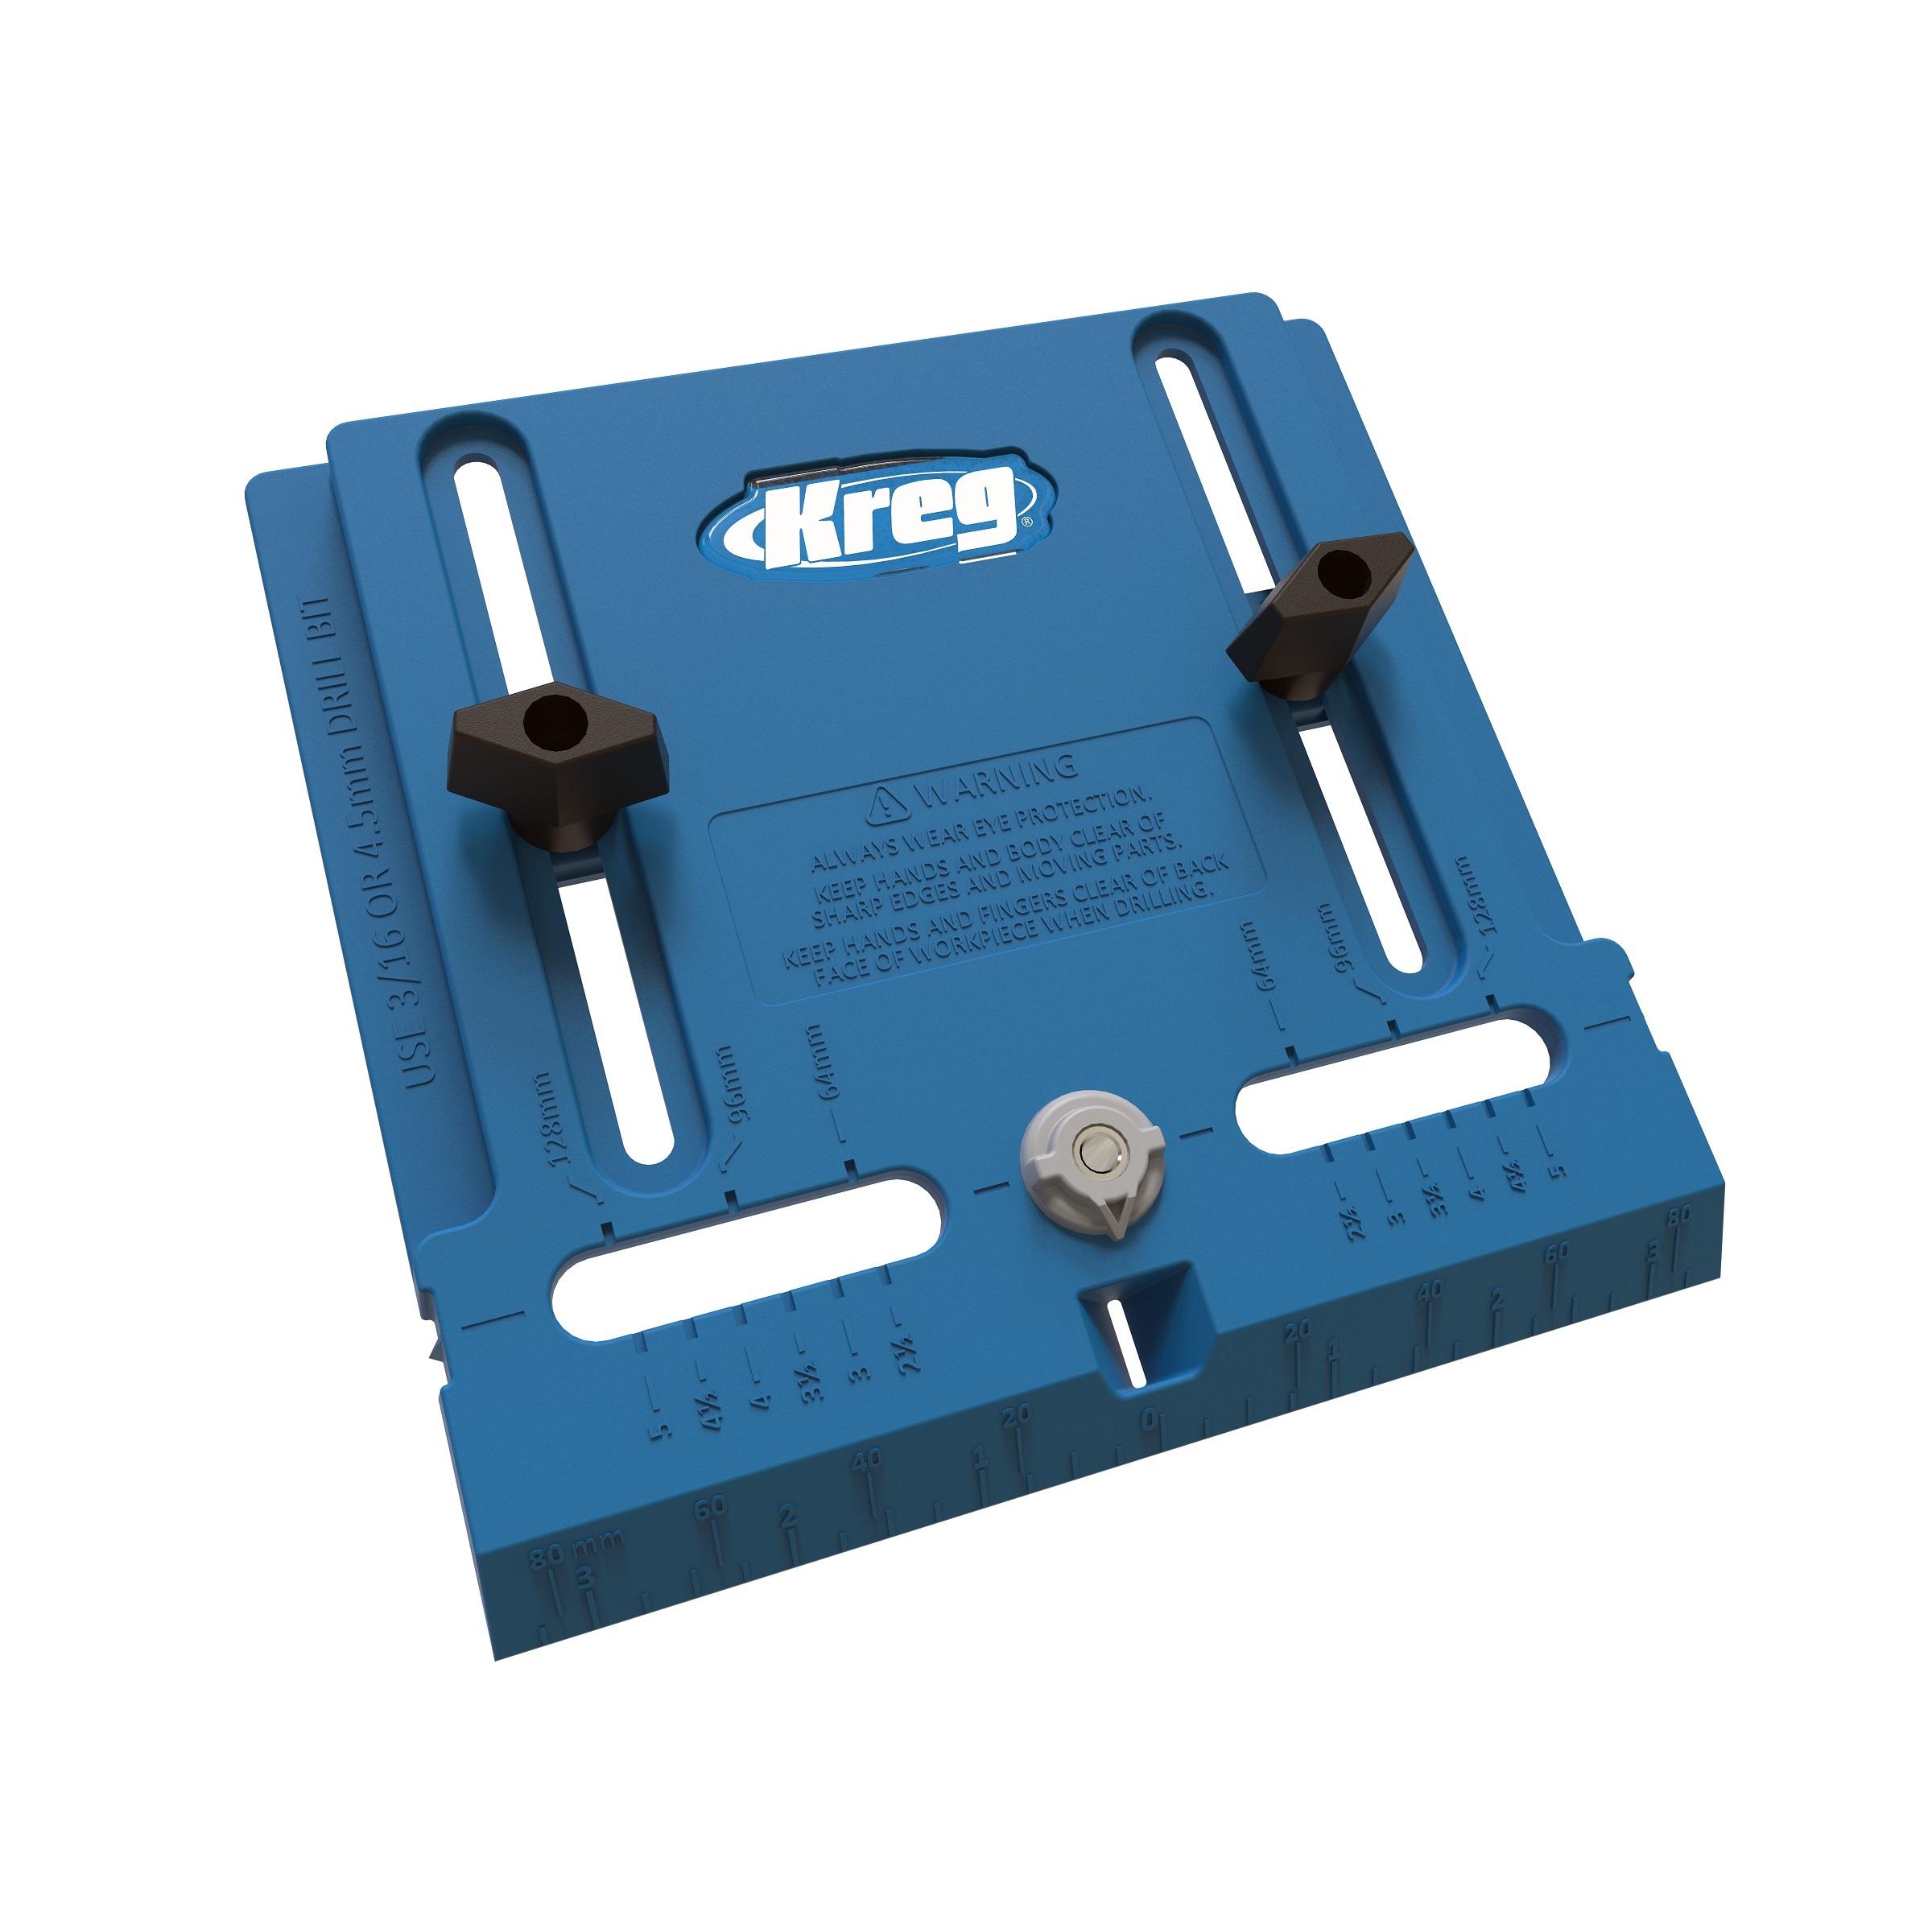
Kreg Tools


Other Tools
-
Iron (Optional)

-
Staining Supplies
Materials
Wood Products
- 5 3/4 Plywood , Full Sheet
- 1 1/4 Plywood , Full Sheet
- 3 Butcher Block , 24" Deep , 4'
Hardware & Supplies
- 10 Cabinet Pulls
- 4 Concealed Overlay Hinges
- 16 22" Drawer Slides
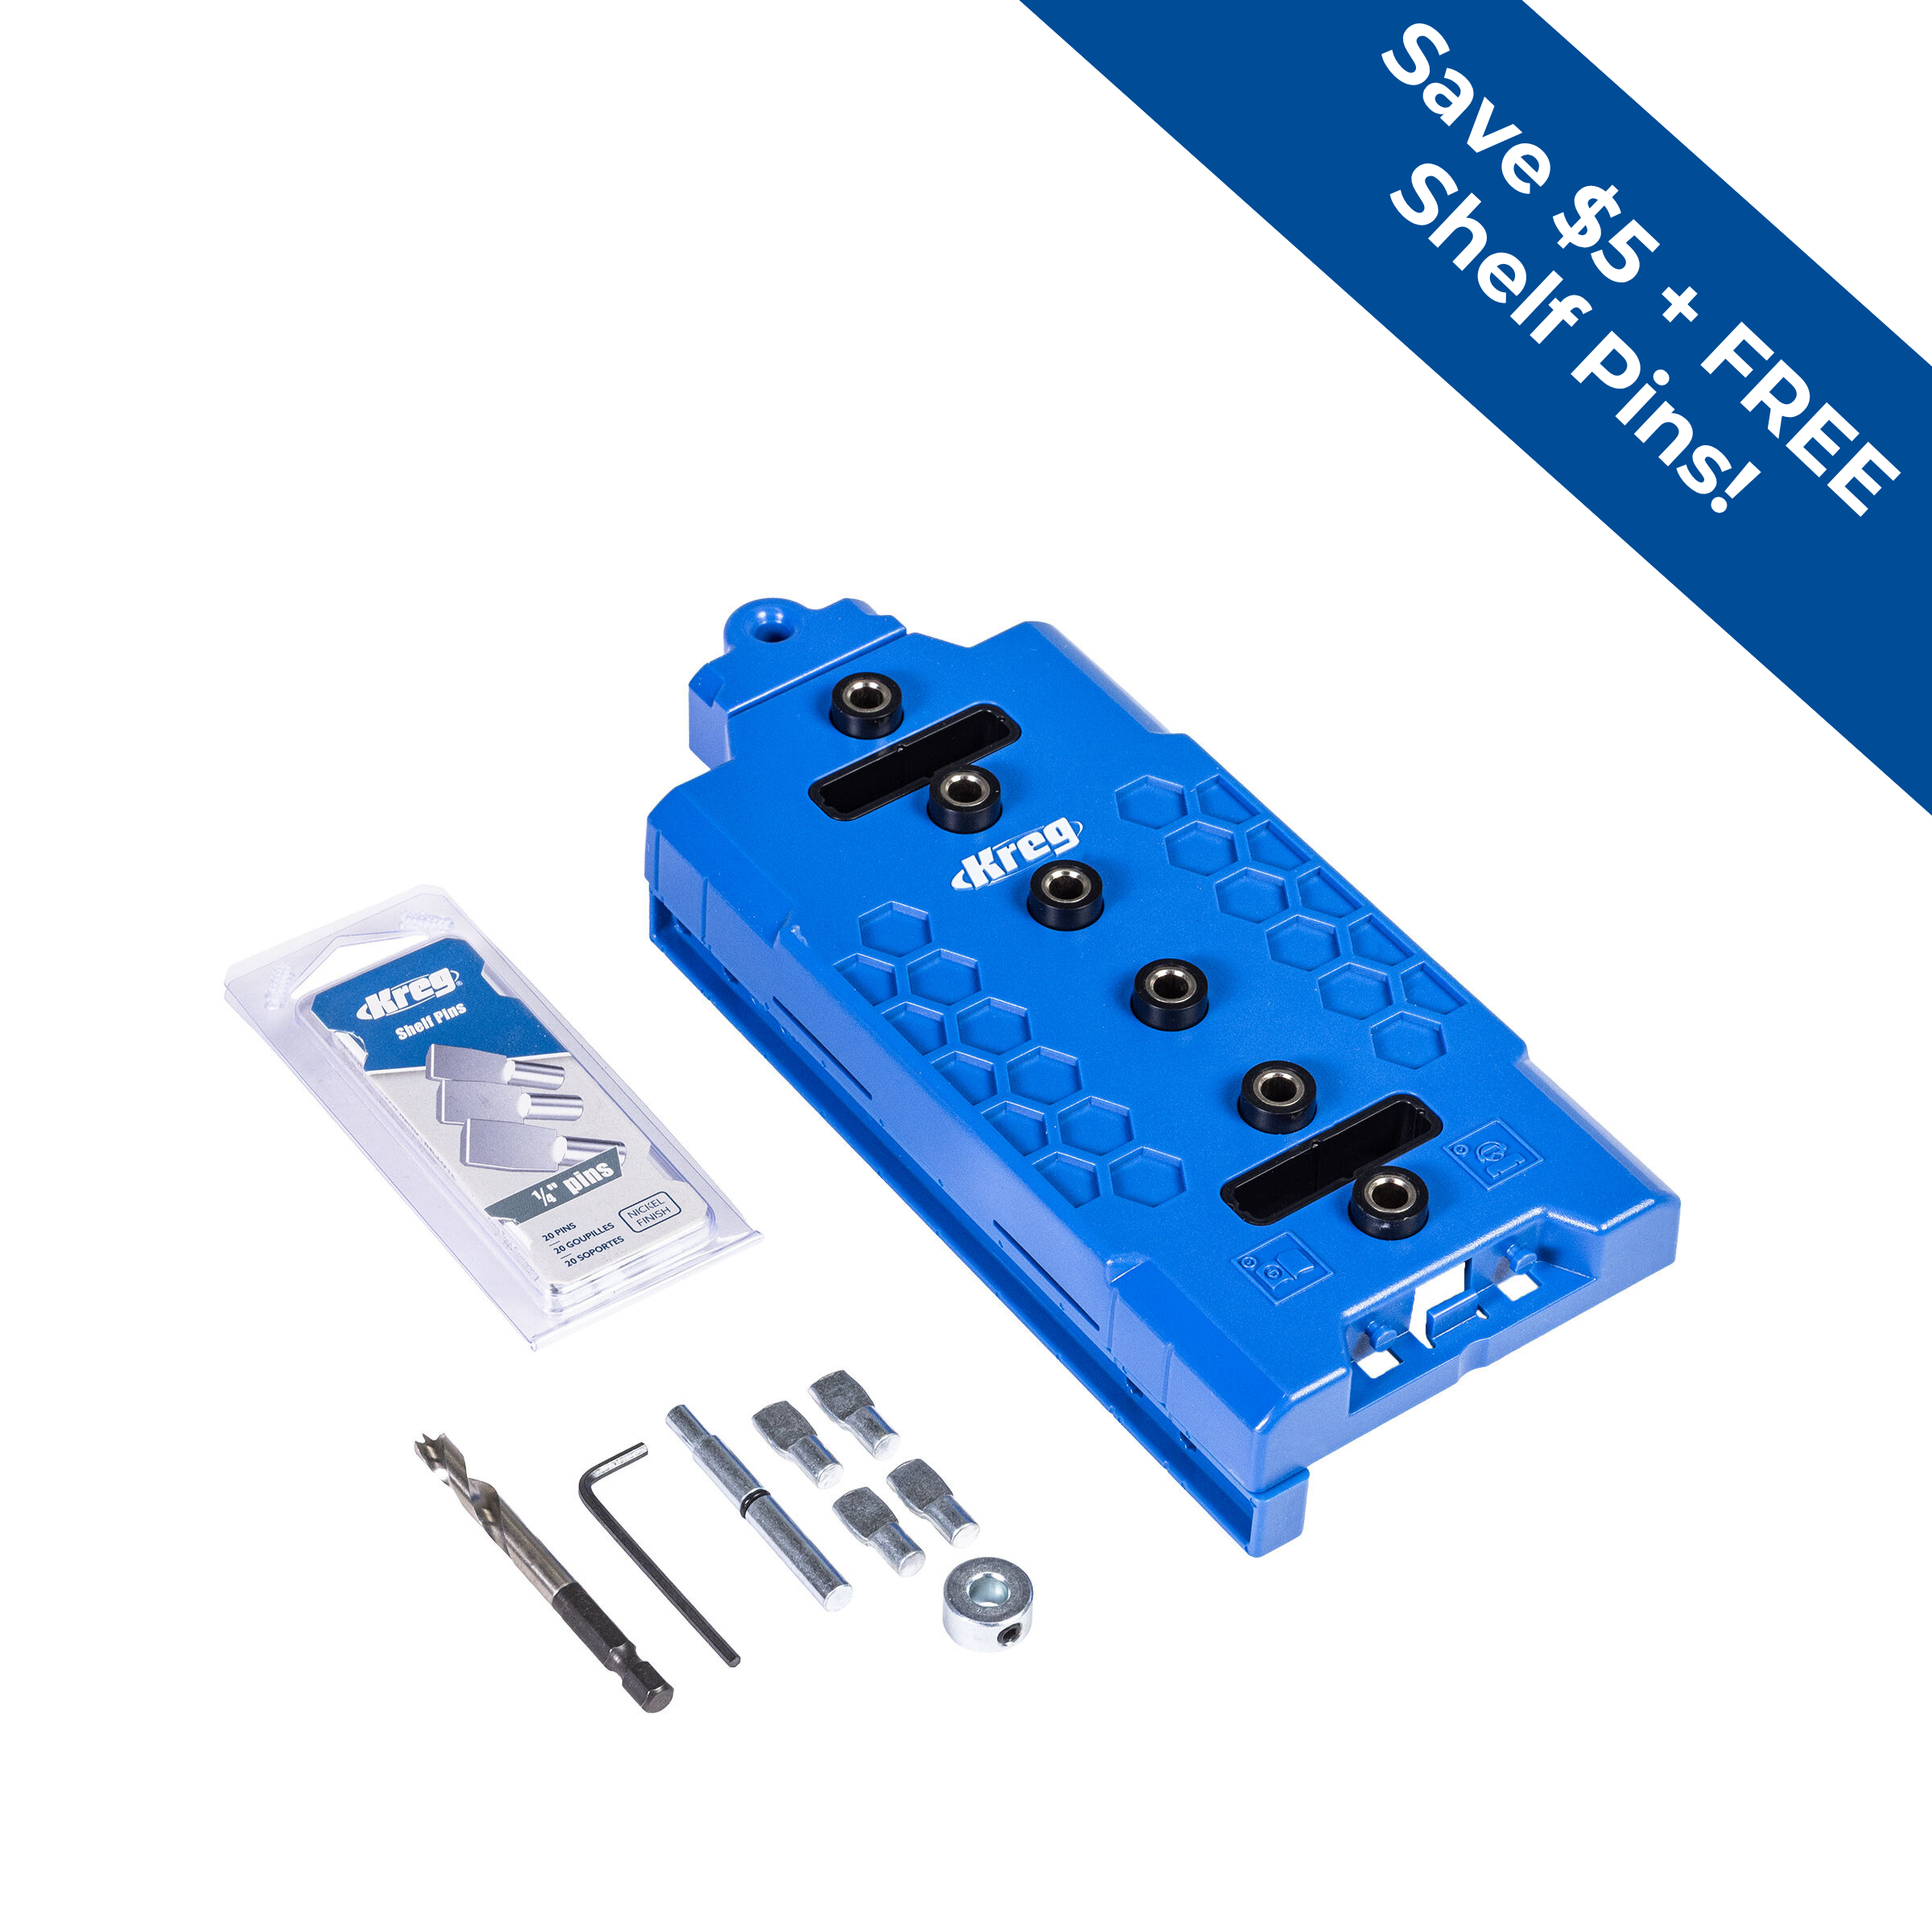
- 8 Shelf Pins
- 1 50' Roll 3/4" Edgebanding
Directions
-
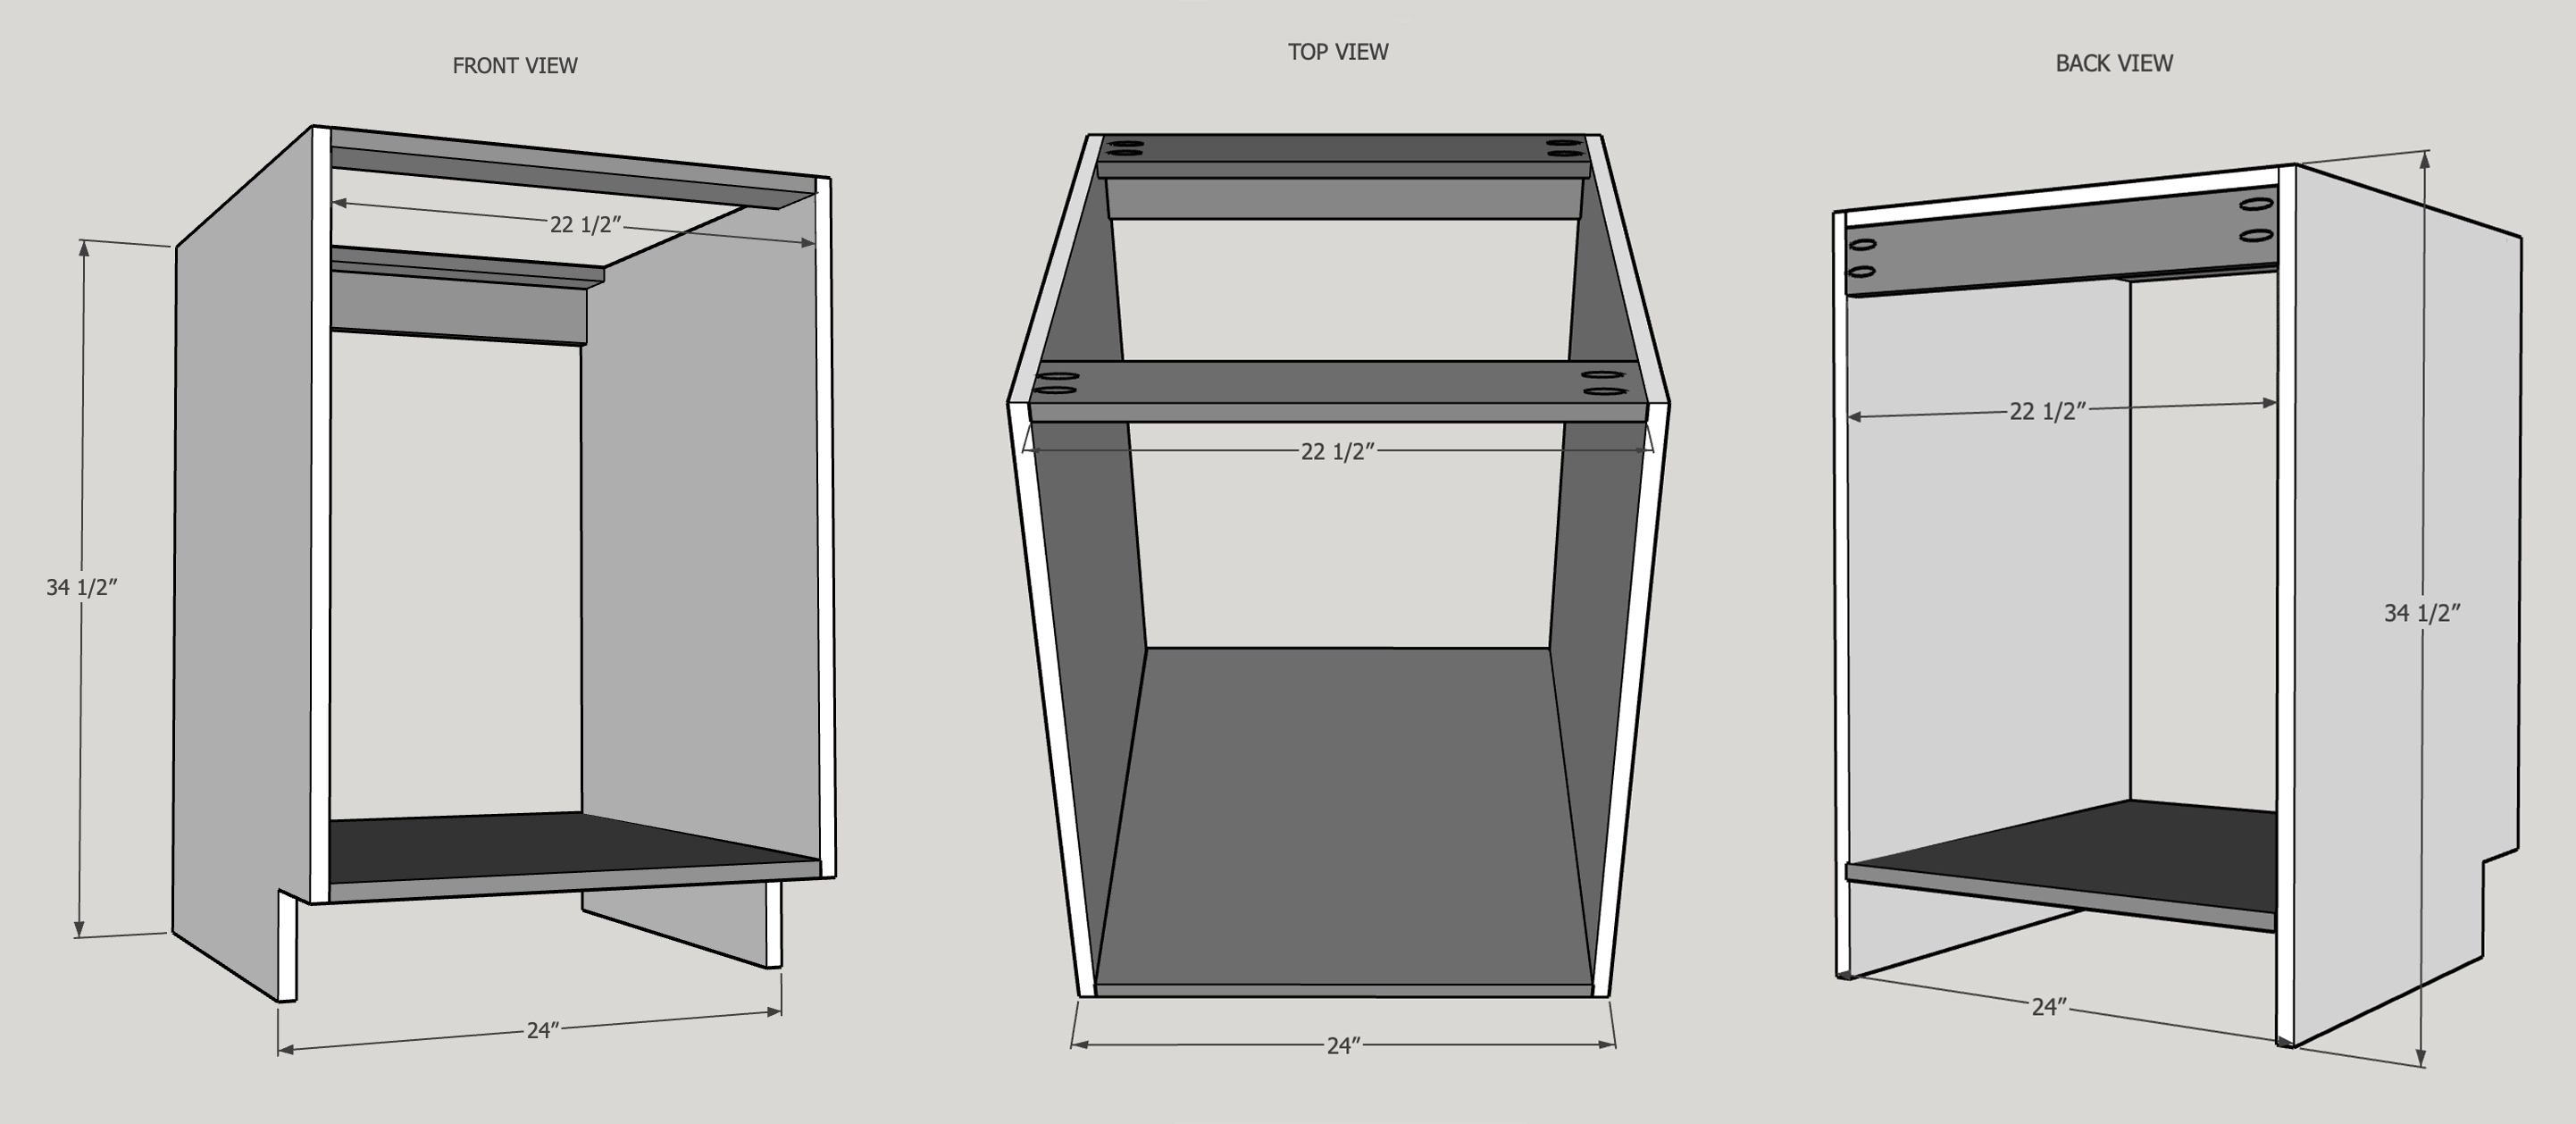
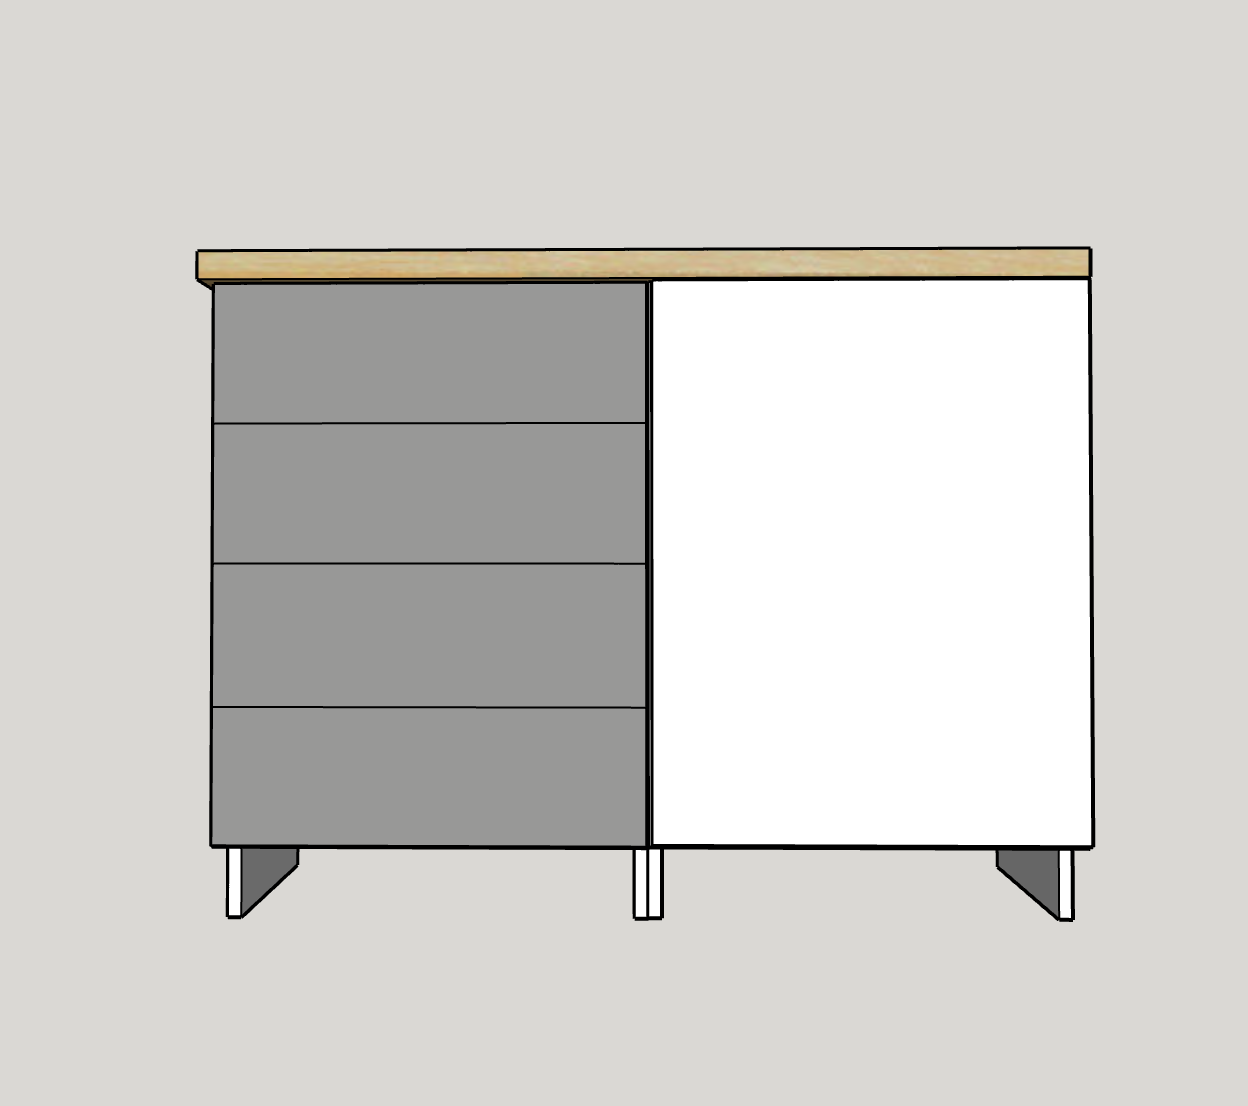
Assemble Cabinet Boxes
After cutting your cabinet box pieces, the first step is to assemble the cabinet boxes (if you are staining the cabinets or want them to look like solid wood, make sure to add edge banding to the exposed edges of the cabinet box front before assembling). Attach the supports and the bottom to the sides of the cabinet boxes using pocket hole screws and wood glue.
The amount of boxes you will need to assemble will depend on how many you need for your workspace. This plan includes four of them.
Quick Tip: If you would like to add room for a toe kick, you can cut these out with a jig saw before assembling your cabinets.
-
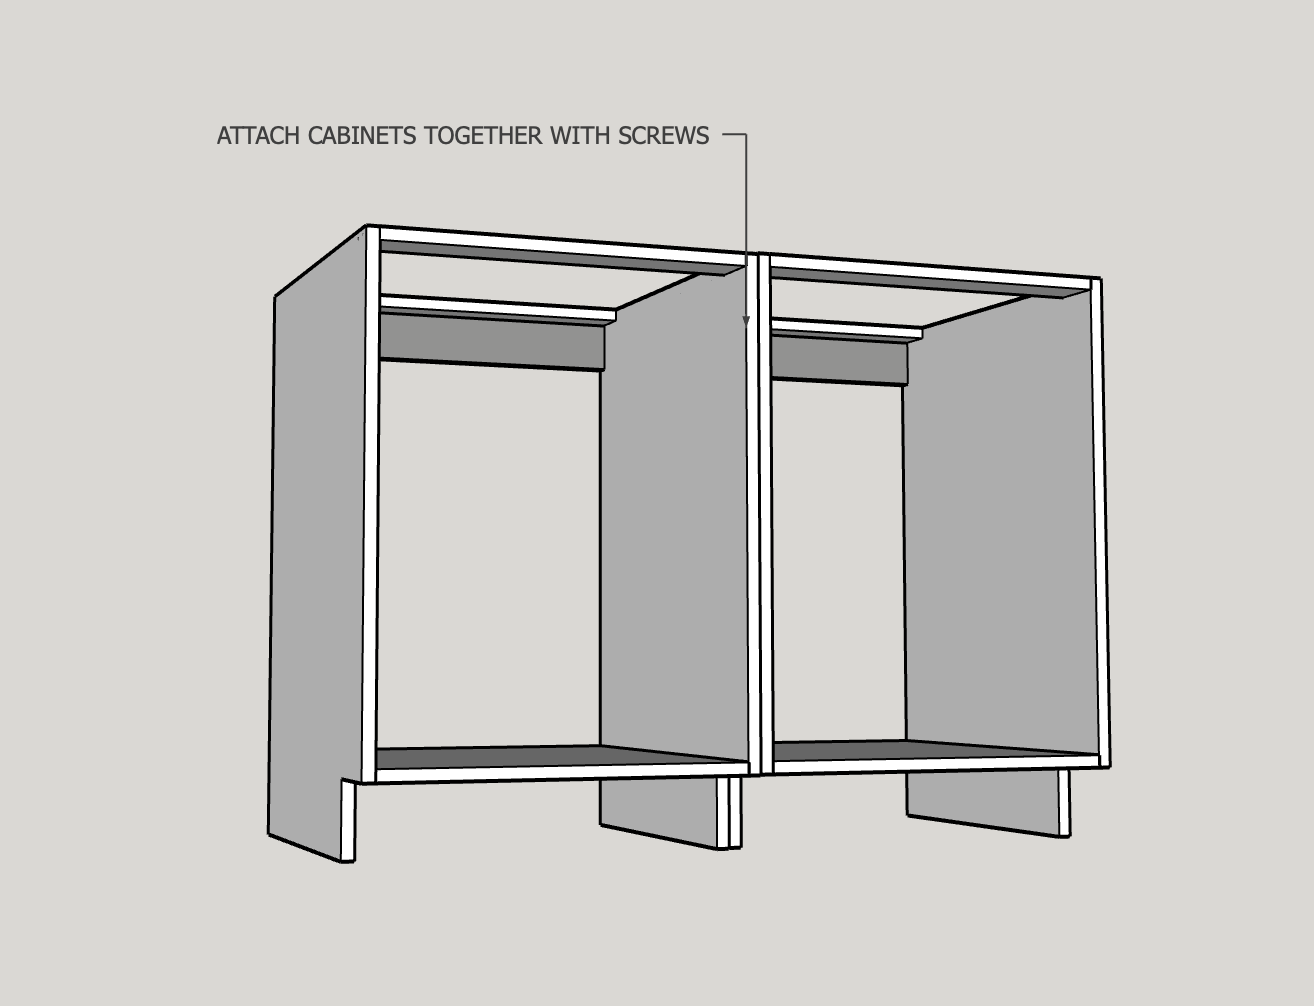
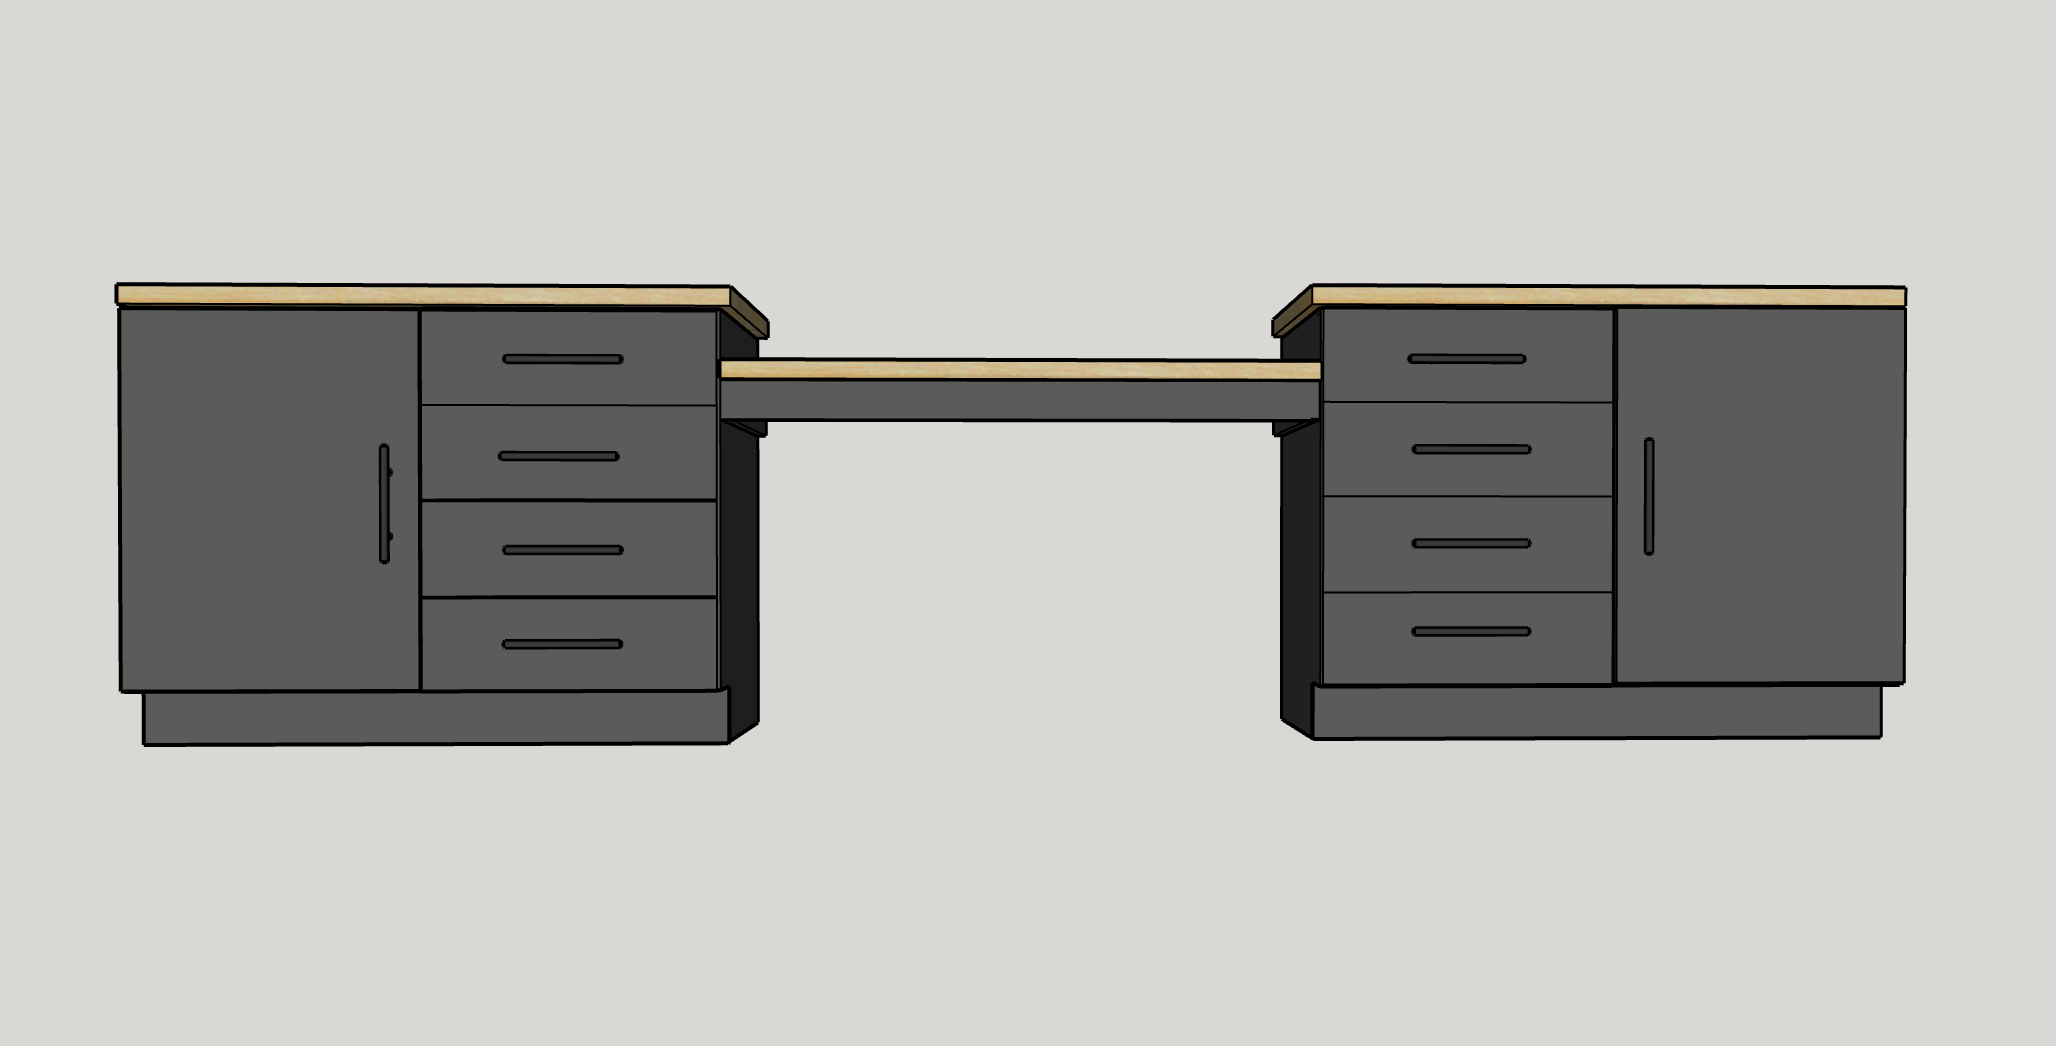
Attach Cabinets Together
Next, attach your cabinet boxes together with wood screws and then attach them to the studs in your wall through the back supports. You will want to level the cabinets before attaching them to the wall. You can do this by adding shims under the cabinet boxes.
-
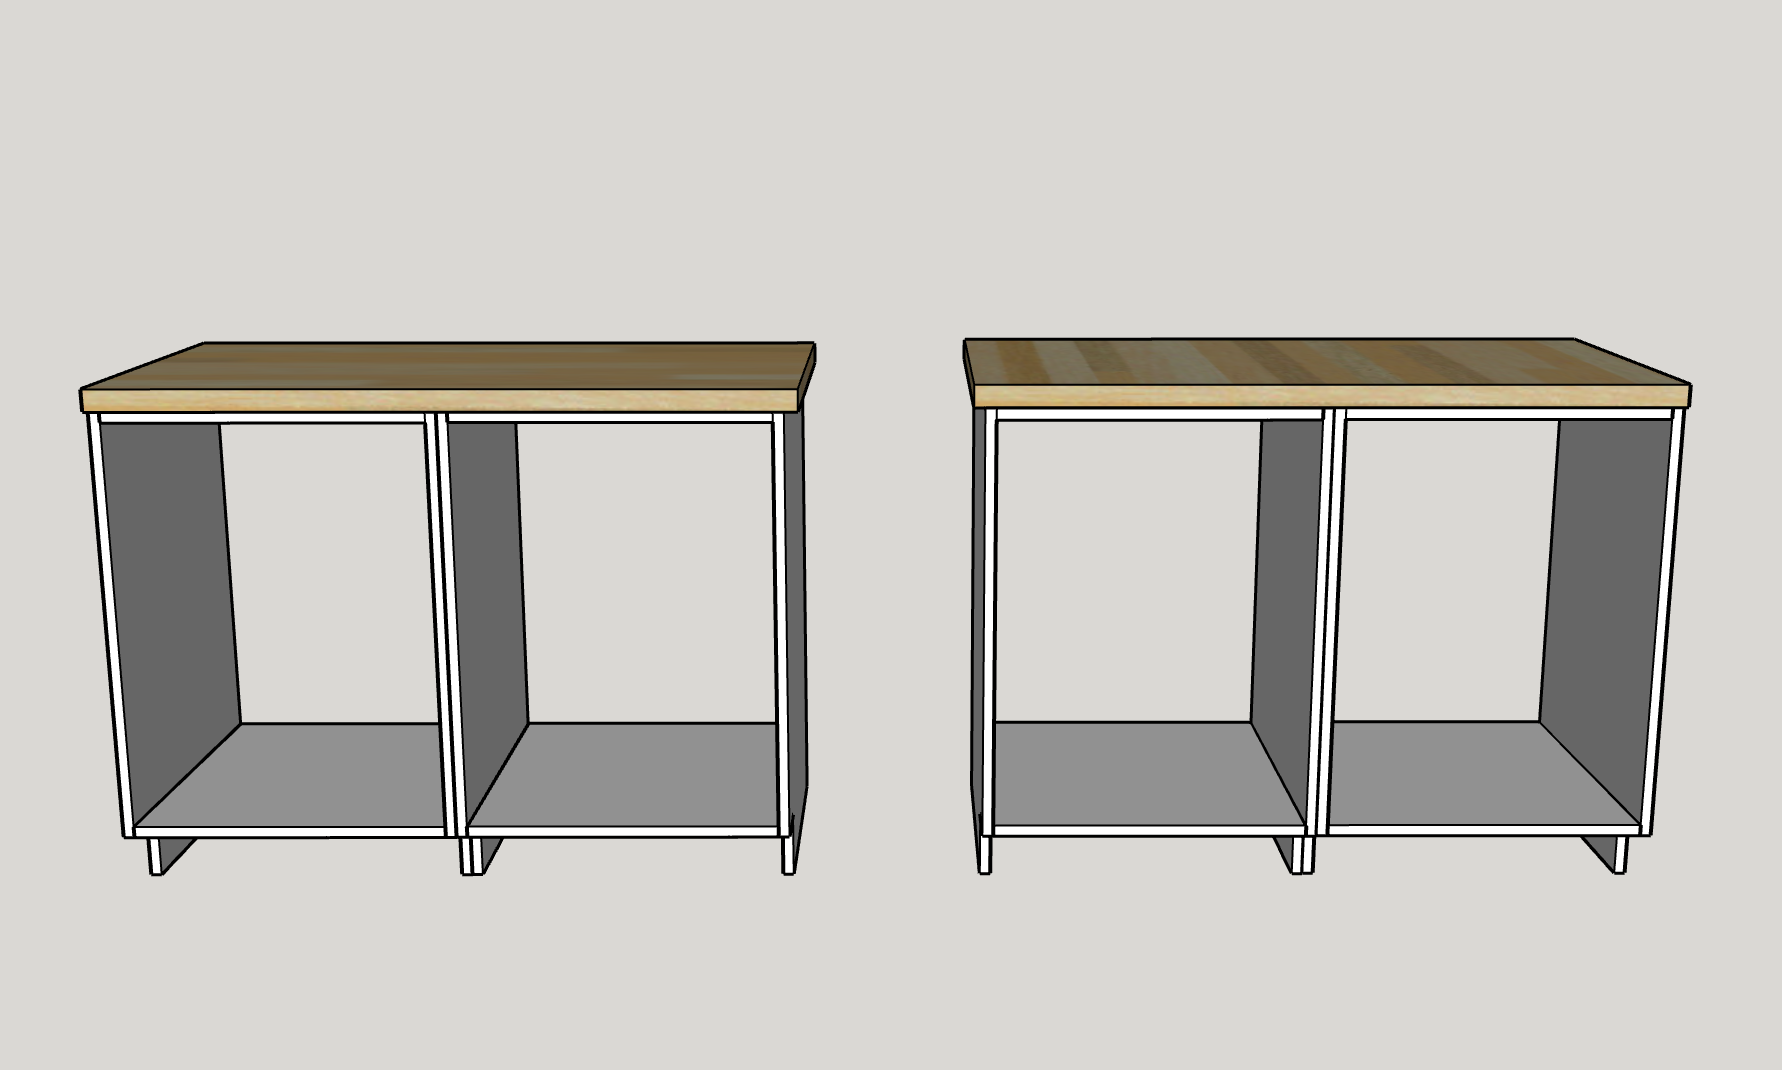
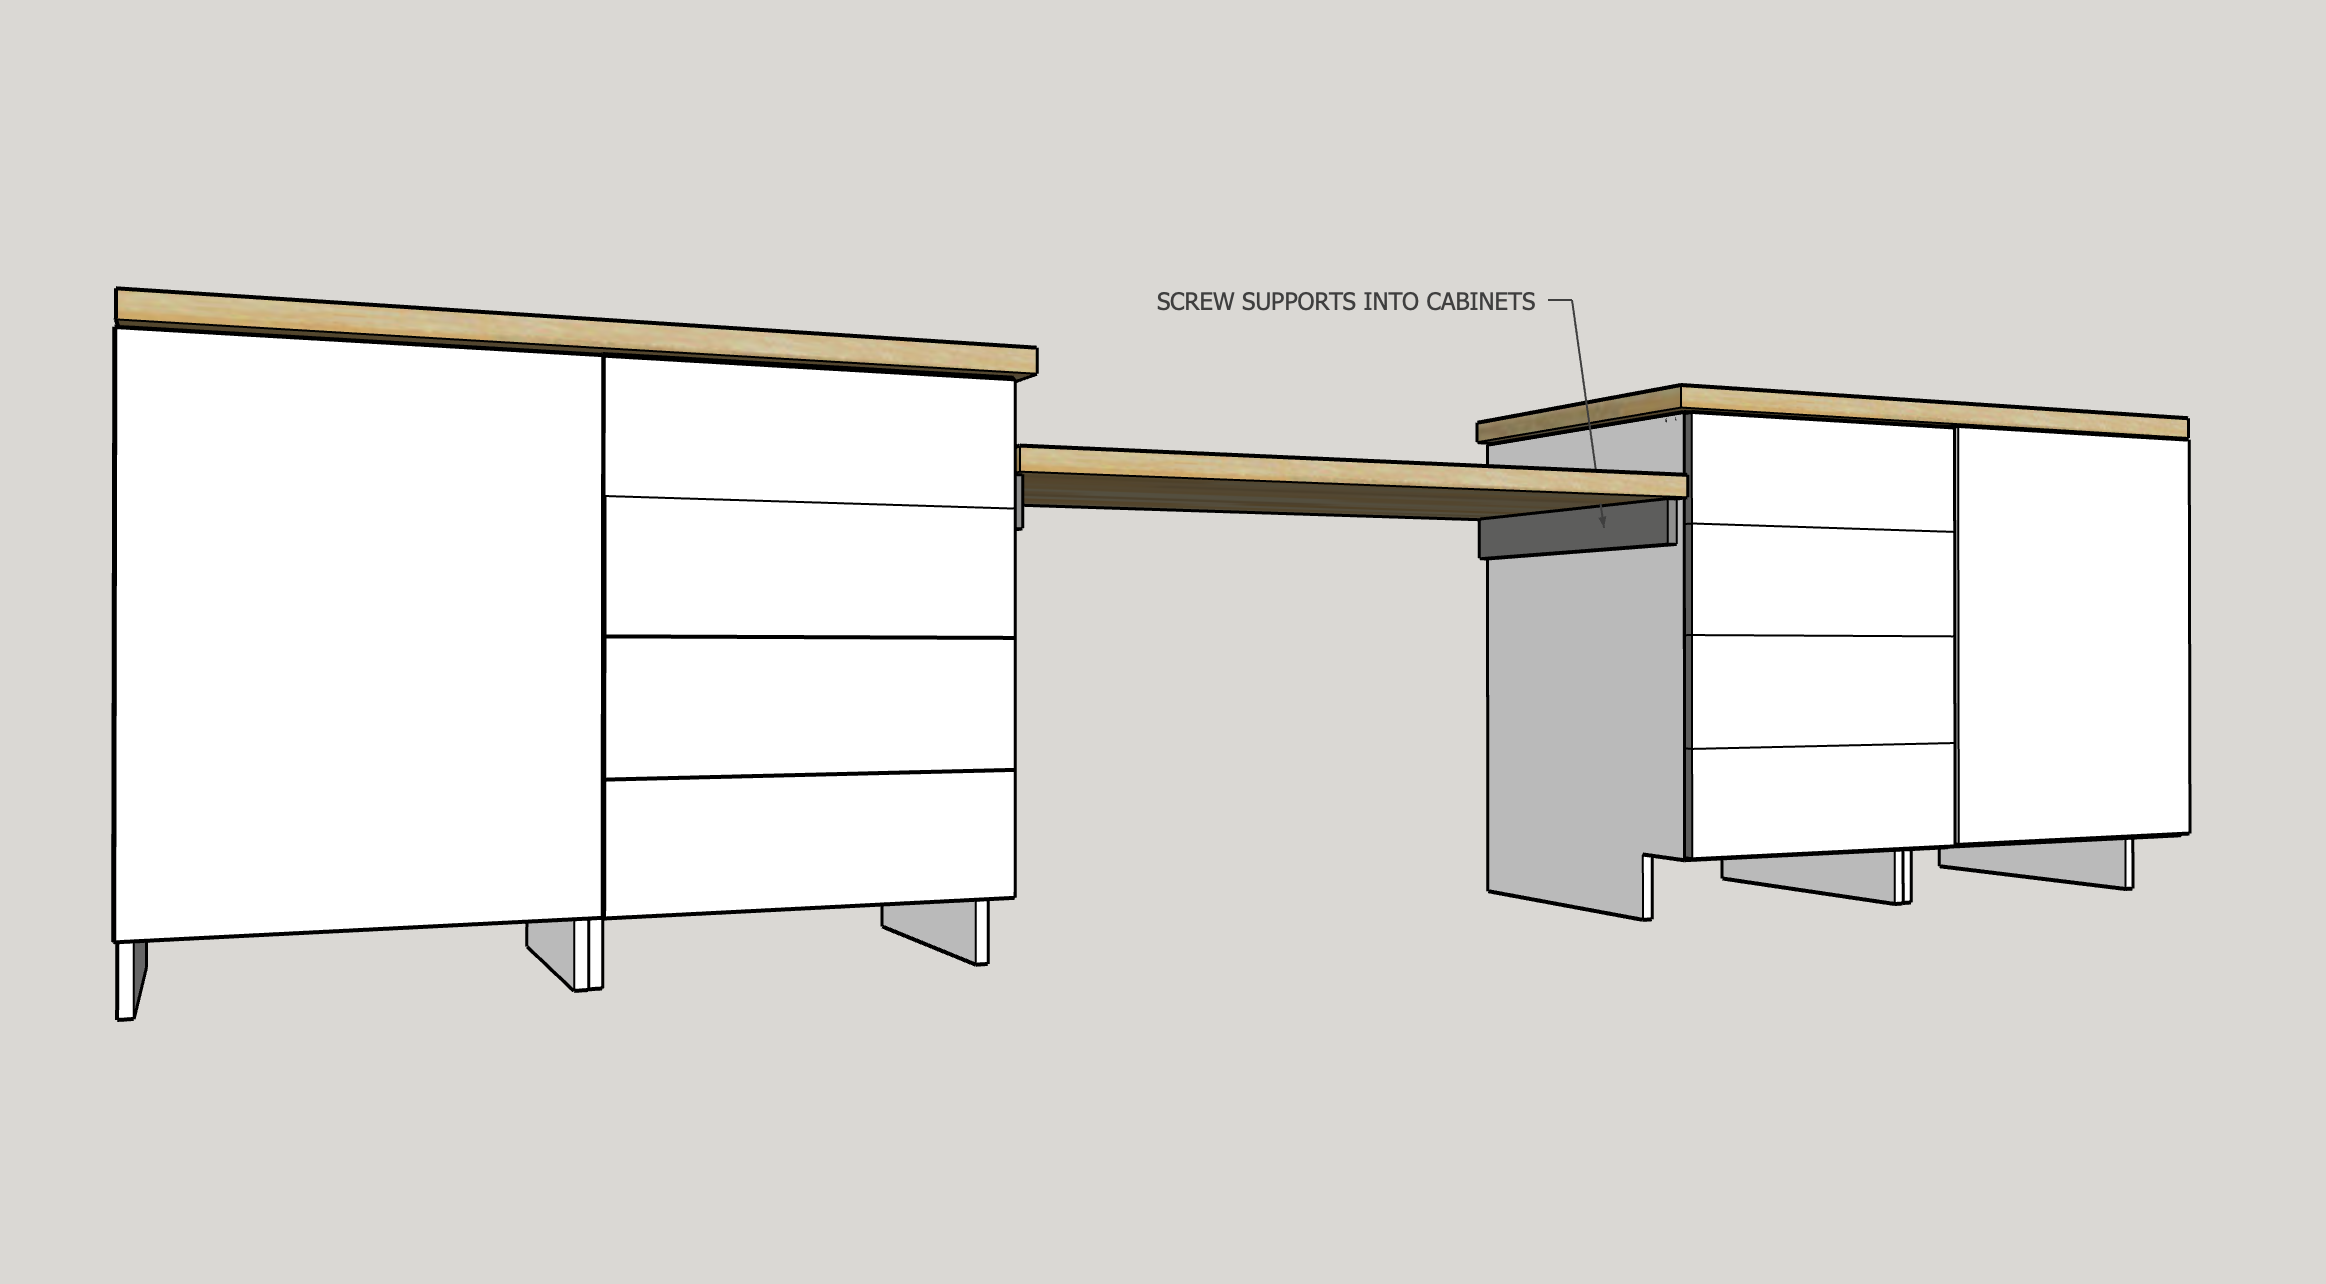
Attach Cabinet Tops
Once your cabinets are attached to the wall, attach the tops to the cabinet boxes. I used butcher block tops for this build, but that is optional. They were attached to the top supports with elongated holes, screws, and washers to allow for seasonal wood movement.
-
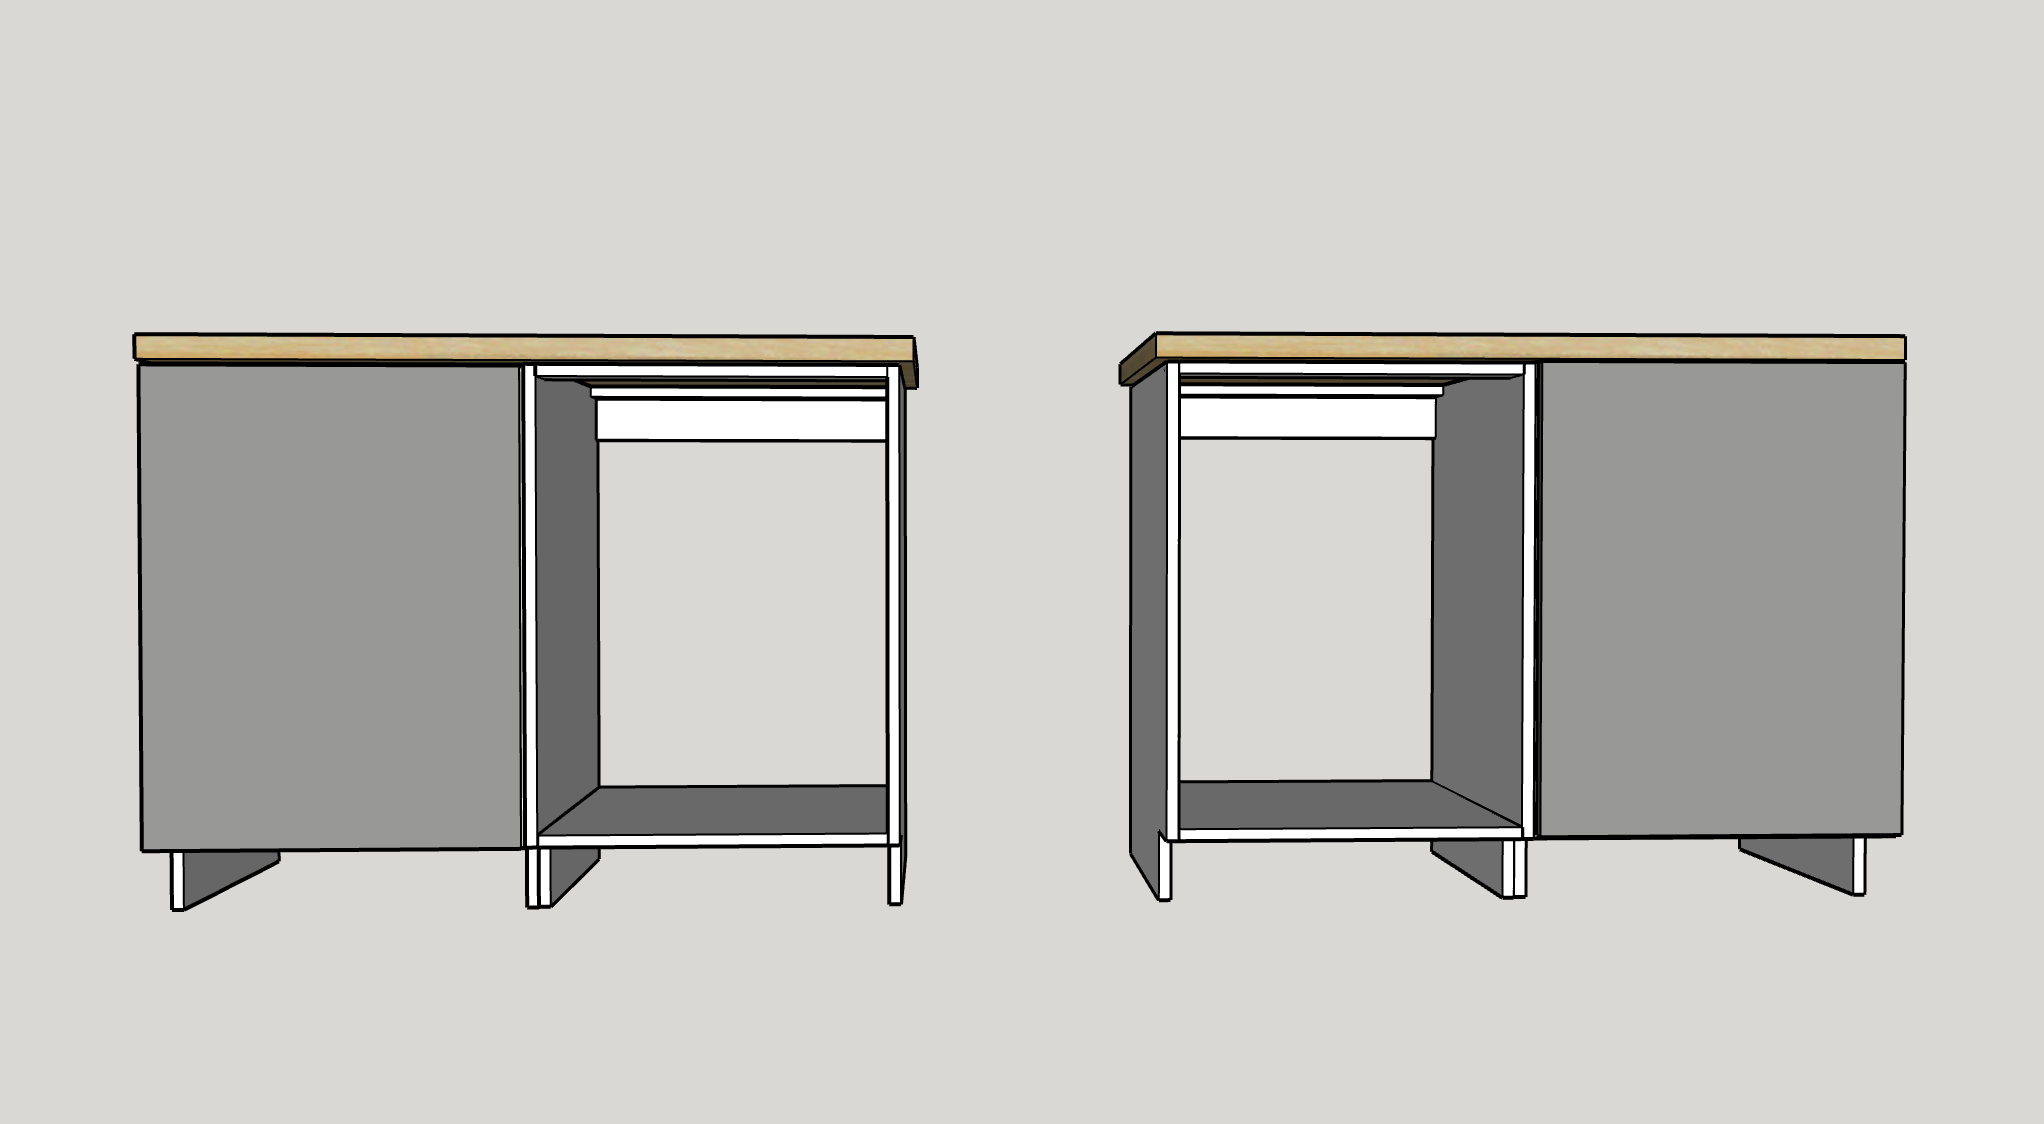
Install Cabinet Doors
Once your cabinets are ready to roll, it's time to add the cabinet doors. Install hinges using the Kreg Concealed Hinge Jig and then use the Cabinet Door Mounting Jig to line up the door with the cabinet box.
Quick Tip: Although you will be pre-cutting your door, you may need to make small adjustments to the hinges or the door during install. You may also want to add edge banding to the edges of your door before final assembly as well.
-
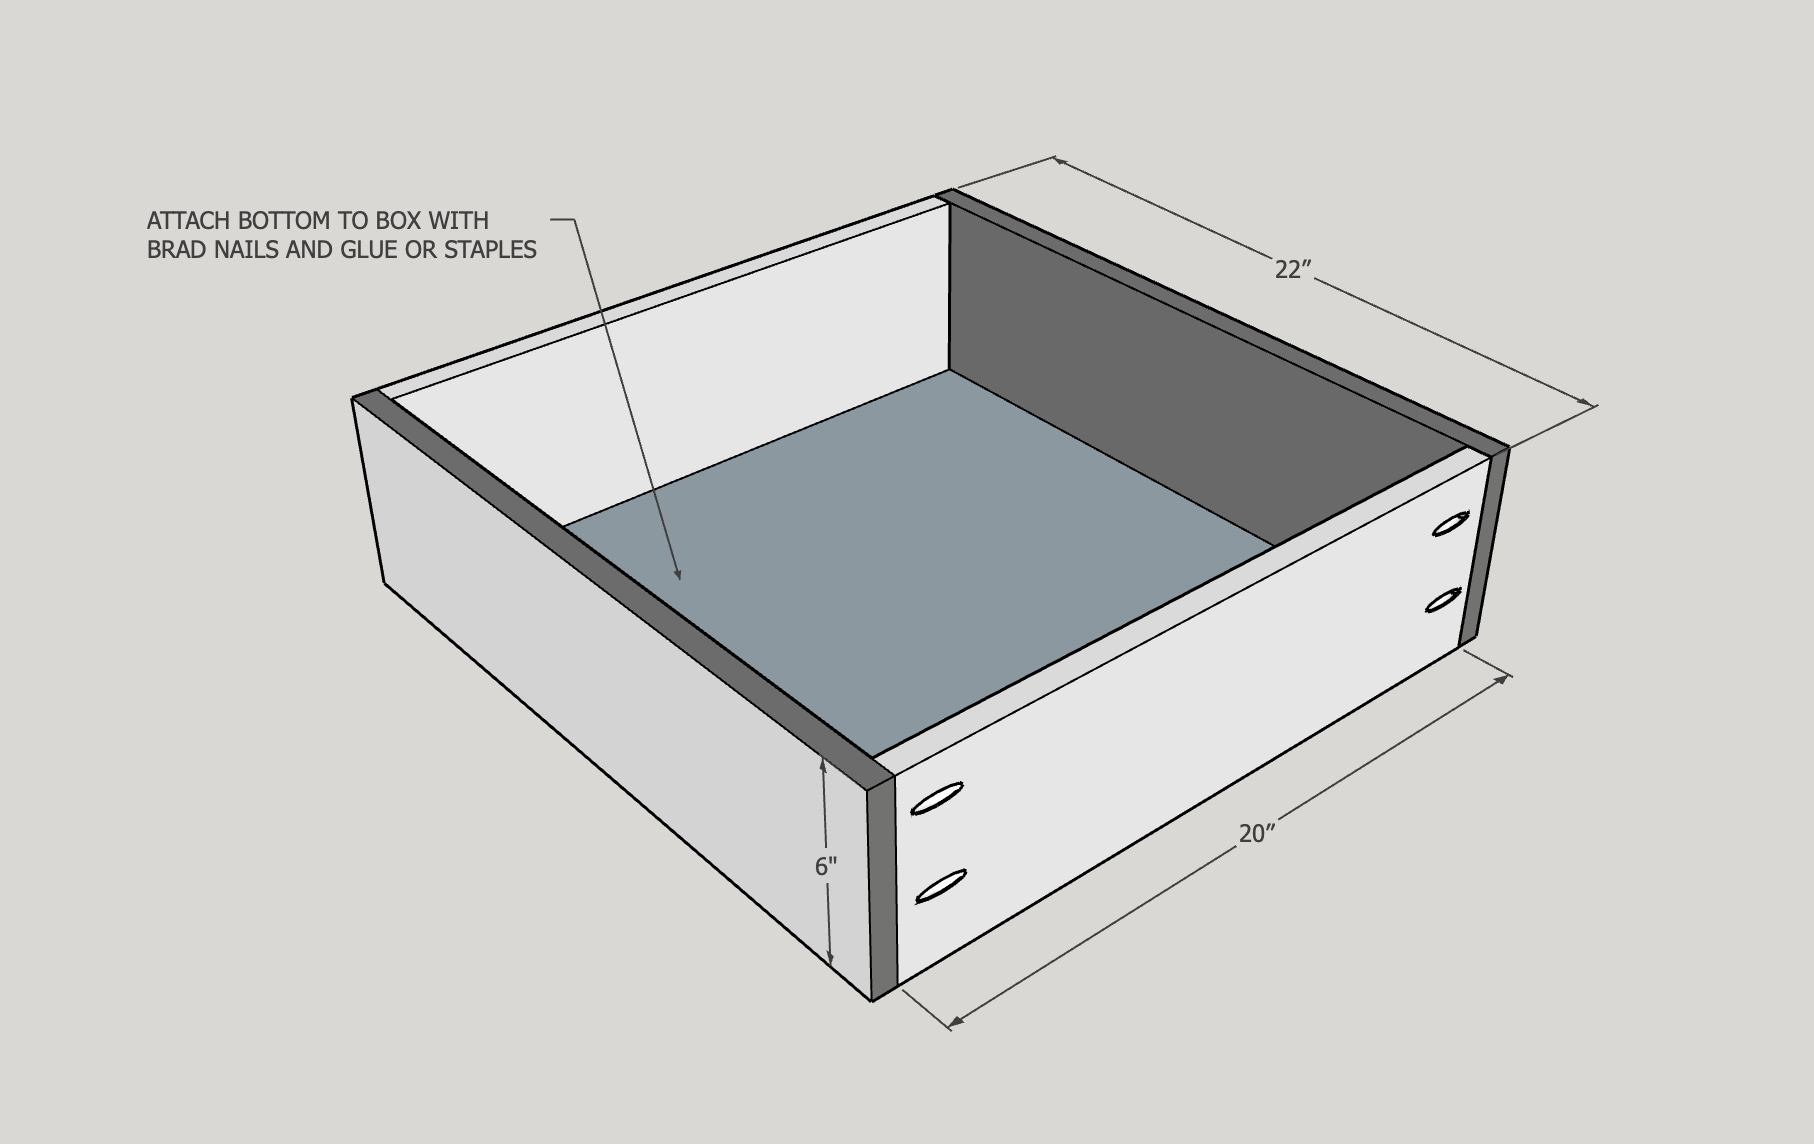
Create Drawer Boxes
For cabinet boxes that will have drawers, build your drawer boxes by attaching the drawer box front and back to the sides with pocket hole screws and glue. You can attach the 1/4" plywood bottom with brad nails or staples.
Quick Tip: The final measurements of your drawer box will be determined by the type of drawer slides you use. So, make sure to double check these measurements before assembling your box.
-
Install Drawer Boxes and Drawer Fronts
Next, install drawer boxes and slides using the Kreg Drawer Slide Jig. Once they have been installed, you can add the drawer fronts using the Kreg Drawer Front Mounting Jig.
Quick Tip: Drawer boxes and fronts are most accurate when adjusted while installing, so feel free to make any adjustments during this step. Also, if you do not want exposed plywood edges on your drawers, add edge banding to your drawer fronts before you install them.
-
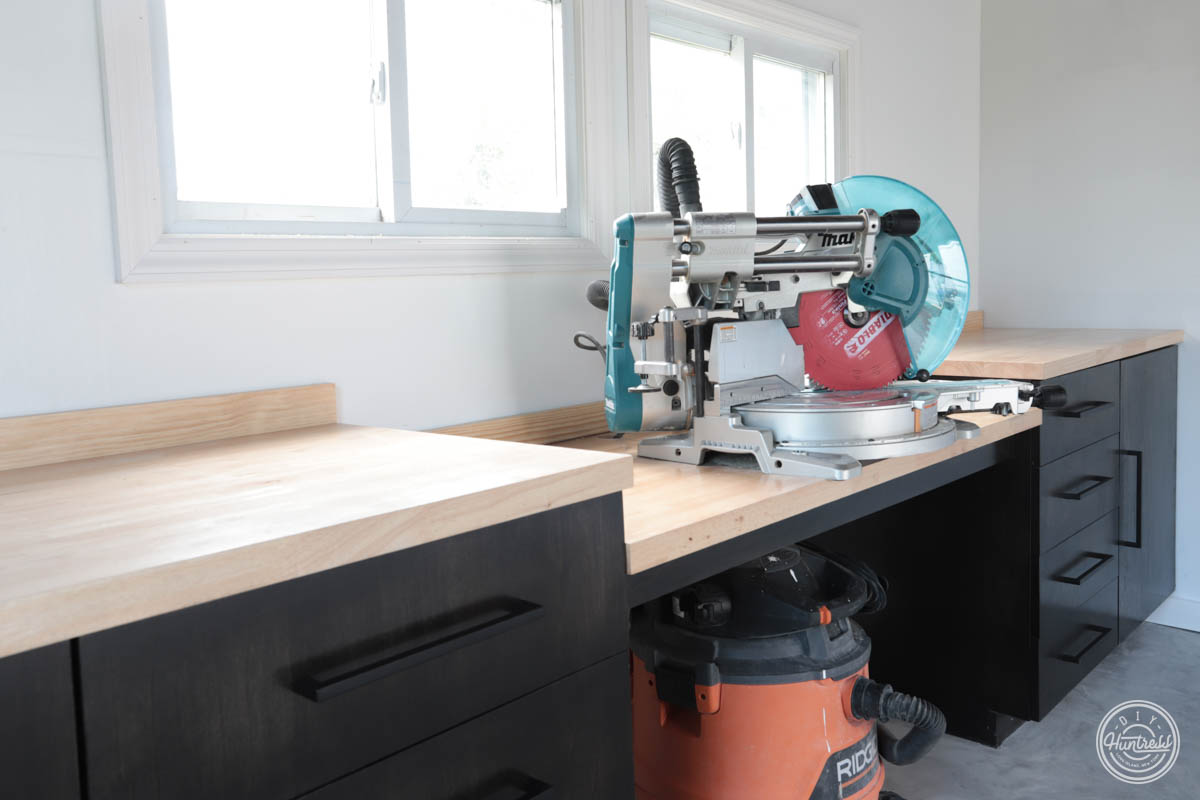
Attach Miter Saw Top (Optional)
If you are adding a miter saw to this build, install a matching butcher block top in between your cabinets with supports from underneath. The height of this countertop will depend on the saw you have (you want the pieces you are cutting to be level across your cabinet tops and miter saw).
-
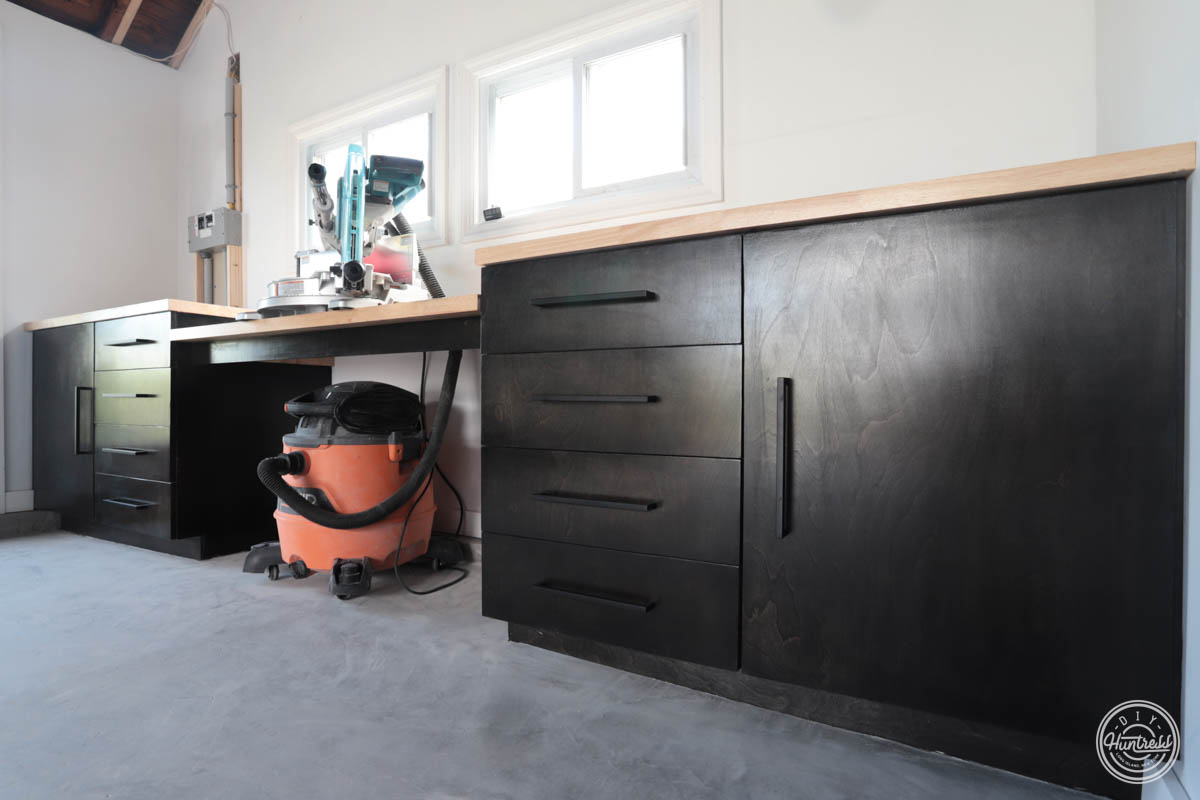
Add Trim + Toe Kicks
Next, add trim to your miter station and toe kicks under the cabinets.
-
Finishing Touches
Last step is to stain, add finish, and add hardware to your build!
YouTube Video:
DIY Huntress Website: https://diyhuntress.com