Wooden Christmas Tree – DIY Wood Christmas Tree
By Toolbox DivasWho says your Christmas tree has to be traditional.This wooden tree takes industrial and rustic and combines it into a fun and whimsical holiday decorative item. The best part is its perfect for small spaces and clean up is a breeze.
Directions
-
Prep the wood
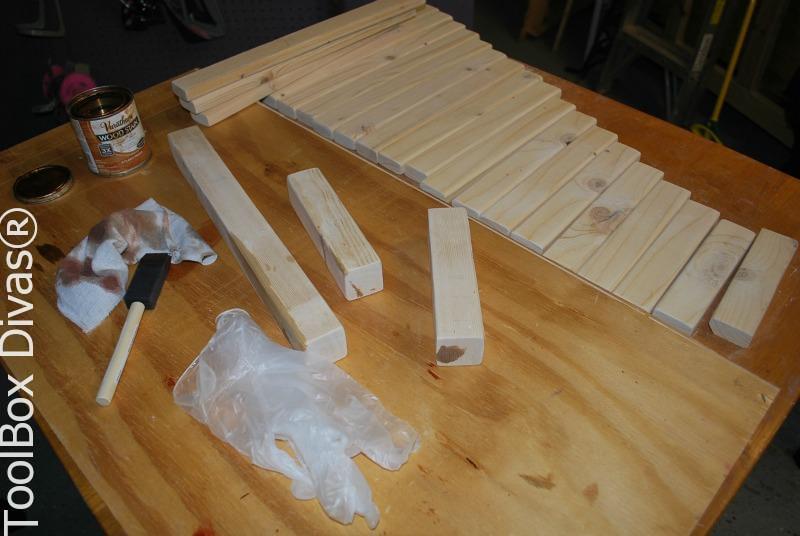
Start by sanding and staining the wood.
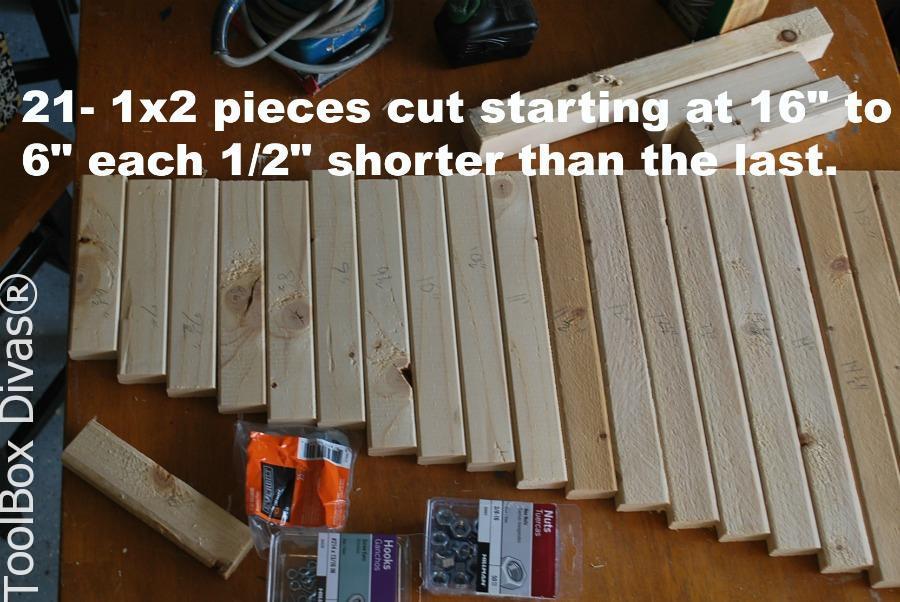
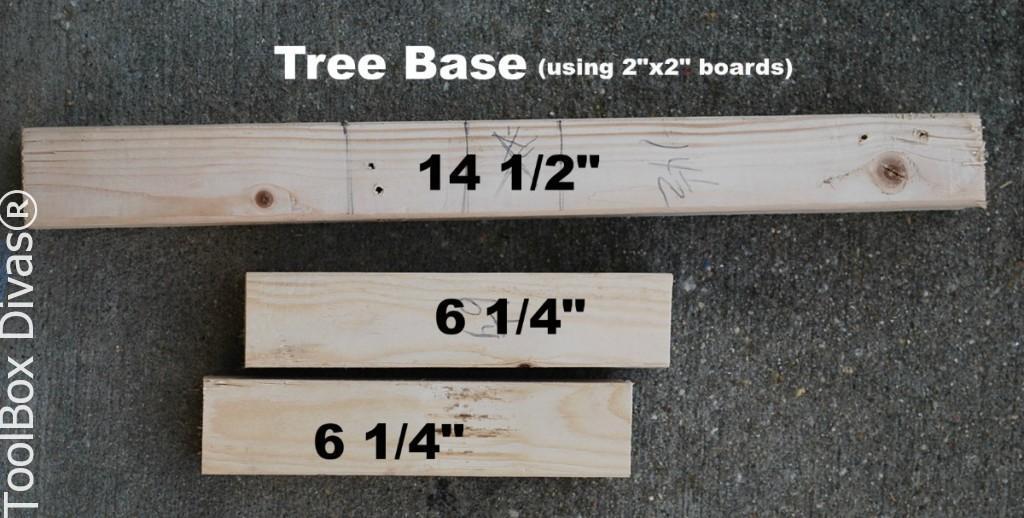
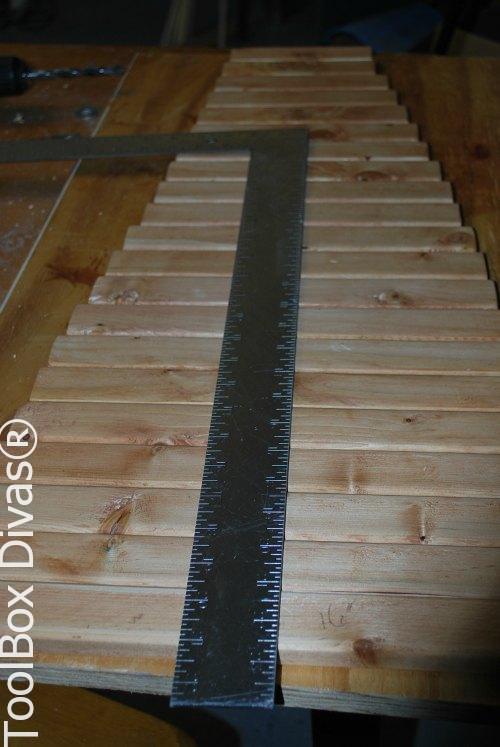
After you've cut the 1×2 pieces for the branches and the 2×2 for the base of the tree we are ready to get started.
Sand the pieces using a medium followed by a fine sanding paper. The last thing you want is a Christmas tree that gives splinters.
Stain the pieces the color of choice.
To speed up the drying process I spray the stained wood with a clear shellac.
-
Assemble the Base of theTree
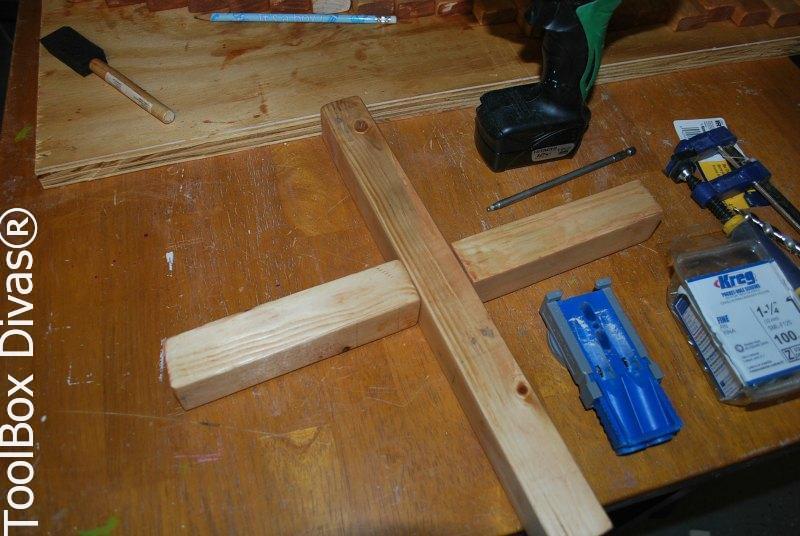
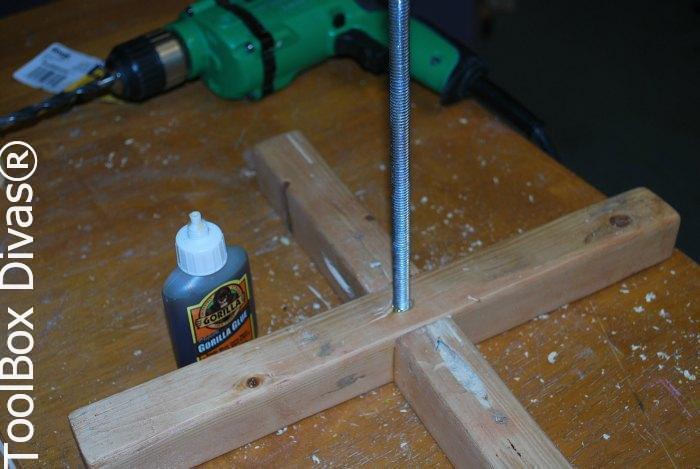
The base of the tree is made using the 2×2 pieces. Using pocket screws and wood glue attach the two smaller 2×2 pieces to the larger central piece.
-
Center of Tree
Next drill a hole about and inch deep into the center to the base for the insertion of the 3/8-in Threaded Rod
Use a drill bit wide enough to secure fit the all thread without leaving it loose when screwing it down into the base. For additional strength and support use Gorilla Glue on the thread and in the hole.
-
Drill
Allow time for the glue to dry securing all thread into the base of the tree. While its drying drill a hole at the center of each 1×2 branch piece.
-
Build the Tree
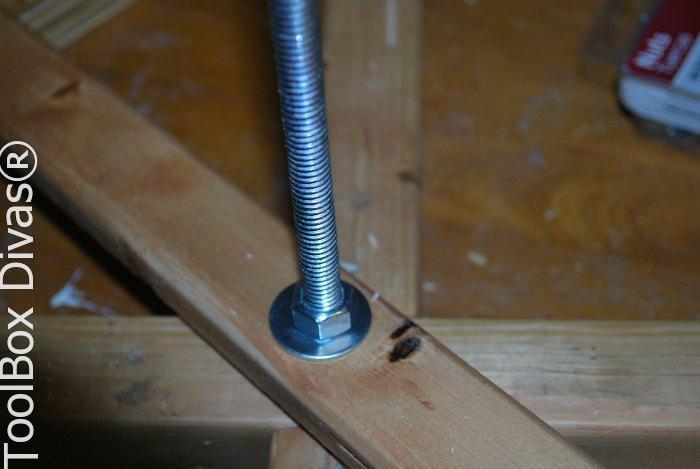
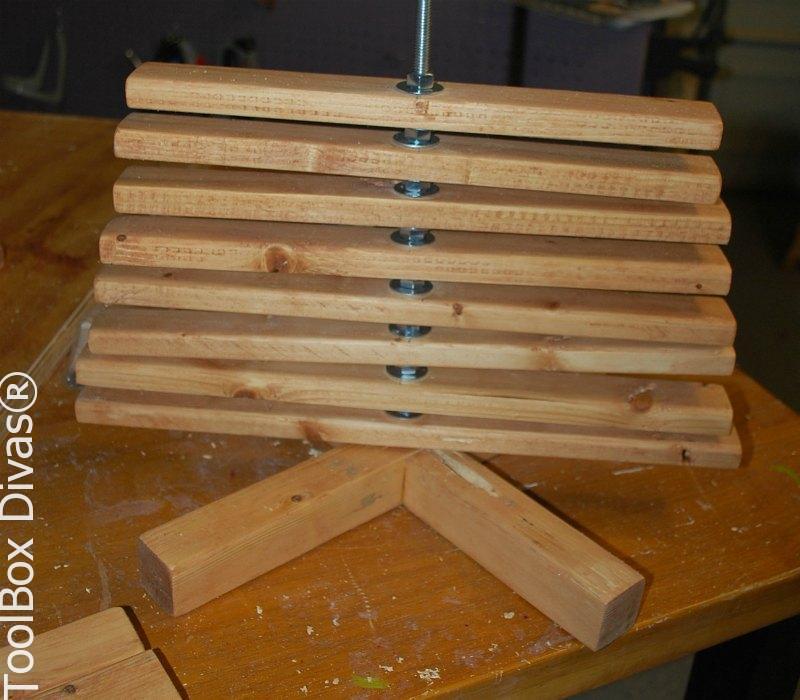
Now here’s where patience comes into play…. starting with the largest piece of 1×2 (16-in), place it on the all thread. Follow it with the washer then hex nut then another washer. Repeat with the next largest piece of 1×2 (15 1/2-in.)
Now this process drove me literally insane. I kept thinking I’m glad I didn’t get an all thread that was larger than 2 feet. Screw the nut to each section so that the “branch” is snug but still able to be moved by hand.
-
Continue Building the Tree
I had to take a few breaks so not to cramp my hands.
But once it once I’d finished I celebrated with a huge glass of eggnog (maybe it was spiked…maybe it wasn’t). Either way it got the job done.
But move the 1×2 pieces to reflect branches.
-
Dress the Tree
Dress with your favorite ornaments and flame-less candles and enjoy your tree.....note the word "flame-less" Stay safe this holiday season.
Happy Holidays from ToolBox Divas!
Click HERE for more information on this project and others like it.


