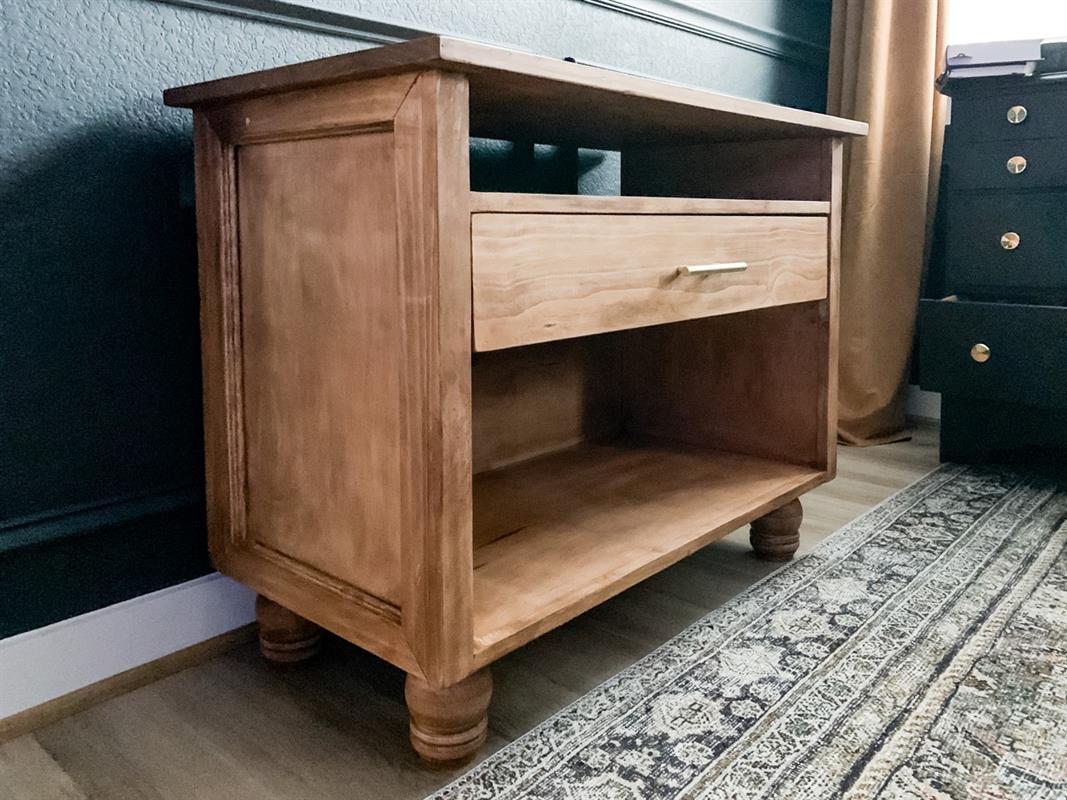
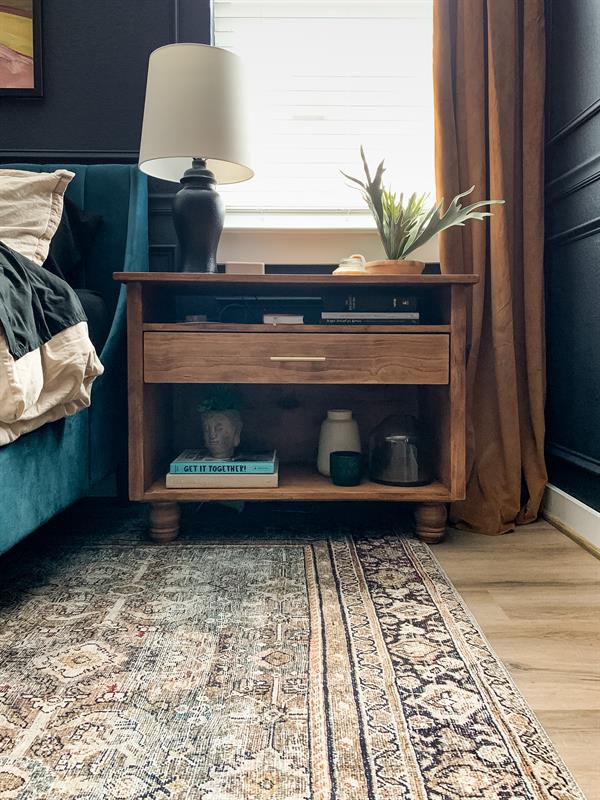


This wide nightstand will give you plenty of tabletop space, with additional storage from two shelves and a drawer. This is a simple build that can be tackled by even a newbie DIYer!
Tools
Kreg Tools


Other Tools
-
Miter Saw

-
Square
-
Table Saw
-
Tape Measure
Materials
Wood Products
- 1 Plywood , 3/4" Thick , Full Sheet
- 4 Board , 1x2 , 96"
- 4 Decorative trim , 1" , 96"
- 1 Board , 1x10 , 96"
Hardware & Supplies
- 1 Pair of drawer slides
- 1 Drawer pull
- 4 Furniture feet
- 4 Furniture feet brackets
Directions
-
Cut plywood according to cut list
We used a table saw to cut our pieces down, but you could also use a circular saw with a Kreg Rip-Cut.

-
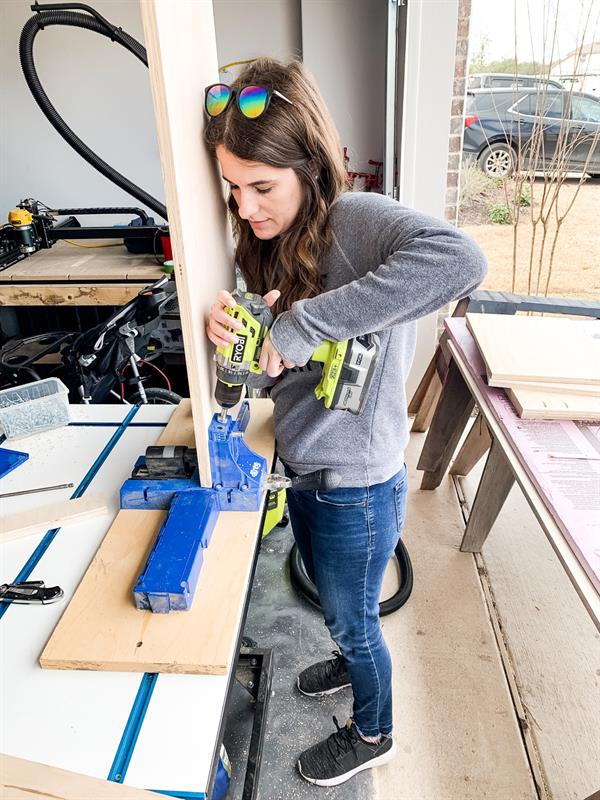
Drill pocket holes in the two 30.5”
After you have cut your plywood according to the cut list, add pocket holes to the two 30.5”x 15” pieces (one will be the bottom, one will be the shelf). We did four pocket holes on each of the two short sides (as shown above).
For this project, we used the Kreg Jig K5 - we love that the clamp is on the front of the tool, which makes it a little easier to use.
-
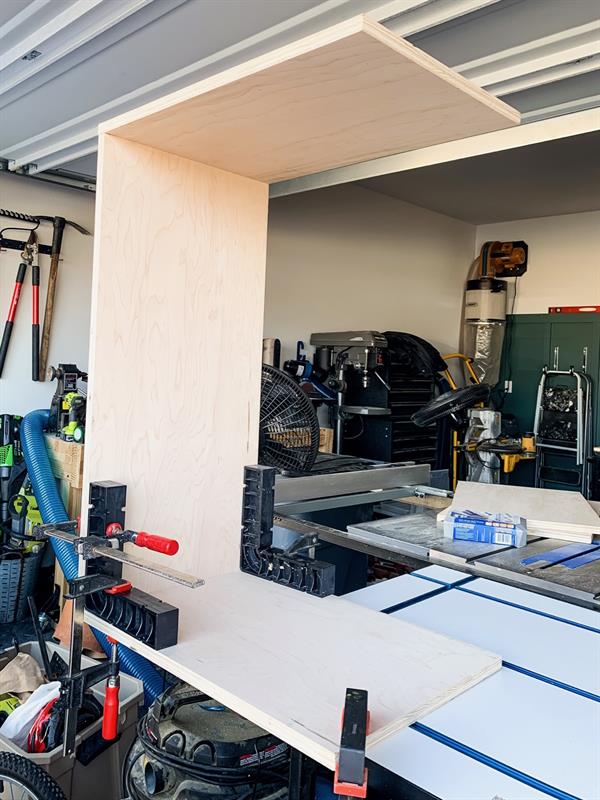
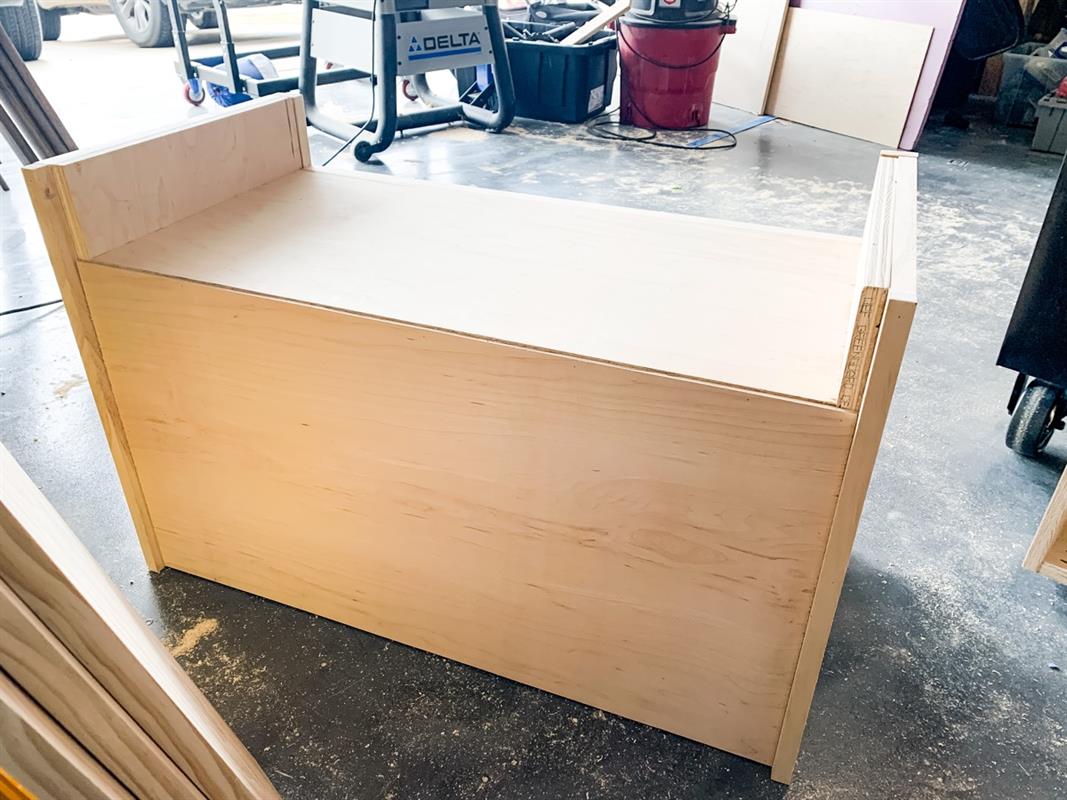
Attach sides to bottom panel
Attach the bottom panel of the nightstand to the two side panels using wood glue and 1” pocket hole screws. I recommend using positioning squares and clamps to ensure your nightstand remains square as you build.
-
Attach shelf piece
Attach the second 30.5”x 15” piece to the box, 4” down from the edge using wood glue and pocket screws. This will create your shelf. Again, I highly recommend using positioning squares and clamps to ensure your shelves remain square and level.
-
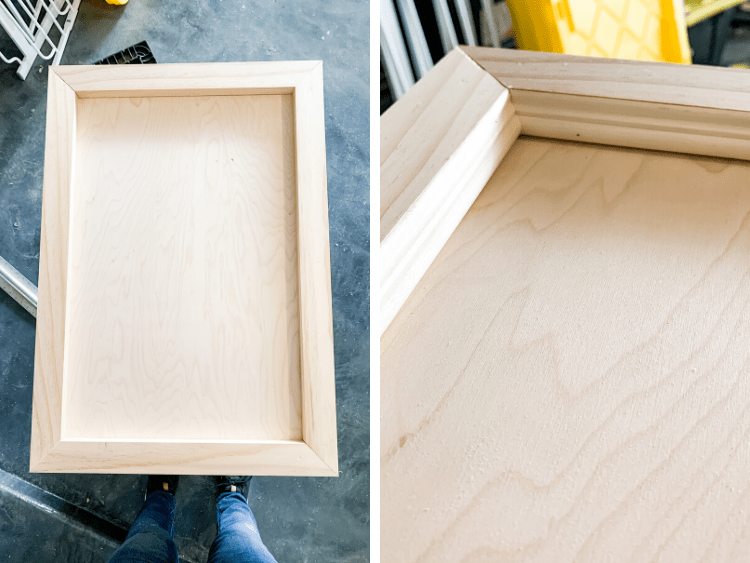
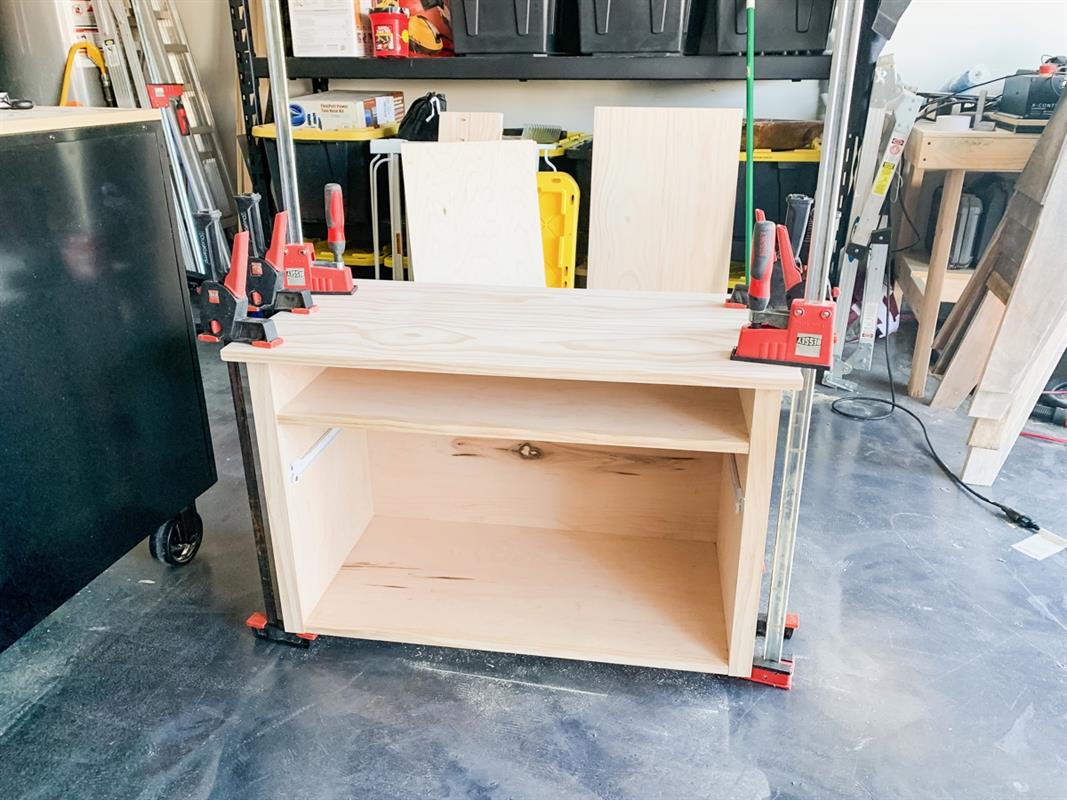
Add trim
Now that the bases of the nightstands have been built, you’re ready to add your decorative trim. I used 1X2 pieces of pine along with a small piece of decorative molding to add a box around each of the sides (as shown). To attach the trim piece, simply use wood glue and finishing nails.
I recommend measuring each piece as you work to ensure any variations in your cutting are accounted for and everything sits perfectly flush. Simply measure each side, then cut a piece with a mitered edge to fit.
For the front trim, use 1X2 pine boards to cover all of the exposed edges of the plywood.
For the shelf and bottom of the nightstand, I used the table saw to rip the 1X2 down to ¾” so it perfectly covered the plywood without leaving a lip.
-
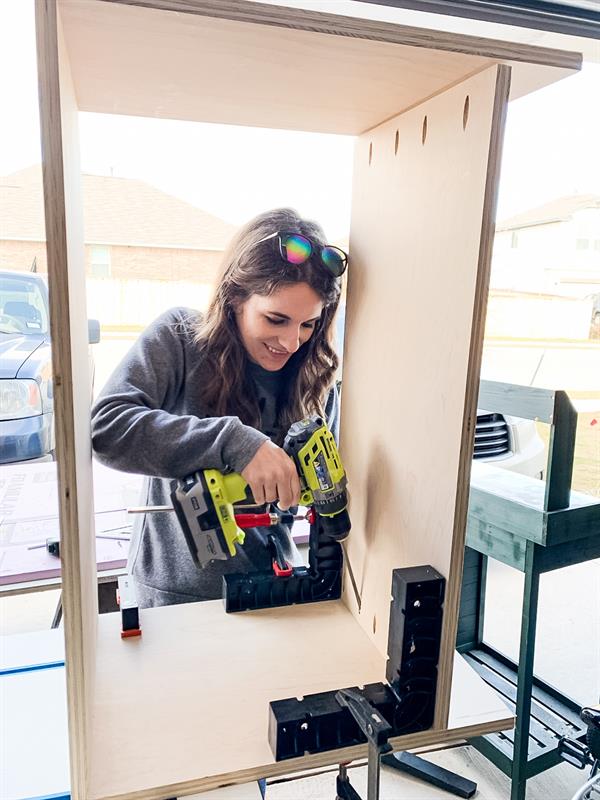
Build + install drawers
Build your drawer by using pocket holes to attach the two short pieces to the two long pieces to form a box (as shown).
Once assembled, cut and attach the 1/4” plywood to the bottom of the drawer.
A note: You could cut a dado in the bottom of your drawer to insert the drawer bottom for more stability. However, attaching it to the bottom with wood glue and finishing nails will be fine for light use.
Attach the 30"x5" pine piece to the front of your drawer with 1” screws by drilling from the inside of the drawer.
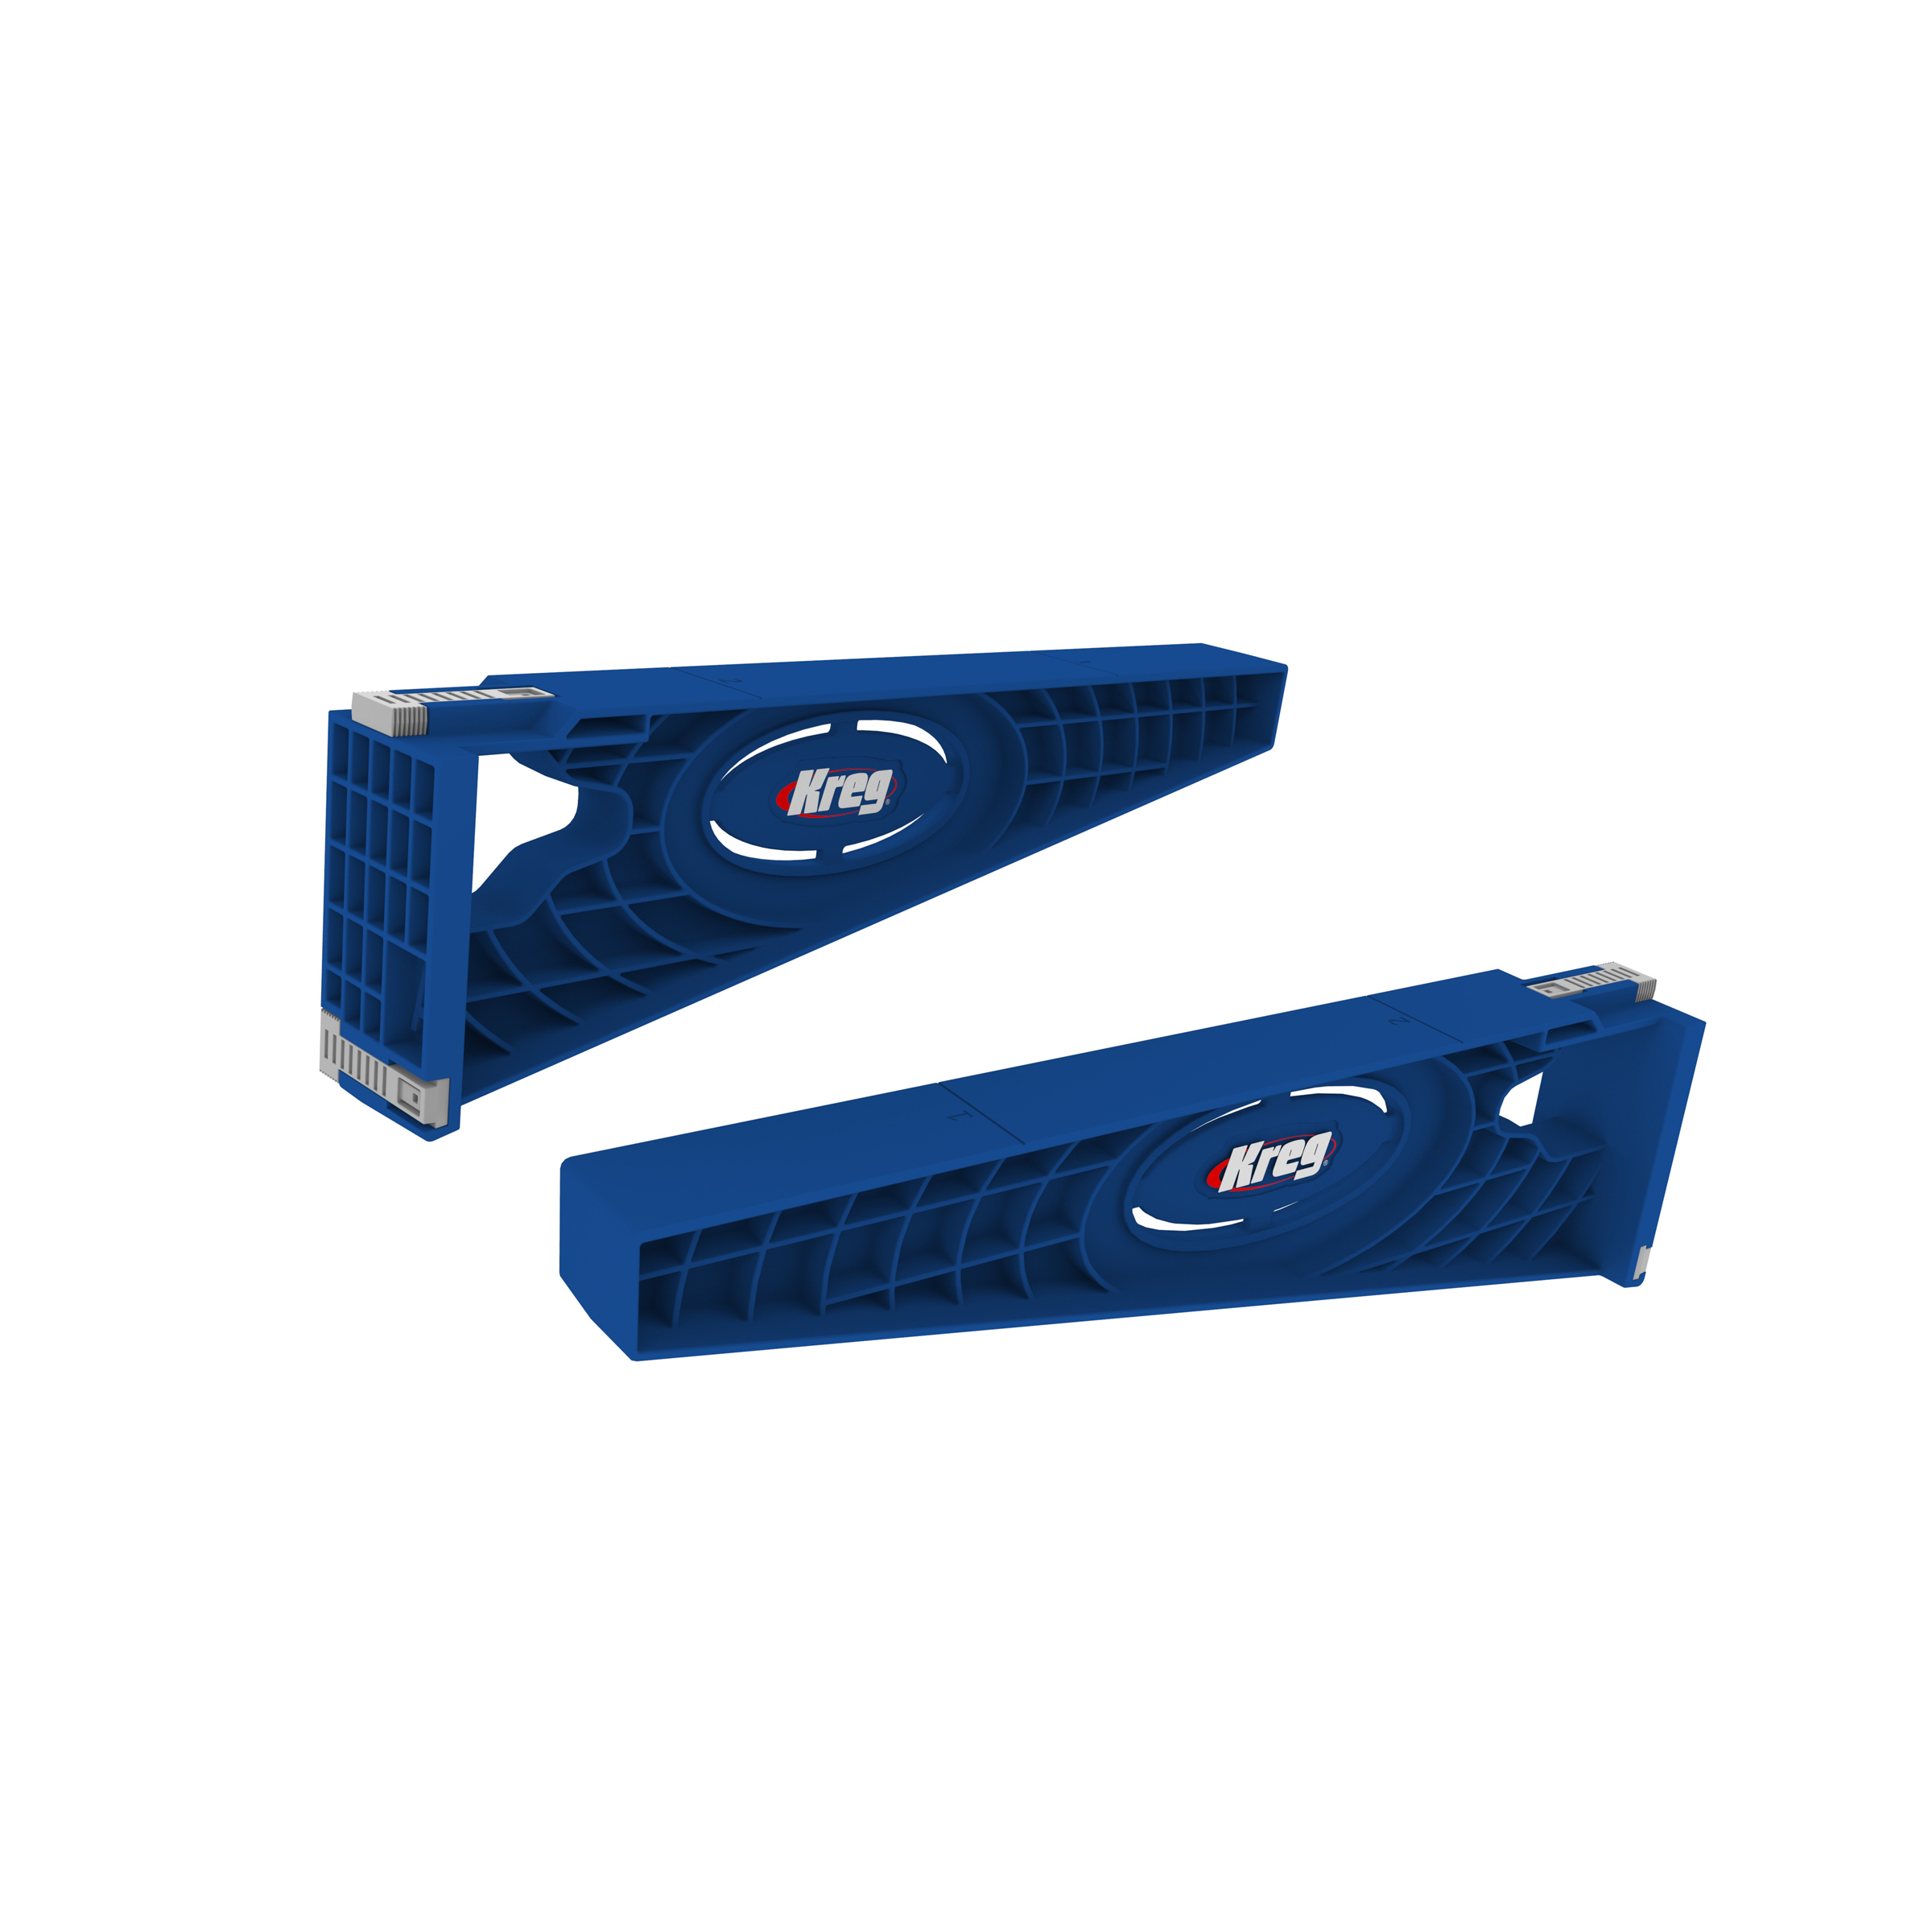
Follow the directions that come with your drawer slides to install the drawer, making it sit flush with the front of the cabinet. I recommend using Kreg's drawer slide jig to install.

-
Attach backing
Use wood glue and finishing nails to attach the 1/4” plywood to the back of your cabinet, leaving the space at the back of the top shelf open.
-
Build + attach top
To assemble the top of your nightstand, drill 5-6 pocket holes in one of your 10”X35” pine boards, then use wood glue and pocket hole screws to attach the two boards together to create one large tabletop.
To attach the top, use wood glue and finishing nails to attach the top piece to the base of the cabinet, centering it so that the overhang is equal on all sides.
-
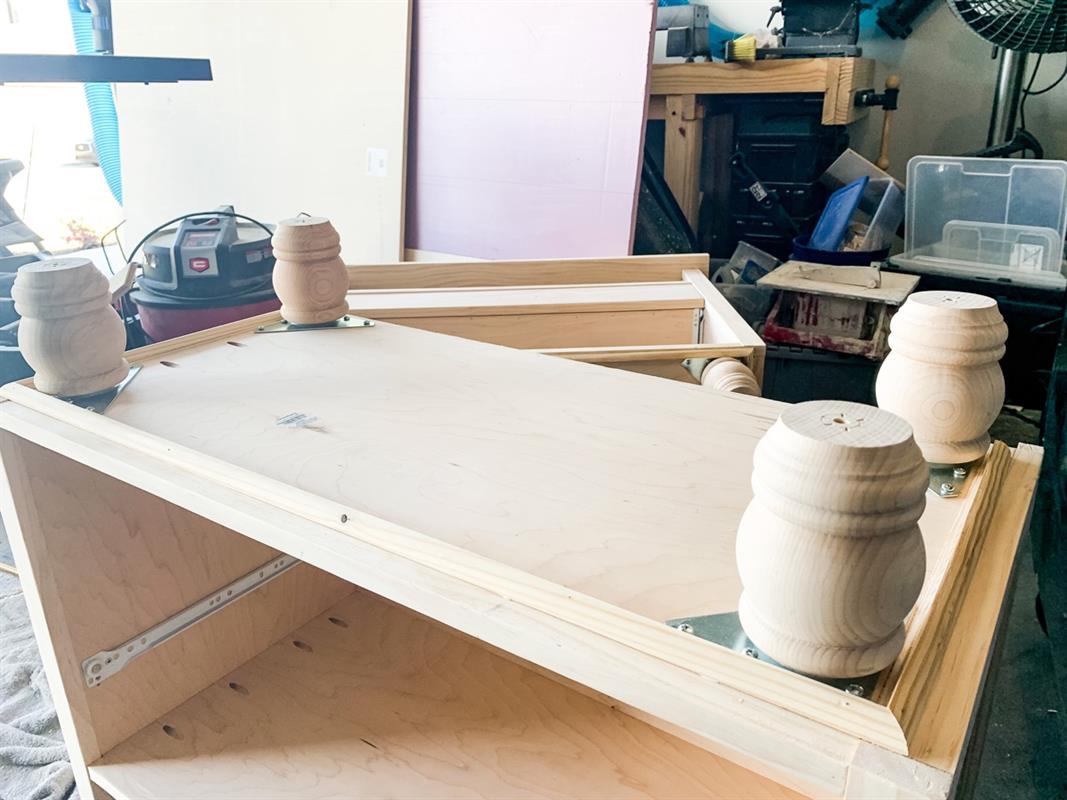
Add legs
Use furniture leg brackets to attach the four furniture legs to your piece, about 1.5” in on all sides. If desired, you can cover any gap between the leg and the nightstand base by adding corner round just in front of the legs, as shown.