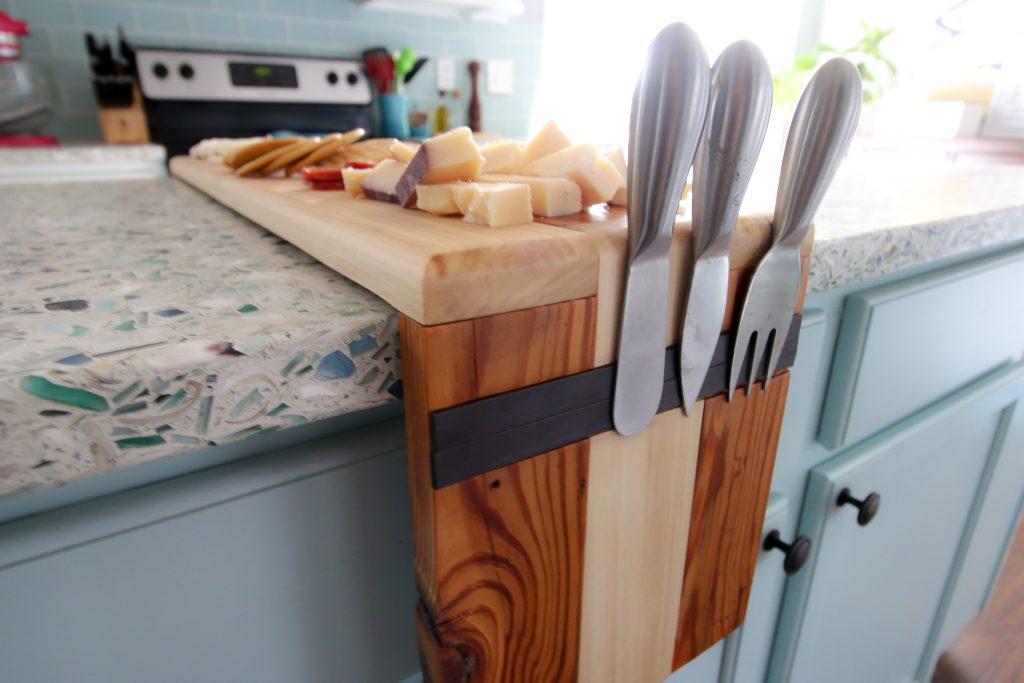
Waterfall Edge Cheese Board
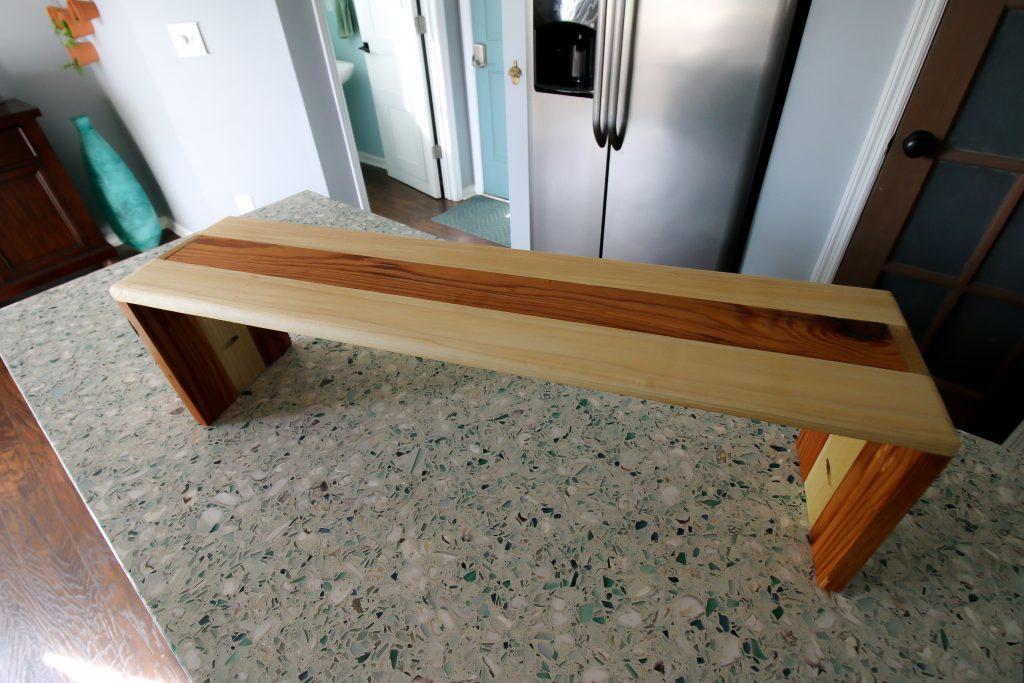
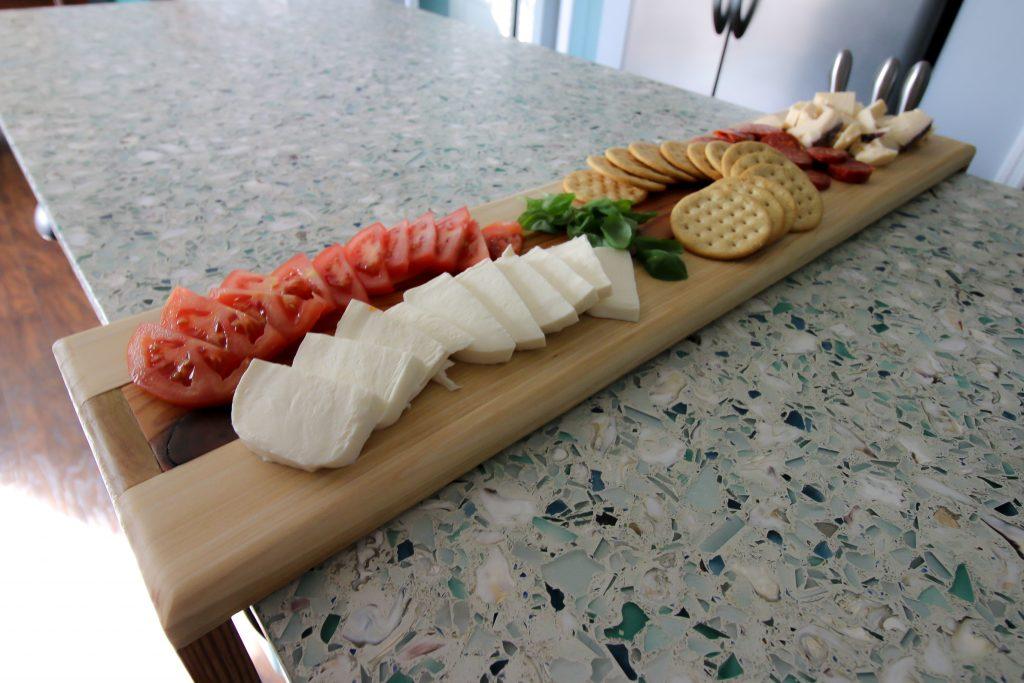
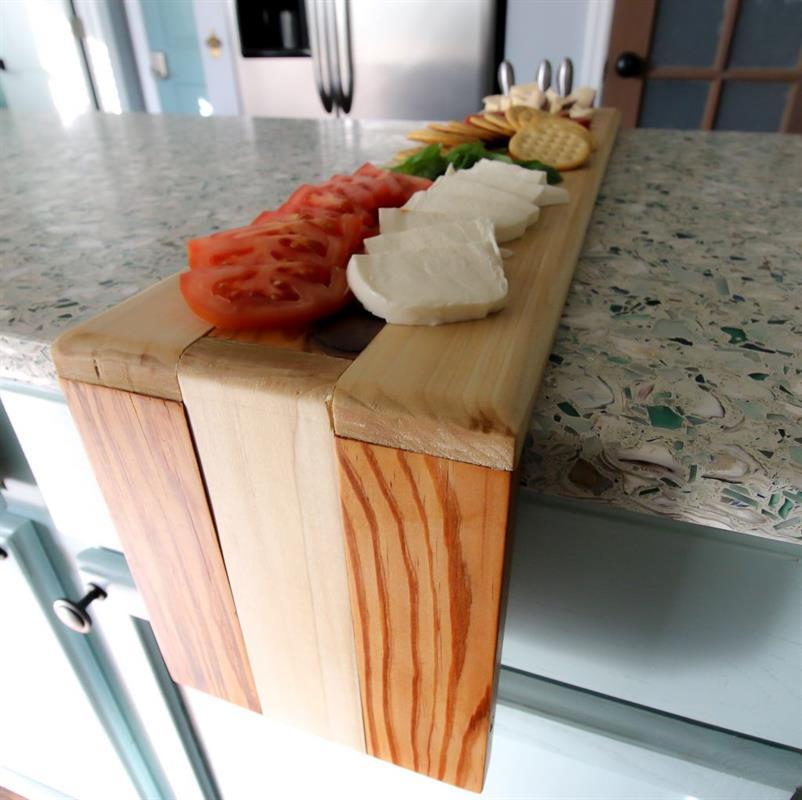
By Charleston CraftedWith the holidays coming up, you may be planning to host people for parties. One of the best food items to serve for a large group is a cheese or charcuterie plate. If you want to make a real impact on your guests, try building this waterfall edge cheese board custom for your kitchen island!
Directions
-
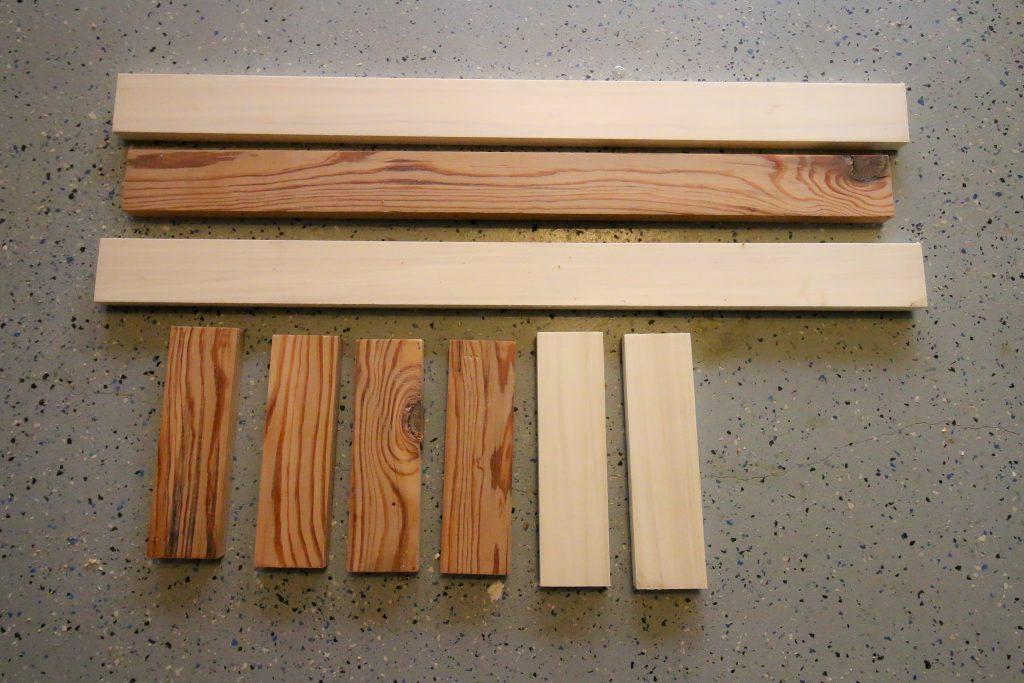
Make Cuts
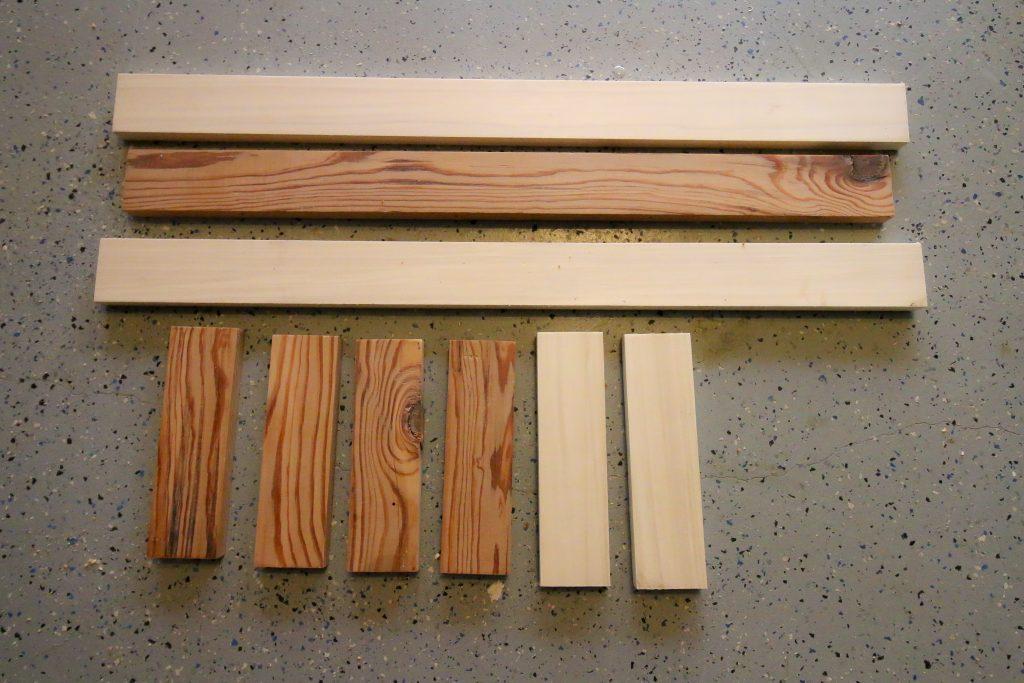
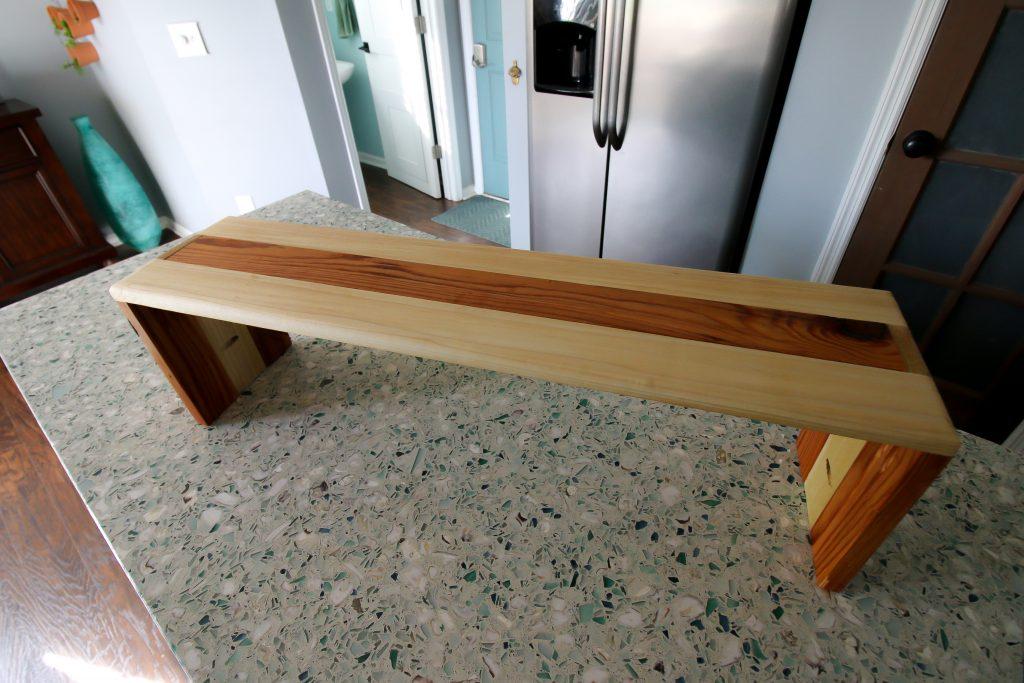
Make all cuts in the cut list. We used wide boards of cherry and poplar to give a striped look and trimmed them down to exactly 3" wide each. You can use standard off-the-shelf 1x3 boards as well.
-
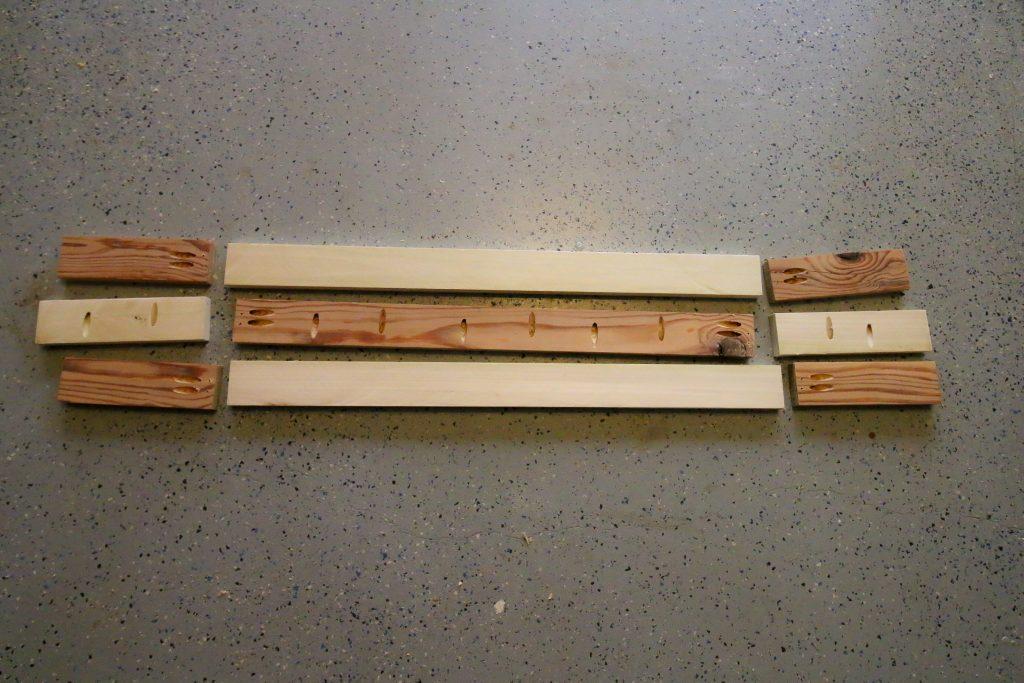
Drill Pocket Holes
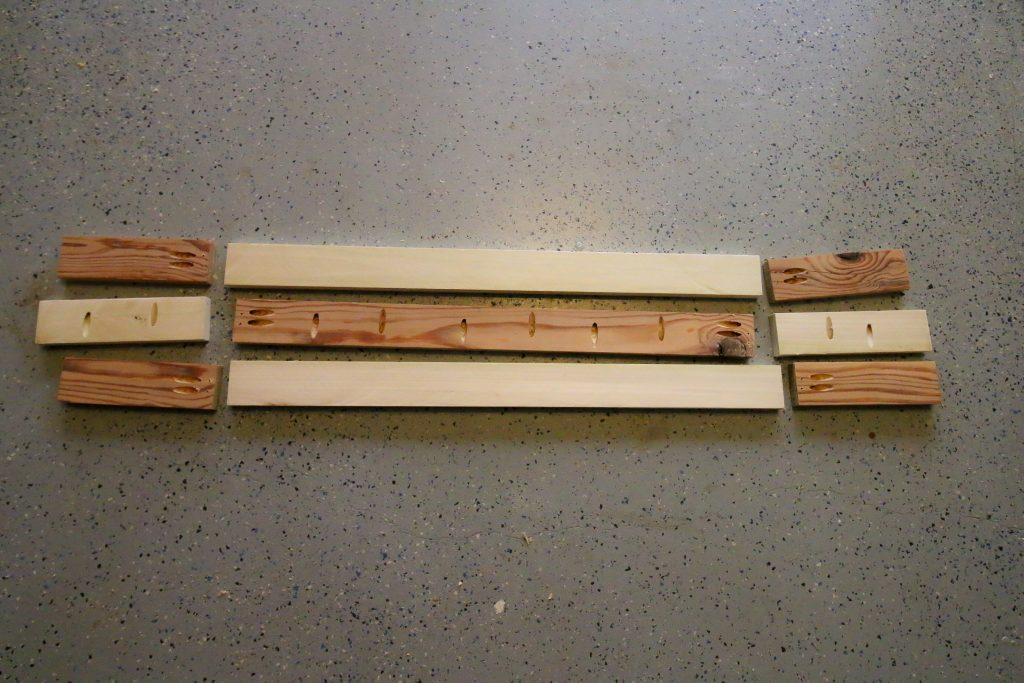
Drill pocket holes in the necessary boards. In the Top Middle Board, drill three holes in each direction, evenly spaced along the board, and two holes on either end. On the for Outer Side Boards, drill two pocket holes on one end of each. Finally, two opposing holes in the middle of the Middle Side Boards.
-
Build Top
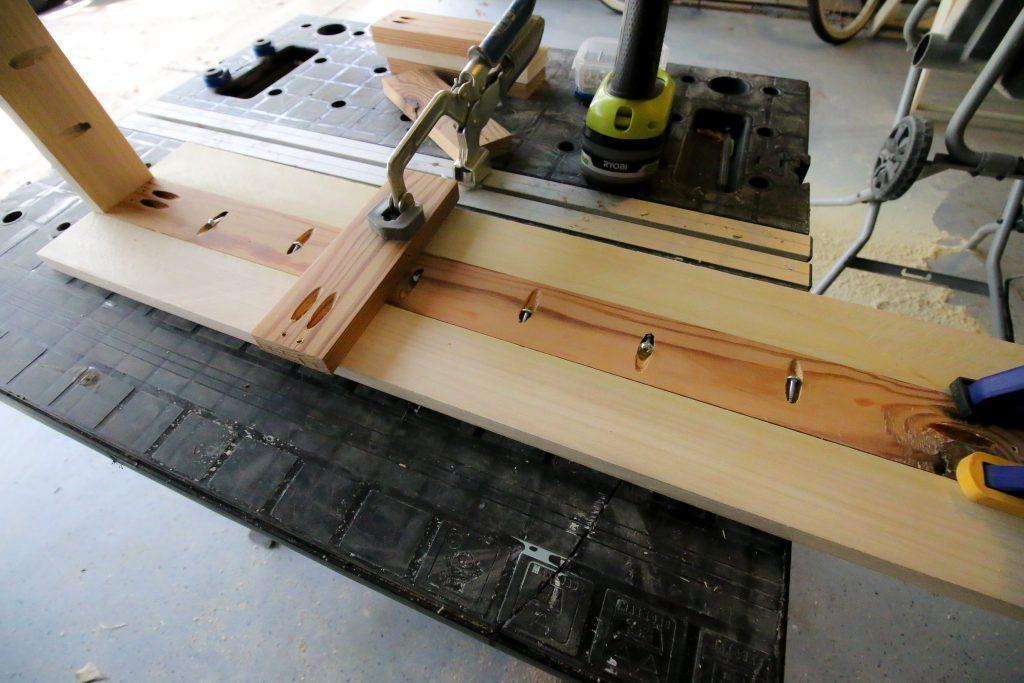
Connect the Outer Top Boards to the Middle Top Board using Kreg 1 1/4" screws. There should be a 3/4" gap on either end of the Middle Top Board to the ends of the outer boards.
-
Attach the Waterfall Sides
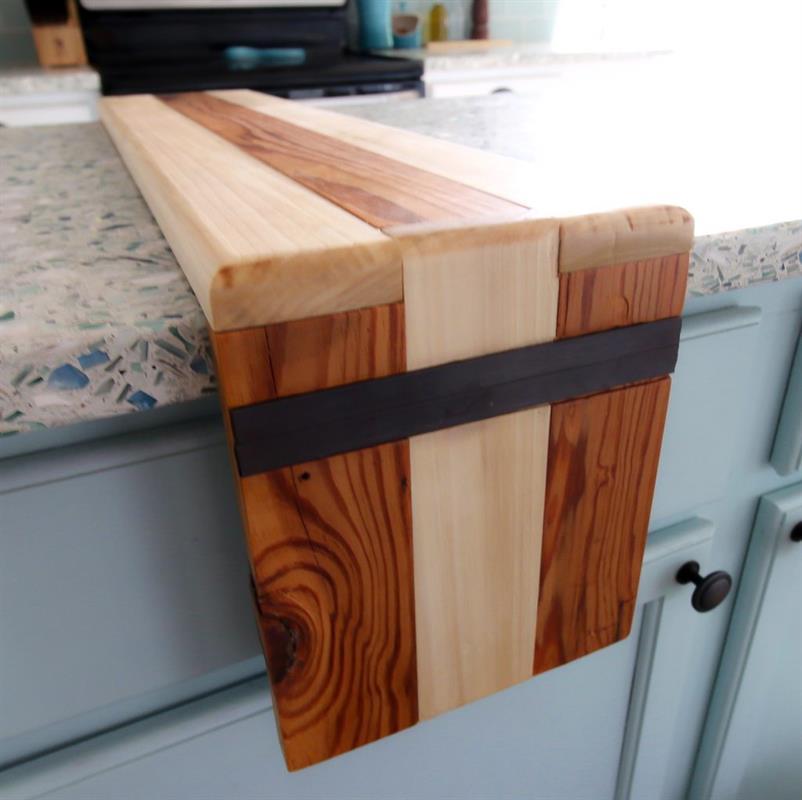
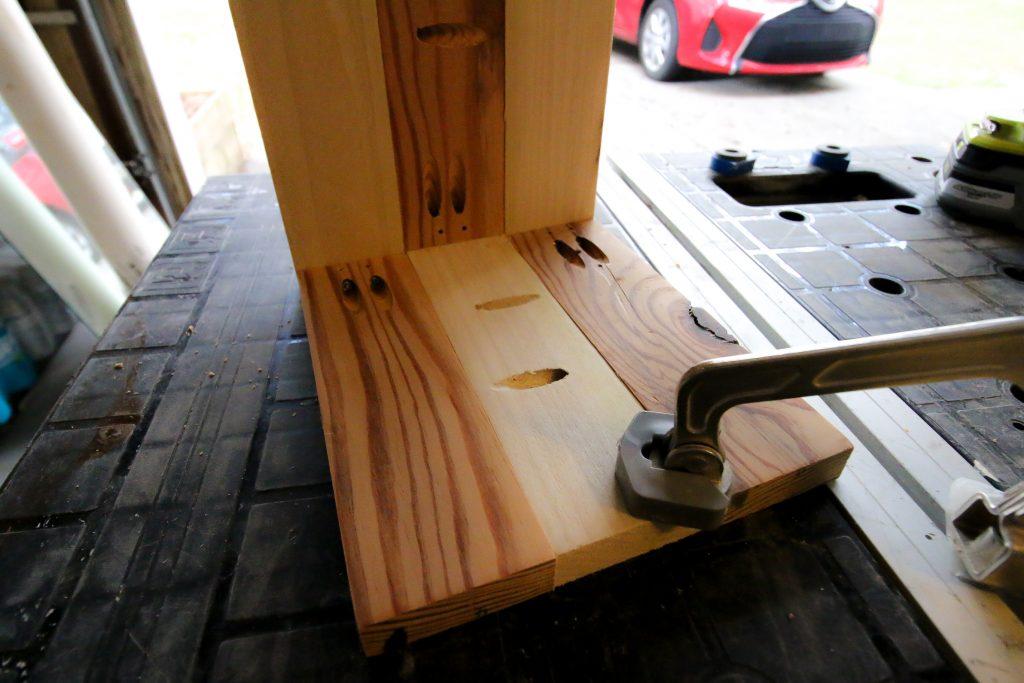
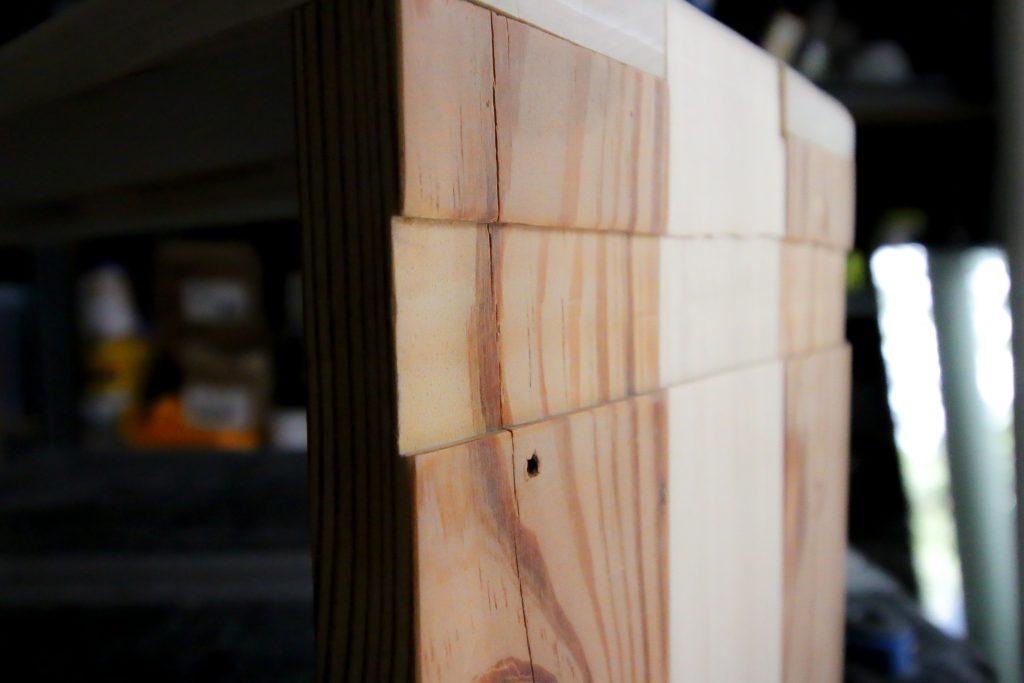
Attach the three side pieces. Attach the Middle Side Boards to the Middle Top Board inside the gap and the Outer Side Boards to the underside of the Outer Top Boards. Then connect them all together with the opposing pocket holes in the Middle Side Boards.
-
Round Edges
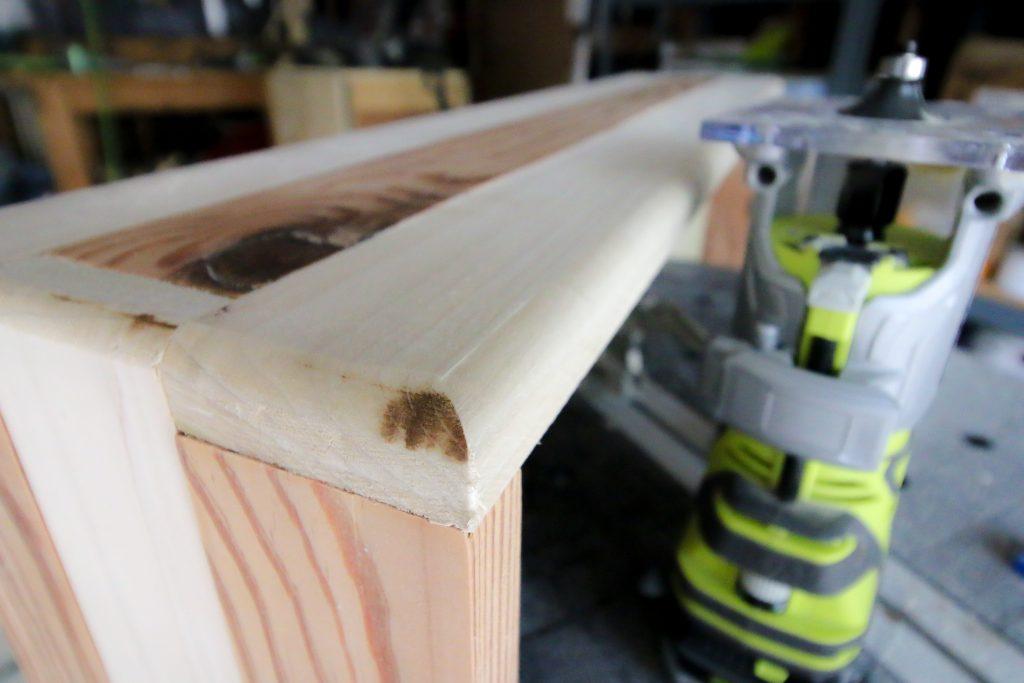
Use a router to round off the edge of the top.
-
Router Magnet Strip
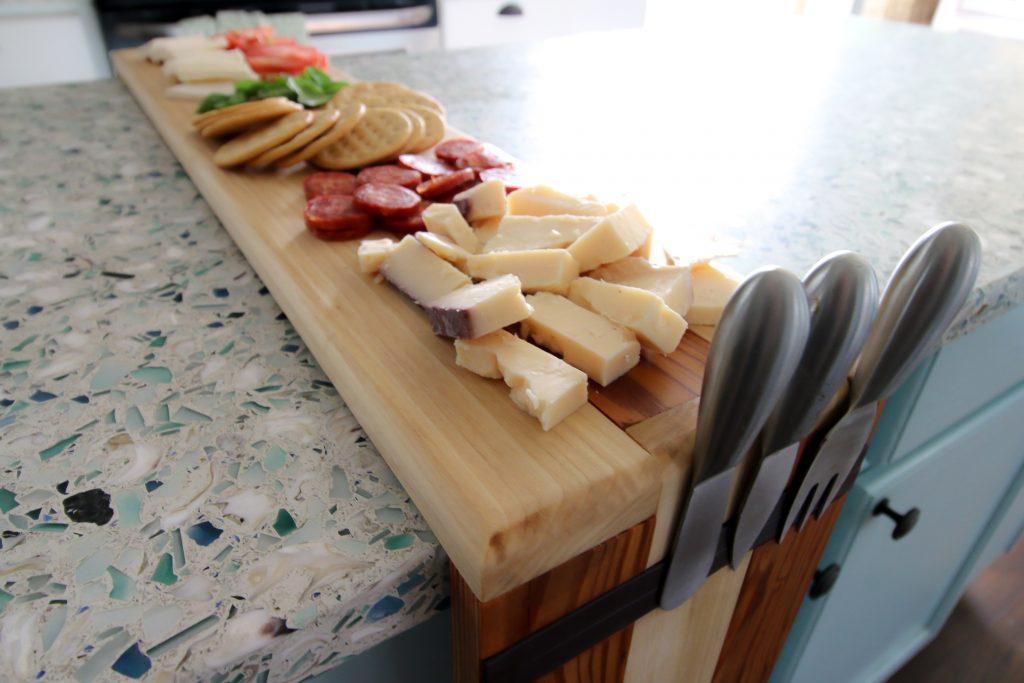
Use a router to carve out a strip on one of the sides and attach magnetic strips to hold knives or other metal items.
-
Add Cutting Board Oil
Coat in food-safe cutting board oil and let dry.
-
Serve Delicious Food!
Have an awesome holiday meal with friends and family and serve a fun cheese platter.
-
Visit www.CharlestonCrafted.com
Visit www.CharlestonCrafted.com for more projects like this!


