Upholstered Bar Stool Benches
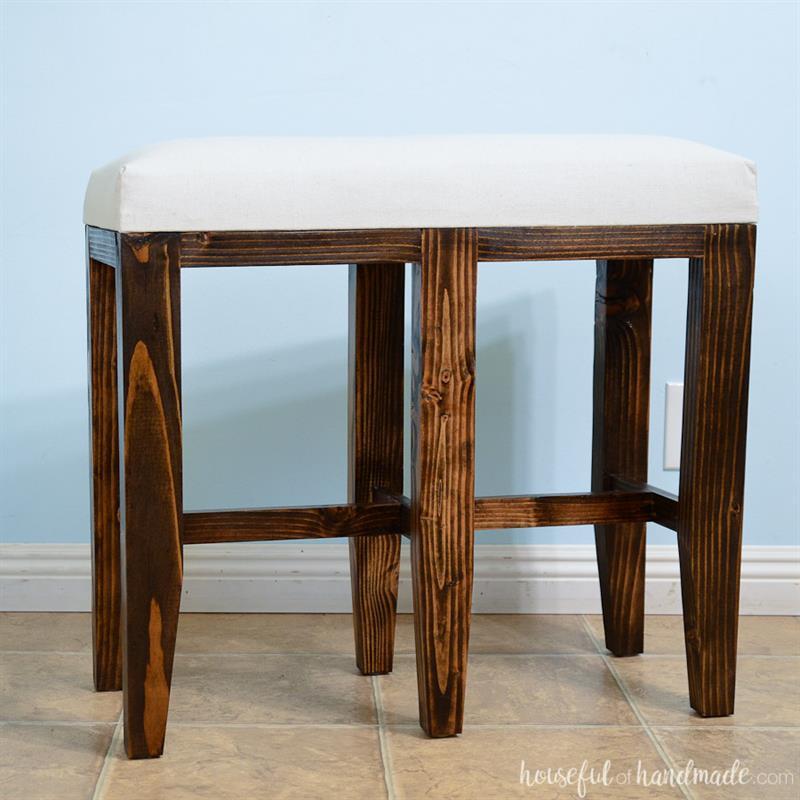
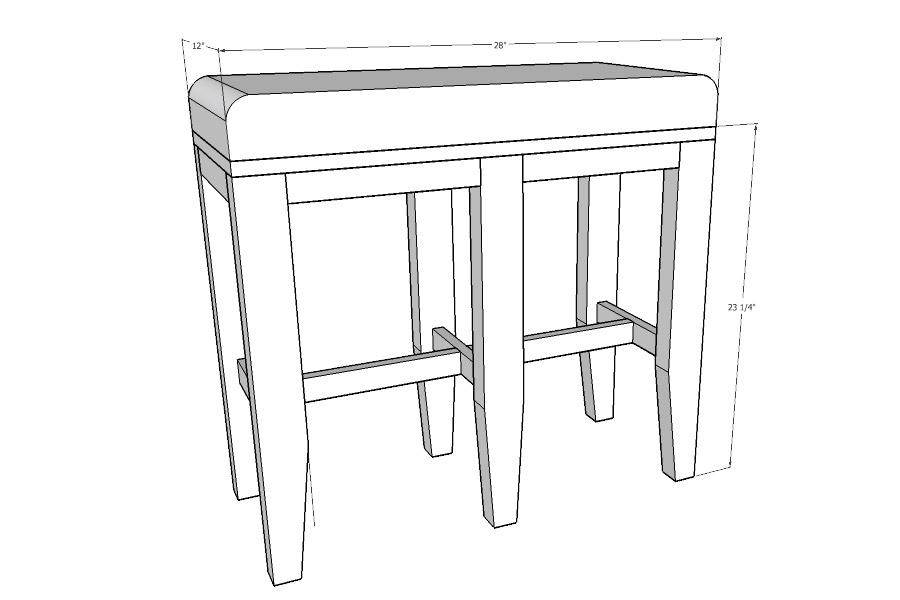
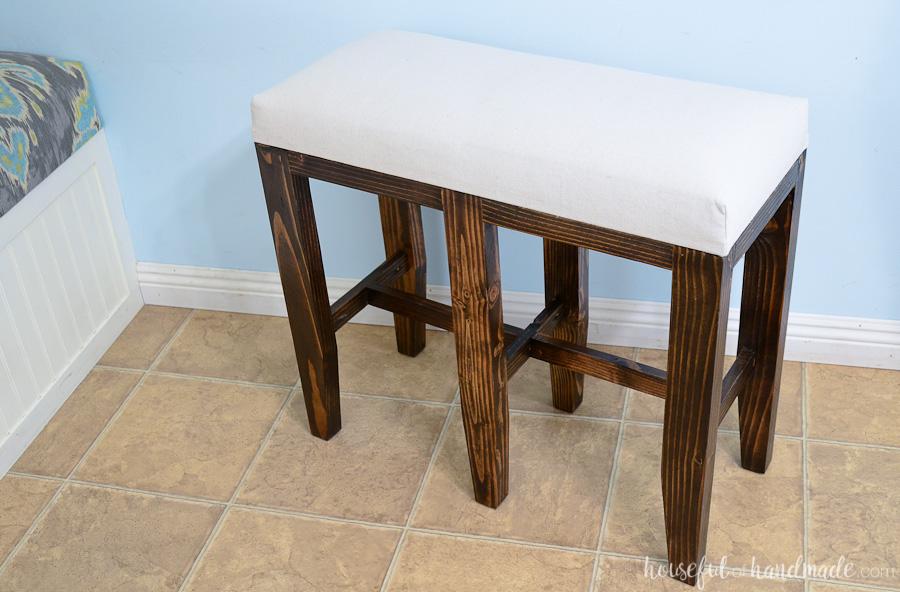
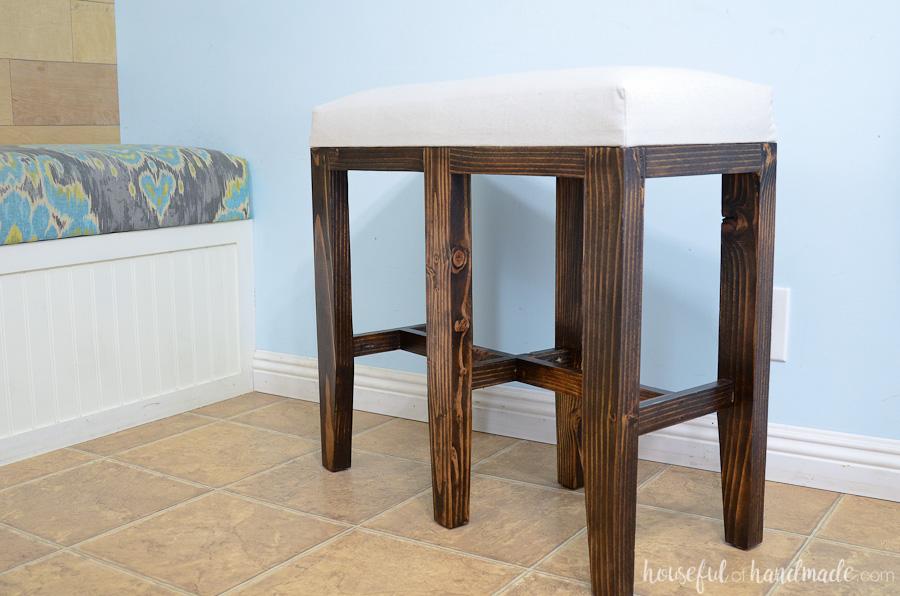
By Houseful of HandmadeA bar stool bench is a great way to add extra seating at your kitchen island without adding clutter. Each 28″ bench comfortably seats 2 people. The top of the bench is upholstered for extra comfort.
Directions
-
Build the legs
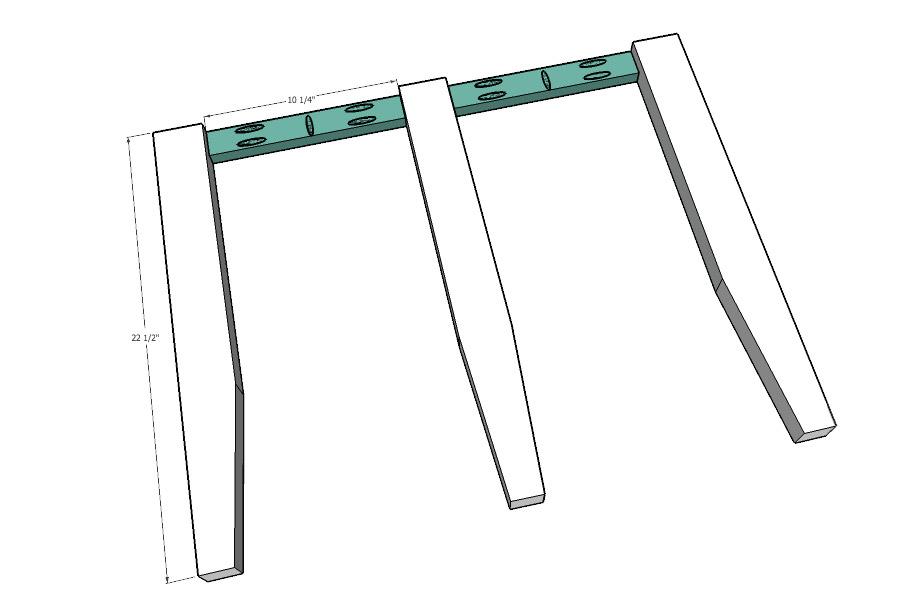
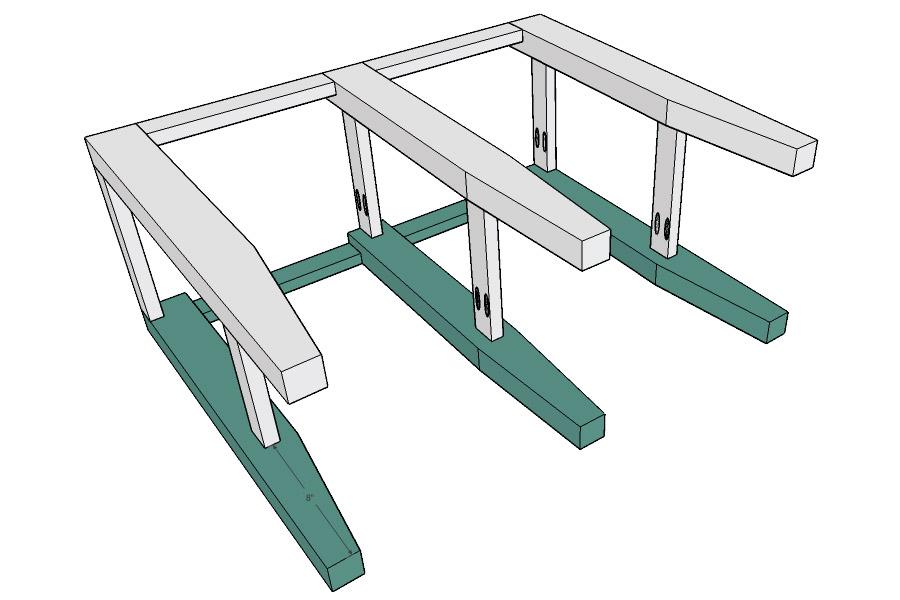
Add pocket holes to both sides of the seat support boards and one in the middle (to attach the seat later). Attach one seat support between the middle leg and side leg so it is flush to the front. Then attach another between the middle leg and second side leg. Repeat for the second set of legs.
-
Cut the legs
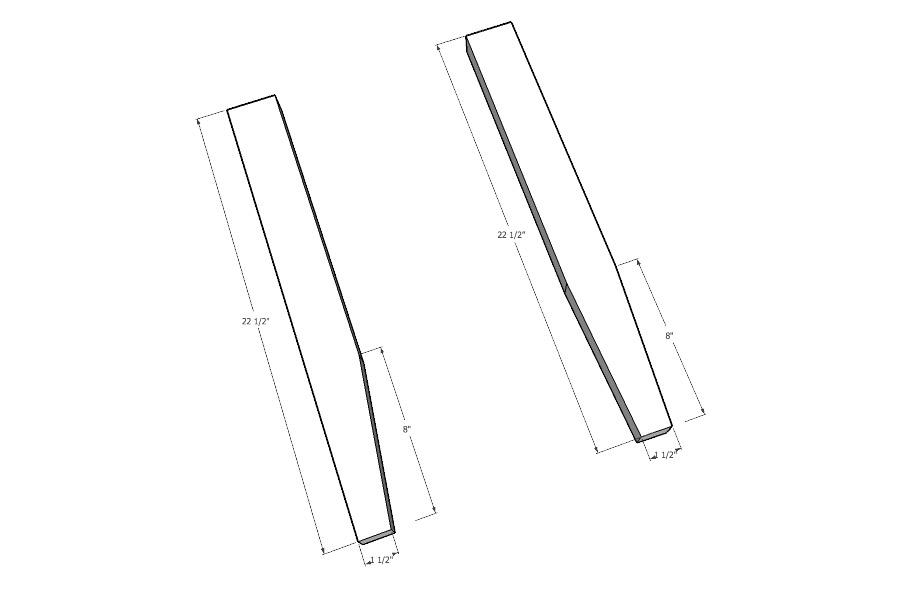
Cut a tapper on the bottom of the (6) 22 1/2" leg boards. For (4) of the legs, measure 8" up from the bottom and 1" in from the inside. Draw a line between the two marks. Cut along the line to create the tapper. Use the AccuCut and circular saw to make the cut easily. For (2) of the legs, measure 8" up from the bottom on both edges and 1/2" in from both sides. Cut both tappers with the AccuCut.
-
Attach the Sides
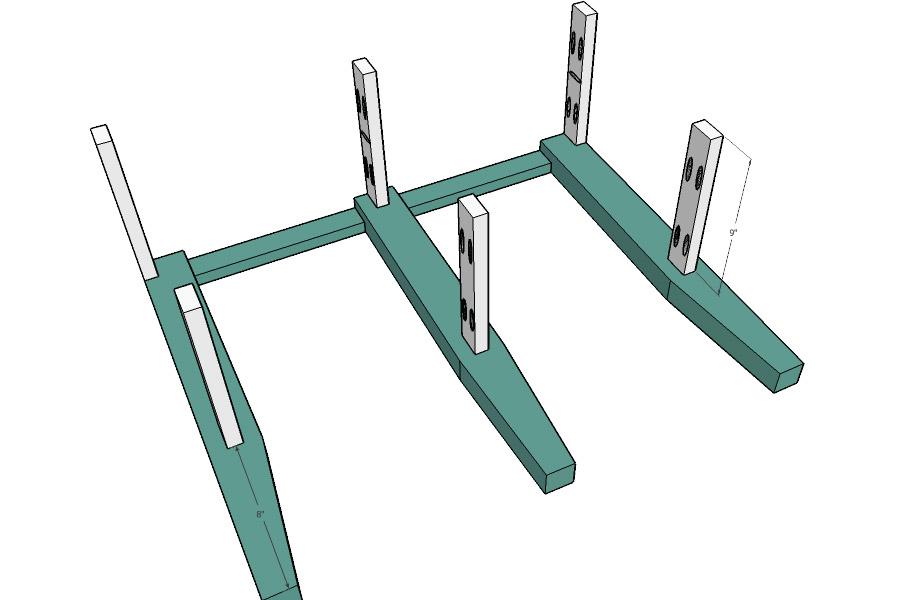
Add pocket holes to both sides of the side boards. Attach them to one of the completed leg sections. Two at the top on the side legs so they are flush with the top and outside of the legs. One on the center leg so it is centered on the center leg and flush with the top. Three on the lower part of the legs, 8" up from the bottom and centered on each leg (you should have 12" in between the attached sides).
-
Attach the other assembled legs
Lay the other assembled leg piece front-side down. Lay the leg piece with the attached side pieces on top of it and attach the side pieces the same as in the above step.
-
Attach the leg supports
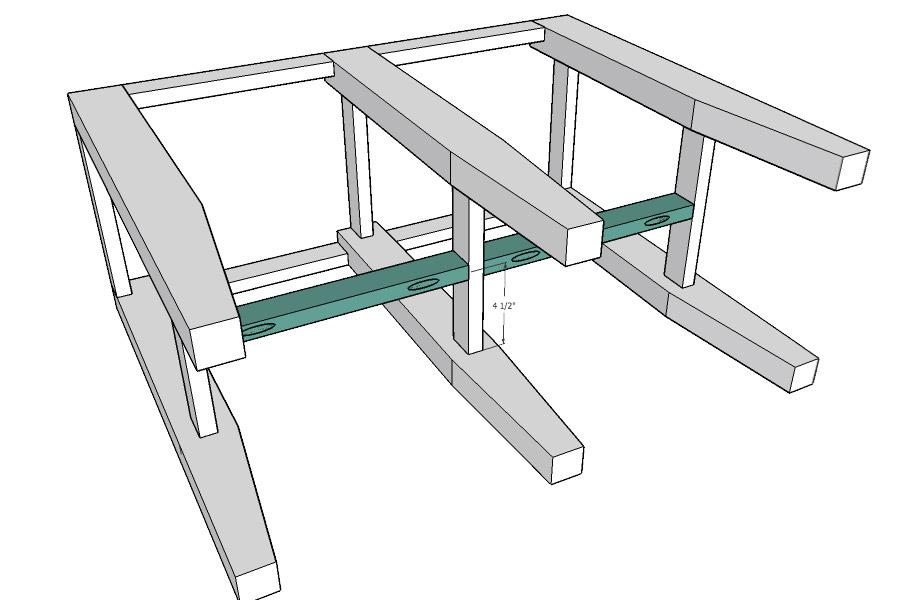
Drill a pocket hole in each side on the bottom of the leg support pieces. Attach them between the side pieces on the lower part of the legs so they are centered. To keep the board from twisting, add a finishing nail to the top of the board. Sand and finish the base of the bar stools.
-
Sew the upholstery cushion
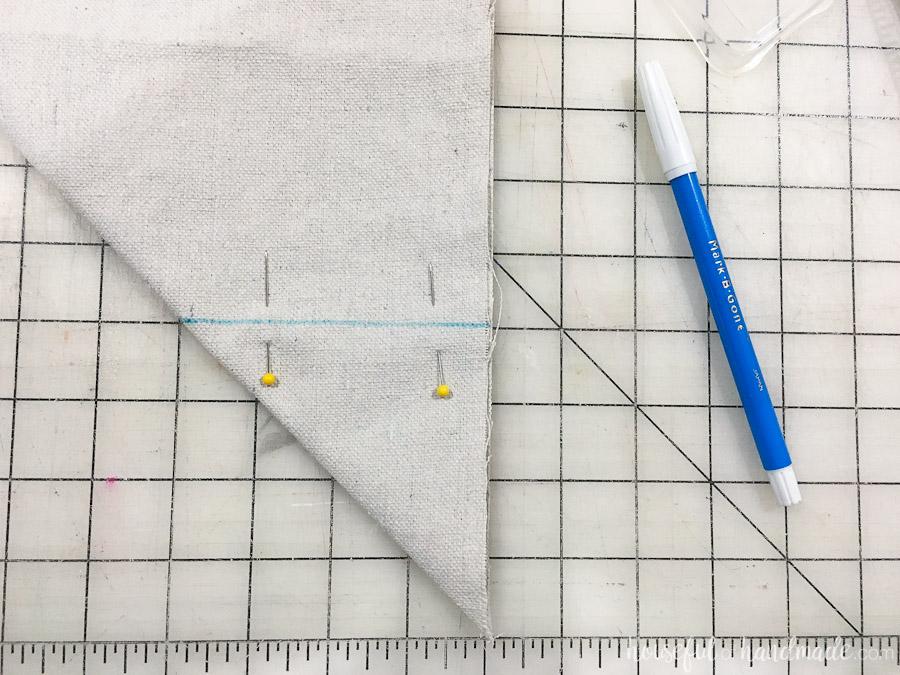
Measure 4" x 4" notches on each of the corners of the 20" x 36" piece of fabric. Fold the fabric so the lines match up and pin. Sew along the lines with a basic straight stitch making sure to backstitch at the beginning and end of the stitches. Cut off the excess fabric leaving about 1/2" seam allowance.
-
Upholster the seat
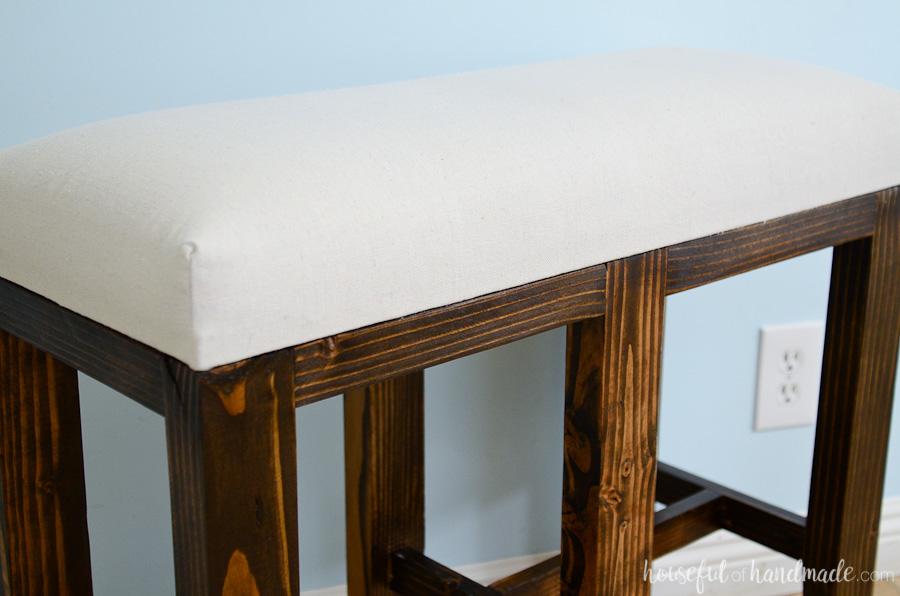
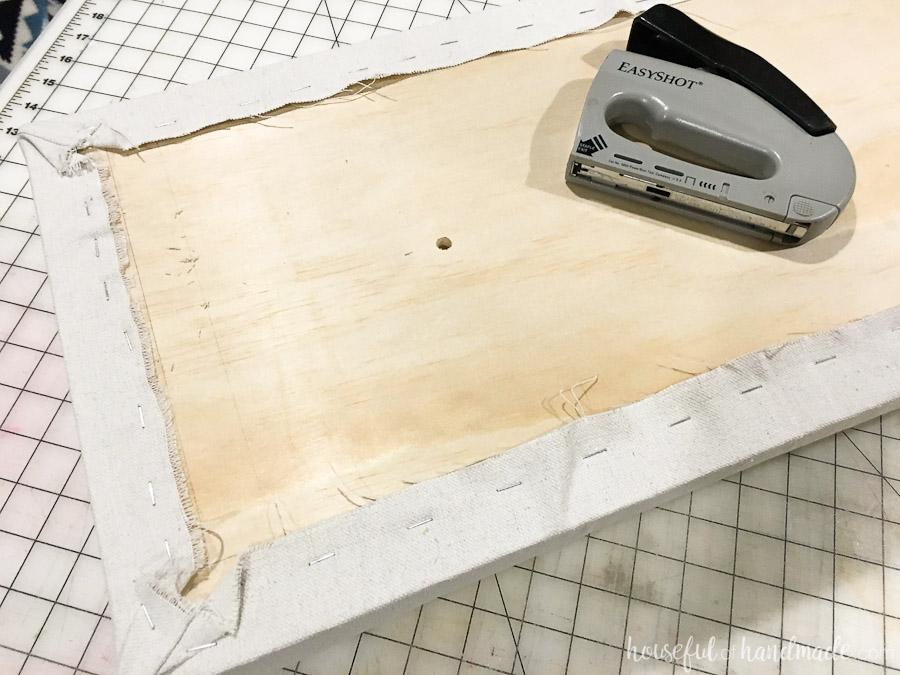
Apply a thick layer of spray adhesive to the back of the 12" x 28" piece high density foam. Place it on top of the seat board. Cover with the sewn cushion and then flip the cushion over so the underside of the seat board is now showing. Stretch the fabric about 1-1 1/2" over the seat board and secure with staples. I drew a line at 1 1/2" to help me stretch the fabric consistently around the seat.
-
Attach the seat
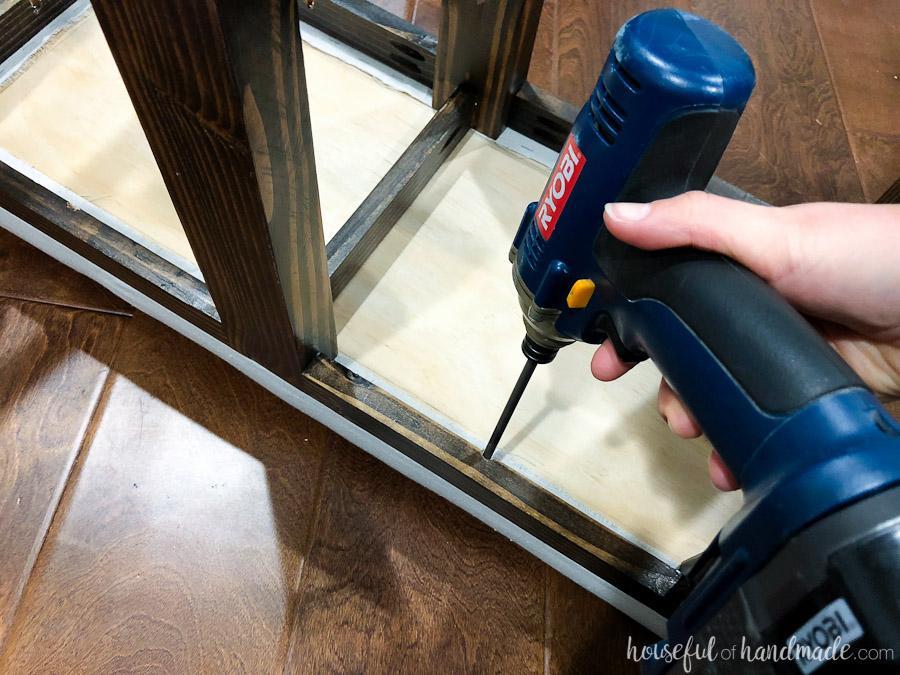
Place the finished legs on top of the seat board. Secure the legs to the seat with pocket hole screws using the holes in the top of the seat support and sides. Add felt pads to the bottom of the feet if desired.


