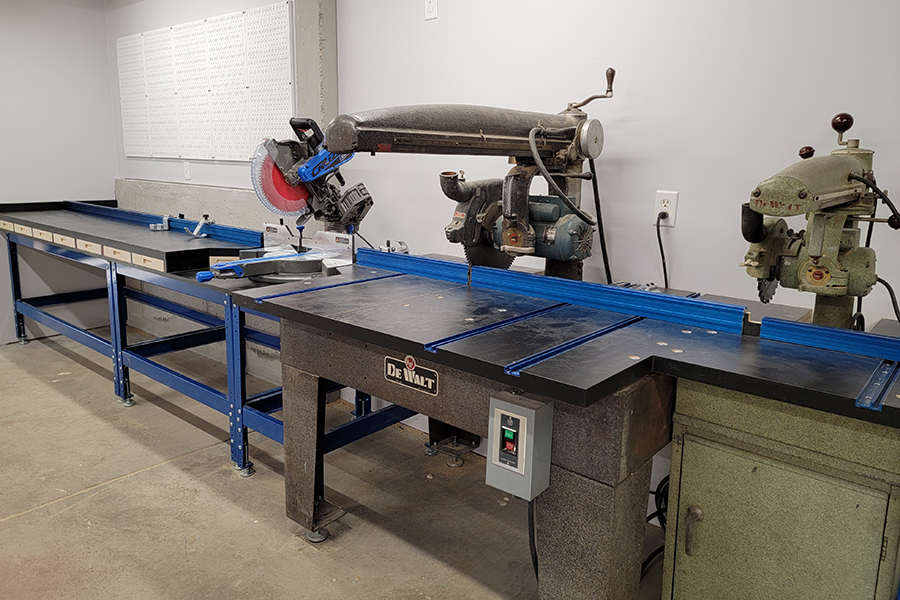

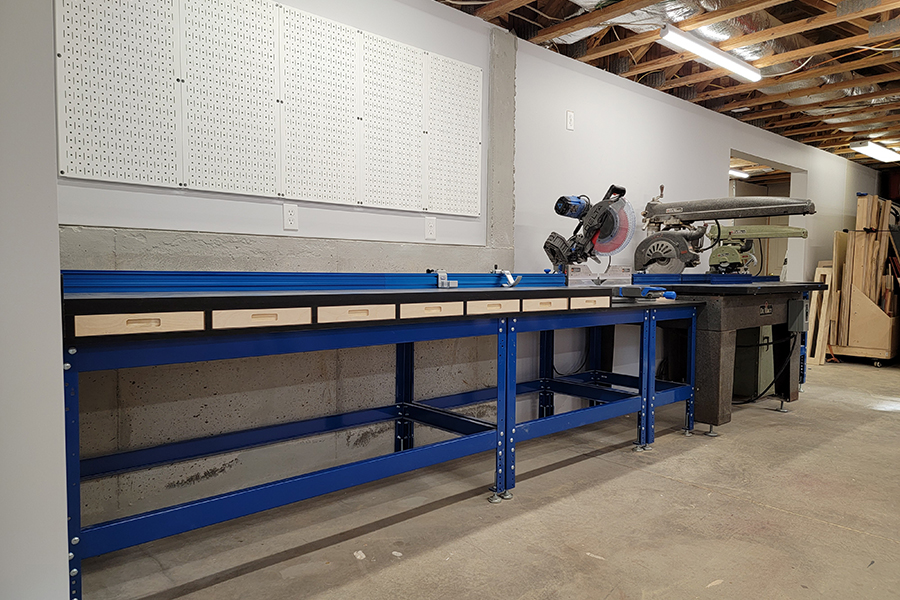
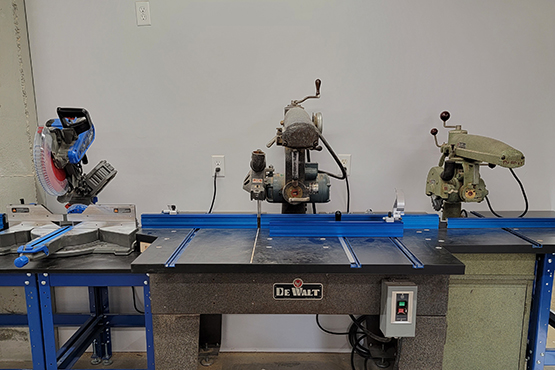


This miter saw bench combines the use of multiple tools into a single workstation that can be modified to fit your shops’ size and needs. In this project I share how I customized the layout to work for a miter saw and two radial arm saws, but with Kreg’s Universal Workbench as the foundation of this setup you can modify this design to fit your particular needs.
Tools
Kreg Tools


Other Tools
-
Shopvac

-
Tape Measure
-
Square
-
CNC (optional)
Materials
Wood Products
- 3 Melamine sheets , ¾ " x 4' x 8'
- 3 MDF sheets , ¾ " x 4’ x 8’
- 1 Plywood sheet , ½" x 4' x 8'
- 1 Plywood sheet , ¼" x 4' x 8'
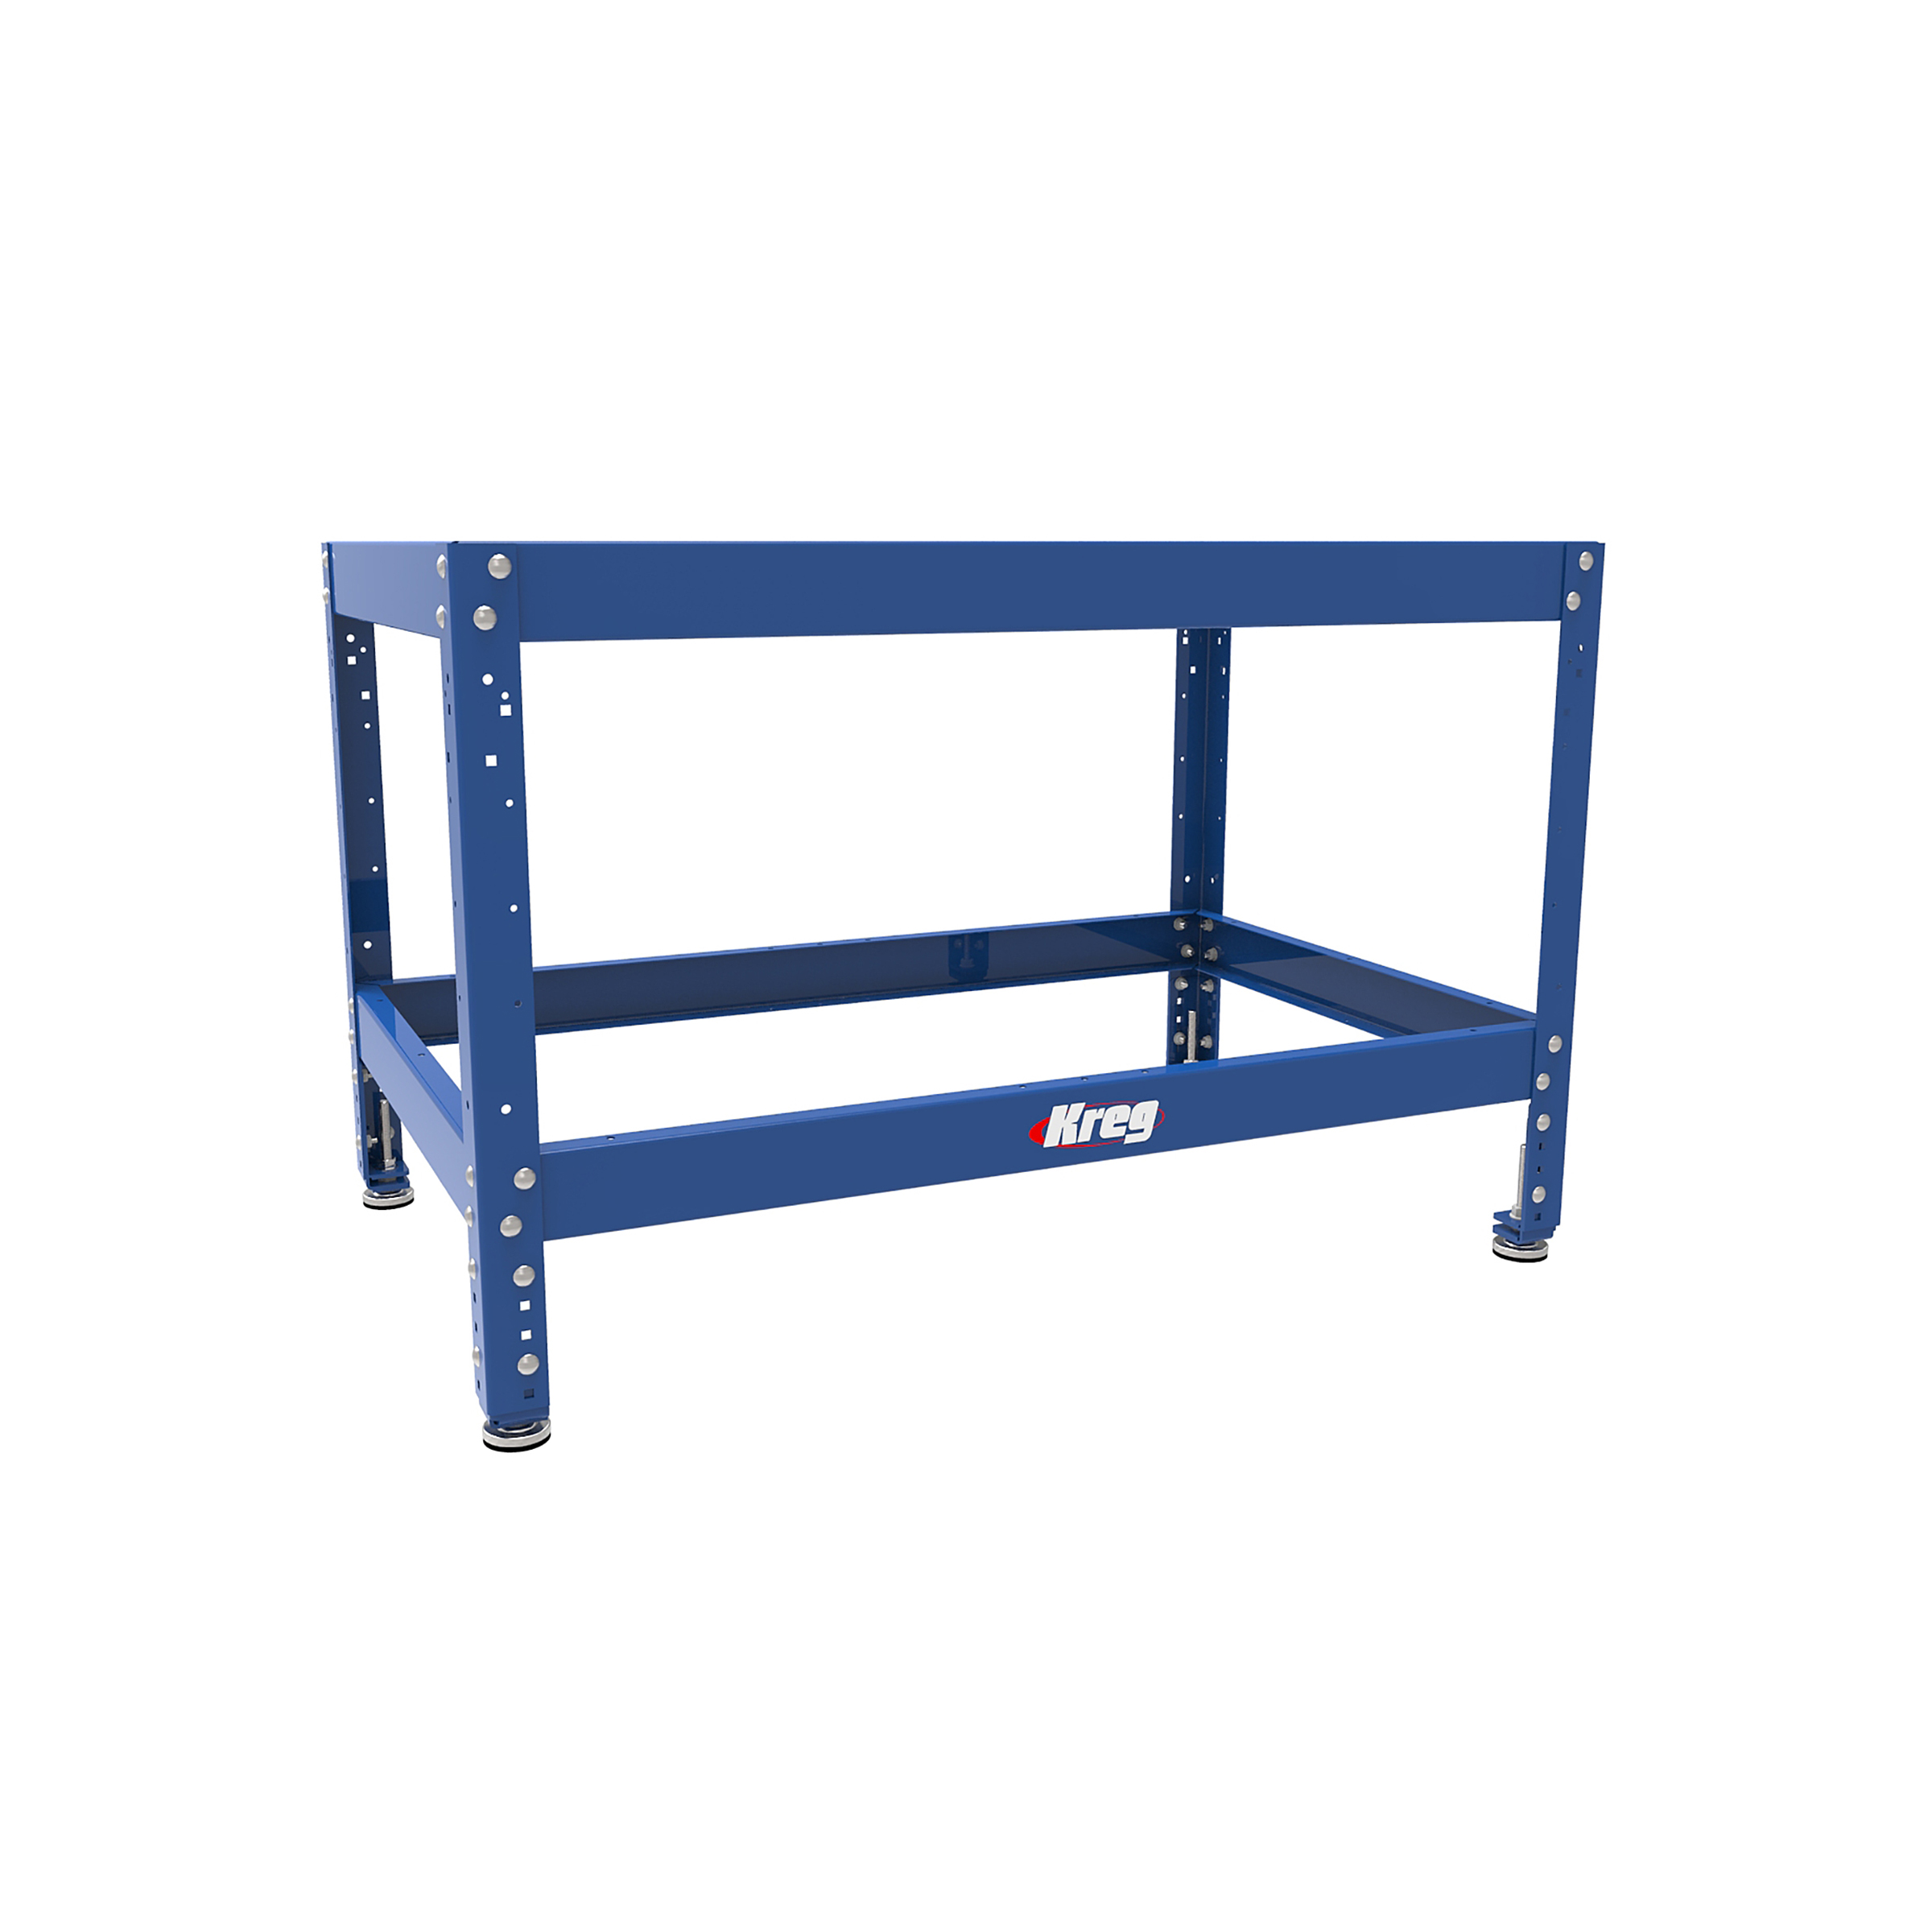
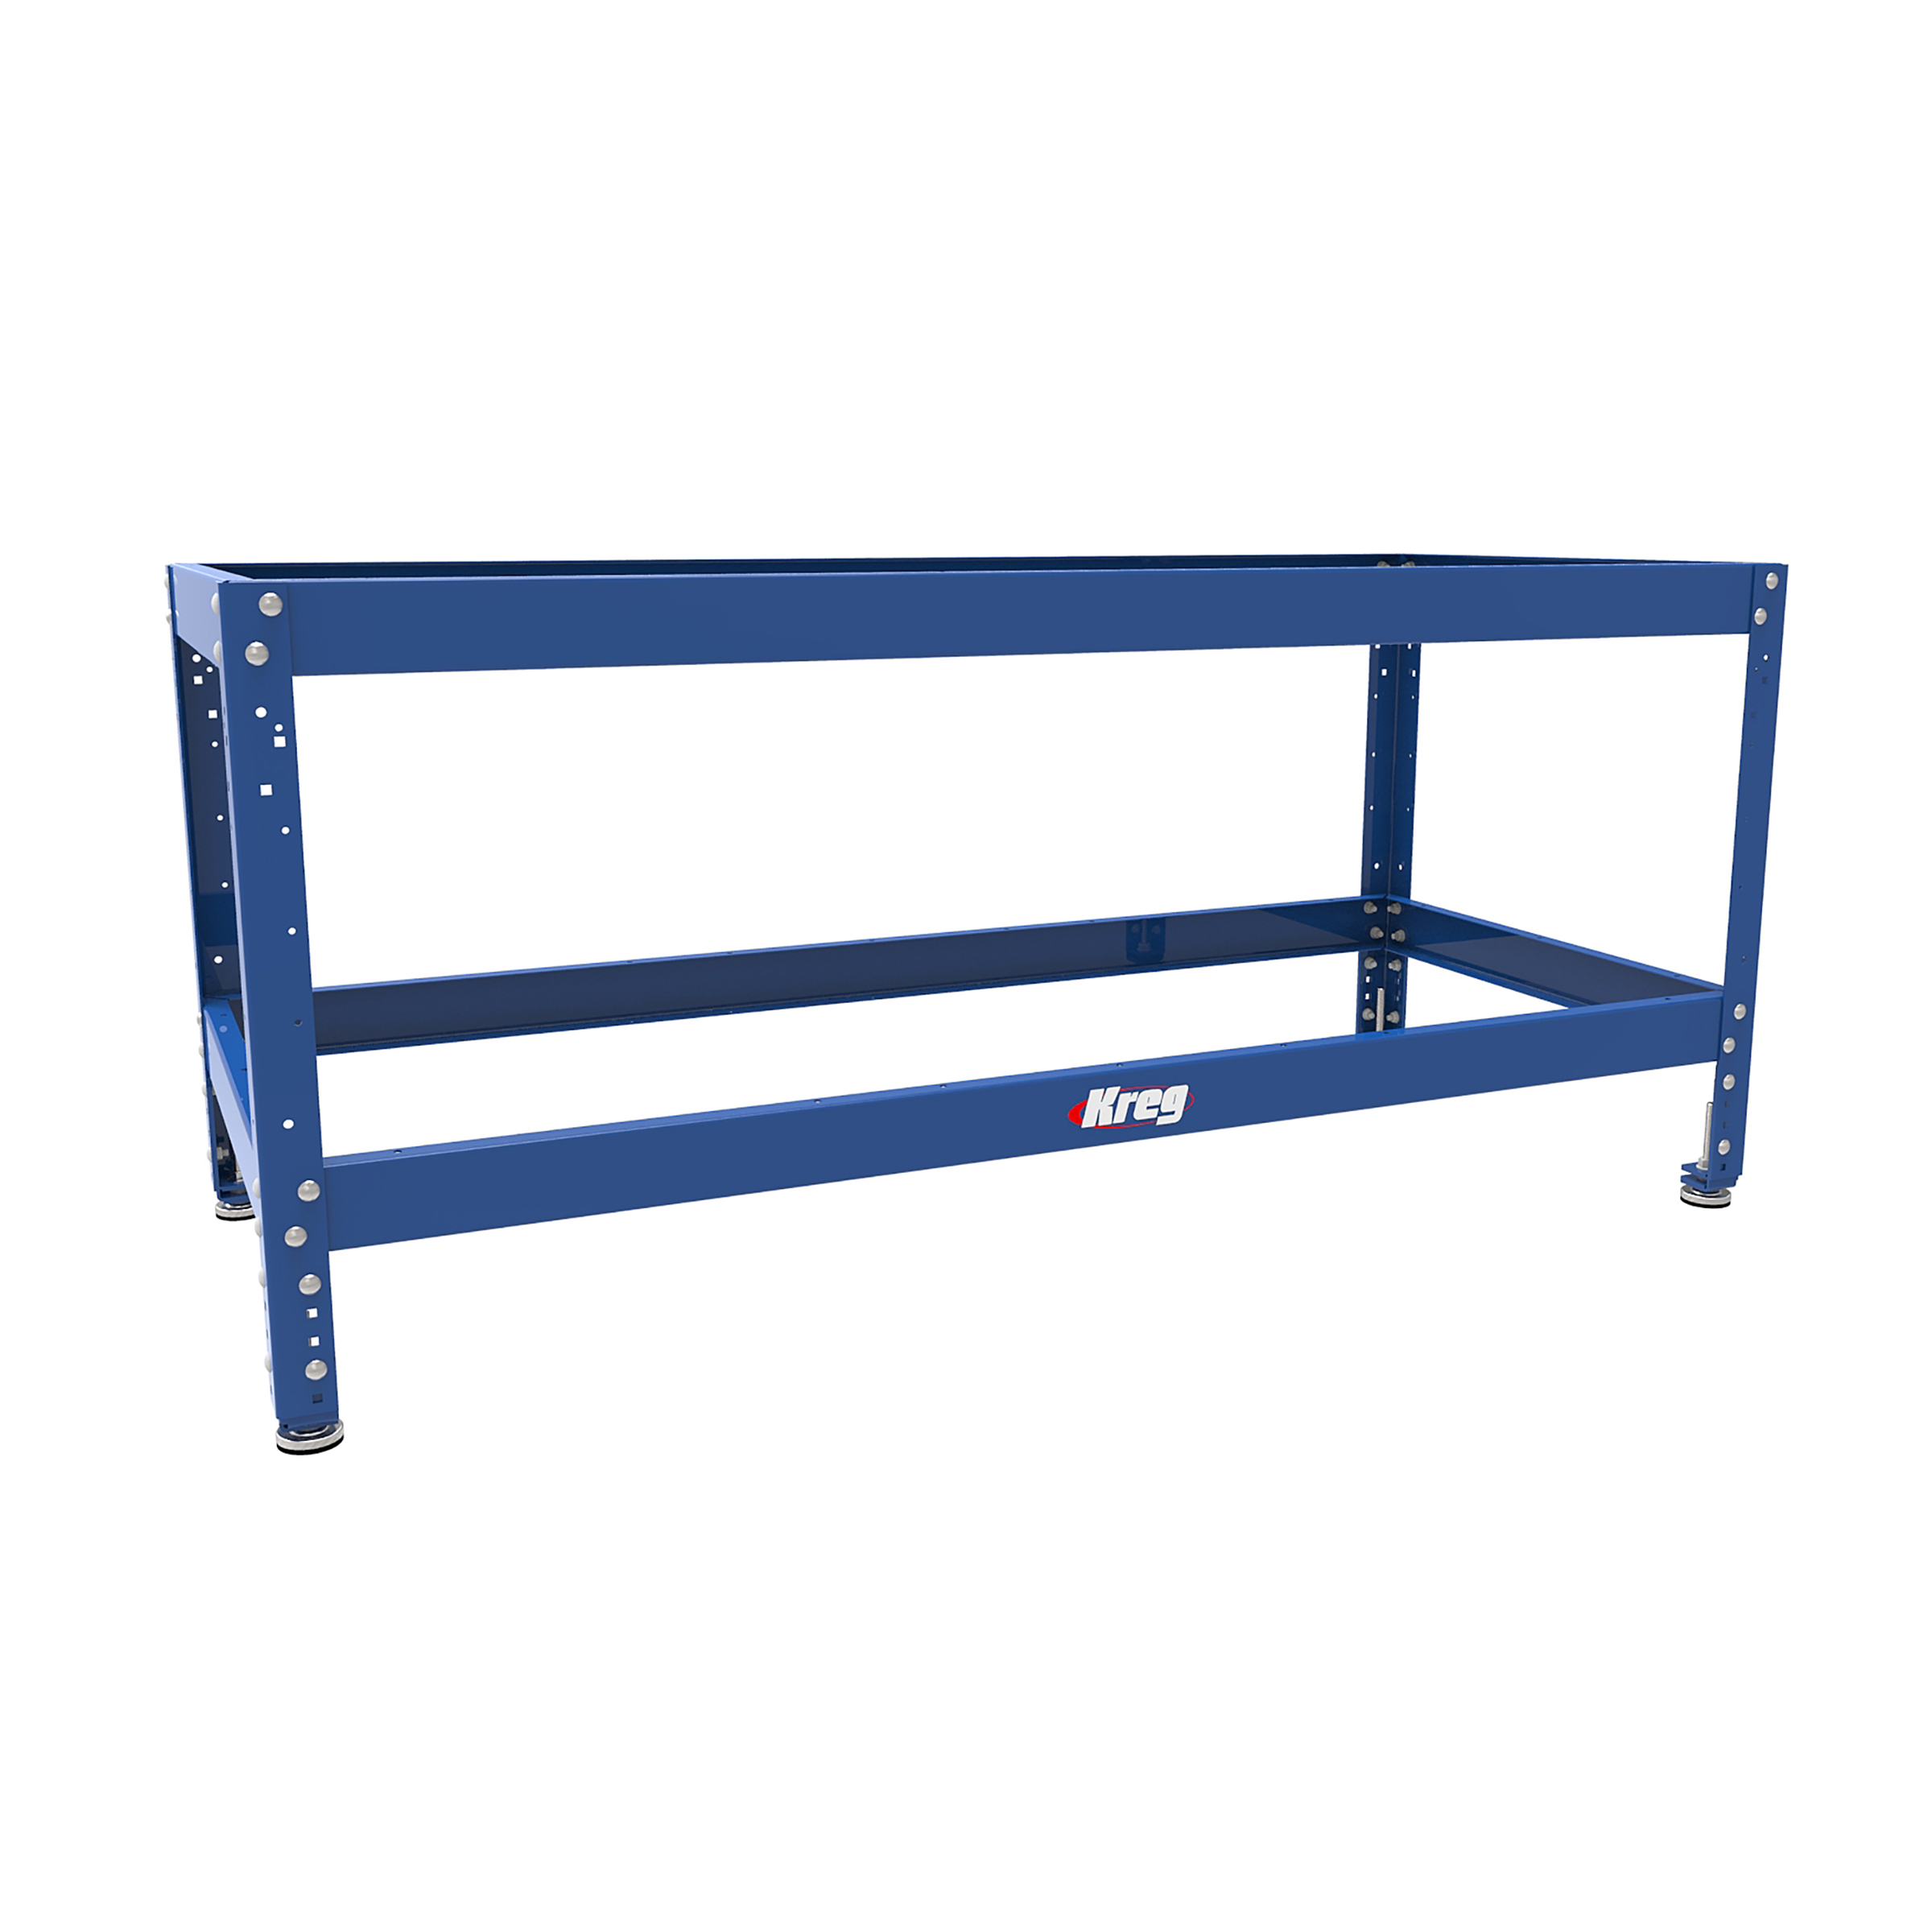
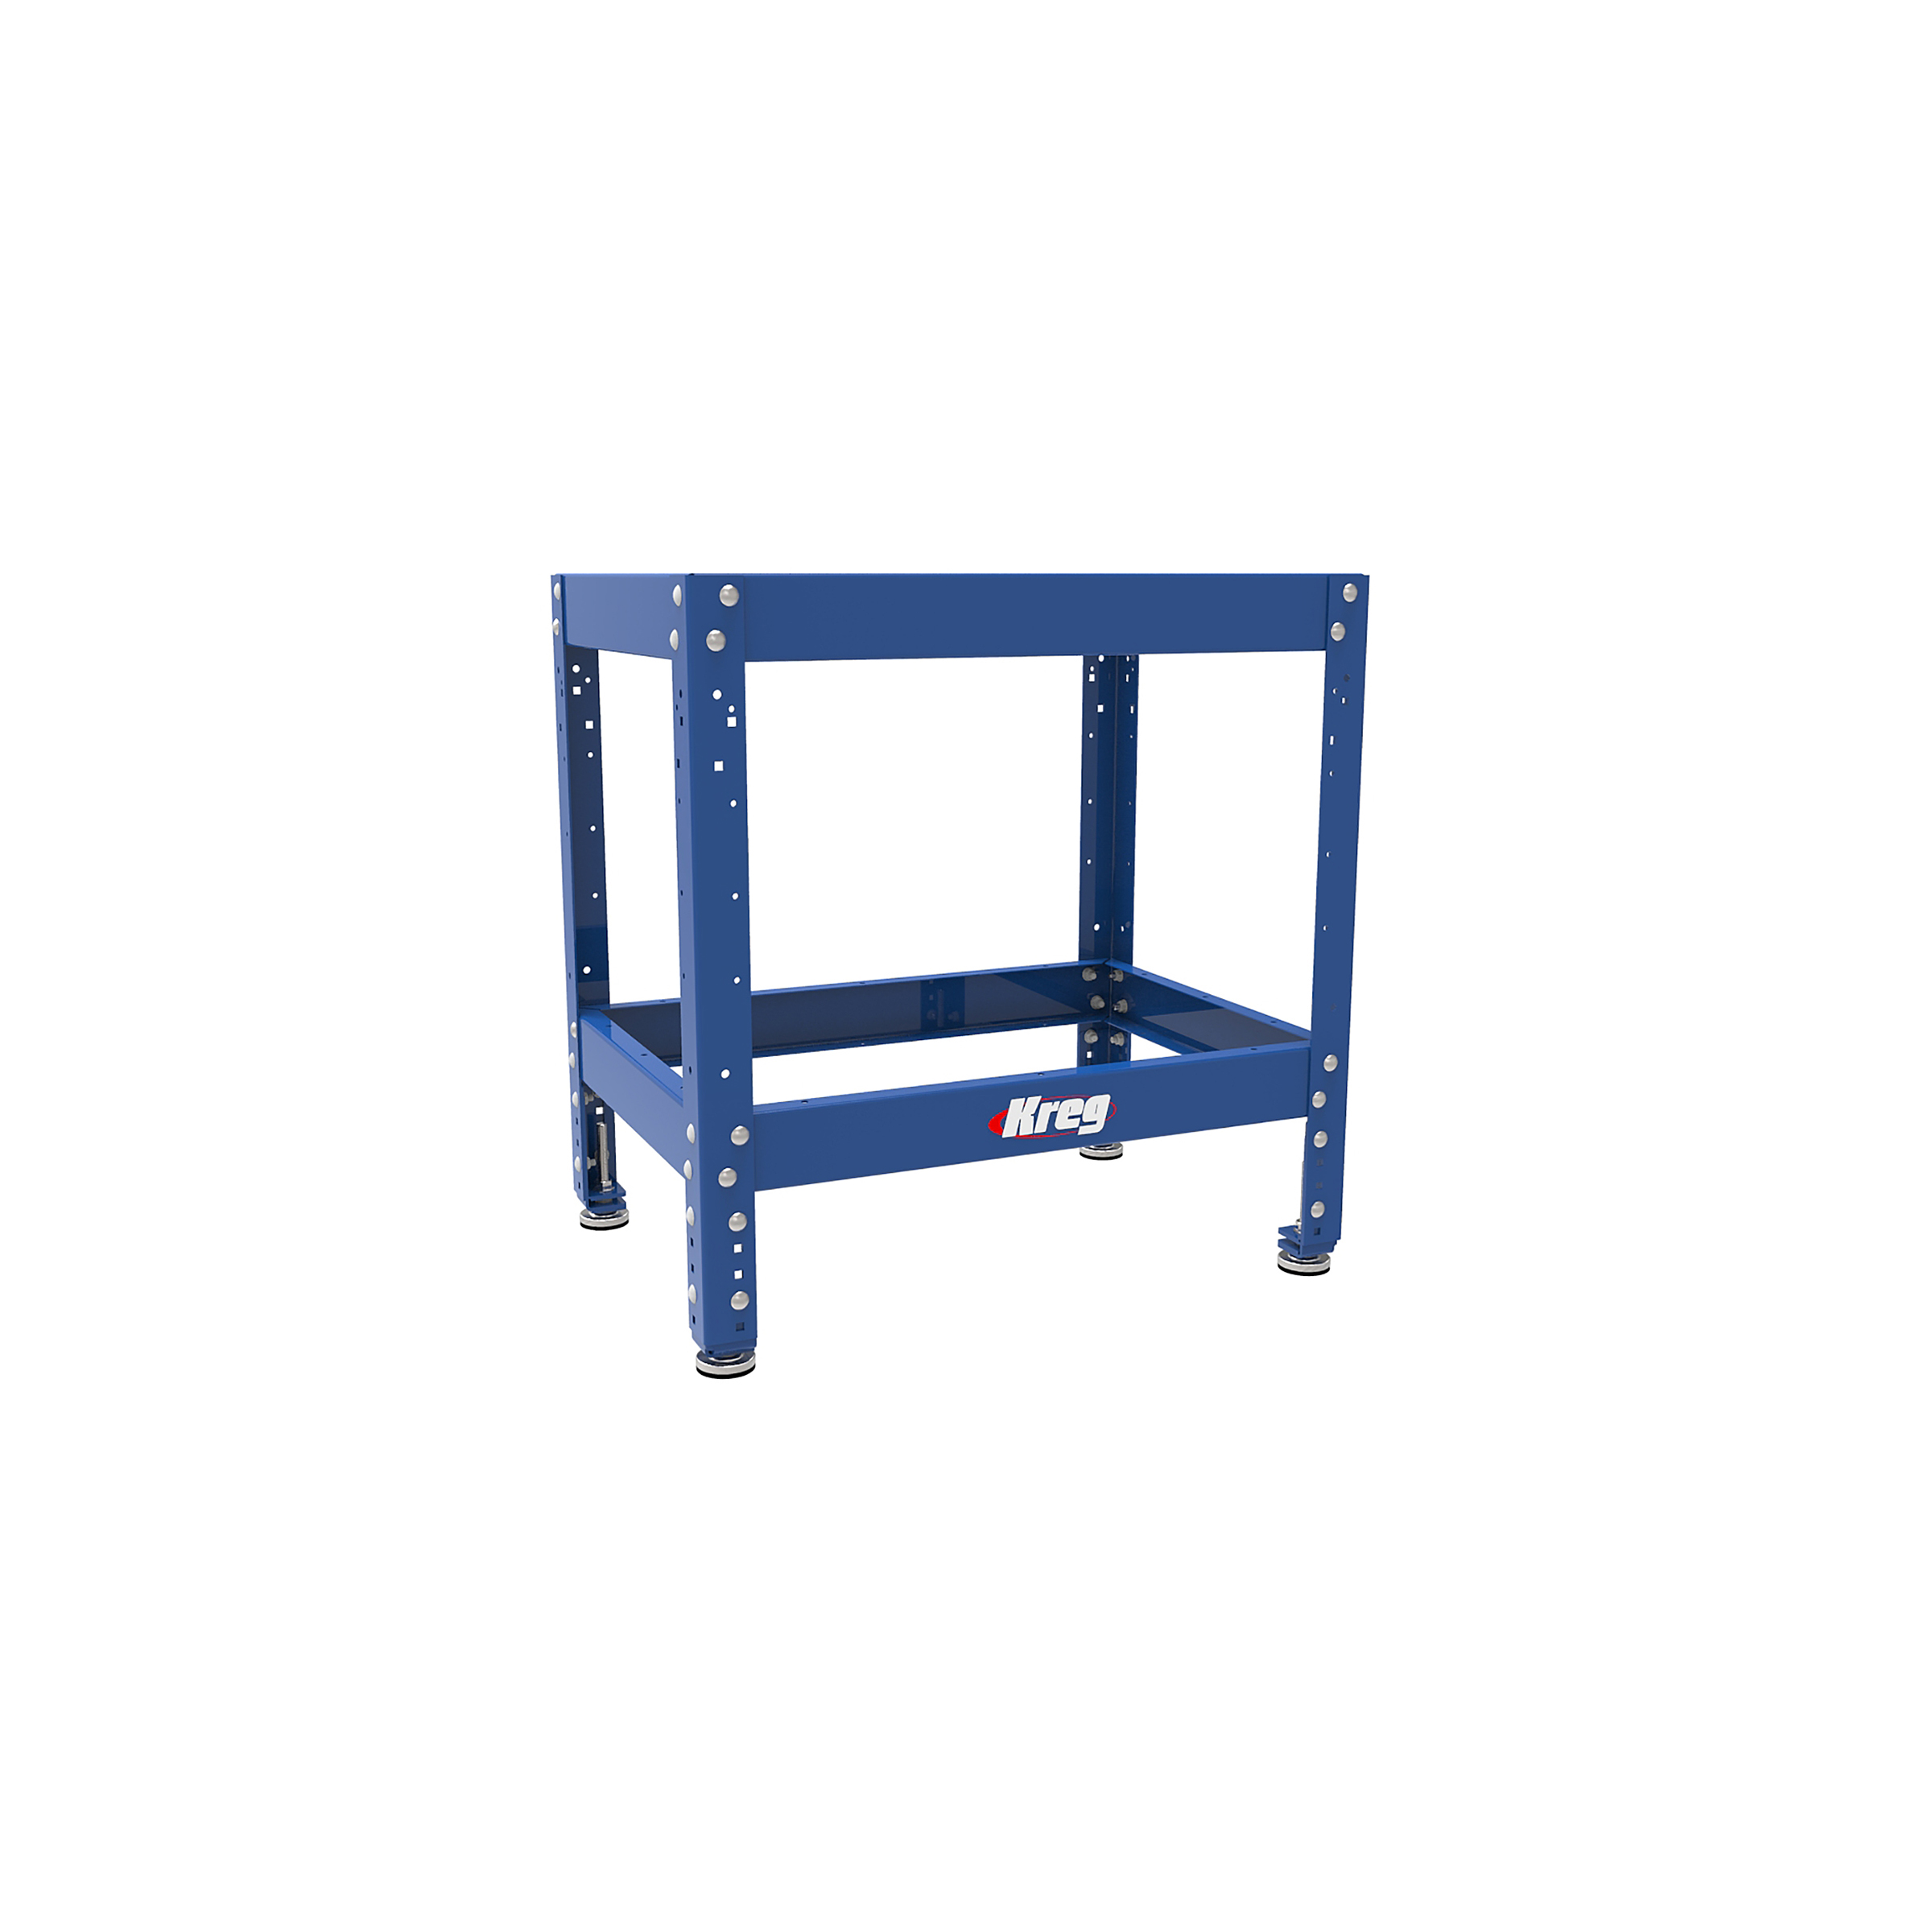
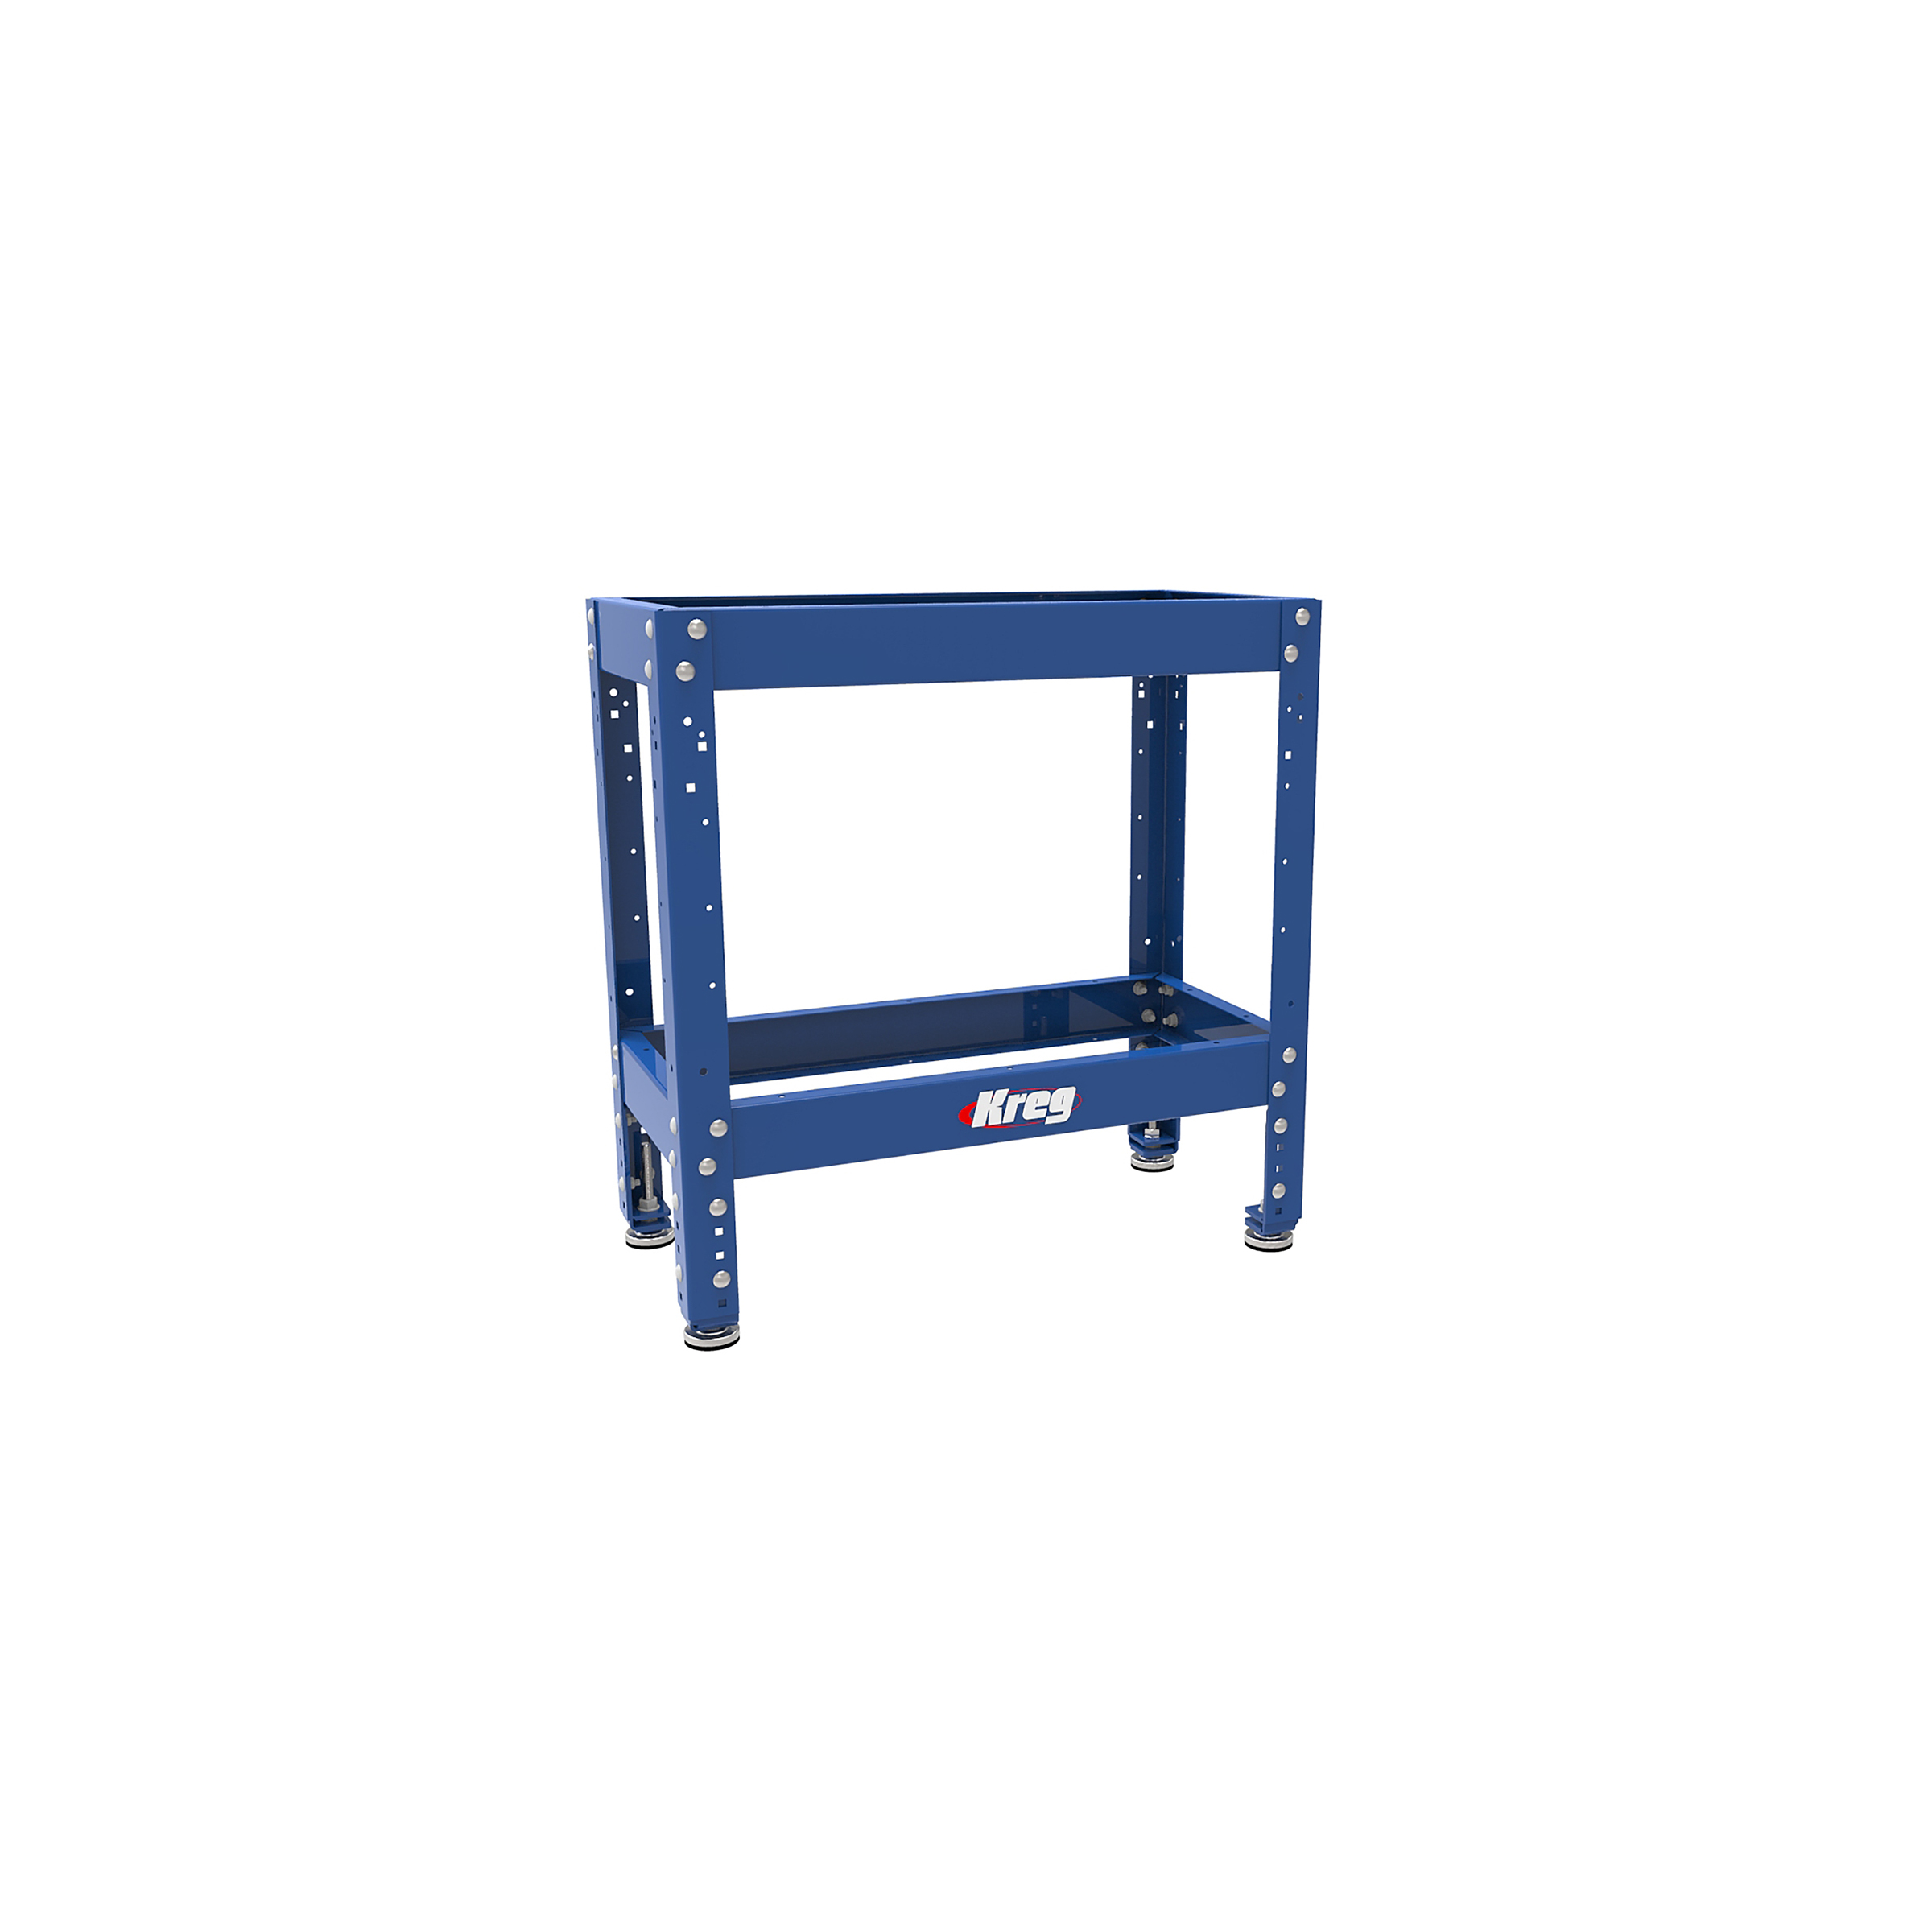
- 4 Universal Bench , 28x64, 28x44, 28x20, 28x14
Hardware & Supplies
- 1 Glue (32 oz)
- 100 1" Brad nails
- 1 ¾" pocket hole screws that come with the benches (see tools list)
- 1 Box of 1-¼” pocket hole screws ~100 (See tools list)
- 1 Box of 2” pocket hole screws ~30 (See tools list)
- 1 Box of ¾” screws ~20
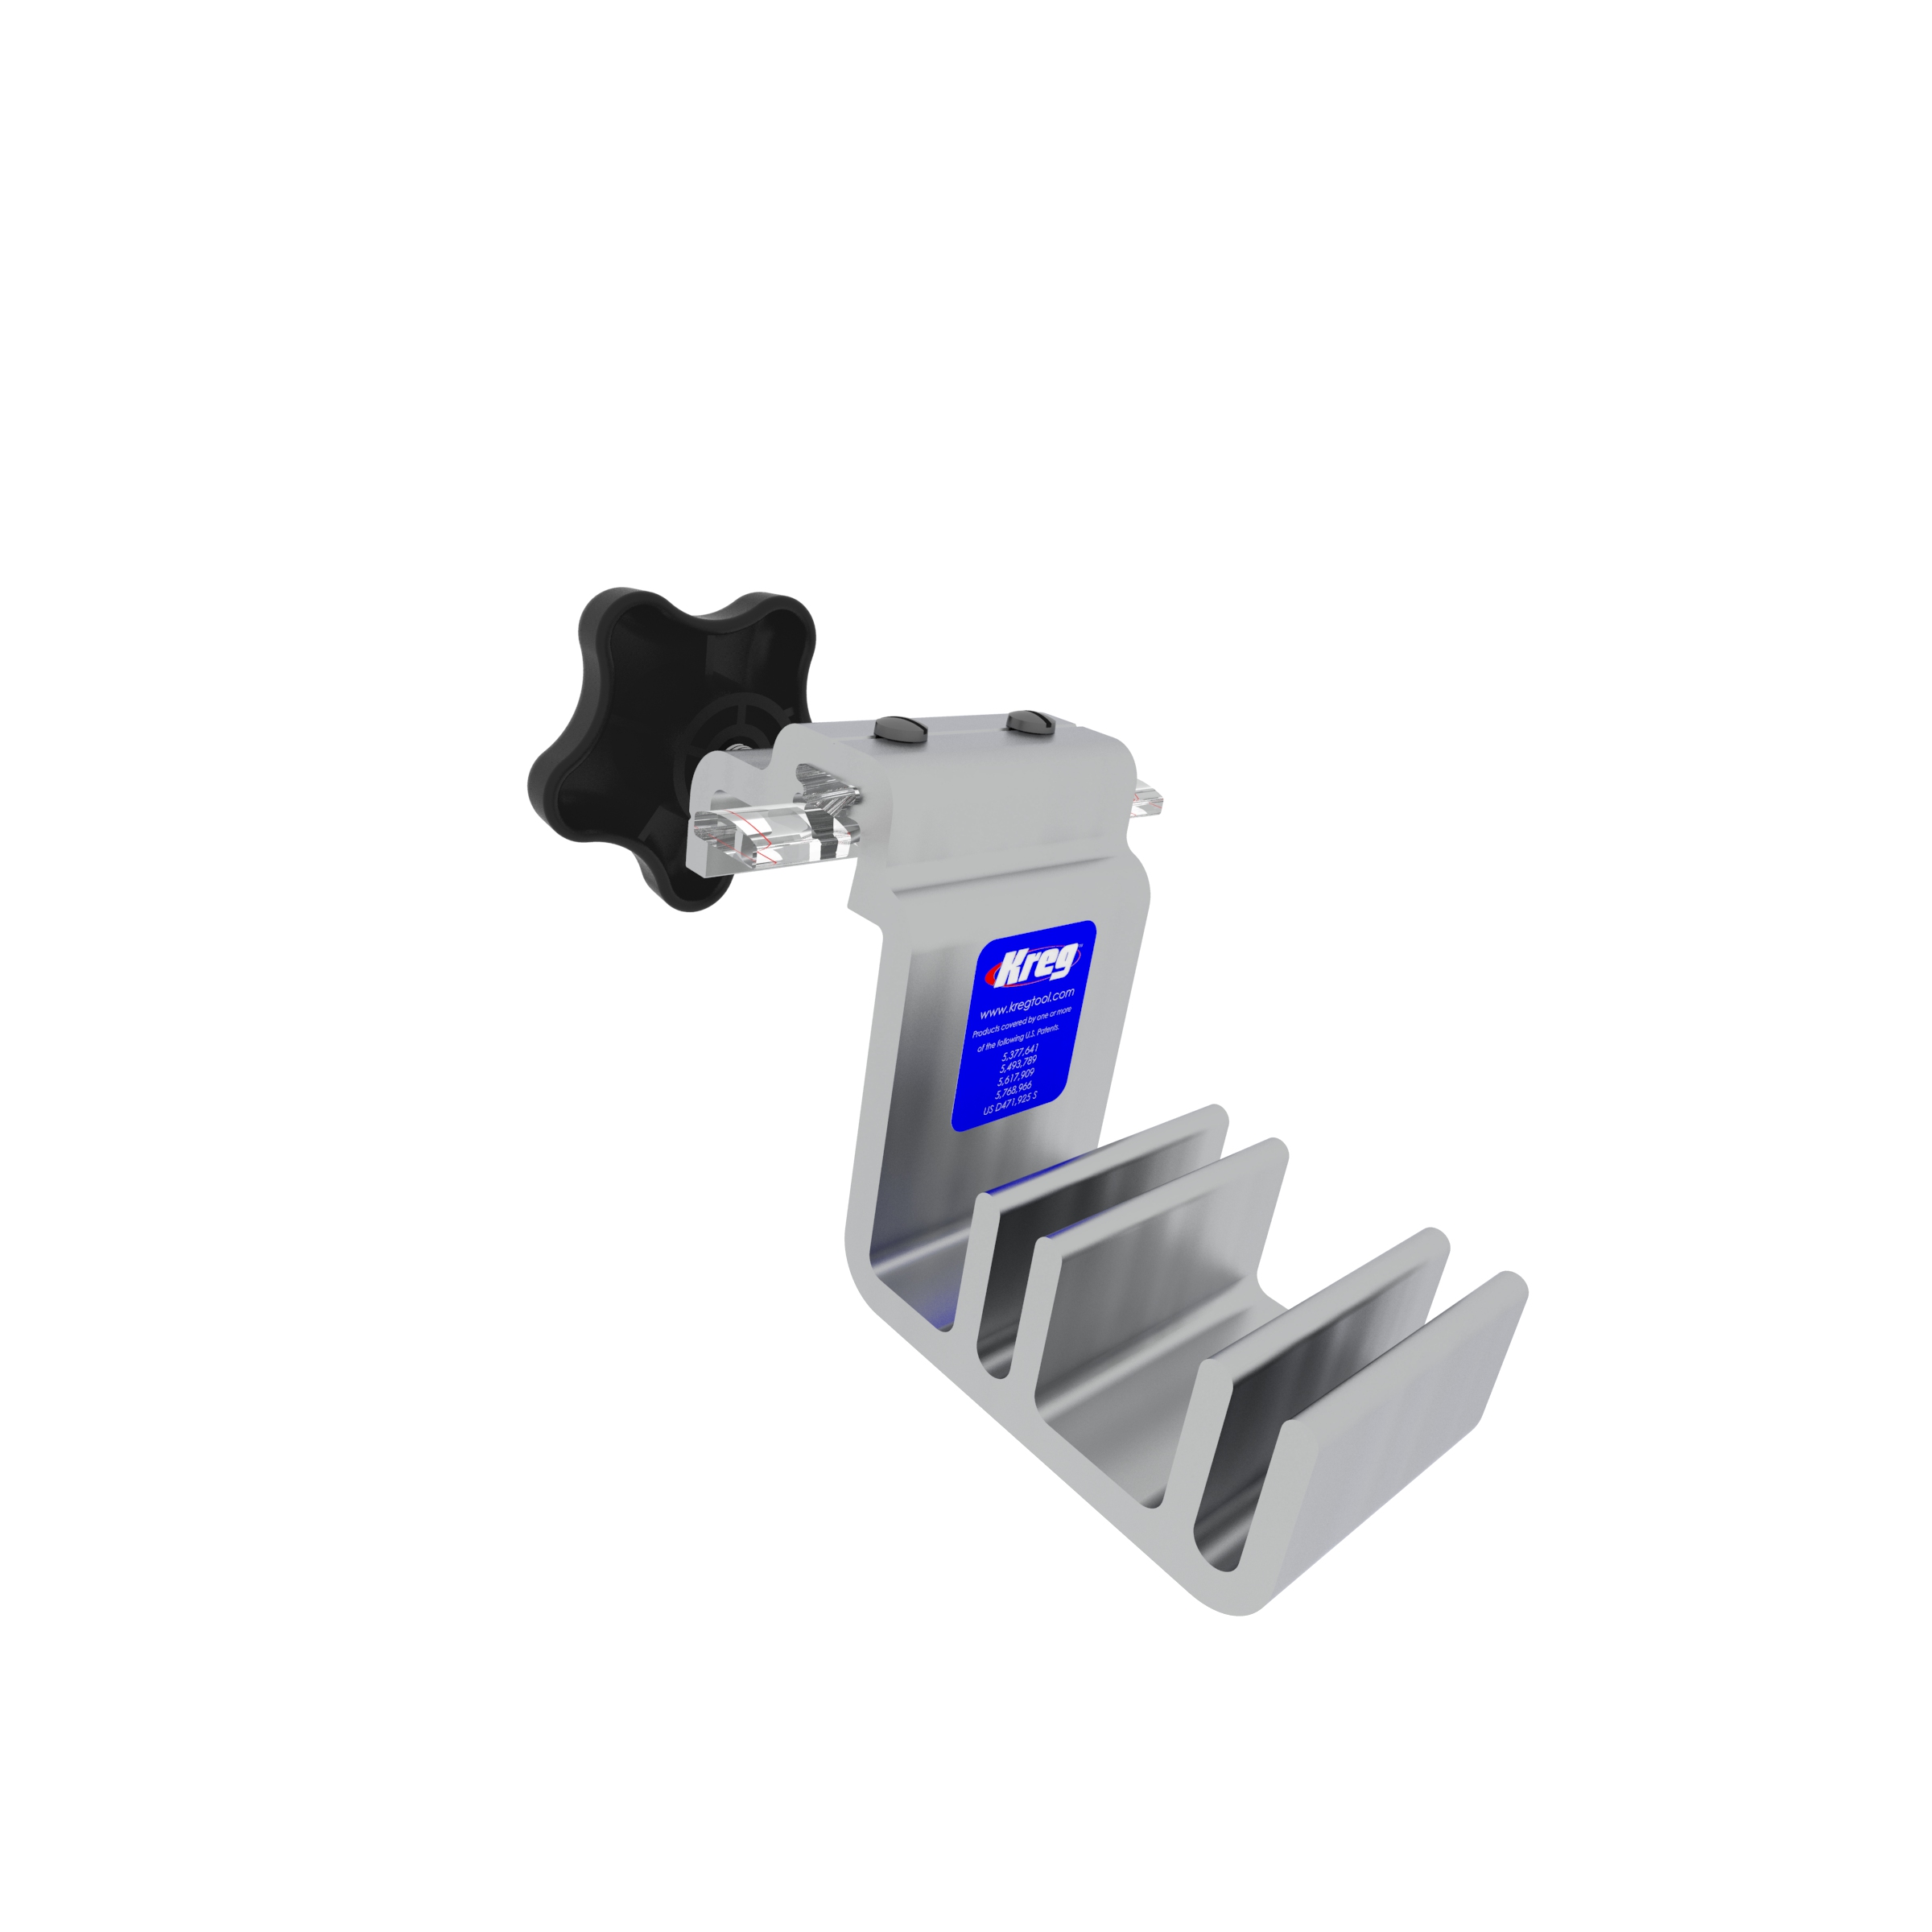
- 2 Production Stop (See tools list)
- 2 Swing Stop (See tools list)
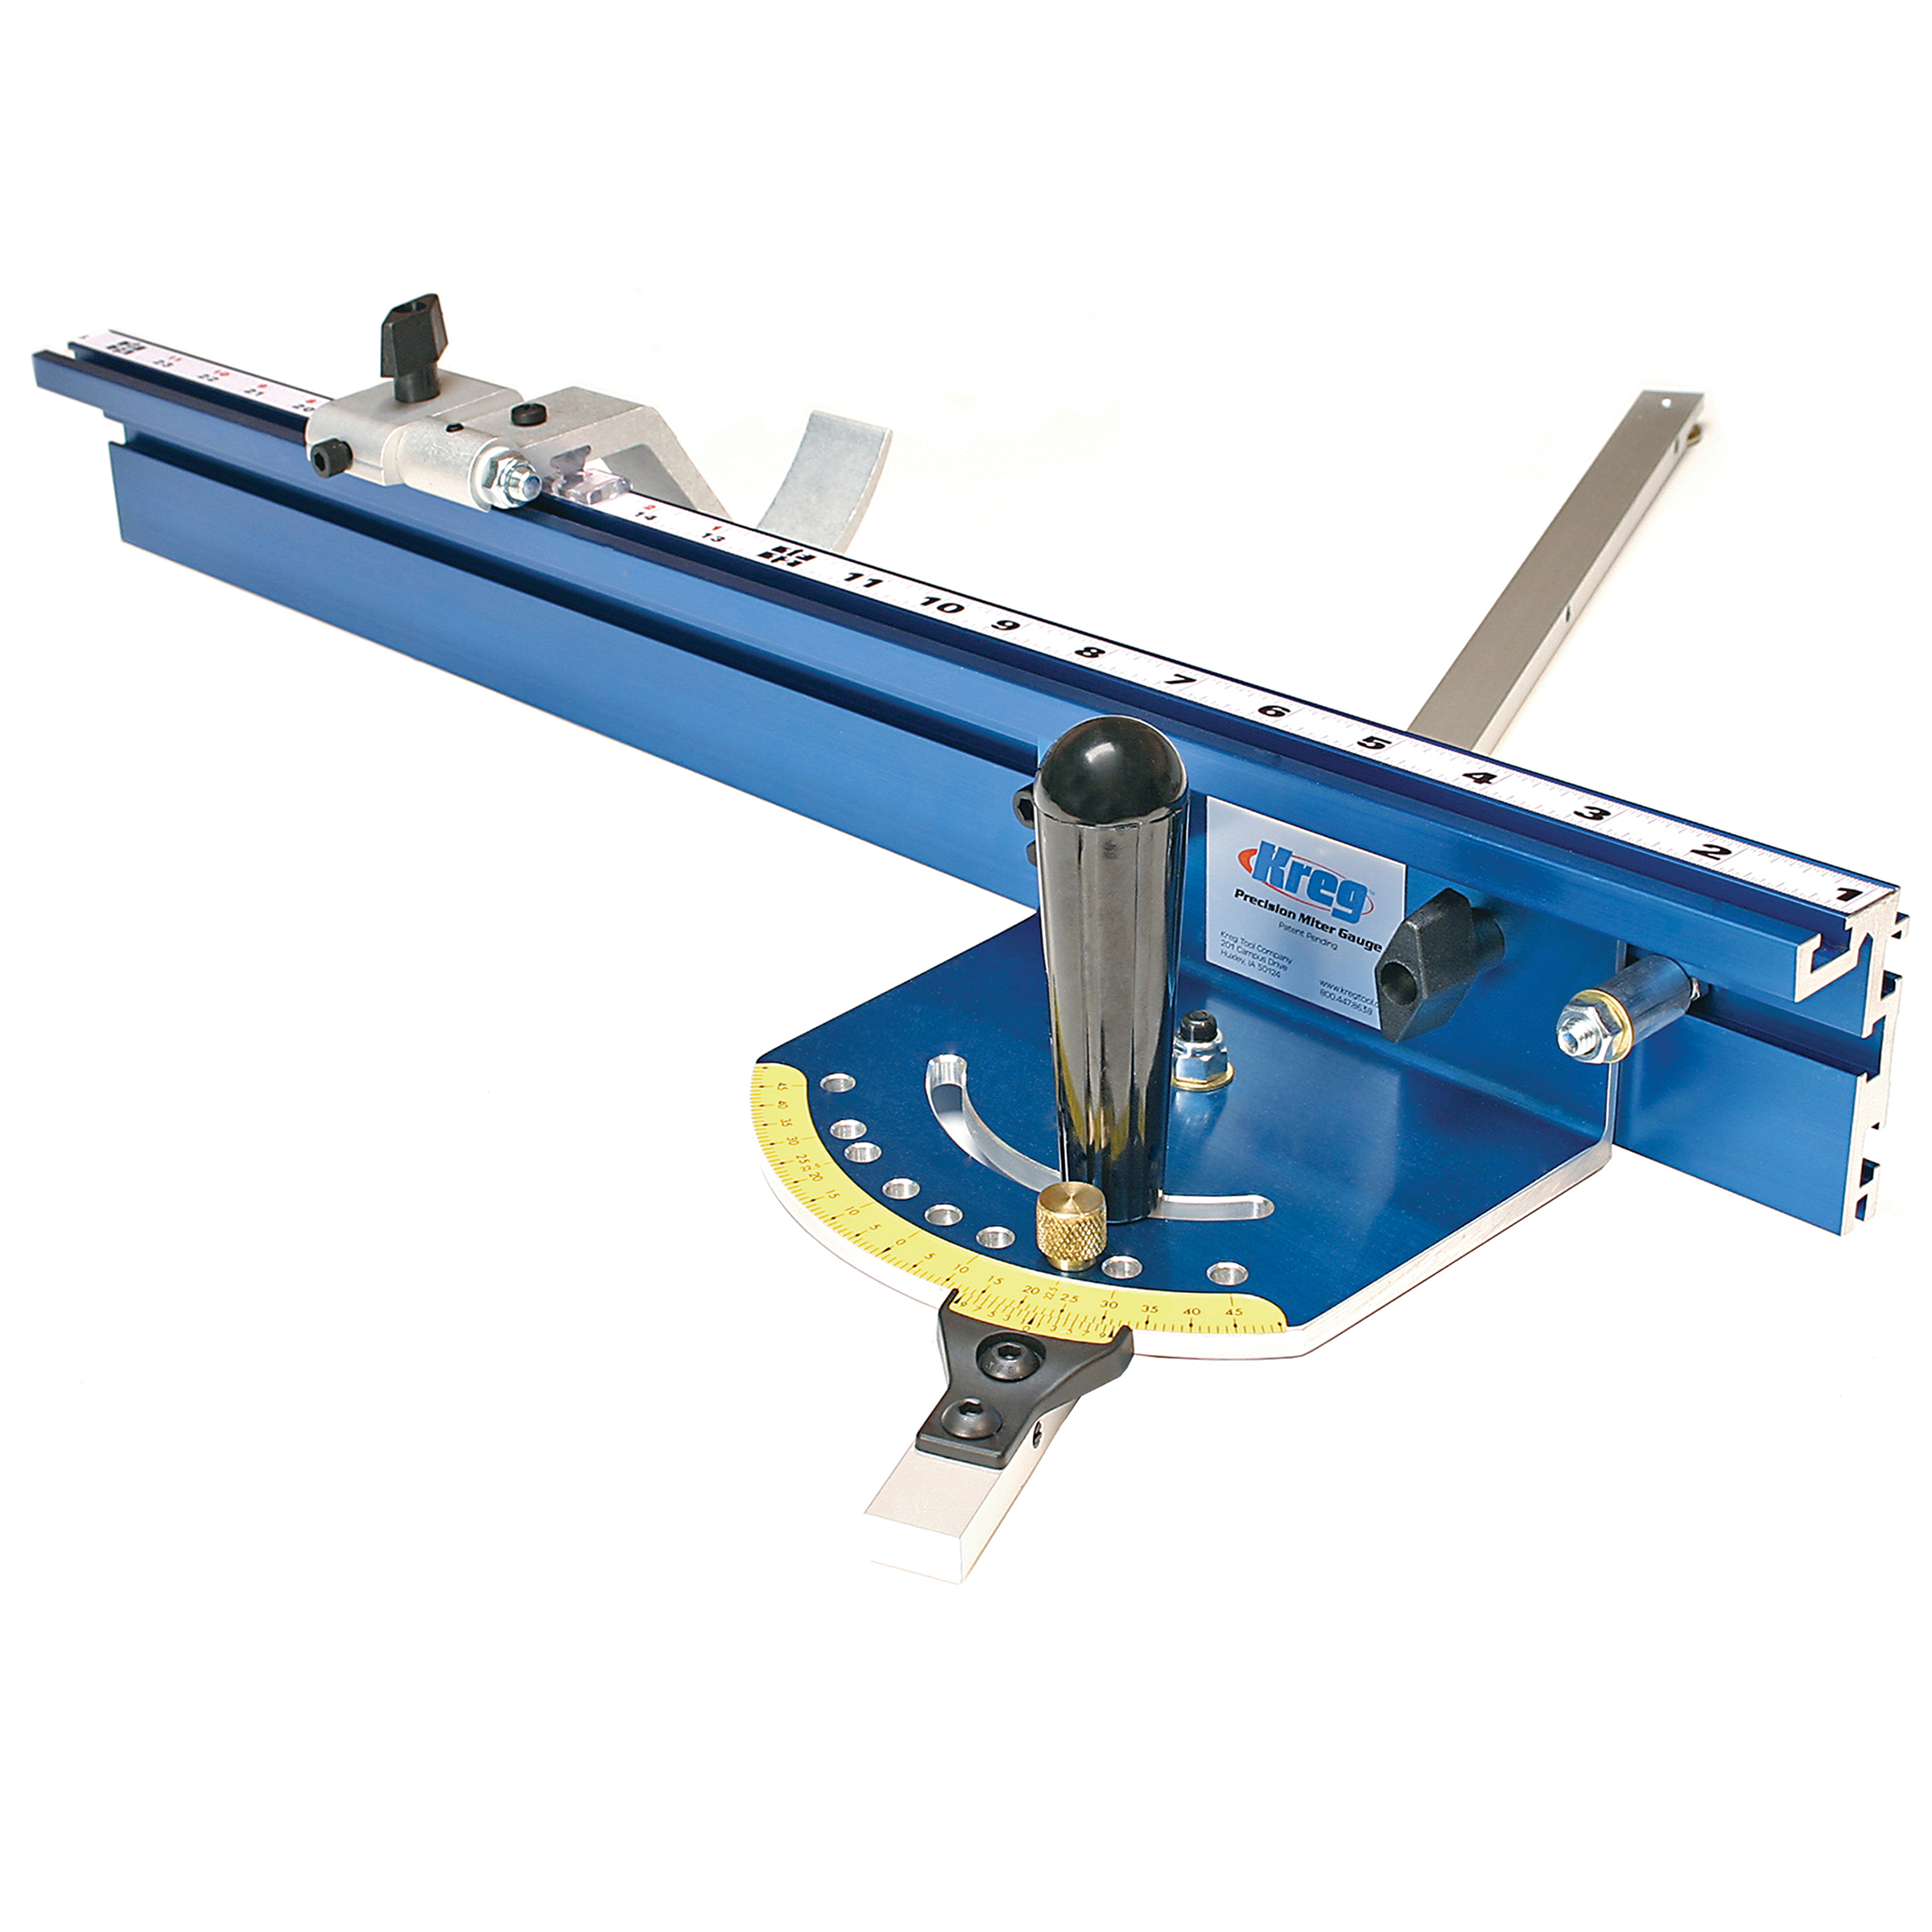
- 2 Precision Miter Gauge System (See tools list)
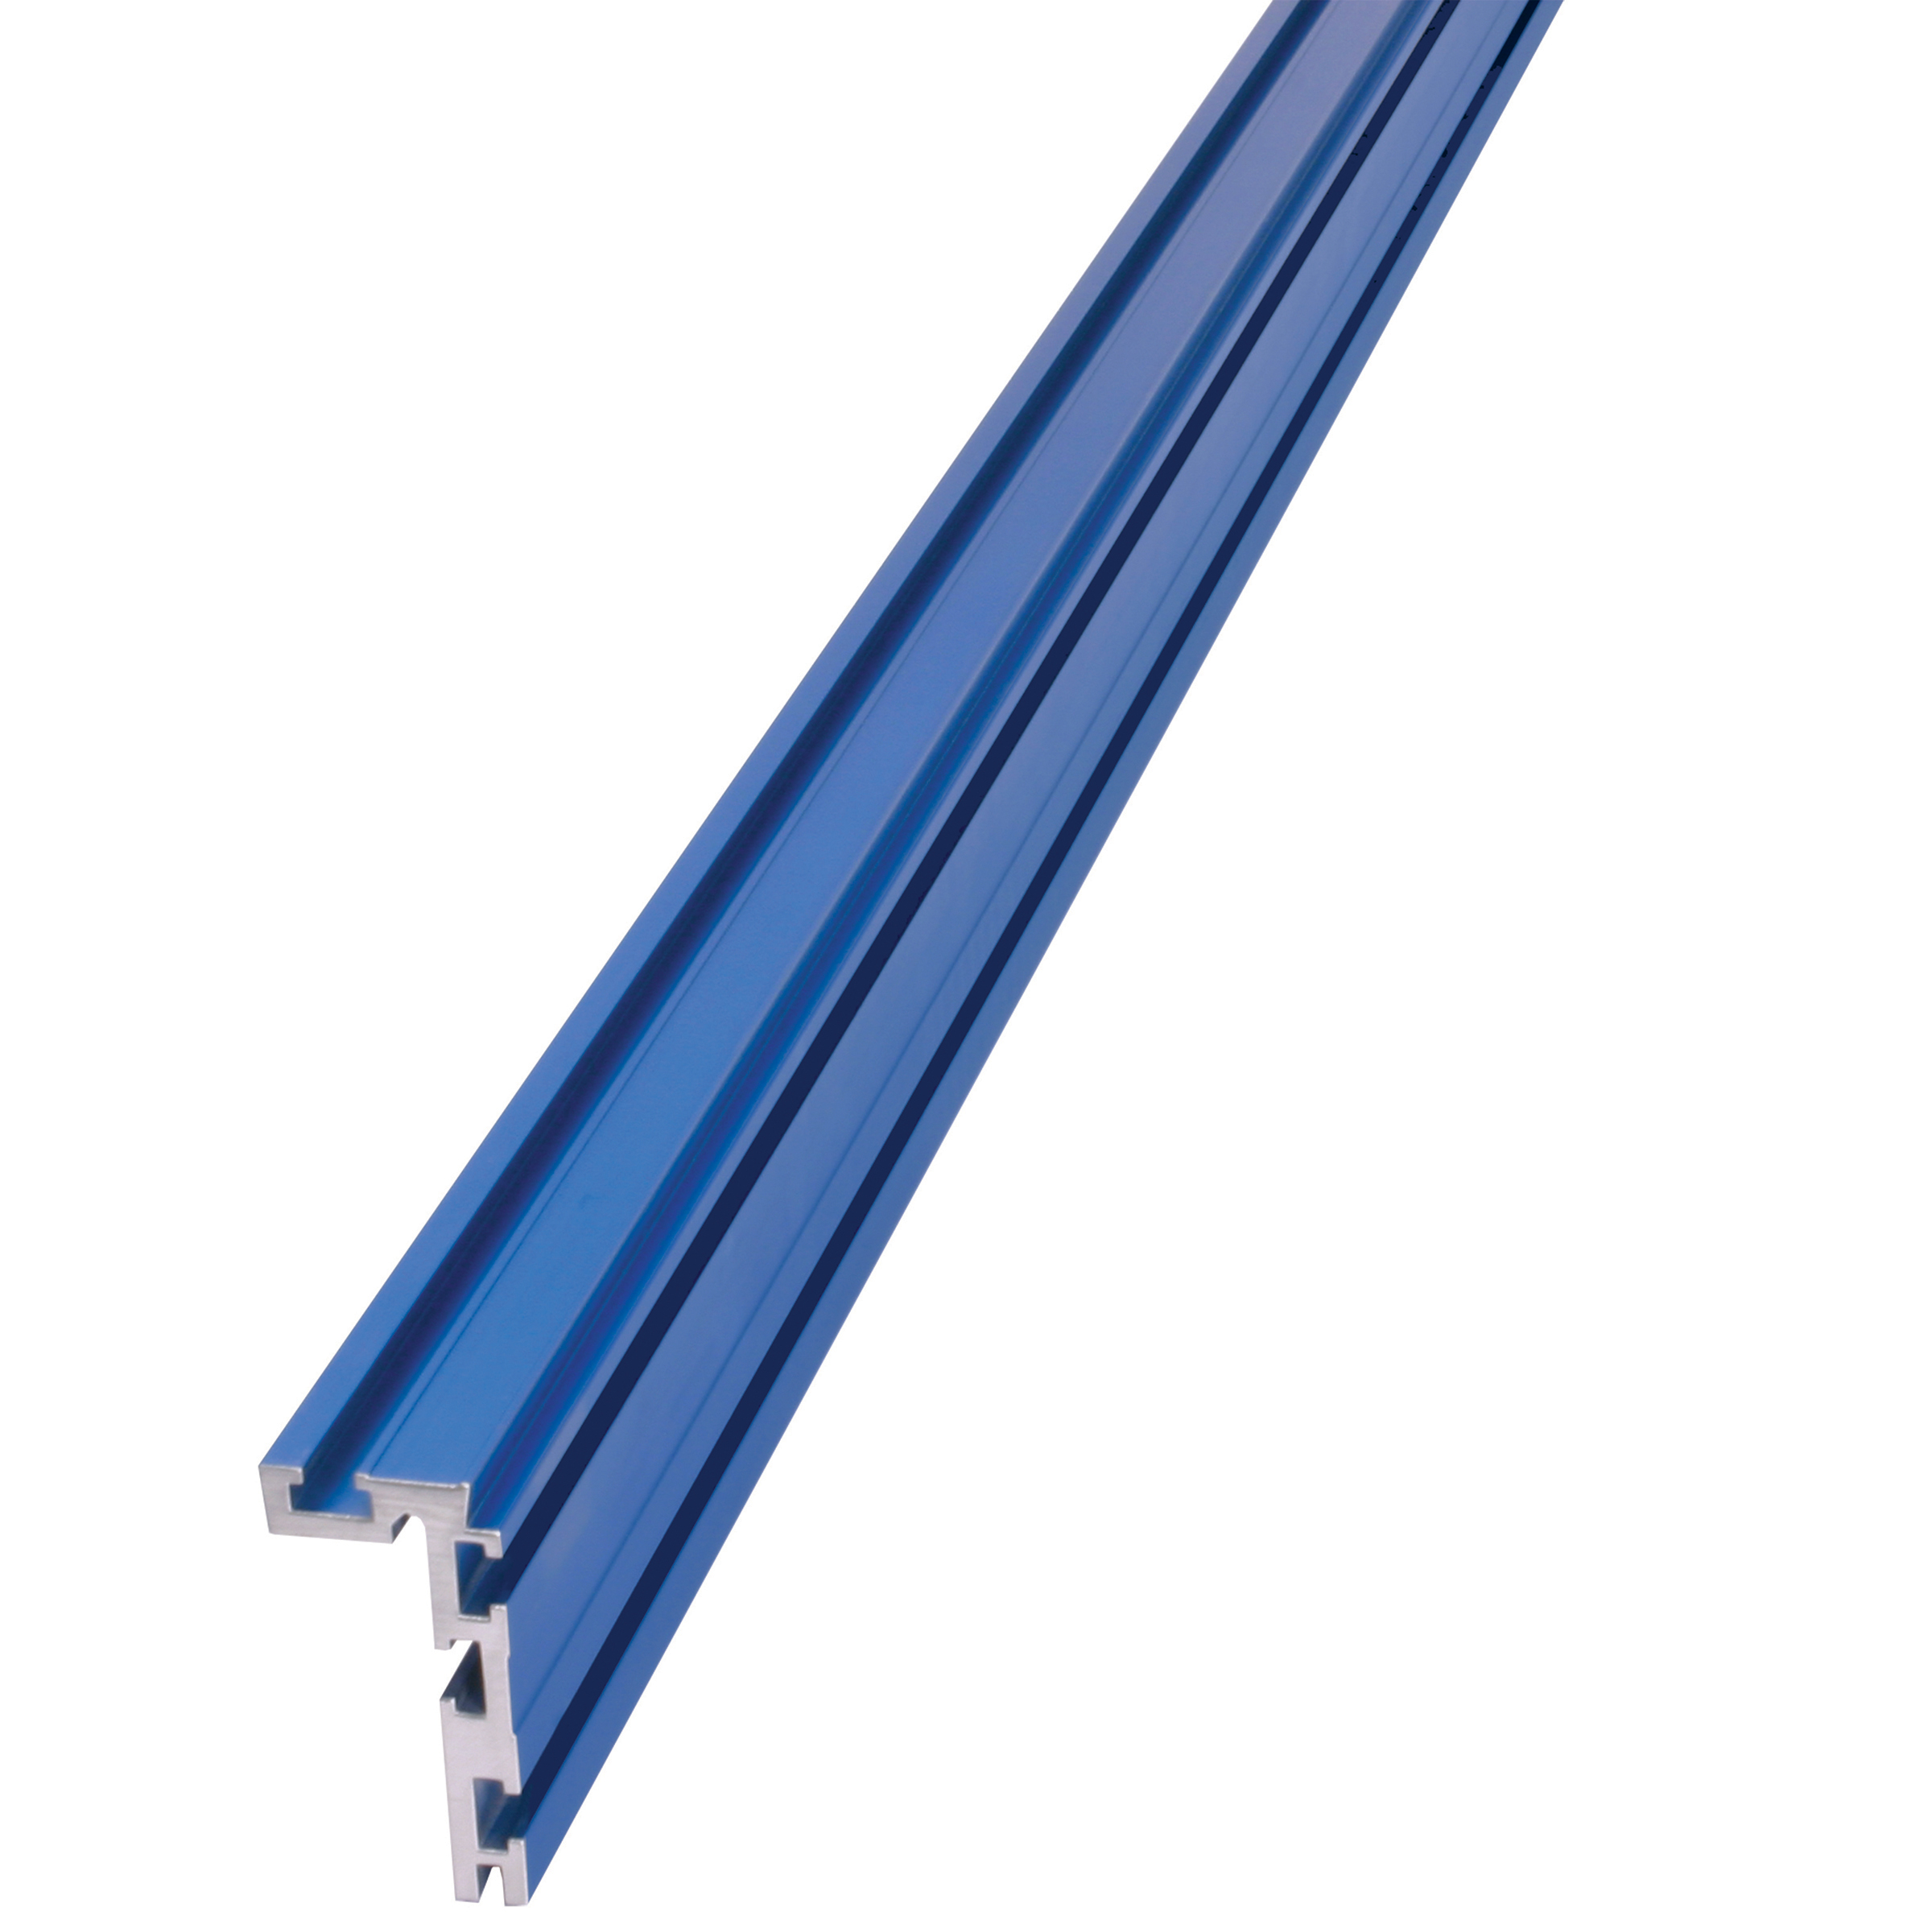
- 5 Heavy Duty Trak (See tools list)
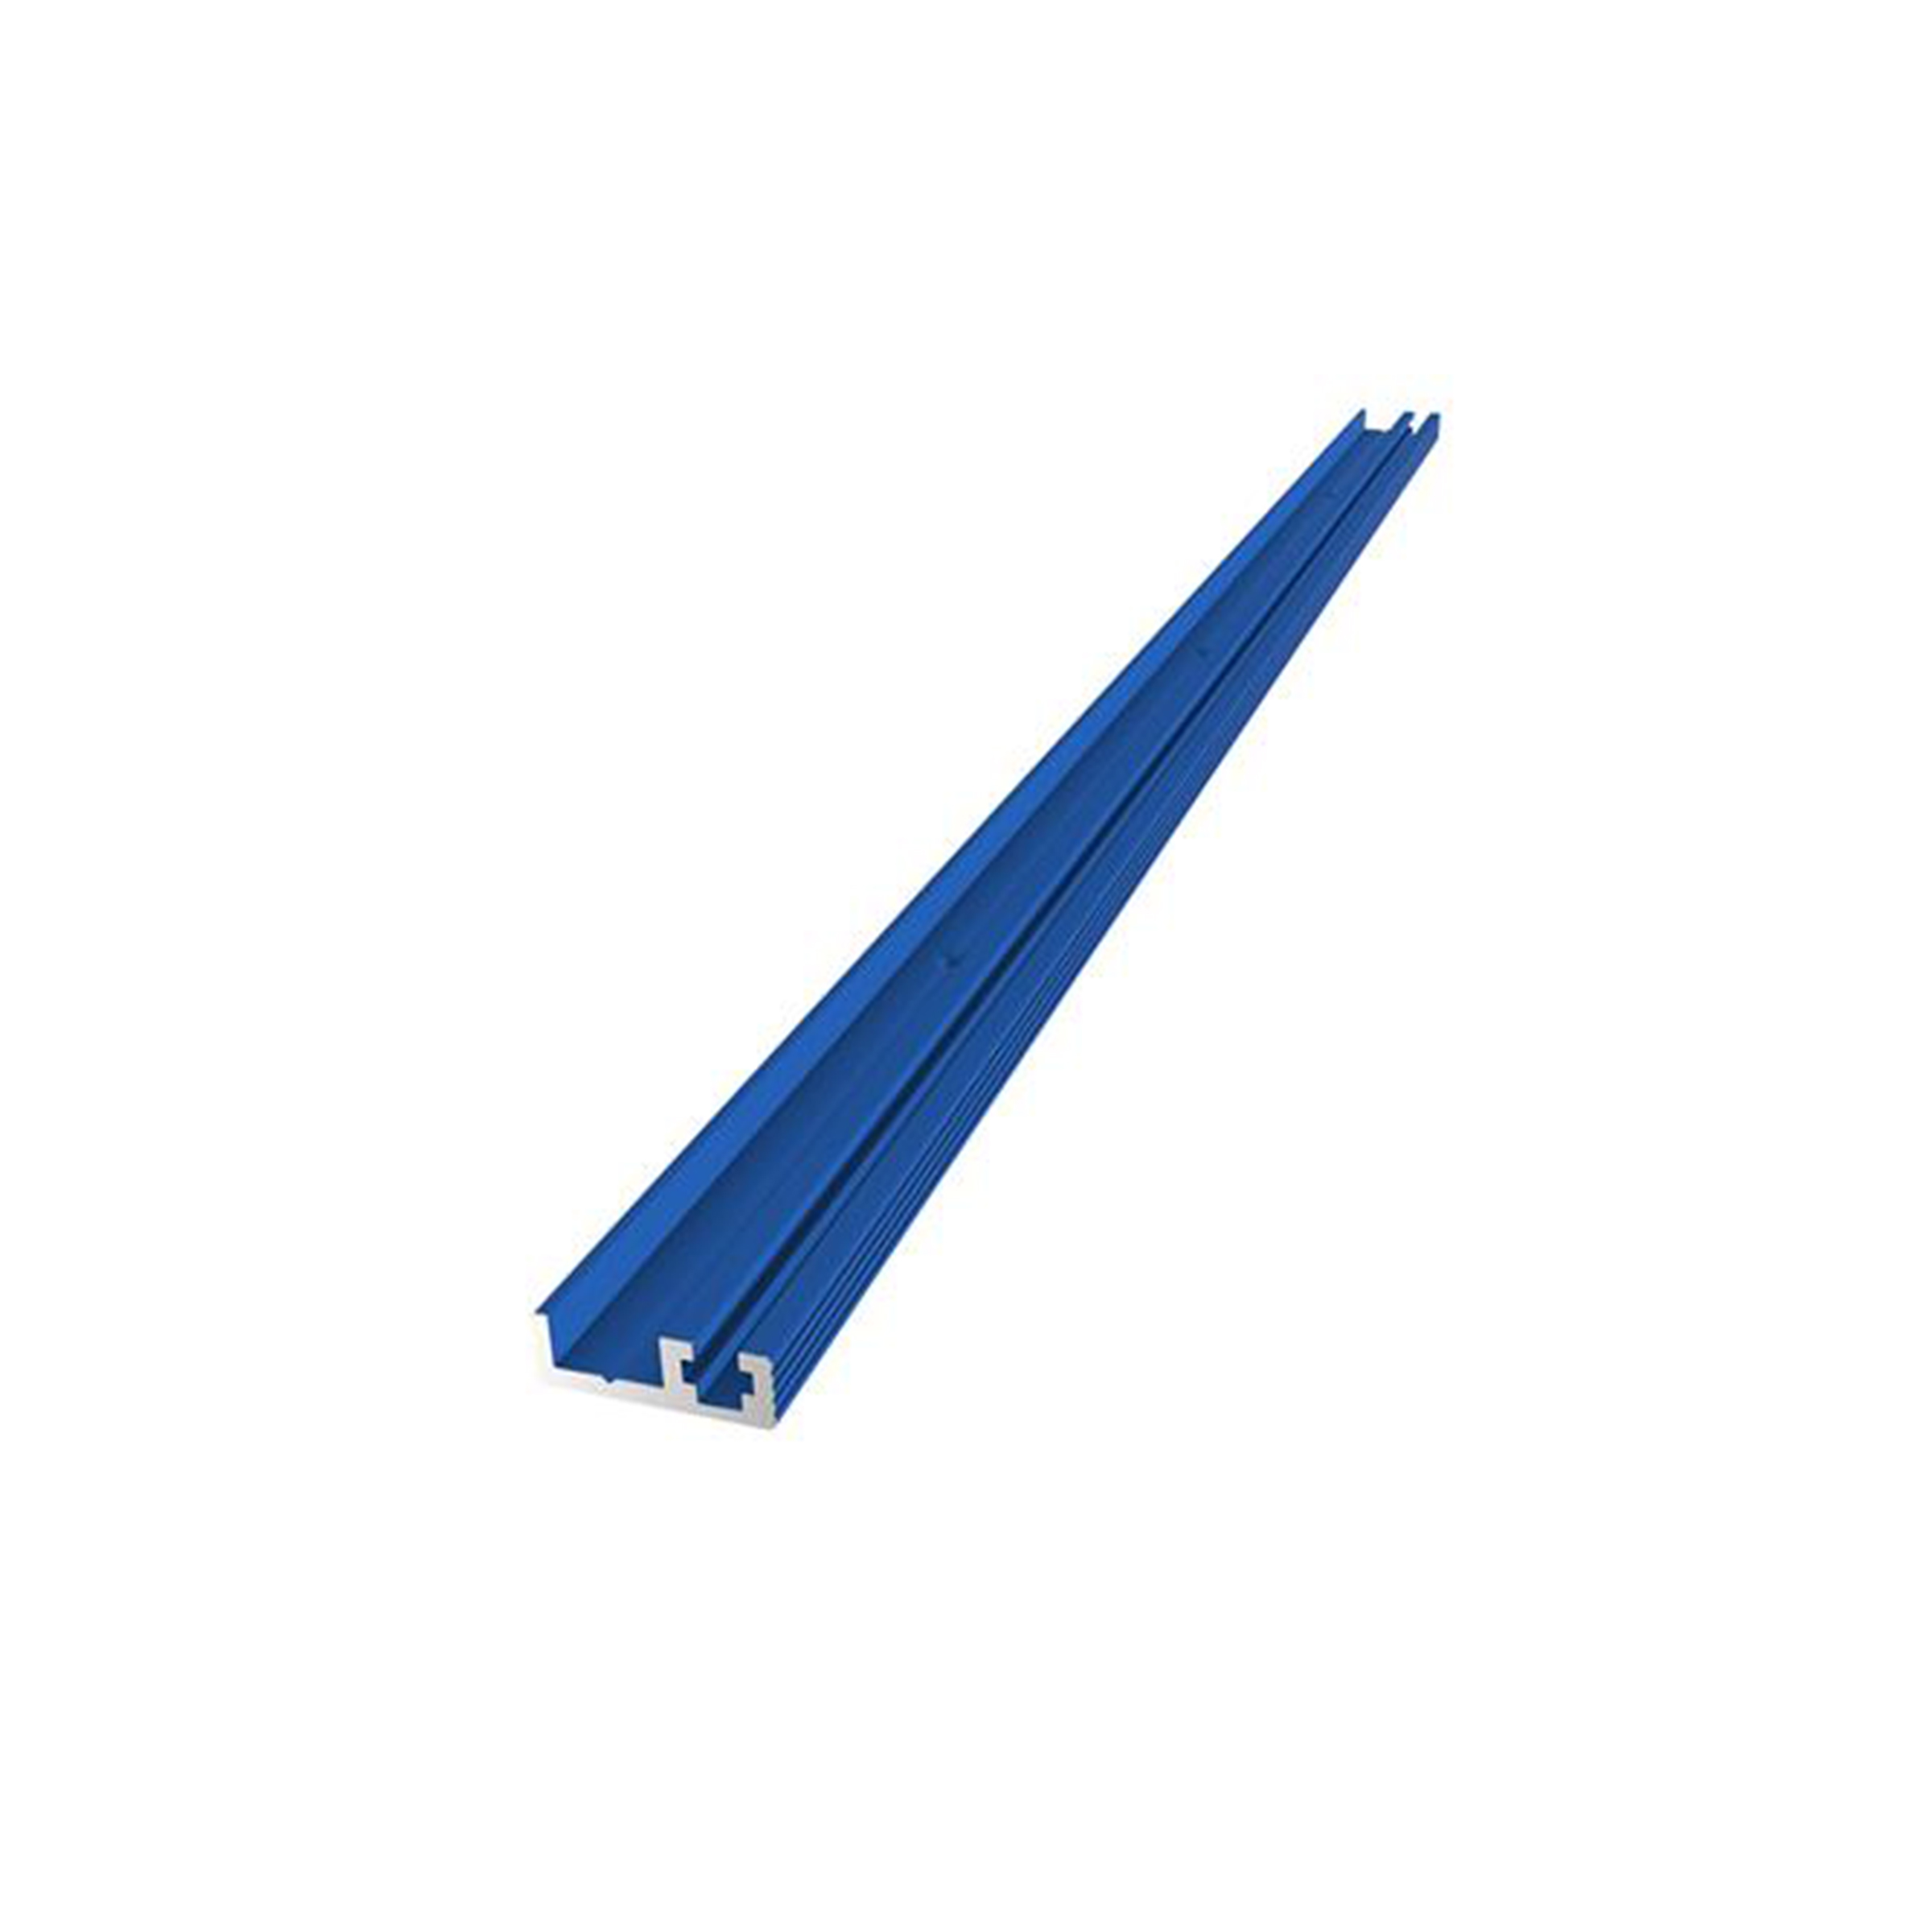
- 4 Combo Trak (See tools list)
Directions
-
Bench Layout
To start things off I go ahead and get all of the Kreg benches assembled and in position. I also go ahead and level all of the benches and radial arm saws that will be part of this station. A little extra time making sure everything is level and continuous here will make the final results so much better.
-
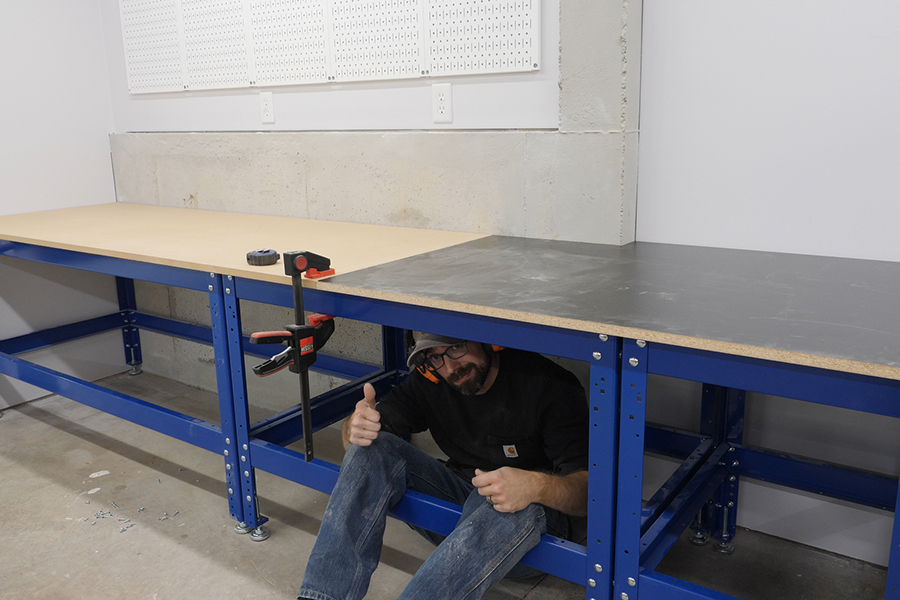
Bottom Layer
Next up I cut the bottom layer to size and secured it to the Kreg benches with the included screws. I cut this layer wide enough to leave a 2” overhang on the front side of my benches.
-
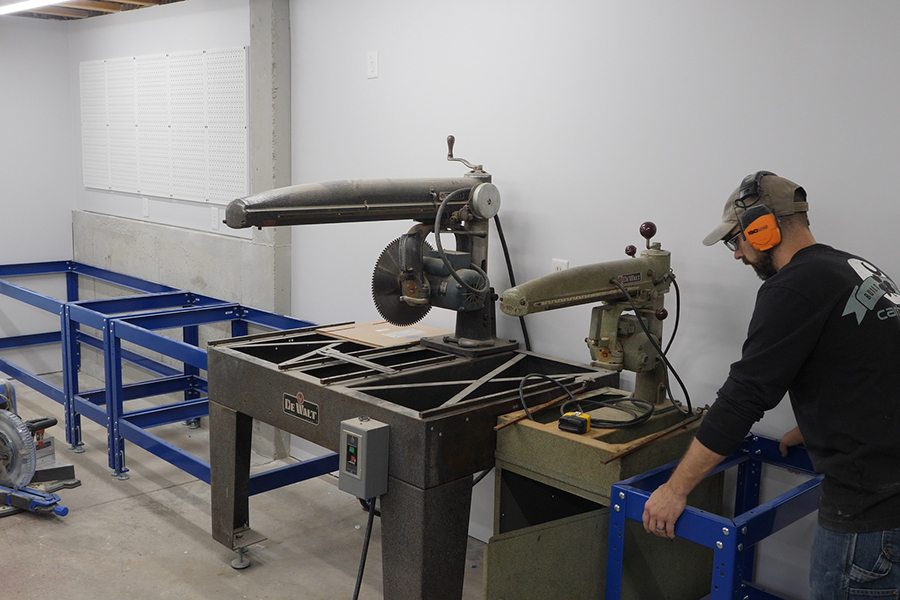
Fence Location
Since I’m incorporating multiple tools in my bench I needed to next establish where the fence would be located. To do this I used a laser to project a line down the length of the benches and took a ton of measurements to confirm the location of the two radial arm saws was correct and would work with the miter saw’s fence.
-
Right Side Work Surface Design
For my bench the work surface to the right of the miter saw is unique to the radial arm saws that I have. If you’re building a miter saw bench without incorporating other tools you can skip ahead to step 7 since the left and right sides will be built in the same fashion.
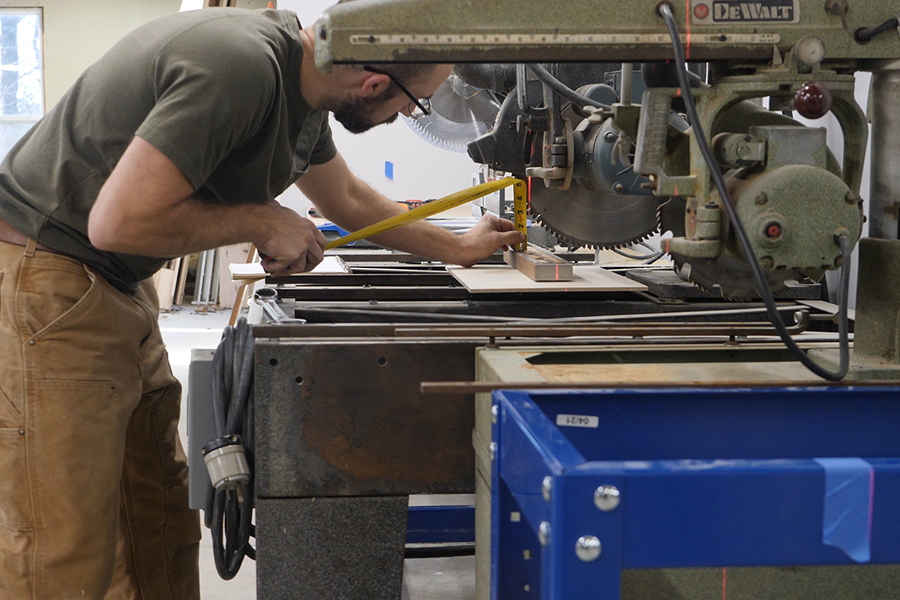
To make the right side work surface I measured the mounting bars and hole locations of the radial arm saws, the clearance needed for support posts, and the clearance necessary to swing the miter saw to the right.
-
Cutting the Right Side Work Surface
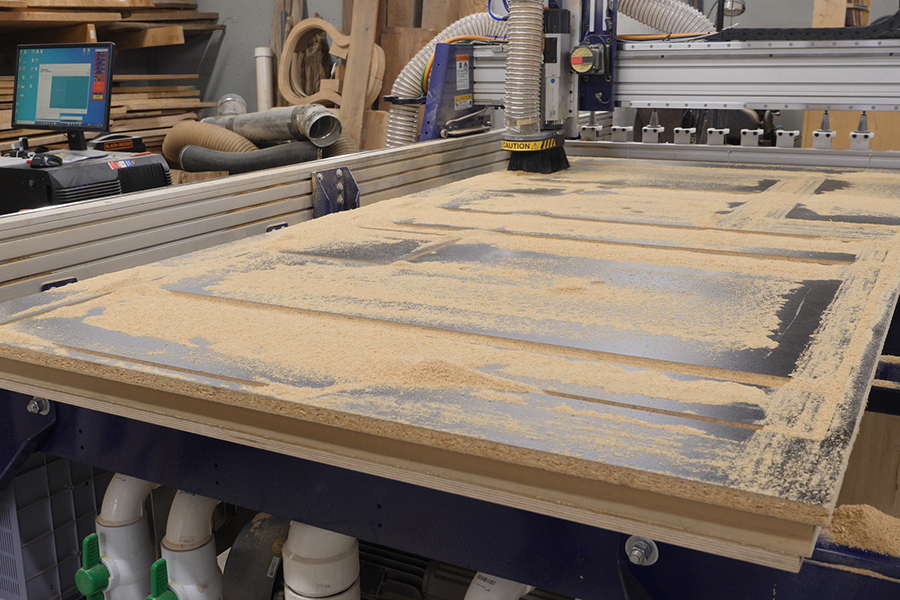
For many of the components in this project I utilized the CNC to speed the project along. That said, all of the cuts made can be accomplished with a variety of tools such as the ACS, Precision Router Table, jig saw, and table saw just to name a few.
I cut the base layer from a sheet of ¾” MDF. This layer only had the profile and bolt holes cut into it. The top layer was cut from a sheet of ¾” black melamine and in addition to the profile and bolt holes, it also had grooves cut in it for the Kreg Combo Trak and counterbored holes so that the bolts would sit just below the work surface.
-
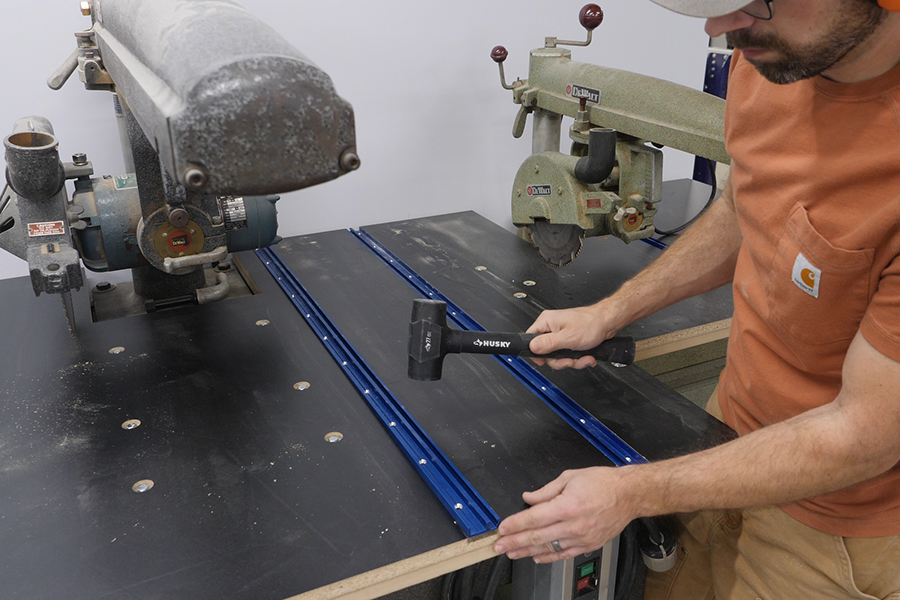
Installing the Combo Trak
I first cut each section of Combo Trak to length using an old blade on the miter saw. I then filed the cut ends smooth and used a dead blow hammer to seat them into the grooves. I then used 1-¼” drywall screws to secure them in place.
-
Left Side Work Surface Design
The left side of the workbench is a fairly straight forward design. I wanted to bring the work surface close to the base of the miter saw while still allowing me to change the angle of the saw without it interfering with the bench. To do this I set the miter saw at its sharpest angle on the left side and measured the footprint. I then added a buffer to this dimension so that I wouldn’t hit my hand against the bench while adjusting the saw. The left side of the work surface is also elevated from the bottom layer with a series of risers. The height of these risers will vary depending on the tool you're building your bench for.
-
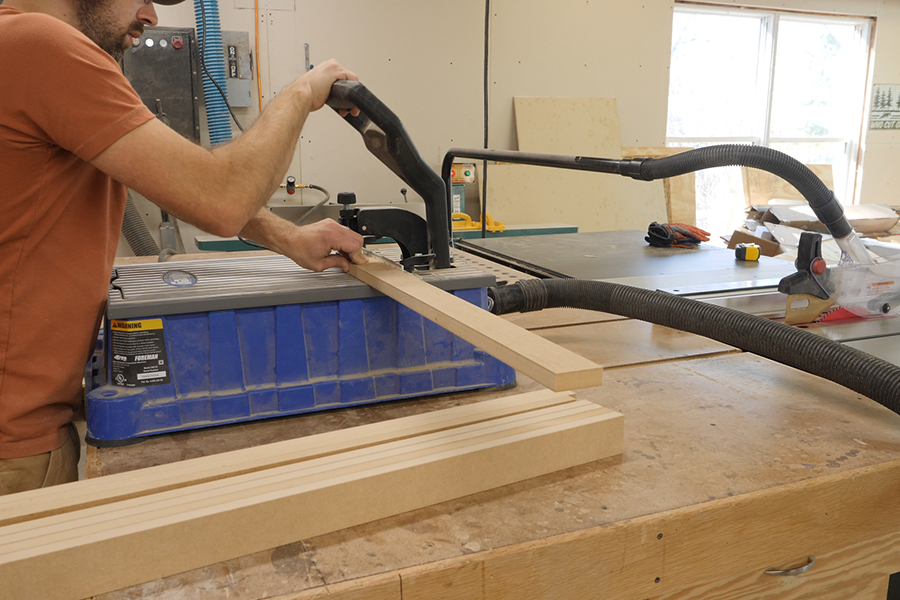
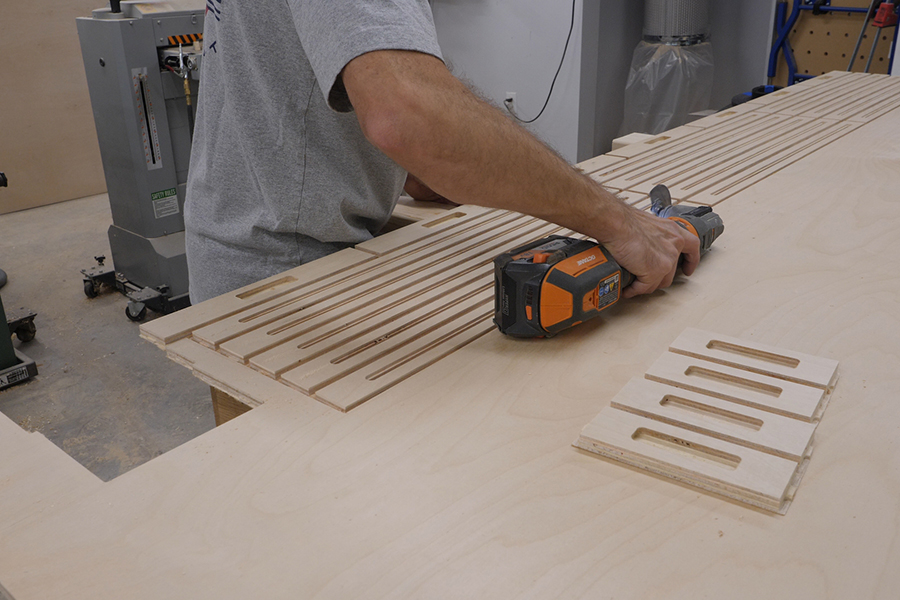
Cutting the Left Side Work Surface Parts
Again I utilized the CNC to cut out the work surface due to the angled cuts involved where the work surface is closest to the miter saw. However, for the risers I ripped a few strips of MDF and melamine width on the table saw. I then cut them to length and drilled a series of pocket holes in them using my Kreg Foreman.
-
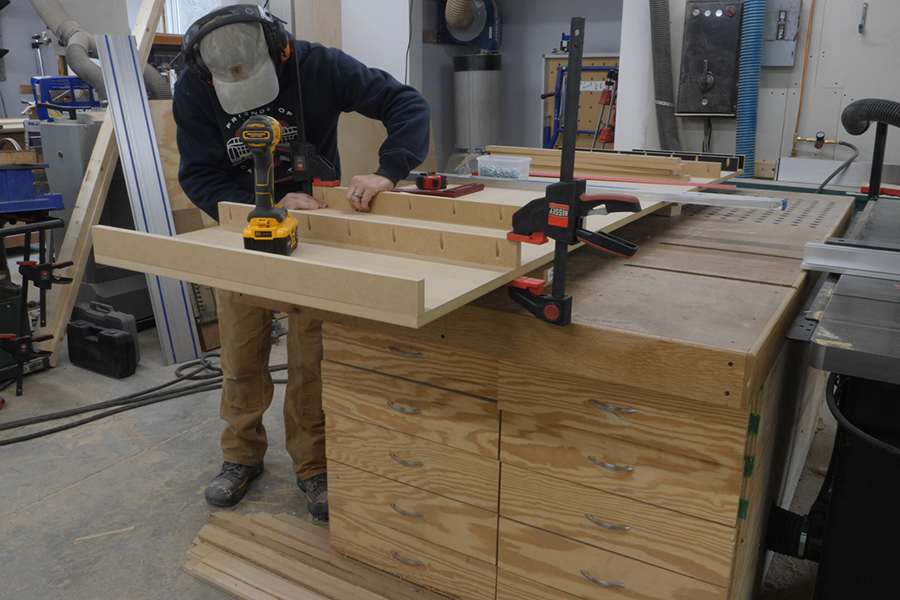
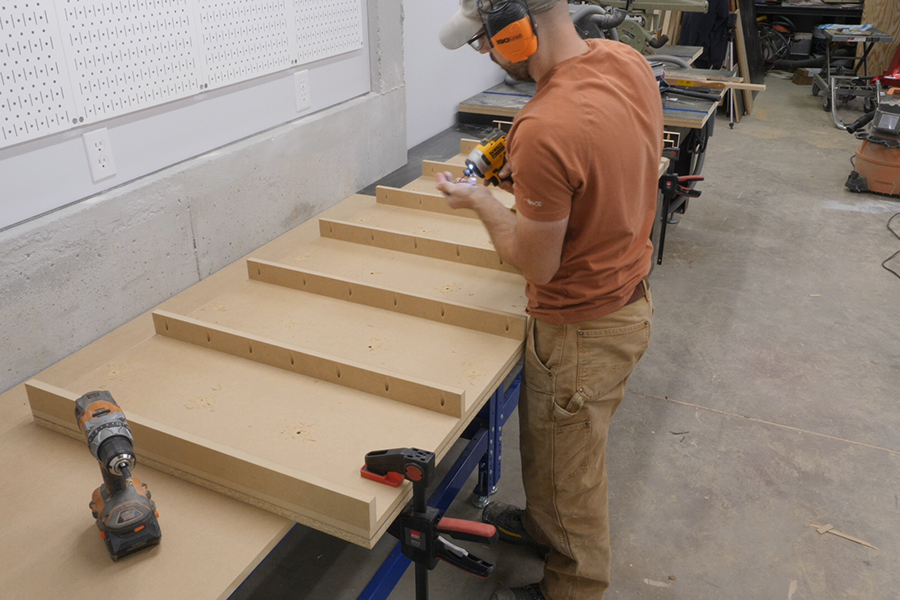
Left Side Work Surface Assembly - Attaching Risers
With all of the pocket holes drilled, I secured each of the risers to the MDF layer using 1-¼” pocket hole screws. I made sure to evenly space the risers along with making them square to the front edge so that mounting the work surface to the bottom layer and making drawers later on would be easier.
-
Left Side Work Surface Assembly - Securing Top Layer
Next up I lay the MDF layer onto the melamine top layer and make sure all of the edges are aligned. I then clamp the two layers together and drill a ton of countersunk holes into the MDF. After this I follow up with 1-¼” drywall screws and make sure that the two layers are tightly secured to one another.
-
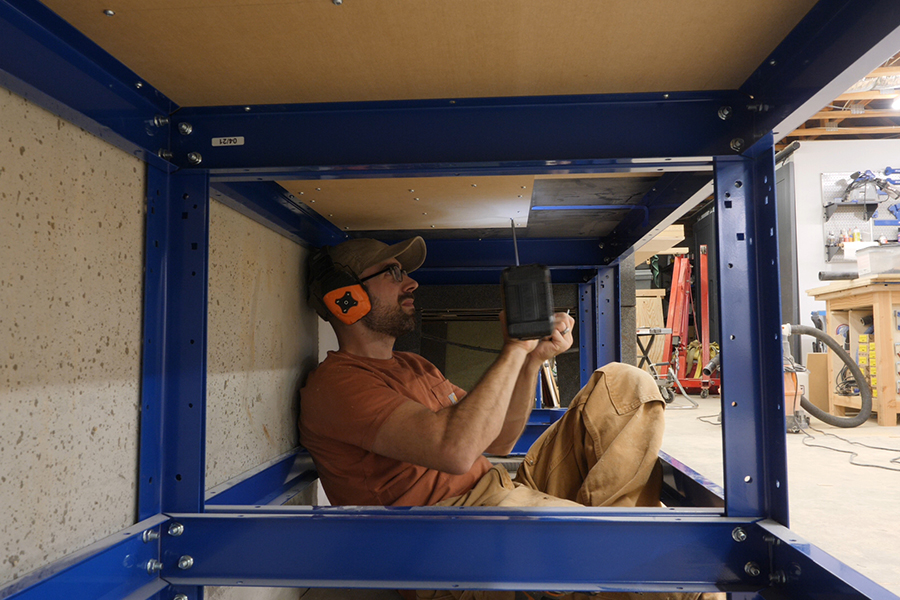
Securing Left Side Work Surface to Bottom Layer
Now I’m ready to flip the work surface over and move it into position. I then mark the center of each riser and transfer this to the underside of the bottom layer. With this established I secure the riser to the bottom layer by running four 2” pocket hole screws into each riser. I used pocket hole screws because I find the the washer head design of pocket hole screws gives more holding power than the tapers underside of a flat head screw. So, whenever I can get away with not using a flat head screw, I use pocket hole screw instead.
-
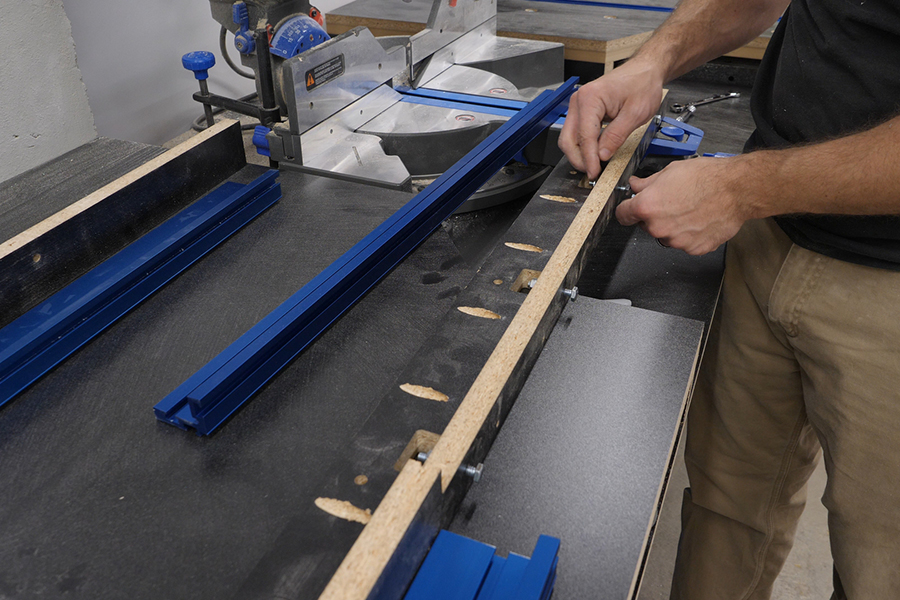
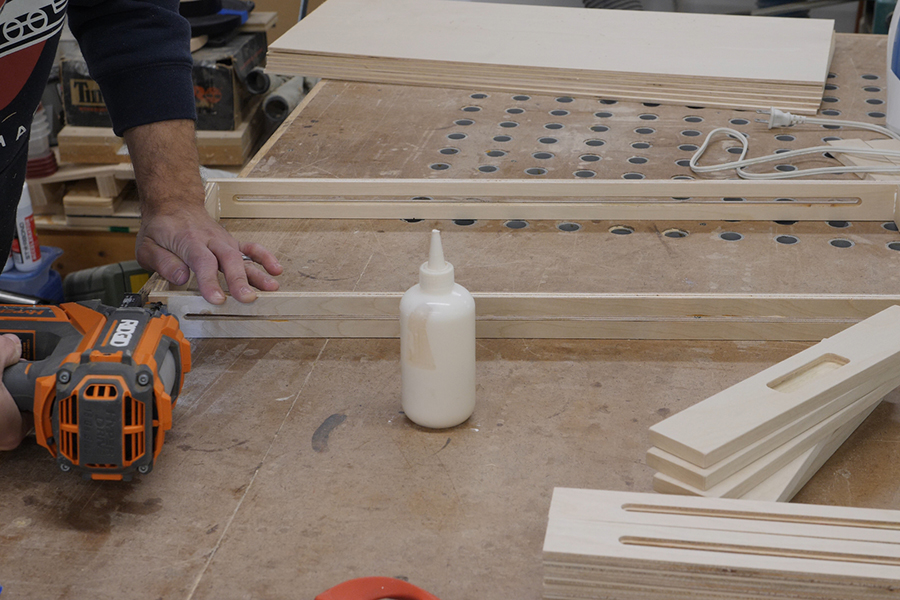
Making the Fence
I wanted to use Kreg’s Heavy Duty Trak for the fence on this project. In order to use this it first needs something to mount to. Since I wanted a continuous surface behind the fence, I opted to make a small L shaped piece that would mount to the work surface and still allow the Heavy Duty Trak to be bolted to it. Once my pieces were cut out and all of the bolt holes were drilled, I again used the Foreman to drill a series of pocket holes so that I could assemble the fence support.
-
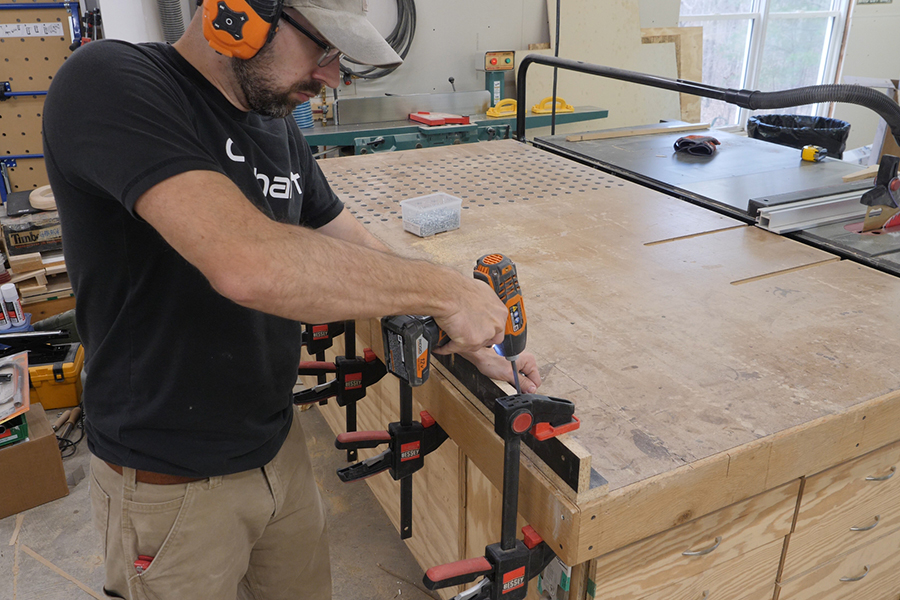
Mounting the Fence
The Heavy Duty Trak is secured to the fence support with a series of 1/4-20 bolts. I then set up my laser level again and used it as a guide while I screwed the fence to the work surface with several 1-¼” pocket hole screws.
-
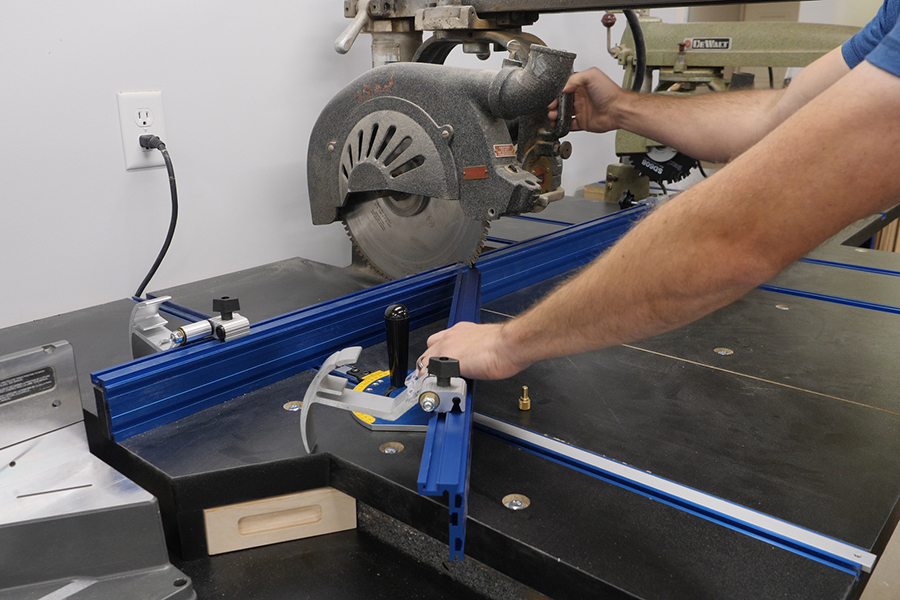
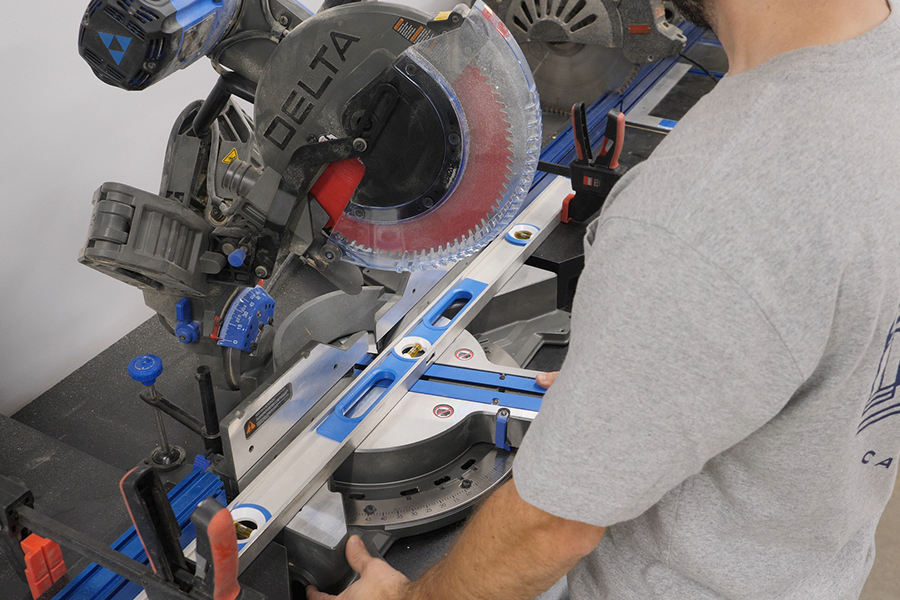
Mounting the Miter Saw
With the fences installed I am now ready to secure the miter saw to the bench! I used a level as a straight edge and clamped it to the fences on the left and right of the miter saw. With the miter saw’s fence flush against the level, I then used a few screws to secure it in place.
-
Making Drawer Parts
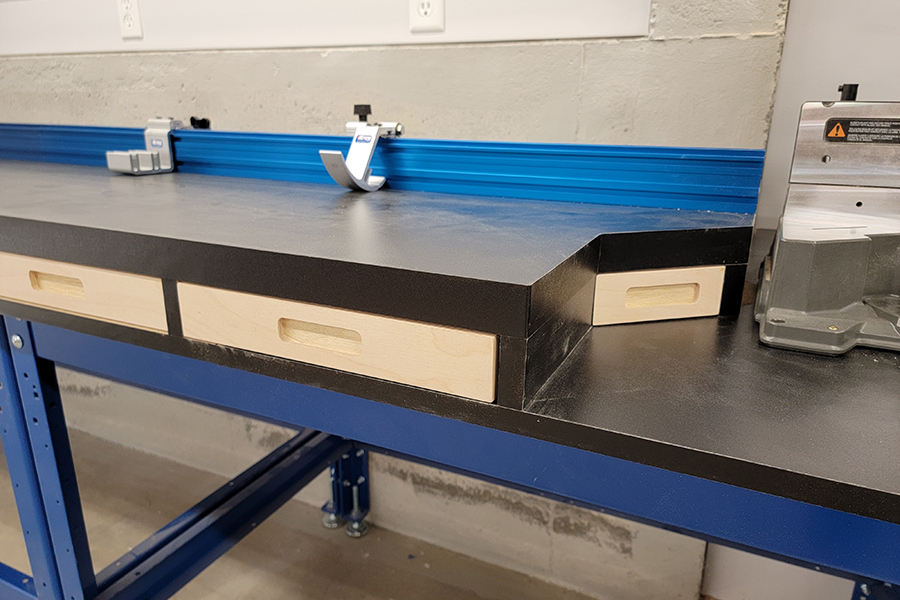
I wanted to make a series of small drawers to utilize the open space under the left side of the work surface that wouldn’t end up costing a ton in additional hardware. The solution I came up with I think fits the bill pretty well for this application.
The drawer sides have a counterbored slot in them to accept the head of a pocket hole screw which keeps the drawer from falling out and prevent the drawer from sliding too far into the bench. The drawer fronts have a recessed drawer pull that’s undercut with a dovetail bit into the plywood.
The drawer sides and front were cut on the CNC while the drawer box fronts and bottoms were cut on with the tablessaw and miter saw.
-
Assembling Drawers
To assemble the drawers, I used glue and 1” 18 gauge brad nails. Make sure that the counterbored slots are facing in and in the same orientation on each side.
Once the bottom is glued and nailed to the box, I set the drawer front on a few playing cards so that the front will be centered in the opening.
-
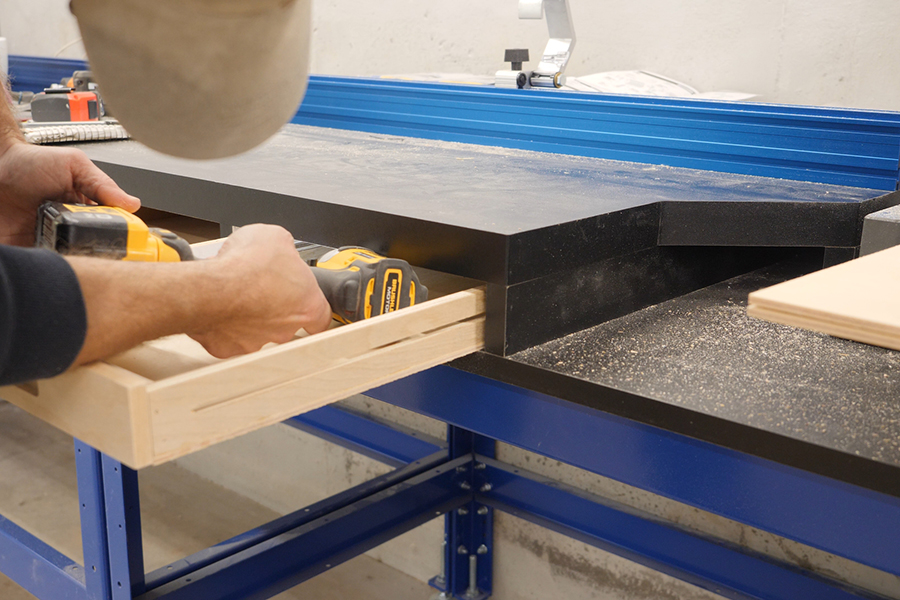
Installing Drawers
Now I measure from the front of the drawer and from the bottom of the drawer to the counterbored slot. I transfer these measurements to the inside of the bench and pre-drill a hole with a 1-¼” pocket hole screw. With the screw removed, I then slide the drawer in most of the way, run the 1-¼” pocket hole screw back into the hole just made, and slide the drawer all the way in. I then check the centering of the drawer and adjust as necessary.
-
Accessories
For this bench a few additional accessories that I’m using to increase the productivity are the Production Stop, Swing Stop, and Precision Miter Gauge System. In the YouTube video linked below I discuss how I will be using these accessories in conjunction with each of the tools.