Two Tiered Wooden Serving Tray
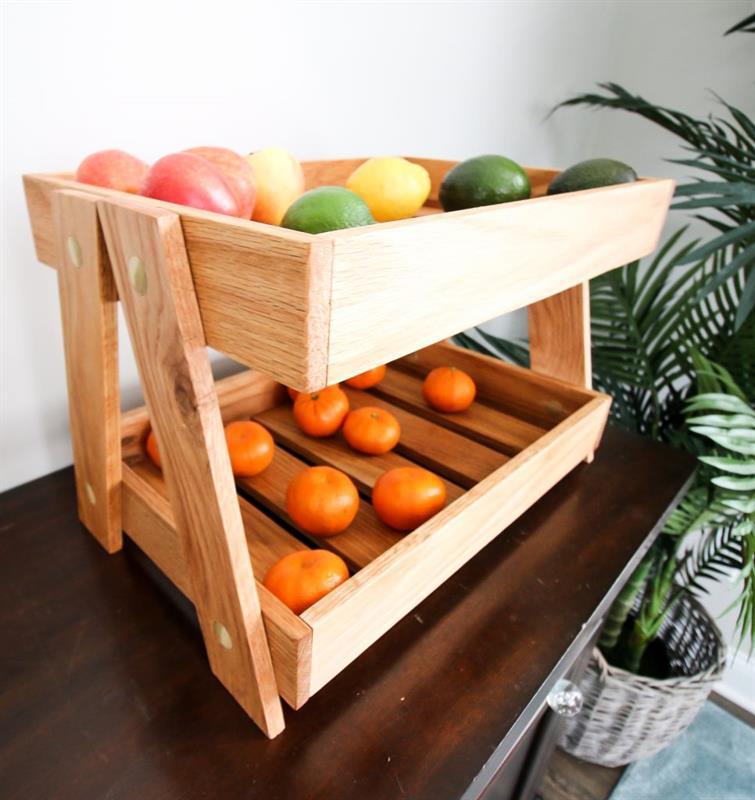
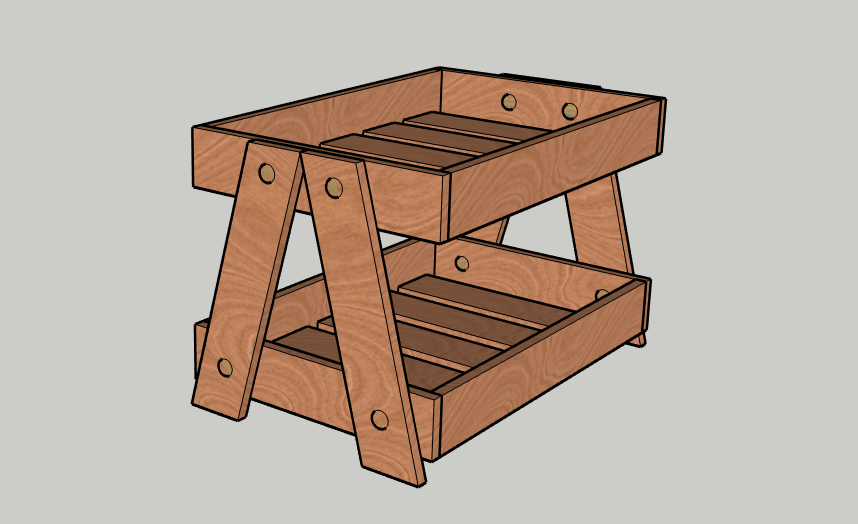
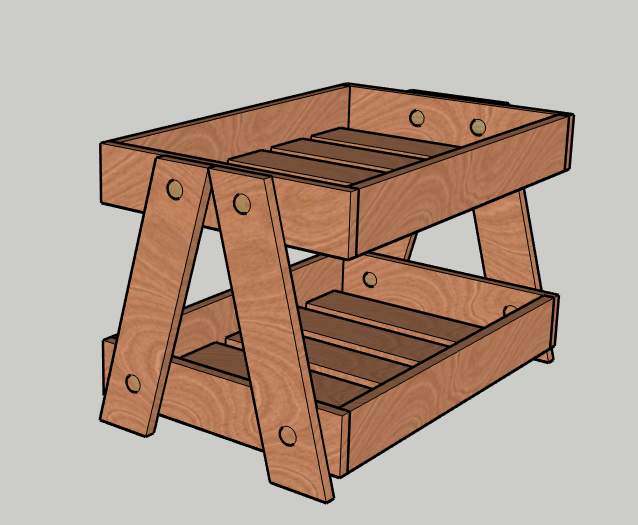
By Charleston CraftedThis two tiered wooden serving tray is perfect all year round! With the upcoming holidays, use it to serve items to your guests, then use it all year long as a fruit and veggie storage in your kitchen! This beautiful piece is perfect for your kitchen!
Directions
-
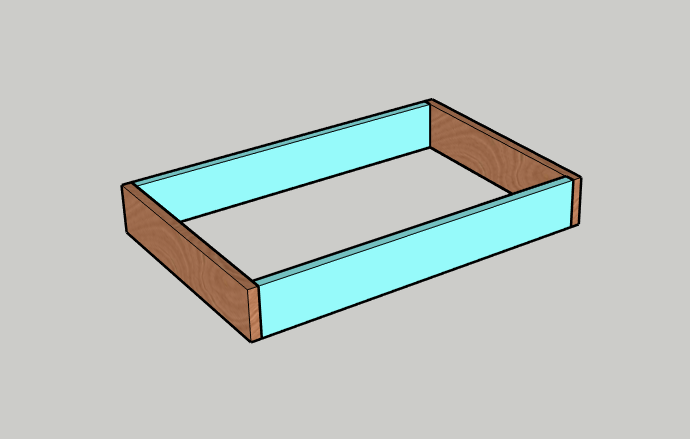
Connect Tray Sides
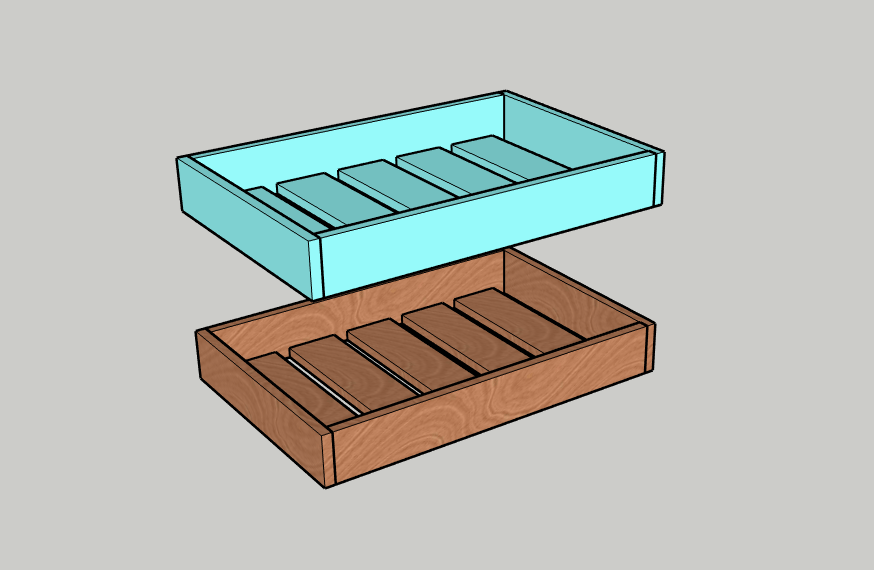
Drill two pocket holes into both ends of two Sides. Attach flush on the inside edge of two of the Fronts/Backs.
-
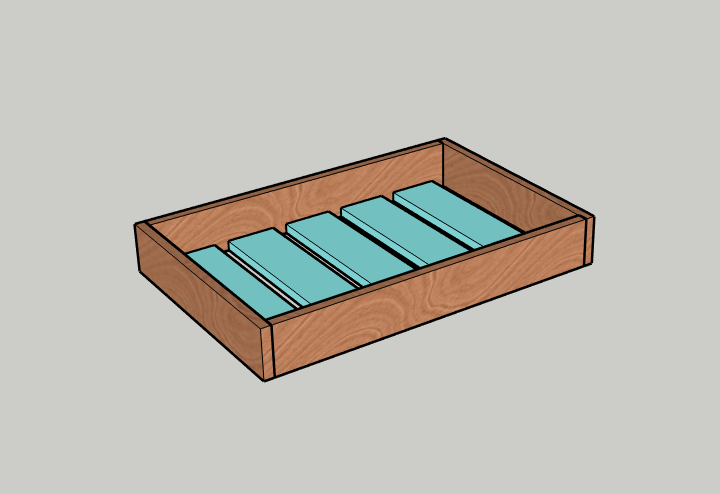
Add tray slats
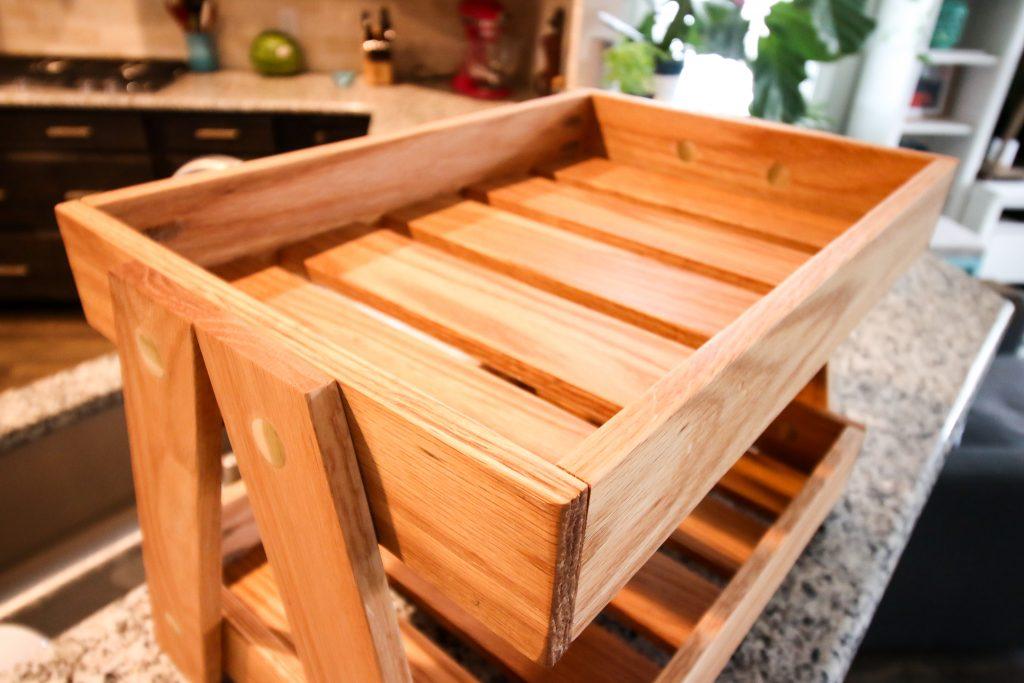
Drill pocket holes in each end of five Slats. Attach the Slats between the two Sides with a 3/4" gap between each.
-
Build second tray
Repeat steps 1 and 2 to build a second tray.
-
Cut legs
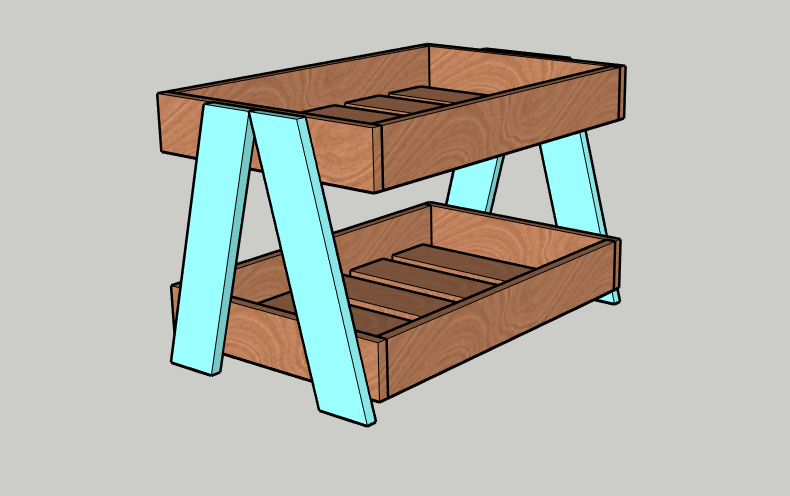
Cut a 15 degree parallel miter on each end of all four legs so that the total height of each leg is 12".
-
Insert dowels
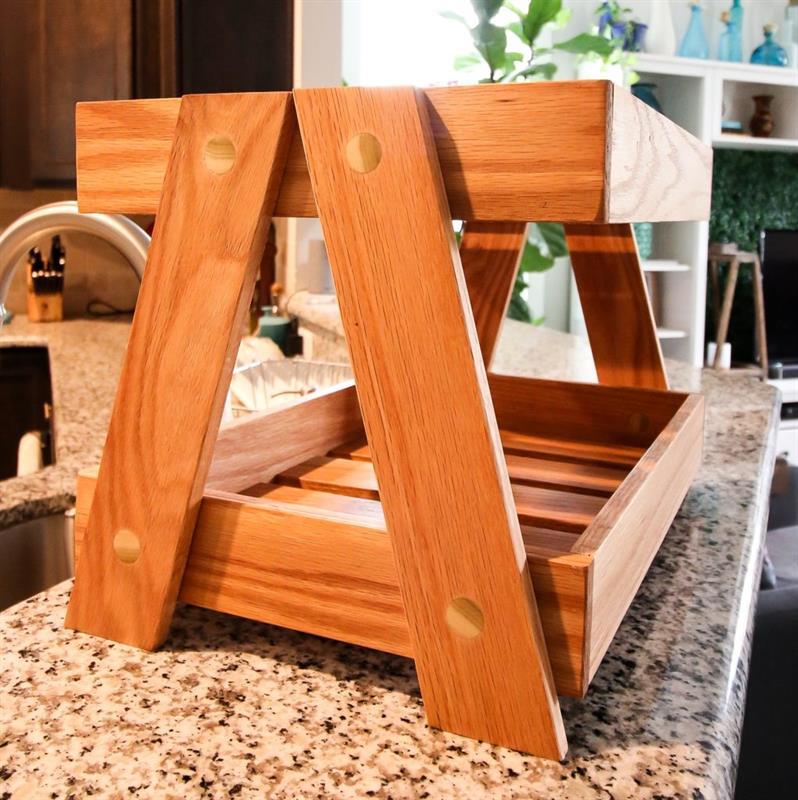
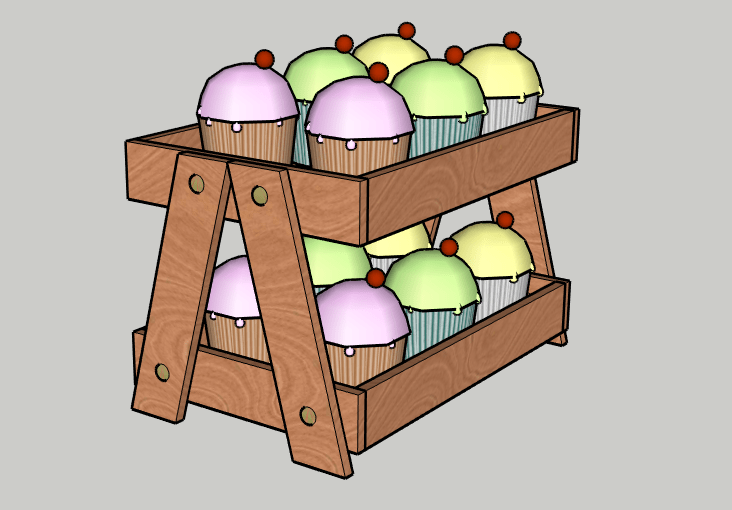
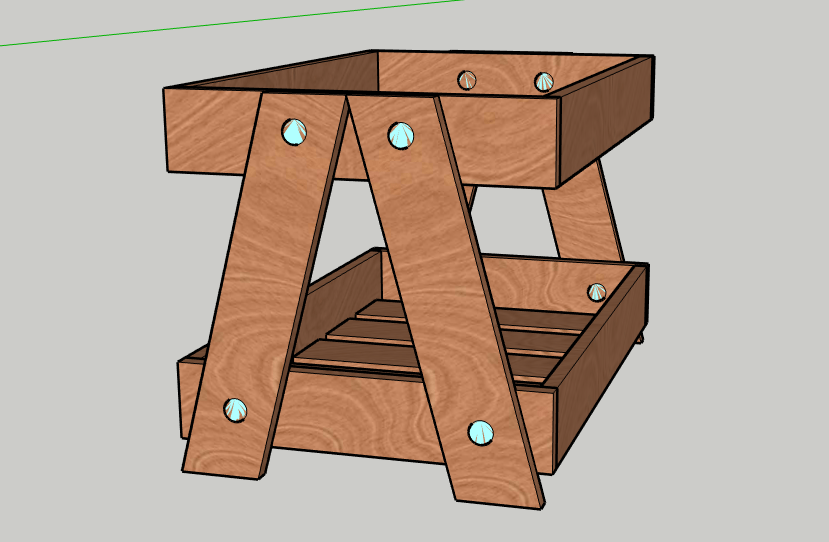
Legs will be connected to the trays with dowel joinery. Clamp and glue your legs to the outside of the trays with the legs in the center of the top tray and the bottom tray 1" off the ground. Drill a 3/4" hole where each leg intersects the trays. Apply wood glue to four 1" dowel pieces and hammer into the holes.
-
Finish
Finish with a food-safe cutting board oil. Serve your holiday treats or daily fruits for guests!
-
Visit www.CharlestonCrafted.com
Check out this project in action, along with many more simple DIY woodworking projects, at www.CharlestonCrafted.com.


