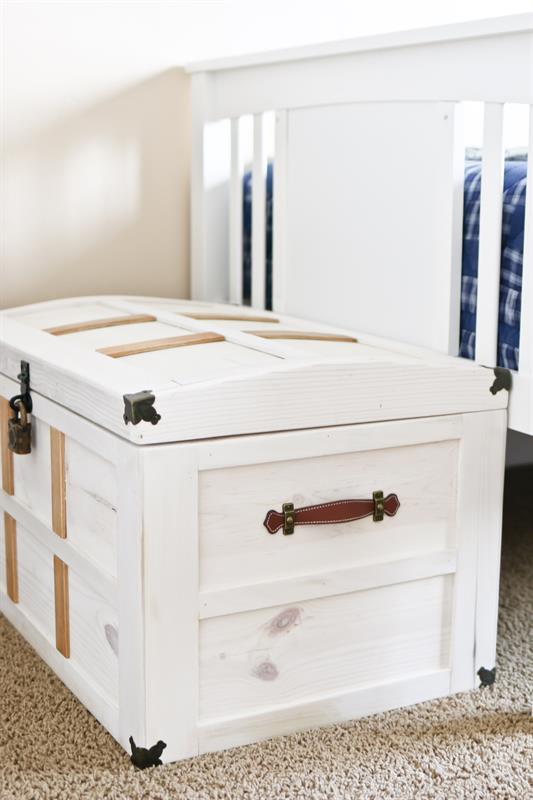
Toy Treasure Chest
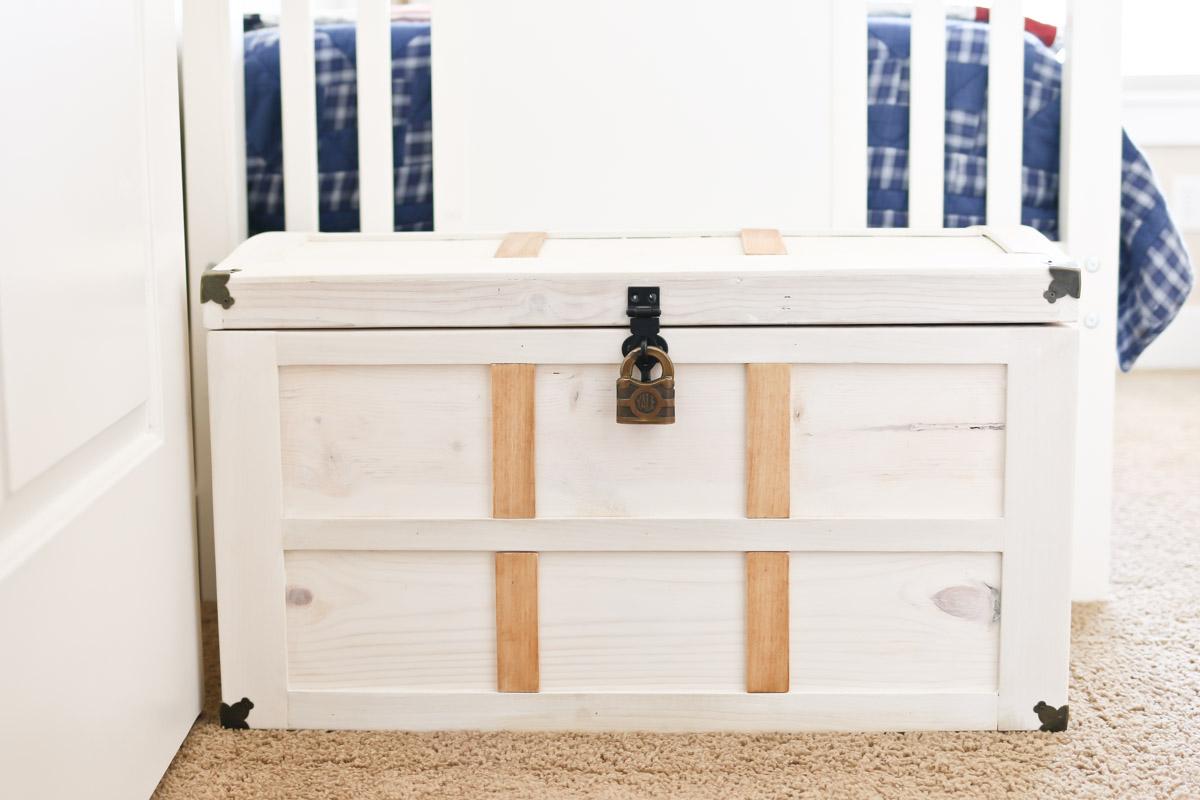
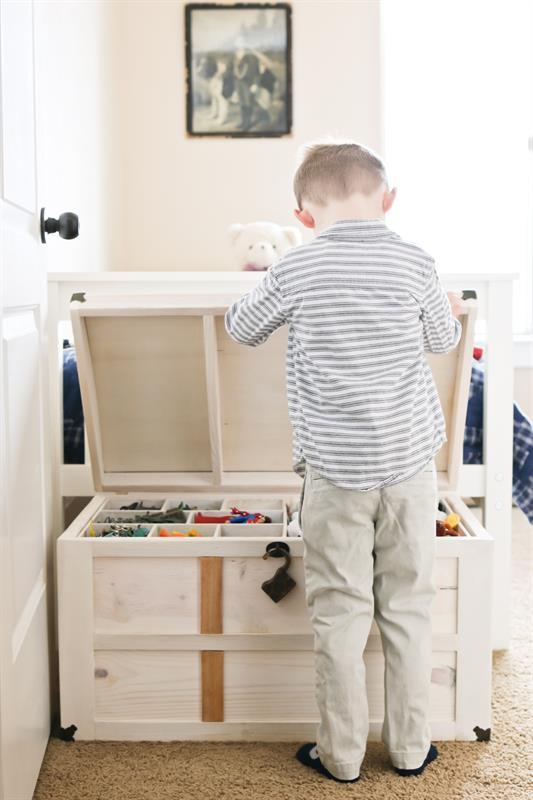
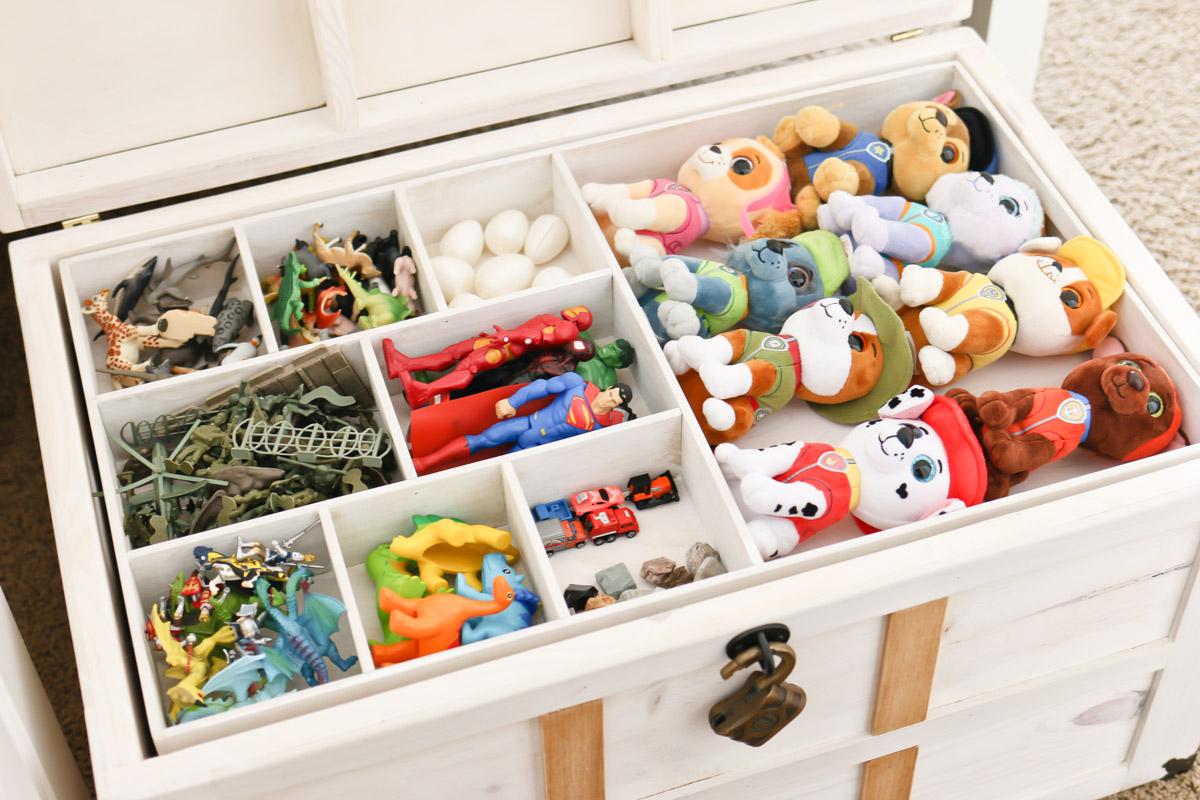
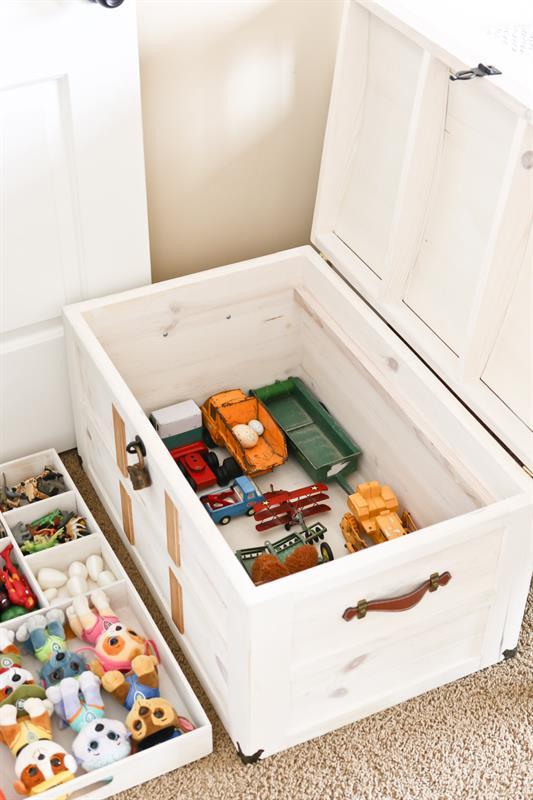
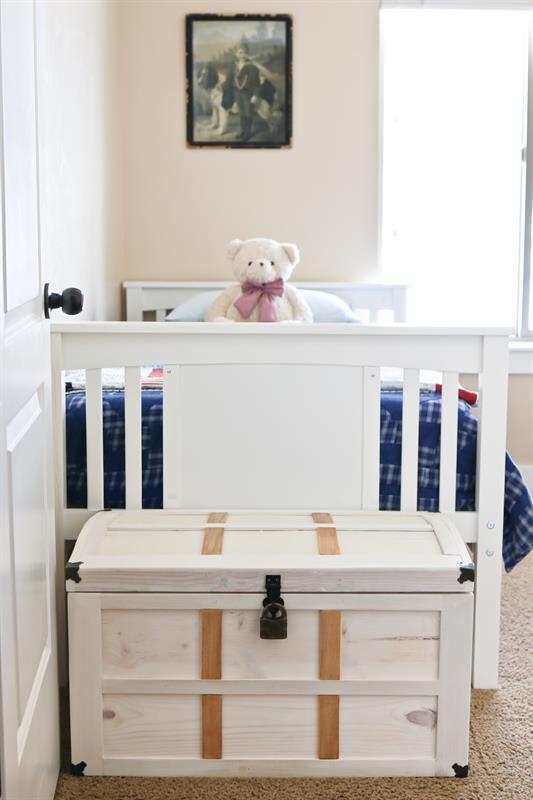
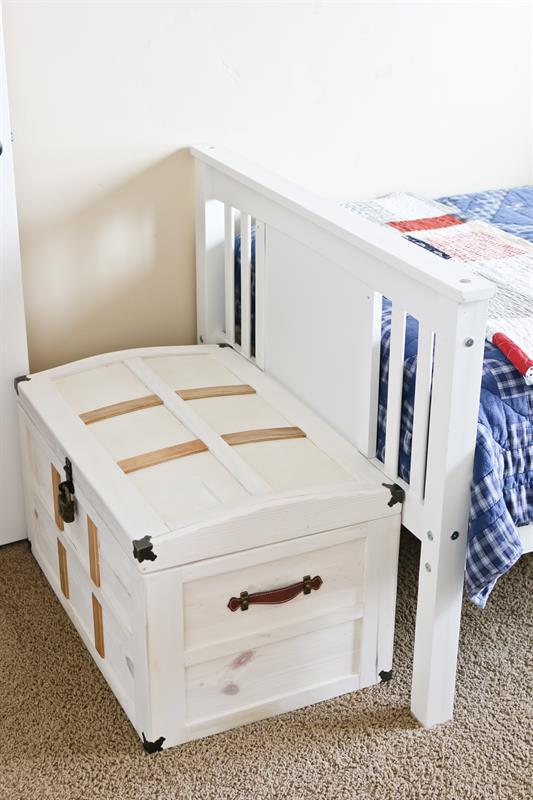
By TidbitsLoads of fun in this DIY Toy Treasure Chest, but you'll also discover clever toy storage and organization! A win win for parents and child. With these plans you'll find a sturdy build, creative hardware, removable tray, and plenty of under storage. Please visit www.tidbits-cami.com to learn more.
Directions
-
Build the box
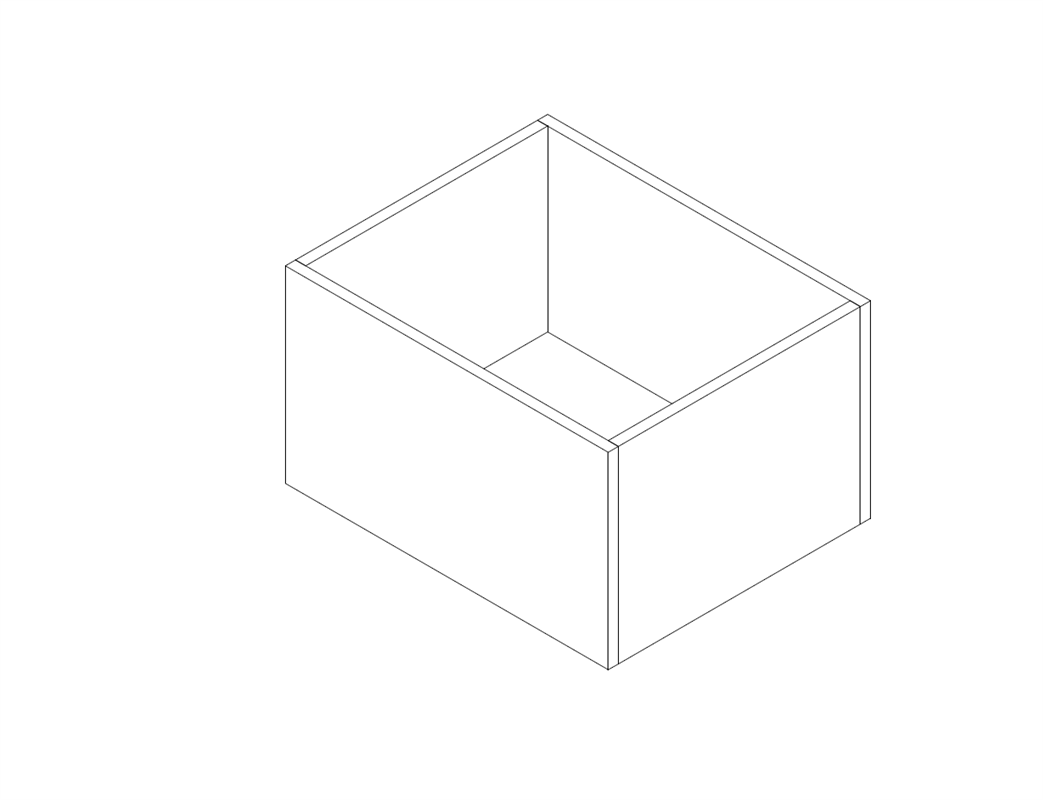
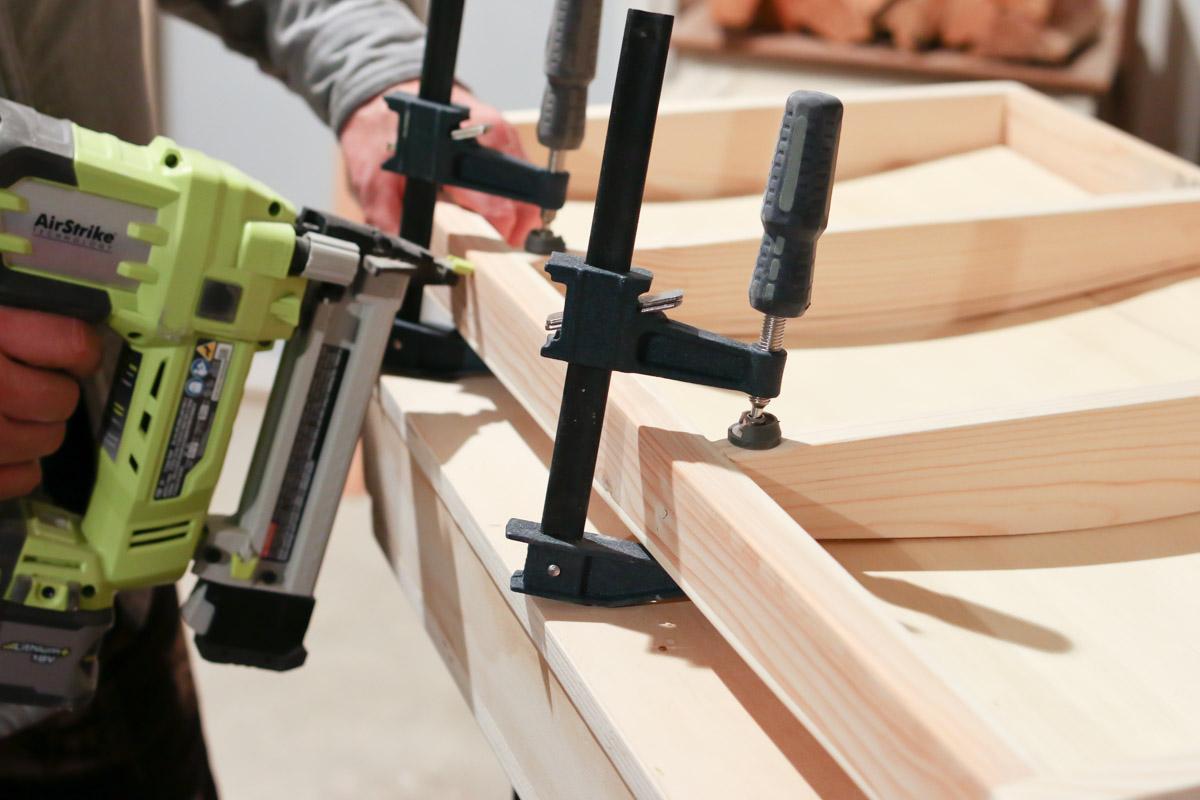
Build the sides of the box by gluing two 1"x8" boards together and cutting them down to the box side and box end dimensions. The bottom is cut out of plywood using the Kreg rip-cut saw, which is much easier than trying to muscle a sheet of plywood onto a table saw. Take the bottom, short side and long sides and build a box. Use the Kreg pocket hole jig to attach the bottom to the sides. Use glue and staples to connect the rest.
-
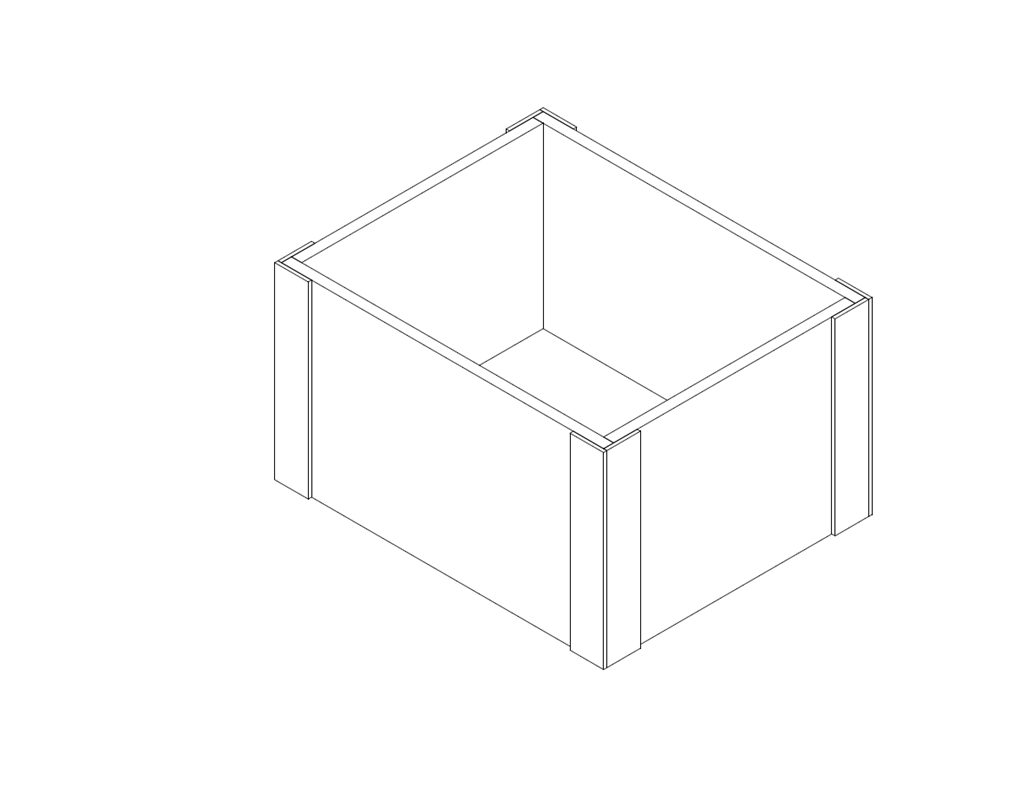
Add the corner trim
Use glue and staples or nails to attach the 8 corner trim pieces.
-
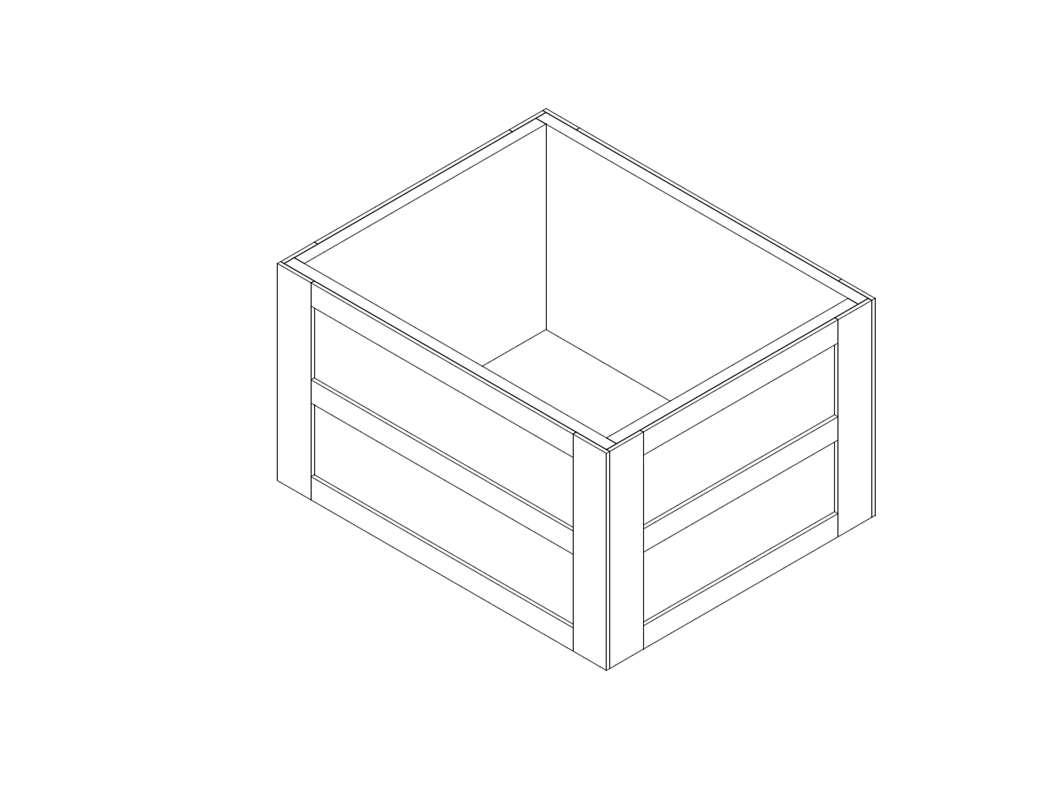
Side and end trim pieces
Make a mark 6 1/4" from the bottom and attach the two side trim pieces and the two end pieces at that mark. For these smaller trim pieces I ripped down the 2 1/2" trim pieces in half. Be sure to align the bottom of the trim with the mark made. You can also use the vertical box trim pieces as spacers to make sure you align the pieces correctly.
-
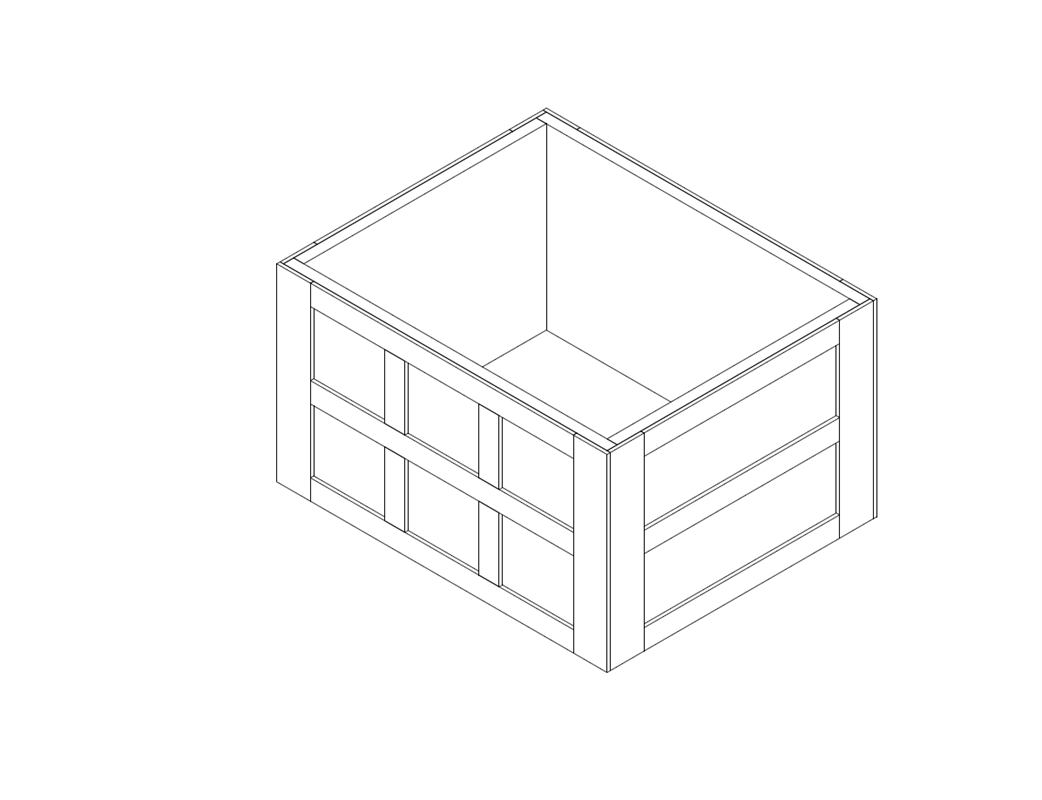
Vertical box trim pieces
Using glue and staples or nails, attach the 8 vertical box trim pieces on the two long sides of the trunk. The spacing should be around 5 1/2" between each piece.
-
Build lid ends
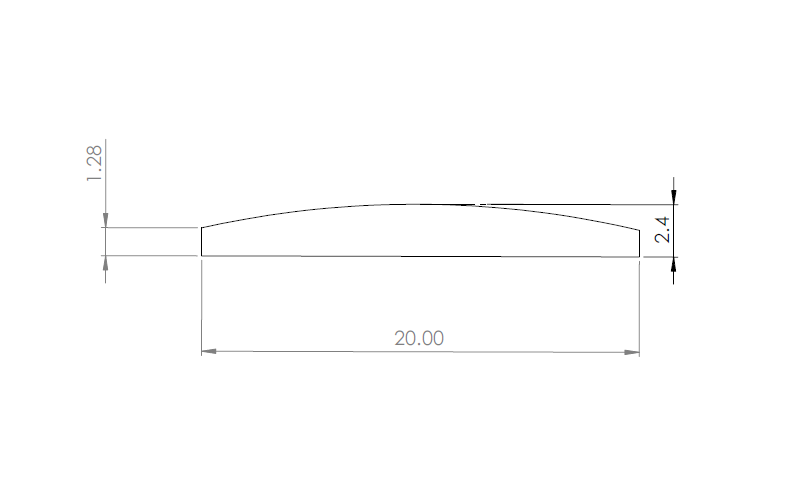
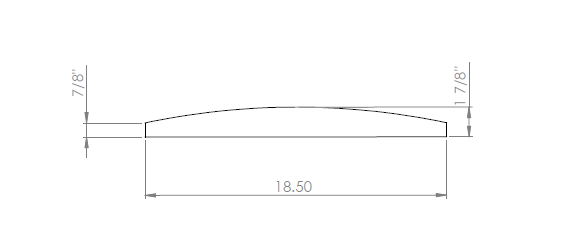
Build the lid ends by making a mark on the ends of the two boards cut 20" x 2 3/8" at 1 3/8". Using a piece of 1/4" trim at least 22" long, anchor them at the 1 3/8" mark and bend the board up to the top of the board. This will create an arc you can trace and cut to form the round top.
-
Build frame for lid
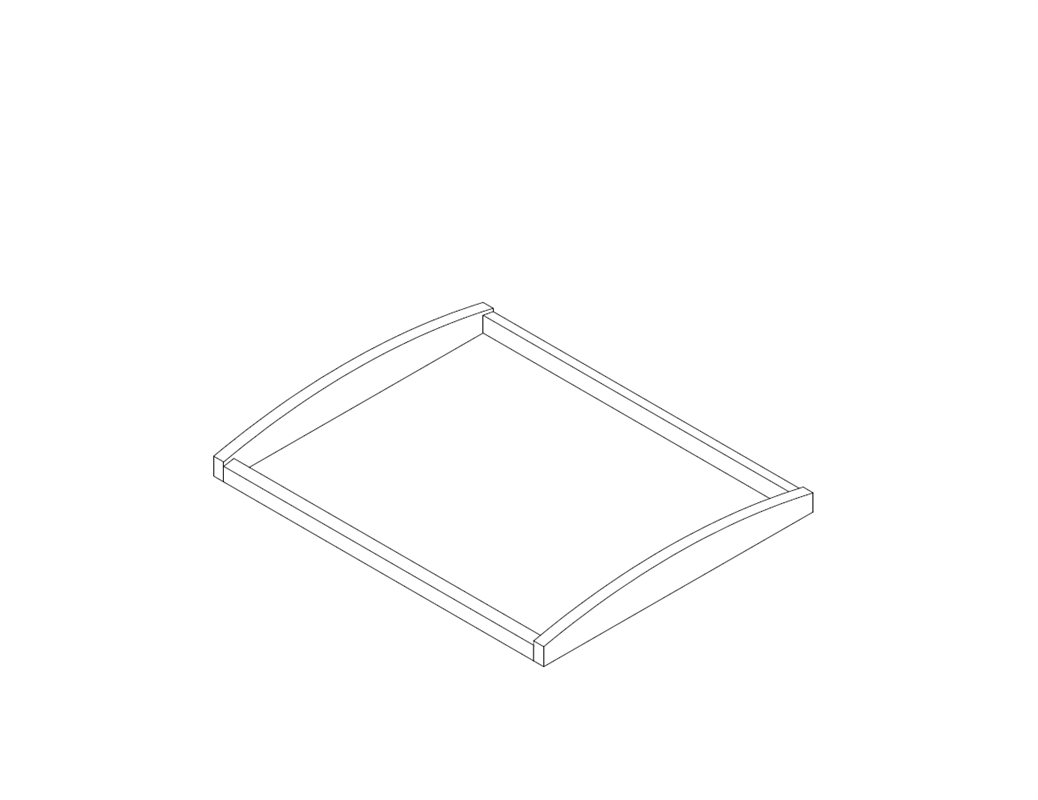
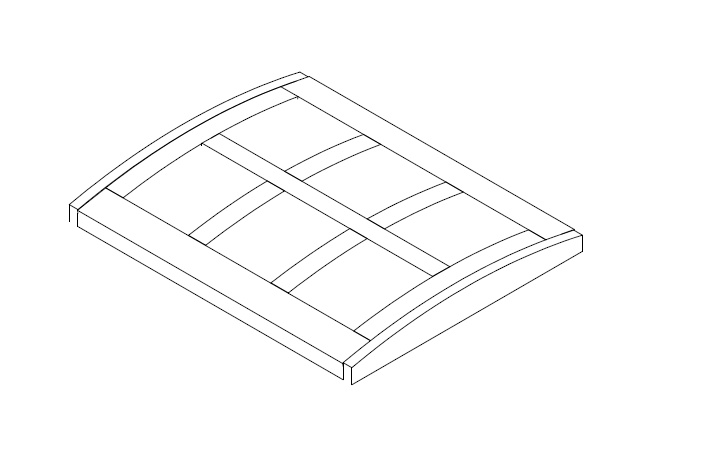
Glue and nail the two lid sides to the lid ends. The bottoms should line up as seen in the picture.
-
Lid long trim pieces
Attach the two long trim pieces for the lid using glue and nails or staples. Be sure to fasten them good and secure at the ends, which will be necessary for the next step.
-
Lid top bending
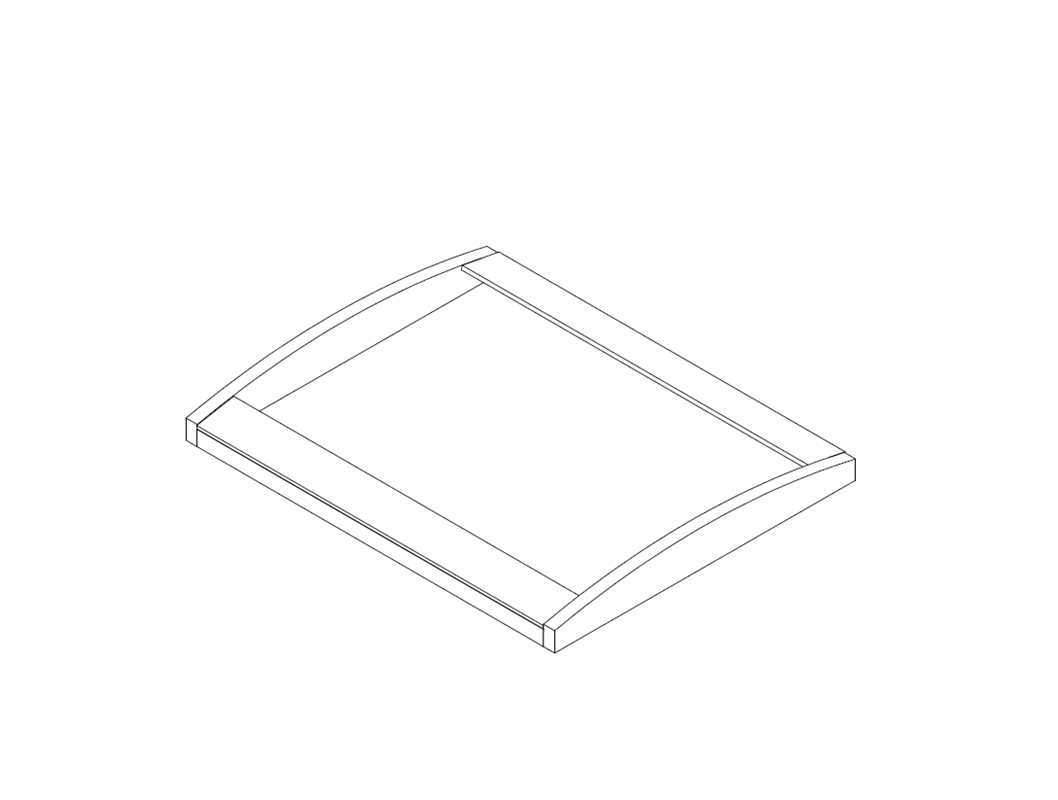
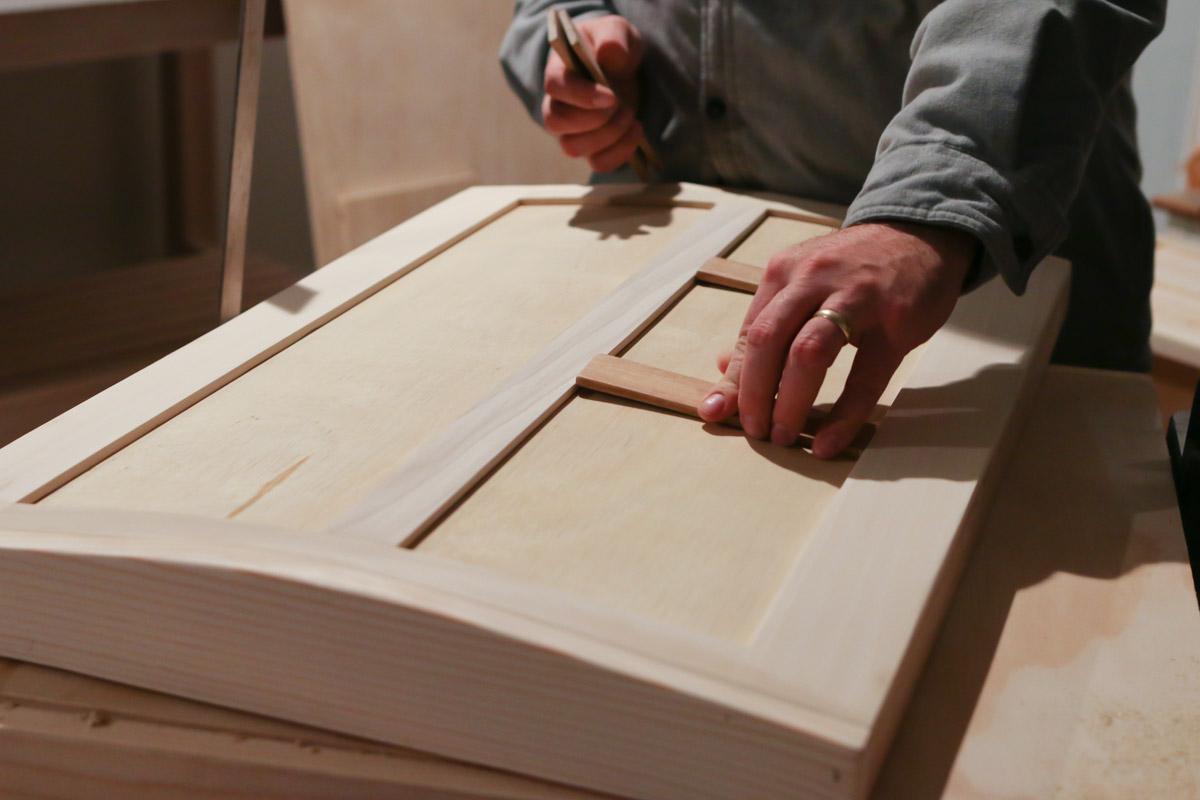
Take the lid top and place it in the frame through the bottom. It should just fit inside the frame. The two long sides will go up against the long trim pieces. Take the 4 center supports and using clamps, force them into place thus bending the lid top in roughly the same curve as the ends of the lid. Attach the 4 supports to the lid sides with glue and nails or staples. Be sure to let the glue set before removing the clamps.
-
Build center supports
Build the 4 center supports the same way as the lid ends, just make them 1/2" shorter to allow for the trim pieces. The mark on the end of the pieces will be at 1" where you will anchor your trim pieces for scribing the line.
-
Bend the lid trim pieces
In order to bend the trim pieces for the lid I soaked the 2 lid end trim pieces and the 4 lid small trim pieces in water for about 4 hours and placed each trim piece in a clamp. I clamped them end to end and as the clamp tightens it would bend the piece. After the trim piece dried completely it held the curved shape and was ready to be installed.
-
Install the lid trim
Install the now curved lid end trim pieces and the lid center trim pieces using glue and nails where the trim lined up over the center supports. Once these are in you can install the curved small lid trim pieces again with glue and nails where you can. The spacing between the small lid trim pieces is about 5 5/8".
-
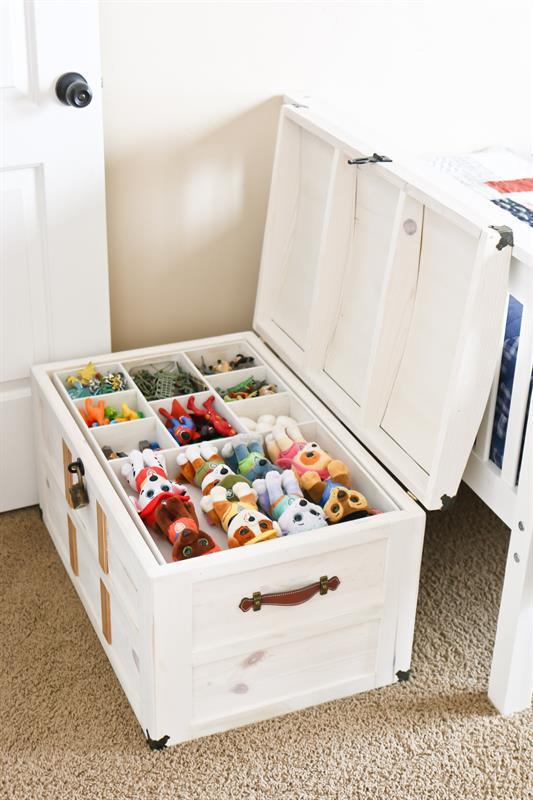
Optional tray
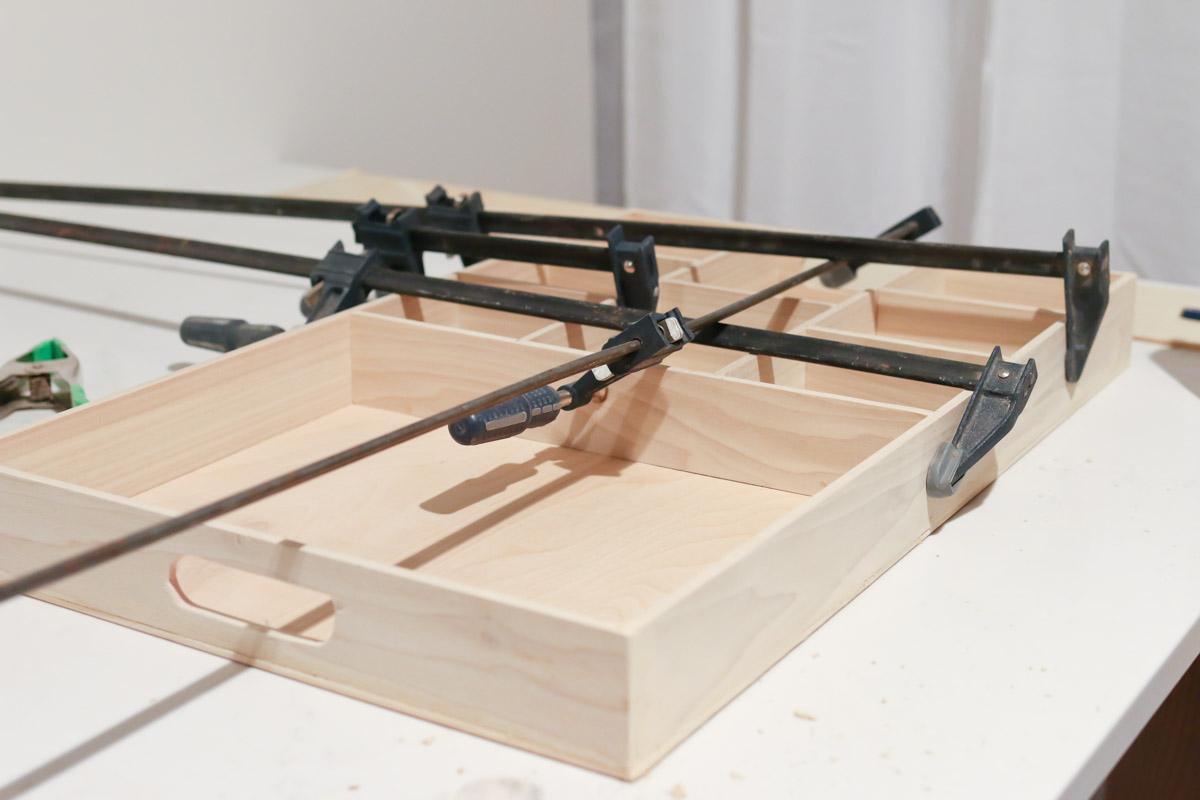
I built the tray out of 1/4"x 2 1/2" trim boards and a piece of 1/4" plywood. The box is 21 1/2"x 17"x 2 1/2" with several sections inside that were somewhat specific to our needs. Build the box and then size the inside sections to your own personal preferences. The handles were built by drilling 1" holes 3 inches apart and using a jigsaw to remove the material in between. Glue staples and wood clamps work great to hold it all together. I nailed 2 strips of 3/4" plywood to the inside of the chest at 2 1/2" down from the top for the tray to sit on. This step is entirely optional but it is nice for extra toy storage.
-
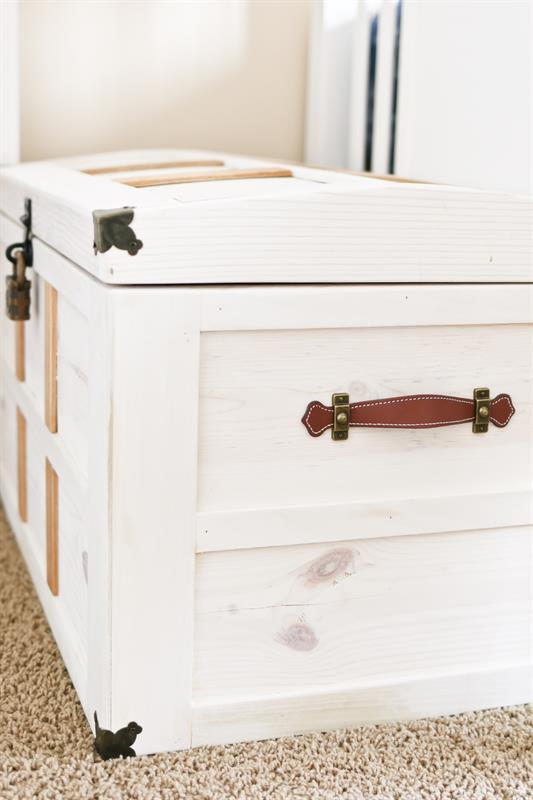
Attach hardware and handles
The hardware you choose to install will really make the treasure chest unique. We searched online to find ones we liked, but you can also visit our blog, www.tidbits-cami.com for links to the exact hardware and handles we used.
IMPORTANT: Remember to take precautions to ensure children’s safety. If children will have unsupervised access to the chest, use soft close toy box hinges or struts instead of traditional hinges.


