

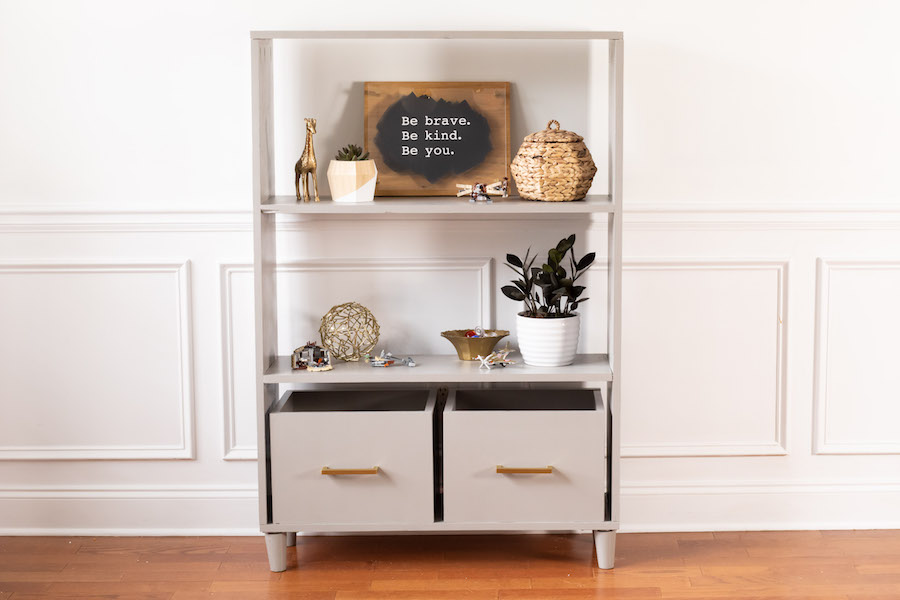


This easy-to-build shelving unit makes for a great place to display your favorite pictures and decor. You can hide all the extras below in two simple storage bins. Customize this unit with your very own hardware and legs!
Tools
Kreg Tools


Other Tools
-
Brad Nailer

Materials
Wood Products
- 3 Boards , 1 x 12
Hardware & Supplies
- 1 Box of 1 ¼” Pocket Hole Screws (See tools list)
- 1 Box of 1” Brad Nails
- 1 Wood Glue
- 4 Drawer Pulls
- 4 Furniture Feet
- 1 Paint or Stain
Directions
-
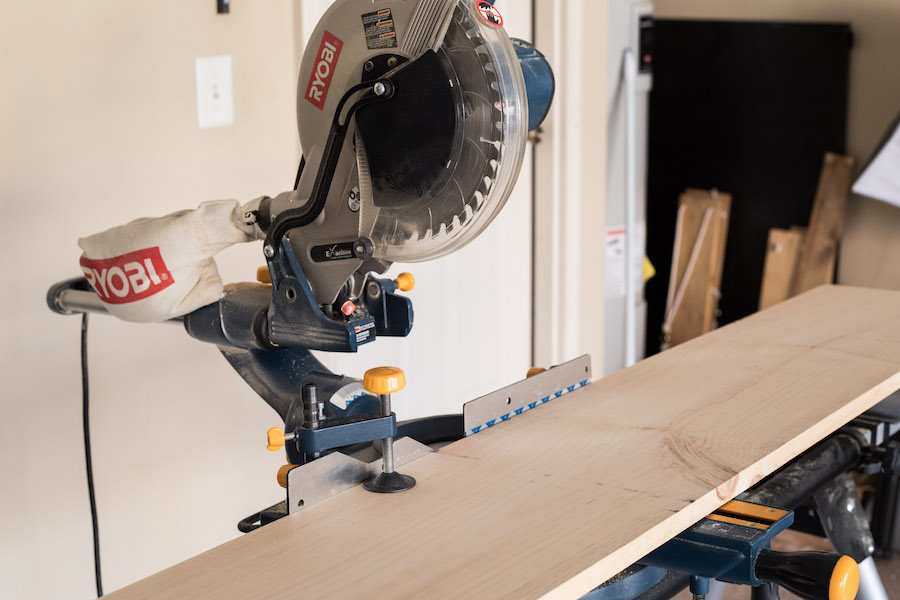
Cut Your Wood
Cut your 1x12 boards to the dimensions according to the cut list
-
Sand
Use a random orbit sander to sand everything smooth.
-
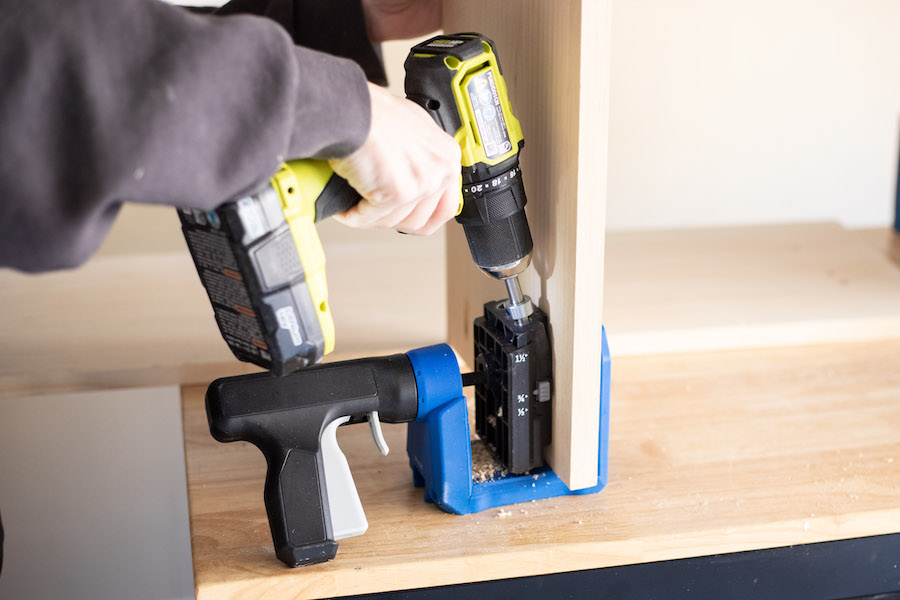
Drill Pocket Holes
I used the Kreg Jig 520PRO for this project. Use your Kreg jig to drill holes at each end of your 4’ long boards and your 2’10 ½” long boards. I drilled 3 holes at each end, but in hindsight should’ve drilled 4-5 for added strength. I recommend doing that.
-
Assemble the Shelf
I attached the top and bottom (3’ long pieces) to the sides (4’ long pieces) using 1 ¼” pocket hole screws.
Then, I attached the shelves, spacing them 16” apart. I used a couple of 16” long pieces of scrap wood as spacers to make sure the shelves would be level and evenly spaced. I attached them using 1 ¼” pocket hole screws.
It’s easiest to work upside down and then when the shelves and furniture feet are attached, flip the whole thing over.
-
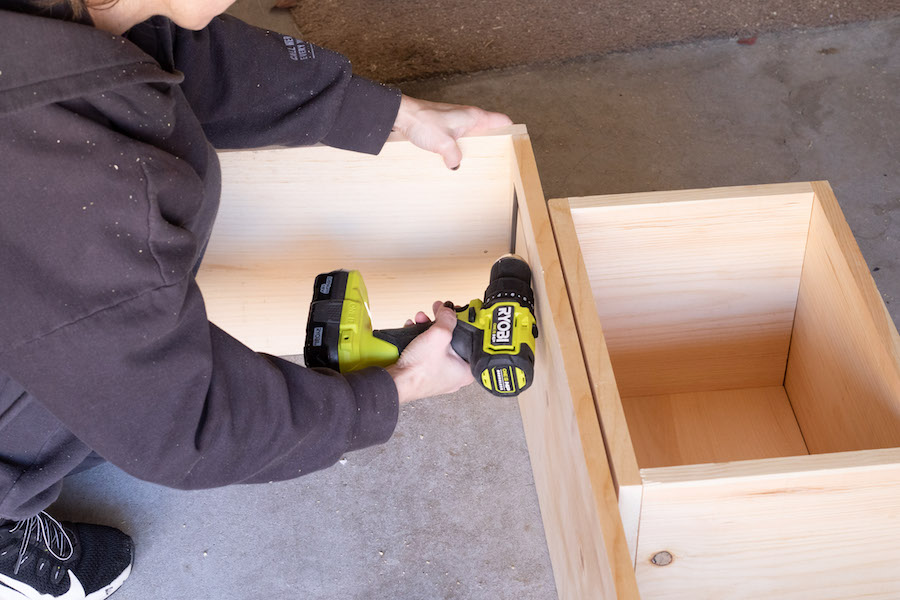
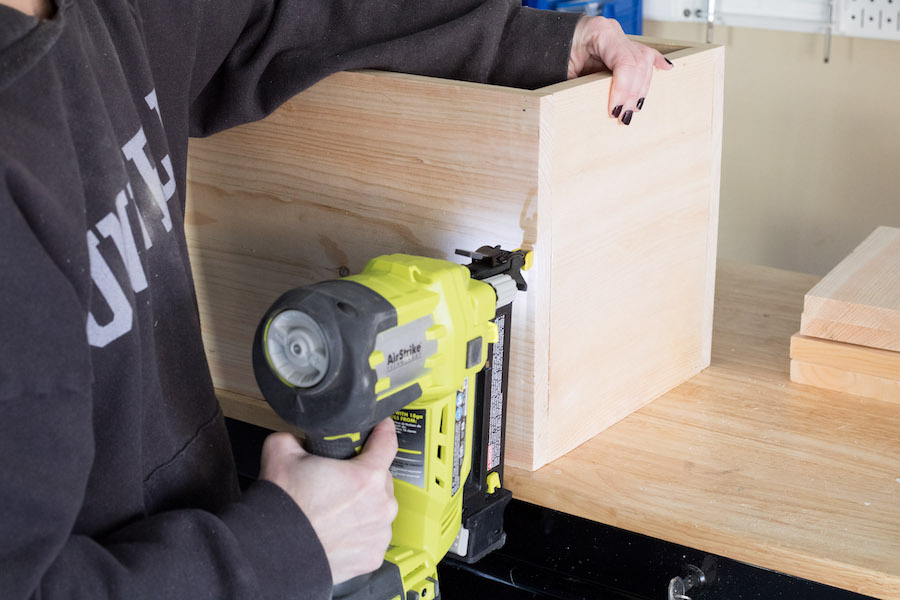
Build Bins
I assembled the bins using my brad nailer with 1” brad nails and wood glue. I attached the shorter ends to the bottom piece first, and then the front and back pieces.
-
Drill Holes for Hardware
I centered the drawer pulls and measured and marked where my holes needed to be, and then drilled holes.
-
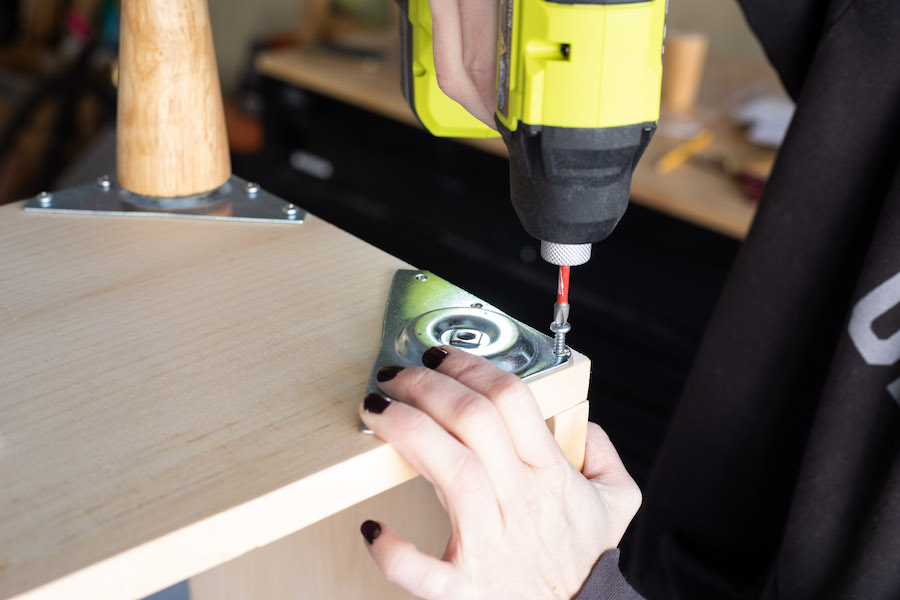
Attach Furniture Feet
Attach base plates and then twist on your furniture feet.
-
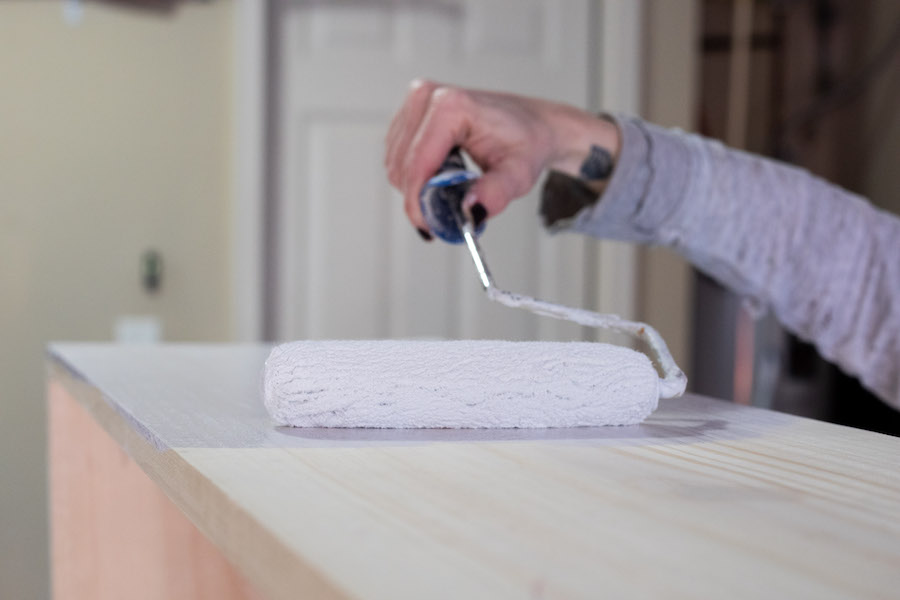
Paint or Stain
I opted to paint my shelving unit gray, so I prepped it first by patching over holes and knots with wood filler, then sanding those smooth, and then priming the whole piece before painting. I added furniture paste wax for protection.
-
Add Hardware and Furniture Feet
Attach your drawer pulls, and then you’re done!