Torsion Box Workbench
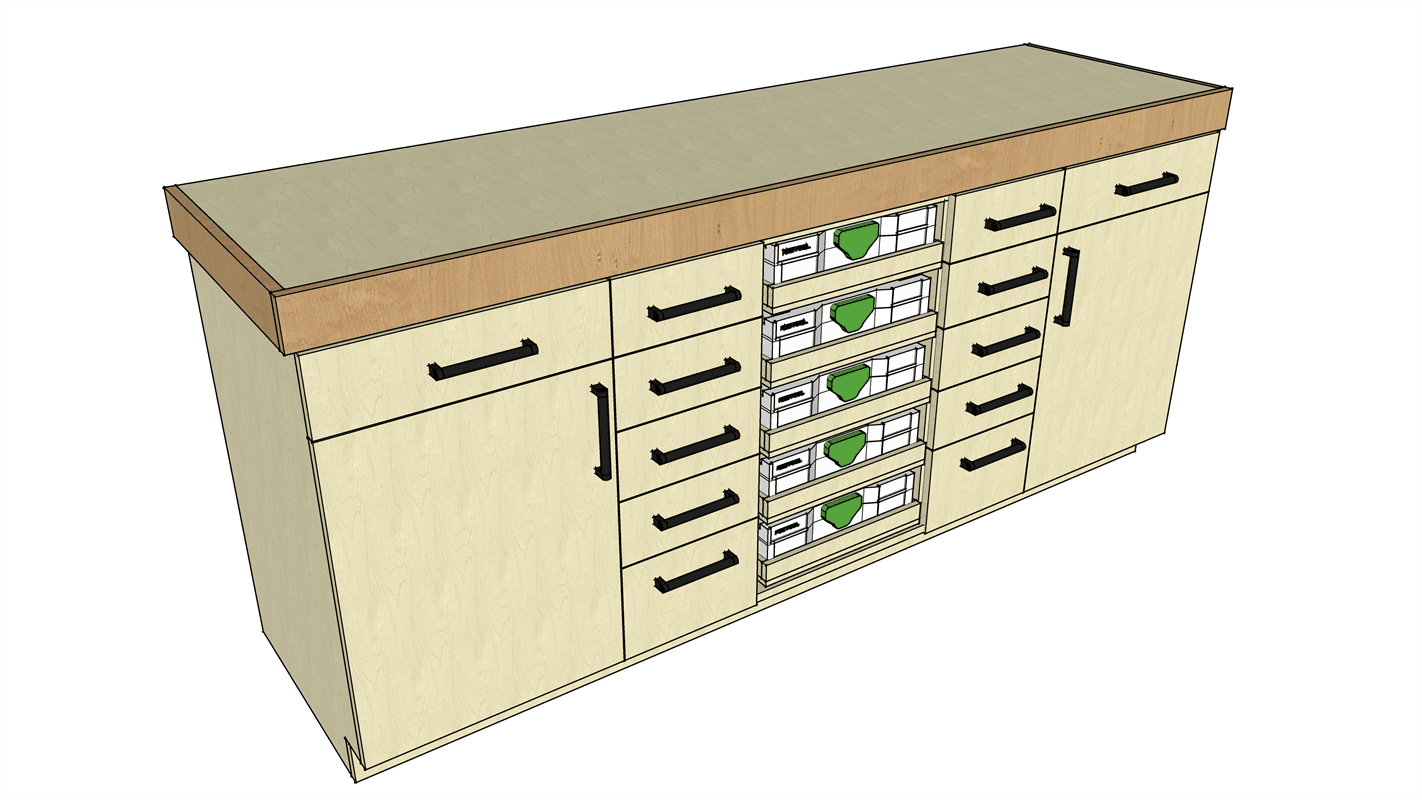
By foxhallww311This is an incredibly functional workbench. This bench features tons of storage with 12 drawers, 2 doors, and 4 pull out trays. The top is a torsion box which is an enter web system that will keep the top dead flat. Check out the extra tab for the link to the build video.
Directions
-
Plywood Breakdown
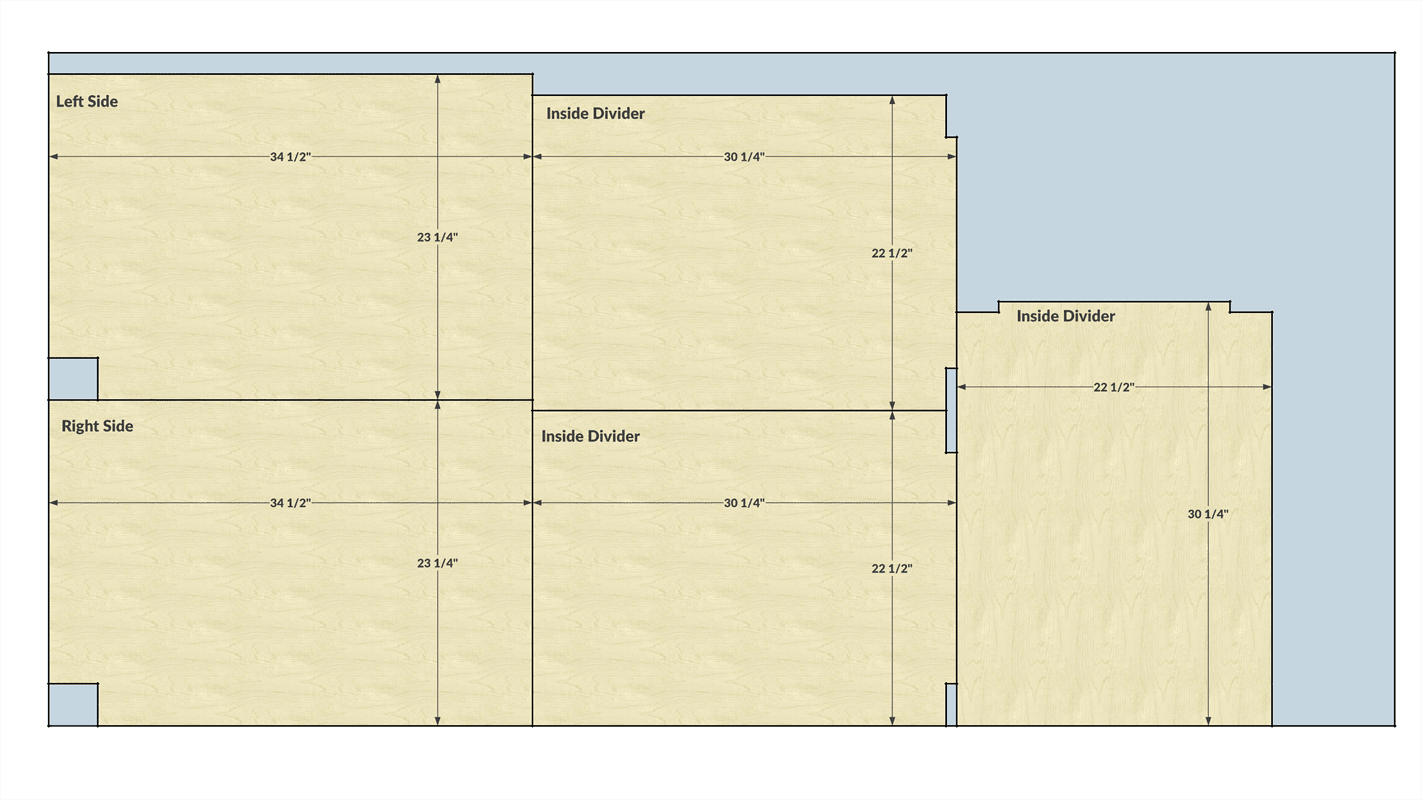
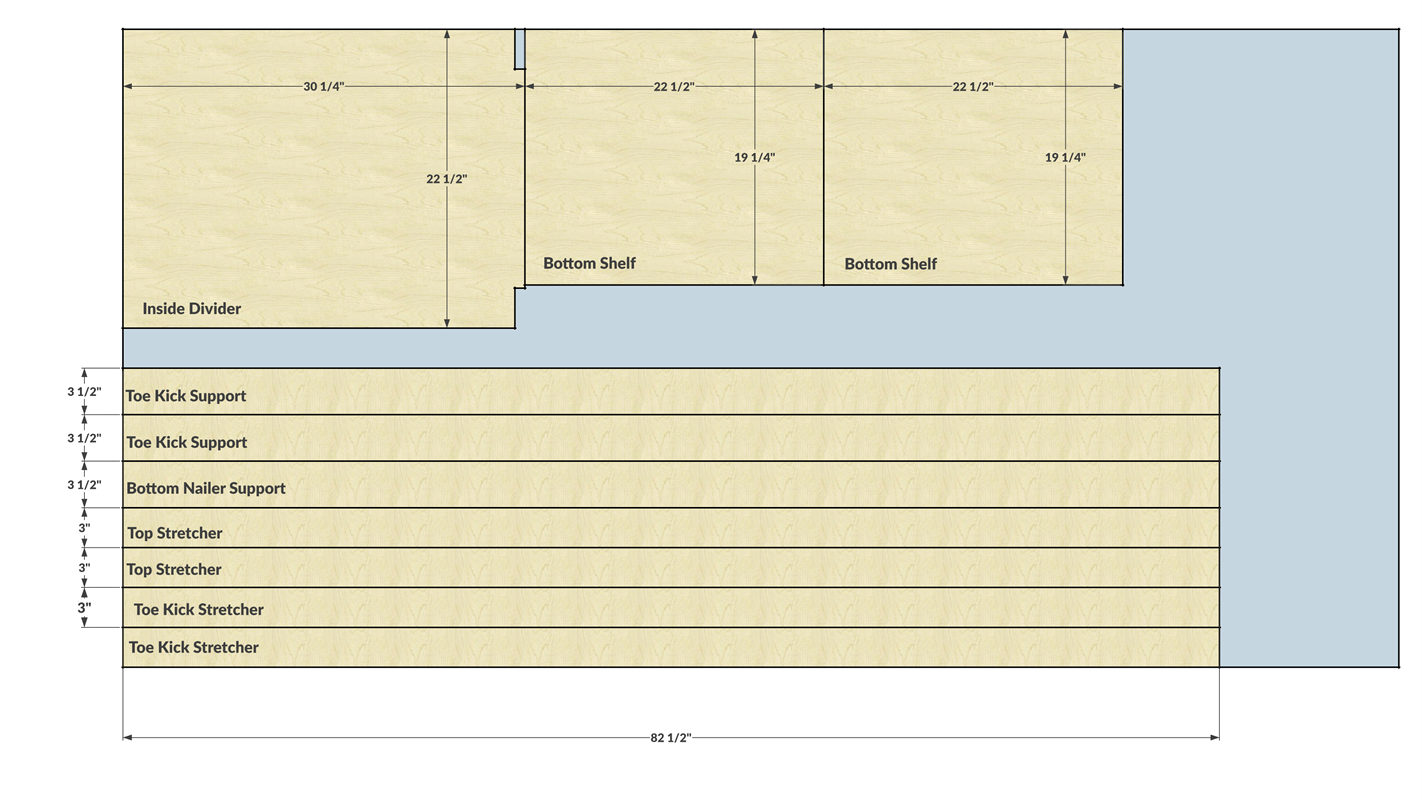
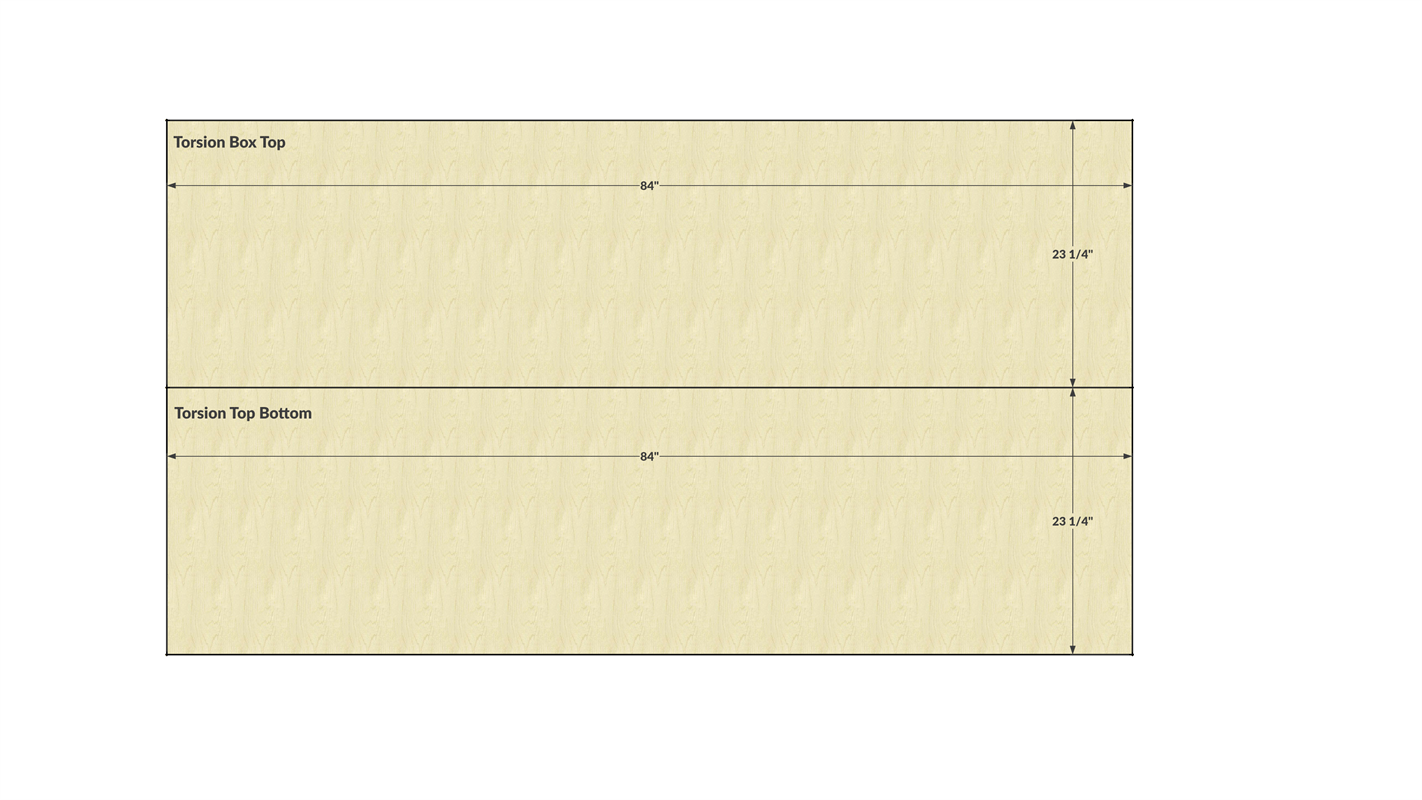
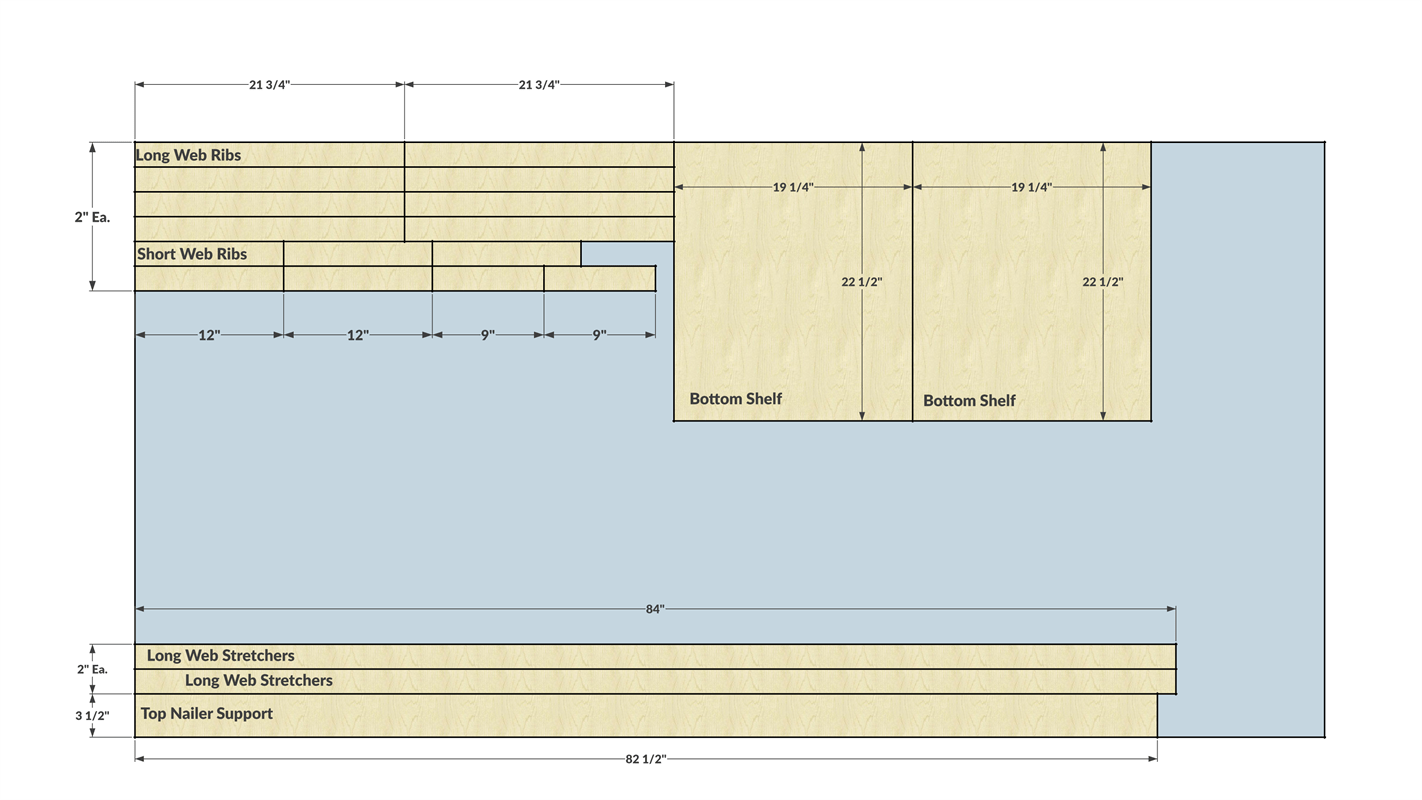
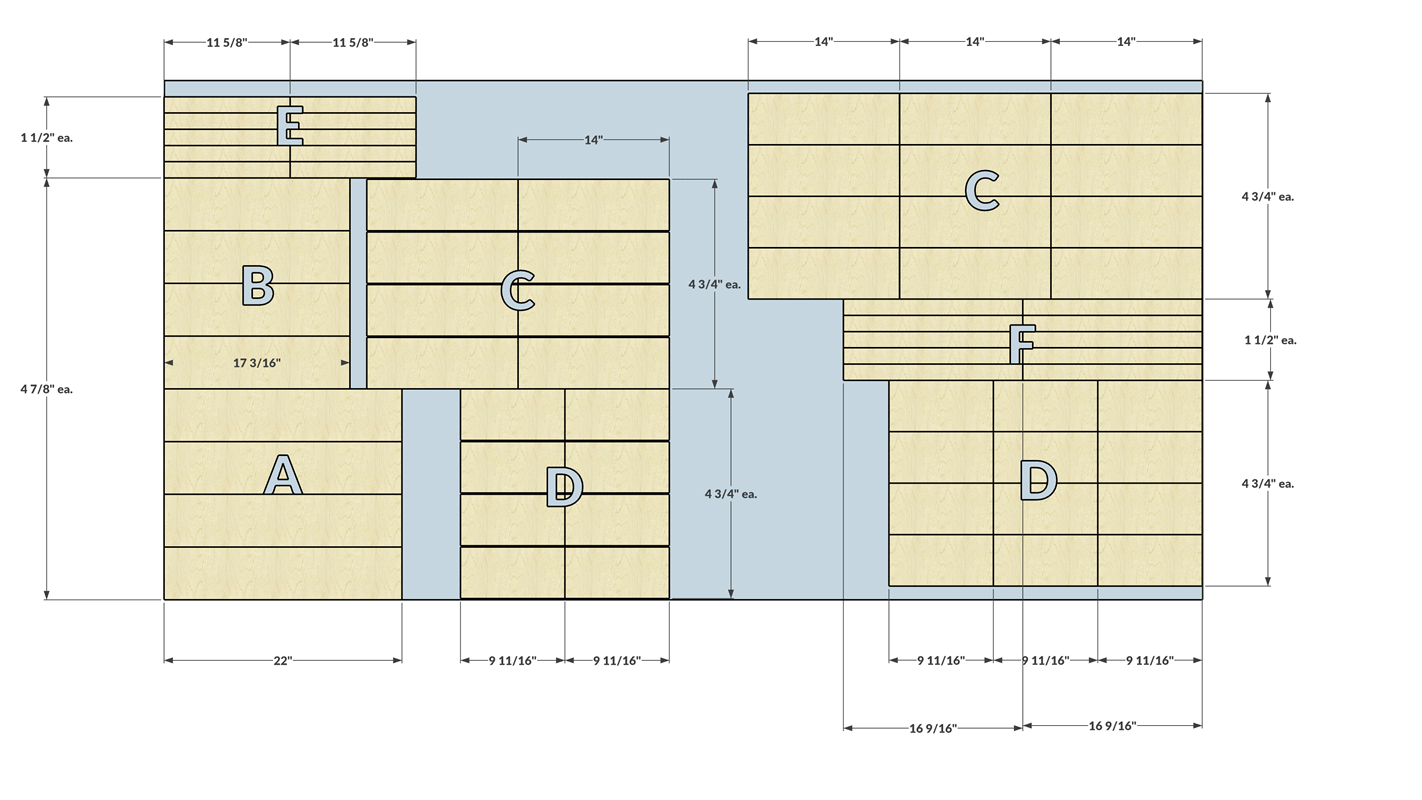
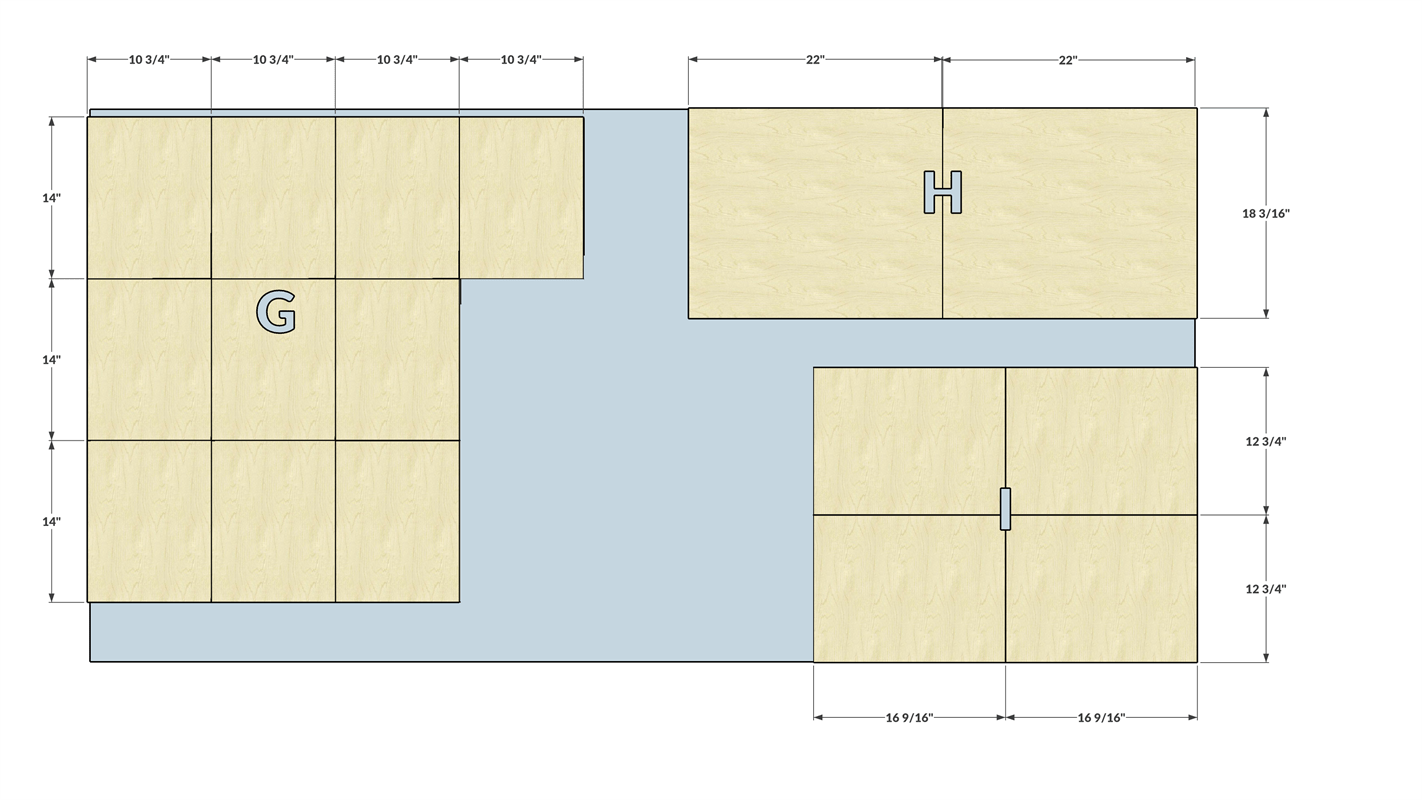
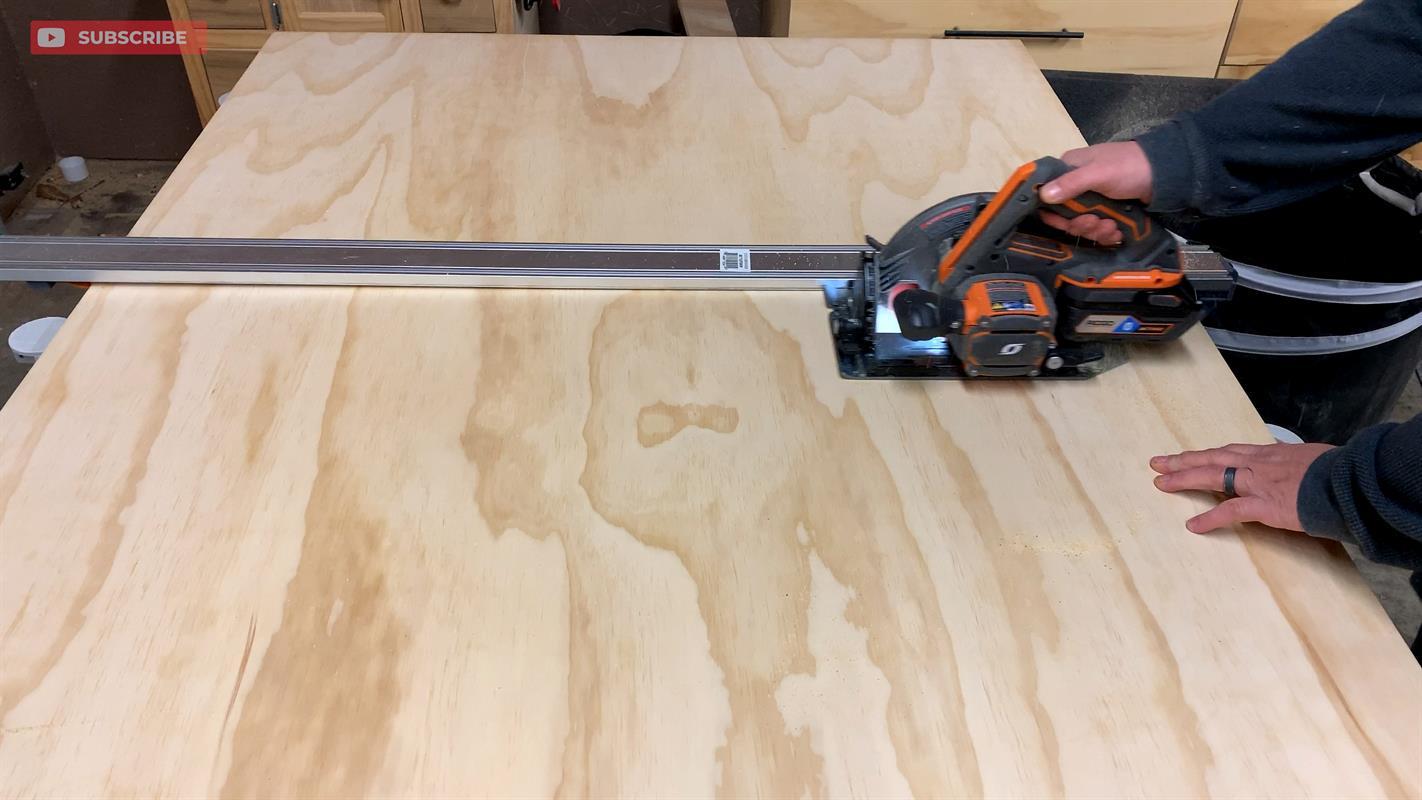
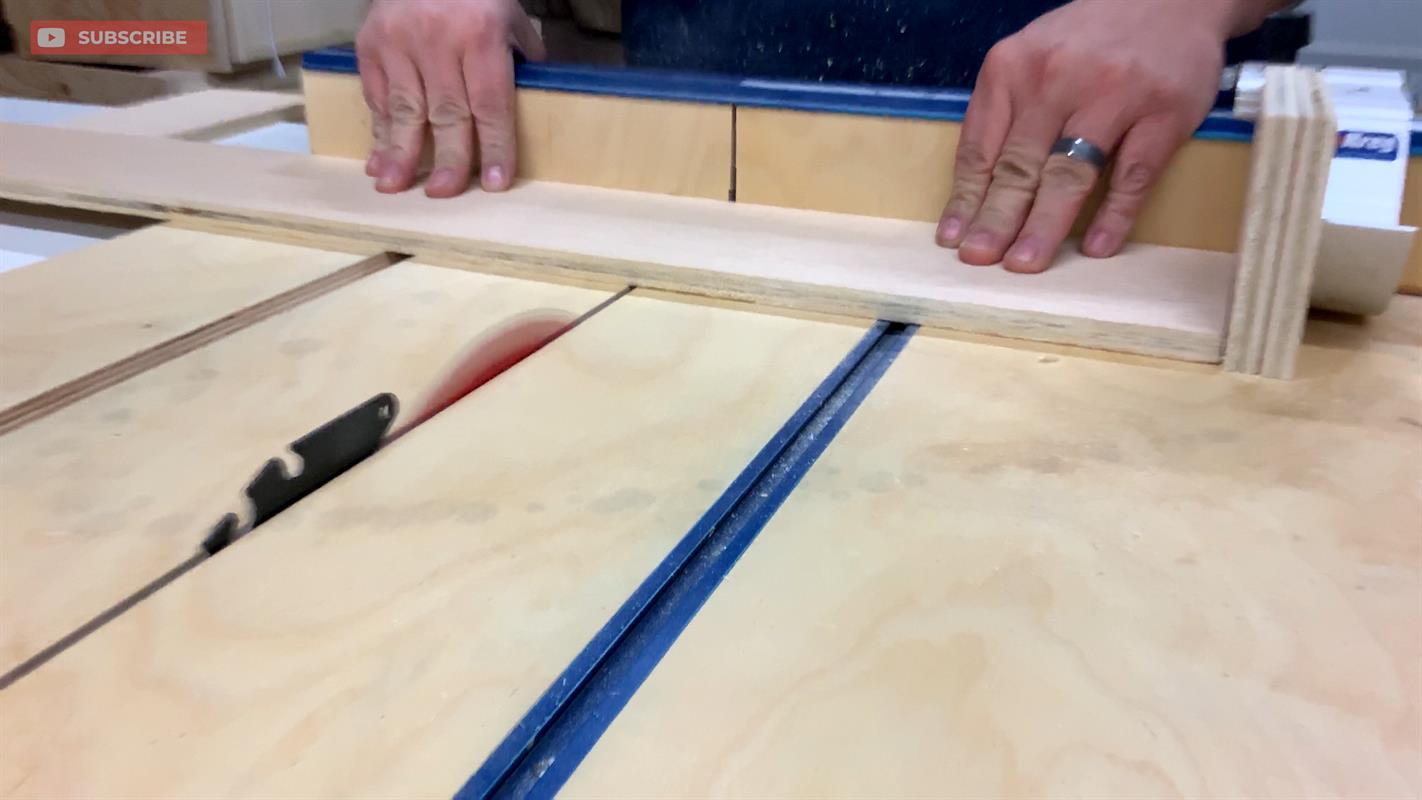
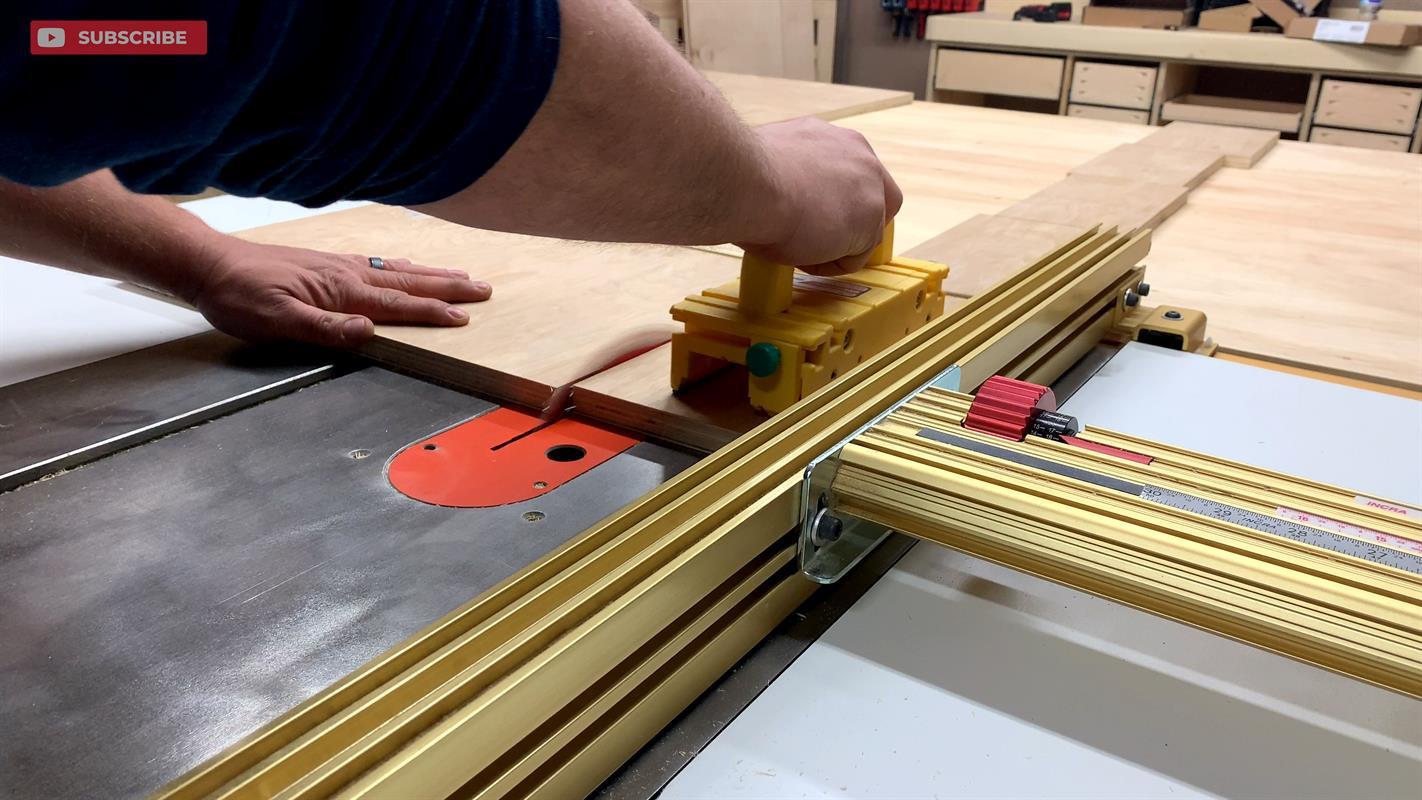
Break down all of the plywood according to the cut list for the casework. I like to separate each sheet in half so it's easier to manage on the table saw. The long stretchers are a bit tricky to manage on the table saw. I would suggest using the Kreg rip cut and your circular saw if you are not comfortable with ripping them on the table saw. NOTE: do no mill the 1/2" parts for the drawers until the casework is finished due to variations in plywood thickness.
-
Toe Kicks and Divider Notches
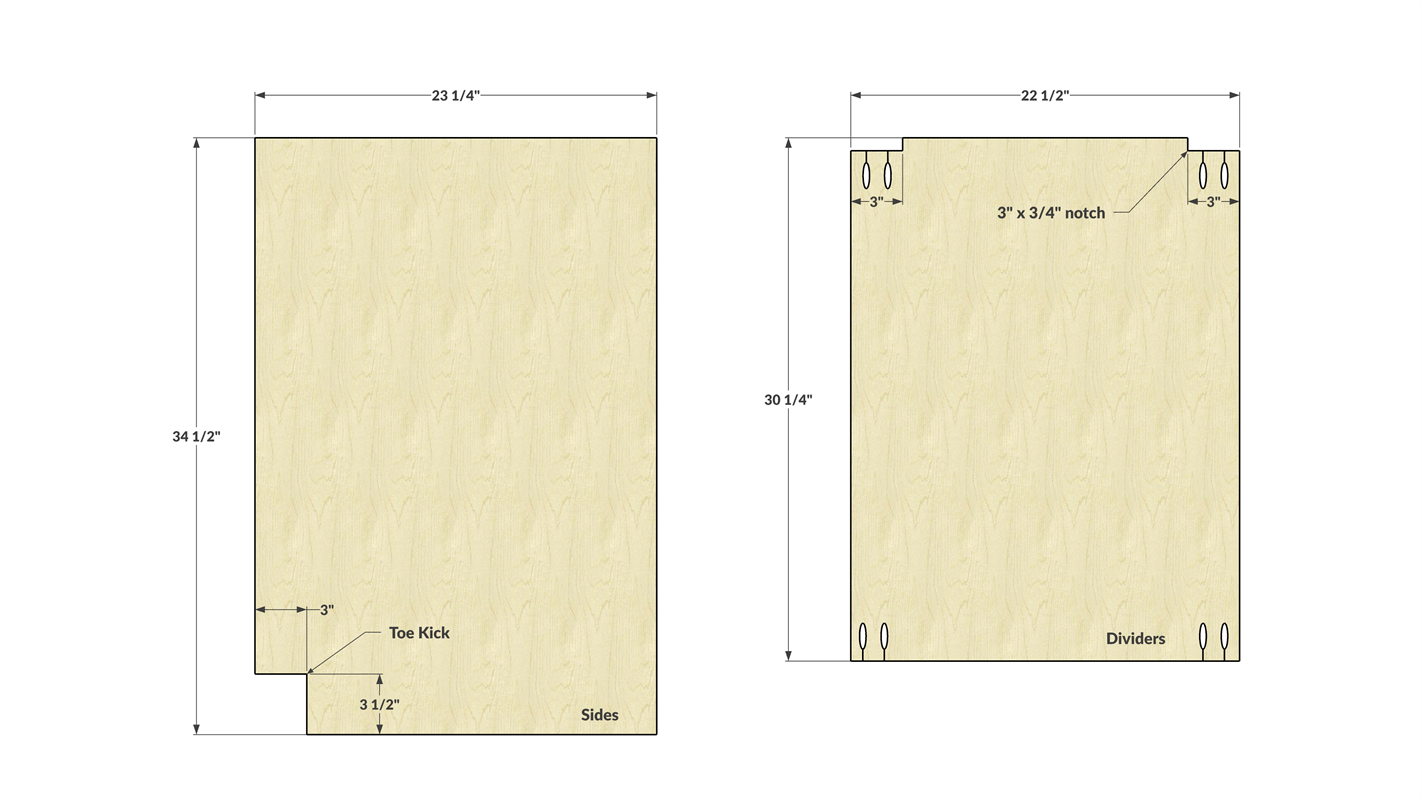
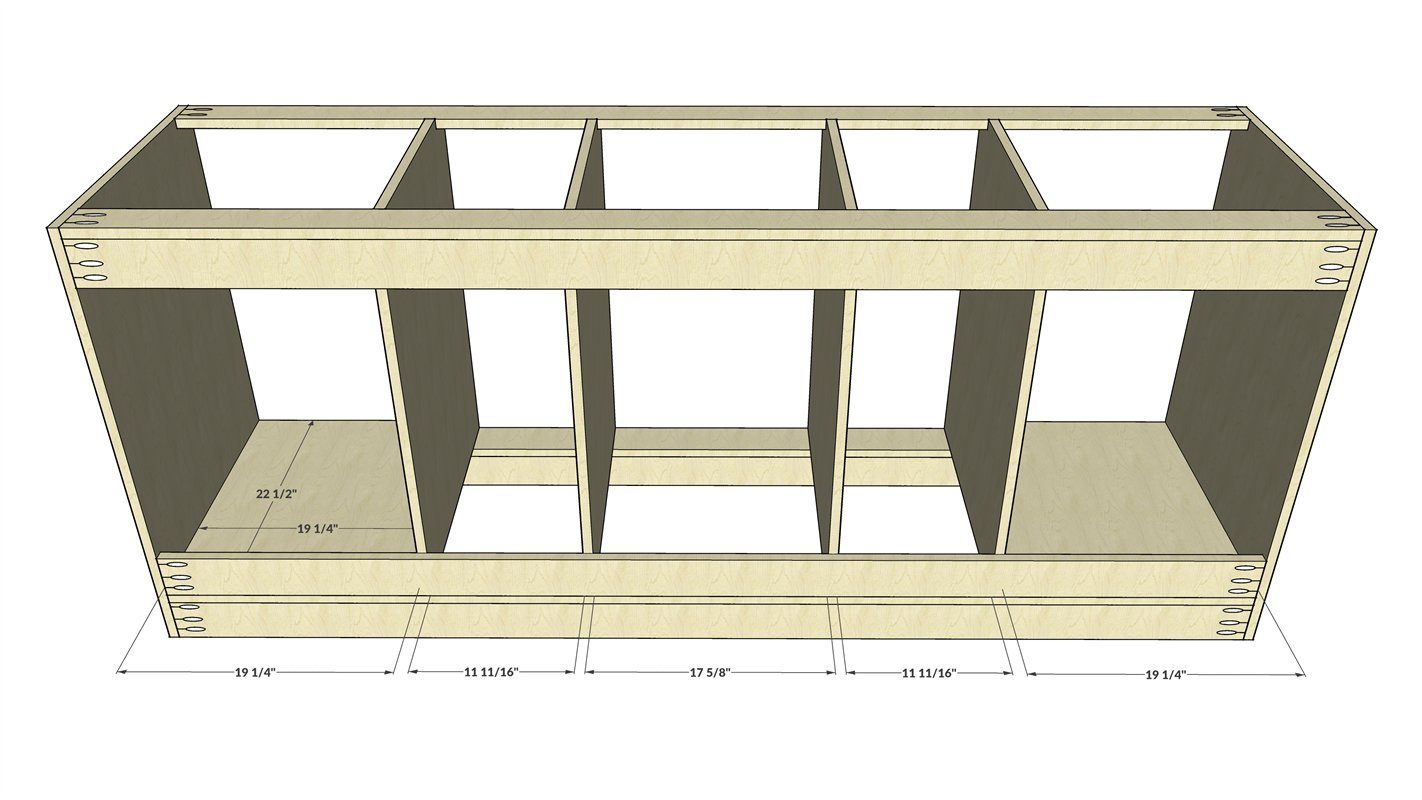
Use a jigsaw, bandsaw, or hand saw to cut out the 3" x 3 1/2" toe kicks in each side piece. Then cut out the 2 notches in each divider, that will accept the stretchers.
-
Attach The Toe Kick Stretchers
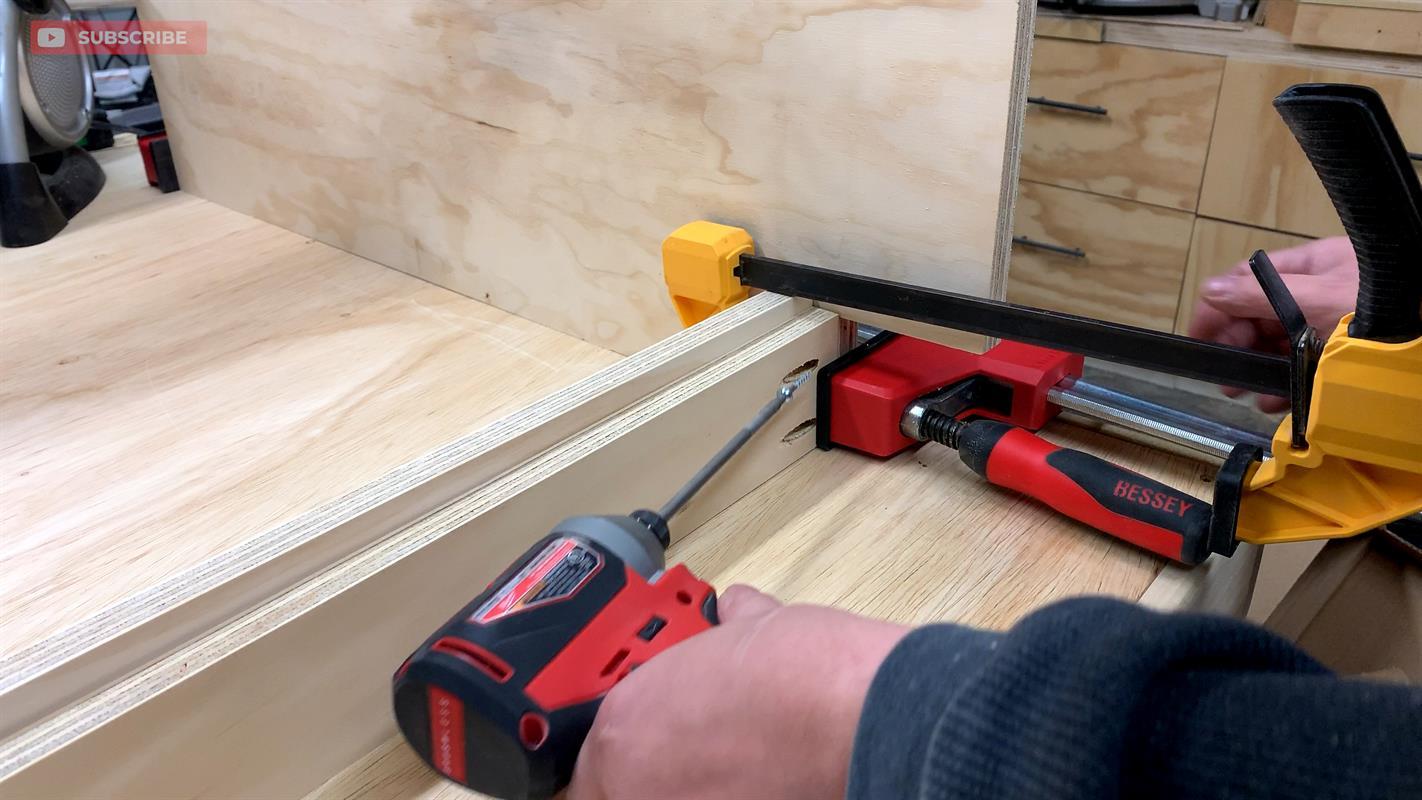
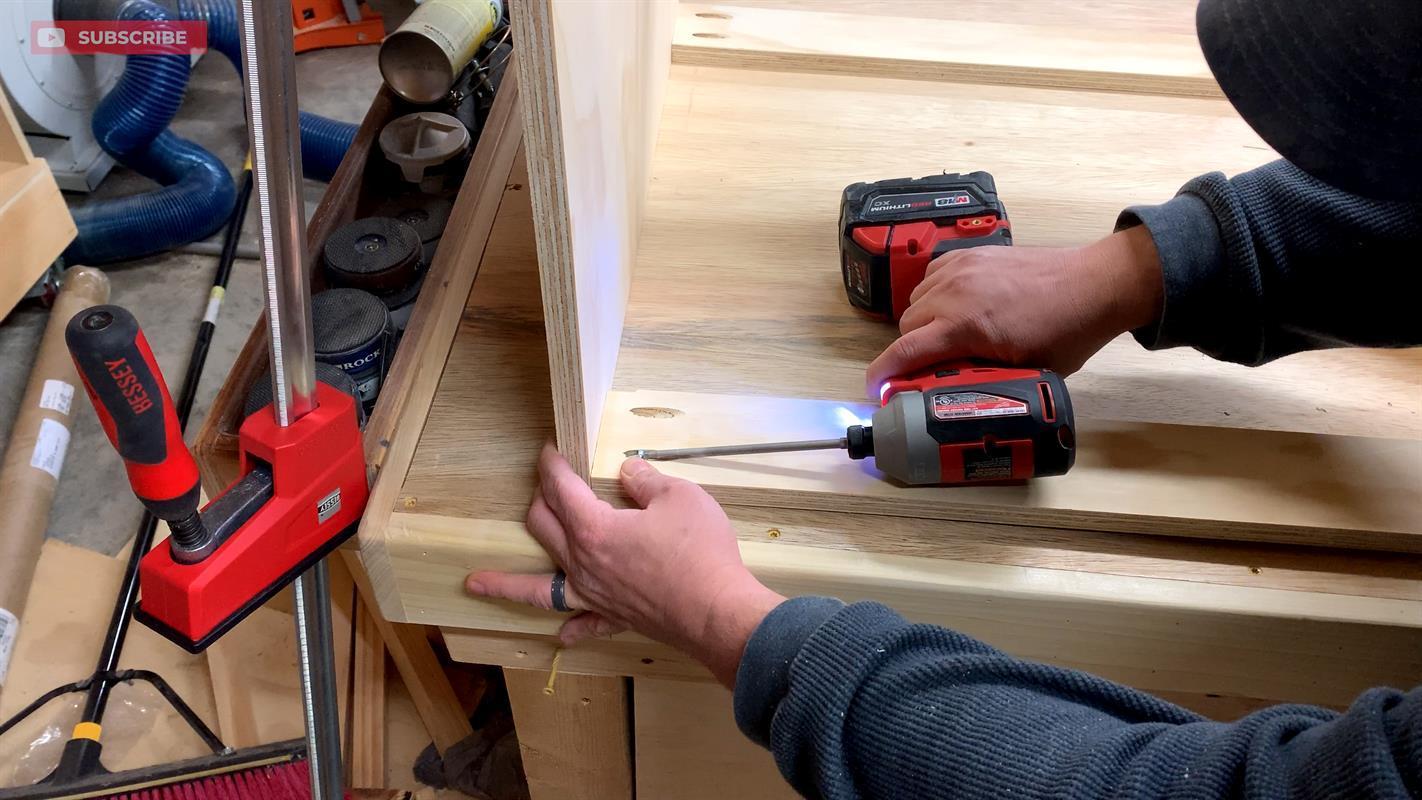
Attach the toe kick stretcher using 1 1/4" pock screws. I used a parallel clamp and a trigger clamp to flush up the stretcher to the front of the toe kick.
-
Attach the Divider Supports
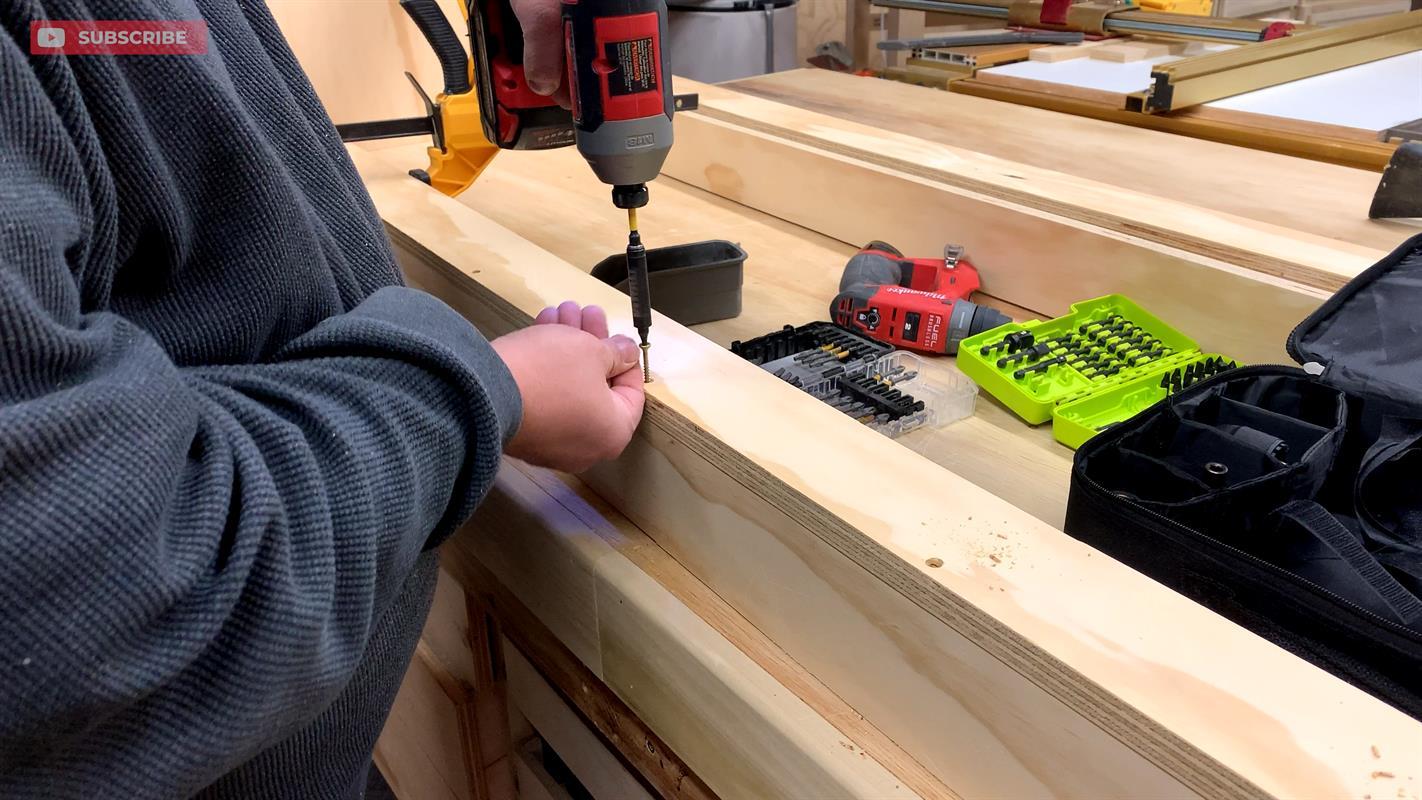
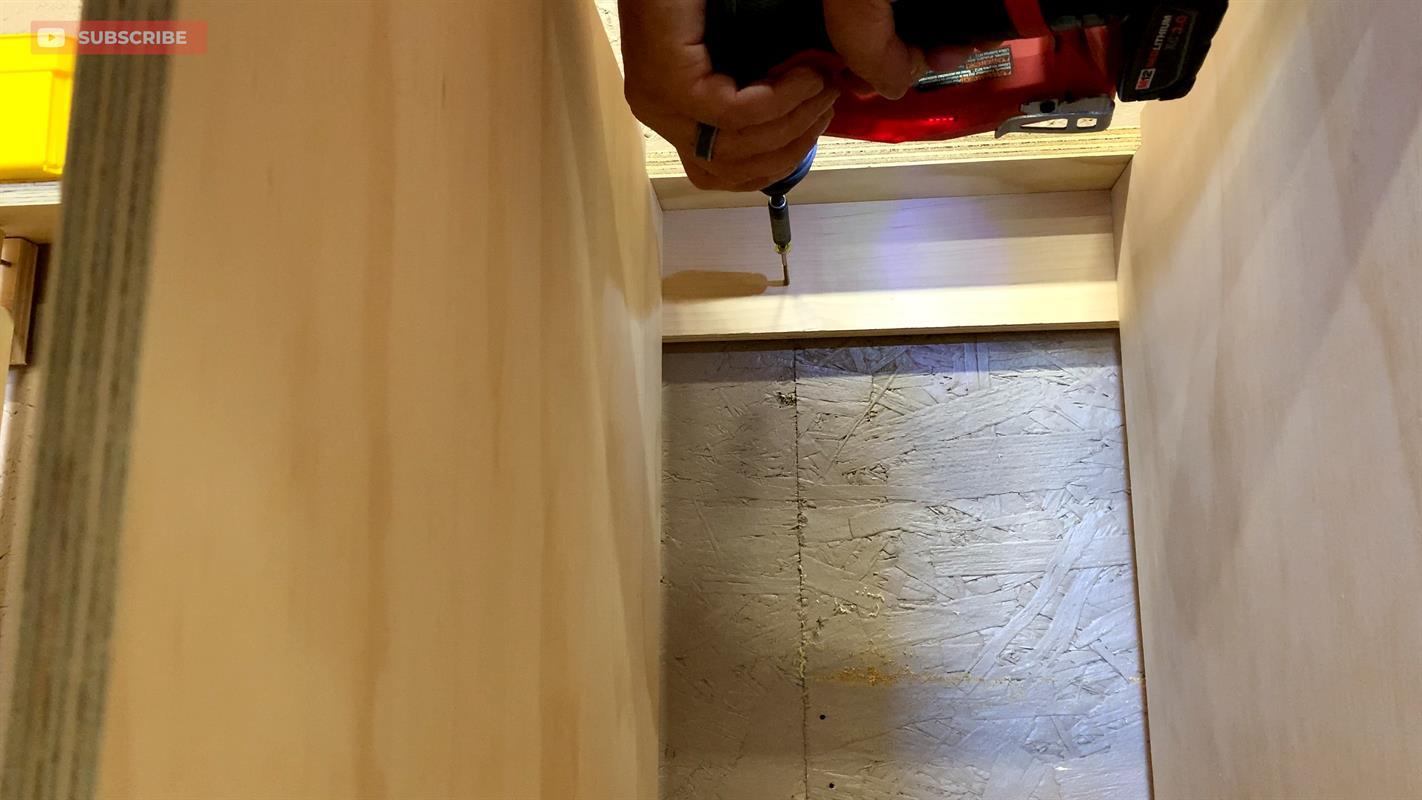
The divider supports are installed on top of the toe kick stretcher. Then the support stretcher is glued and screwed down the full length of the toe kick stretcher using 1 1/4" screws.
-
Attach the Top Stretchers
Flip the case upside down and attach the top stretchers.
-
Install the dividers
Move the case to the floor and install the dividers with pocket hole screws. I used spacers and attached the divider to the bottom support stretchers. Then use a clamp and spacer to install the top stretchers into the divider notches. Use glue and screws to attach the stretcher.
-
Install the Cabinet to the Wall
Move the cabinet into the space it will stay permanently. Use shims to level the cabinet and then attach the case to the wall using 3" cabinet screws hole screws directly into the stud.
-
Install Torsion Box Stretchers
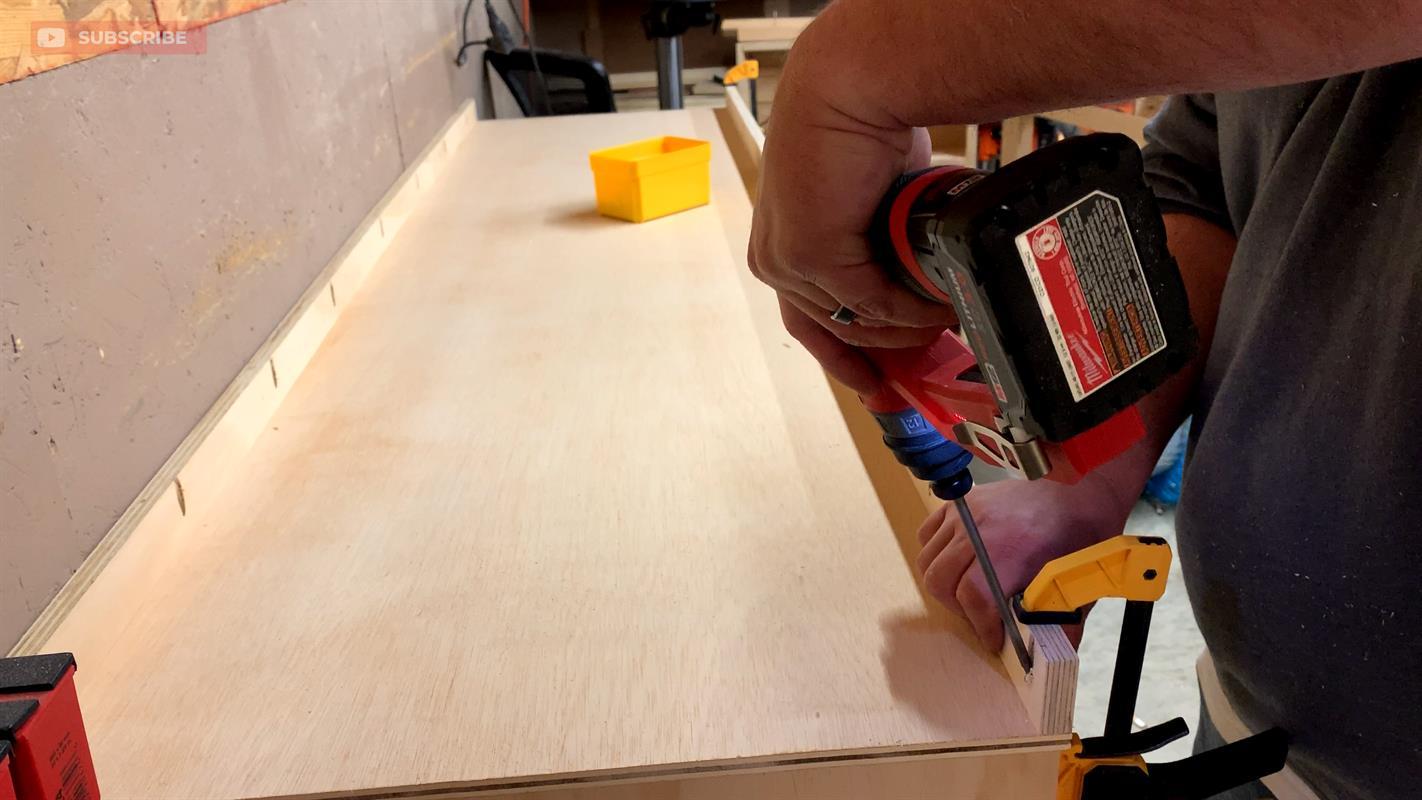
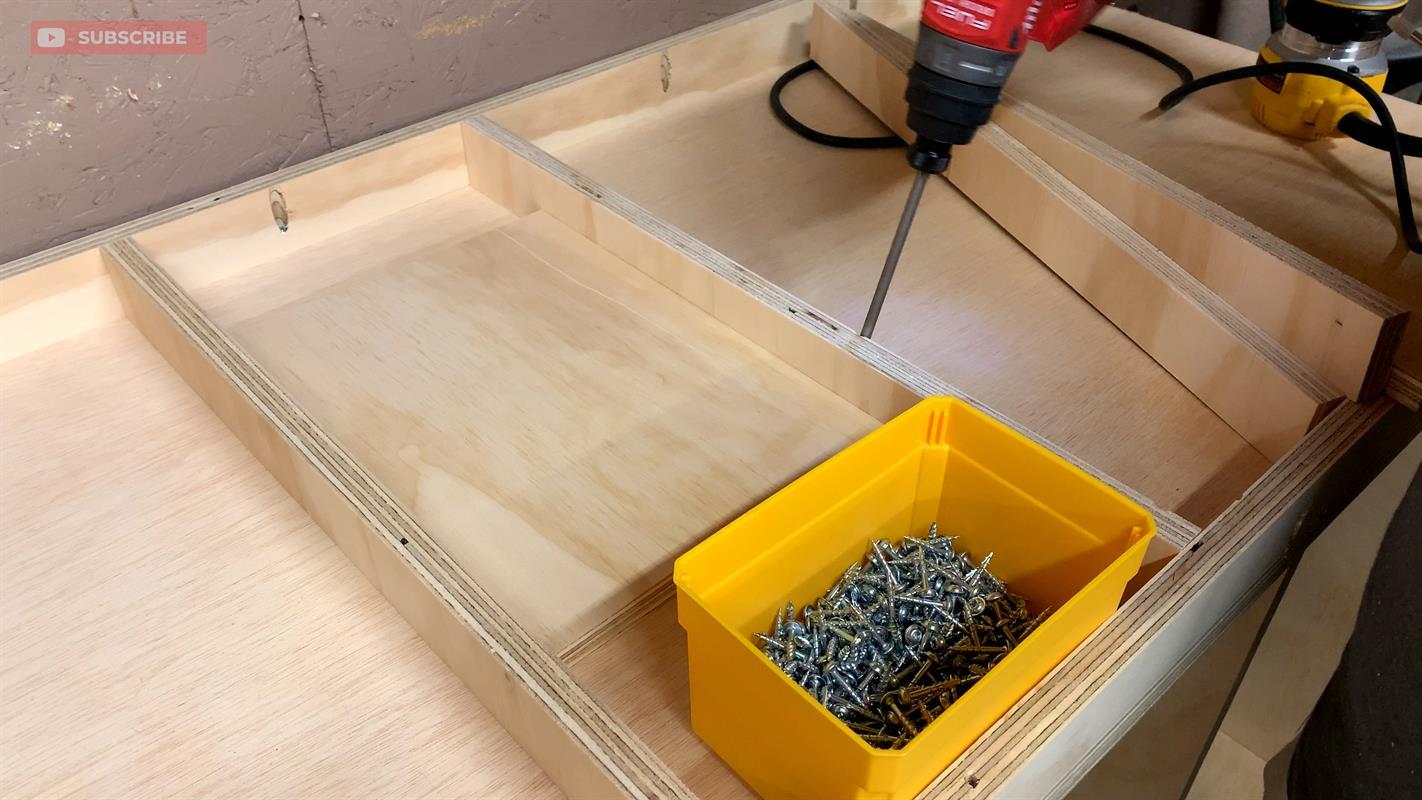
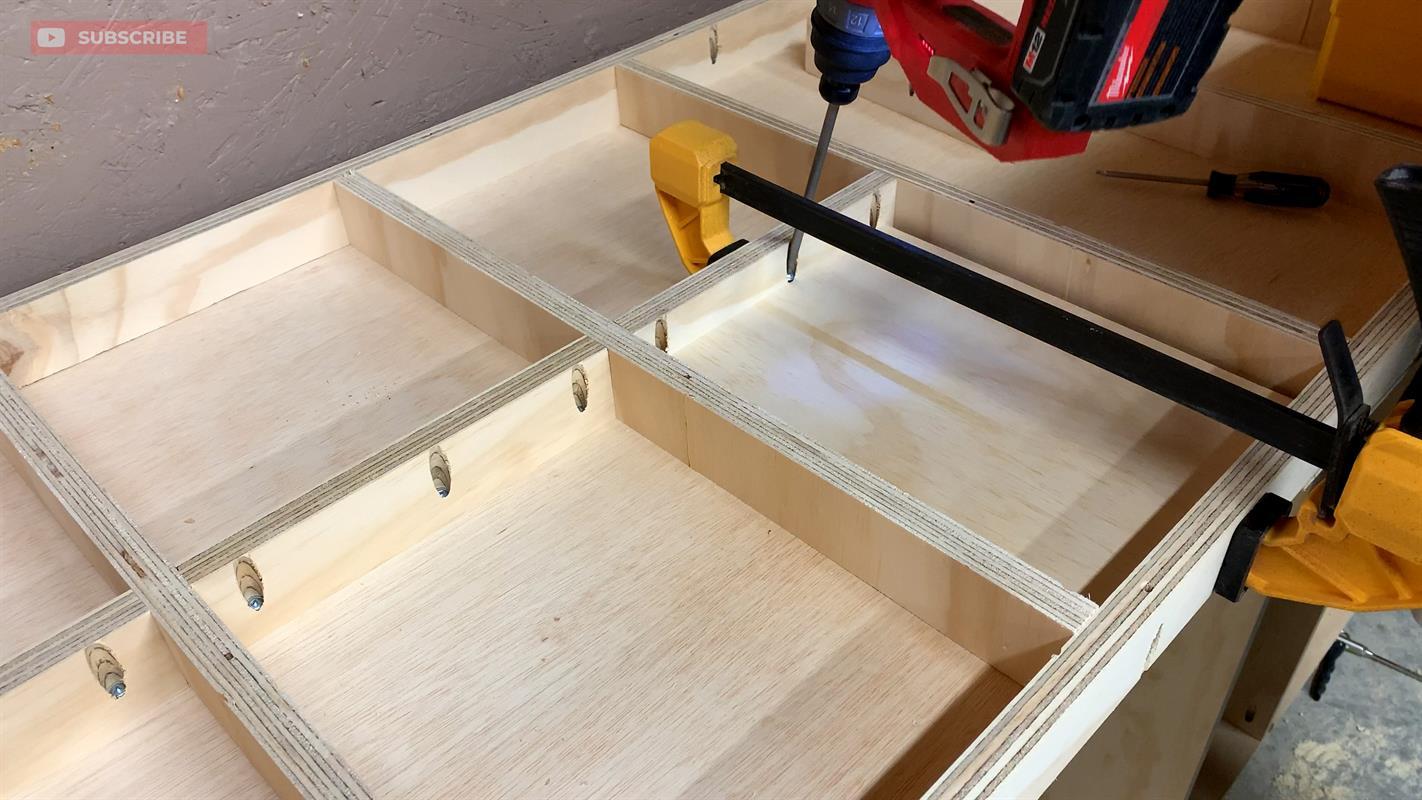
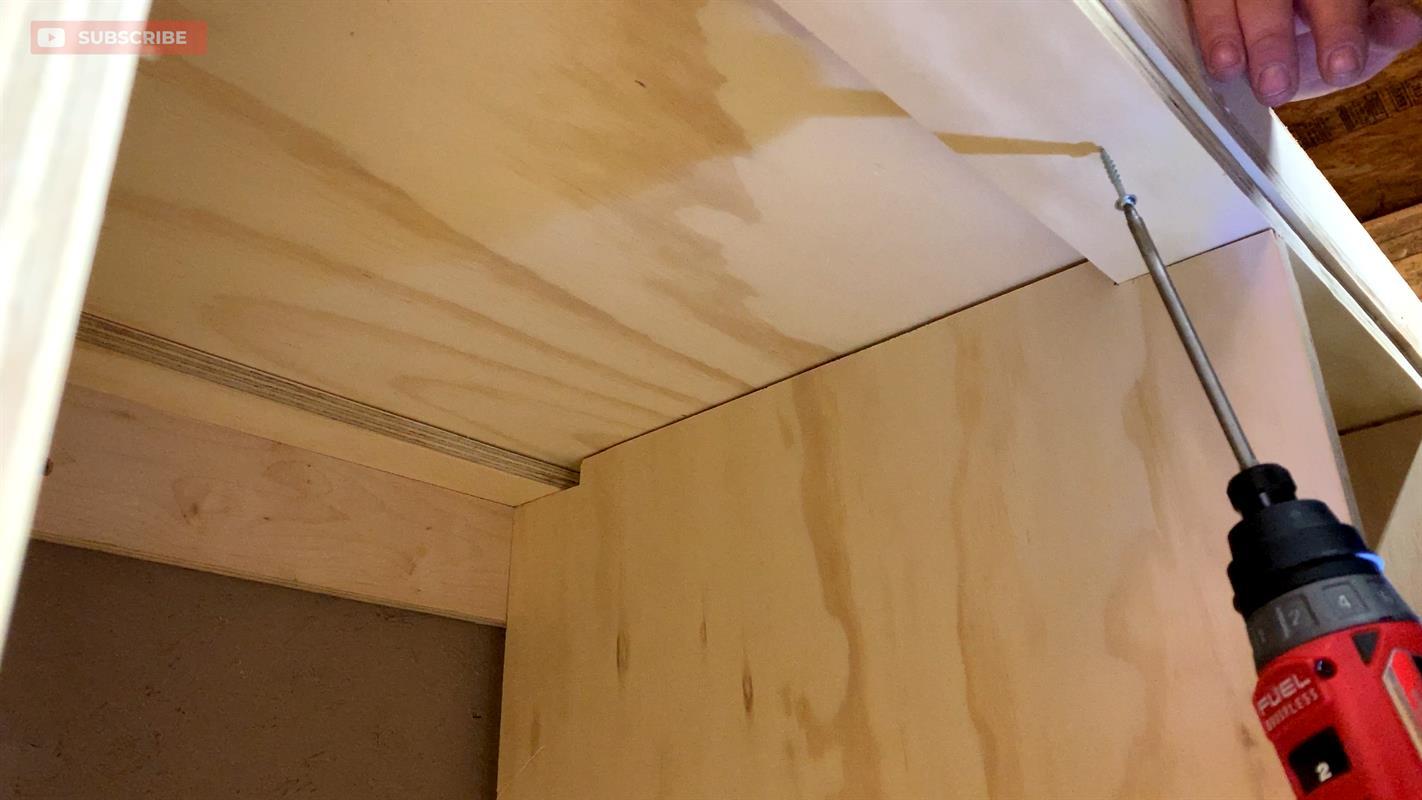
Place the top of the box on top of the cabinet. (the torsion box will be assembled upside down so that screw will not show on the top) Install the front and back stretchers using 1 1/4" pocket hole screws. Use clamps to make sure the parts are straight.
-
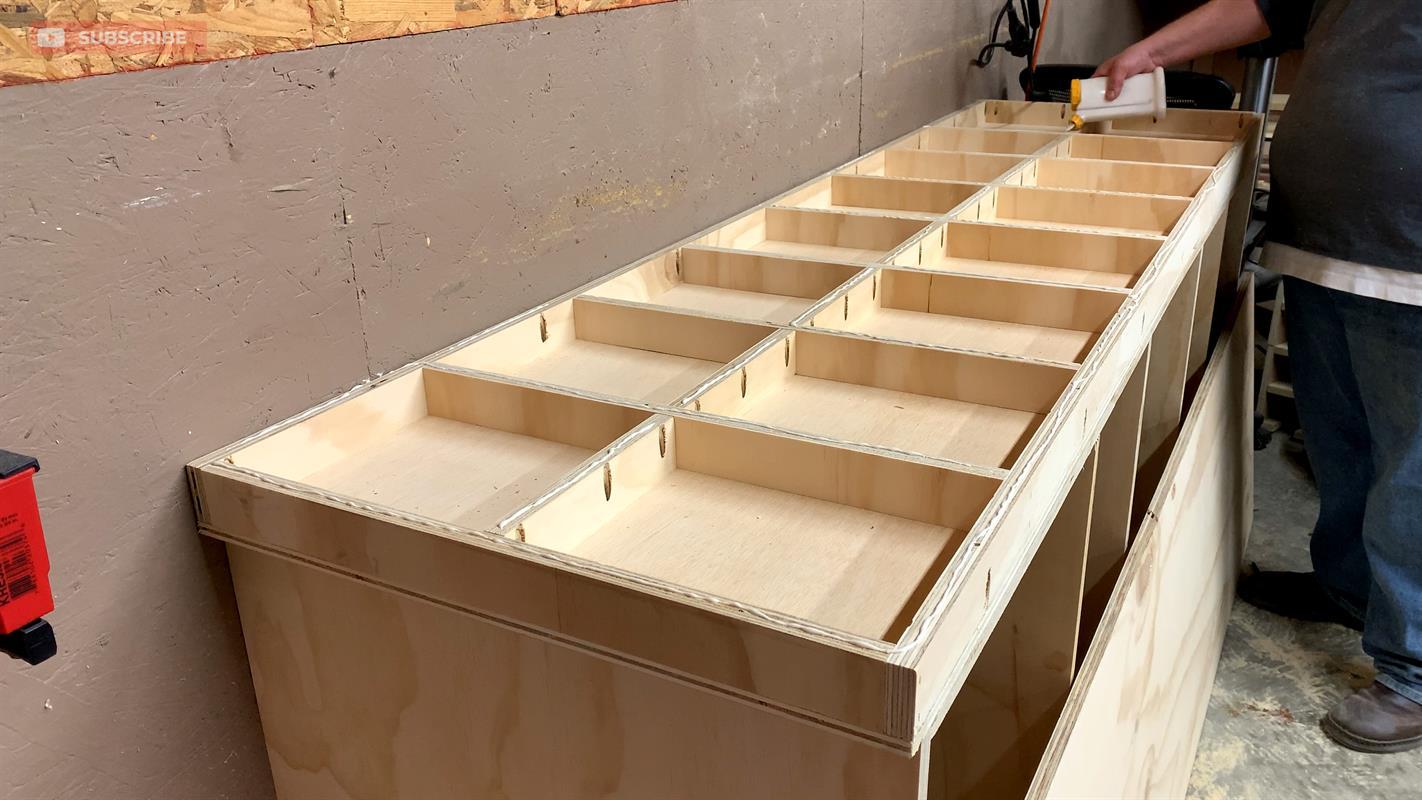
Install Torsion Box Ribs
Install the end cap stretcher. Then use a 9" spacer and install the next rib. Then use a 12" spacer to install the remaining ribs. Then install the last end cap rib.
-
Install Torsion Box Short Ribs
use a 10 1/2" space to install the short ribs that go down the middle of the box.
-
Install the Torsion Box Bottom
Use glue and brad nails to attach the bottom to the web.
-
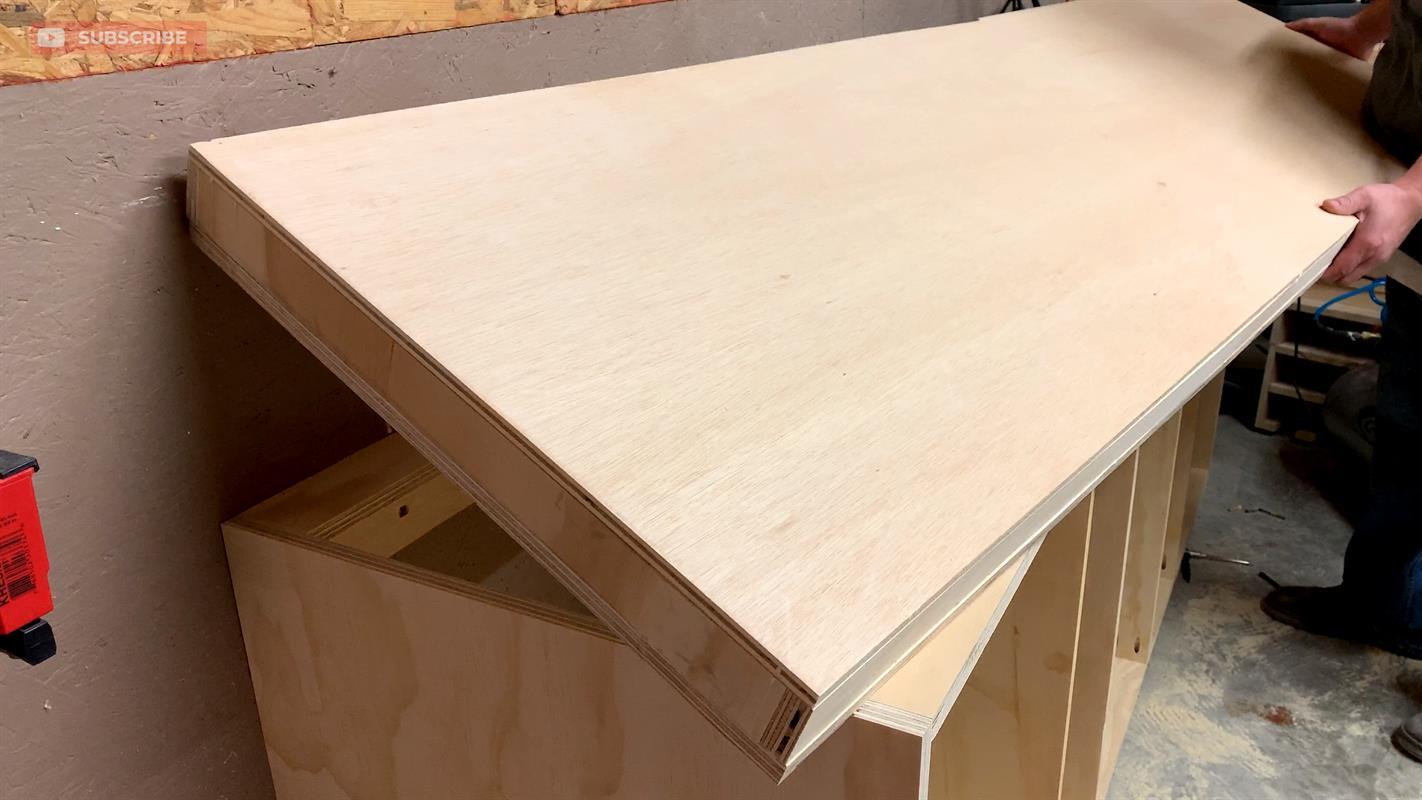
Flip over the Torsion Box
flip the box and move into place
-
Attach the Box
Attach the box to the cabinet case using 1 1/4" pocket screws screwed into the stretchers from underneath.
-
Front Trim
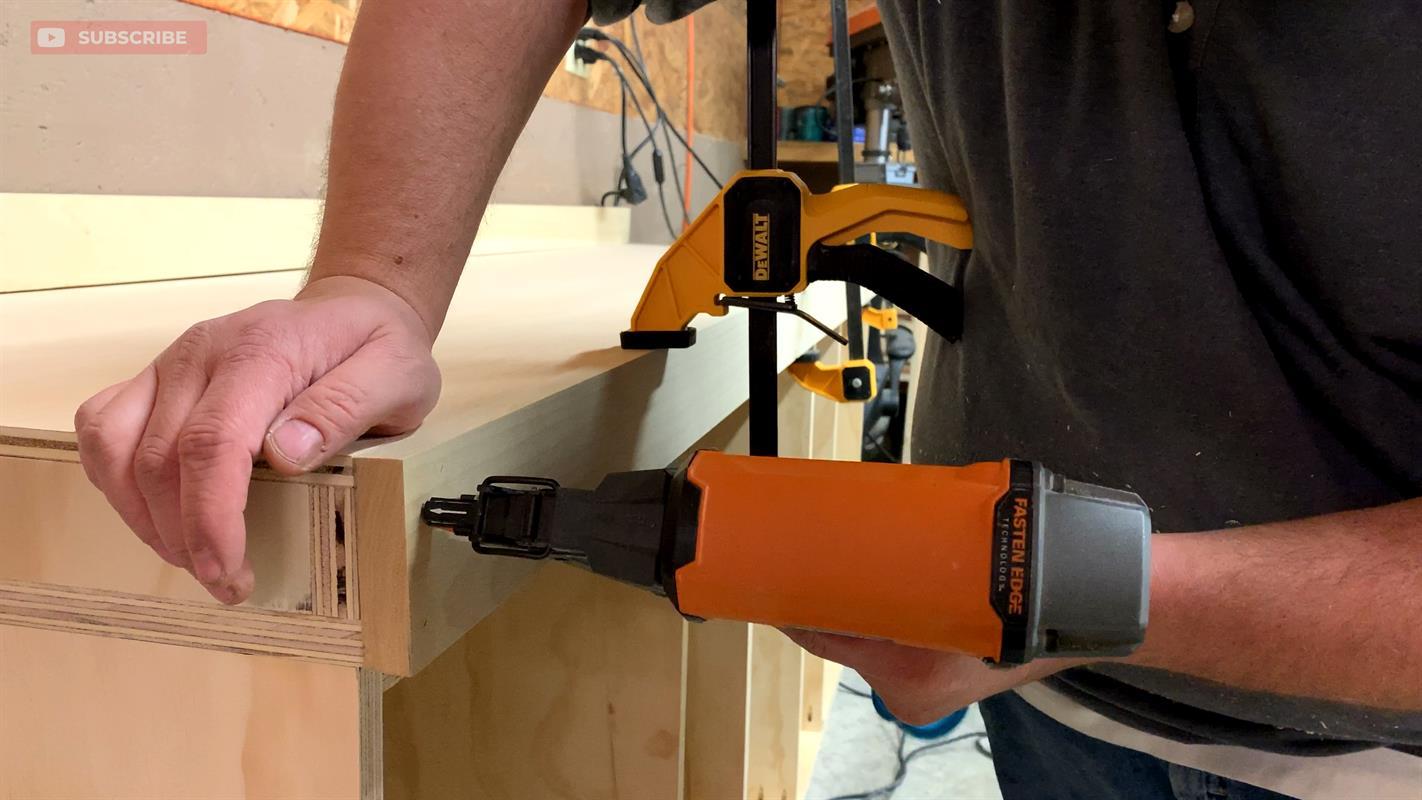
Install front trim with brad nails. I used 2 brand nails every 8" or so inches.
-
Install Side Trim
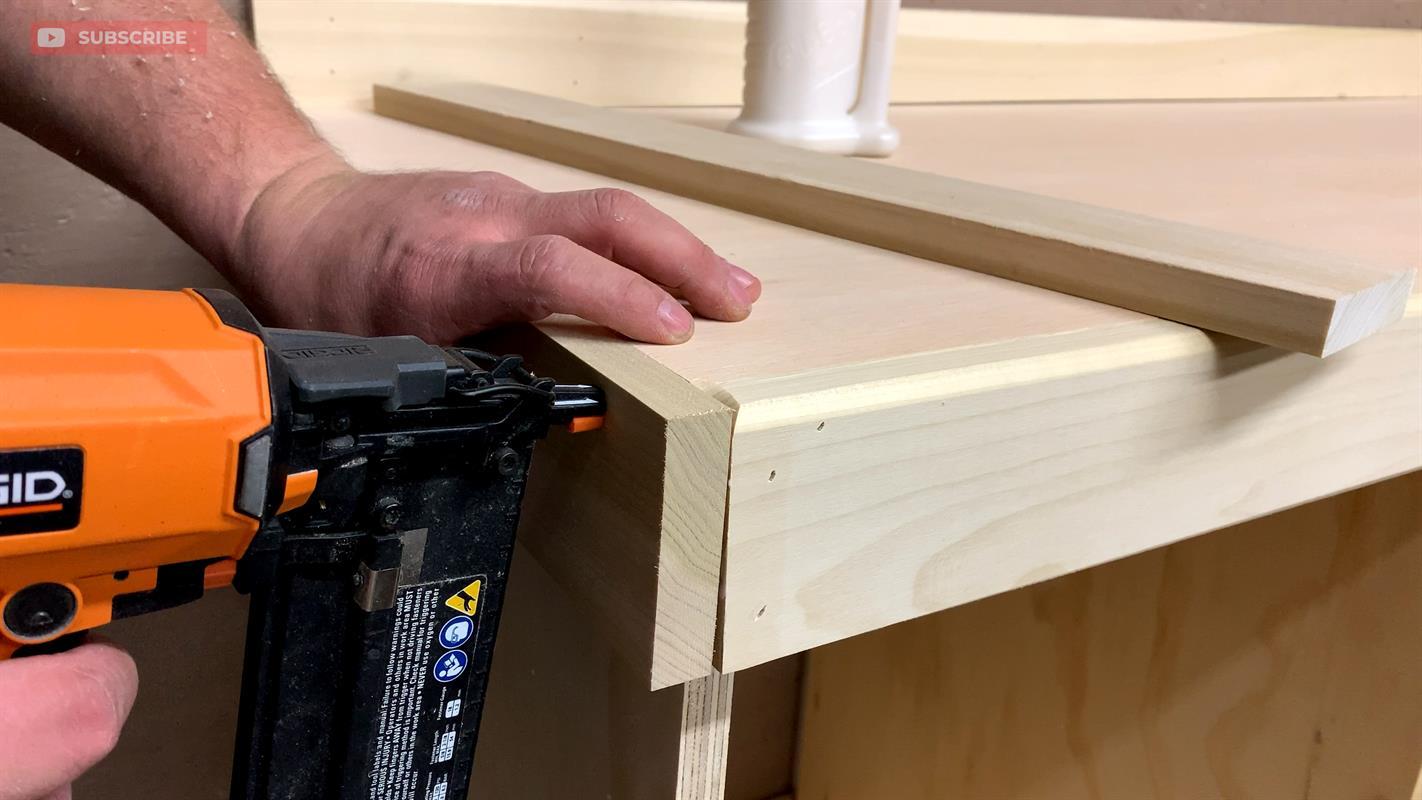
Install the side trim using brad nails. Note: the front trim piece should be long enough to overhang the side trim. I messed this step up. :0(
-
Install the Backsplash Trim
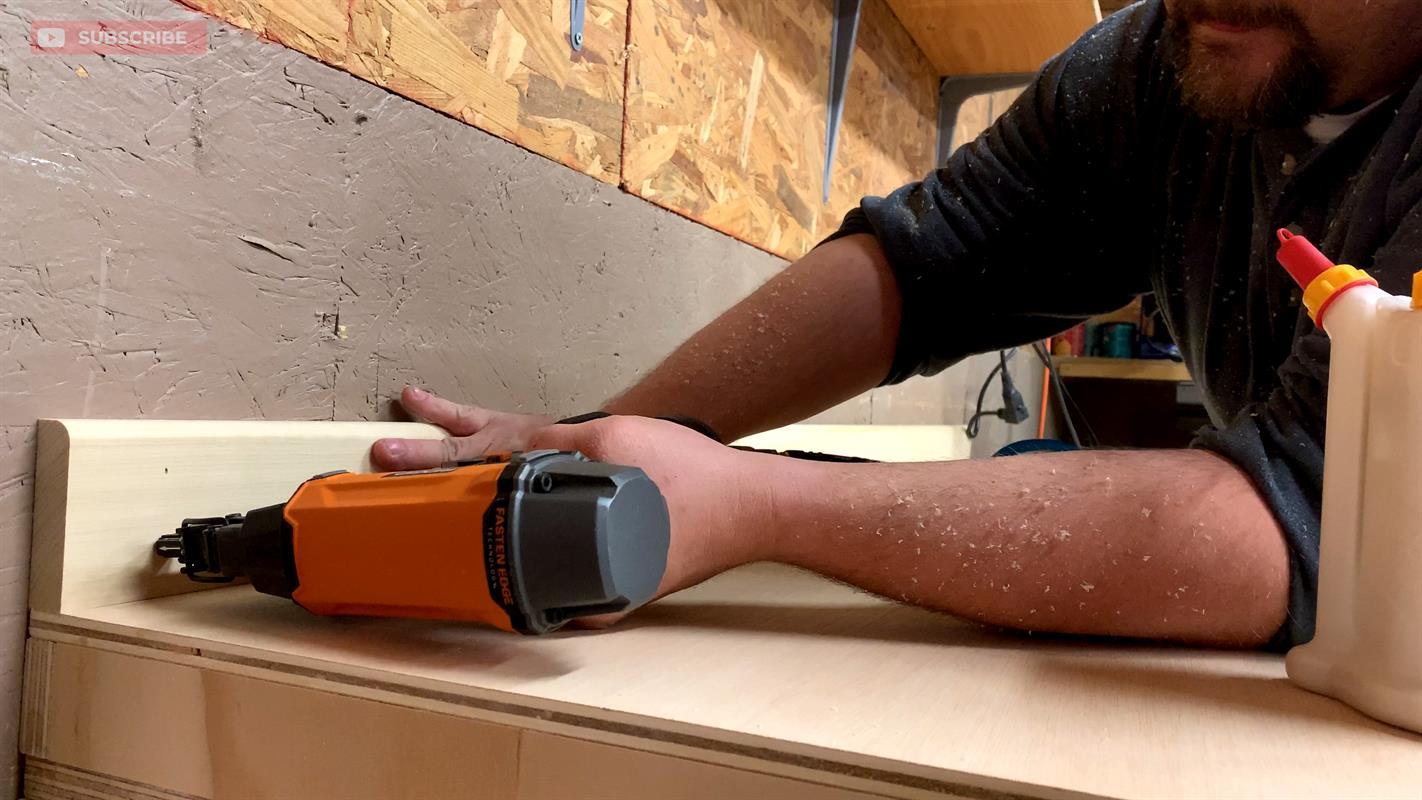
install the backsplash trim using brad nails. the trim should be as long as the workbench at 84".
-
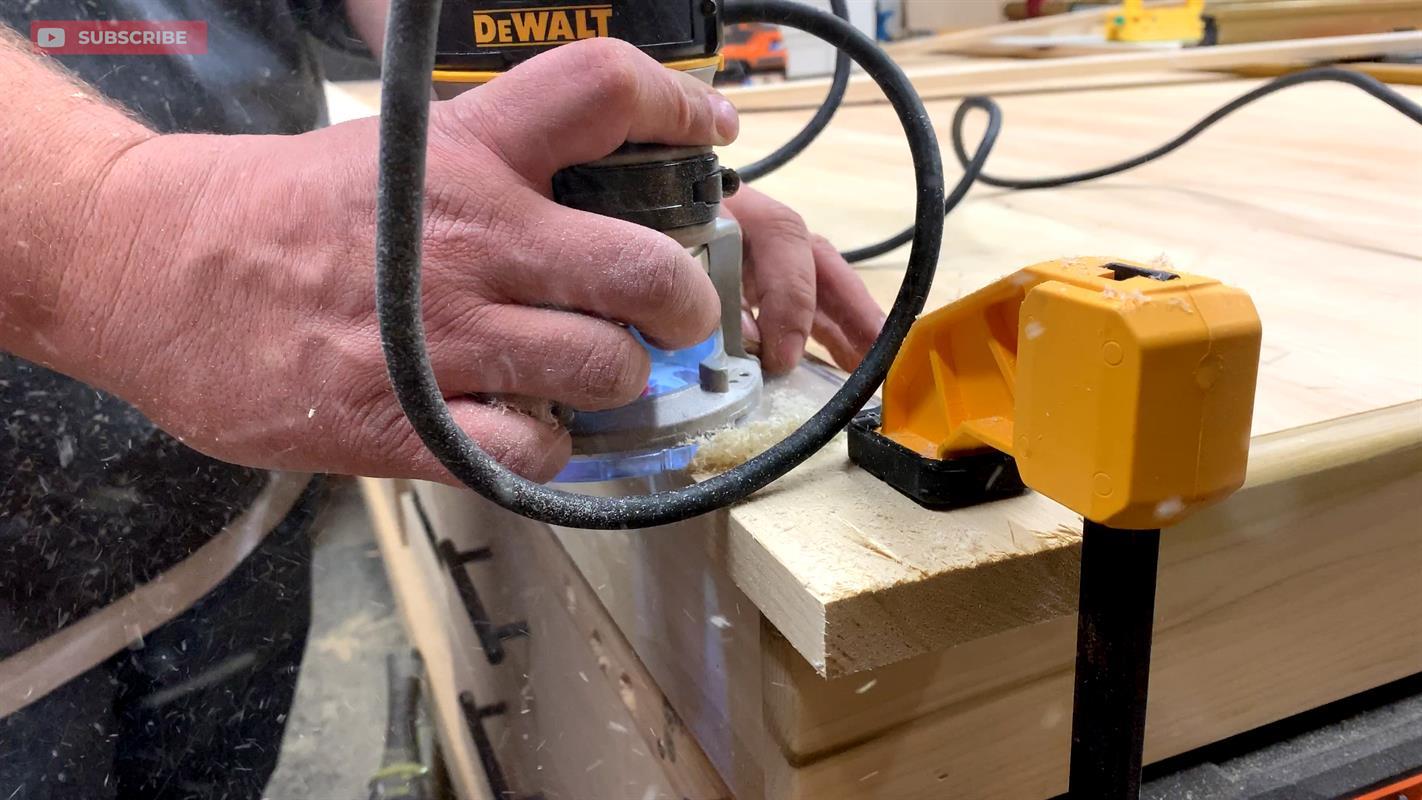
Add a round over to all trim pieces
It will be easier to add a round over to the backsplash before it's installed. But the side and front pieces can be attached to the workbench first.
-
Mill the Drawer Parts
Mill all of the drawer parts in batches. Please note: do no cut any of the drawer parts before measuring the drawer openings. Measurements can vary due to plywood thickness. When milling for the fronts and backs for each drawer, measure the opening and then subtract 1". Set a stop block to that measurement. Then add 2 small pieces of scrap wood to your stop block that is the same stock as your drawer parts, then make the cut. This will give you exact measurements including the drawer slides.
-
Assemble the Drawer Boxes
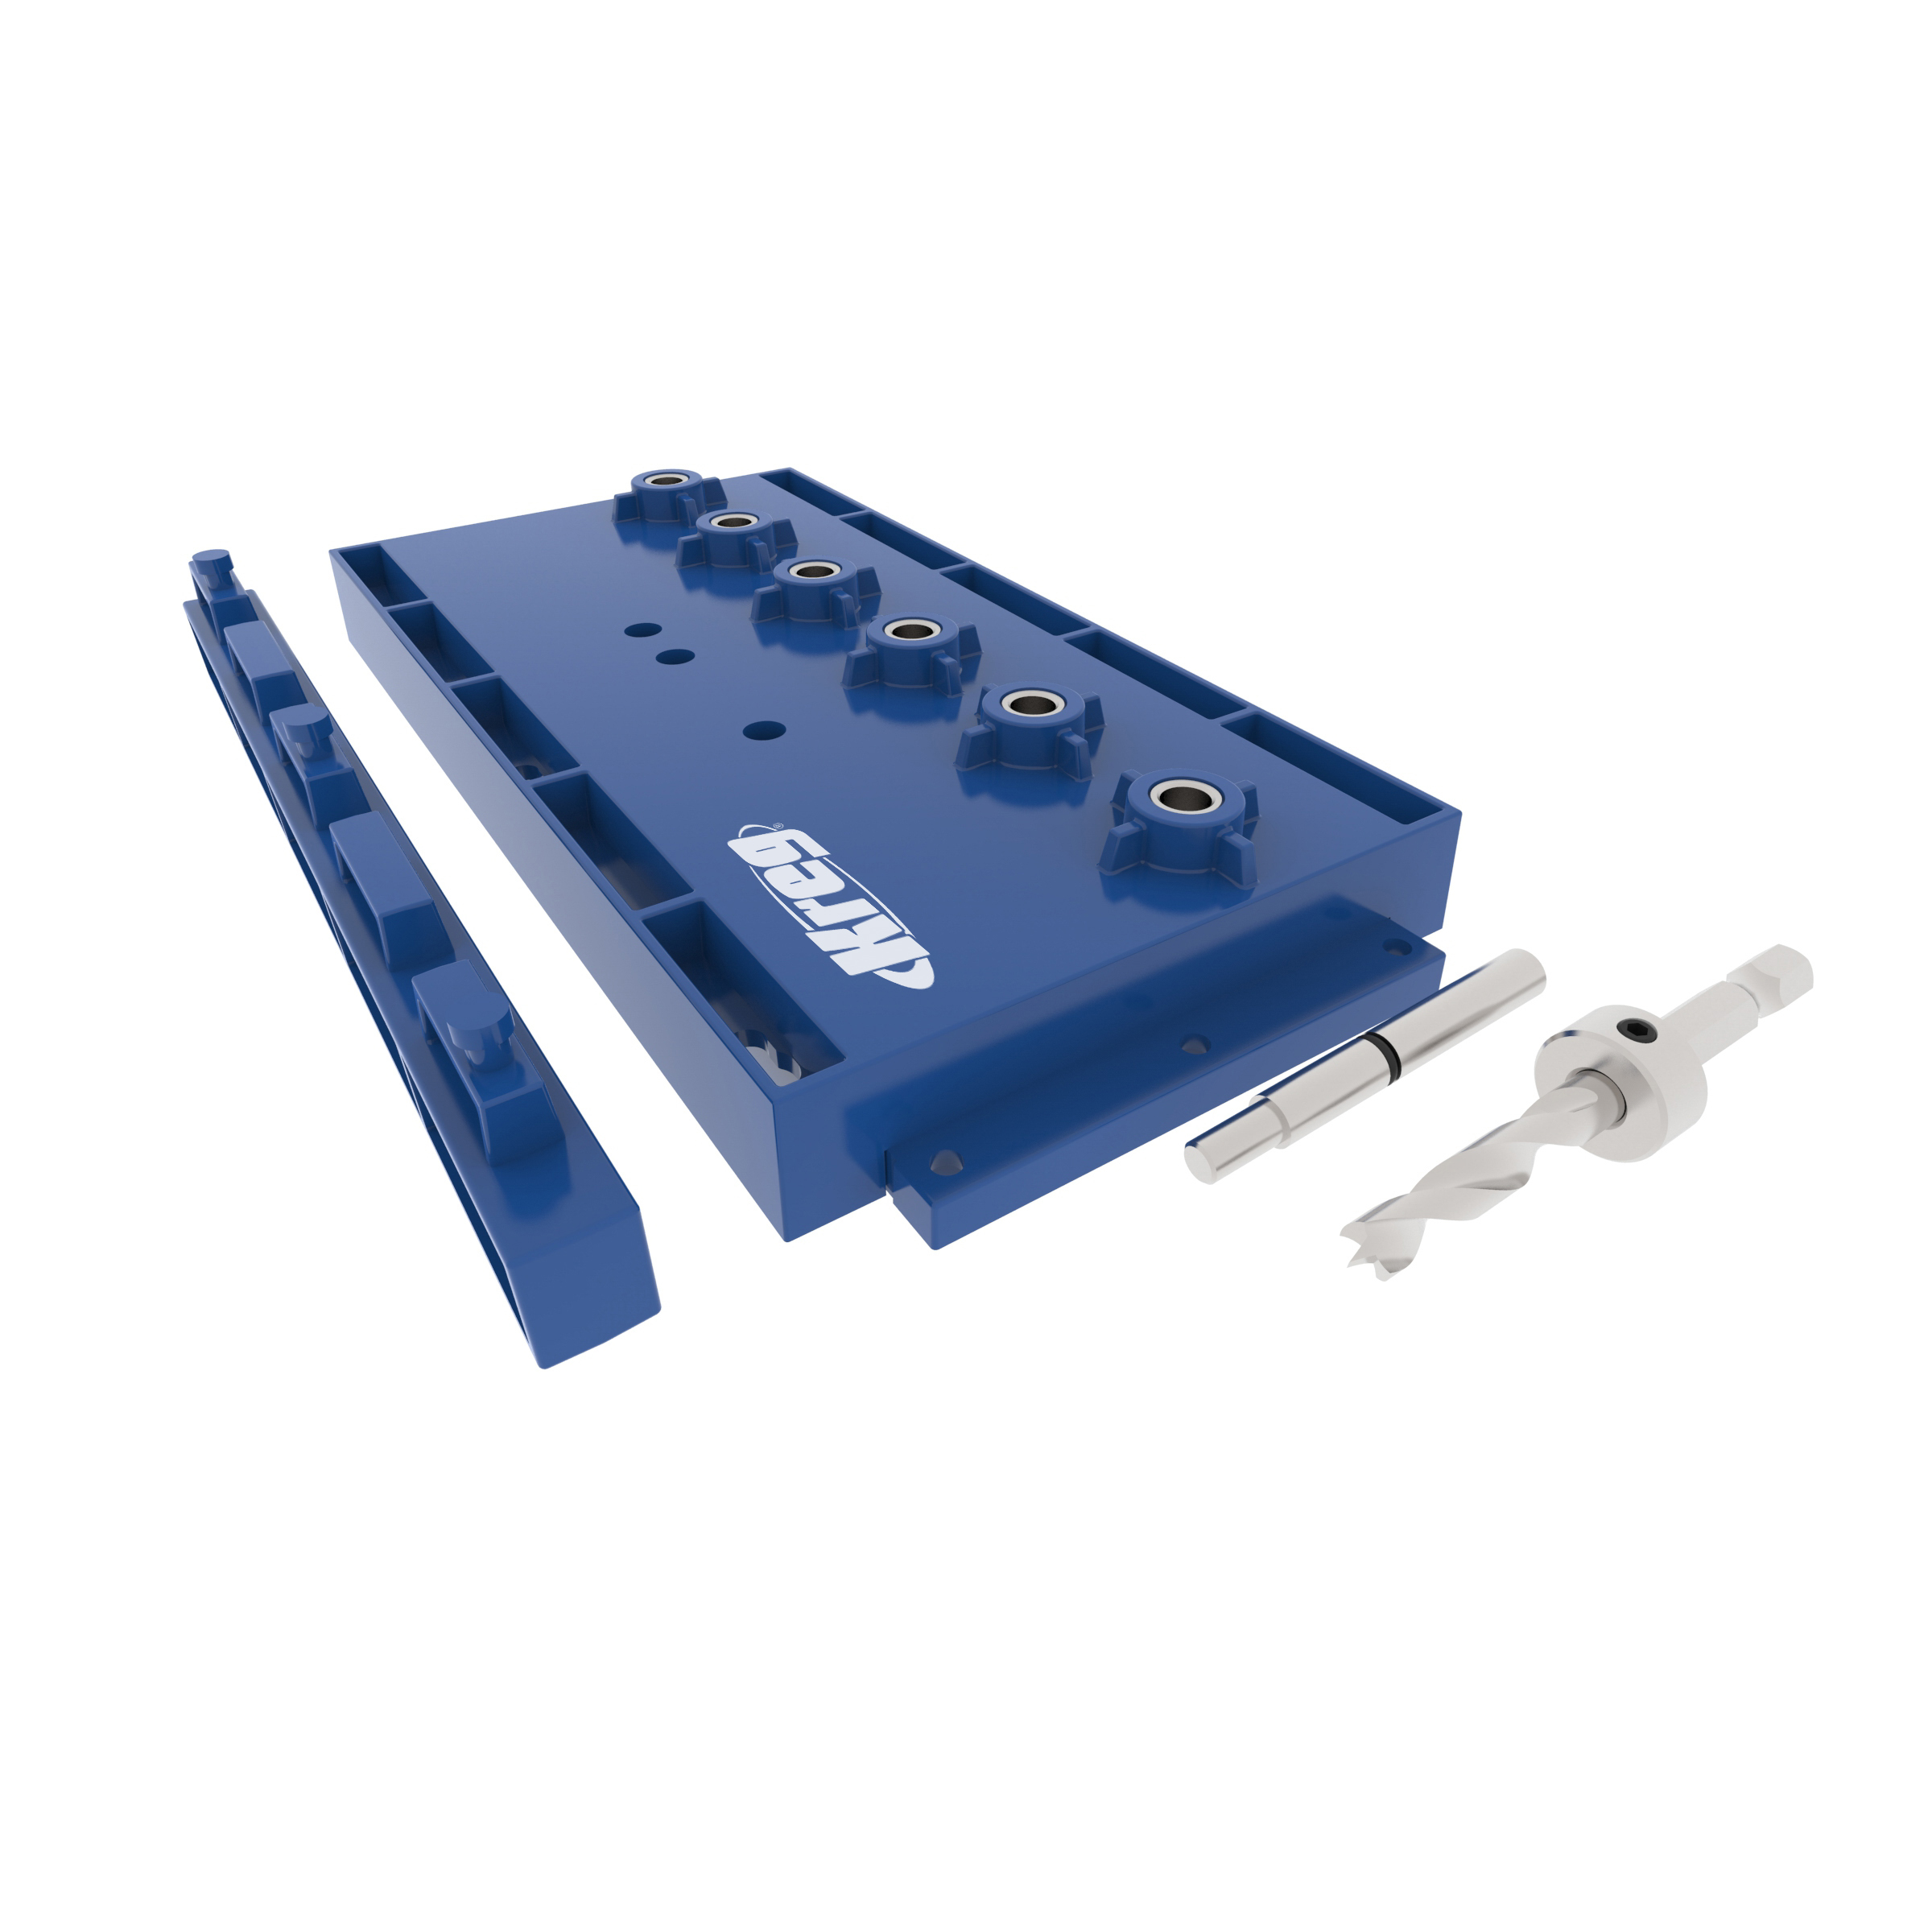
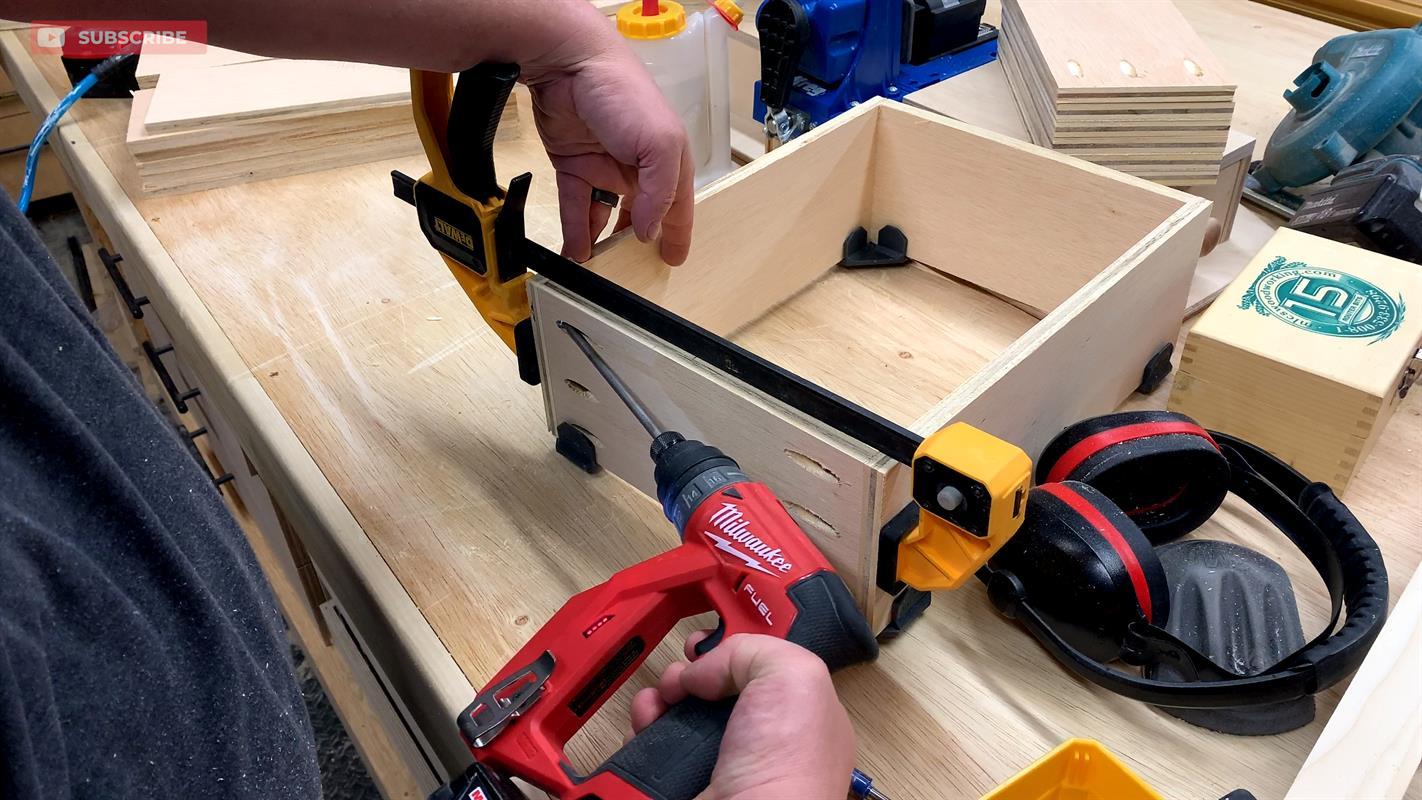
Drill pocket holes into the fronts and backs of the drawer boxes. For 1/2" material, I find it easier to set the jig to 5/8" stock and then the stop collar on the bit is set to 1" screws. Use the 1" pan head screws instead of the cap head screws. Then flush up the sides and attach them with pocket screws. Use corner clips and a clamp to help with flushing up the sides.
-
Flush up the Bottoms
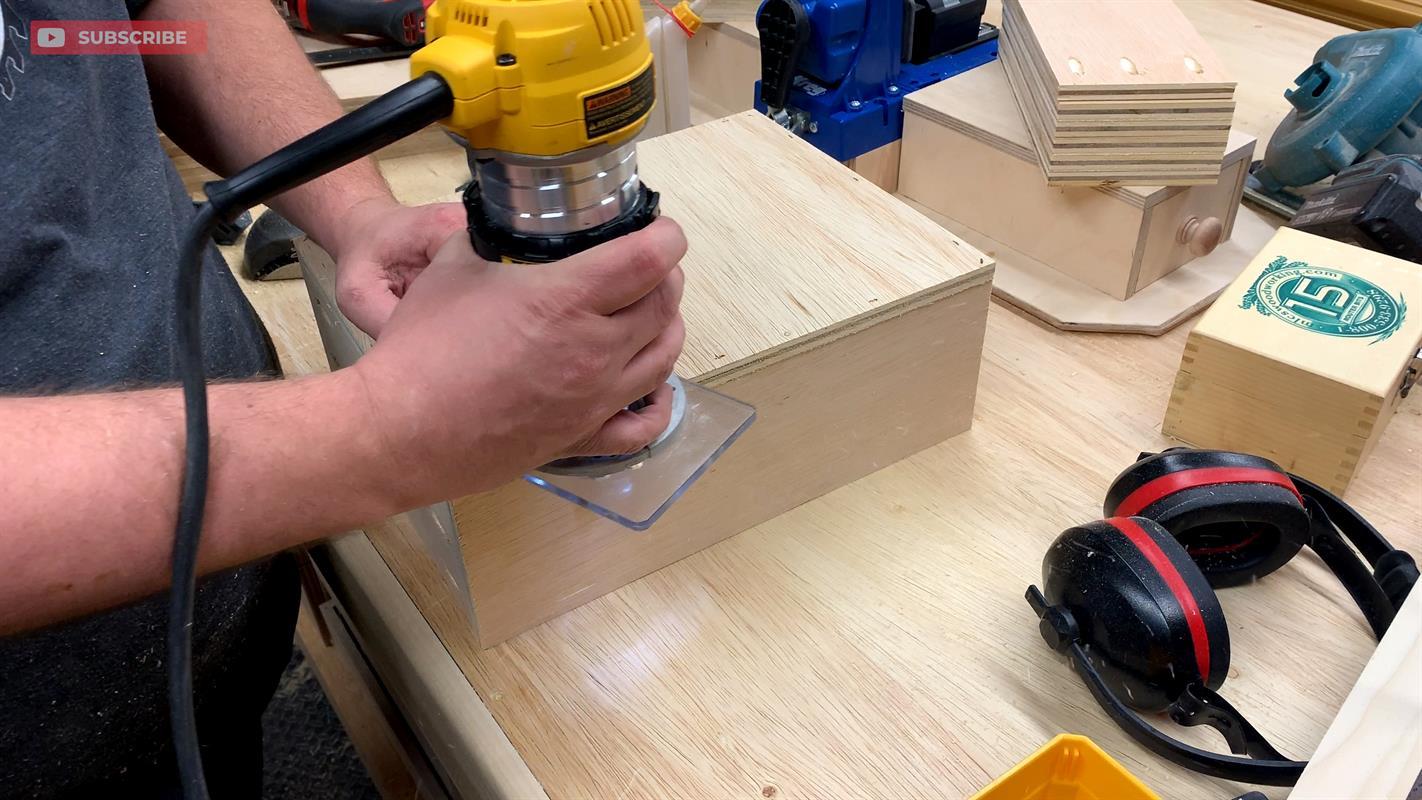
Attach the bottoms to the drawers using glue and crown staples. I milled my drawer bottoms about a 1/8" larger than I needed which would like a 1/16" overhang on all sides. I used a router with a flush-trim bit and flushed up the sides.
-
Install the Drawer Slide Catches
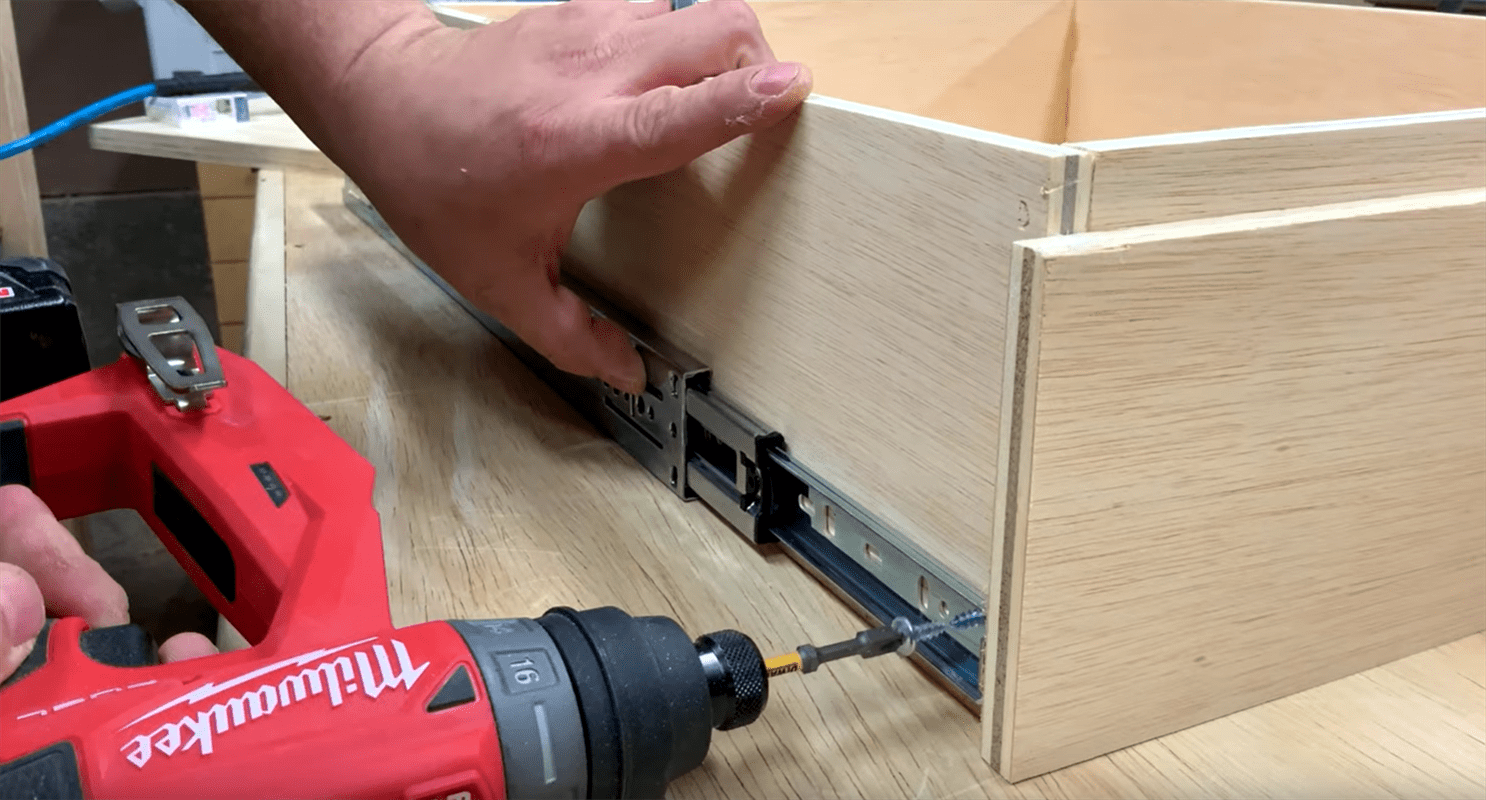
Install the drawer slide catches by reference to a flat surface on the side of the drawer boxes. Take a flat piece of stock and butt it up against the front of the box. Then move the front the slide catch against it. Then attach the catch with 4 screws
-
Install the Large Drawer Slides
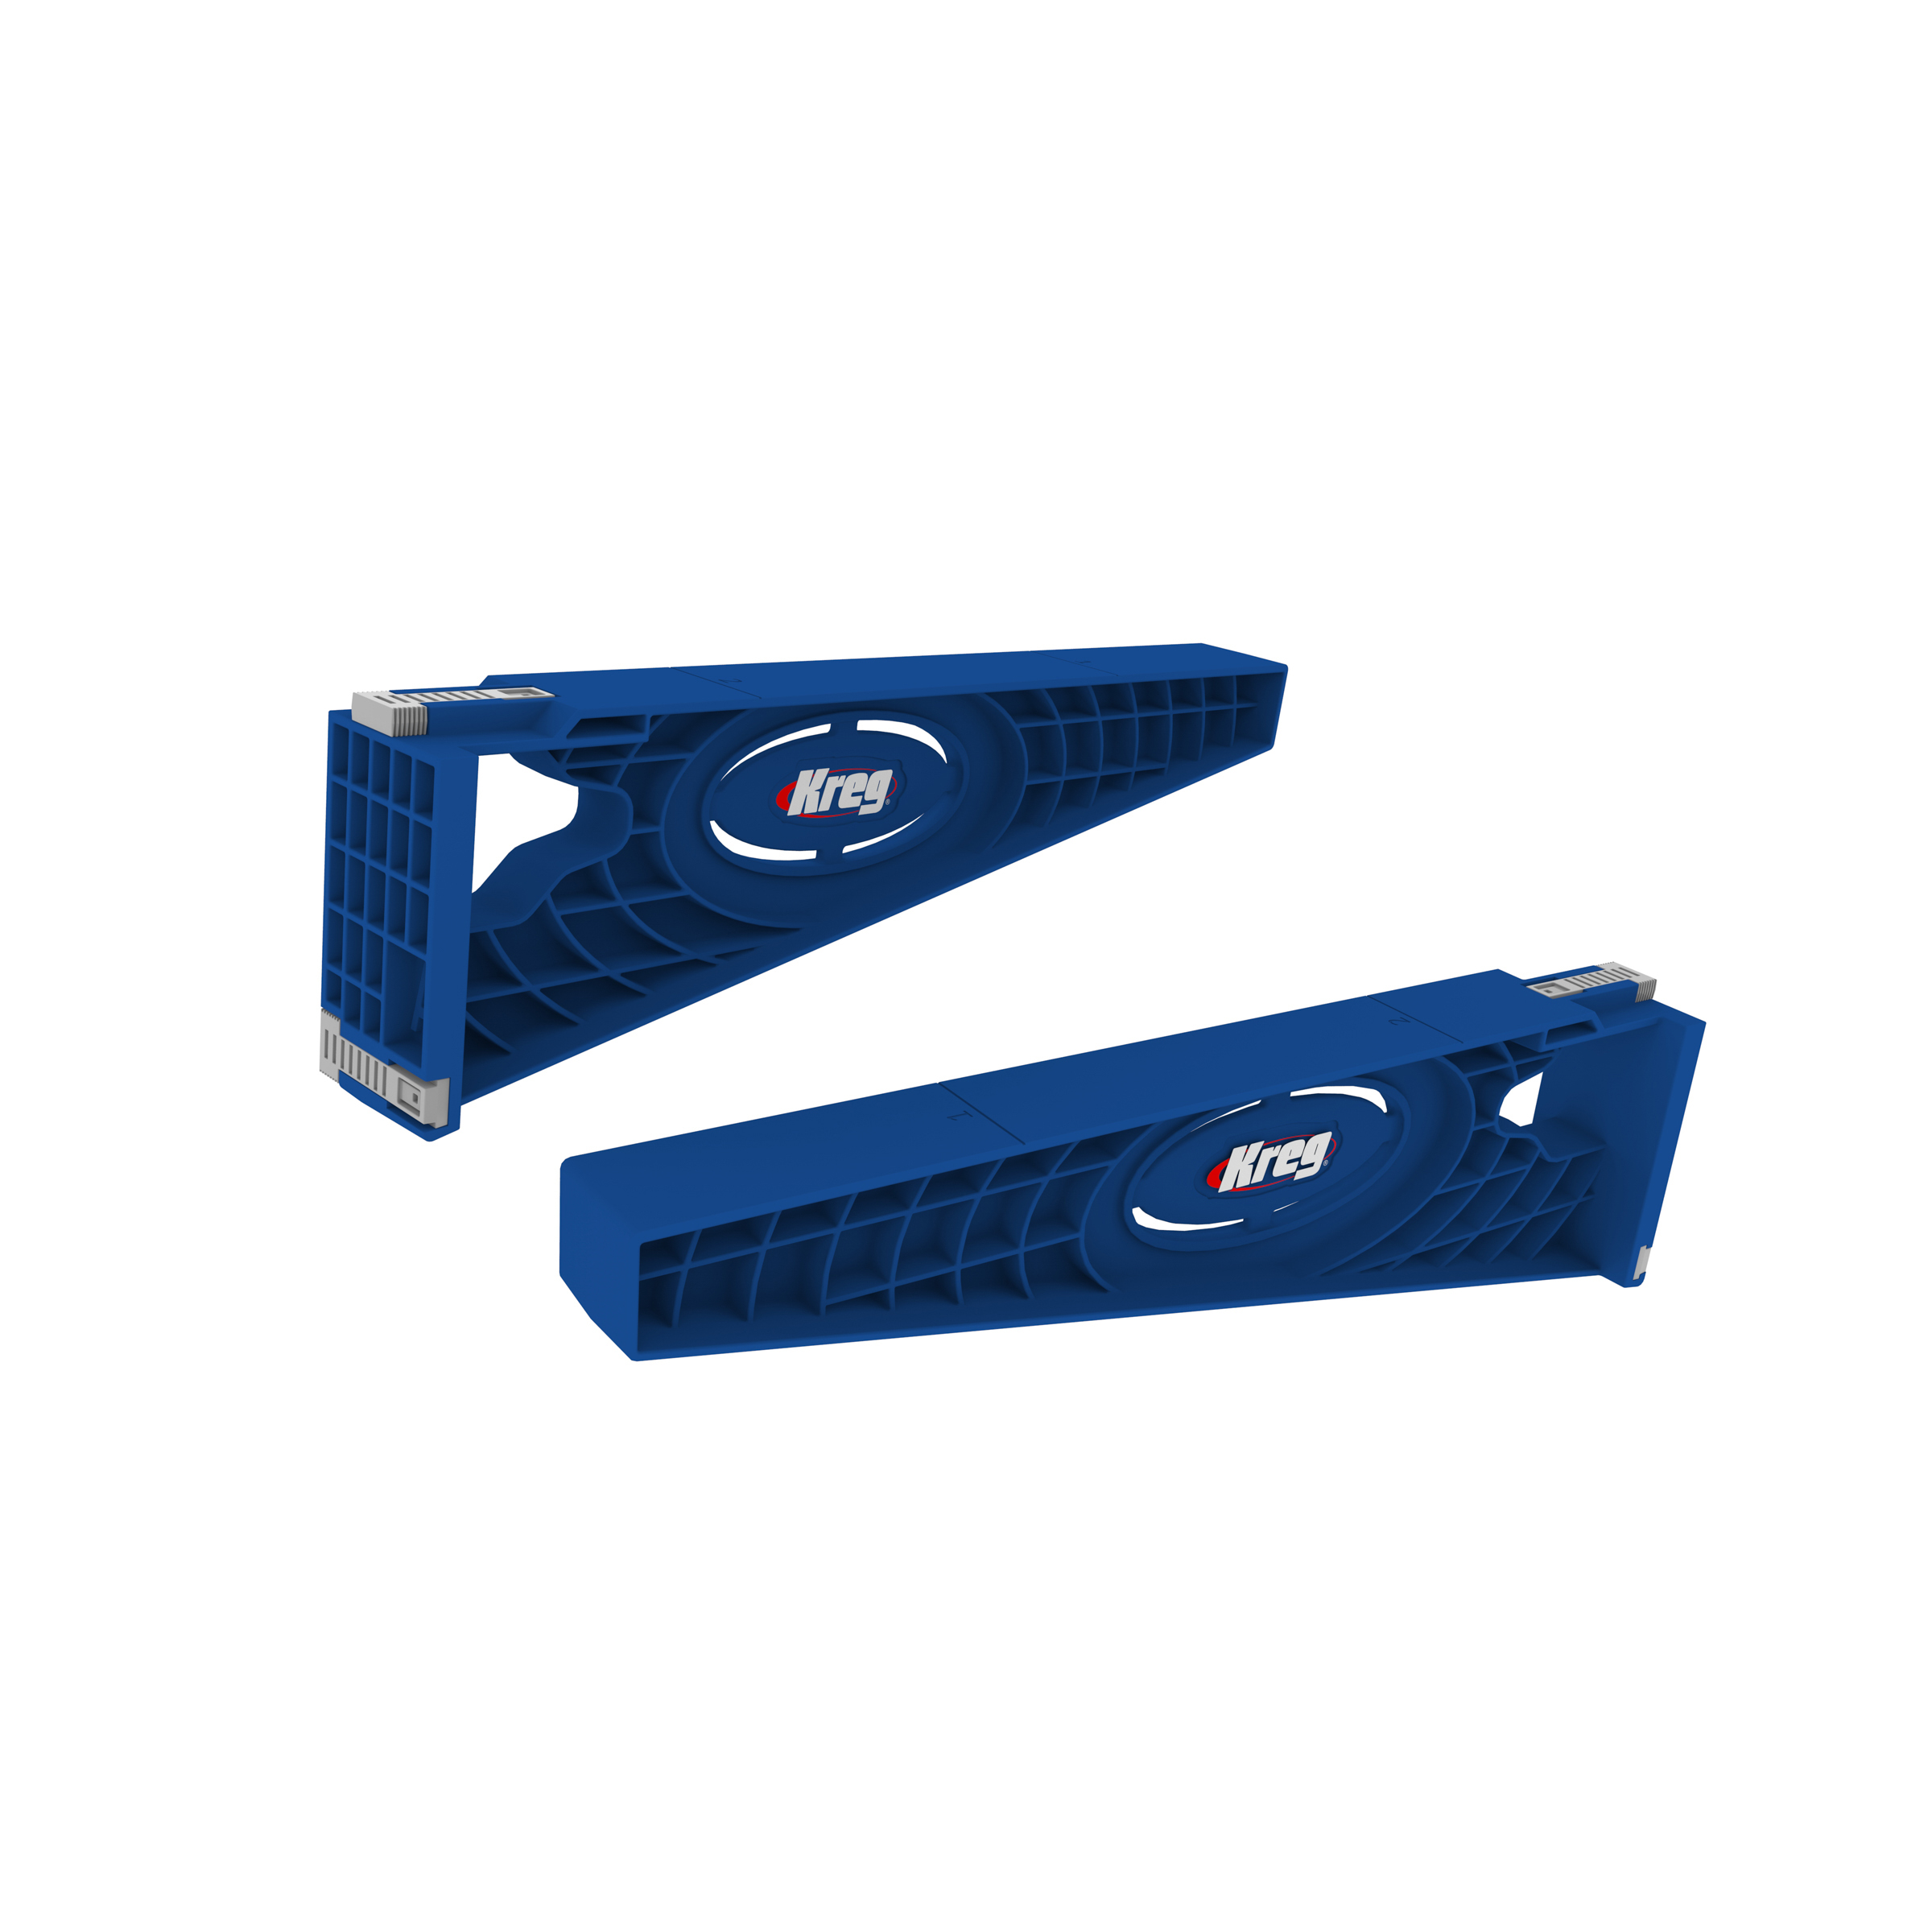
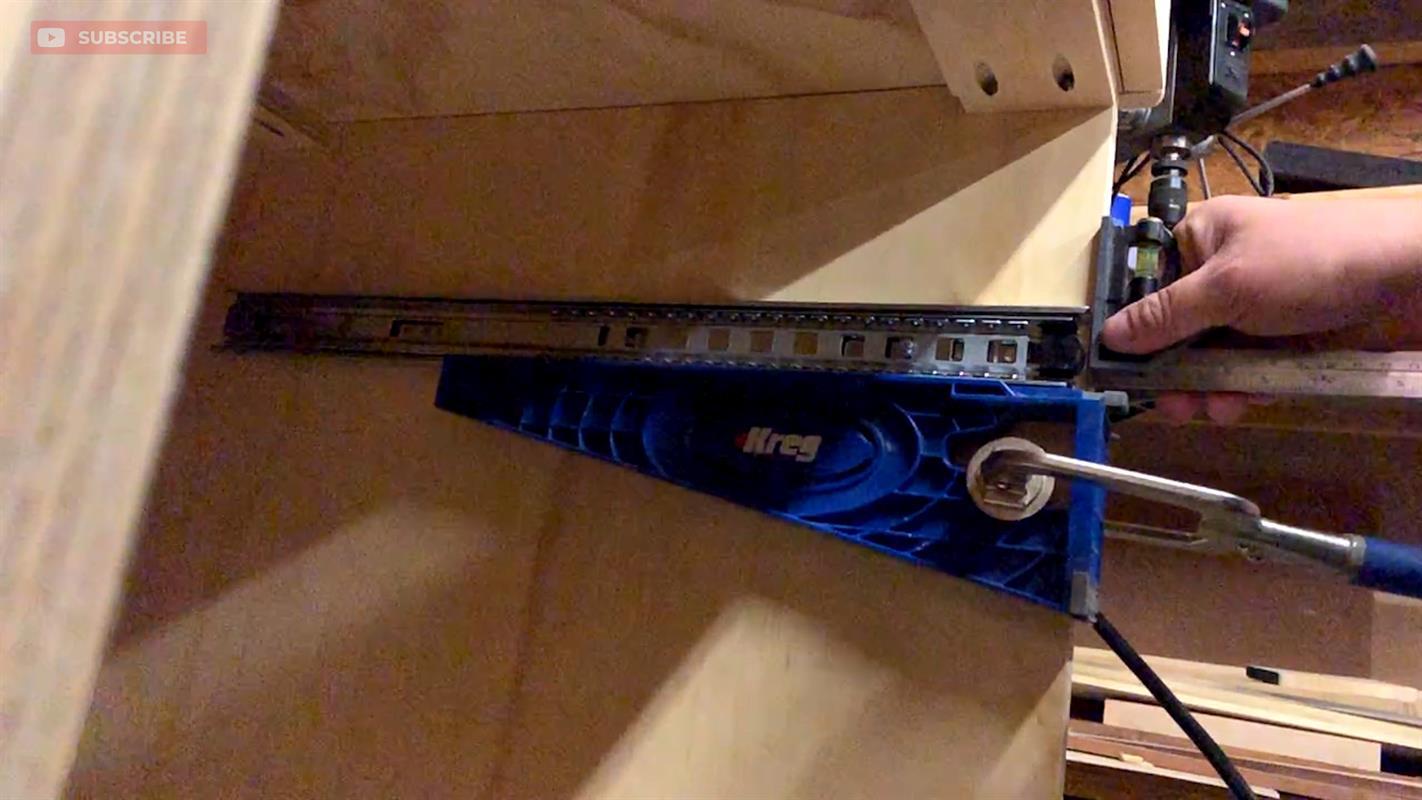
I started by installing the drawer slides for the larger outside drawers. Use a Kreg Drawer Slide Jig and mark 6" down from the top. Clamp the jig into place. Check to make sure the jig is level. Also make sure the slide is set back 1/16" from the front edge. Then attach the drawer slide to the cabinet.
-
Install the Narrow Drawer Slides
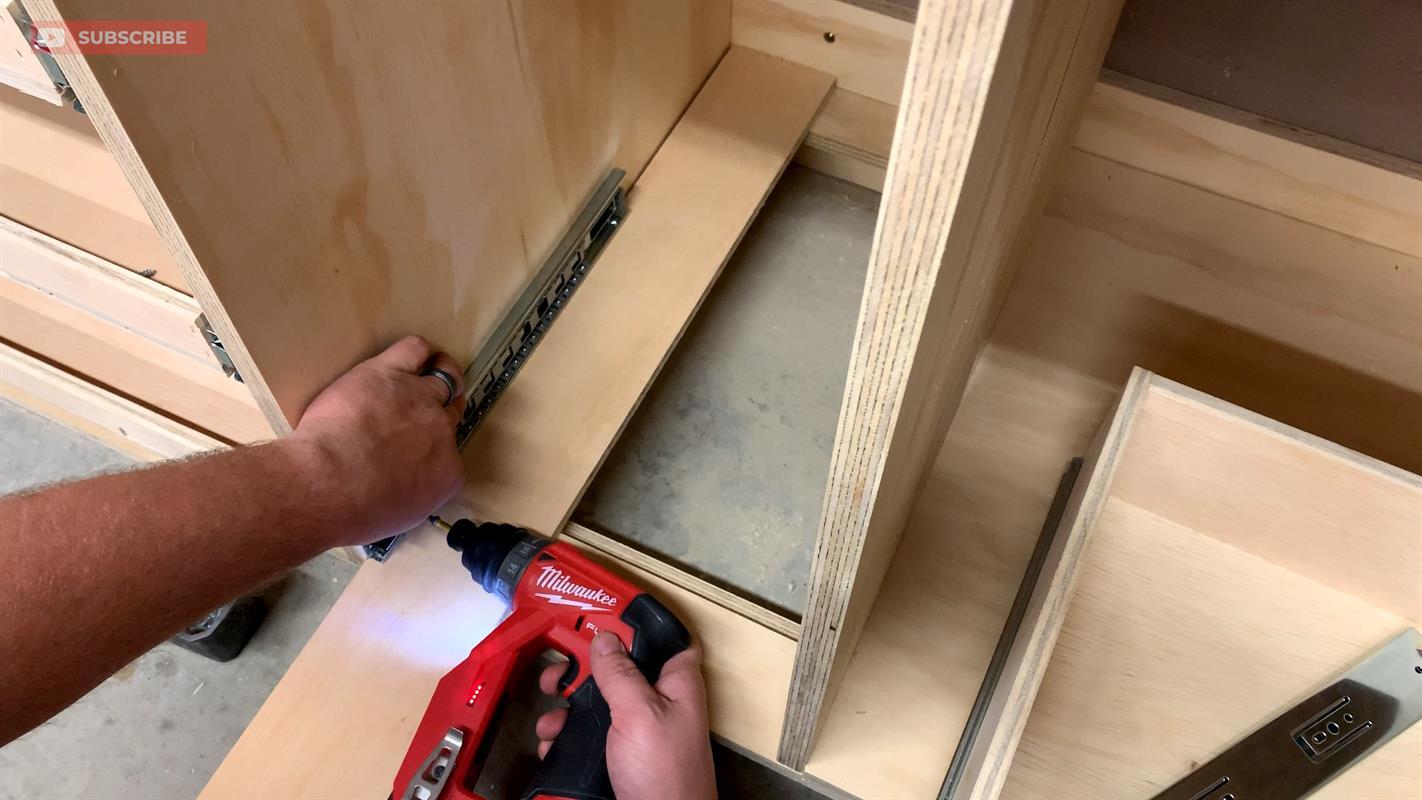
Use a 1/2" spacer that's long enough to span front to the back of the cabinet.(I used a cut off from the drawers) The install the drawer slides using a 1/16" offset from the front edge. Install the first set. Then install the drawer. Then use another space on top of the drawer to space the next slide. Work from bottom up.
-
Mill the Drawer Fronts and Doors
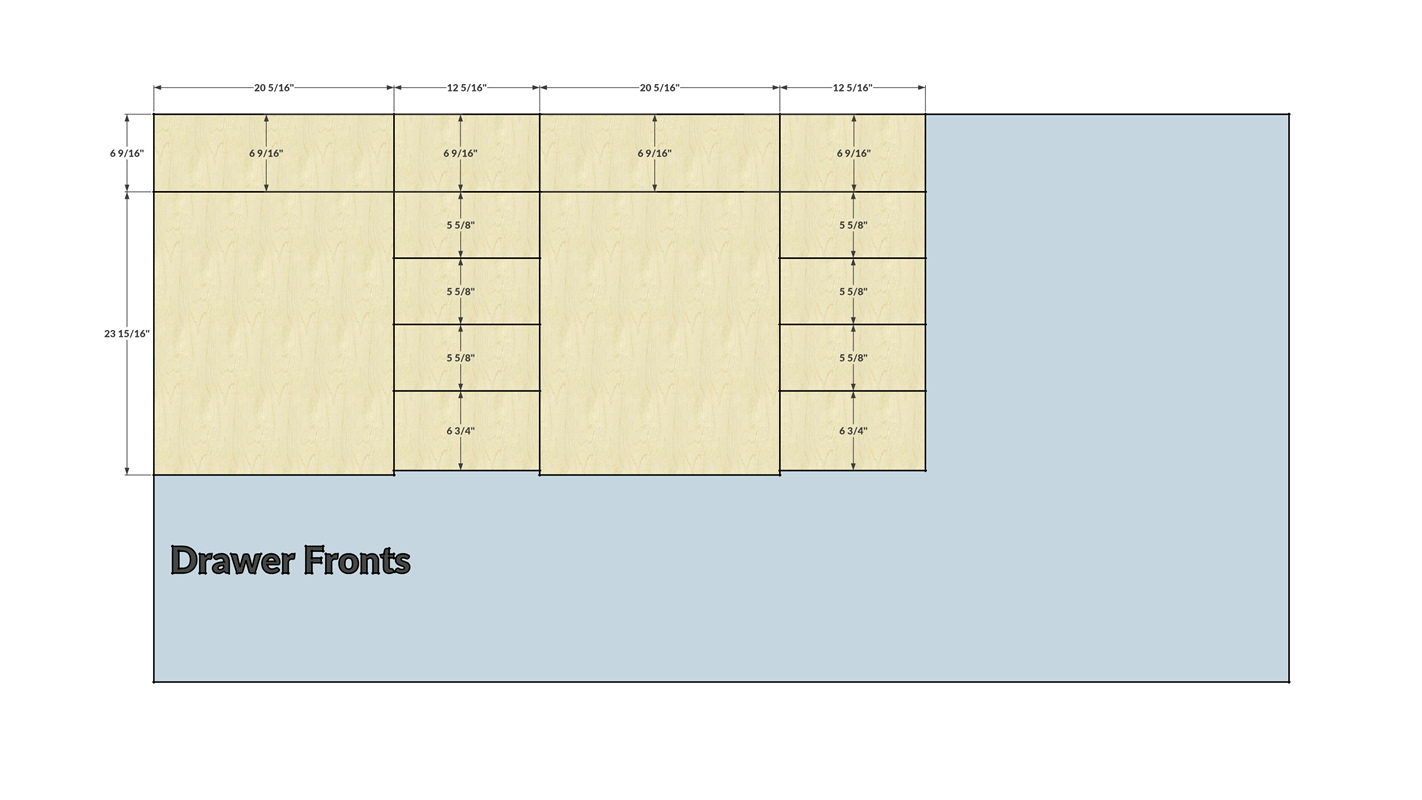
I milled the fronts out of one section of cabinet grade plywood with nice grain patterns on the veneer. When cutting out the parts, make sure the grain is going in the same direction. If you decide to make a different size cabinet, make sure you measure the fronts with a 1/8" reveal. See the video for the process.
-
Sand the Fronts and Doors
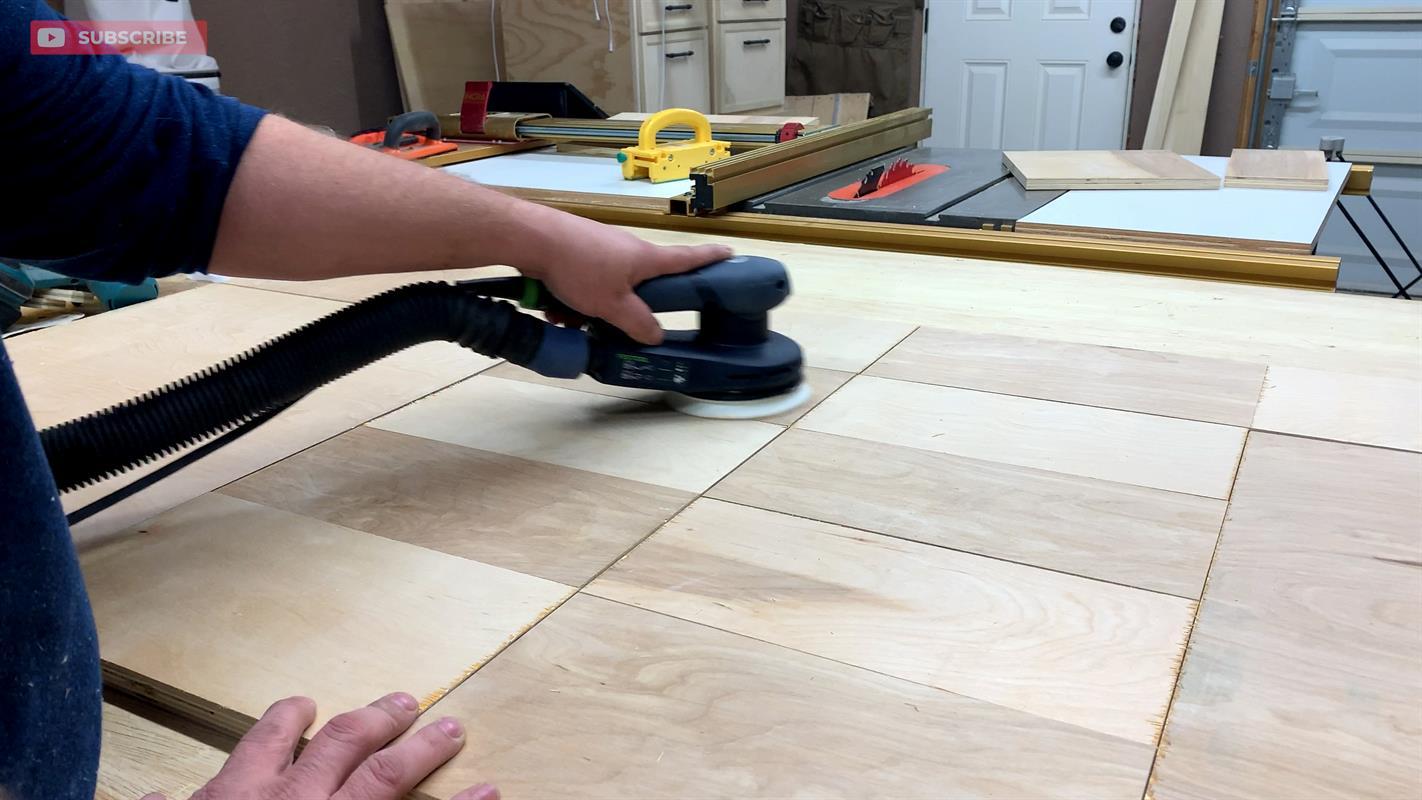
The plywood was already sanding from the store. I laid out the fronts in the same orientation as they were to be installed and sanded with 220 grit paper.
-
Install the Cup Pulls
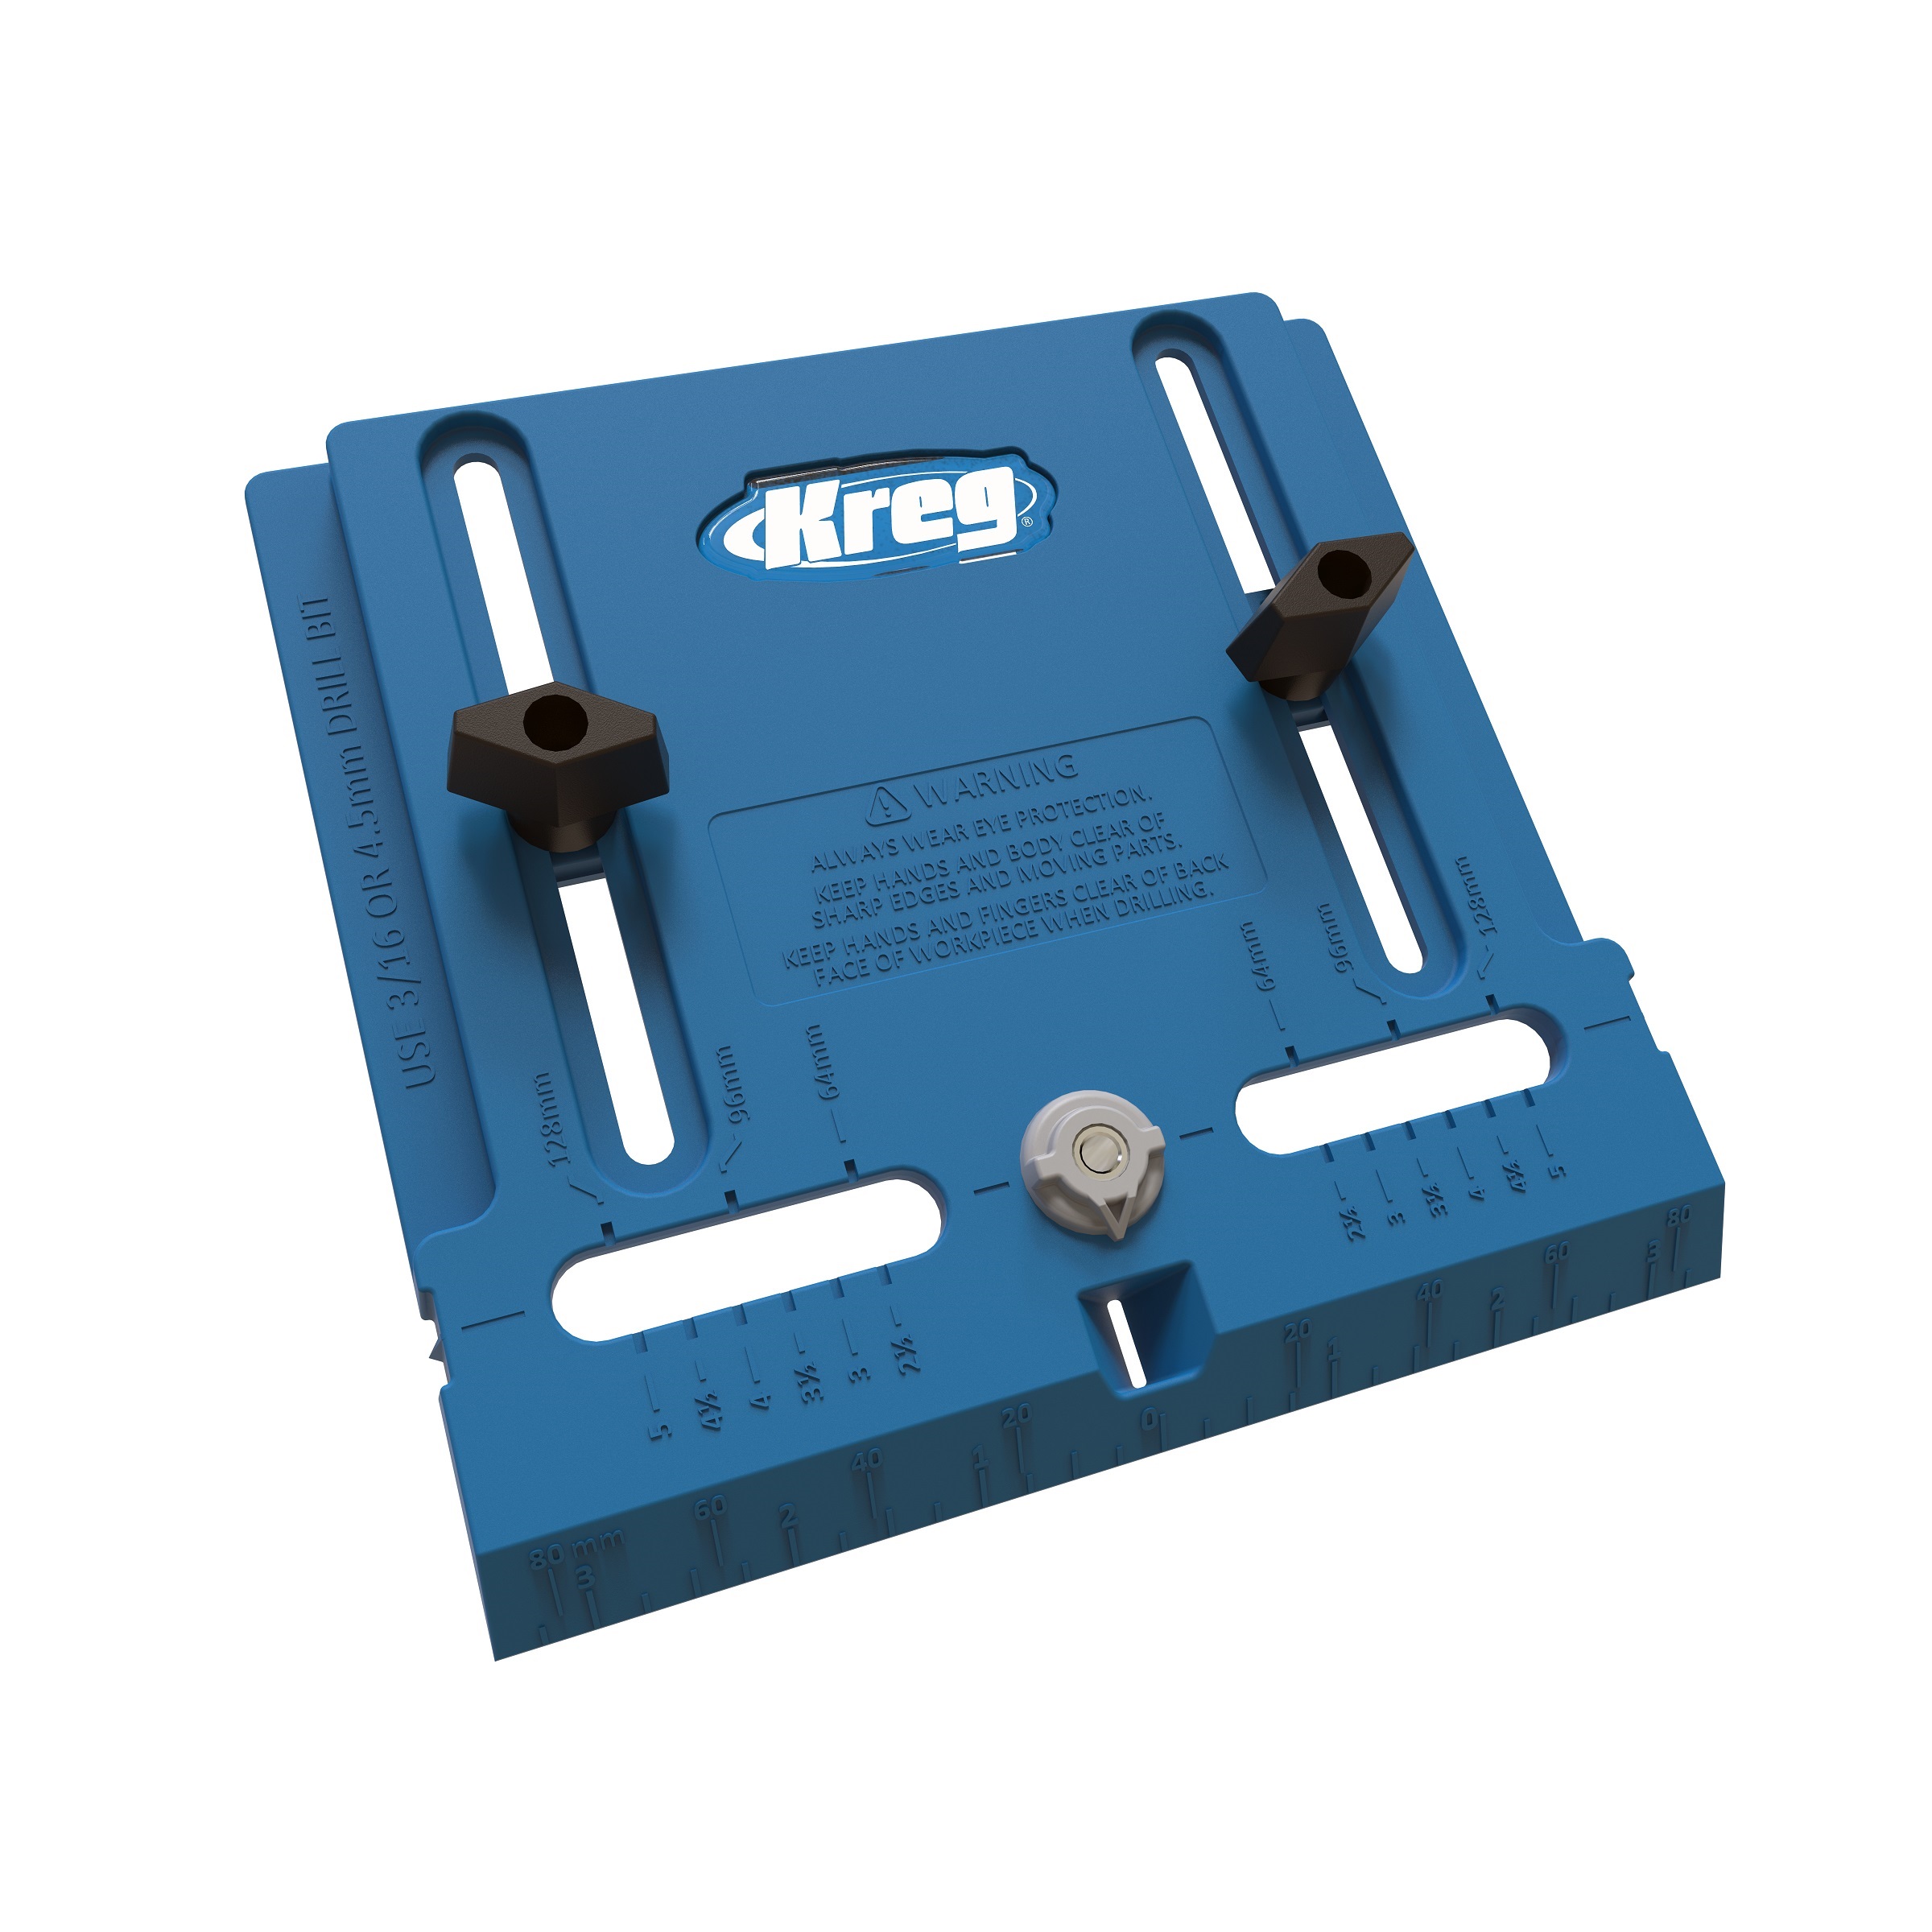
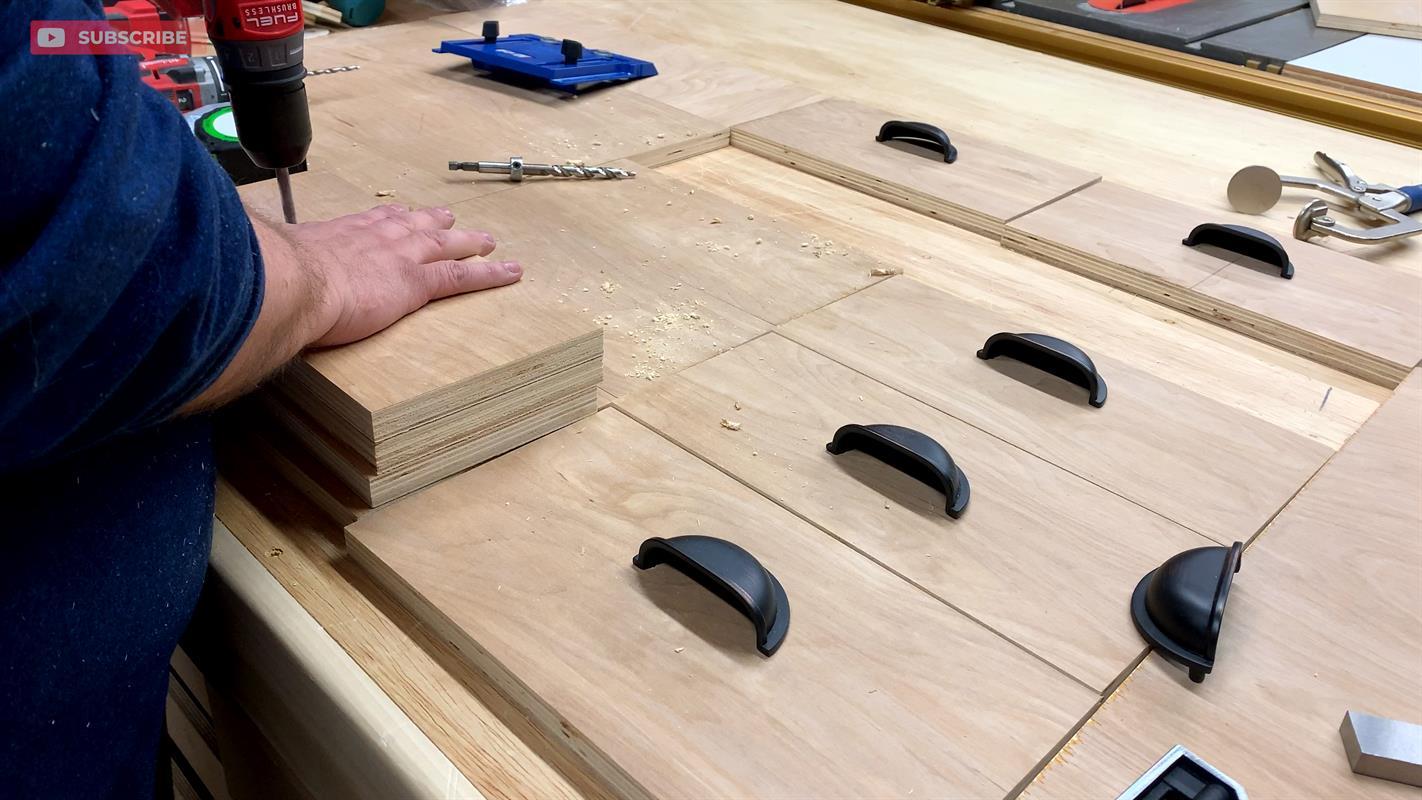
measure the pilot hole according to the instructions. Once I got the first set of holes drilled, I used that front to drill the rest.
-
Hidden Hinges
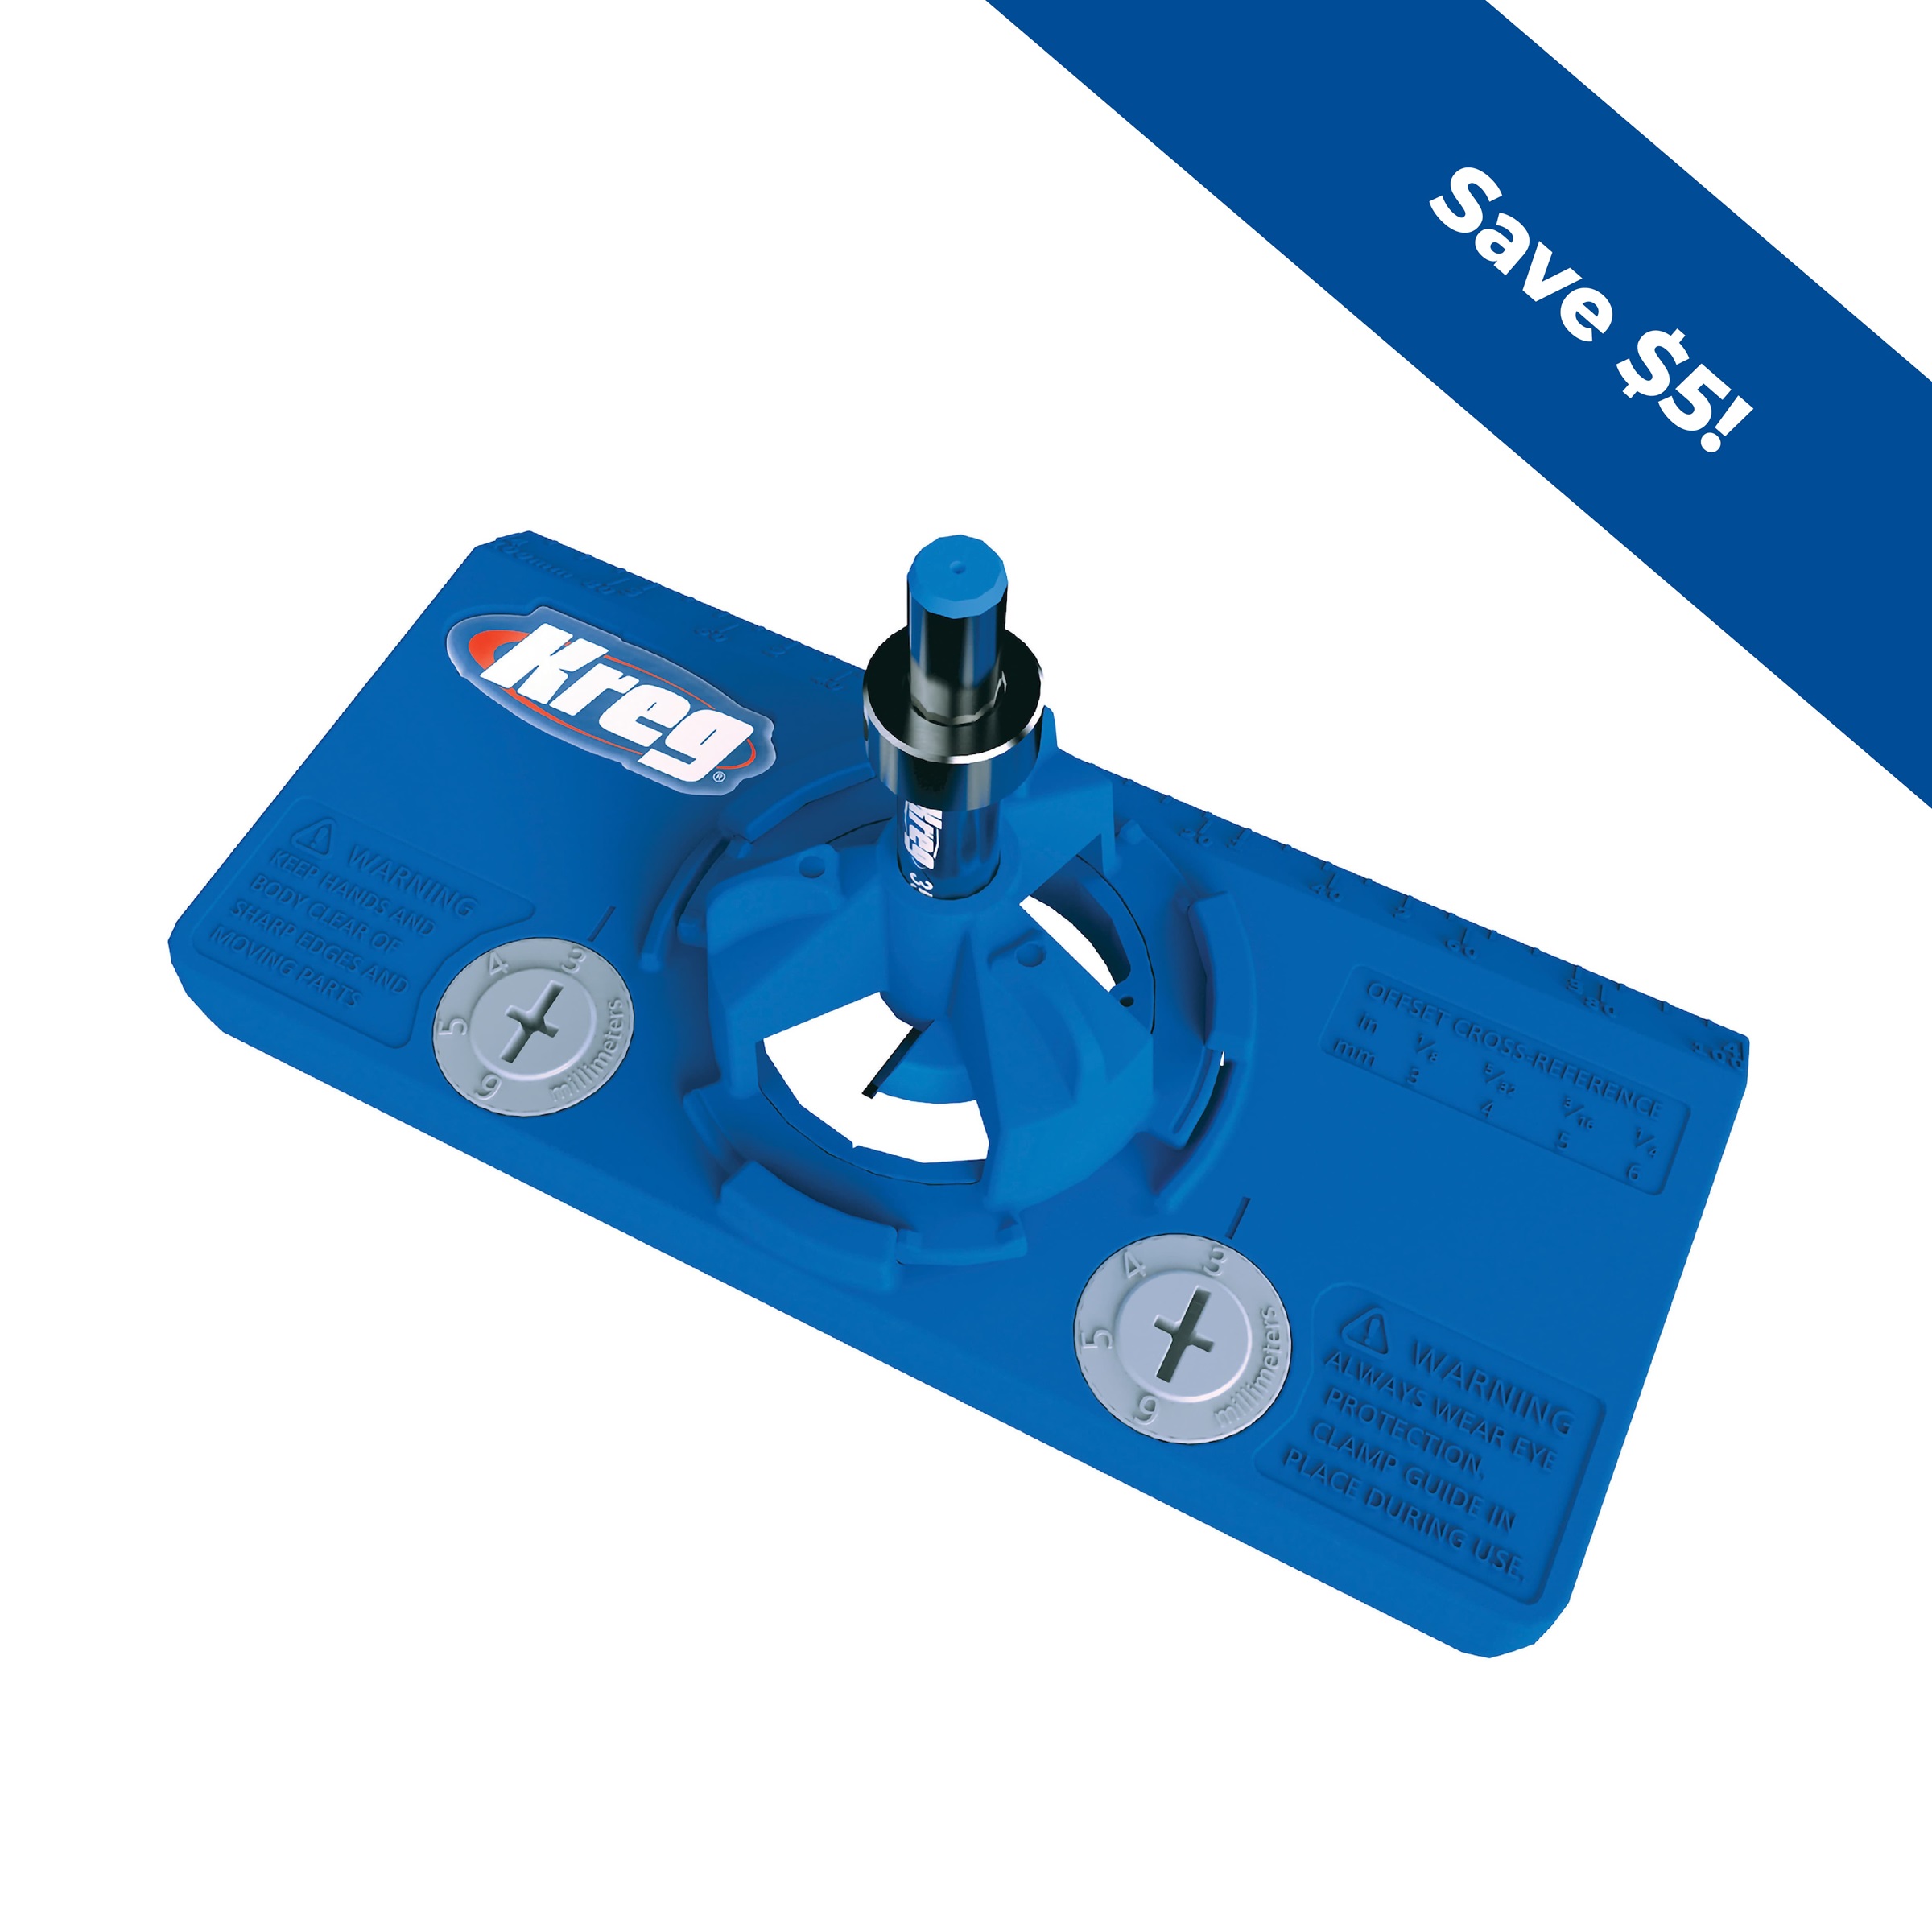
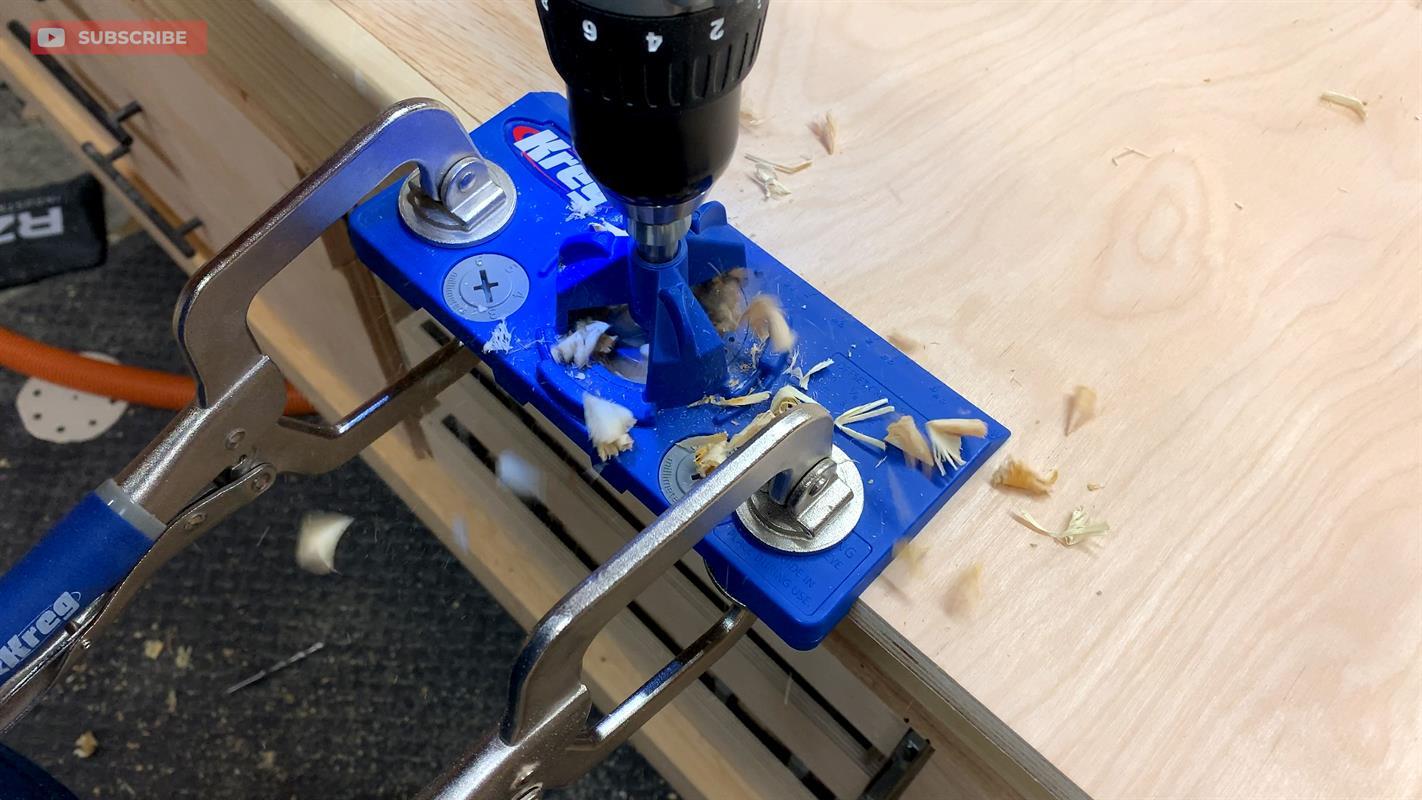
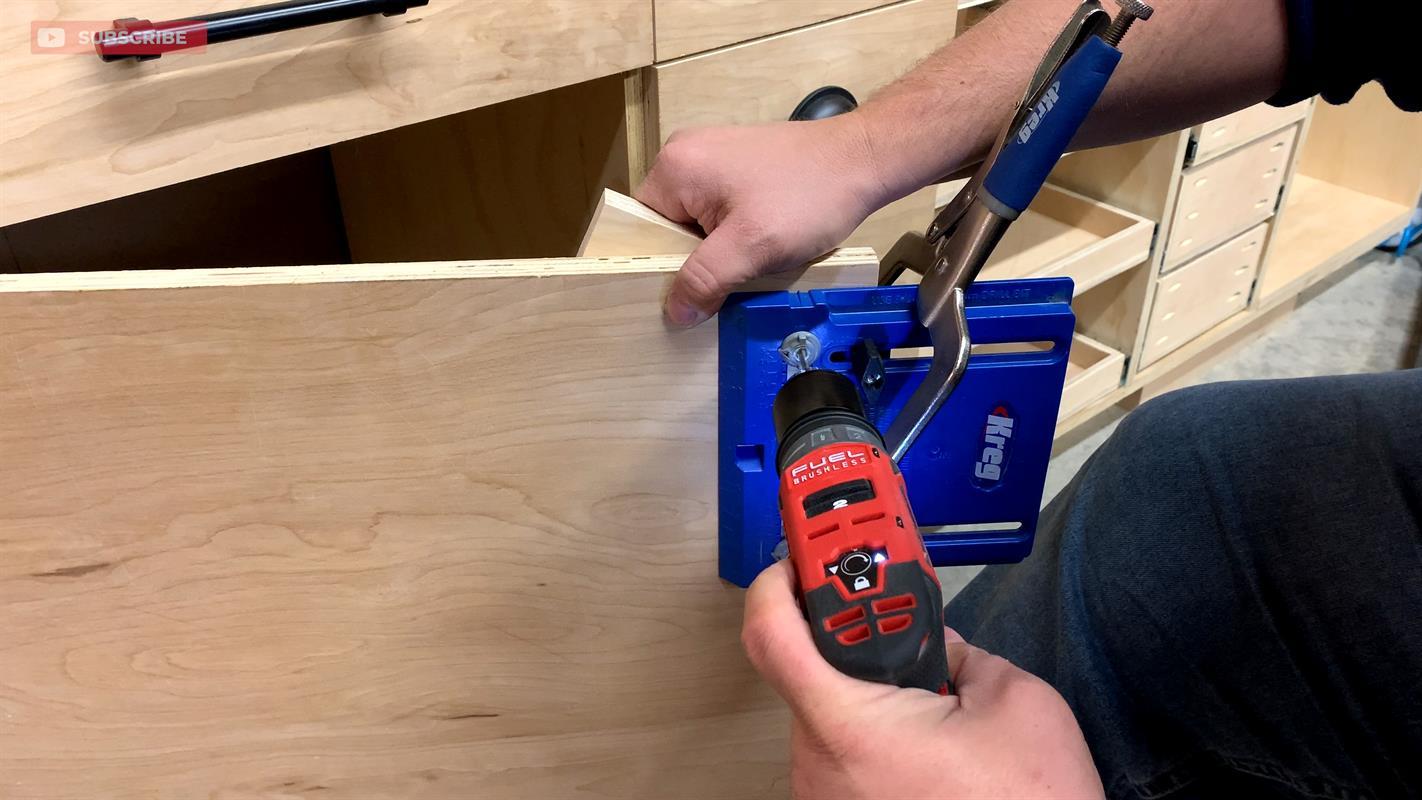
Use the Kreg Hidden Hinge Jig to drill out the 35 mm holes on both doors. Make sure you place the jig on the right side of the drawer.
-
Install the Doors
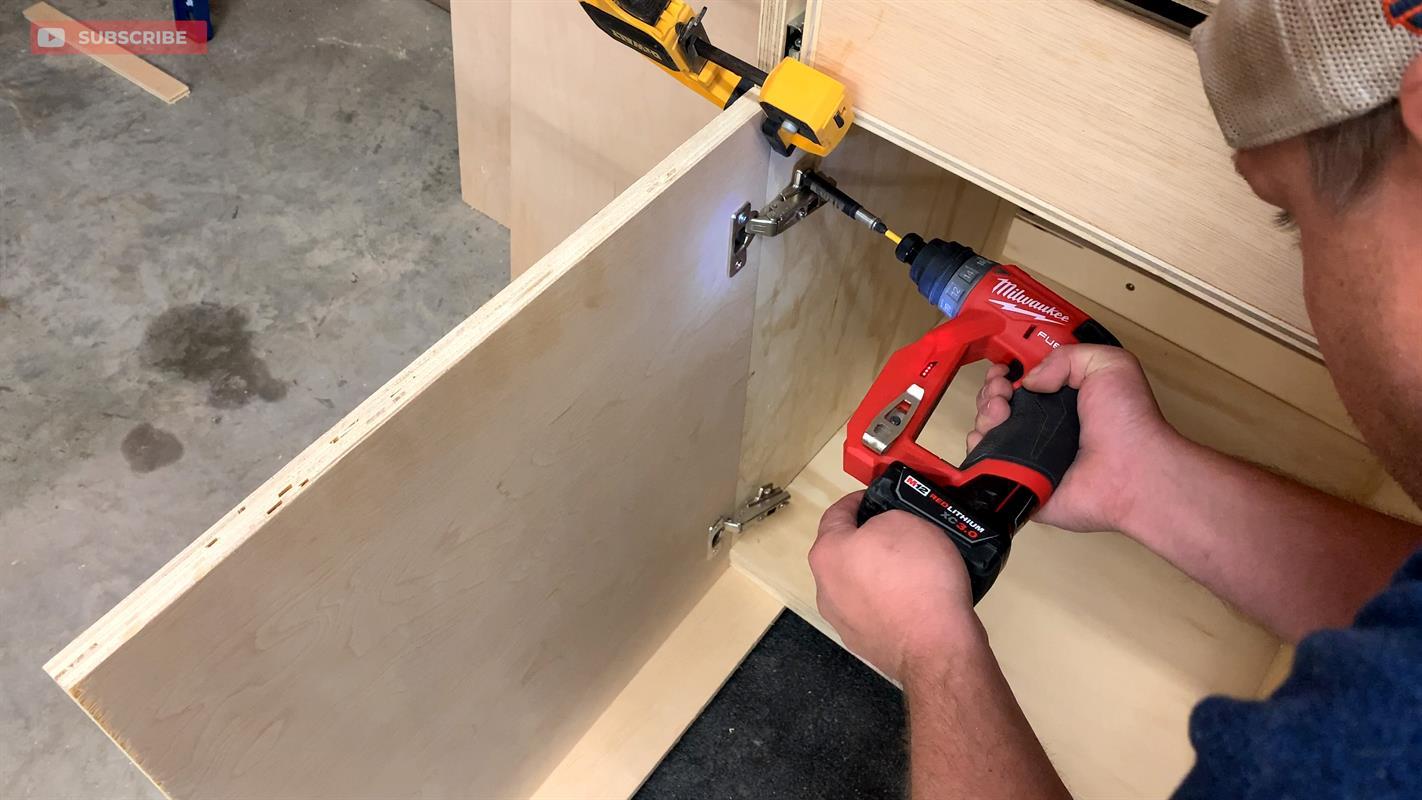
Use a 3 1/2" spacer from the ground to install the door. I ended up using a piece of 2 1/4" foam, 1/2" plywood, and 3/4" plywood strip to stabilize the door while I attached the hinges. I also used a trigger clamp to flush up the top of the door with the edge of the cabinet.
-
Install the Large Drawer Fronts
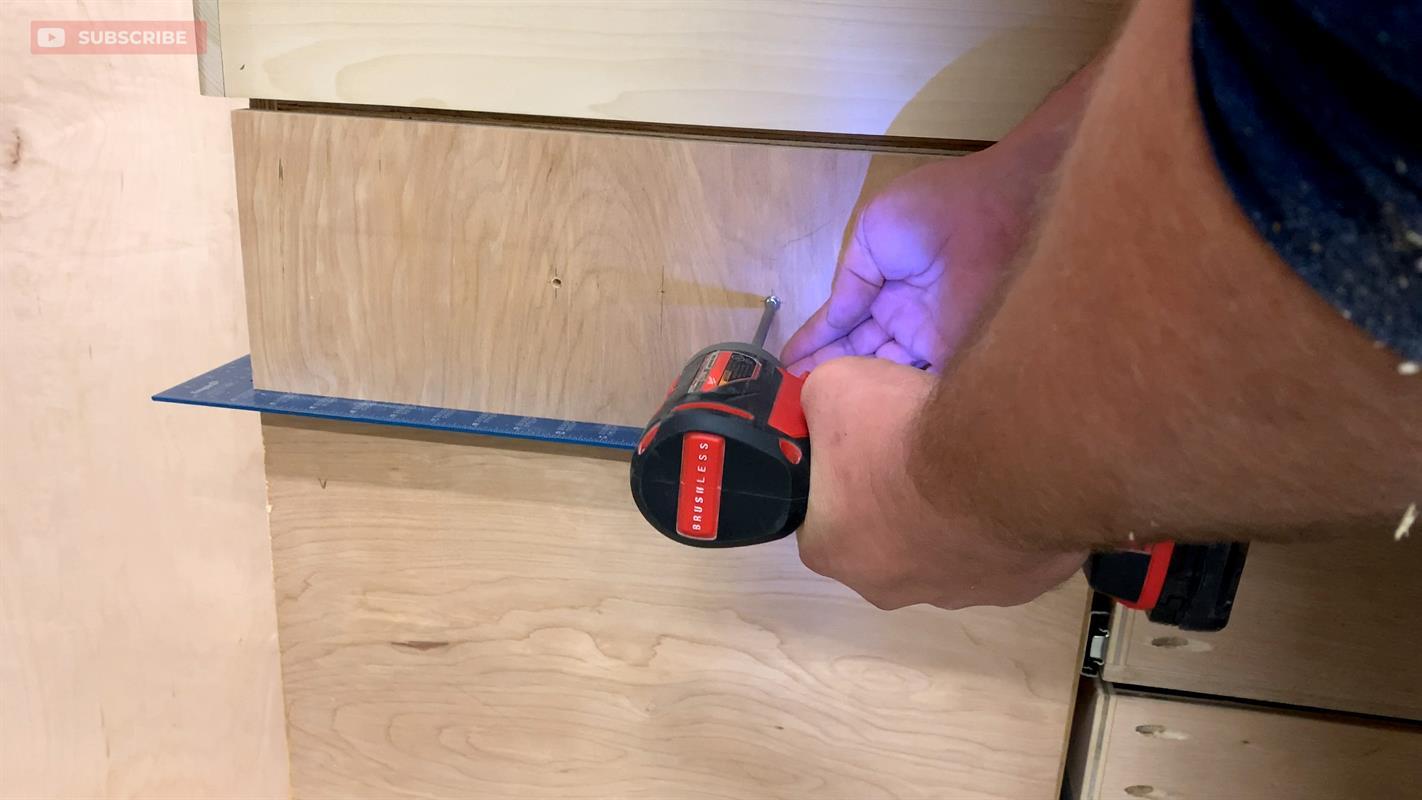
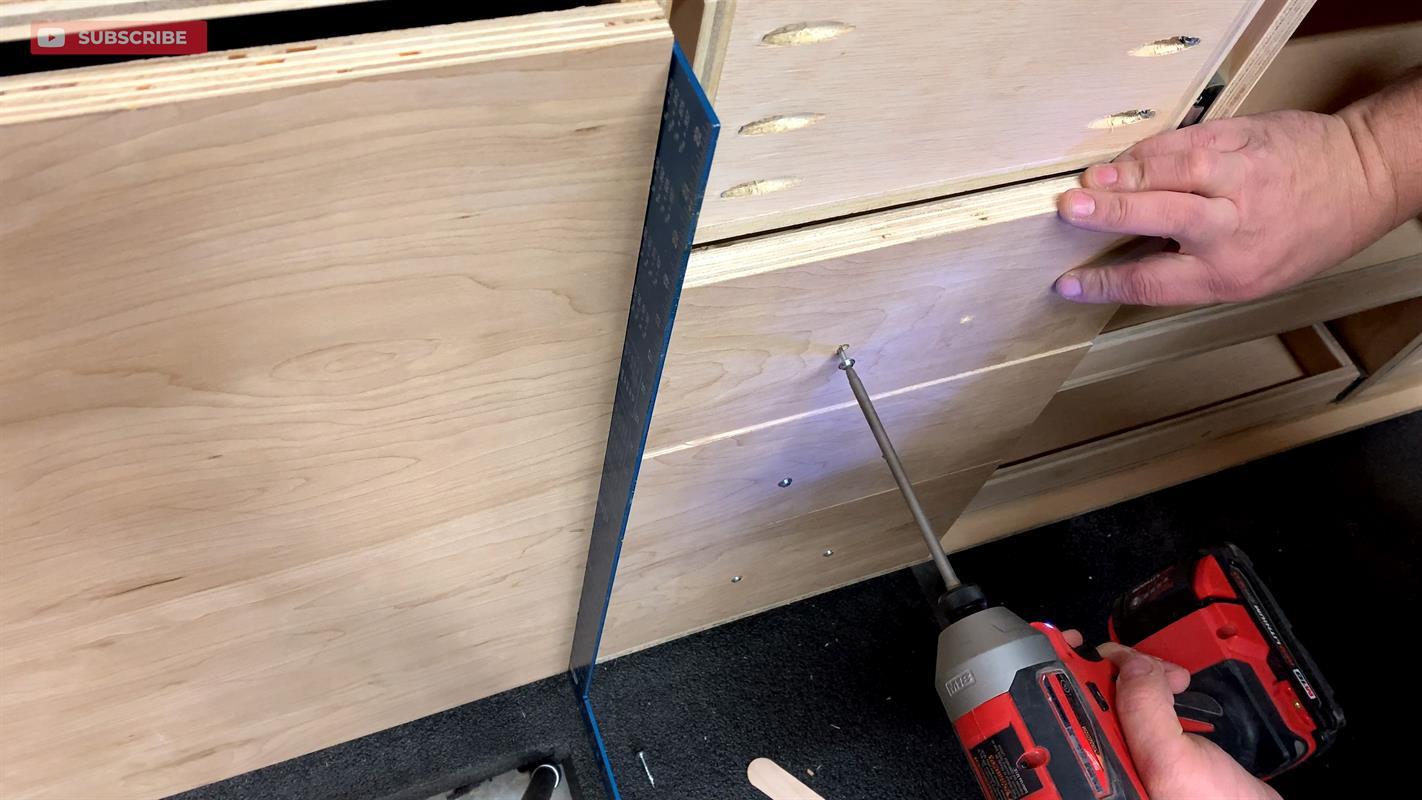
Use a framing square as a spacer (it's actually 1/8" thick)and place the large drawer front on top of the door, and then flush up the outside edge. Then fasten the front in place by driving in 2 pocket hole screws into the door handle pilot holes.
-
Install the Narrow Drawer Fronts
Use the same frame square between the narrow fronts and the door and large drawer front. Also, use 2 popsicle sticks between the narrow drawers.
-
Permanently Attach the Fronts
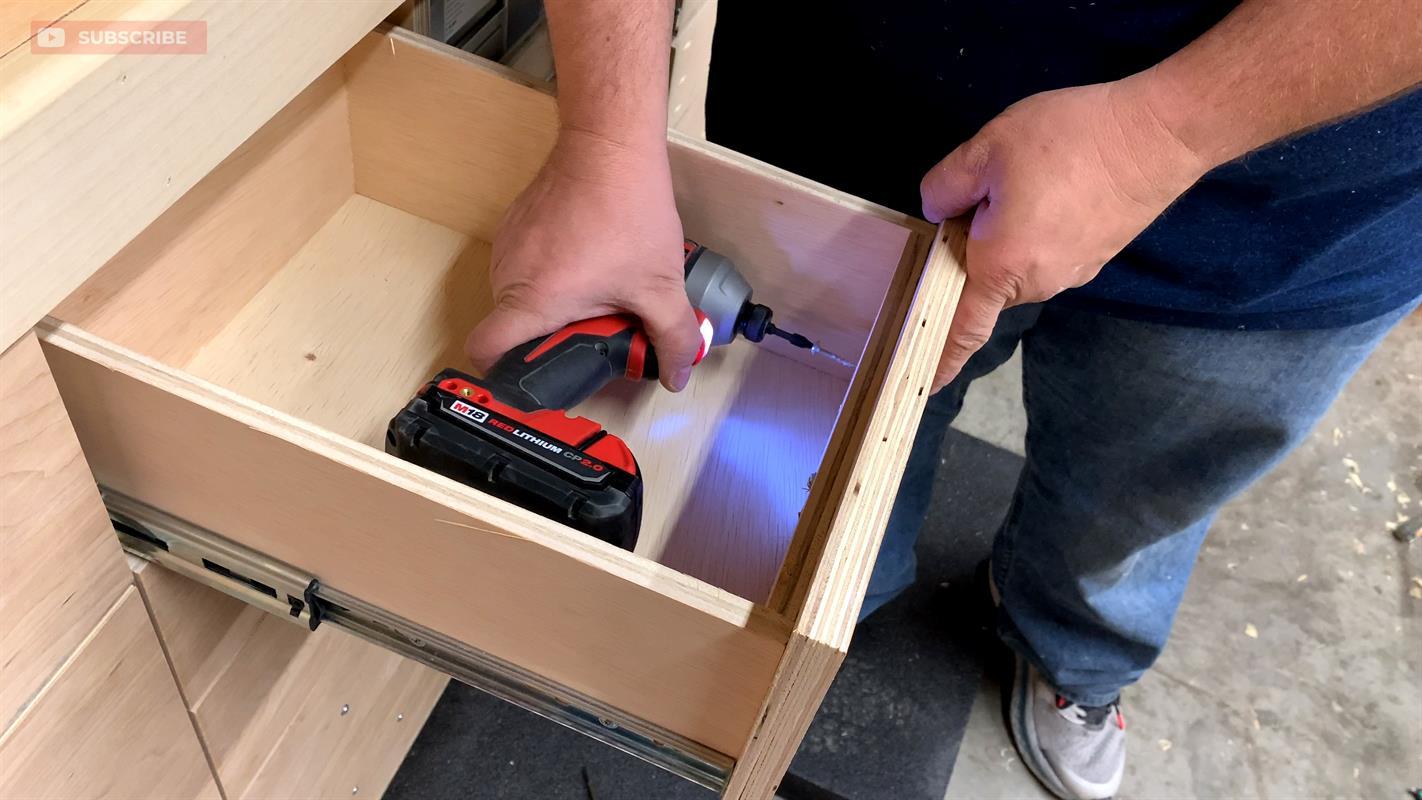
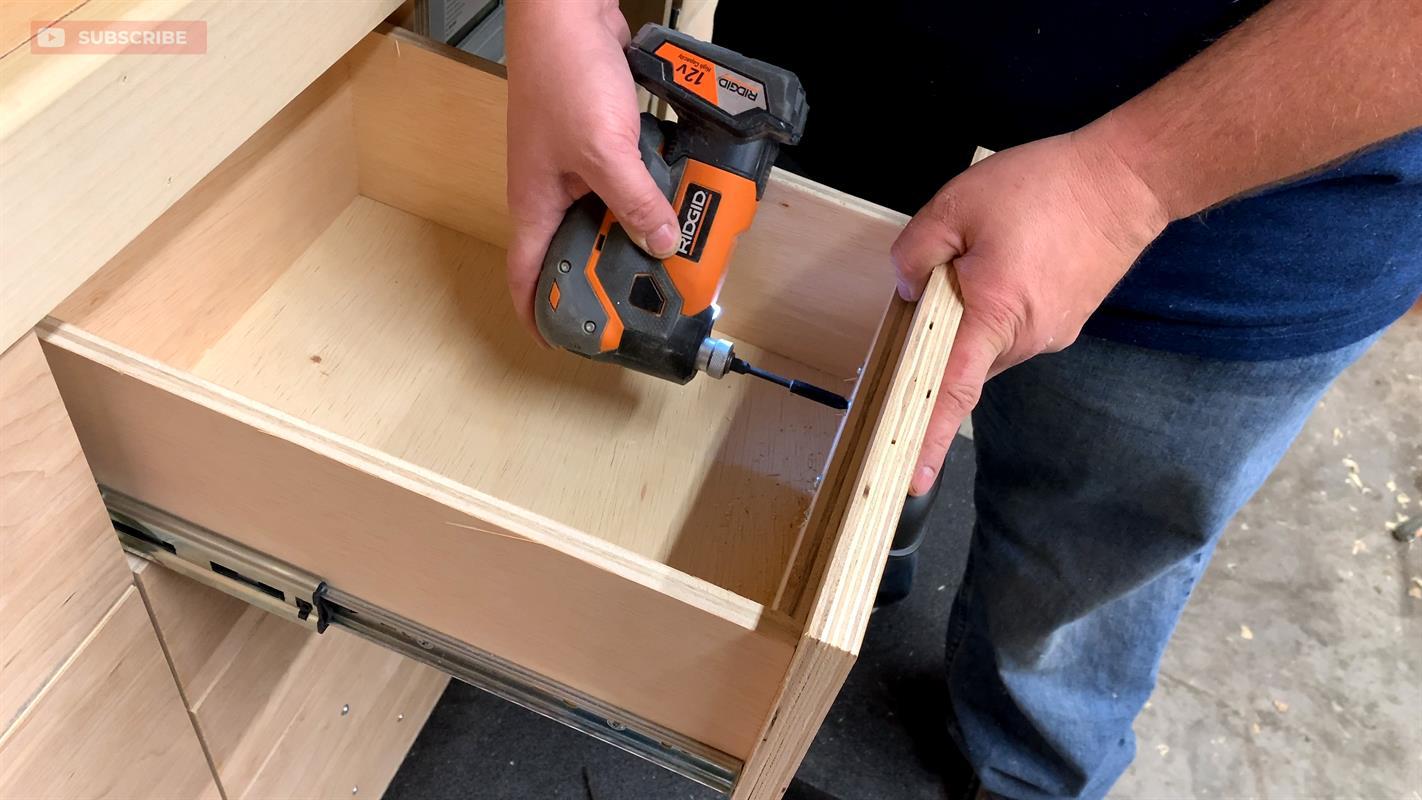
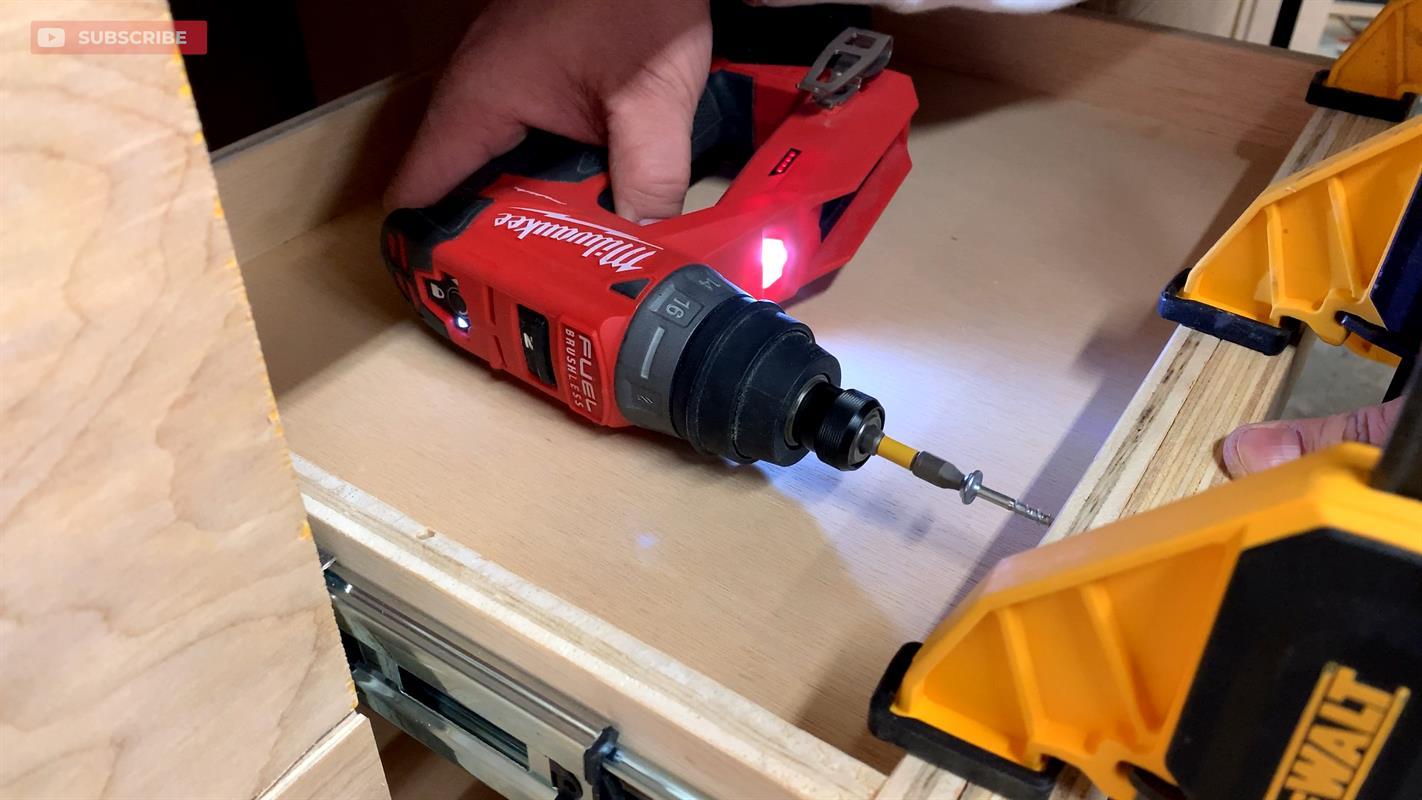
Drive in 3 to 4 1" pocket screws from the inside of the drawer to permanently attach the drawer fronts.
-
Install the Drawer Hardware
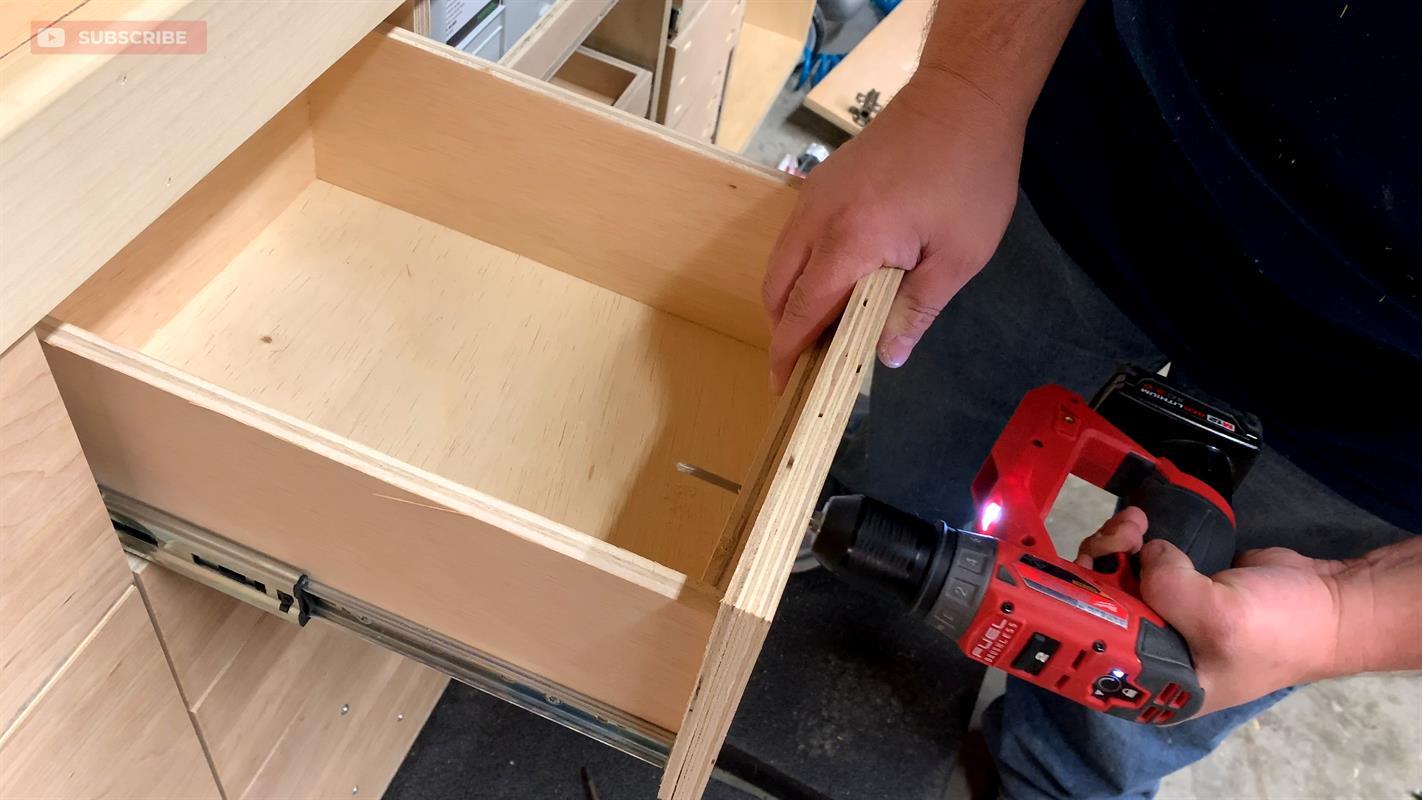
Remove the pocket screws from the pilot holes and use a 1/4" drill into the drawer.
-
Attach the Drawer Pulls
Attach the drawer pulls from the inside of the drawer box. I am using a small drill but hand tightening with a screwdriver is preferred.
-
Install the Door Handle
Use the Kreg Drawer Hardware Jig to install the drawer handles on the doors
-
Install the Tray Fronts
Use trigger clamps and popsicle sticks to install the tray fronts. Attach the front from inside the tray box.


